In case you hadn’t noticed, Christmas is just around the corner – nine days, to be precise and I’ve got a great last-minute make for you; a personalised Christmas sack for that special little person in your life.

I’m not joking when I say last-minute as I made TWO personalised sacks yesterday afternoon, each one taking about two and a half hours from start to finish. They’d make great gifts, too, with a little something popped inside and they only cost £12.94 each to make so won’t break the bank.
This is the parcel that arrived from Minerva Crafts: –
 For each sack you will need:
- 1m jute luxury hessian (56″ wide)
- 2m gingham fabric for lining (45″ wide)
- 15cm square of red felt, 22.5cm square of light brown felt and a 22.5cm square of dark brown felt.
Trim your gingham fabric to the same size as the hessian – 39″ x 56″.
Put the offcuts to one side as you will use these for the tie and the fabric letters.
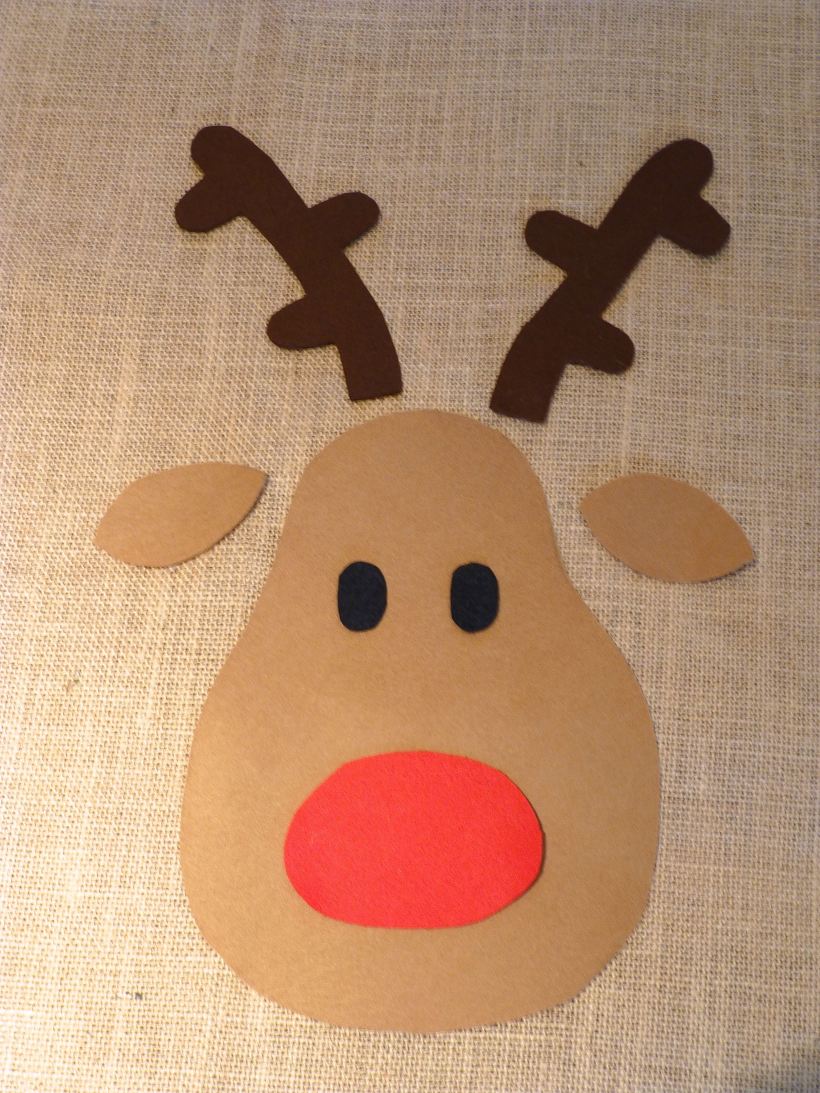
Draw a reindeer on a sheet of paper and cut out the individual elements separately.

Cut these out of the felt squares using the picture below as a guide.
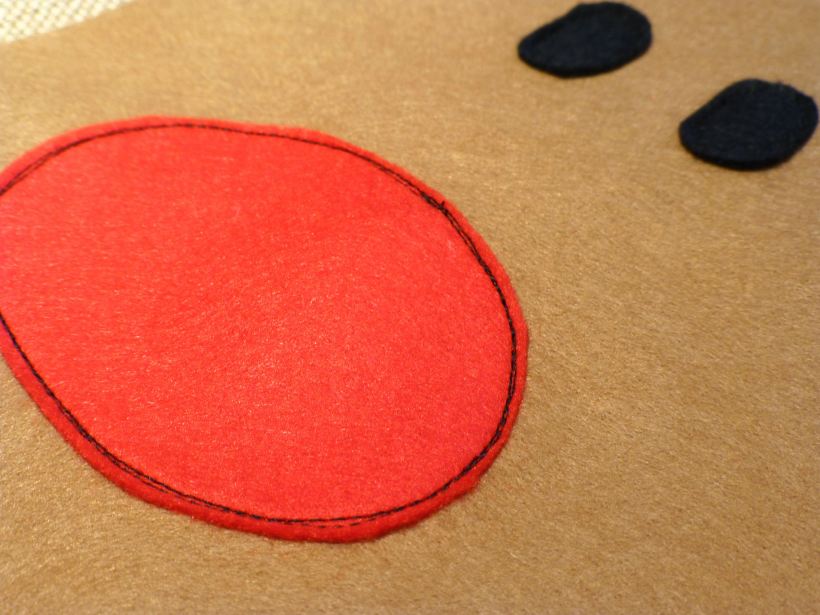
Stitch the nose and eyes onto the felt face – I used free machine embroidery throughout to achieve a ‘scribble’ effect which works well on children’s gifts.
Fold your hessian in half and arrange the felt pieces in the centre as shown.
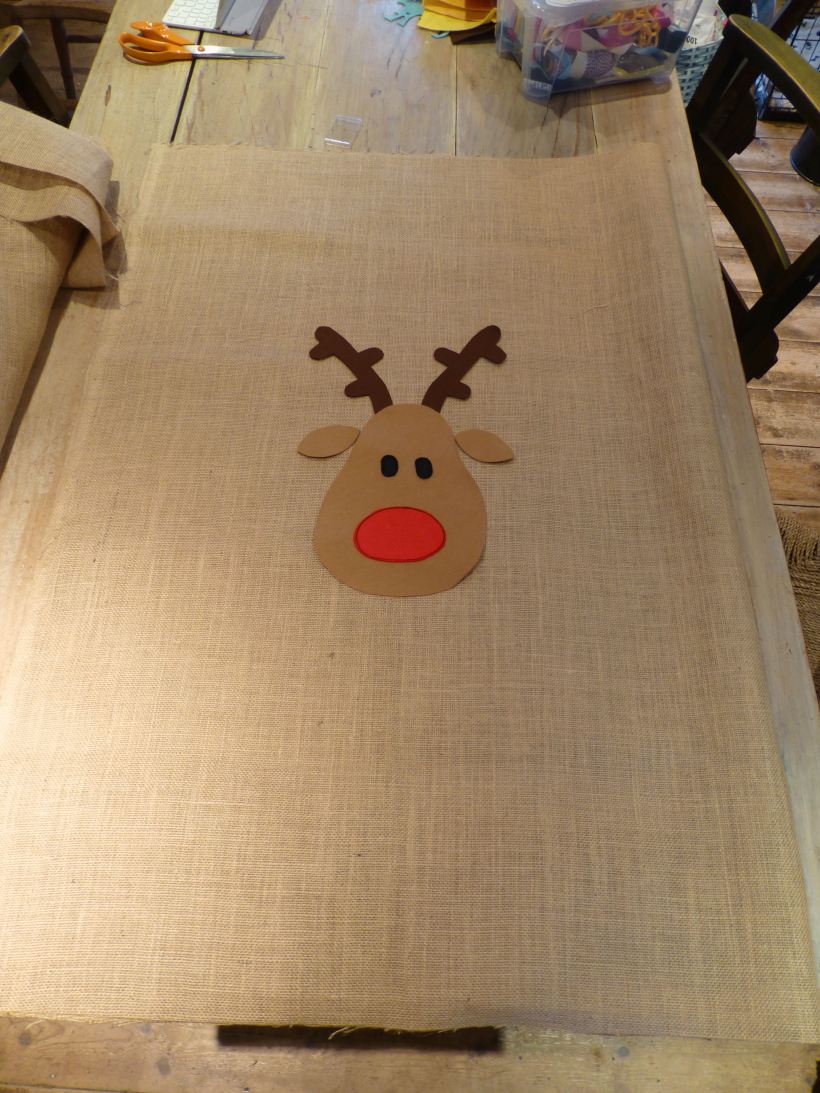
Hessian has an open weave which tends to move quite a lot, so either tack your appliqués on first or use LOTS of pins to keep them in place while you sew them on.
I loathe tacking so I opted for pin overkill instead.

With the reindeer face stitched securely in place, it’s time to move on to personalising your sack.
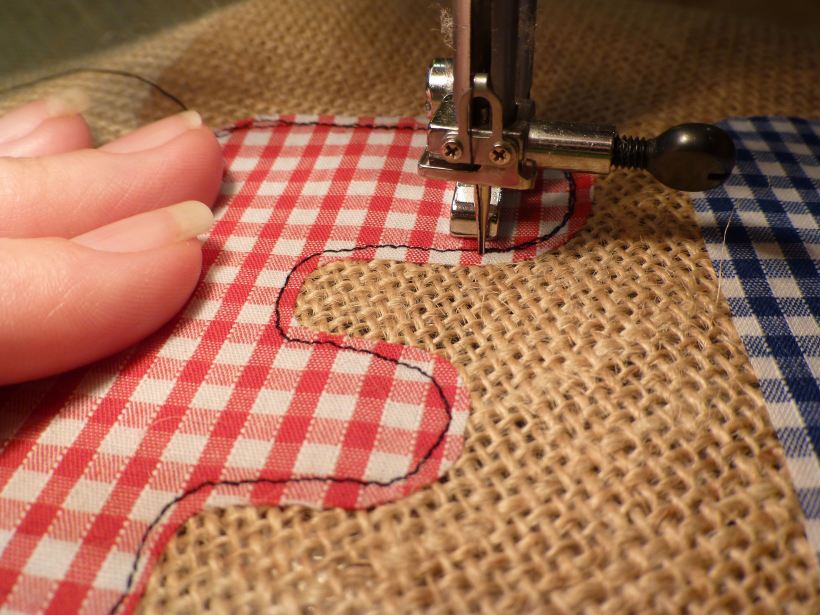
You can download a suitable font or just freehand it like I did onto thin card. As I was making two sacks I had both blue and red gingham offcuts to cut the letters from. I also decided to use some paper backed fusible web to secure the letters to the hessian before stitching them.
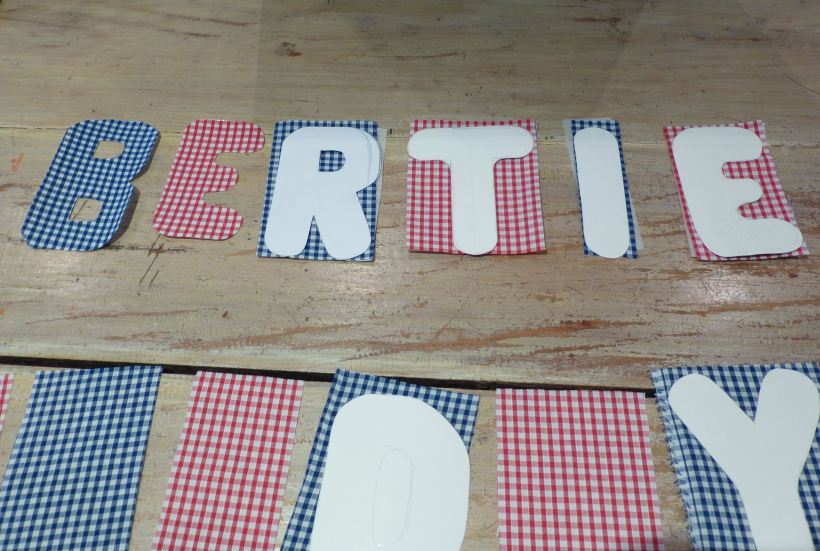
Arrange the letters evenly in a curve around the bottom of the reindeer, remove the paper backing and iron in place.

Two rounds of stitching on each letter gives a good effect.

When all your stitching is done, sew the top edge of the sack to the top edge of the lining with right sides together (sorry, no photo). Press the seam flat to create a crisp edge.
Then, lay your fabric out on a large table or on the floor and fold in half lengthwise, right sides together to create a ‘tube’.
Pin all the way around, leaving a gap in the lining where shown through which to turn. (I forgot to photograph this step on the first sack so the lining is shown in red).
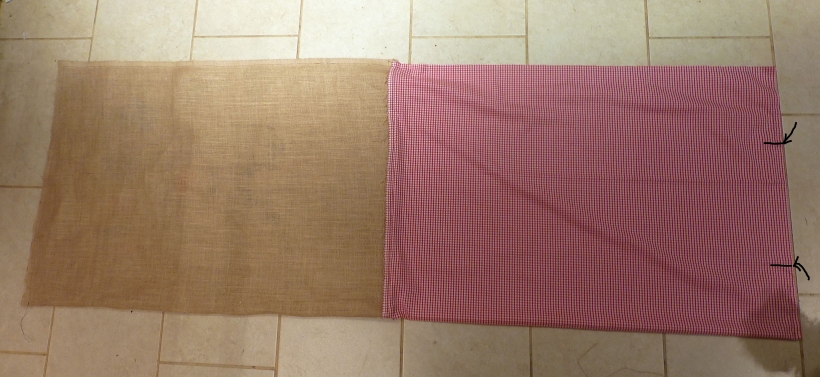
Put pins at 8″ from the top edge and 9″ from the top edge – this will be a break in the stitching to provide a channel for the tie.
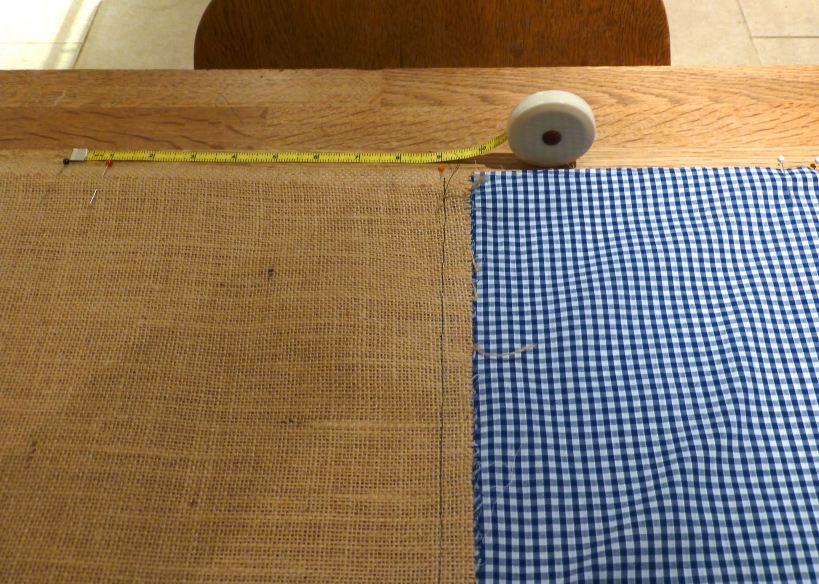
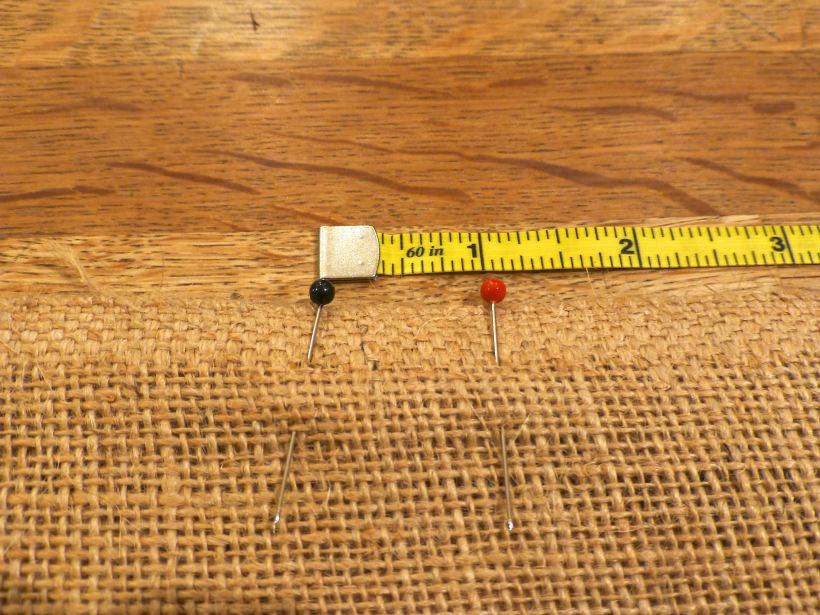
Sew all the way around the three sides with breaks in the stitching as described above.
Trim the corners and turn the sack through to the right side. Sew the lining closed at the gap through which it was turned. Press.
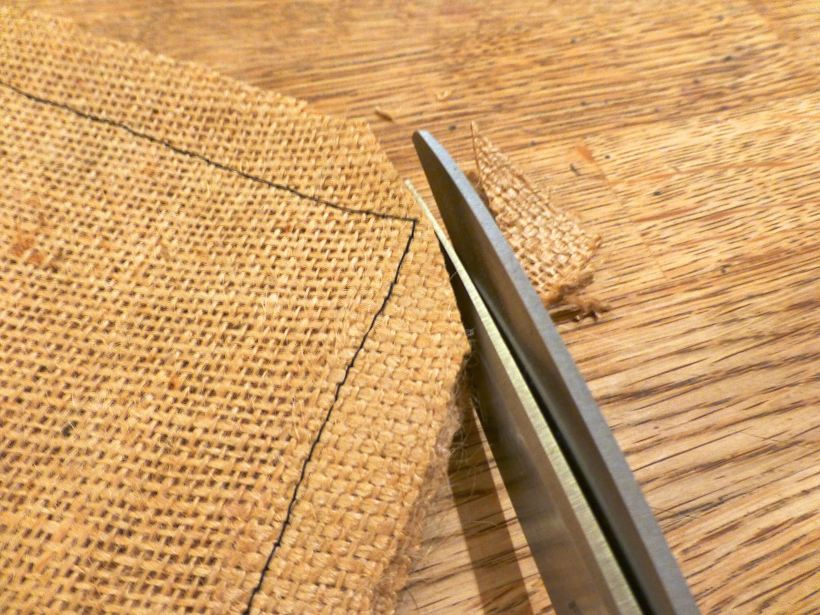
With a soft pencil or tailor’s chalk, mark two parallel lines all the way around at 8″ and 9″ from the top edge of the sack. Pin through both layers of fabric. Stitch along the lines.

For the tie, use your remaining offcuts of gingham to assemble a length that measures about 70″ x 2″.
Fold in and press 1/4″ at each short end.
Fold in and press 1/4″ along each long edge.
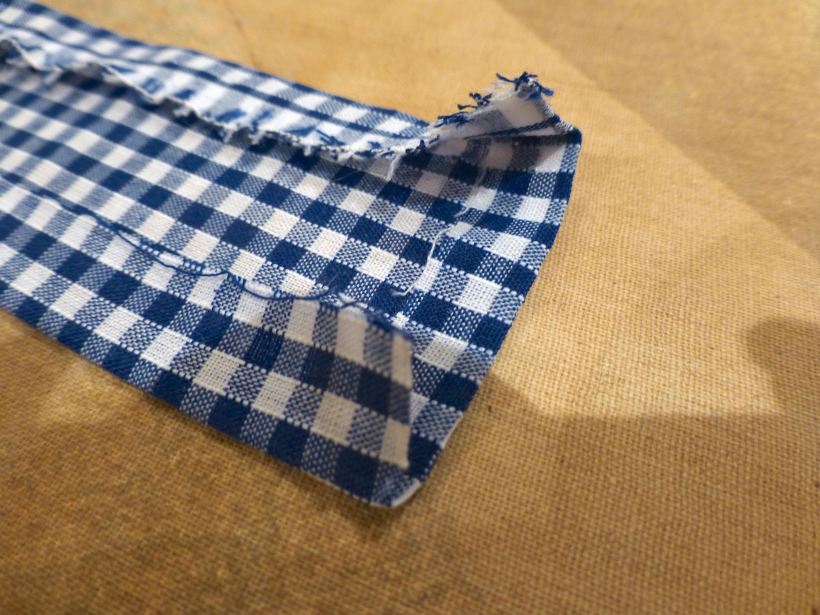
Bring the folded long edges together enclosing the raw edges.

Stitch close to the edge to finish your tie.
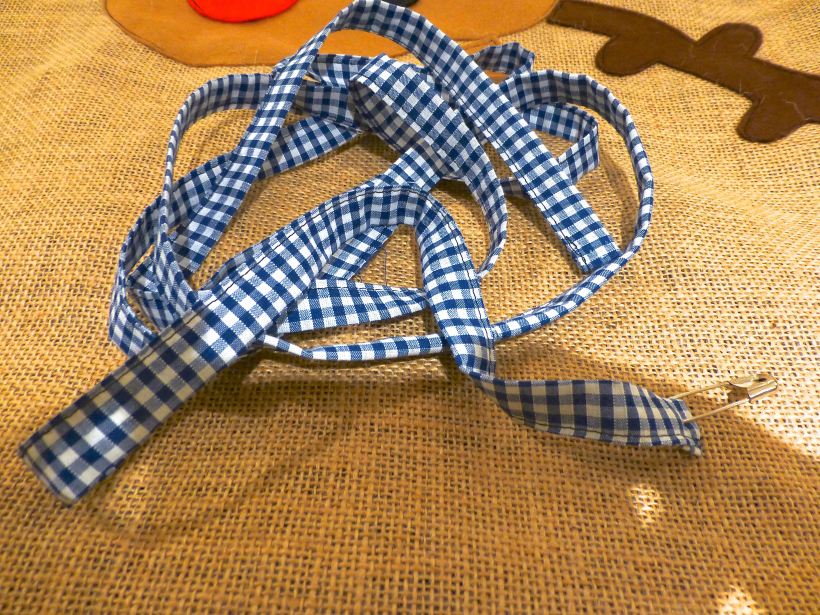
Use a safety pin to thread the tie through the channel in the gap left for this purpose.

And that’s it – finished!

A beautiful sack which any child would be delighted to have on Christmas Day to pop all their opened presents into.

They’re huge, too, I would have added The Boys to the photo for scale except that the sacks are a surprise for them.
You’ve still got time, so who fancies whipping up a Christmas Sack for their little boy or girl?

December 16, 2015 at 10:33 am
What a lovely little thing to treasure and use every year and even better you made them.xx
LikeLiked by 1 person
December 16, 2015 at 2:15 pm
Thank you, I was inspired to make them these heavy duty ones after the Poundshop ones fell to pieces almost immediately last year!
LikeLike
December 16, 2015 at 12:34 pm
Do you ever stop?? These are very cute. Just got my Stitching Santa gifts in the post – phew!
LikeLiked by 1 person
December 16, 2015 at 2:16 pm
Ha ha, no, not really, I’m always making something! Panicking about last posting dates though, as I have to make the ball gown before I can finish my stitching santa gifts.
LikeLike
December 16, 2015 at 12:44 pm
Those are adorable!!
LikeLiked by 1 person
December 16, 2015 at 2:16 pm
Thank you – you could make yourself one?!
LikeLike
December 16, 2015 at 2:21 pm
These are great, I love the reindeer. I made sacks for my two last year but they were not as gorgeous as these! x
LikeLiked by 1 person
December 16, 2015 at 2:27 pm
I’m sure they were and I bet they loved them all the more because you made them:)
LikeLiked by 1 person
December 16, 2015 at 2:29 pm
They’re super cool Santa sacks, I bet no. 1 son will want one too. But haven’t you got a frock to be getting on with?! 😳
LikeLiked by 1 person
December 16, 2015 at 2:32 pm
I’m literally JUST about to start cutting out the pattern now ‘cos I’ve been teaching until 1.30. Wish me luck:)
LikeLiked by 1 person
December 16, 2015 at 2:34 pm
🍀🍀🍀🍀🍀
“Good Luck!!”
🍀🍀🍀🍀🍀
LikeLiked by 1 person
December 16, 2015 at 2:45 pm
Cute!
LikeLiked by 1 person
December 17, 2015 at 9:01 am
Thanks – they turned out well and I know The Boys will love them:)
LikeLike
December 16, 2015 at 5:00 pm
So darn cute !!!!!!!!
LikeLiked by 1 person
December 17, 2015 at 9:00 am
Thanks Roma, I saw some on Pinterest and made my own version:)
LikeLiked by 1 person
December 16, 2015 at 8:13 pm
Too cute by half!
Also ope that gown’s progressing well!
LikeLiked by 1 person
December 16, 2015 at 8:14 pm
“hope” that’ll teach me not to proofread!
LikeLiked by 1 person
December 16, 2015 at 8:23 pm
Just finished cutting it out!!!!
LikeLiked by 1 person
December 16, 2015 at 11:18 pm
WOW! Those are too cute. They can be used for practically anything. I will be making four of these for the grand kids. Thanks for sharing your awesome knowledge and talent. Man if I lived closer I would be sitting in one of your sewing classes. I have a feeling I would have to sit for about twenty minutes just listening to your accent. LOL
LikeLiked by 1 person
December 17, 2015 at 8:59 am
You do make me laugh! Oh, by the way, I think you’ll find that YOU’RE the one with the accent, lol:)
LikeLike
December 17, 2015 at 1:43 pm
So true! I have been told I sound quite southern.
LikeLiked by 1 person
December 17, 2015 at 12:05 am
Those little bags are so cute! Love the reindeer, truly a new treasure for many years to come.
LikeLiked by 1 person
December 17, 2015 at 8:56 am
I’ve been meaning to get around to making some for a few years now but have always prioritised other stuff – not this year!
LikeLiked by 1 person
December 17, 2015 at 5:47 am
Your bags are adorable and are sure to be well-loved. Thanks for the tutorial.
LikeLiked by 1 person
December 17, 2015 at 8:55 am
Thank you so much:)
LikeLiked by 1 person
December 18, 2015 at 4:09 pm
So cute – I’m adding a reindeer to an apron for Lovely Husband.
LikeLike
December 20, 2015 at 12:56 pm
Brilliant and so cute 🙂
LikeLiked by 1 person
December 20, 2015 at 2:22 pm
Thank you:)
LikeLiked by 1 person
December 20, 2015 at 1:33 pm
Wow they are so lovely – what a fabulous idea. They are so much more special than shop bought ones! I hope you and your family have a great Christmas!
LikeLiked by 1 person
December 20, 2015 at 2:22 pm
Thanks, they should last for years to come. Happy Christmas!
LikeLiked by 1 person
Pingback: Quick Christmas Apron – with a bit of help from my friends | Dartmoor Yarns
November 8, 2016 at 10:41 am
Hi do you make these to sell?
LikeLiked by 1 person
November 8, 2016 at 11:19 am
I do, yes, they are £45 each, personalised with your child’s name. They are huge!
LikeLike
December 24, 2017 at 11:08 pm
Just made amazing sack thanks to your advice! First proper thing I have ever made on a sewing machine and it looks fab! Thanks for your turorial!
LikeLiked by 1 person
December 25, 2017 at 10:04 pm
I’m so pleased that it was a success for you! Would you send me a photo to http://www.sewchet.com? I’d love to see it:)
LikeLike
Pingback: Santa Sacks – RAD Crafting Collective