
Ok, so buying it ready-made is easy and convenient but it’s not cheap and what if you can’t get the right colour to finish your project?
That was my dilemma this week, so I made my own bias binding to coordinate perfectly and I thought I’d show you how.
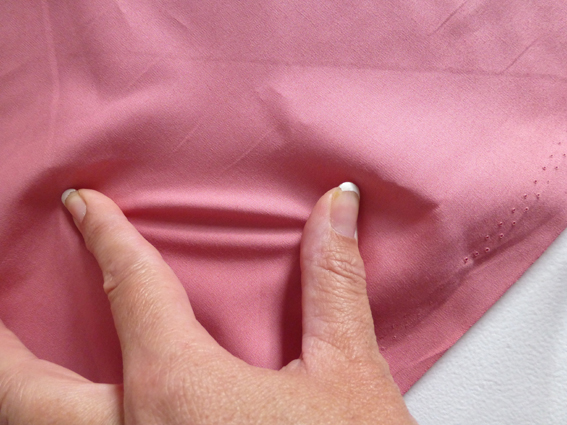
First off, you need to find the bias of your chosen fabric which is really easy. If you pull along the grain (parallel to the edge), the fabric won’t stretch (unless it’s a knit fabric) and if you pull it at 45° to the grain it will stretch as demonstrated below: –
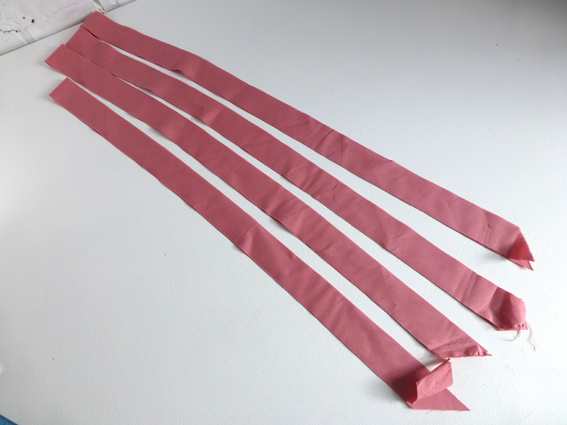
Using tailor’s chalk, mark lines on your fabric on the bias at 1 1/2″ intervals (or the width suggested by your bias maker).

Cut along the lines

With right sides together, pin two strips at right angles to each other as shown: –

If you’ve gone to the edge of the fabric your corners will already be cut off, if not, you can do this now, then sew together.

Press the seam open.

Repeat, joining as many strips as you need to make the required length.
With wrong side facing up, insert the corner of the leading edge into the bias maker. Using the metal bar, pull very gently along the length of the fabric, ironing as you go.

When you have completed the entire strip, fold in half right sides together and press.

If you don’t have a bias maker, get one – they’re indispensable. However, you can also make bias binding without a tool, it’s just a bit more fiddly. Here’s how: –
1. Cut your strips as before
2. Fold in half, wrong sides together, press along fold.
3. Open out and bring in outside edge to meet the fold. Press.
4. Repeat with other edge.
Done! Now you have bespoke bias binding to coordinate with your project!

I know, you’re dying to know just exactly what my project is, aren’t you?
Well you’ll have to wait until after the weekend because it is a present for someone very special and I don’t want to spoil the surprise, but here’s a sneak preview for now…

Lots of photos to come so follow the blog to see them.
In the meantime, why don’t you have a go at making your own bias binding and show me what you’ve made with yours?

July 2, 2014 at 3:59 pm
Great post, can’t wait till your next lot of photos of your project 🙂
LikeLike
July 4, 2014 at 2:39 pm
Thanks Mrs P! Hope it was helpful although, as you are a sewer, you probably already make your own! Am giving the present tomorrow so will post photos on Monday – hope I haven’t over-hyped it!
LikeLike
Pingback: Annaprashan Gift | Sewchet
Pingback: Tutorial: How To Make A Bedside Book Pocket | Sewchet
Pingback: How To Make A Quick And Easy iPad Sleeve | Sewchet
Pingback: How To Make A Child’s Teepee Wigwam | Sewchet