Sewchet

Sewing, crochet, crafts, accessories, baking, tutorials,


29 Comments

Sunday Sevens #98

We’re down to one car at the moment – the Mercedes is in the garage and may be on it’s way to the scrapyard in the sky as it may not be economical to fix.  Mr H-L has been using my car for work as I don’t need it in the holidays, but this means we don’t get out at all as there is very limited public transport.

What I’m trying to say, is that there are no pub photos in this week’s Sunday Sevens, and no Exmoor landscapes – just us at home, doing stuff.

  1. Progress is slow but steady on the baby shawl I’m knitting. At this point I was one third of the way through and the statistics were; 35 hours, 560 rows and 40,324 stitches.

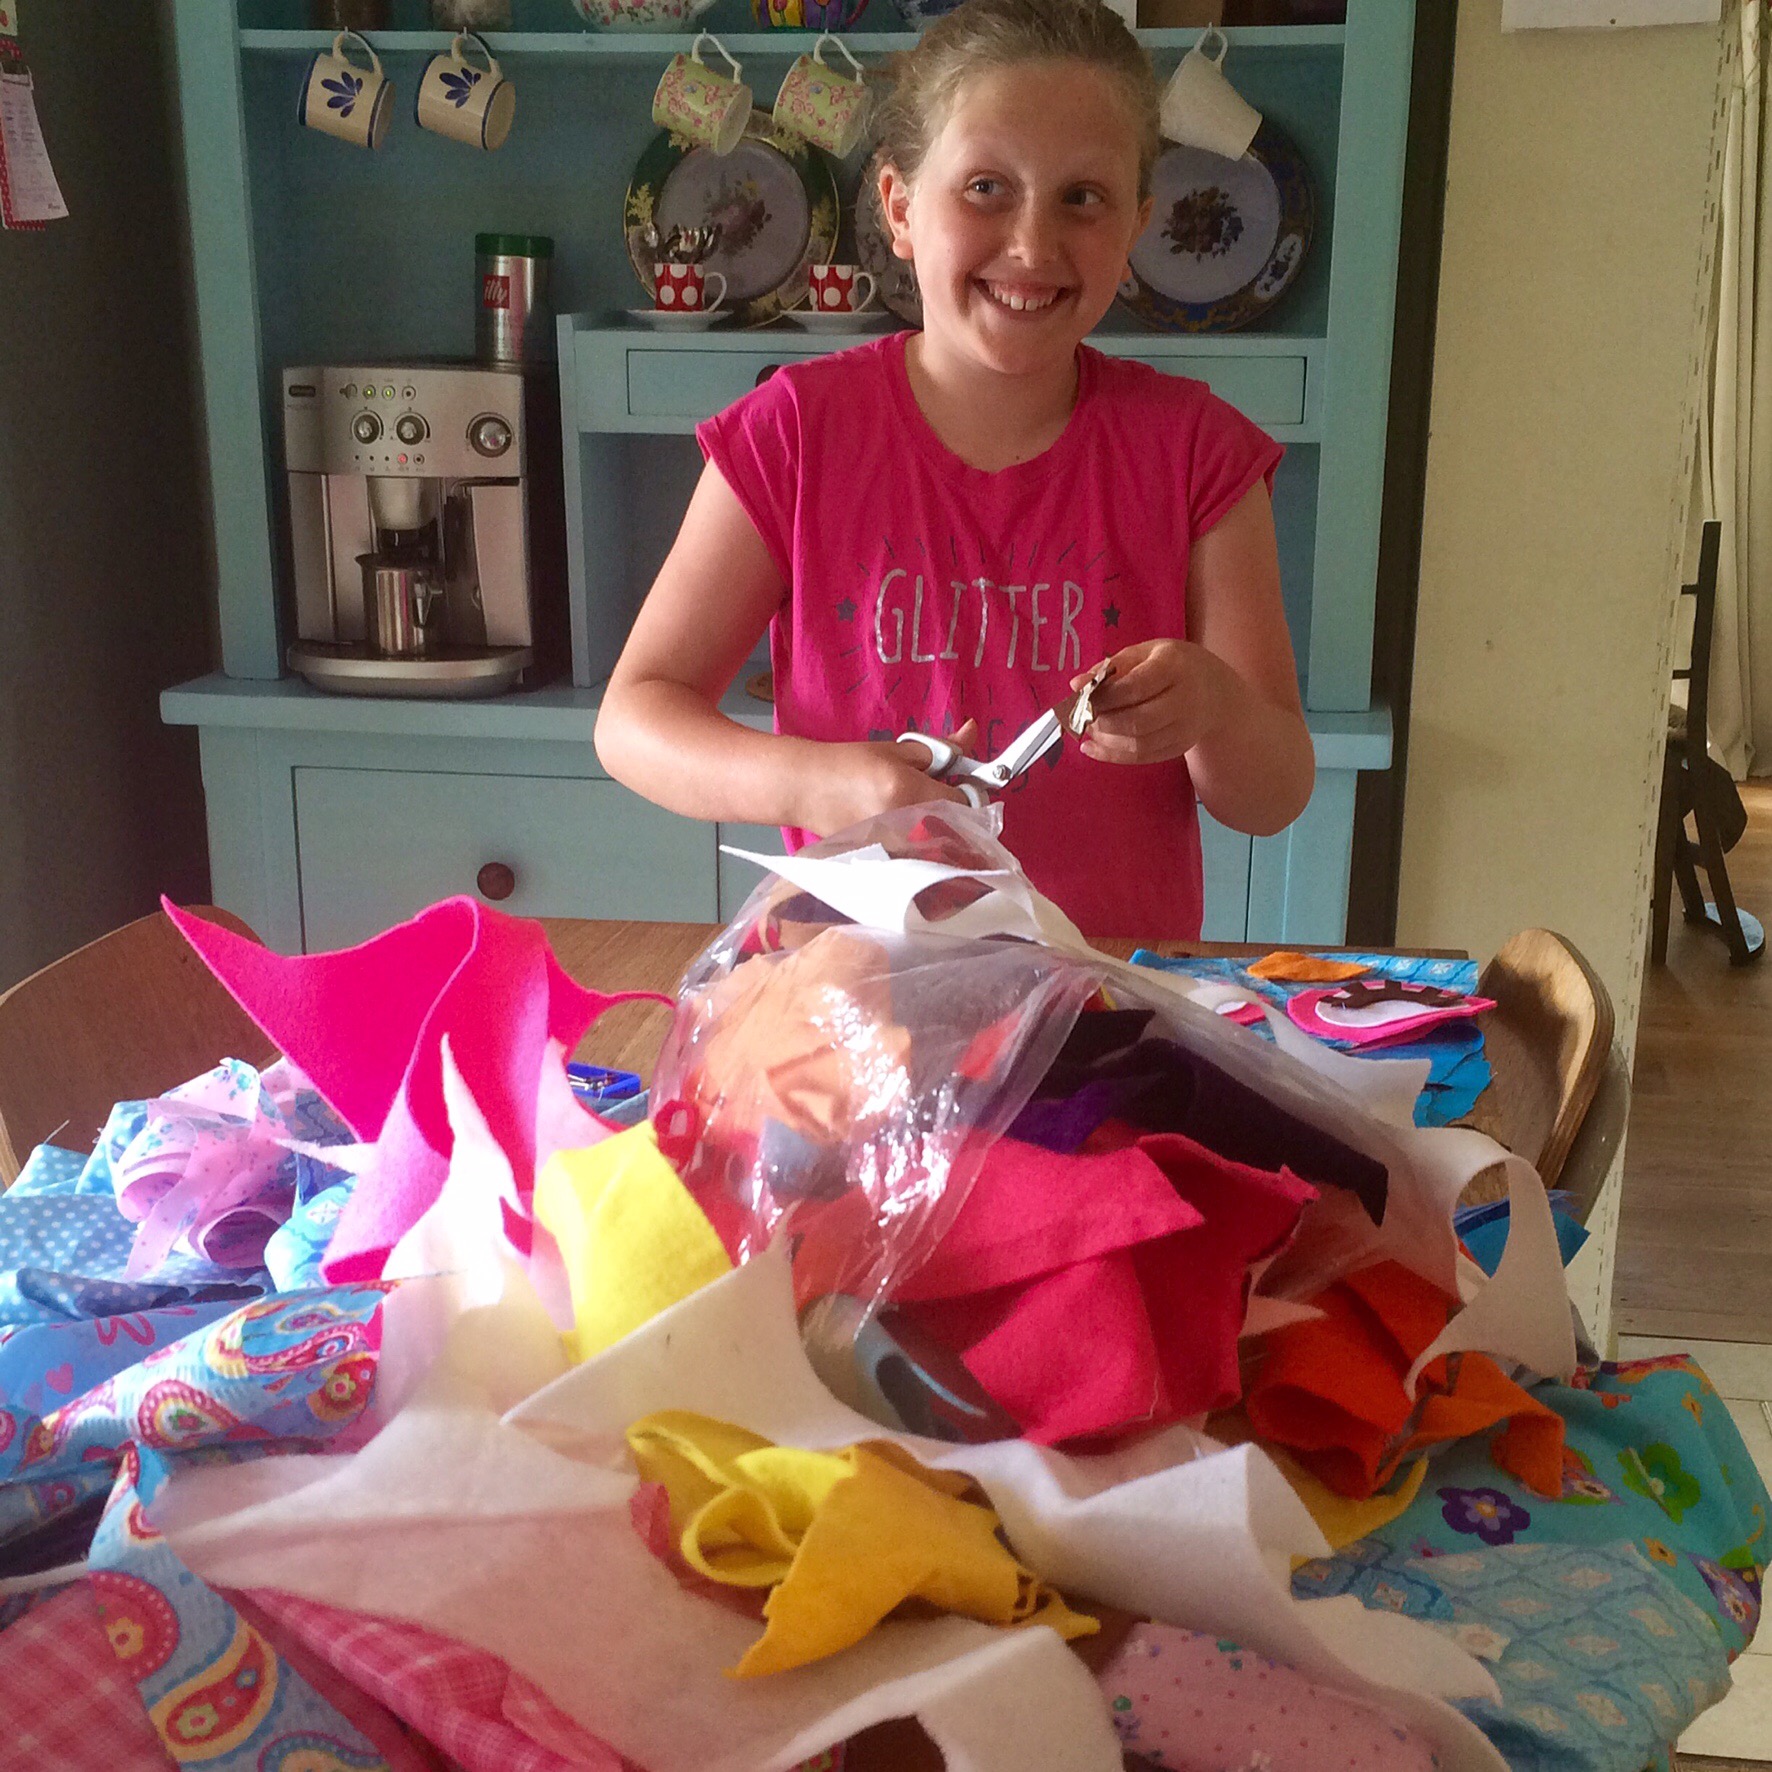
2. I held two full day workshops this week. Just look at the concentration on her face!

3. The students love choosing their own combination of fabrics to make their creations unique. It started with piles of neatly folded fabric but, within seconds of excited rummaging, descended into this chaotic heap!

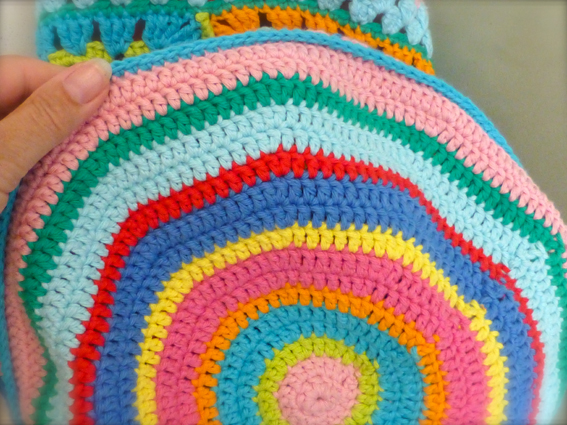
4. I found time to design and make a school bag for No.2 Son. He declared that he was too old to use the standard school “babyish” book bags so chose the fabrics for a more grown up version.

I’ll write up a quick ‘how to’ when I get time.

5. Talking of school, we made a rare trip to town to buy new school shoes and The Boys spent the whole time going up and down the escalators. They’re not used to such exciting entertainment in the country!

6. WHY are school shoes so expensive? £100 for two pairs of shoes and a pair of daps – criminal.

7. While we were in Yeovil, we popped into the outdoor pursuits shop and managed to snap up another gas burner, gas cannisters and a new lamp, all at half price, ready for camping next week.

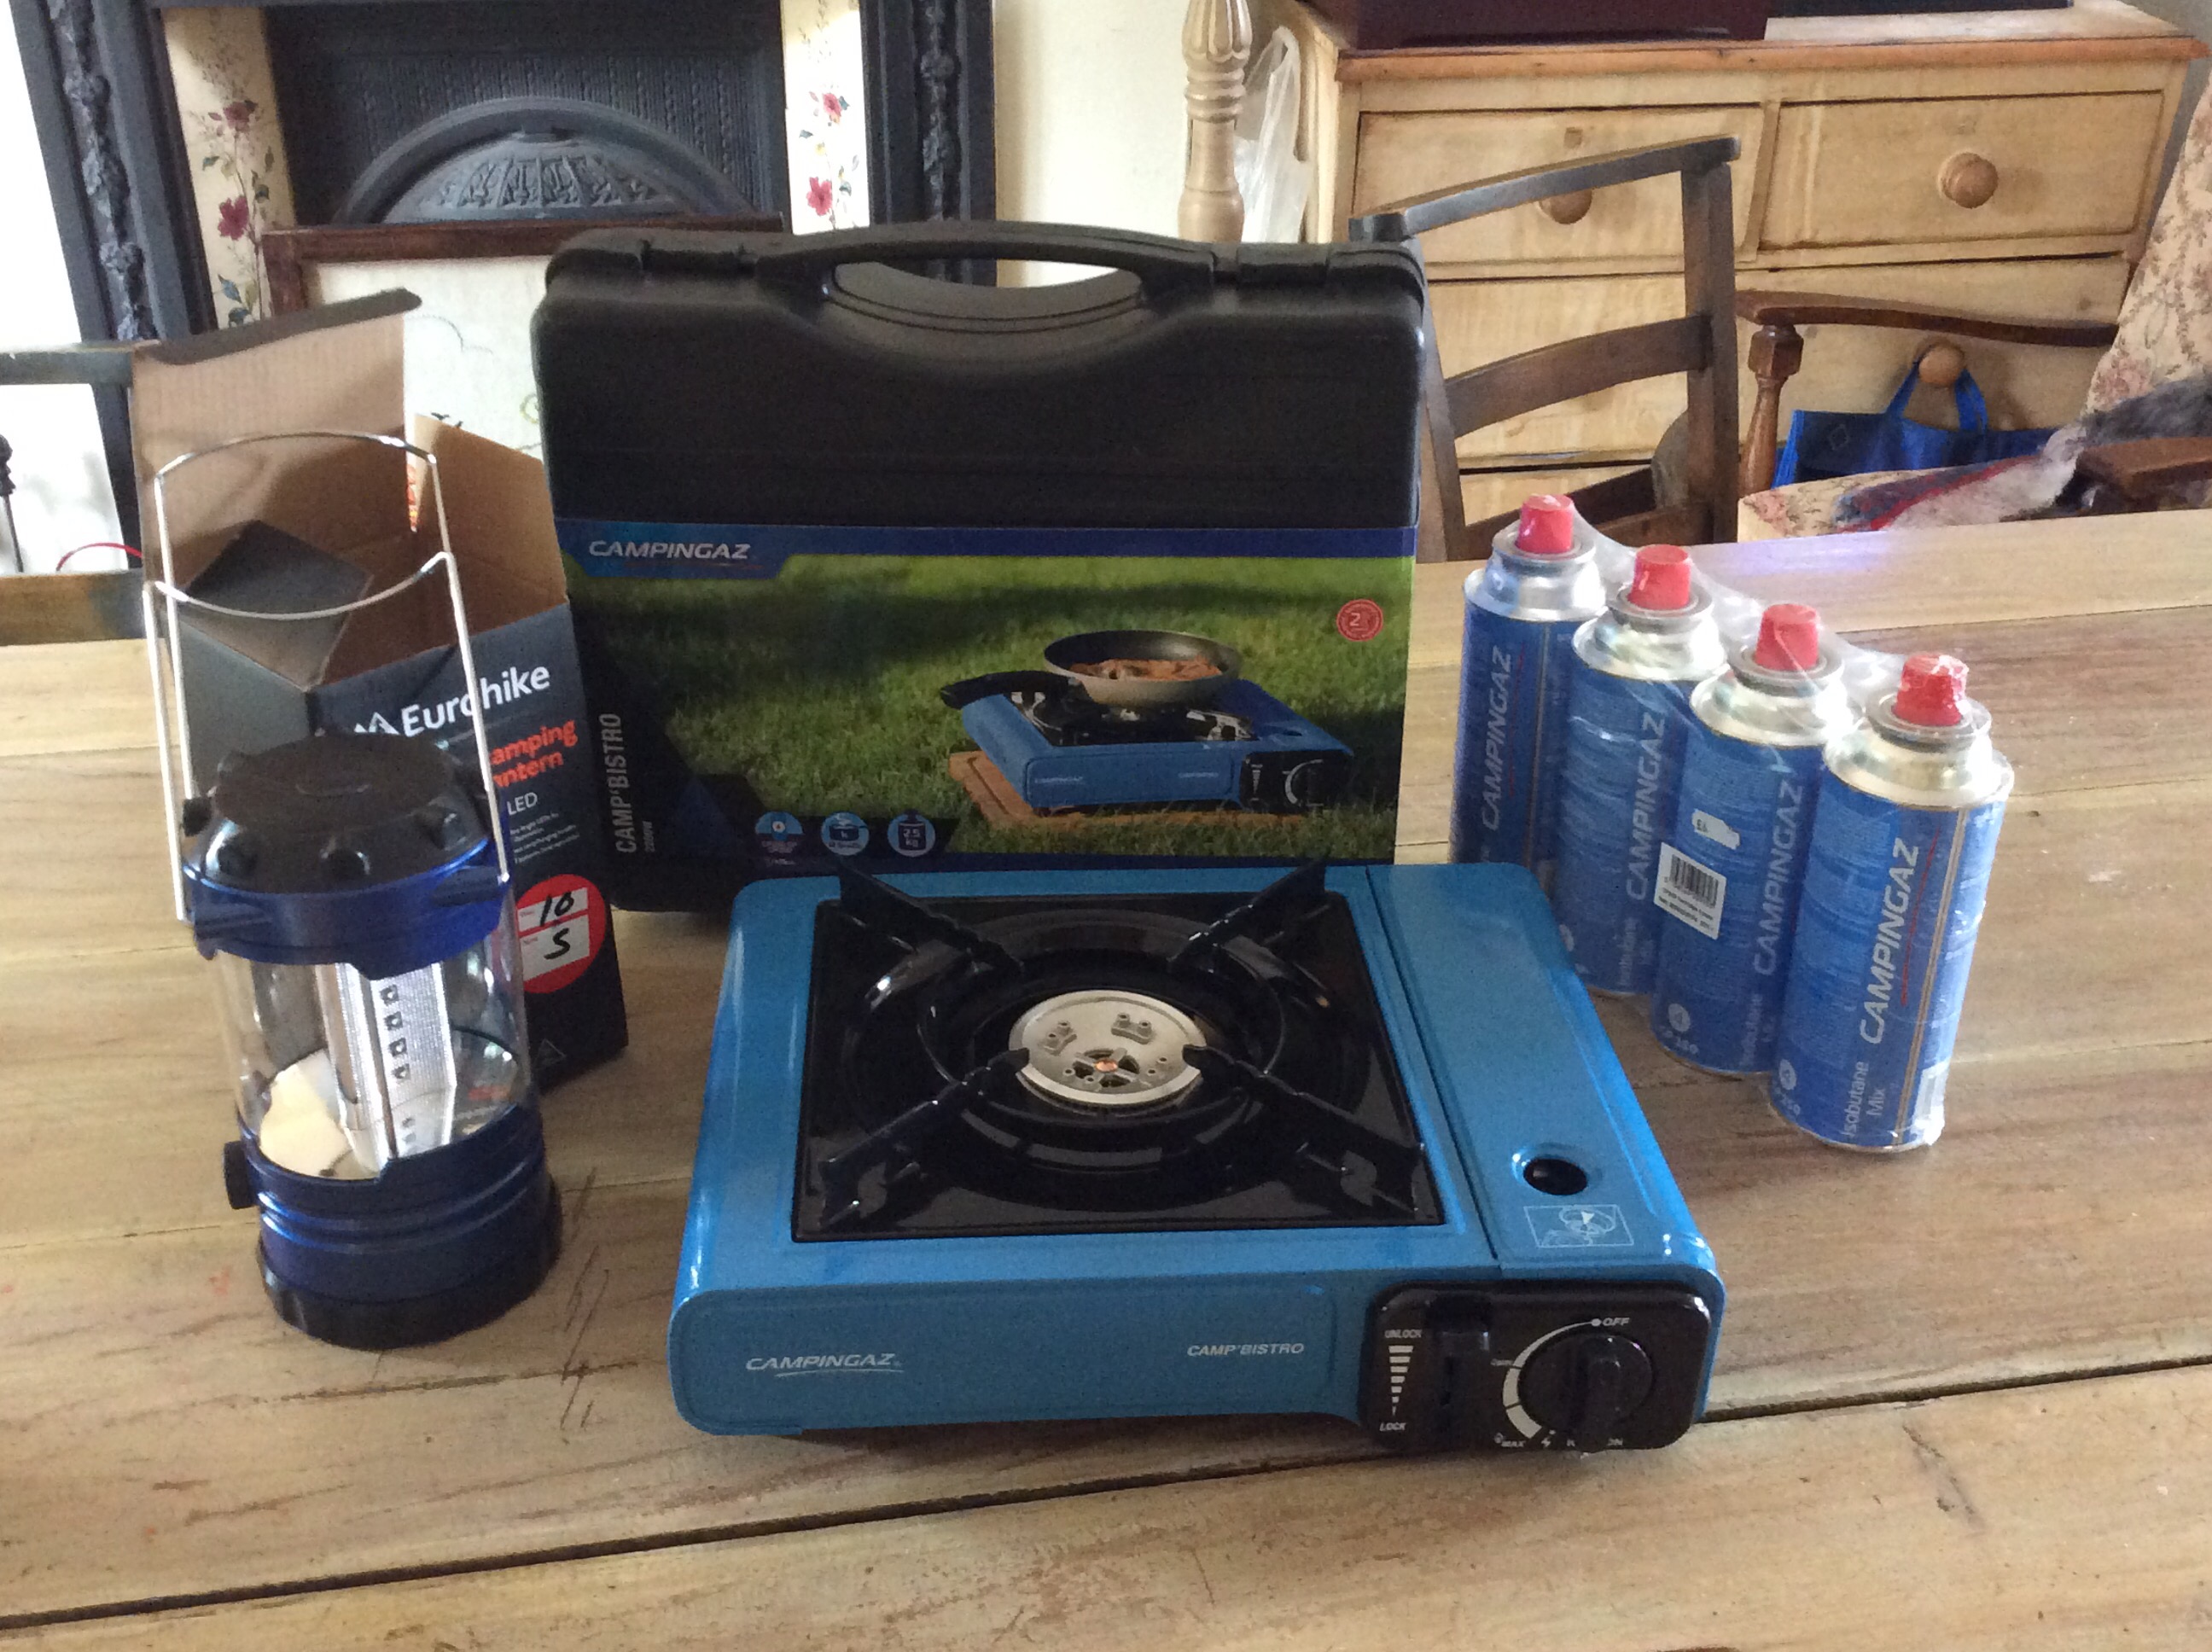
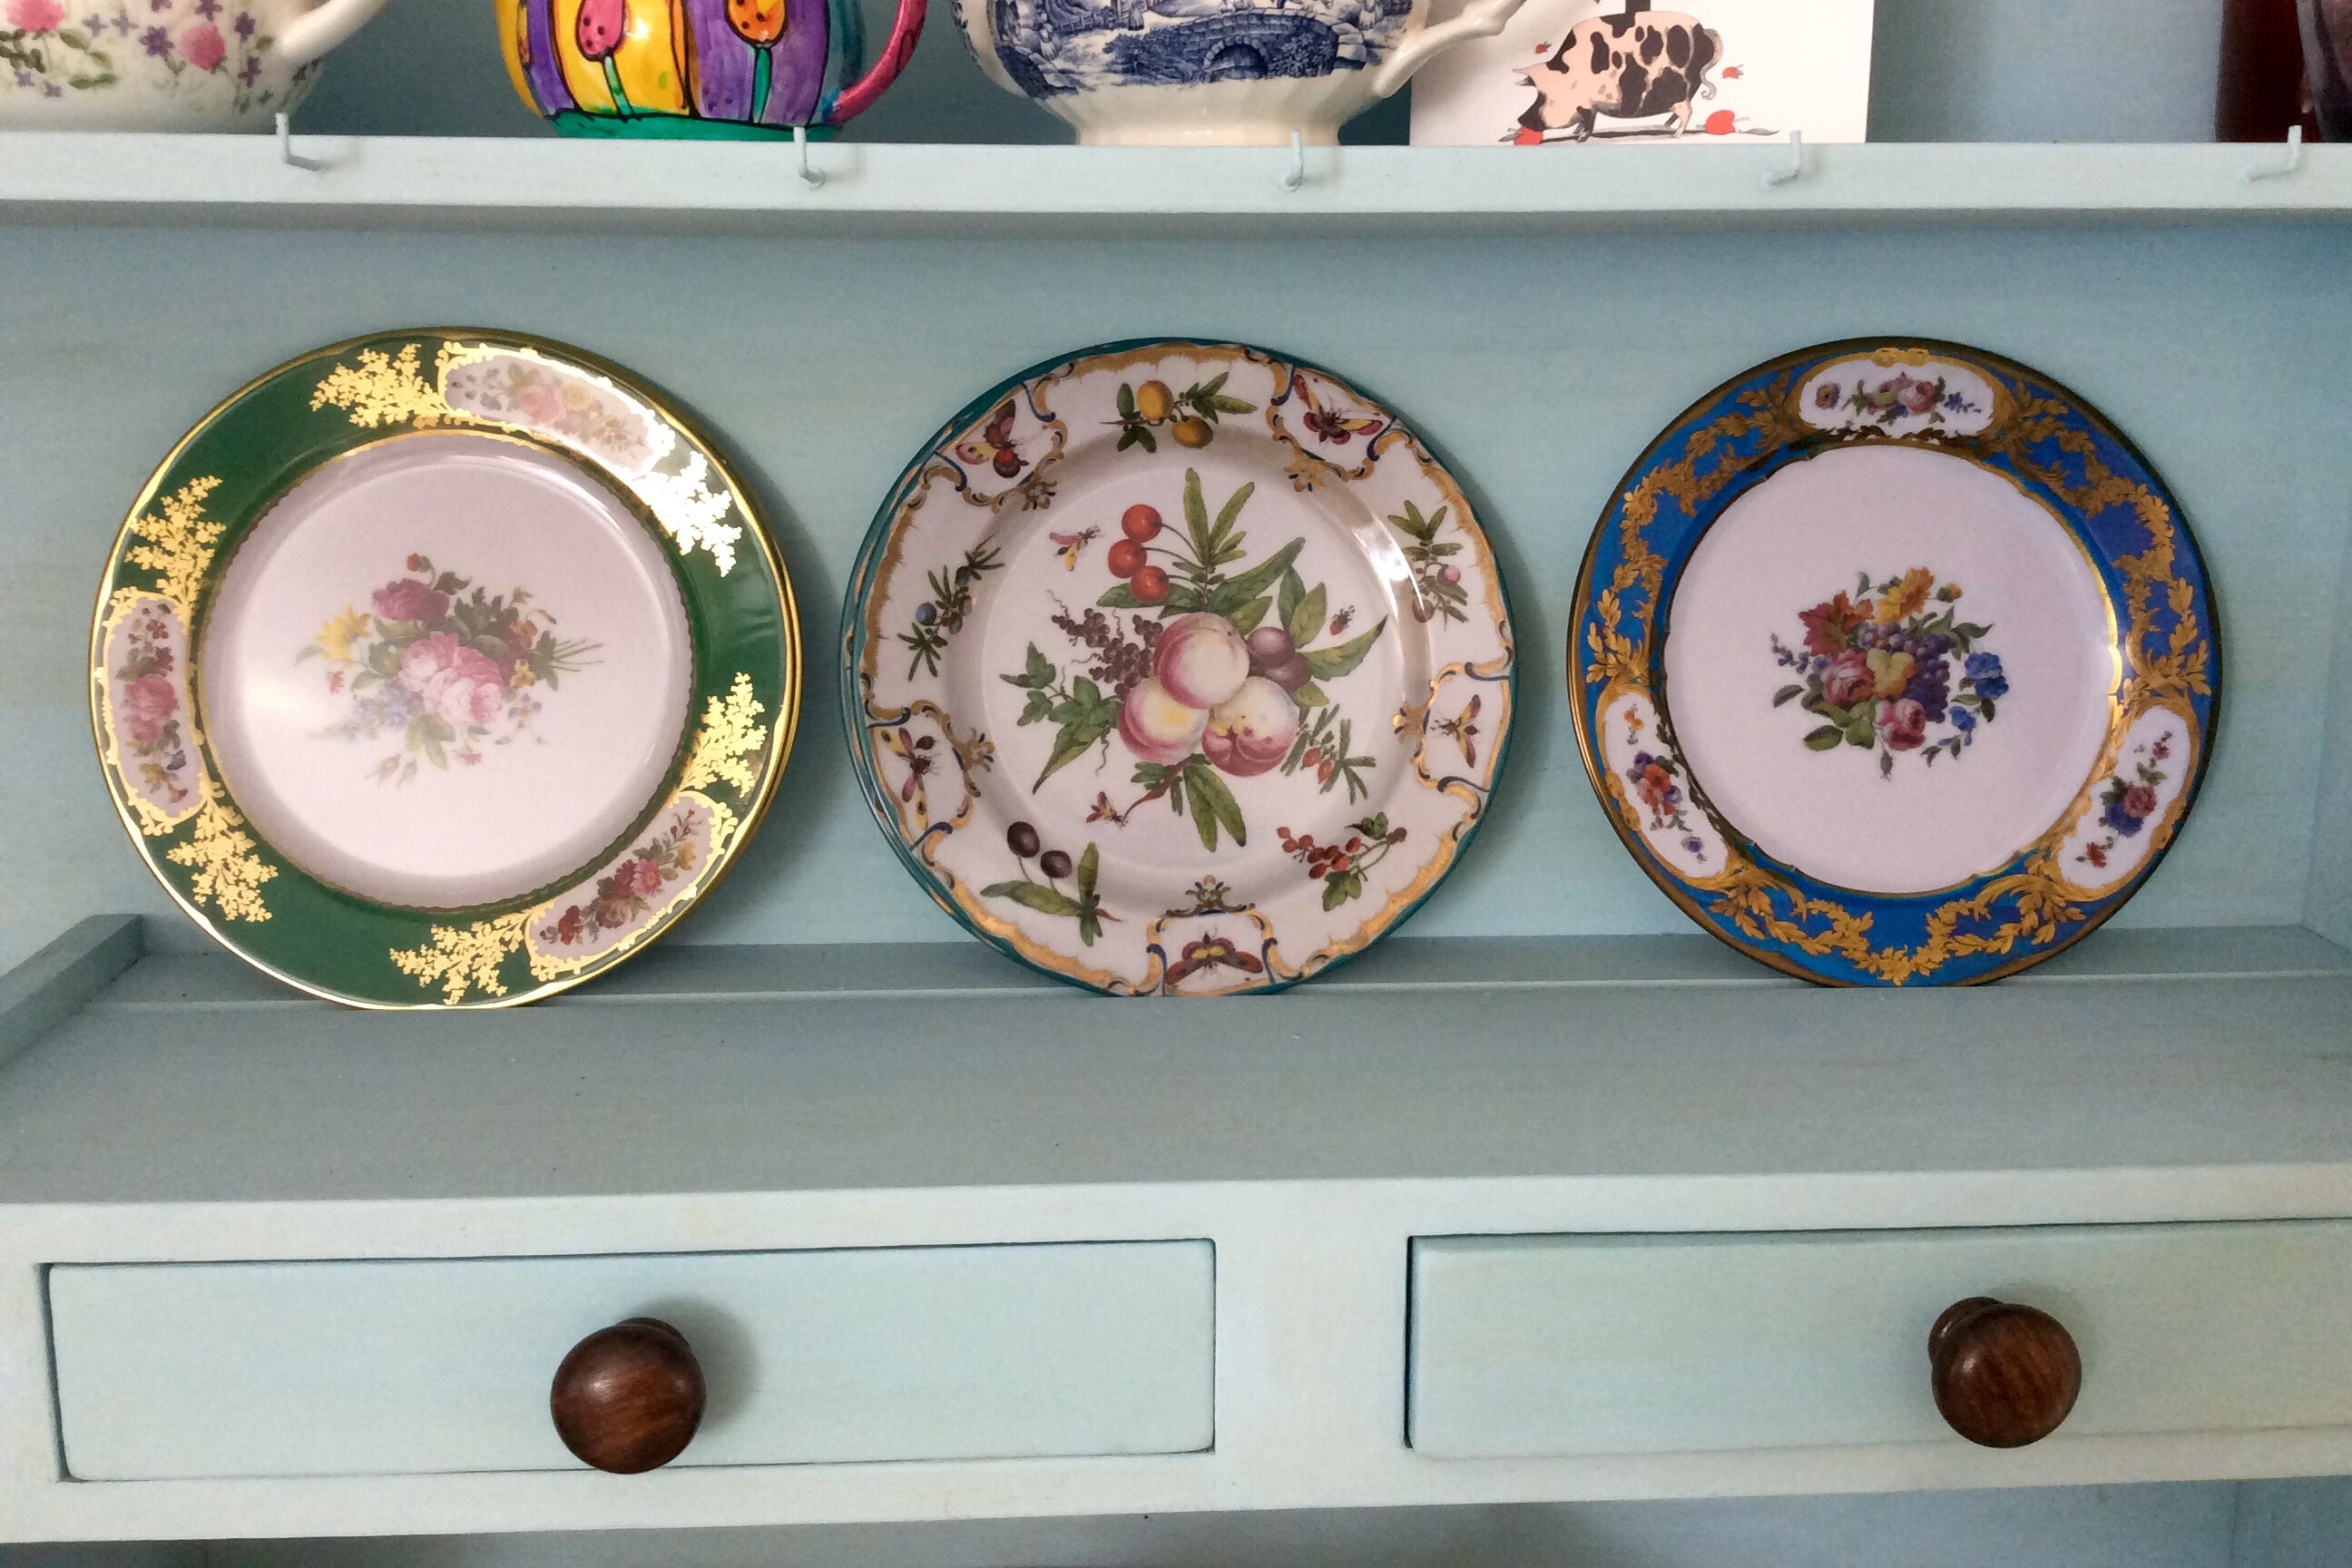
8. I treated myself to six tin plates, all copies of original royal china. Who said you can’t dine in style just because you’re camping?

9. Being at home all week meant more baking than usual was done. The Boys wore their self-made butcher’s aprons and had great fun making chocolate cornflake crunchies.

10. Licking the spoons is always the best bit, isn’t it?

11. Finally – HOW can sleeping like this be comfortable?!

Sunday Sevens is a weekly blog series showing glimpses of your life outside of the blog. To find out how you can join in, too, visit Nat at Threads & Bobbins.


16 Comments

Sunday Sevens #24

For those of you that are new to this concept, this is how Nat from Threads and Bobbins describes it: –

“Sunday Sevens is a weekly blog series where you post 7 photos from your week. Sometimes things happen in our lives that aren’t worth a full blog post but are worth sharing, so here is the blog series to do just that!”

Without further ado, here is my week in summary.

1. Snowdrops, snowdrops, everywhere!

snowdrops

2. No.2 Son wanted to make something for his little brother, so he embroidered his name onto some felt!

IMG_1533

3. Climbing trees – fun for boys of all ages:)

IMG_1521

4. Trying to get a normal photograph of hubby keeping our 12 year old Yorkie warm whilst sitting outside (!) for a pub meal. Here we have the whole gamut of facial expressions. That’s why I never ask him to pose for a photograph – it takes forever!

Untitled-2

IMG_1528

5. A really rather dreadful photo of Stourhead.

Note to self: next time, don’t use your iPhone on full zoom just because you’re too lazy to get the camera out of your bag!

Stourhead

6. Some completely fabuloso porcelain mugs that I bought in Makers gallery in Bristol. The artist is Jessica Thorne, a student at Plymouth University (where my son is in his final year, incidentally). She doesn’t have a website yet but you can ogle her gorgeous collection on Tumblr.

porcelain mugs

7. Italian Chocolate Truffles – I promised someone (sorry, can’t recall who!) that I would share the recipe, so here it is: –

175g/6oz plain chocolate

2 tbsp Cointreau or Grand Marnier

40g/1 1/2oz butter

5 tbsp icing sugar

cocoa powder to dust

Melt chocolate with Cointreau in microwave (gently!), then stir in the butter until it has melted.

Stir in the icing sugar. Leave in a cool place until firm enough to roll into 24 balls.

Roll in cocoa powder and chill in the fridge.

chocolate truffles

grand marnier truffles

Enjoy the rest of your weekend ‘cos it’s back to school on Monday!


10 Comments

Jam, Flowers and WIP

Wow, we’ve got loads of blackberries this year! Sadly we won’t have as many next year because, whilst we were away, my son thoughtfully pruned the overhanging branches (quote – “Only the ones with no blackberries on”). He has unwittingly removed most of the growth that was going to produce next year’s fruit!! Hey ho, these things happen. blackberries

blackberryThe Girls eat as many as they can reach; it’s hilarious watching the way they flap with all their might in an effort to jump higher to get to the juicy, ripe ones which are just out of pecking distance!

hen eating blackberriesI am going to make as much blackberry and apple jam as I can this year in the hope that it will last longer. First two batches are in jars awaiting ‘hats’ and labels. I always give some away as Christmas presents paired with matching jars of homemade marmalade or another jam, so gingham hats and raffia ties are a must!

Jam making small

They look rather nice as homemade gifts go!

Homemade jam gift small

For our own use, I transfer jam from the jars into a lovely vintage jam pot. The lid was dropped onto the tiled floor and, unfortunately, didn’t survive, but I still love it.

vintage jam potsmall

Of course, there’s always a little bit left over that has to go through Quality Control….

Homemade jam small

If you let your hens free-range as we do, you’ll know that growing flowers in the garden is nearly impossible so my lovely husband brings home glorious blooms on a regular basis. Even so, the cheeky chickens still hop onto the coffee table to peck at the stamens! These should be safe though, as they’re well out of the way up on the dining table.

Vase of liliessmall

Liliessmall

I know lilies are associated with funerals and many people don’t like them for that reason, but I absolutely love, love, LOVE them!

Stargazer Lilysmall

I wouldn’t dream of removing the stamens that stain everything a dark orange either; they’re just so pretty:)

Lily close upsmall

I wish I could paint – I would have my own watercolour floral masterpieces clinging to the walls like wallpaper….but alas my creative talents lie in a different direction.

Talking of which, here are a couple of WIPs – this one just waiting the addition of a few bits of hardware that are marked by eBay as ‘dispatched’…

Granny stripes smallGranny square flowers smallIncreasing base small

…and this one. In the words of Rolf Harris “Can you guess what it is yet?”.

WIPsmall

And no, it’s not another basket. Intrigued? Watch this space….!


2 Comments

Homemade Fudge

It’s that time of year again – School Fair!  This begs the question: “What-to-make-that-kids-will-want-to-buy?”. It has to be cheap for two reasons;

  1. It’s a donation – you don’t get costs refunded
  2. Children have about two pounds to stretch around the entire fair


I decided to do something different to the usual fairy cakes and hit upon the idea of fudge in two flavours – “Chocolate” and “Vanilla & Raisin”.

Fudge is sweet (so kids will love it) and simple to make, the ingredients are cheap and I thought I could package it up to look appealing.

This is the Chocolate…

Image

and this is the Vanilla.

Image

Mmmmm, delicious!

Image

Here’s what I did:

Ingredients: –

397g can condensed milk

150ml single cream

450g demerara sugar

115g butter

  1. Melt all the ingredients in a large, non-stick pan over a low heat, stirring until the sugar dissolves.
  2. Bring to the boil then simmer for 10-15 minutes, stirring continuously and scraping the base of the pan.
  3. Continue until a sugar thermometer reads 118°C – this is vital, or the fudge won’t set.
  4. Transfer to a mixer and beat until very thick and only just beginning to set.
  5. Pour into a 20cm square tin, lined with baking parchment, and leave to set before cutting into squares.


For chocolate, add two tablespoons of cocoa powder at step 4.

For vanilla (and raisins) add one teaspoon of vanilla extract (and two tablespoons of chopped raisins) at step 4.

Image

I found some small cellophane bags here www.wrappingsandbows.co.uk

Image

I designed some simple labels to attach to each bag with the price clearly stated.

Image

Pricing is tricky but, as this was my donation, I just added up the cost of the ingredients and packaging and divided it roughly between the number of bags created. I put two squares of each flavour in each bag and made twenty-eight bags, plus plenty of offcuts which could be bagged up and sold off cheaper (if you haven’t already succumbed to temptation and eaten them as you go along!).

Image

I think they look quite saleable, don’t you?

Here they are all lined up in bread baskets, ready to go.

Image

Image

Image

So there you have it – handmade fudge, simple but perfect idea for school or village fairs!


Leave a comment

How To Make Elderflower Cordial

To my mind, Spring has finally sprung when the first tender flowers appear on our Elderberry bush and I can look forward to the first batch of Elderflower Cordial fresh from the garden.

Image

The girls and Cock love to shelter from the sun under the seasonal shade the bush provides in our otherwise tree-less garden. (Oh, how I yearn for an orchard…)

Image

The delicate, creamy-white flowers make the most divine Elderflower Cordial and, as the flowers very quickly make way for berries, there is a short window of opportunity in which to harvest them.

Image

The flowers form distinctly separate heads which should be picked in the morning on a dry, sunny day when their aroma will be at its best. Pick a time when you will be able to make the cordial immediately as the flowers are best used within two hours of picking.

Image

My Elderflower Cordial Recipe


You will need: –

15-20 Elderflower heads

1 litre boiling water

1kg granulated sugar

2 large lemons (zest AND juice)

Some recipes call for citric acid as well, but I find using the zest and juice of the lemons works just as well.


Shake the flowers to remove any insects and cut off the stalks. Put the flowers in a large bowl.

Image

Add the sugar to the boiling water in a jug and stir until dissolved, then add the lemon zest and juice.

Image

Pour the syrup over the elderflowers, cover and leave for 3 days, giving it a good stir each morning and night.

Image

Strain the mixture through a piece of muslin, squeezing well to capture every lovely drop!

Image

Decant into sterilized bottles. (To sterilize, wash two one-litre bottles and leave to dry.  Pre-heat an oven to 150′ celsius, lay your bottles on the oven shelf and leave for 15 minutes.  Remove from the oven and allow to cool slightly before filling.)

Image

Voilà!  Delicious, homemade, Elderflower Cordial ready to enjoy!  It will keep up to a year in the fridge, although you’ll be doing well if it lasts until the end of the summer holidays if your kids are anything like mine:)

It also makes a lovely gift if presented in swing-top bottles like these with a hand crafted label and gift tag.

Image

I like it best served with sparkling mineral water (dilute about 1 part cordial to 6 parts water) but it is just as nice made with lemonade apparently – and plenty of ice.

Image

Endorsed by children everywhere (well, six year old Freddy loves it anyway)…

Image

There you have it, your very own, not to mention quick and easy, Elderflower Cordial – luvvly jubbly.


Leave a comment

Homemade Bread and Butter

I’ve had a very productive day today – not in the studio this time, but in the kitchen. If I’m not in my studio bent over the sewing machine, then I will be found in the kitchen conjuring up some culinary masterpiece (I wish!) for my family.

I cook from scratch pretty much all the time, so baking a couple of loaves was nothing new, but today I really went back to basics and decided to have a go at making the butter too.

I bought this gorgeous book through Country Living magazine (UK version) last year, as much for the lovely photography as for the content itself.

Image

Butter has always been a little bit of an enigma for me and one of the few pre-packaged foods that I buy ready made. If I’m completely honest, making my own has been a scary prospect and shop bought butter (not spread/margarine) has very little in the way of additives so I’ve been happy enough to buy it until now.

The chapter on ‘Dairy’ has been thumbed through plenty of times, and the pictures make it look so simple that this morning I decided to take the plunge and make my own butter.

Image

I have the requisite KitchenAid (in Pistachio Green, no less!) so beating the double cream to the stage where the liquid and solids separate took under a minute. Then it really was just a case of squeezing the butter under a cold running tap to get rid of as much buttermilk as possible and putting it in a dish in the fridge.

That’s it.

Virgin unsalted butter ready to use – amazing! The whole thing took less than five minutes; add another if you want to knead in a little salt to taste.

We tried it immediately on some olive bread that I made yesterday – delicious! And soooo quick and easy that, not only do I wonder why I have never tried before, but I will never buy ready made again. I just need to remember to keep a pot of double cream in the fridge at all times.

Image

You can buy the book at Amazon UK. (I was not asked to review this book, it’s just so great I had to tell you about it:))

P1020860

Ebay now, to try and find a pair of vintage butter pats and stamps…