Sewchet

Sewing, crochet, crafts, accessories, baking, tutorials,


10 Comments

Crocheted and beaded necklace tutorial

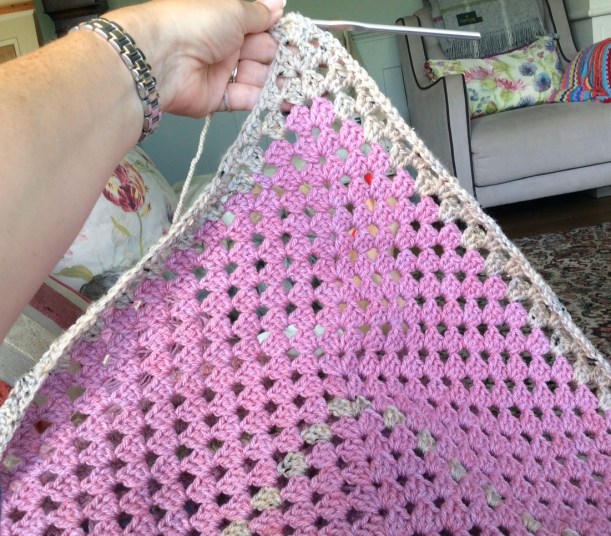
In my last post I showed you the necklace that I made to go with the top I had just finished, to add a bit of colour to the neckline.

img_5359

It was quick and easy to do, so I decided to make a whole bunch more for the school to sell at their Summer fair – and here they are!

img_5431

The lovely folk on Instagram said that a tutorial would be nice, so here goes….

For each necklace you will need one skein of embroidery floss. I bought this packet of 30 for just £3.00 from The Works which, as most of the beads were rescued from broken jewellery, works out at only 10p each – perfect for the school fair, or any fundraising event.

img_5424

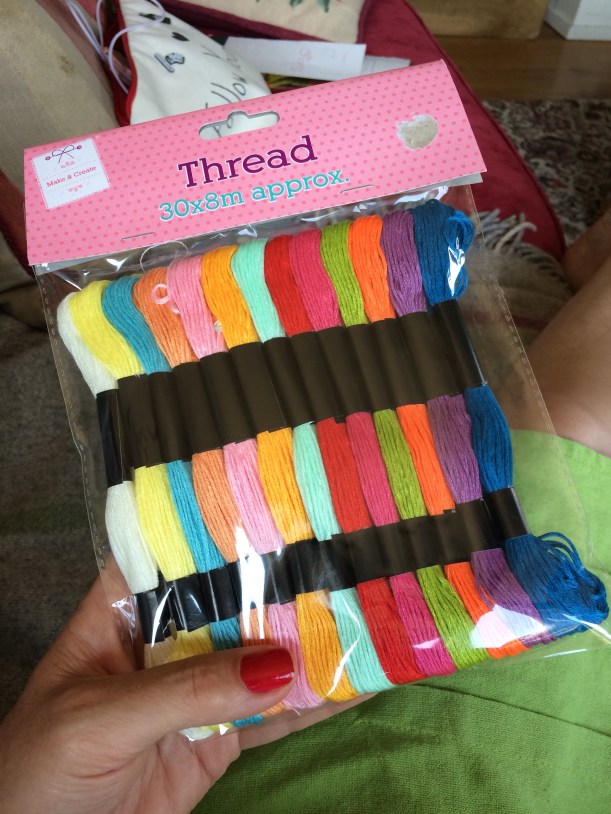
I chose beads ranging from natural wooden ones to lace covered pearlescent ones.

img_5425

For the necklace itself you will need a 2.5mm crochet hook.

img_5435

Simply crochet a chain to your desired length then fasten off.

img_5436

img_5437

Tie the threads together in a double knot to complete the circle.

img_5438

Weave in the ends through a few chains and trim neatly.

img_5439img_5440

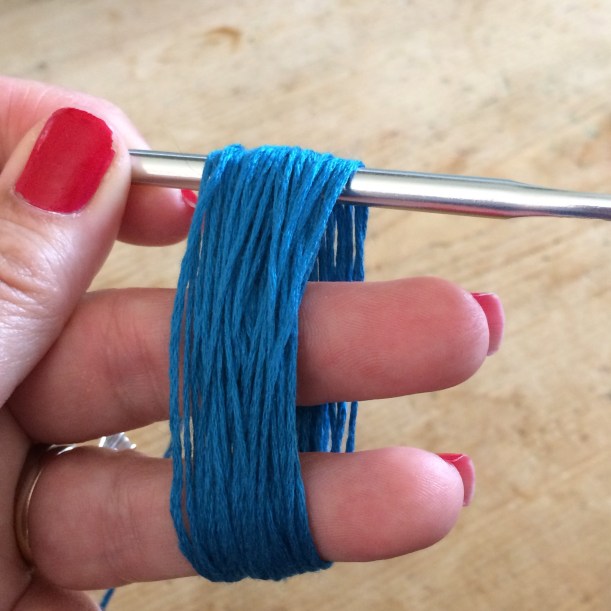
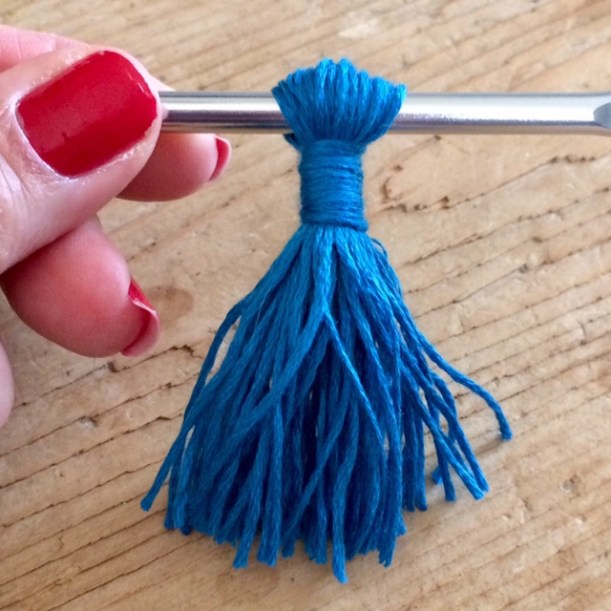
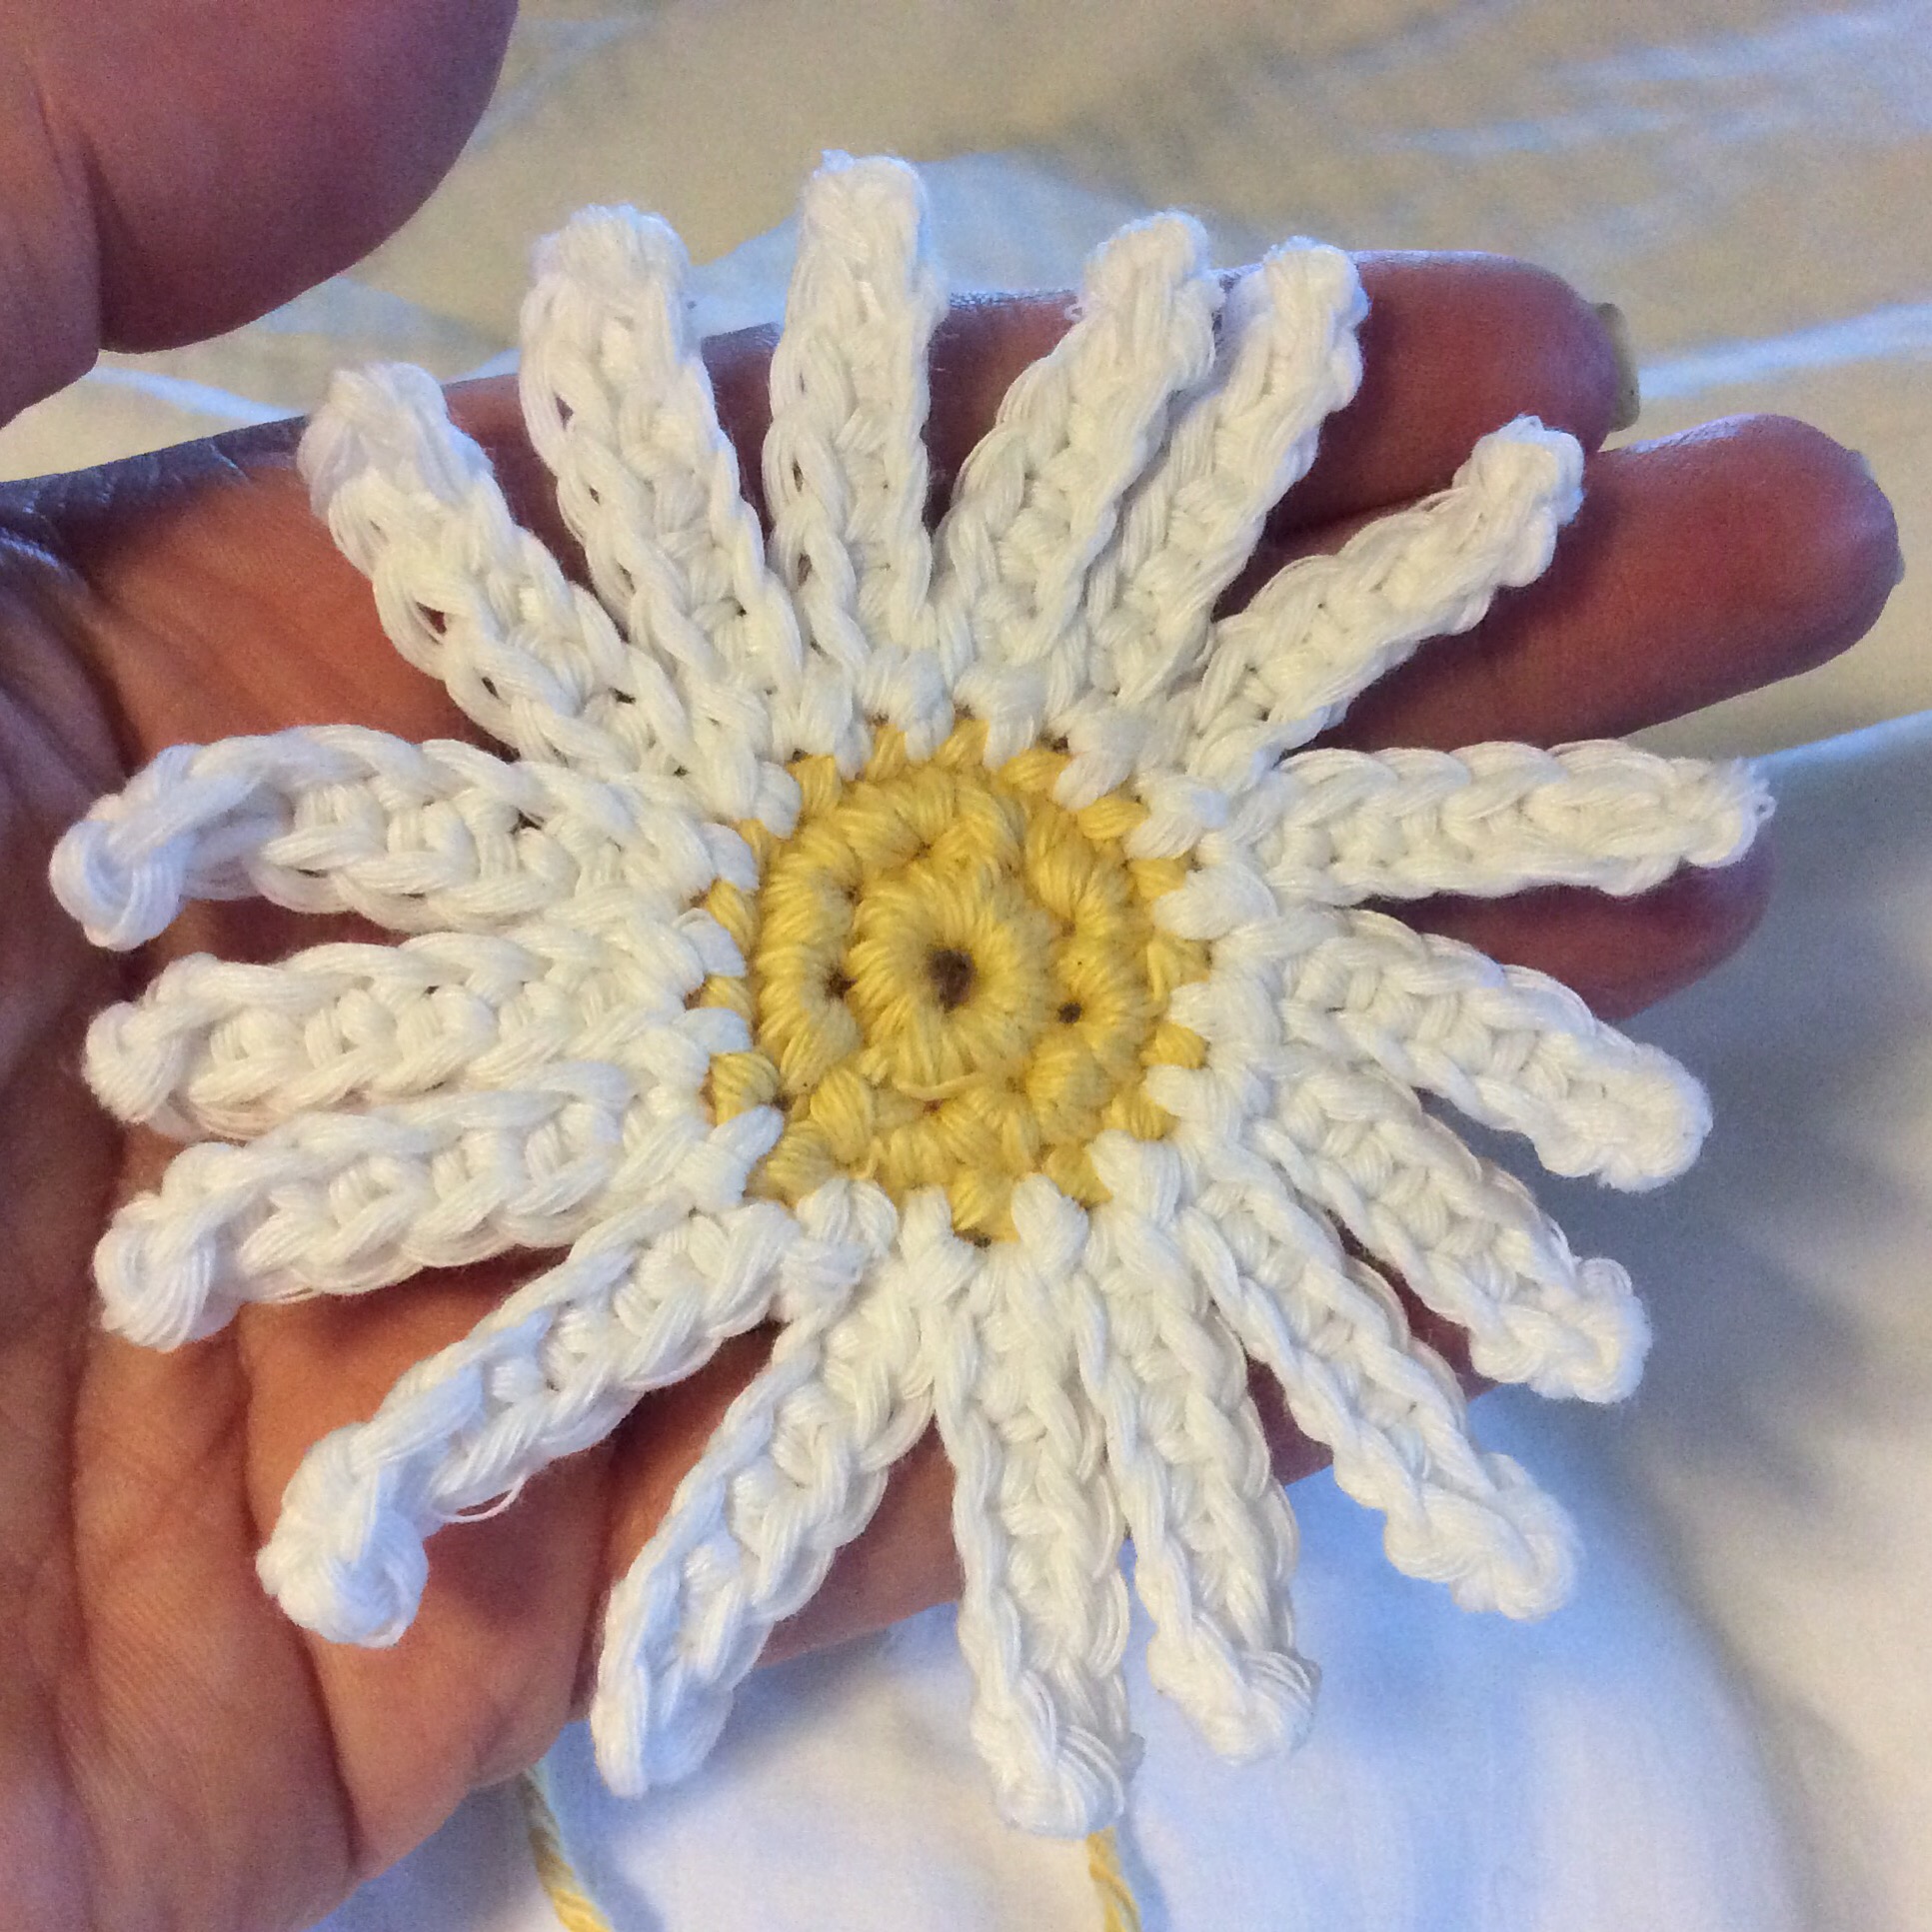
Using all the remaining floss, wrap it continuously around three fingers, leaving a tail of about 12″.

img_5441

Take a 5.50mm crochet hook….

img_5443

….and pass the handle through the loops as shown.

img_5444

Using the 12″ tail, wind the floss tightly, close to the crochet hook.

img_5445

Secure the floss with a knot.

img_5447

Cut through the bottom loops to form your tassel.

img_5448

Leave the crochet hook in place for now.

img_5449

Thread a needle with about 10″ of matching thread.

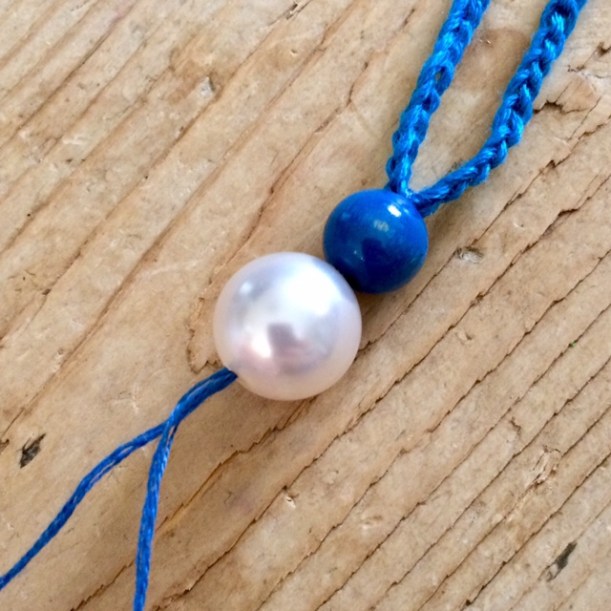
Take your beads and, starting at the bottom, pass the needle up through all the beads, around the crocheted chain and back down through all the beads.

img_5450

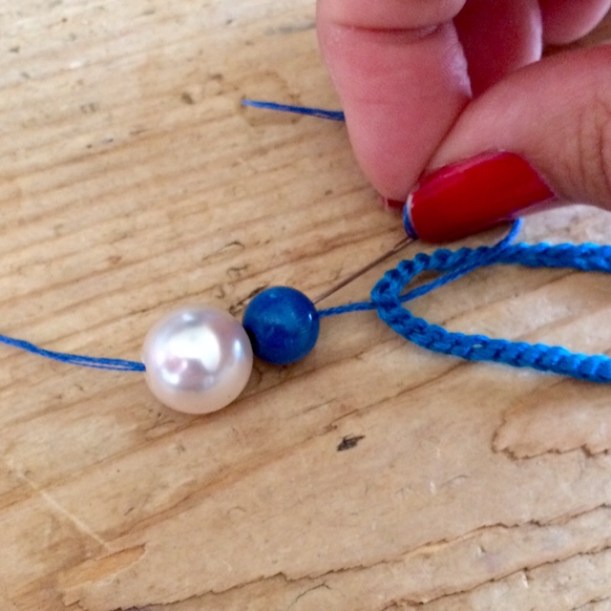
Push the beads up tight to the crocheted chain. Both ends of the floss should be hanging down from the bottom bead at this point.

img_5451

Pass your needle through the top loops that are still on your crochet hook.

img_5452

Tie the ends together securely.

img_5453img_5454

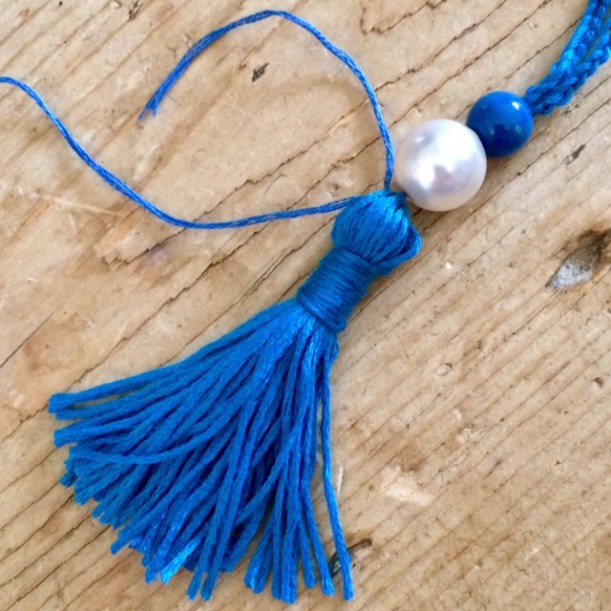
Hide the ends by passing the needle through the wrapped section and trim to the length of the tassel.

img_5455

And that’s it!

img_5456

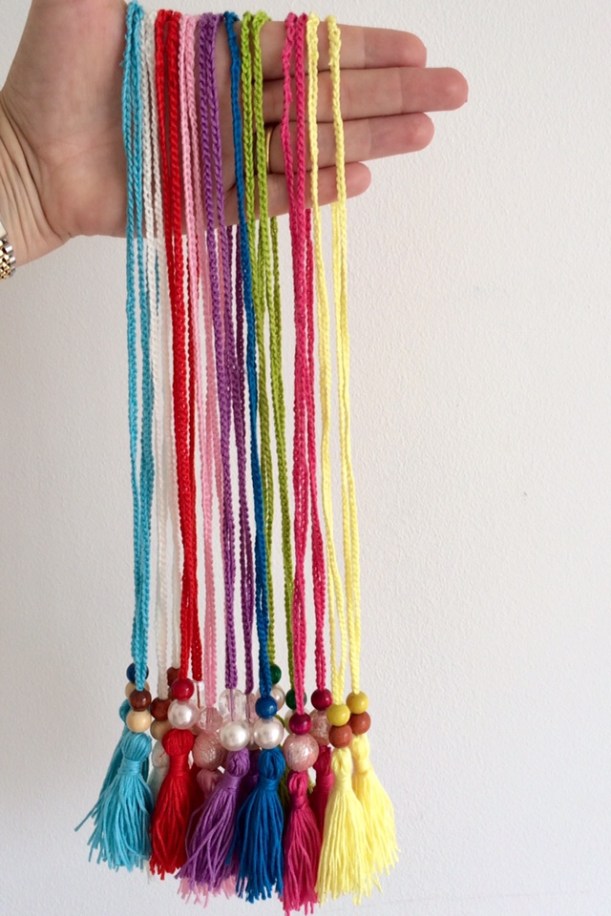
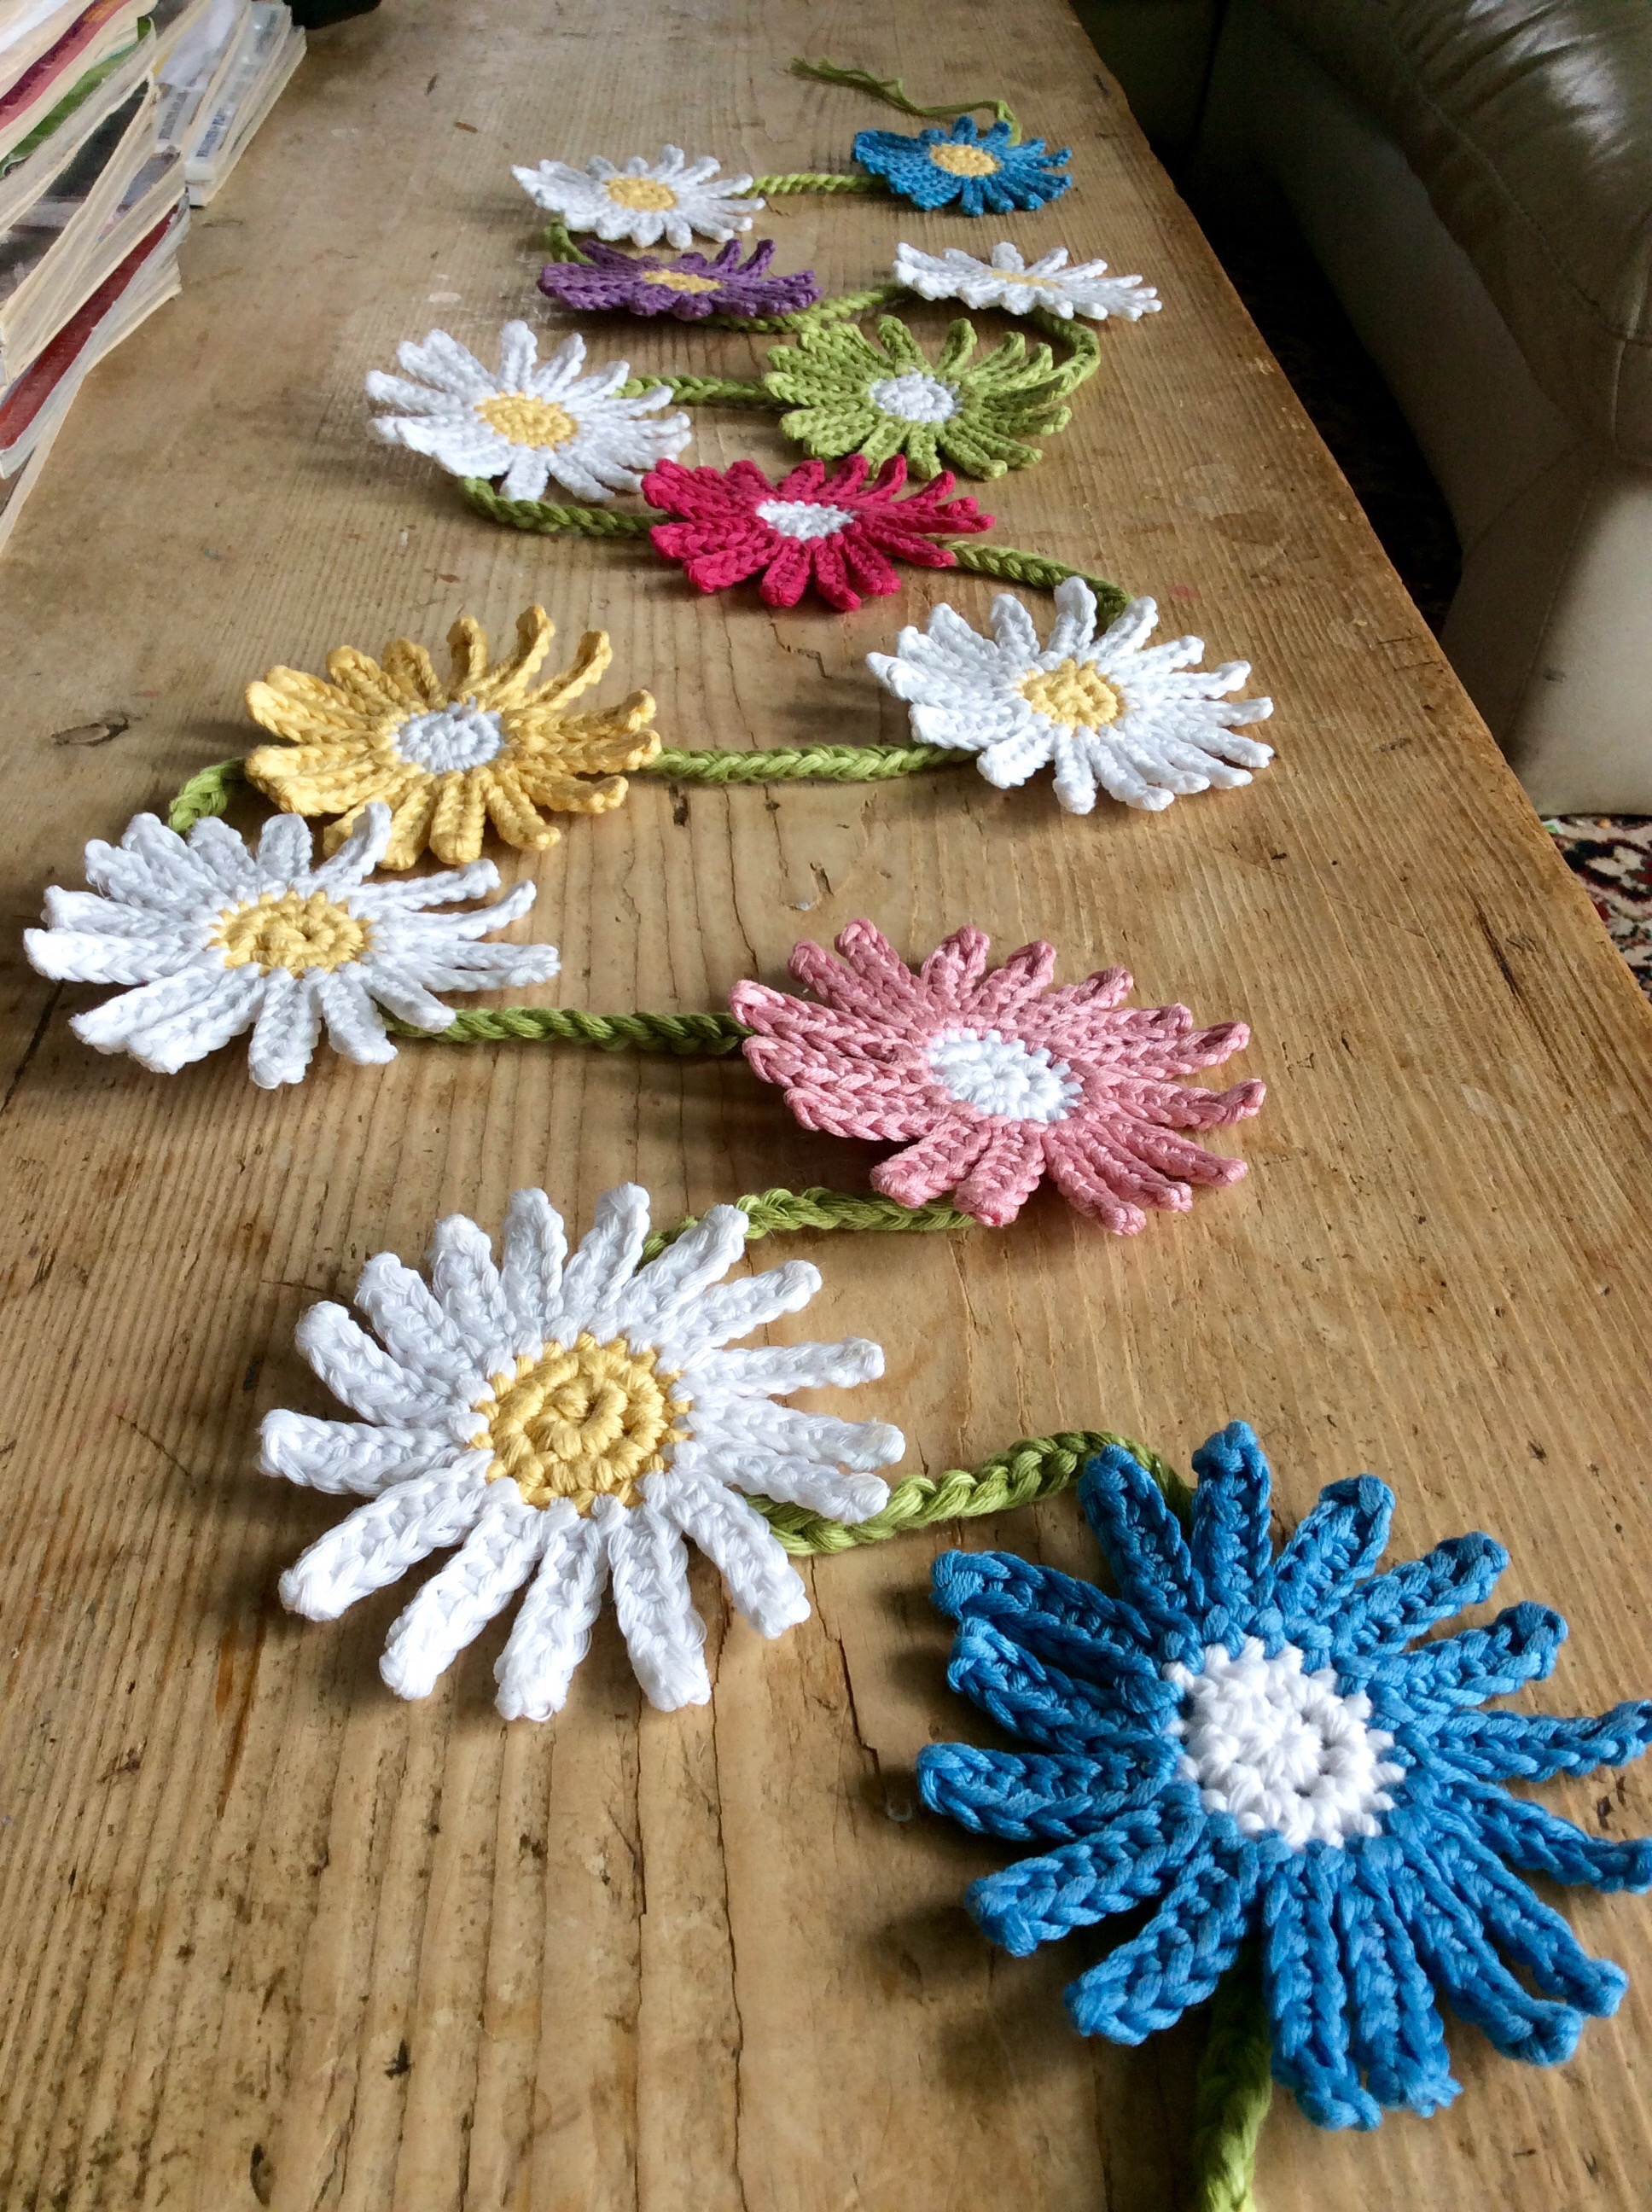
These are some of the other ones I made.

img_5433

I think the girls at the school fair will have no problem parting with their pocket money for one of these.

img_5431


22 Comments

Beaded Crochet Wine Glass Cover – A Tutorial

img_4386

Following requests for a pattern after this blog post here, I finally have one for you! Click to open the printable PDF pattern, or it is written out at the bottom of the page.

I’d love to see any that you make, so please share pictures:)

Beaded Wine Glass Cover PDF Pattern

img_4381

img_4382

Beaded Wine Glass Cover


50 Comments

Beaded Crochet Wine Glass Covers

Going through my photos, I realised I hadn’t shared this Christmas present that I made for my Aunt in Spain.

The outdoor lifestyle means that flies are at risk of getting into your sangria at any time and that will never do! My Aunt already makes use of this type of thing, although only offcuts of net mesh with a few large, heavy beads attached to weigh the doily down, so I thought I’d make her some proper crocheted ones, much more delicate and artisan in feel.

I bought these two online from Etsy or Folksy a few years ago but, try as I did, I couldn’t find the original source, so decided to have a go at deciphering the pattern in order to replicate them.

I already had some #8 cotton, which coincidentally was bought on a previous visit to Spain, and some blue and red 5mm beads.

I used a 2.5mm crochet hook but will try a 2.75 or 3mm hook next time, as they came up about 1cm smaller in diameter with a denser stitch making them ever so slightly less drapy than my own.

The beads are threaded onto the cotton at the very beginning and only incorporated into the crochet on the last round.

Here are the finished doilies which are a near identical match to mine.

I made His ‘n’ Hers versions; one with red beads and the other with blue beads so that they can tell their drinks apart.

I think I’m going to have to make another two with different coloured beads for when we visit – I can always leave them there as a little ‘thank you’ gift.

If anyone is interested in the pattern, let me know and I’ll write it up – it’s just a series of scruffy notes at the moment!


86 Comments

Ta Da! Eastern Jewels Blanket

One last push saw me finish the Eastern Jewels Blanket last night and, after giving the border a quick final steam block this afternoon, I can finally show it to you……so here it is!

It all started when this giveaway popped up in my Instagram feed.

I fell in love instantly and couldn’t wait to start so, instead of entering the giveaway, I got straight onto the internet to order a kit. Trouble was, they were so popular that the first three shops I tried had completely sold out. Eventually, I managed to buy one from Black Sheep Wools and, if I remember correctly, didn’t have to wait much more than twenty-four hours before the postman came a-knockin’ with a delivery.

The nice folk at Black Sheep Wool also included a handy project bag in which to lug the entire kit around.

The blanket breaks down into 16 octagons, 9 squares, 12 triangles and 4 corners.

I decided to go row-by-row, crocheting everything together as soon as I had the components of one row finished and blocked.

I can honestly say that I never once got bored with this blanket, as every single element was different. Whilst each of each shape consisted of the same pattern, the colourway to each one was unique.

The centre “wheel” part of the octagons: –

The “fans”: –

The best thing about this particular blanket is that it is very portable as you can take the working piece with you and leave the rest at home. Mine came to a few of The Boys’ football matches.

Here’s a row’s worth of components; I was very disciplined and weaved in all the ends as soon as I finished each piece. When I had crocheted all the bits for one row, I blocked them and crocheted them together as I went.

Initially it was because I was impatient to see results, but it also meant that the dreaded ‘finishing off’ was never a Thing.

Having started on October 6th, I had finished all the actual components by November 5th, just a month later…..but hadn’t managed to assemble the final row.

Then Christmas happened and all the associated last minute making and preparations, so I didn’t pick it up again until the weekend. Determined to finish it, I crocheted it all together and added the border, swapping out the final row of “mustard” for “fuchsia” which, I feel, frames the blanket better.

For those who would like to see the detail zoomed in, here’s a close up of the octagons…..

…..the squares…..

…..the larger triangles…..

…..and the corner triangles and border.

The whole is connected by double crochet (US single) on the reverse.

This is the back of the blanket, which doesn’t look too shabby either.

I initially photographed the blanket on the bed in one of the spare bedrooms as it provided a neutral backdrop.

Not like our lounge, which is a riot of colour and where the blanket will actually live and fits in perfectly – keeping my knees warm whilst sat on this sofa, feet up, working on one of my many WIPs.

Has anyone else been tempted by this blanket, or is it too “in your face” for the lasting trend for neutral interiors?


15 Comments

Crocheted Project Bag

Early on in the Stitching Santa, I had already decided that I was going to make a project bag for my ‘Yarny’ recipient as I knew I had lots of odd balls of yarn lying about. In effect, this was to be a ‘free’ handmade extra to add to the parcel as my £10 budget had been spent entirely on yarn.

Rooting through my leftovers to see what colours went well together, this is what I ended up with.

Quite nice and pastel-y, I thought, and the limited palette should be enough to make granny squares in a variety of colour combinations.

So, colours decided, I started on the squares and soon had a growing pile.

I used single crochet on the front to join the squares together, adding a bit of texture for interest.

I ended up with a rectangle of squares 10 wide by 3 high, and a base panel of 4 squares.

If you fancy making your own, you can use the photo below as a colour guide.

Obviously, the bag needed to be lined to prevent any knitting needles or crochet hooks slipping through. This was simply a process of cutting around the crocheted sections and adding a seam allowance.

Next, I crocheted the short edges of the bag together to form a tube.

Then the bottom panel was single-crocheted in place.

The lining was sewn by machine in the same way.

Two handles were crocheted as below with a starting chain of 75.

The handles were sewn in place by hand, before sewing in the lining.

The lining was just oversewn around the top edge only.

Here’s the finished bag: –

I added one of my labels, of course:)

It’s a good size for a jumper or something similar, so should prove quite useful to my secret recipient – let’s hope she agrees!


72 Comments

#stitchingsanta 2017!

Button

The last three year’s #stitchingsantas were such a roaring success, that I promised to do it all again this year and the time has come to sign up!

It’s a Secret Santa with a difference aimed at all the like-minded crafty folk here on the internet – YOU!

Whether you’re one of the lucky few whose family know and understand you so well that you receive endless perfect gifts based on your love of sewing/crochet/knitting or, like me, your wish list is met with a “What do you want one of those for….what is it anyway?” – #stitchingsanta is for you.

Can you imagine unwrapping a gorgeous skein of wool, a perfect metre of fabric, some vintage buttons or some embroidery silks? Perhaps a little handmade gift has been popped in the parcel too? All lovingly thought out with your interests in mind and guaranteed to be under your tree on Christmas morning. What a treat!

There are TWO categories to choose from – you can enter both or just one but PLEASE state your preference in your email. Choose from “Sewing” or “Crochet/Knitting”.

The idea is simple: if you would like to take part, comment below by the deadline of 31st October and I’ll send you the details of your lucky recipient.

You may already know this person as a follower of their blog but, if not, have a good look around their blog and try to put together some gifts that they would really appreciate. See my experience of previous #stichingsantas for what to expect: –

Gifted to my Secret Santa recipient 2014

Gifted to my #stitchingsanta recipient 2015

Gifted to my sewing #stitchingsanta 2016

Gifted to my yarn #stitchingsanta 2016

Received from my Secret Santa 2014

Blogging about Secret Santa 2014

Blogging about #stitchingsanta 2015

Received from my #stitchingsanta 2015

Received from my yarn #stitchingsanta 2016

Recieved from my sewing #stitchingsanta 2016

I will update this page with details of the blogs that are taking part so why not follow along and make some new blogging buddies!

How To Enter: –

  1. You can enter from anywhere in the world but I will try to match countries in order to keep postage costs down.
  2. State which swap(s) you would like to enter and send your email address, blog site and postal address to me at info@sewchet.com by midnight on 31st October 2017.
  3. I’ll email you the details of your recipient by 7th November.
  4. Spend a maximum of £10 (€13, $15US, $20AUS) excluding postage.
  5. Blog about your #stitchingsanta (linking back to this post) and share using the hash tag on social media.
  6. Post your parcel in time for Christmas – check last posting dates well in advance!! International dates are much earlier in December.

UK Inland: –

last post

I hope lots of you join in – don’t forget to share, share, SHARE with your own followers, the more the merrier, HOW exciting!

Here’s who has signed up so far: –

sewchet (that’s me!)

The Crafty Creek

Squirrels Knitting Conquests

Mad About Bags

The Tialys

Mollie And Claire

Power Tools With Thread

The Contented Crafter

Appleby Makes

Wendy Wendal – IG: @wendywendal

The Small Sewing Room

Thimberlina

Sewing Nikki

Jo – Through The Keyhole

Let The Sewing Begin

Jana Kaiser – IG: @ja_ma_ka

Pins, Needles and Thread

Little Black Dog SA

The Material Lady

The Snail Of Happiness

Julia’s Creative Year

Nana Cathy Dot Com

Lilly My Cat

Creative Chaos

Feltabulous

Quiet Water Craft

Emma Craft Projects

Quirky Hannah

Beads And Barnacles

Rita’s Designs

The Dartmoor Yarn Company

Sweet Fallen Angels

Enchanted By Books

I Am Simply Hooked

Entropy Creations

Sarah Naylor-Hagger – IG: @sierralima14

Hazelnut Thread

Christerson Adoption

Sharon Ansley – IG: @sharonfa50

Zeens And Roger

Flirty Thirty Guide To Life

Sew and Snip

Annegret Pohl – IG: @annegretpohl


Grab A Button For Your Site!

(Just copy image and add as a widget in your sidebar linking back to this post)

Button


13 Comments

#stitchingsanta 2016

img_0677-1

Everyone should have received an email from me by now detailing who their #stitchingsanta swap partner is – if you haven’t, check your spam folder.

Please could you all acknowledge receipt of the email, too, so that no one is disappointed on Christmas Day without a parcel to open.

I hope you enjoy finding out more about your recipient and have fun putting together a suitable parcel for them – I know I will!

Here’s a list of everyone that’s taking part, so feel free to click on the links to keep abreast of their #stitchingsanta updates and maybe make some new blogging buddies.

sewchet (that’s me!)

afterdarksewing

Thimberlina

tialys

sewsweetsally

thedartmooryarncompany

madaboutbags

applebymakes

nanacathydotcom

sew2pr0

sewingnikki

letthesewingbegin

powertoolswiththread

desertskyquilts

littleblackdogsa

jo-throughthekeyhole

themateriallady

zeensandroger

seecarmensew

annebags

thecraftycreek

clothandpaperstudio

janemakes

carenscreativecanvasandcraft

beadsandbarnacles – Pippa

Beadsandbarnacles – Nicky

thesmallsewingroom

freckledfashionista

ritasdesigns

threadsandscissors

quiltedsnail

sullen-hearts

saturdaynightstitch

Bellecitadel

rollingeyeballs

creativityandfamily

buttercupandbee

danilleajoe

thishappyhomemadelife

mollieandclaire

sosamsaid

squirrelsknittingconquests

ja_ma_ka

fabrickated

Save


43 Comments

Crochet Daisy Garland

If you follow Kate of Just Pootling blog, you’ll be familiar with her lovely crocheted garlands. As soon as I saw her Late Summer Daisy Garland, I knew that I’d have to make my own version for our newly upcycled kitchen dresser


I have lots of suitable cottons already, in a whole range of colours, so thought it would be fun to make a multi-coloured daisy garland. I followed Kate’s instructions, which can be found by following this link.

Each daisy took about twenty-five minutes to create, so I just made a few as and when I could fit them in over the course of a few weeks.

I made thirteen daisies in total – seven coloured ones and six white ones, so that every other daisy on the garland would be white.

This shows what a difference blocking makes!

I actually used spray starch and an iron to block the daisies, which is very quick and means the daisies are slightly stiff so should hold their shape without flopping.

I opted for a simple chain stitch cord on which to mount the daisies and continued crocheting, measuring as I went, until the chain was long enough.

 The daisies were spaced three inches apart with a three inch tail at either end and simply sewn on to the crocheted chain.

A hook was screwed into the dresser at either end and another in the centre, then the garland was hung.

Isn’t it pretty? The perfect finishing touch, I reckon.

My friend loves it so much that she asked me to make one for her. Why aren’t there ever enough hours in the day…..?


89 Comments

#stitchingsanta 2016!

Button
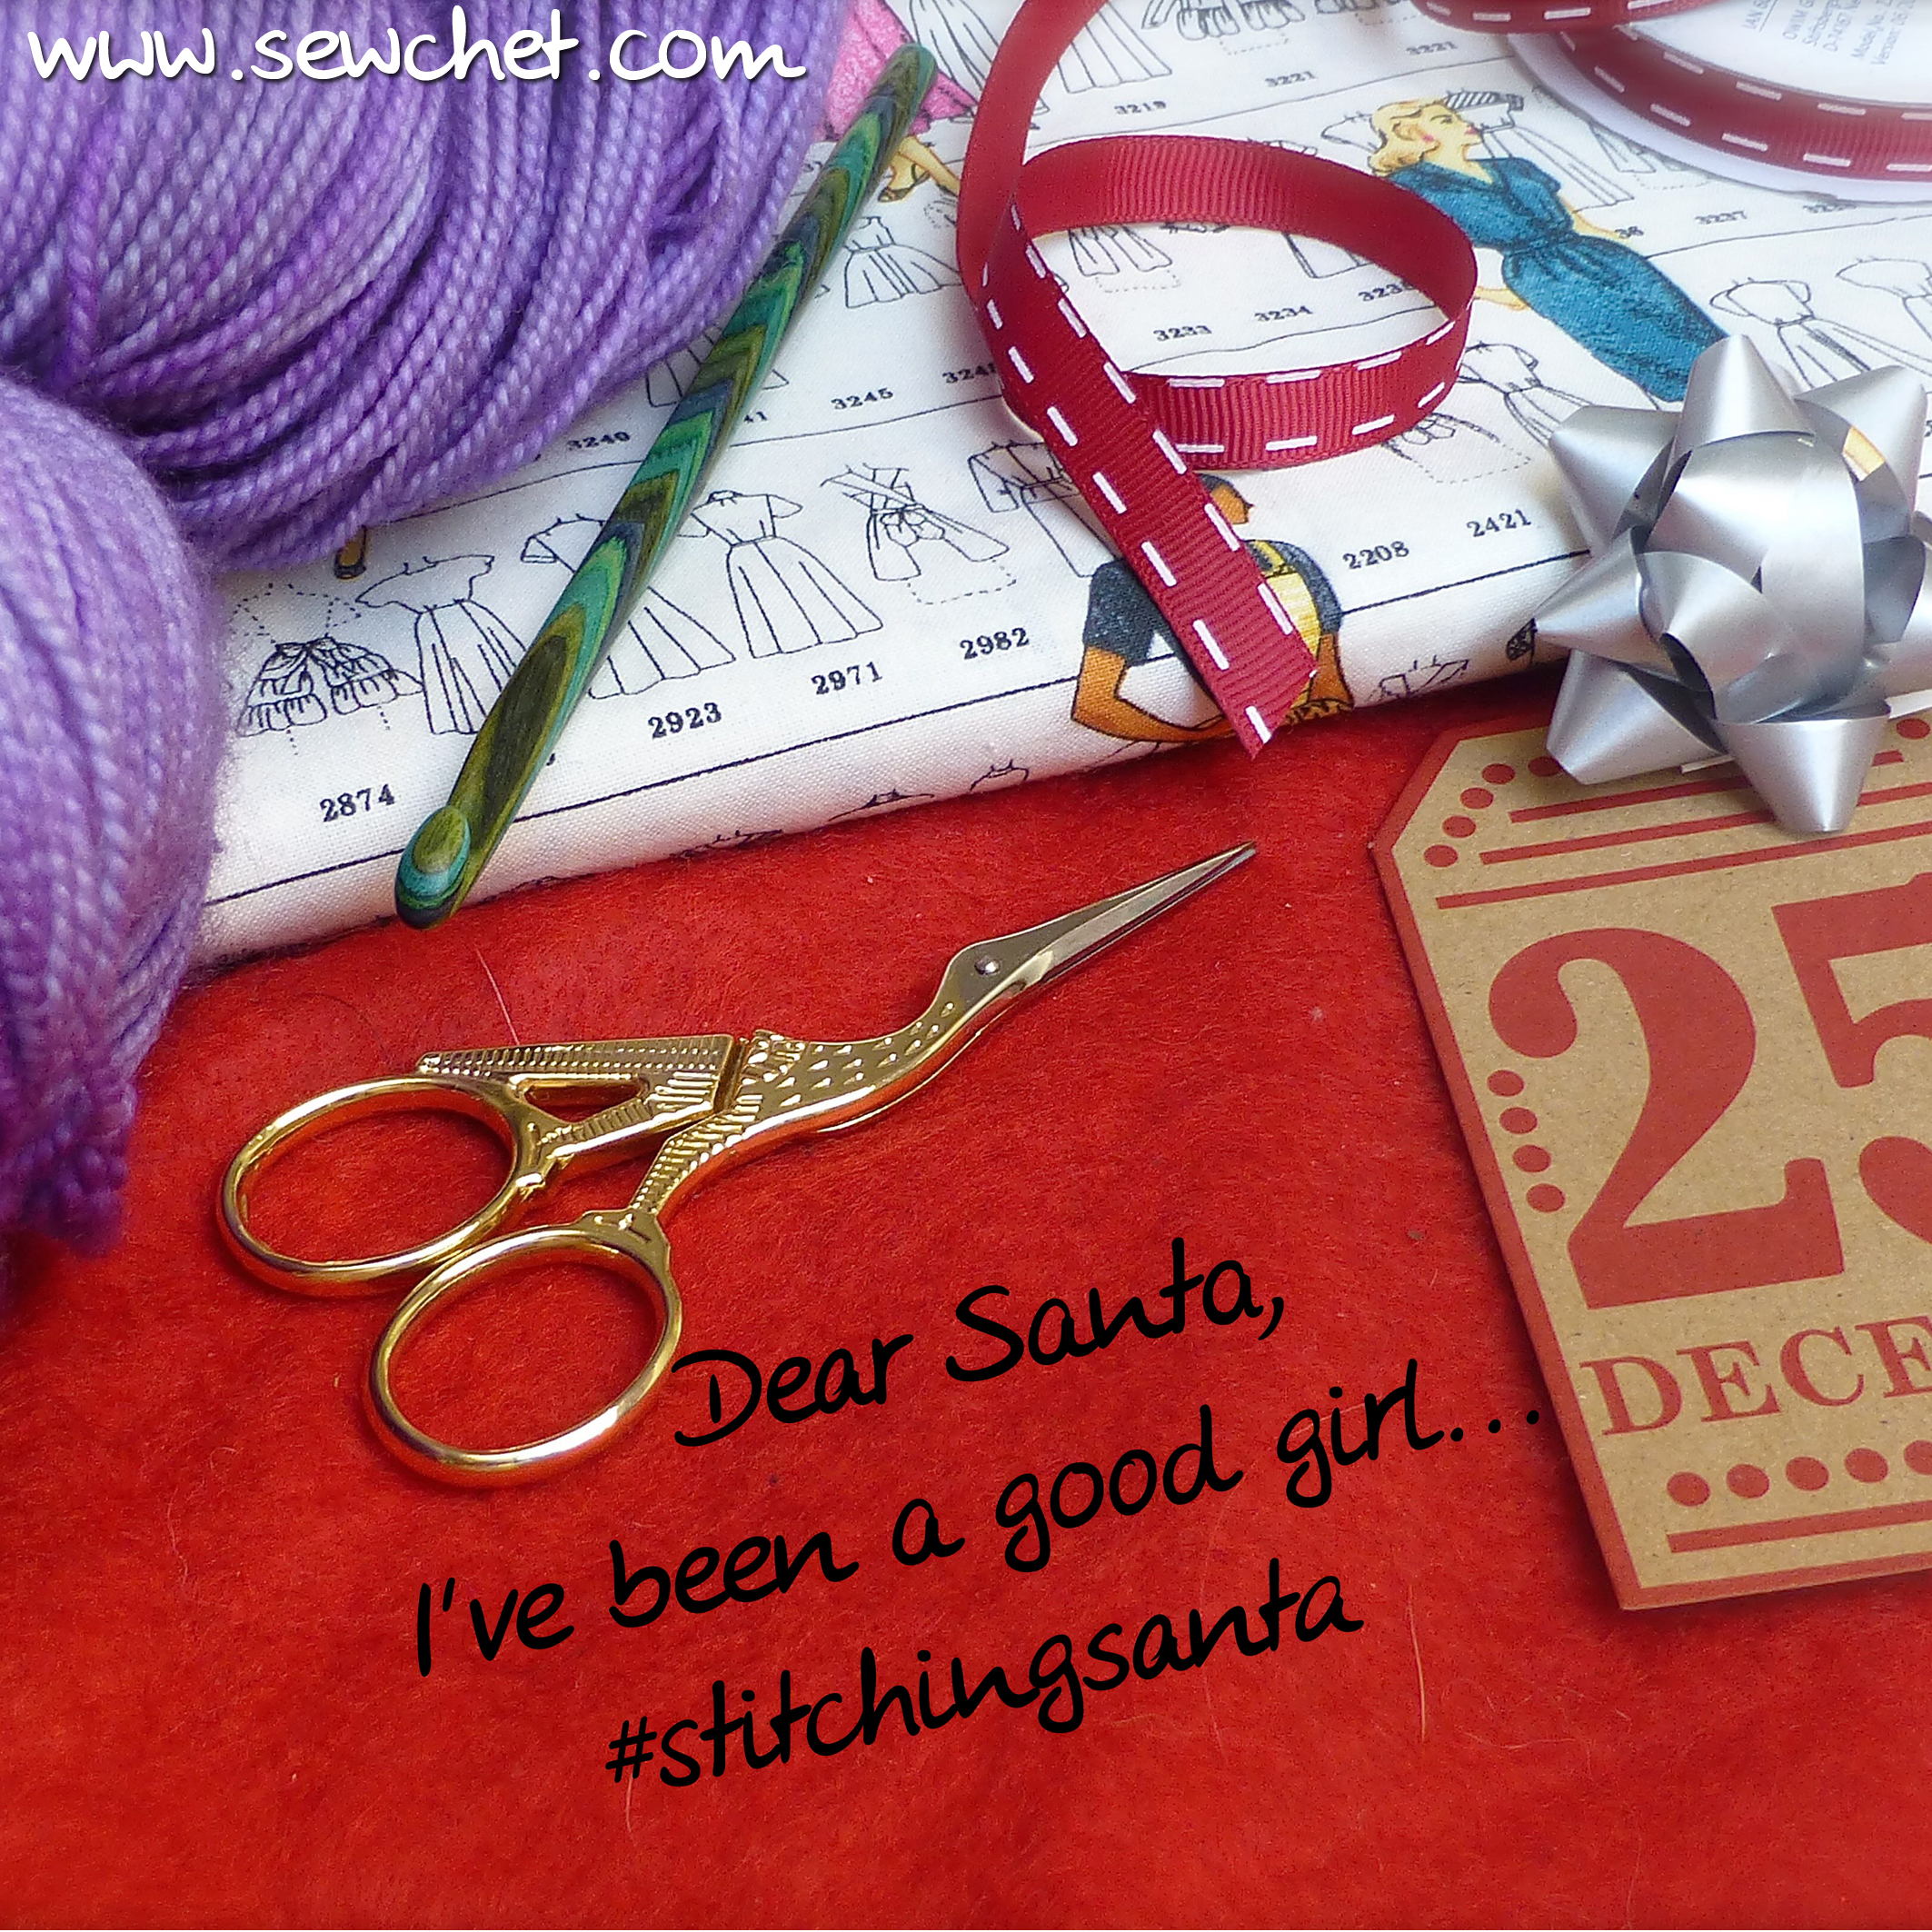
The last two year’s #stitchingsantas were such a roaring success, that I promised to do it all again this year and the time has come to sign up!

It’s a Secret Santa with a difference aimed at all the like-minded crafty folk here on the internet – YOU!

Whether you’re one of the lucky few whose family know and understand you so well that you receive endless perfect gifts based on your love of sewing/crochet/knitting or, like me, your wish list is met with a “What do you want one of those for….what is it anyway?” – #stitchingsanta is for you.

Can you imagine unwrapping a gorgeous skein of wool, a perfect metre of fabric, some vintage buttons or some embroidery silks? Perhaps a little handmade gift has been popped in the parcel too? All lovingly thought out with your interests in mind and guaranteed to be under your tree on Christmas morning. What a treat!

There are TWO categories to choose from – you can enter both or just one but PLEASE state your preference in your email. Choose from “Sewing” or “Crochet/Knitting”.

The idea is simple: if you would like to take part, comment below by the deadline of 31st October and I’ll send you the details of your lucky recipient.

You may already know this person as a follower of their blog but, if not, have a good look around their blog and try to put together some gifts that they would really appreciate. See my experience of previous #stichingsantas for what to expect: –

Gifted to my Secret Santa recipient 2014

Gifted to my #stitchingsanta recipient 2015

Received from my Secret Santa 2014

Blogging about Secret Santa 2014

Blogging about #stitchingsanta 2015

Received from my #stitchingsanta 2015

I will update this page with details of the blogs that are taking part so why not follow along and make some new blogging buddies!

How To Enter: –

  1. You can enter from anywhere in the world but I will try to match countries in order to keep postage costs down.
  2. State which swap(s) you would like to enter and send your email address, blog site and postal address to me at info@sewchet.com by midnight on 31st October 2016.
  3. I’ll email you the details of your recipient by 7th November.
  4. Spend a maximum of £10 (€13, $15US, $20AUS) excluding postage.
  5. Blog about your #stitchingsanta (linking back to this post) and share using the hash tag on social media.
  6. Post your parcel in time for Christmas – check last posting dates well in advance!! International dates are much earlier in December.

UK Inland: –

post

I hope lots of you join in – don’t forget to share, share, SHARE with your own followers, the more the merrier, HOW exciting!

Here’s who has signed up so far: –

sewchet (that’s me!)

afterdarksewing

Thimberlina

tialys

sewsweetsally

thedartmooryarncompany

madaboutbags

applebymakes

nanacathydotcom

sew2pr0

sewingnikki

letthesewingbegin

powertoolswiththread

desertskyquilts

littleblackdogsa

jo-throughthekeyhole

themateriallady

zeensandroger

seecarmensew

annebags

thecraftycreek

clothandpaperstudio

janemakes

carenscreativecanvasandcraft

beadsandbarnacles – Pippa

Beadsandbarnacles – Nicky

thesmallsewingroom

freckledfashionista

ritasdesigns

threadsandscissors

quiltedsnail

sullen-hearts

saturdaynightstitch

Bellecitadel

rollingeyeballs

creativityandfamily

buttercupandbee

danilleajoe

thishappyhomemadelife

mollieandclaire

sosamsaid

clothandpaperstudio

ja_ma_ka

fabrickated

Grab A Button For Your Site!

(Just copy image and add as a widget in your sidebar linking back to this post)

Button

Save

Save


46 Comments

Crochet Baby Blanket

We’ve been invited to a Baby Shower.

No, the expectant parents are not American, they are as English as can be and yet they are having this oddly-titled premature celebration in advance of the birth.

I’m not sure what I think about this transatlantic tradition which has wheedled its way onto British soil. Is it an alternative to a Christening, or in addition to?

My initial instincts were to consider the concept rather grasping and a rather diluted (and very un-British!) attempt to ask for presents for the not-yet born. However, knowing the family well, we know this is not the case and it appears to be a great excuse for a gathering of family and friends all of whom are eager to wish them well.

What are your thoughts about ‘showers’ in general, as I have recently heard of Bridal Showers over here as well? Are any of our friends in the USA able to enlighten us on the point of them?

Anyway, this is what I had already decided to make for the baby, Baby Shower or not; a simple,hard-wearing, easy-to-wash, granny square blanket in 20% wool.

img_4418

It’s pram-blanket sized, so only took a few evenings to whip up. About a third of the way in, I thought it needed something to break up the pink, so added in some grey-beige matching yarn.

granny square baby blanket

A pom pom border livens it up a bit and makes the granny clusters a little less utilitarian-looking.

crochet pom pom border

crochet blanket pom pom border

When finished, it was crying out for a flower in the centre, but I didn’t want anything raised so searched for a flat version.

I came across this flower coaster pattern in a language I didn’t recognise but, as luck would have it, a chart was included and I was able to work solely from this.

crochet flower chart

Perfect – just what I was looking for!

crochet flower coaster

The crochet flower was simply stitched into the centre with matching yarn.

crochet flower

And that’s it – simple!

crochet granny square baby blanket

I hope she likes it and, yes – she is having a girl:)