Sewchet

Sewing, crochet, crafts, accessories, baking, tutorials,


15 Comments

Crocheted Project Bag

Early on in the Stitching Santa, I had already decided that I was going to make a project bag for my ‘Yarny’ recipient as I knew I had lots of odd balls of yarn lying about. In effect, this was to be a ‘free’ handmade extra to add to the parcel as my £10 budget had been spent entirely on yarn.

Rooting through my leftovers to see what colours went well together, this is what I ended up with.

Quite nice and pastel-y, I thought, and the limited palette should be enough to make granny squares in a variety of colour combinations.

So, colours decided, I started on the squares and soon had a growing pile.

I used single crochet on the front to join the squares together, adding a bit of texture for interest.

I ended up with a rectangle of squares 10 wide by 3 high, and a base panel of 4 squares.

If you fancy making your own, you can use the photo below as a colour guide.

Obviously, the bag needed to be lined to prevent any knitting needles or crochet hooks slipping through. This was simply a process of cutting around the crocheted sections and adding a seam allowance.

Next, I crocheted the short edges of the bag together to form a tube.

Then the bottom panel was single-crocheted in place.

The lining was sewn by machine in the same way.

Two handles were crocheted as below with a starting chain of 75.

The handles were sewn in place by hand, before sewing in the lining.

The lining was just oversewn around the top edge only.

Here’s the finished bag: –

I added one of my labels, of course:)

It’s a good size for a jumper or something similar, so should prove quite useful to my secret recipient – let’s hope she agrees!


44 Comments

#Stitching Santa Update – Upcycled Cross Stitch

A couple of weeks ago I rescued this beautiful cross stitch from our local charity shop. It was mounted and framed but needed reinventing into something more usable in today’s modern life and was far too wonderful to leave there.

Only measuring a modest 5″ x 7″, I ummed and aahed about what to do with it for a while, having some brilliant suggestions on Instagram.

Ultimately, this is for one of my Stitching Santa recipients (I’m doing both sewing and yarny versions) so I wanted to make it a useful object. This lady is multi-talented across many craft disciplines, as are so many of my blogging pals, and she dabbles in cross stitch herself so I thought this would be perfect for her.

I decided to make a zipped pouch, about the size of a cosmetic bag, which could have a variety of different uses. Maybe for a portable cross stitch project, a small crochet or knitting project, or maybe as an actual cosmetic bag – it is rather swanky, after all!

So here’s a quick run-through of what I did, which might be informative if you have a similar piece of needlework that needs reinventing.

It had been spray-mounted to card and well laced across the back, so all that had to be undone. I then gave it a little steam press.

After trimming the needlework to a useable size, I used it as a template to cut two lining pieces and a back.

Iron-on interfacing was attached to the reverse of the front and back sections to stabilise the bag.

I used the covered tab method for the zip to give as neat a finish as possible (there are plenty of tutorials online on how to do this).

The zipper tabs should be about 1/4″ shorter than the width of the bag to ensure that they don’t get caught in the seam allowance when the bag is stitched together.

After inserting the zip, I topstitched close to the seam through the lining as well. This means that the fabric won’t get stuck in the zip when opening and closing.

OPEN the zip.

With lining-to-lining and front-to-back (right sides together) stitch all the way around, leaving a gap in the lining through which to turn.

Be sure not to catch the tabs in the seam as you sew.

Trim the tabs to reduce bulk.

Cut across all the corners before turning the right way out.

Close the gap in the lining either by hand or machine.

I added a coordinating leather tassel from my supplies.

The sequinned fabric is a small piece cut from a length of fabric that will become a dress later in the week. It adds a touch of glamour.

Some matching blue lining is a nice vibrant surprise when you look inside.

I hope she likes it!


16 Comments

How To Make Wellington Boot Bags

Remember these socks?

And these wellies?

Well now they have a welly boot bag to keep them in – click on the link to see the full blog post over at Minerva Crafts.

Tutorial: how to make welly wellington boot gumboot bag free pattern


29 Comments

Tutorial: How To Make A Faux Sheepskin Bag / Tote

img_3365

No, your eyes don’t deceive you, this IS yet another post featuring the lilac faux sheepskin fabric I bought last month. It really has been the fabric that keeps on giving as I have made not only a full length coat and two pairs of mittens, but also TWO tote bags!

If you would like to make your own, either from similar fabric or from a thick fleecy fabric, here’s a quick tutorial on how I did it.

Materials: Approx. 3/4yd of 45″ wide Faux Sheepskin or fleece

2 Magnetic Snaps

Cut pieces from your fabric following the diagram below (which is NOT to scale). If your fabric has a nap or a directional pattern, be sure to take this into account when cutting out.

You may have to adjust the size of the pocket to suit your particular ‘phone – this pocket is the perfect size for a normal (not ‘plus’) iPhone and you may well have to make it larger for a Samsung Galaxy or similar.

Sheepskin Tote Pattern

This photo shows the main pieces; front and back, gusset and interior mobile ‘phone pocket.

img_1304-1

Seam allowances are 1/4″ throughout.

All raw edges are left unfinished and the seams are constructed with WRONG sides together, making a feature of them.

If you have your own labels, sew them to all pieces before any construction takes place. This avoids any fiddly sewing later on.

img_3344

Sew your pocket to the inside of the BACK section of the bag around three sides only, leaving the top open.

img_3345

Apply the magnetic tabs according to the manufacturer’s instructions, using the photos as a guideline for placement.

img_3321

img_3322

Pin a tab to the top centre of the front and back sections.

img_3346.jpg

Sew in place.

img_3323

Pin the gusset to the back section with WRONG sides together. There will be surplus fabric to cut off later.

img_3348

Stitch with 1/4″ seam allowance, being careful not to get any puckers as you sew around the corners.

img_3350

Pin the front to the remaining long edge of the gusset and stitch as before.

img_3324

Trim the corners off the front and back sections to give a rounded finish.

img_3349.jpg

Onto the handles.

Fold in half lengthways with WRONG sides facing in.

img_3352

Stitch close to the raw edges.

img_3327.jpg

Pin handles about 3″ in from the sides of the bag, on the INSIDE.

img_3328

BASTE loosely in place if necessary, although I just pinned them.

img_3329

Take your 4 little squares – these will cover the ends of the handles to lend a neat finish on the inside of the bag.

img_3330

You will need to remove as much of the pile on the reverse side of the fabric as possible. This will reduce the bulk and leave a flatter surface.

img_3358.jpg

Pin each square over the raw edge of a handle and stitch in place, crossing your stitching to strengthen the base of the handles as shown below.

img_3331

img_3335

And that’s all there is to it!

This is the first one I made.

img_3359

img_3368

I even managed to make a second one using the rest of the scraps. There wasn’t enough to cut the main sections out in one piece, so I had to make a seam for the centre front and back, and I actually prefer this version.

img_3365

I added my label in a slightly different position and it looks just as good.

img_3361

The inside is nice and roomy with the all-important interior pocket to keep your ‘phone easily accessible.

img_3367

The magnetic tabs give an element of security and stop the bag falling open.

img_3334

As always, your own label adds a professional touch both inside and out.

img_3366

The handles are short enough not to have the bag dragging on the floor (if you’re around the 5″ mark like me!), but also long enough for you to carry over your shoulder if that is your preference.

img_3339

One of these is to be a Christmas gift for family and the other one may well end up in my Stitching Santa parcel, depending on who I get in the draw.

Which is your favourite?


39 Comments

Cross Body Messenger Bags

We’re still in Spain, but I took some photos of some bags I made a couple of weeks ago on the off chance that I might find time in my sunbathing  busy schedule to do a quick blog post.

I was lucky enough to be given this brilliant book by someone (so sorry, but I can’t remember who!) which has some great designs in it.


A student of mine, who is just eleven years old, asked if she could make a bag as her next project and who am I to refuse? I gave her some books to look through and she chose a cross-body bag (as opposed to a body bag – totally different connotation!) from one of my books aimed at adults.

After having a quick scan of the instructions, I agreed that it was doable for a beginner, with a little help, and sent her off to go and buy all the supplies in time for the next lesson.

In the meantime, I thought it would be a good idea to just whip one up myself, so that I knew what I was looking at. After all, with four kids in each class, I have to split my time between them all and would be unable to give her one-to-one attention for the duration.

I found some canvas-like fabric in my stash that I bought on a whim ages ago that was waiting for the right project. The bold pattern was crying out for a contrasting lining, so I used up the last of my fuchsia linen and chose a matching zip.


Just over an hour later, this is what I ended up with: –


I just love the bright surprise when you open the zip.


I had everything in stock already, except the something suitable for the strap, so popped out quickly to buy a few metres of webbing which was stitched on securely in the usual way.


The back is just as attractive as the front.


I was so pleased with how it turned out that I carried straight on and made some more!

The next was made of a pale lime fabric with a cream fruit motif which I paired with……


….a vibrant turquoise lining, leftover linen from my stash.


This is probably my favourite, though – made from a butterfly print fabric that I bought from Kirstie’s Handmade Fair in Hampton last September.


I chose a cotton in various shades of blue for the lining.


Of course, I don’t need a cross-body bag, so these are destined for sale either in my Folksy shop or the school fair next weekend. 

Have you found a pattern that you couldn’t resist making again and again just for the fun of it?


40 Comments

Weekend/Overnight Bag In Chinese Brocade

I’m really excited about my Minerva Bloggers project this month especially so because of the totally fabulous Chinese Brocade that I have used.  The colour is a vibrant Pillar Box Red and the motif is a repeating butterfly pattern which shimmers in the light due to the metallic thread running through the medium-heavy weight satin.

It can never be said that I’m afraid of colour!

Chinese brocade

As soon as I saw this fabric I was desperate to use it – I had considered a kimono style dressing gown as kimonos are very ‘in’ at the moment and it would make a very decadent one, but I don’t need another.

I do, however, need a new weekend bag as my old faithful is falling apart at the seams and looking extremely tatty. I wanted a pattern that wasn’t too fussy or detracted from the beautiful fabric which needs a starring rôle, so I was delighted when I stumbled upon Burda Style 7119.

Burda

I chose view ‘A’ which reminds me of the old Doctors’ bags or carpet bags.

carpet bag

The pattern has been classed as “Easy” by Burda and I have to agree, although the handles may prove fiddly for the absolute beginner.

easy beginners bag pattern

It has been commented that I like a more roomy bag (see my “Sew Retro” bag) and this one is no exception. My fabric choice makes it a softly structured option but I can see it working even better in a leatherette or vinyl.

In fact, although I ordered a metre of bright red leatherette, I only used a tiny amount to make the handles so there is plenty left to make up a smaller version. Maybe a wash bag with waterproof lining?

These are the supplies, including matching red cotton lining, zip and thread. What a happy photo – red makes me want to shout out loud!

P1040568

The downside to using brocade is that it frays extremely easily. The pattern is not printed onto the fabric, it is woven with shimmery, metallic threads which are so beautiful (the photographs do not do it justice!) but which slide out at the slightest touch.

P1040581

To prevent the fraying and to make sewing a much easier experience, I overlocked every single raw edge which I wouldn’t normally do when the edges are encased within a lining.

That’s better!

P1040583

The zip went in easily enough and the placement makes a pleasant change from the norm.

P1040634

The zip extends past the end of the bag by a few inches and I liked the leatherette detail as a stop tab.

P1040635

When it came to making the handles, I altered the pattern slightly.

The design called for a tube to be sewn right sides together, turned inside out and tubes of handle wadding to be threaded through. I couldn’t source this anywhere so I improvised. I sewed the handles wrong sides together with two rows of stitching for strength and decoration, then poked some polyester toy wadding all the way through with a knitting needle.

leatherette bag handles

Three rows of stitching adds strength to where the handles join the bag.

P1040625 P1040633

The padded handles are really soft and comfortable too, an important consideration which is often overlooked.

P1040632

The amount of interior space is quite impressive and I love that the lining is just as cheery a colour as the outside!

P1040627

As I said, it’s a little floppy unless it’s stuffed full of clothes but the benefit is that it folds away neatly when stored. I’m not averse to the less structured look anyway.

P1040629

P1040624

Tadah!

I love it!

All in all it was a great pattern with easy to understand instructions and the fabric was a dream to work with after the fraying issue had been dealt with.

I can’t wait to use it – luckily we’ve got several overnight trips planned over the Easter break so it will get plenty of use. My husband has also planned our second wedding anniversary trip somewhere secret so it’s sure to get lots of second glances at the airport – it’s definitely a bag that stands out from the crowd.

It makes a lovely change from the generic overnight bags that you get in the shops and just proves the theory that hand made is best!

Weekend Bag

If you haven’t checked out Minerva Crafts yet, do hop over and have a look – the fabric selection alone is enormous and worth browsing over a cup of tea:)


71 Comments

One-Hour ‘Ikea’ Bag

Continuing the theme of ‘One-Hour’ makes (well, it wasn’t really a theme until just now when I realised that this project also took less than an hour to make), I’ve designed a simple pattern along the lines of one of those big blue Ikea bags.

You know the ones; they make great laundry bags, shopping bags, picnic hampers etc., but there’s one major design fault – they’re just so damned ugly!

P1040710

There’s a huge choice of suitable vinyl fabric out there, but I fell in love with this “Butterflies” print and ordered a couple of metres online which turned out to be more than enough.

P1040667

I did come across a tutorial but it involved printing off a pattern on about twenty sheets of A4 paper, piecing it all together, sellotaping and then cutting out, all of which would take longer than actually making the entire bag!

There had to be a better way so, after hours and hours of head-scratching, making sample after sample and at least a dozen pattern refinements (not really!), here is my somewhat simpler pattern: –

Cut one piece of vinyl fabric 90cm x 120cm.

That’s it.

P1040674

Now, vinyl is notoriously difficult to iron because, basically, it just melts and welds itself to your iron. So you can either buy it from a shop and ask them to roll it for you or put up with the creases which will eventually disappear. A hairdryer is said to speed up this process.

I didn’t bother:)

The only other supplies you’ll need are 2 1/2m of 2.5cm polyester webbing and some matching thread.

P1040679

P1040677

Stitching vinyl needs a little bit of forethought as it can be tricky. Sewing right sides together is no problem but when top stitching you may need to change to a Teflon coated foot or improvise with masking tape on the bottom of your normal foot. Putting a layer of tissue paper between the machine bed and the vinyl works for the bottom layer, with the added bonus of ripping away easily afterwards.

Use clips instead of pins to avoid any tell-tale holes in the vinyl.

A longer stitch length is used too, as a short stitch can weaken the vinyl and it could rip between the stitches.

P1040682

Start by folding your fabric with right sides together aligning the two short edges and sew a 1cm seam along each side, leaving open along the edge opposite the fold.

P1040683

Bring the seam to the centre and lay flat to form a corner as below. Mark 18cm from the corner along the seam and draw a line all the way across at right angles to the seam as shown.

P1040685

Sew along this line.

P1040686

Trim the excess fabric leaving a 1cm allowance.

P1040688

Repeat with the opposite corner, then turn the bag right sides out.

P1040689

Turn down a 2.5cm hem and stitch close to the raw edge.

Cut some webbing: –

2 x 35cm

2 x 74cm

Lay a short length of webbing on top of a longer length about 1cm from the end as shown.

P1040690

Fold the overhang back over as shown below and tack together through all layers.

P1040691

Repeat with the other ends of the webbing, being careful not to twist it in the process.

Make the other set of handles in the same way.

P1040692

With the raw edges of the handles facing the wrong side of the bag, stitch in place 32cm in from each side seam.

P1040695

P1040697

To ensure that there is plenty of strength at the point where the handles join the bag, I stitched a cross within a square as shown in the photo below.

P1040698

Attach the other pair of handles in the same manner.

P1040699

Finish with a second row of top stitching around the entire top edge about 4mm in from the first row.

P1040700

Fill with laundry and go peg your clothes on the line!

P1040708

P1040709

P1040712

P1040722

P1040719

P1040715

P1040713

P1040724

Well, the girls seem to approve of the stranger in the garden!

Anyone tempted to have a go at making an Ikea style laundry bag?


20 Comments

Another Bag – Perfect For Knitting Or Crochet

Whoop whoop!

I’m madly excited to tell you that, after two long days of revision after revision, the draft PDF pattern for my “Sew Retro Bag” has finally winged its way to the very obliging Lucie of Love, Lucie.

Lucie has kindly agreed to test the pattern for me before it goes on sale in my Folksy shop for the fantastic value price of just £3-99!!! (Update: Pattern available NOW in my shop – CLICK HERE)

Do you want a cheeky preview of the cover?

Of course you do!

Here it is, proudly displaying the large version which was designed specifically for holding those bigger projects such as quilts or crocheted blankets;

Cover

I designed a smaller version as well, for those who don’t need such a vast bag.

Small knitting bag

Perfect for yarn lovers carrying smaller crochet and knitting projects, the great “Knitty Sheep” fabric adds a whimsical touch.

knitting bag

The fabric was quilted by machine again before construction.

P1040456

Here are both bags together showing the size variations;

sewing crochet bag

I hope Lucie finds the pattern logical and easy to follow – it’s incredibly difficult, after forty years of sewing, to think like a beginner and document even the simplest of steps!

Watch this space for details about how to purchase the finished pattern and don’t forget to pop over to see how Lucie’s getting on with making the sewing bag!


103 Comments

Pattern Tester Required! (All Materials Supplied)

Just look at these gorgeous craft related fabric designs – they all arrived on my doorstep this last week!

Having long lusted after this design after seeing it as a banner on Teresa’s blog Navy Blue Threads, I discovered it was called “Sew Retro Montage” by Makower and tracked some down online. What initially began as a search for this amazing fabric …

sew retro montage

…ended with multiple purchases of fabric loveliness!

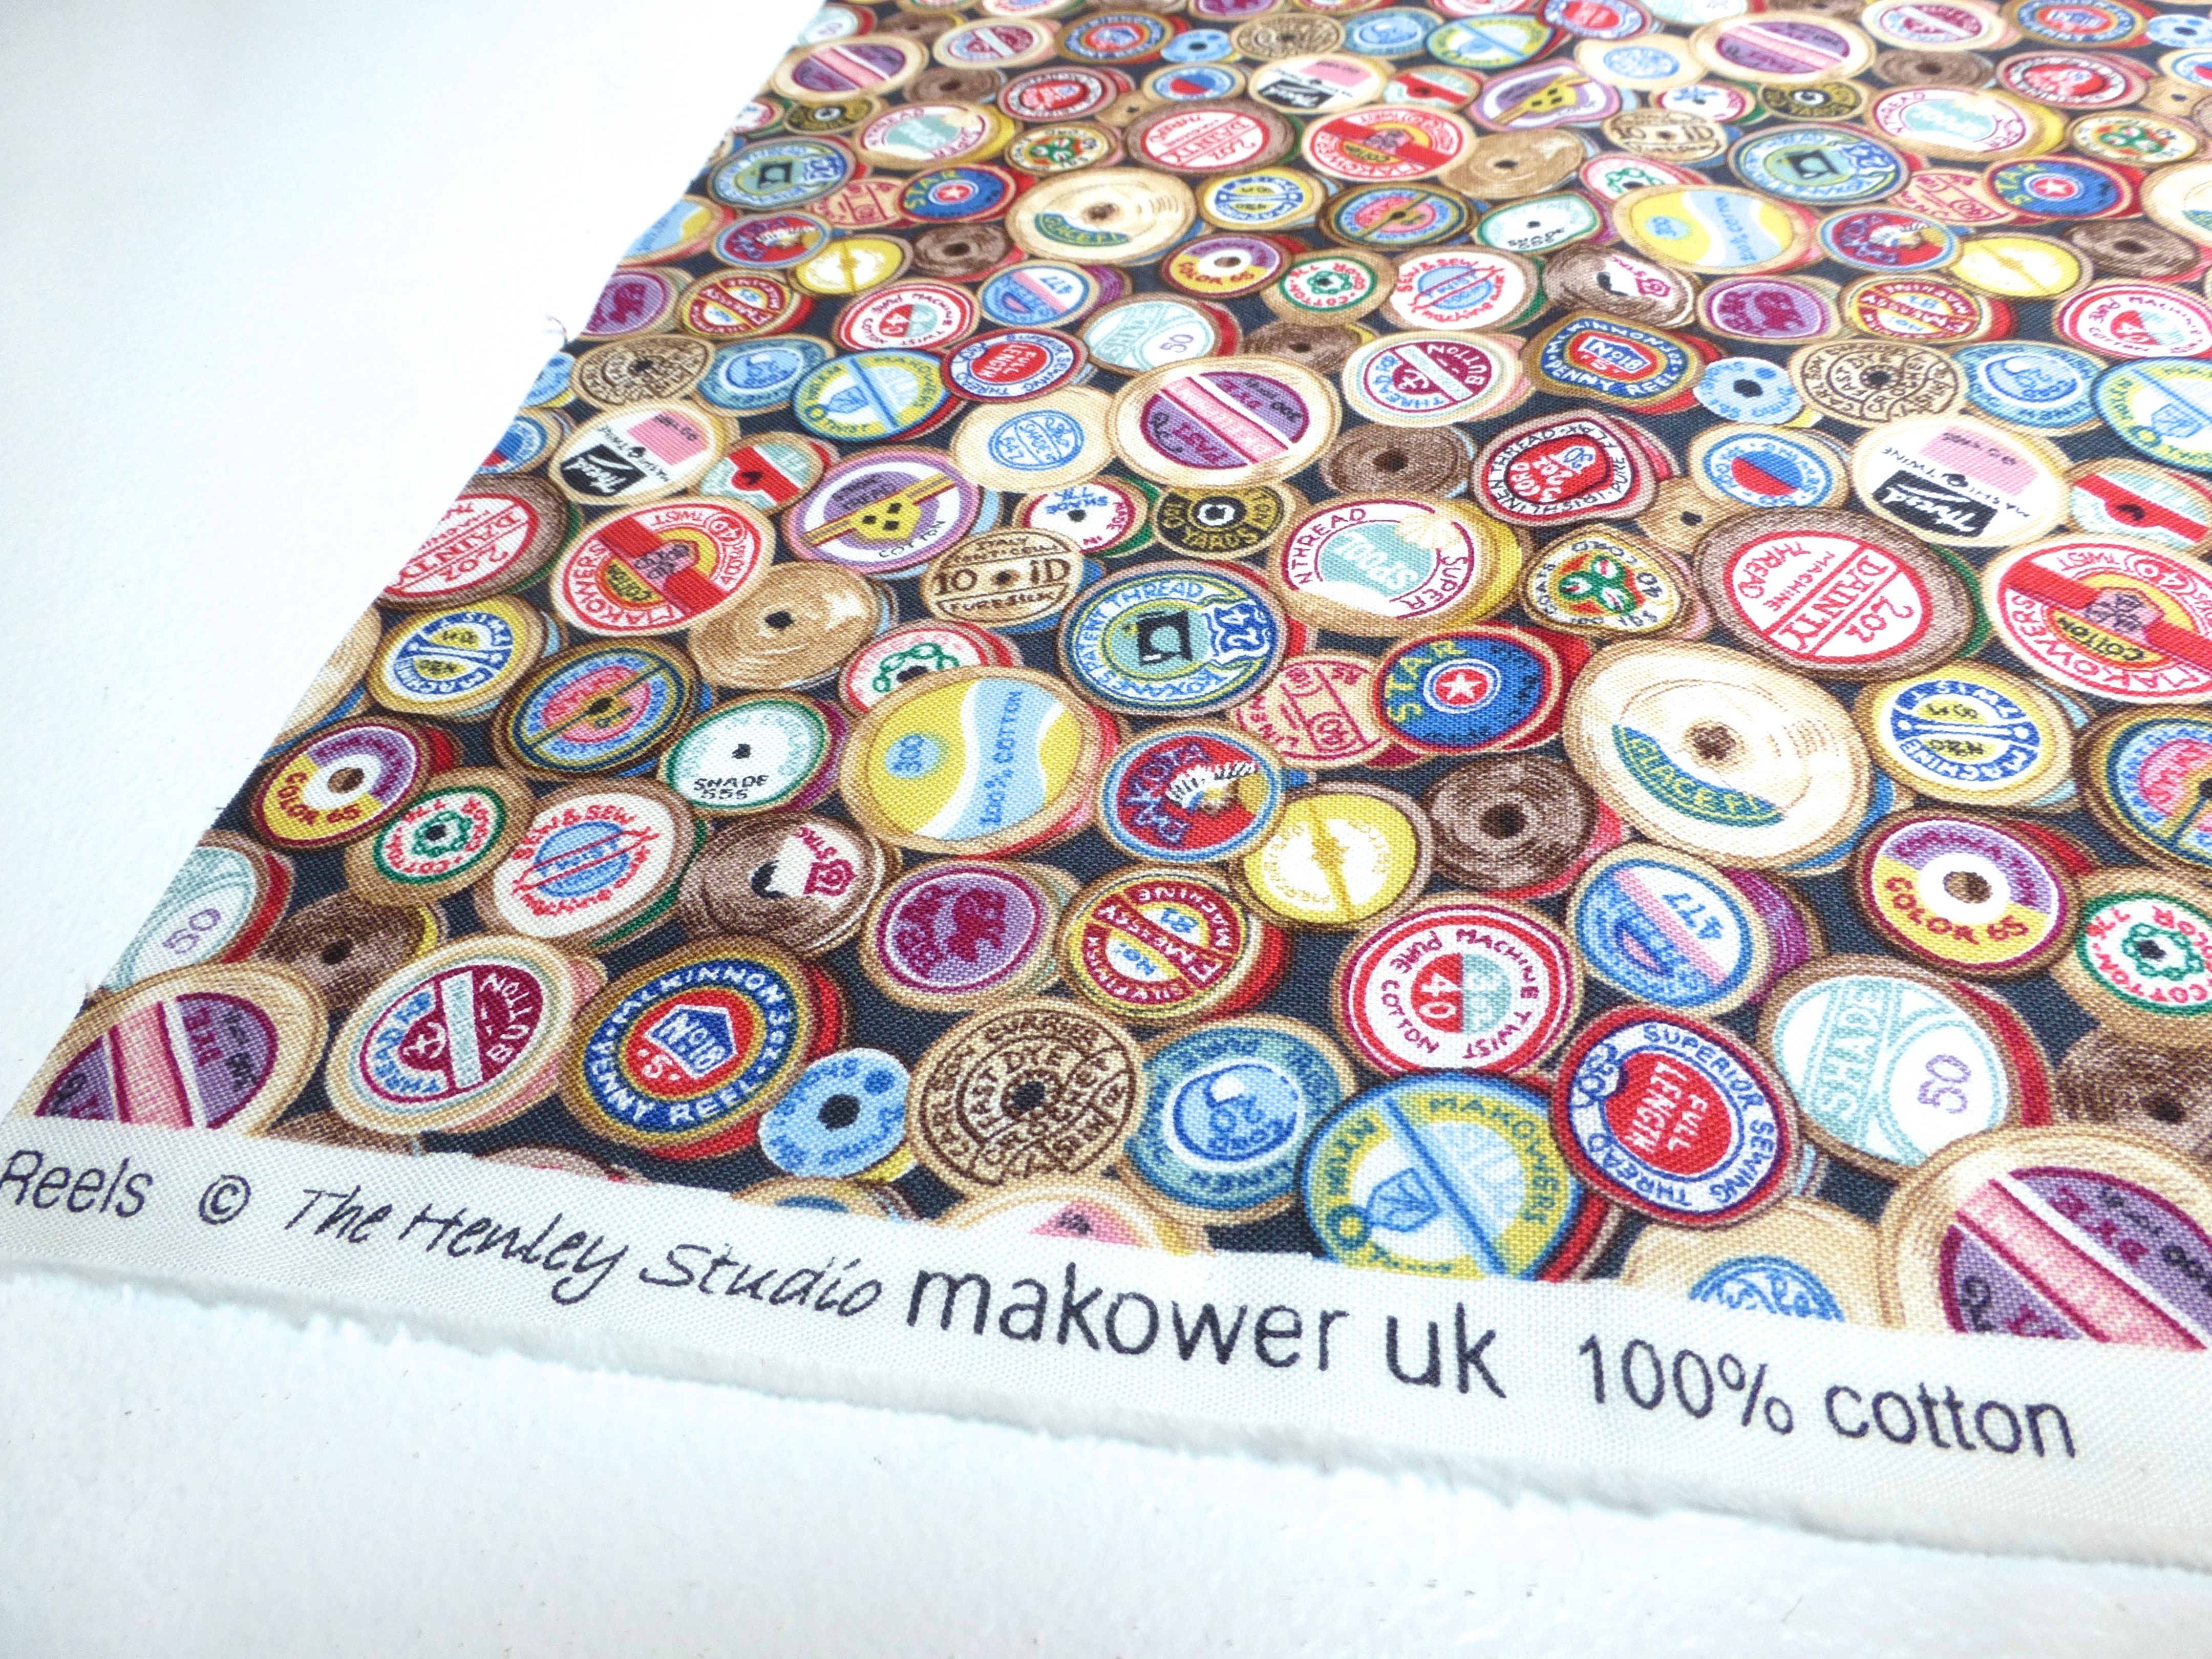
“Cotton Reels” also by Makower;

cotton reels

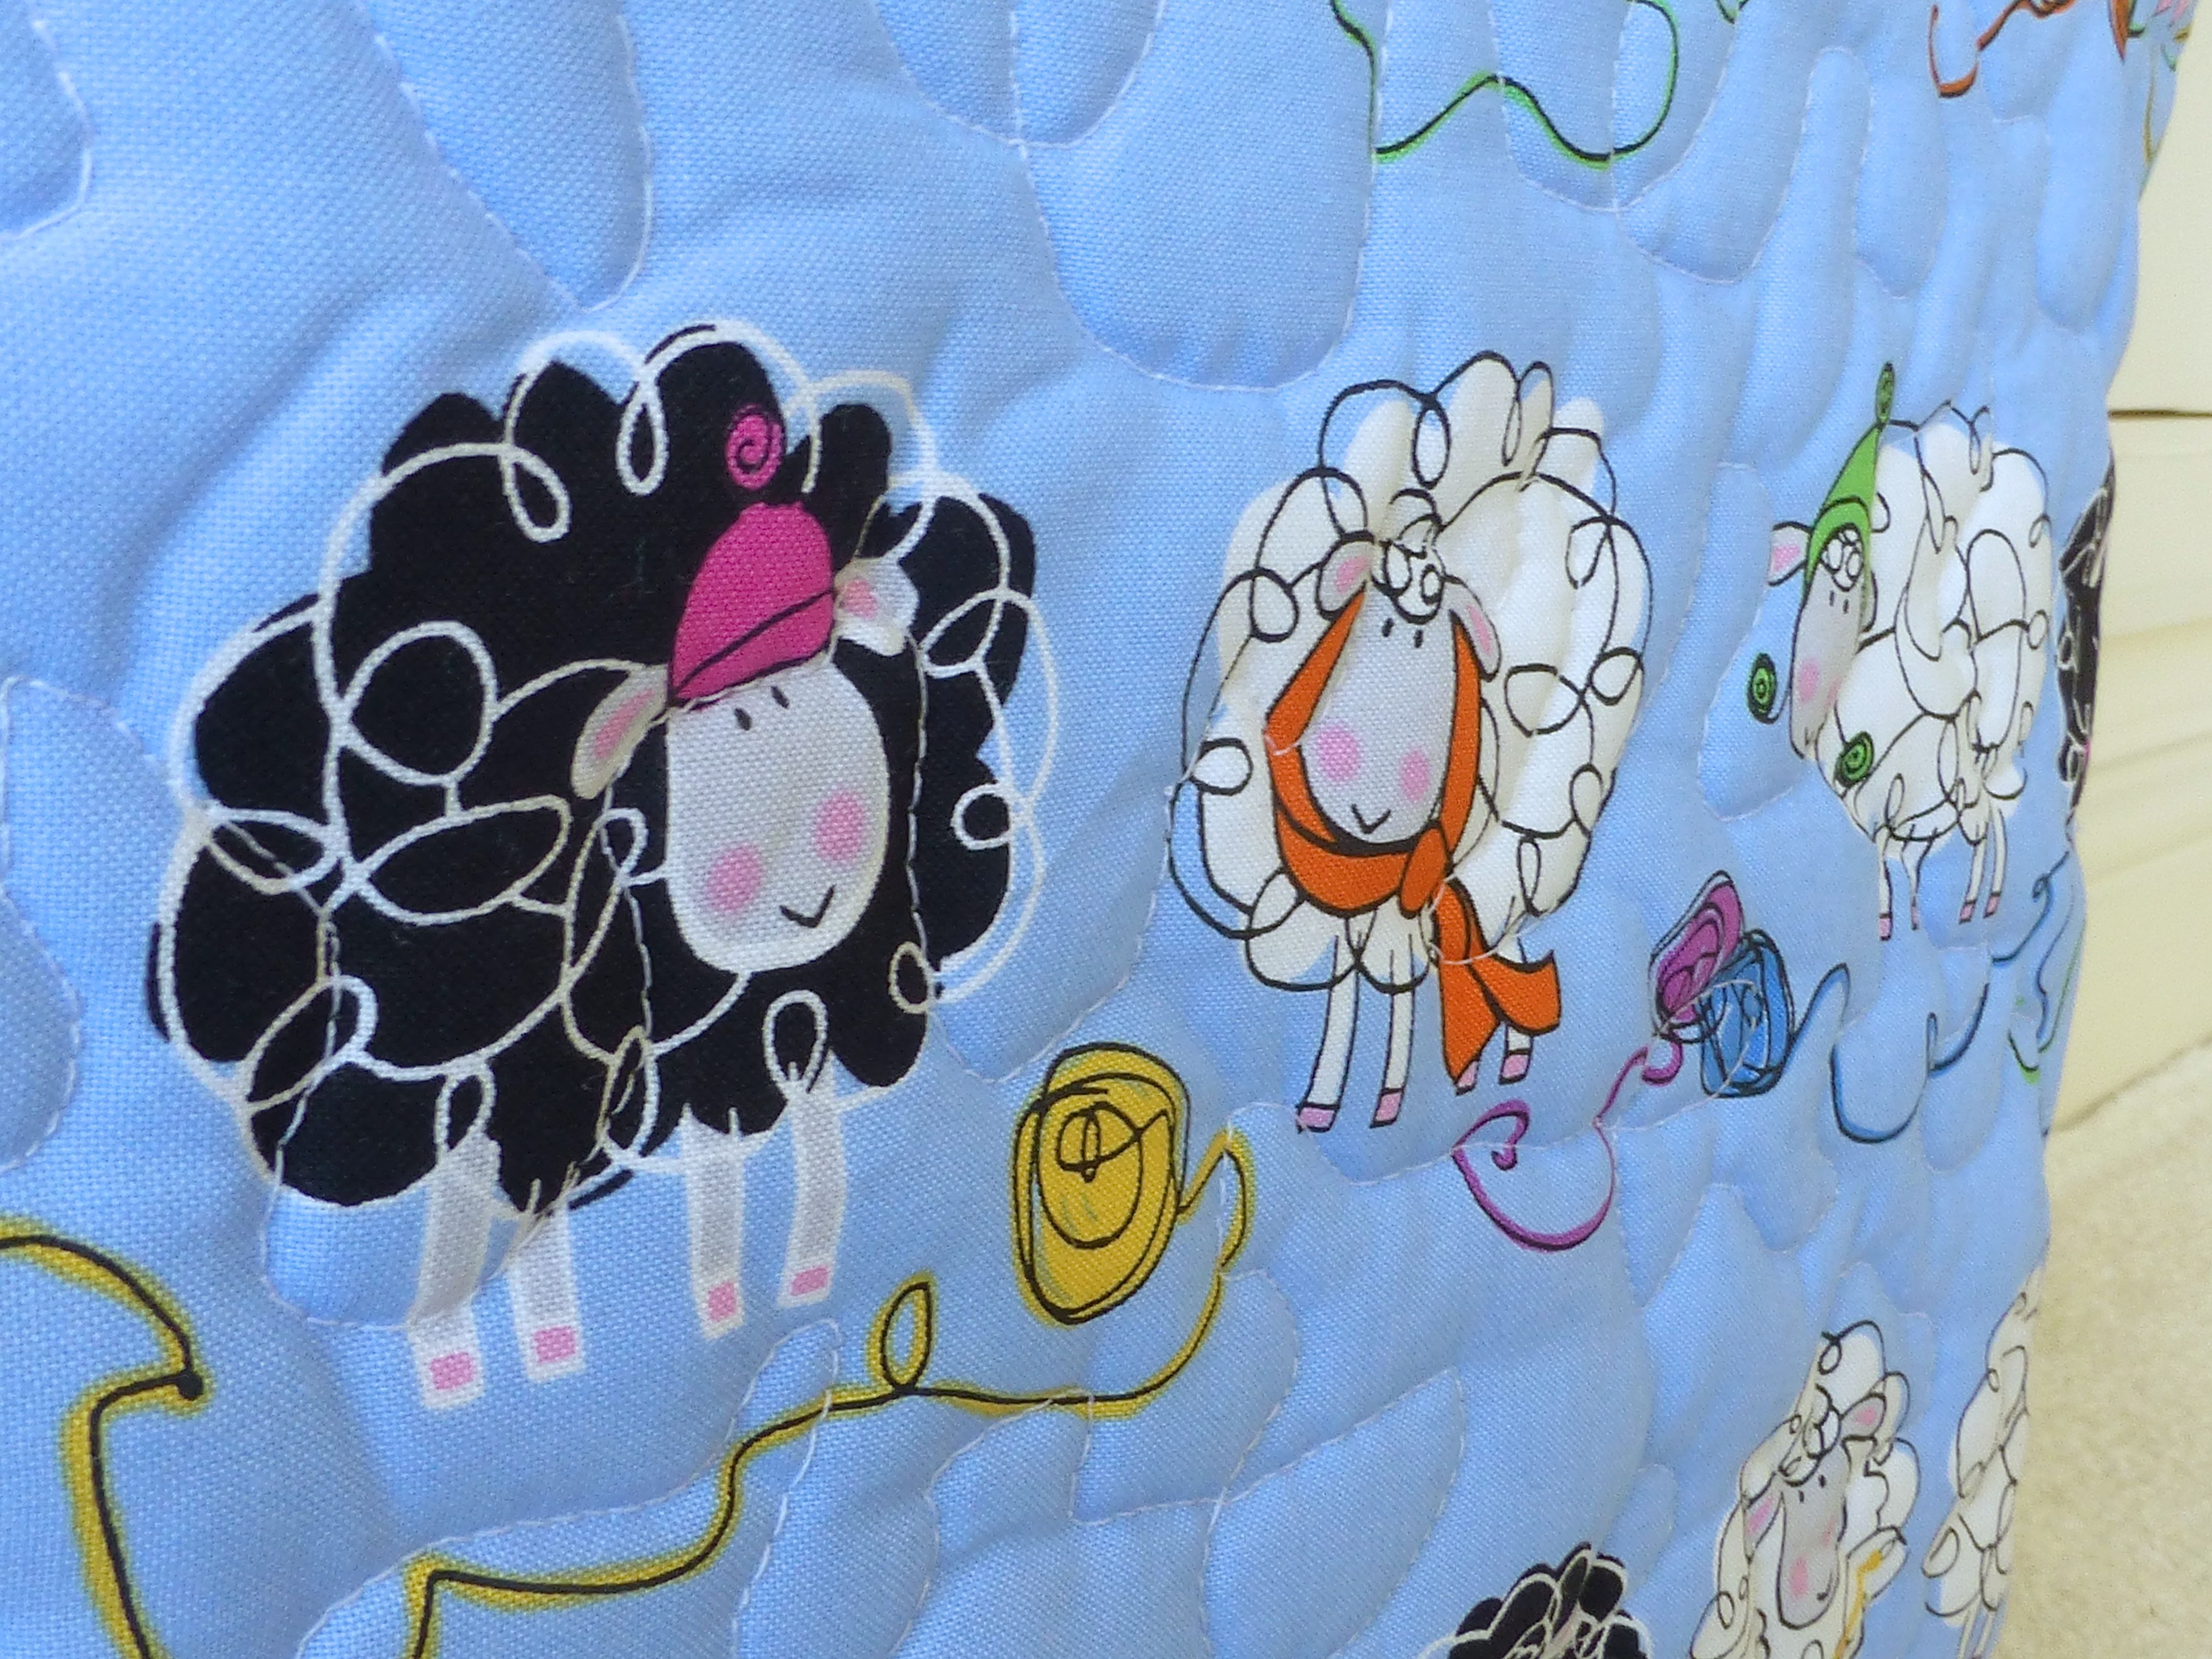
“Knitty Sheep” by Kanvas;

knitty sheep

“Sew Be It” by Henry Glass & Co;

sew be it

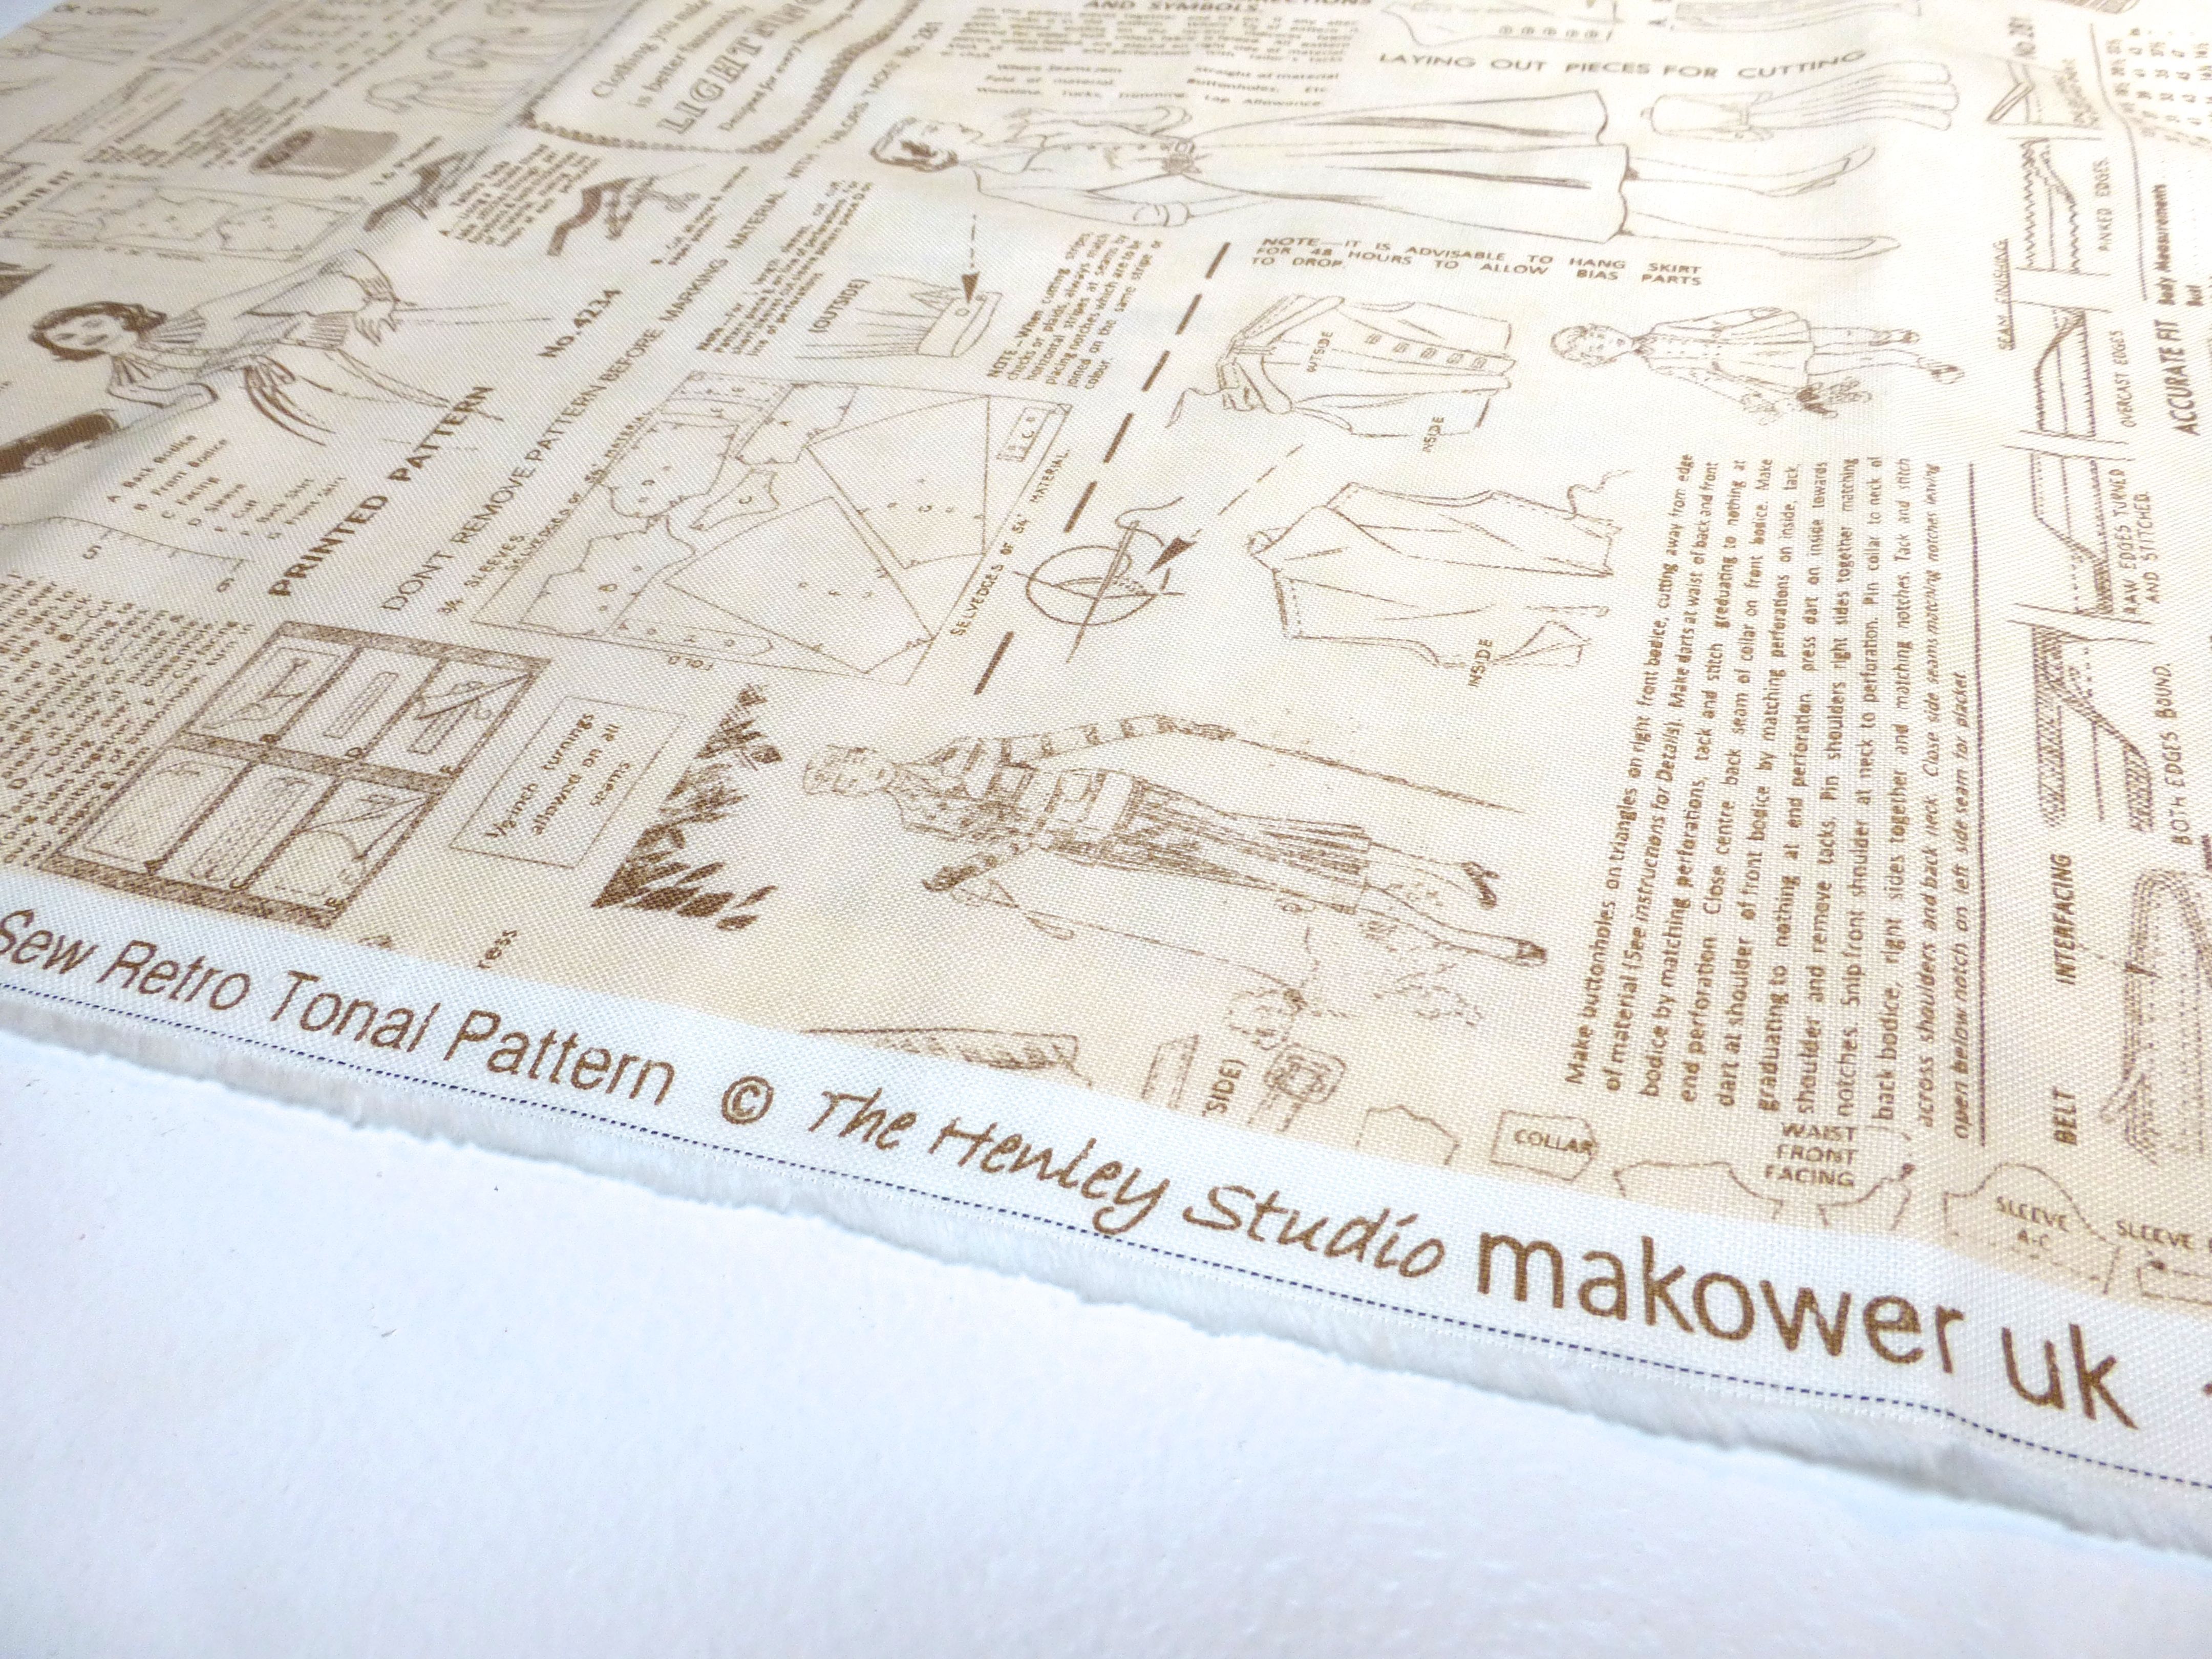
“Sew Retro Tonal Pattern” also by Makower;

sew retro tonal pattern

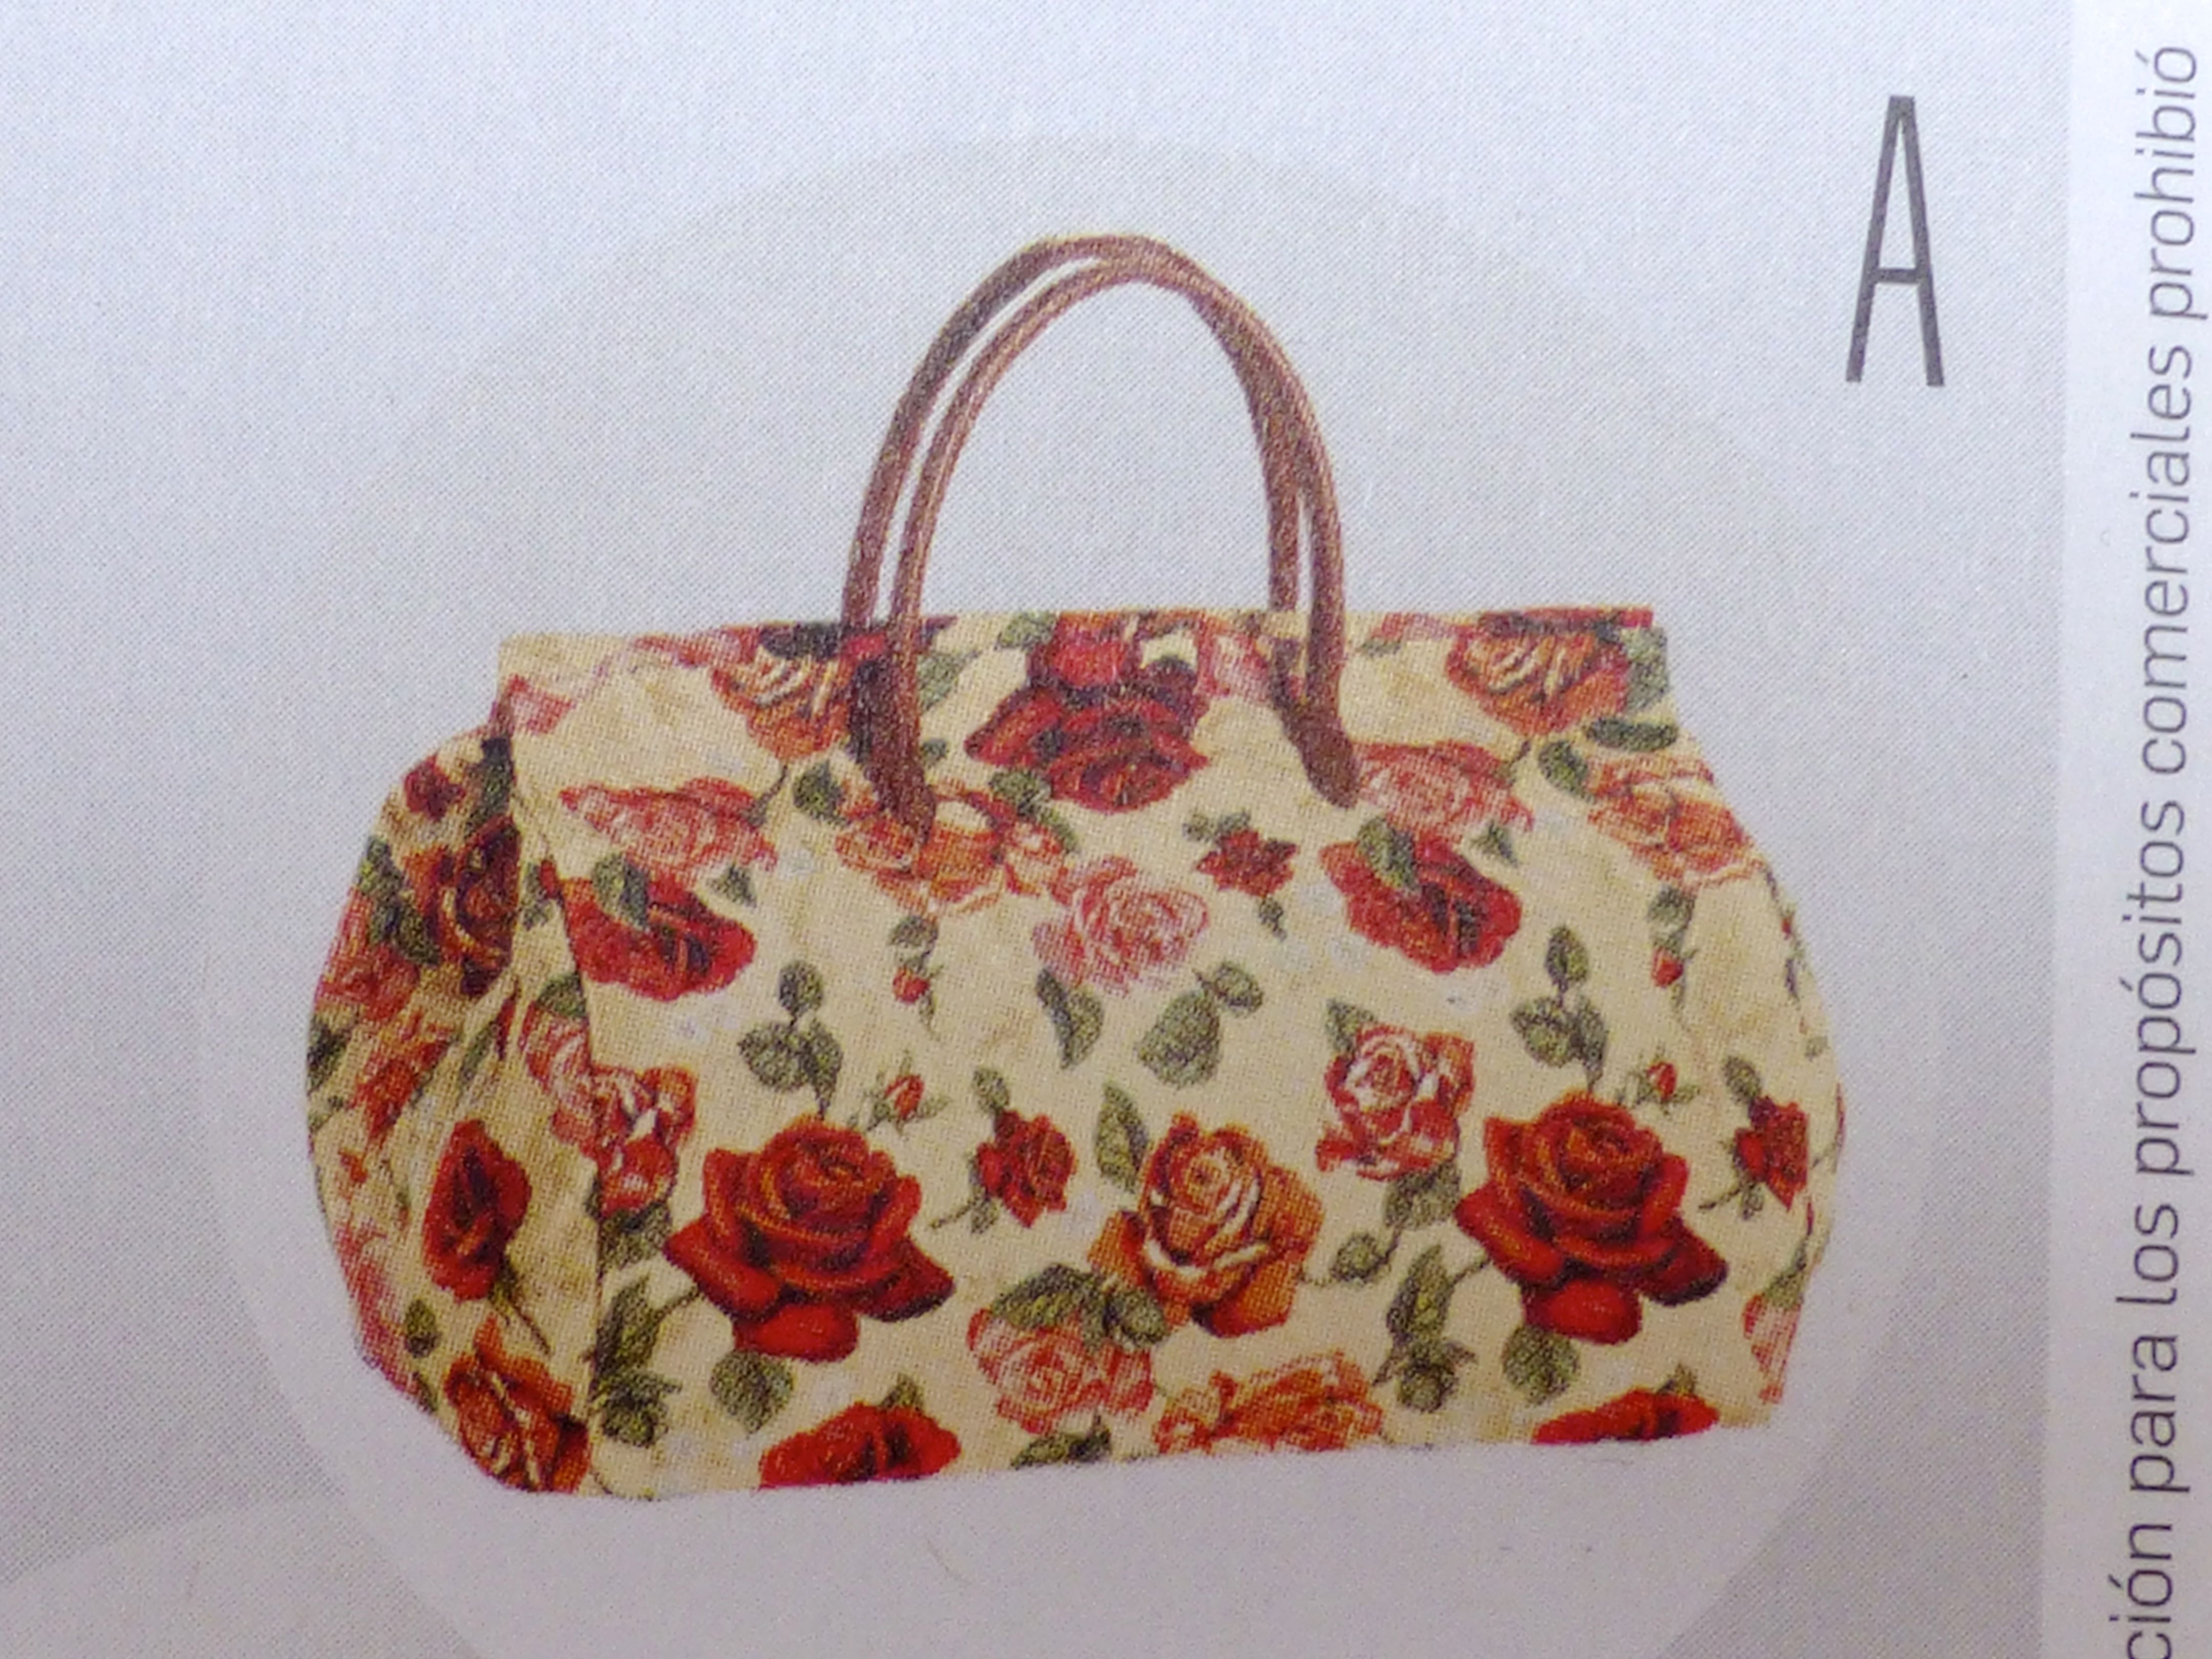
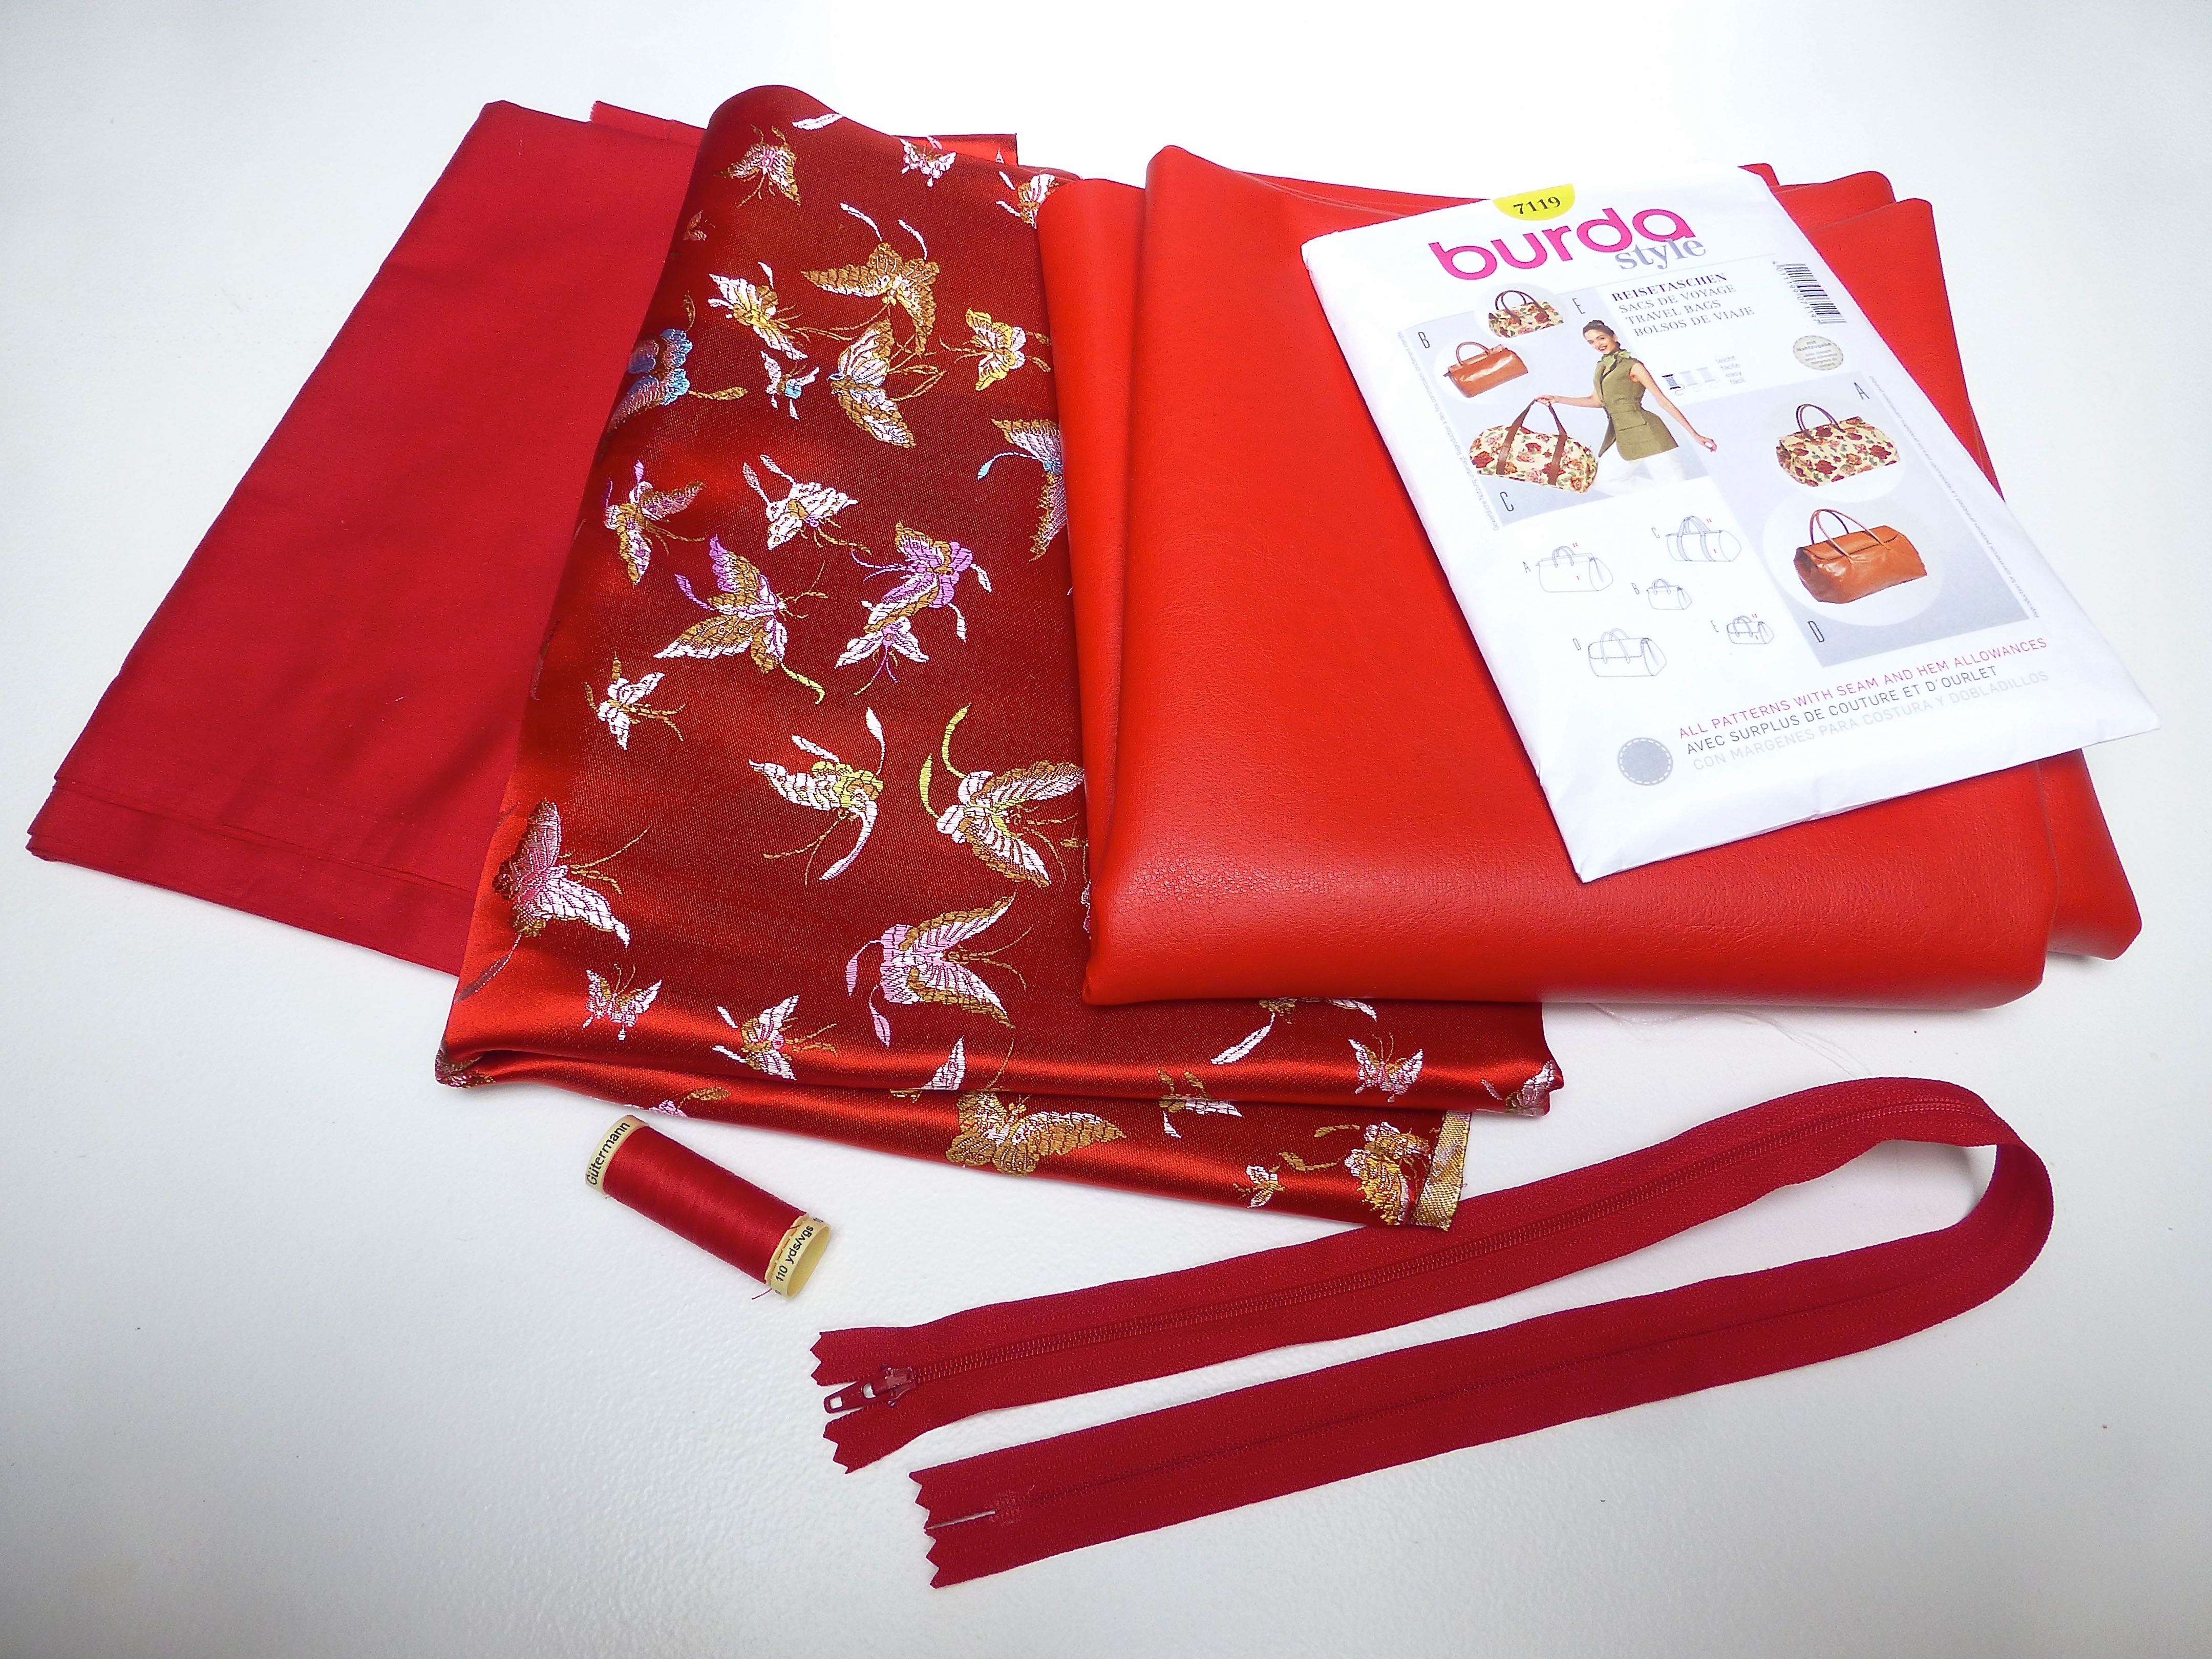
This fabulous Simplicity Pattern design by Fabric Traditions;

simplicity pattern co

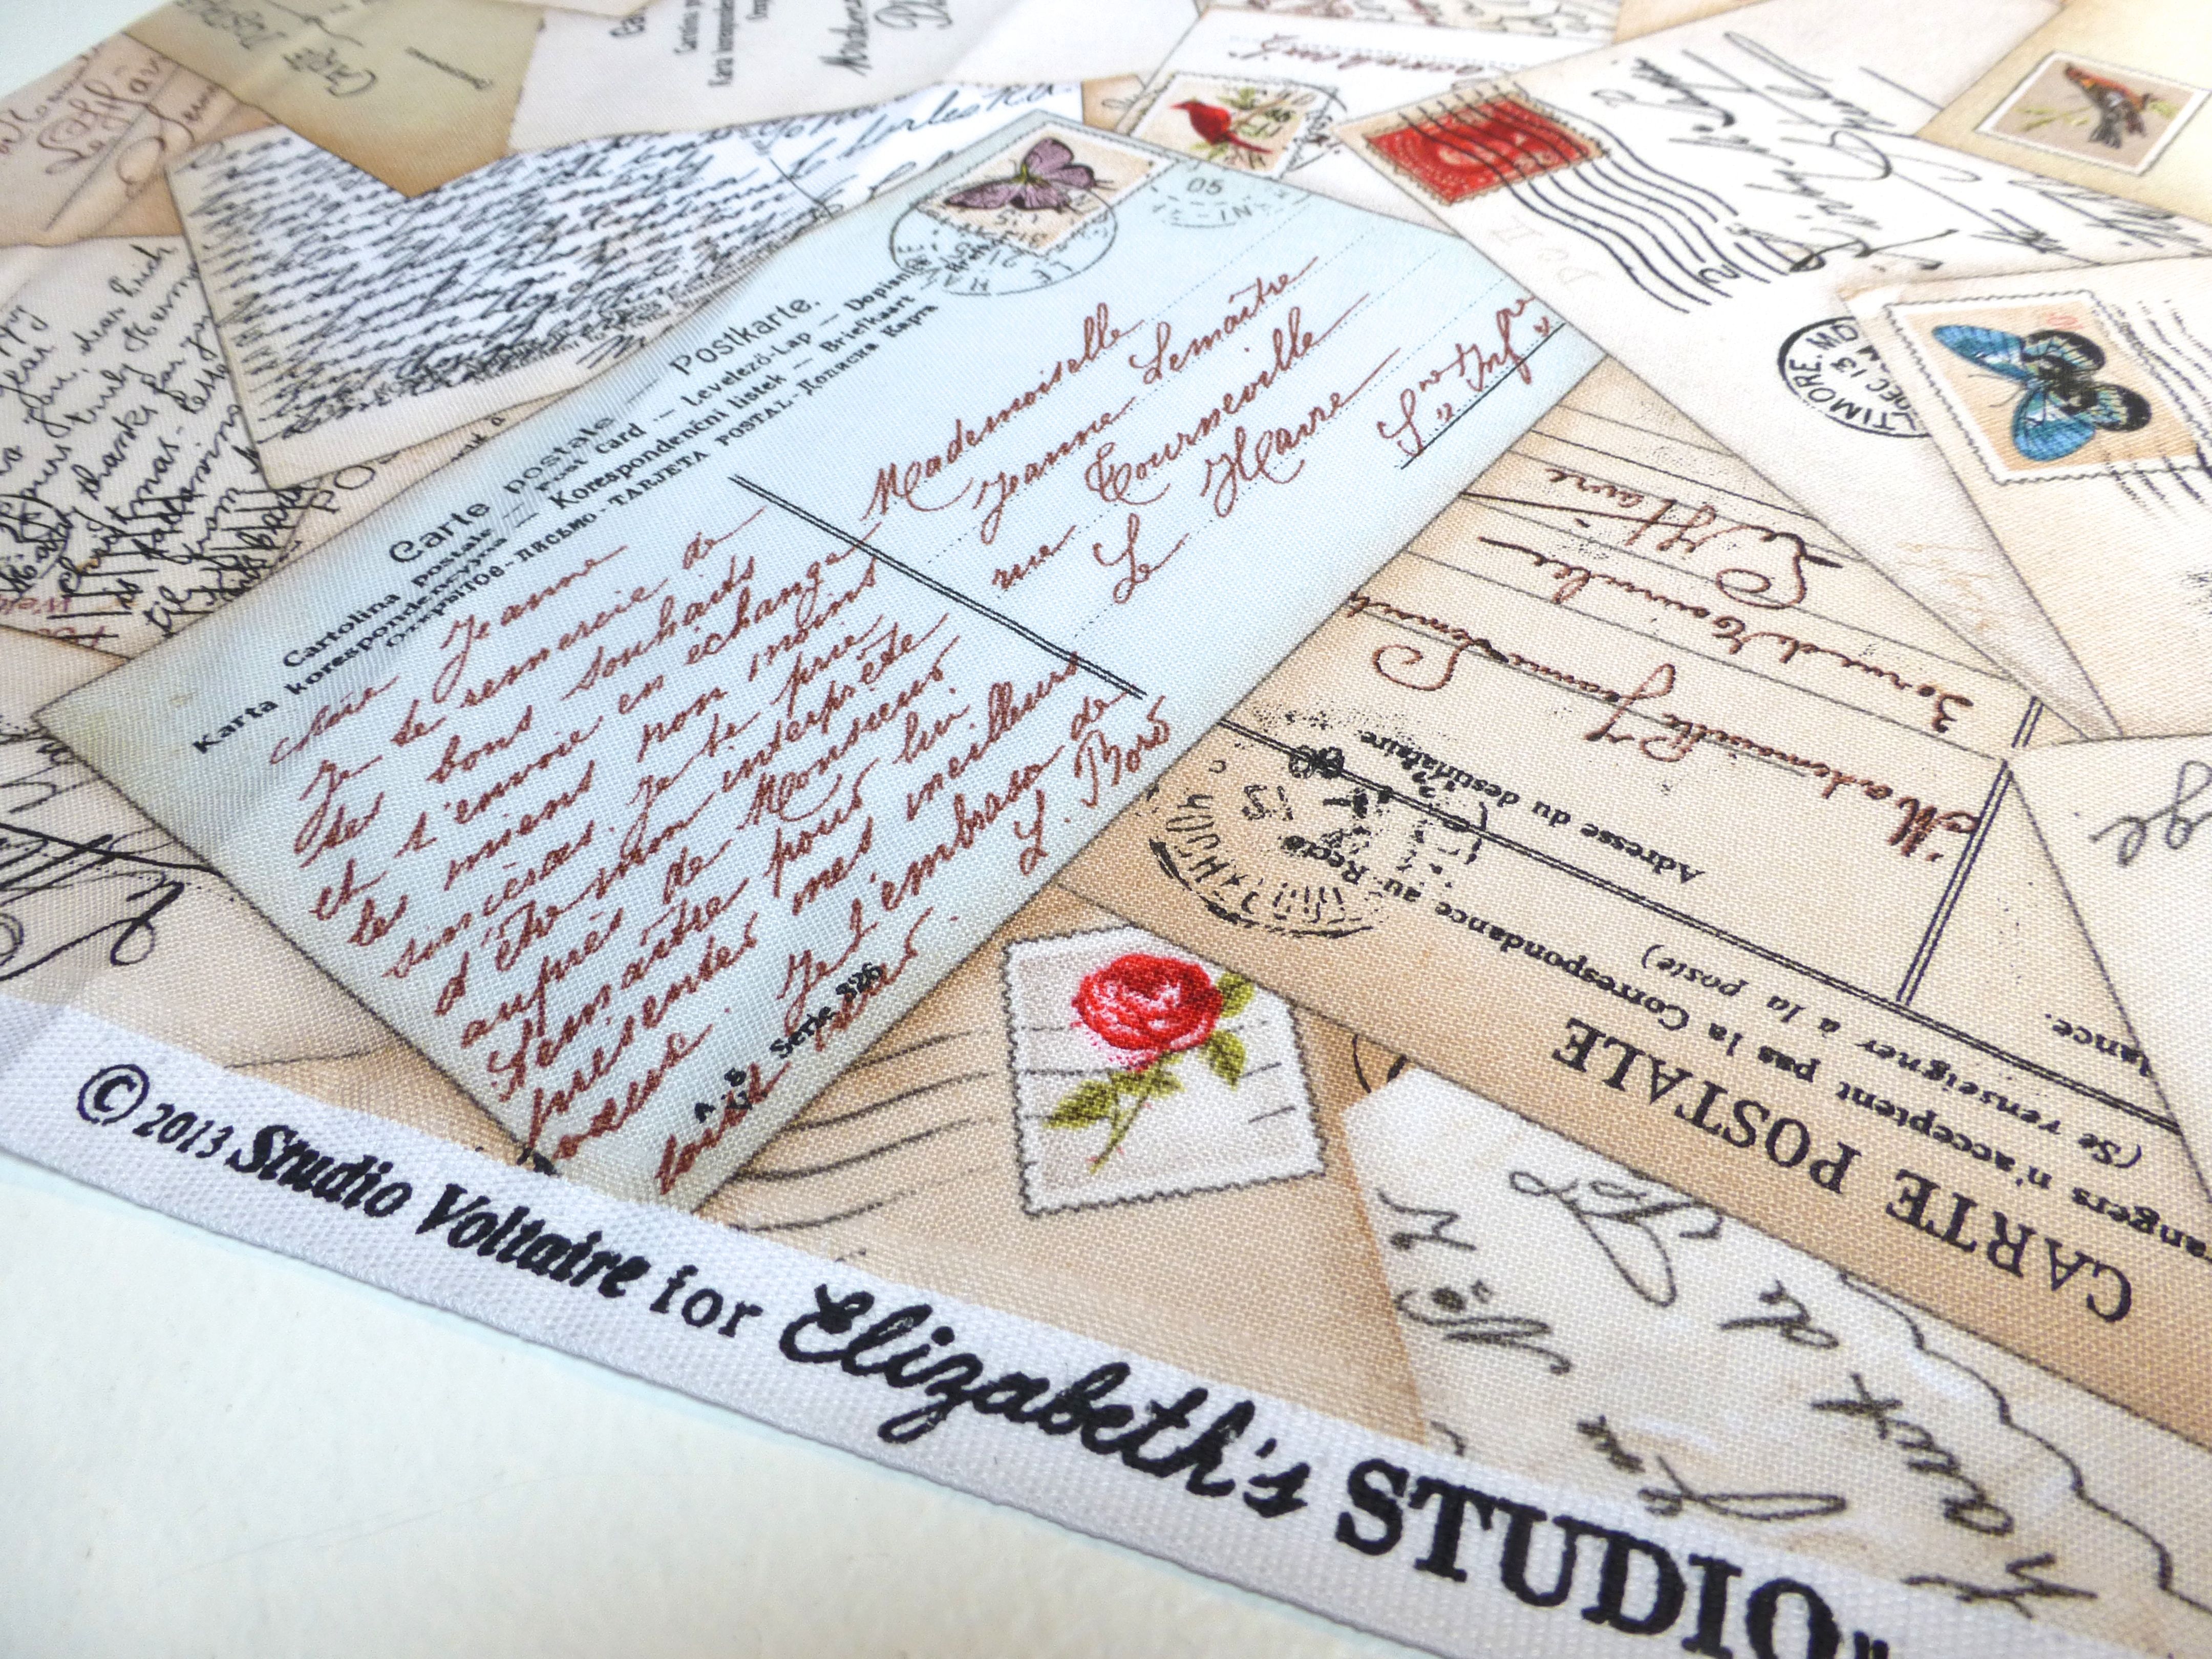
I couldn’t resist this “Postcards” design either;

postcards

They’re all quite pricey at around £12.00 per metre for a narrower-than-normal width of 110cm but, as I intend to use them for smaller projects, I should be able to make them stretch a fair way.

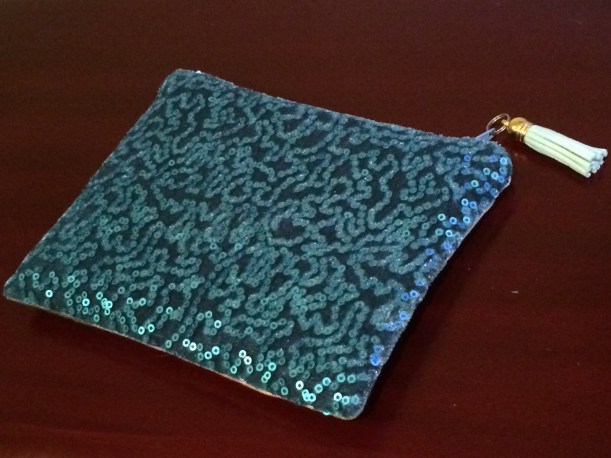
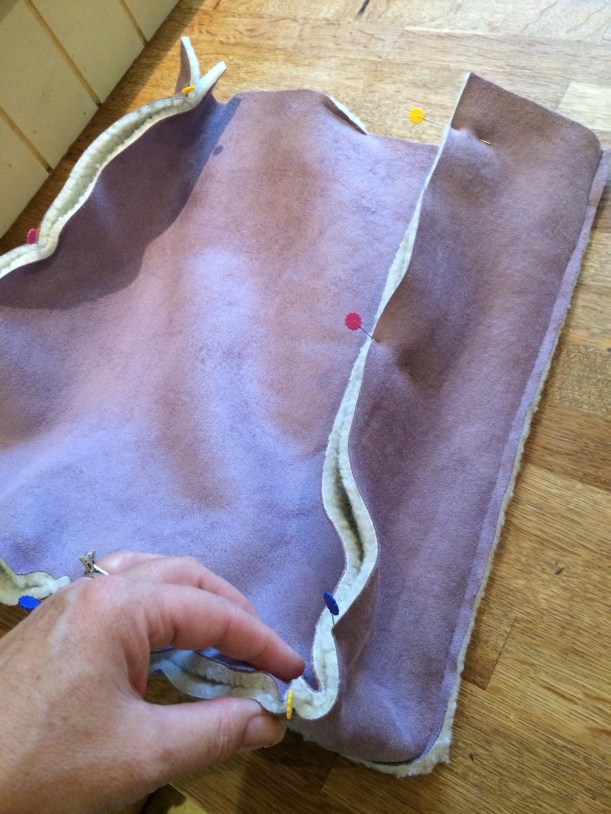
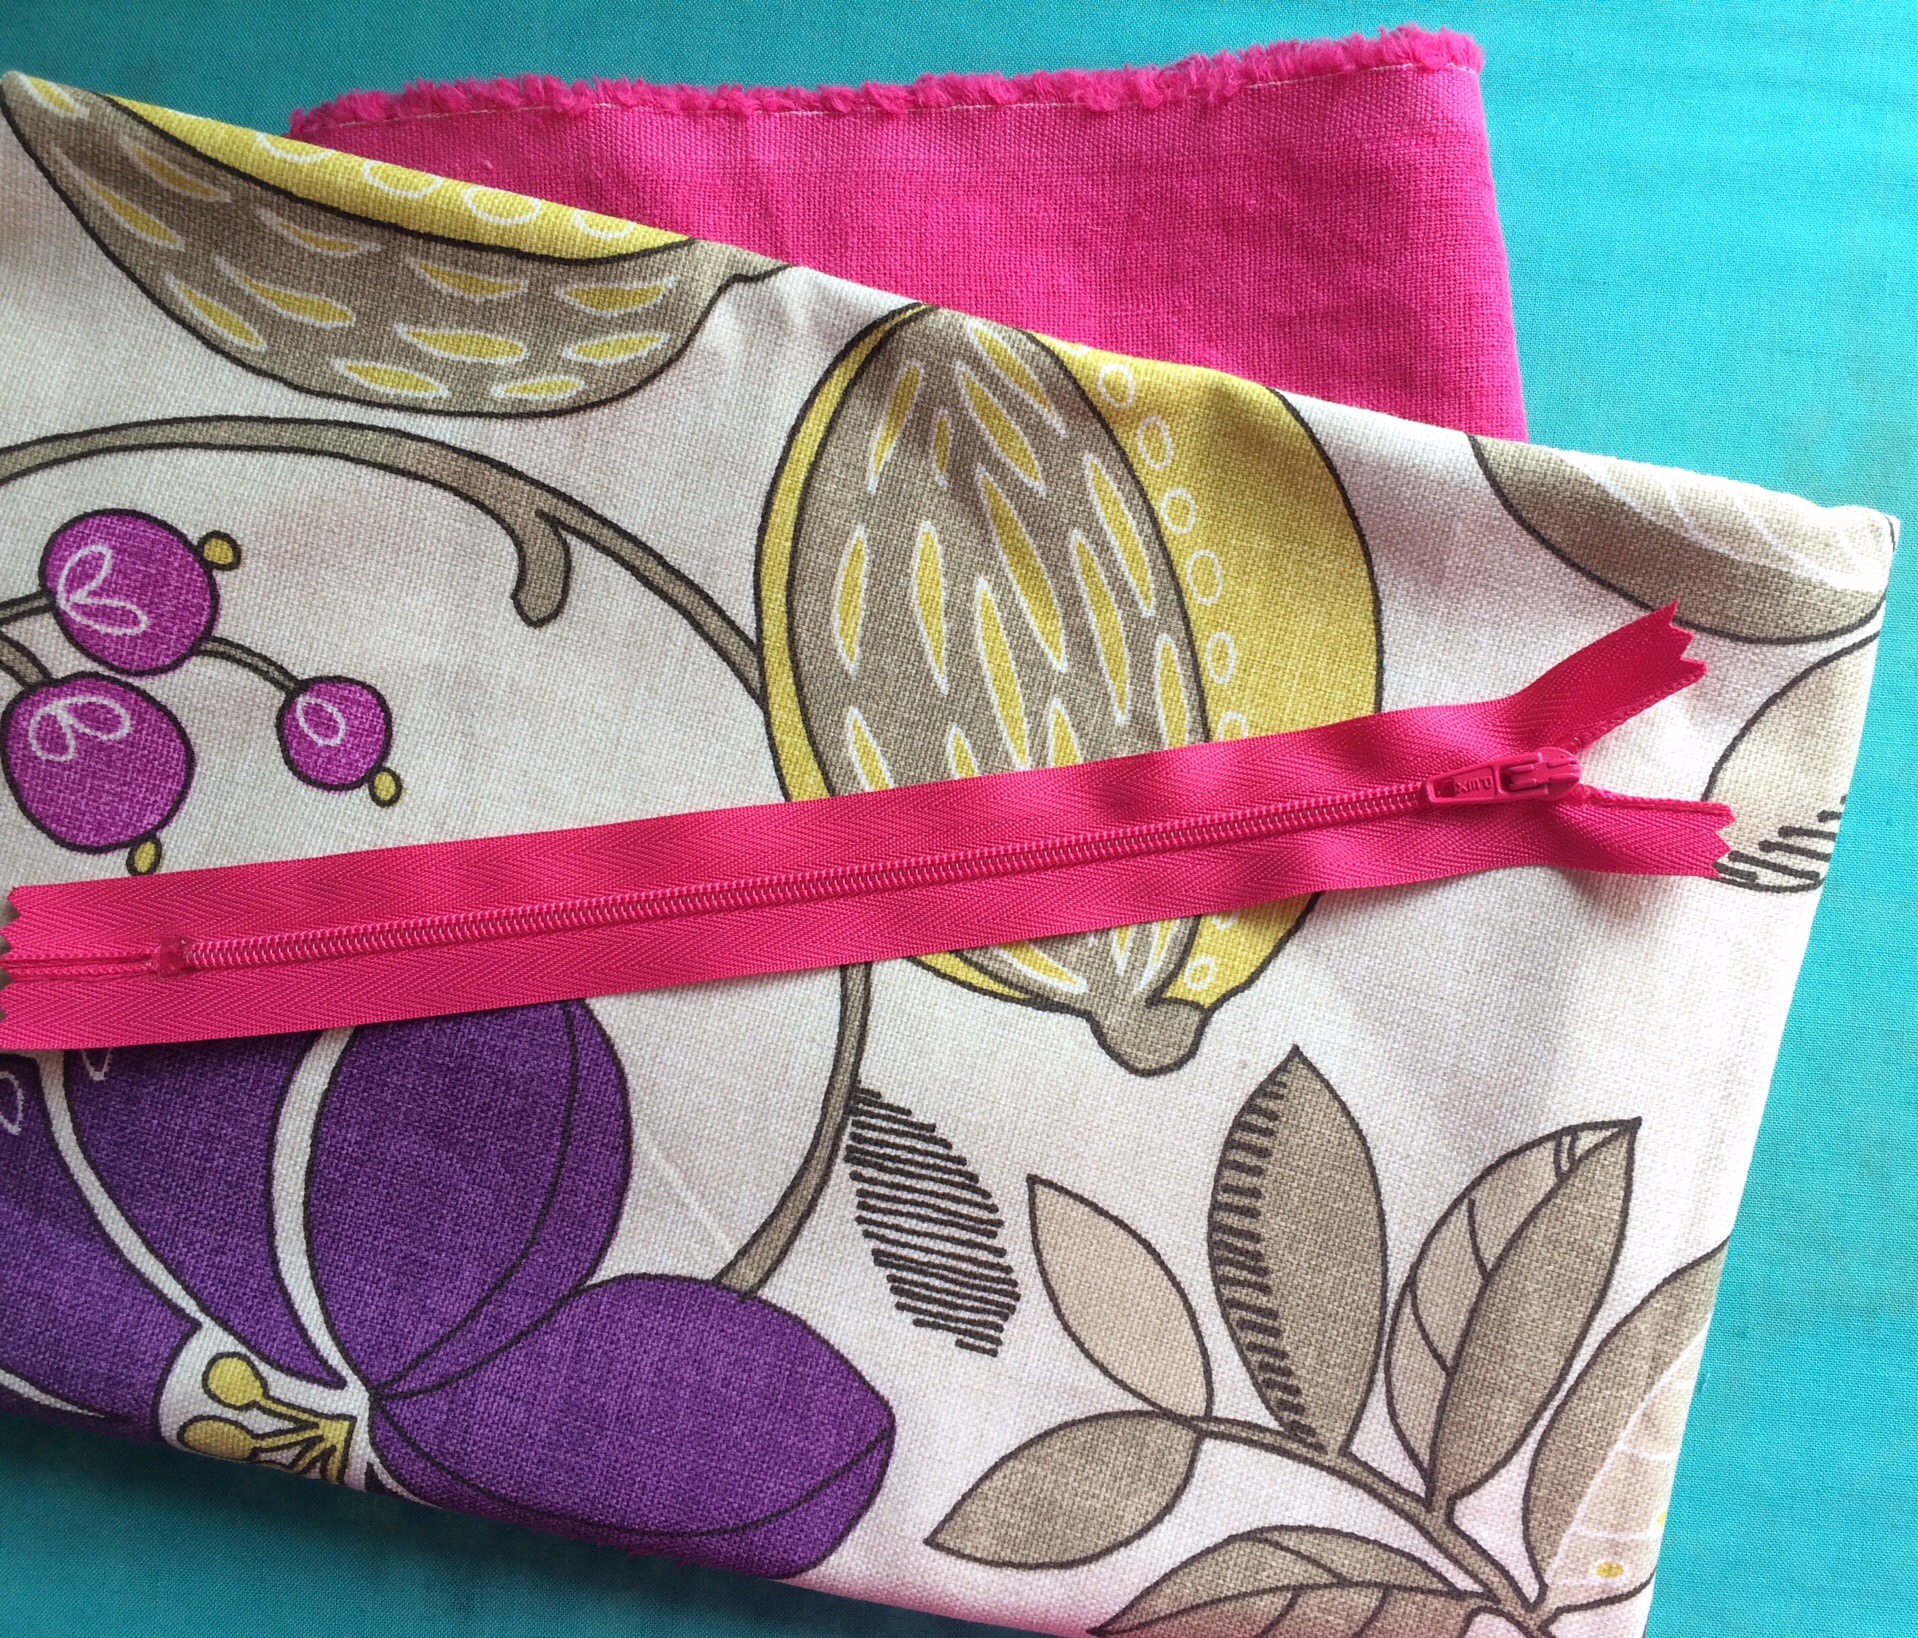
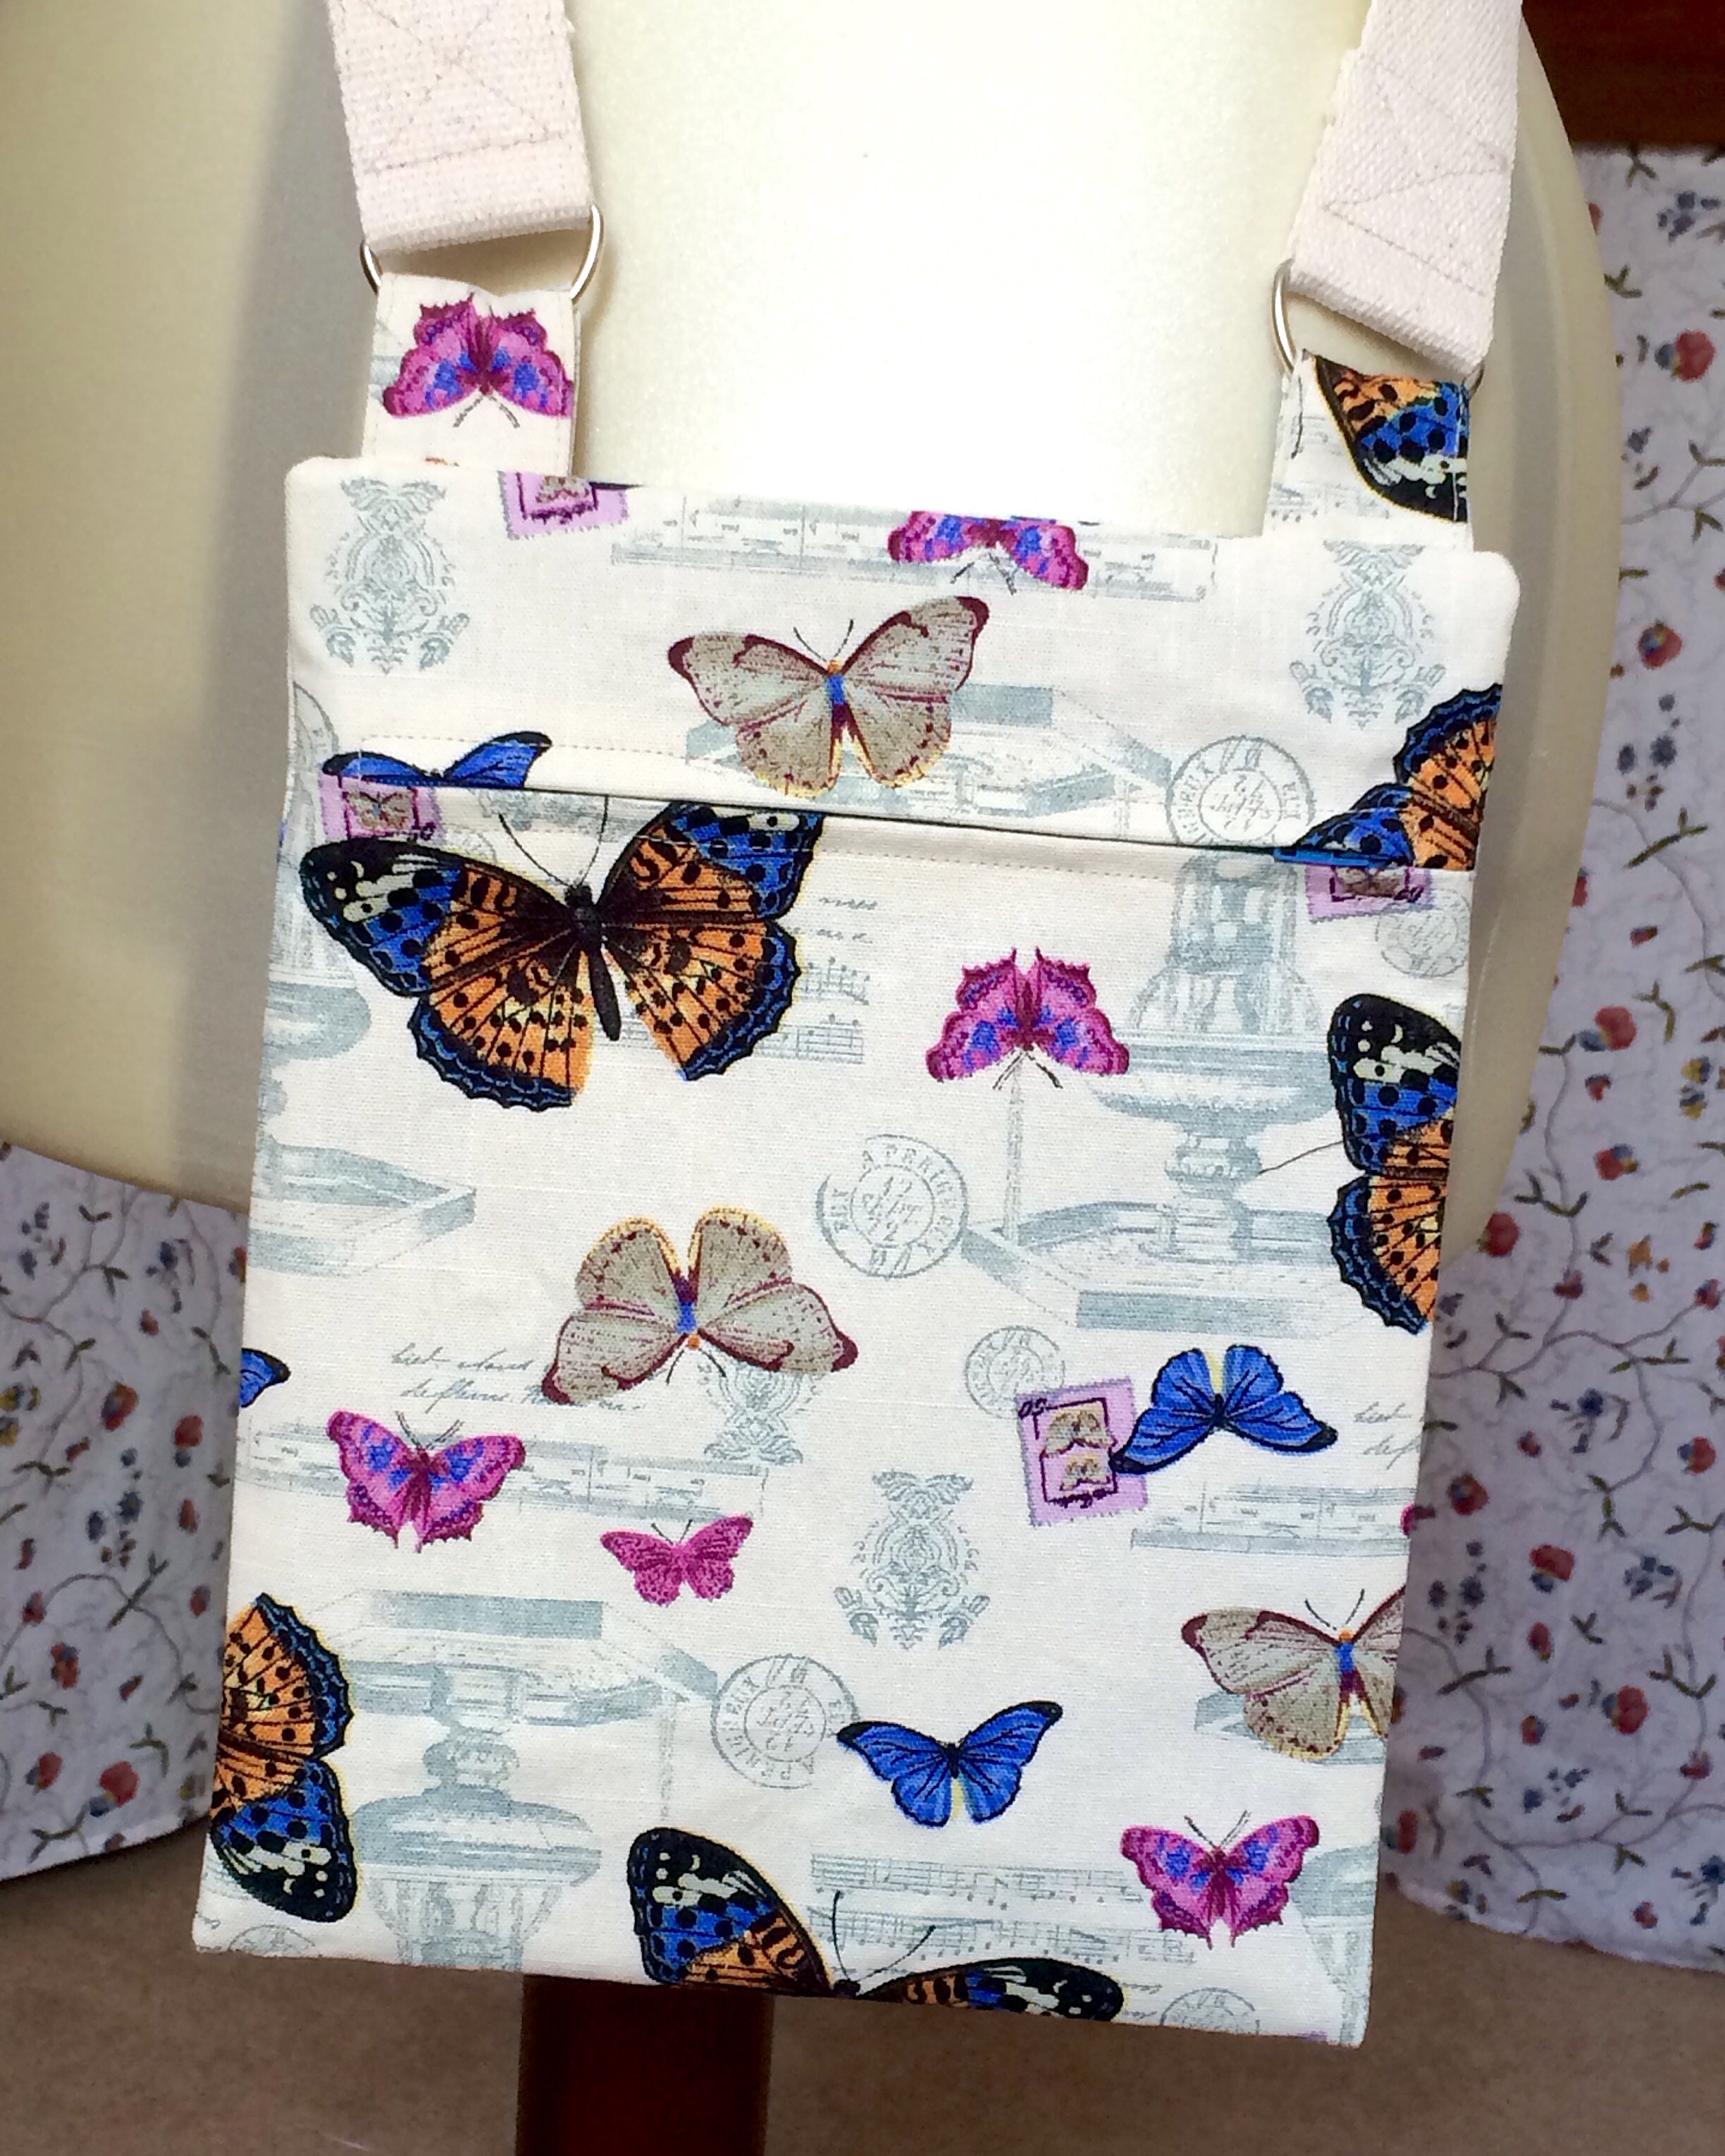
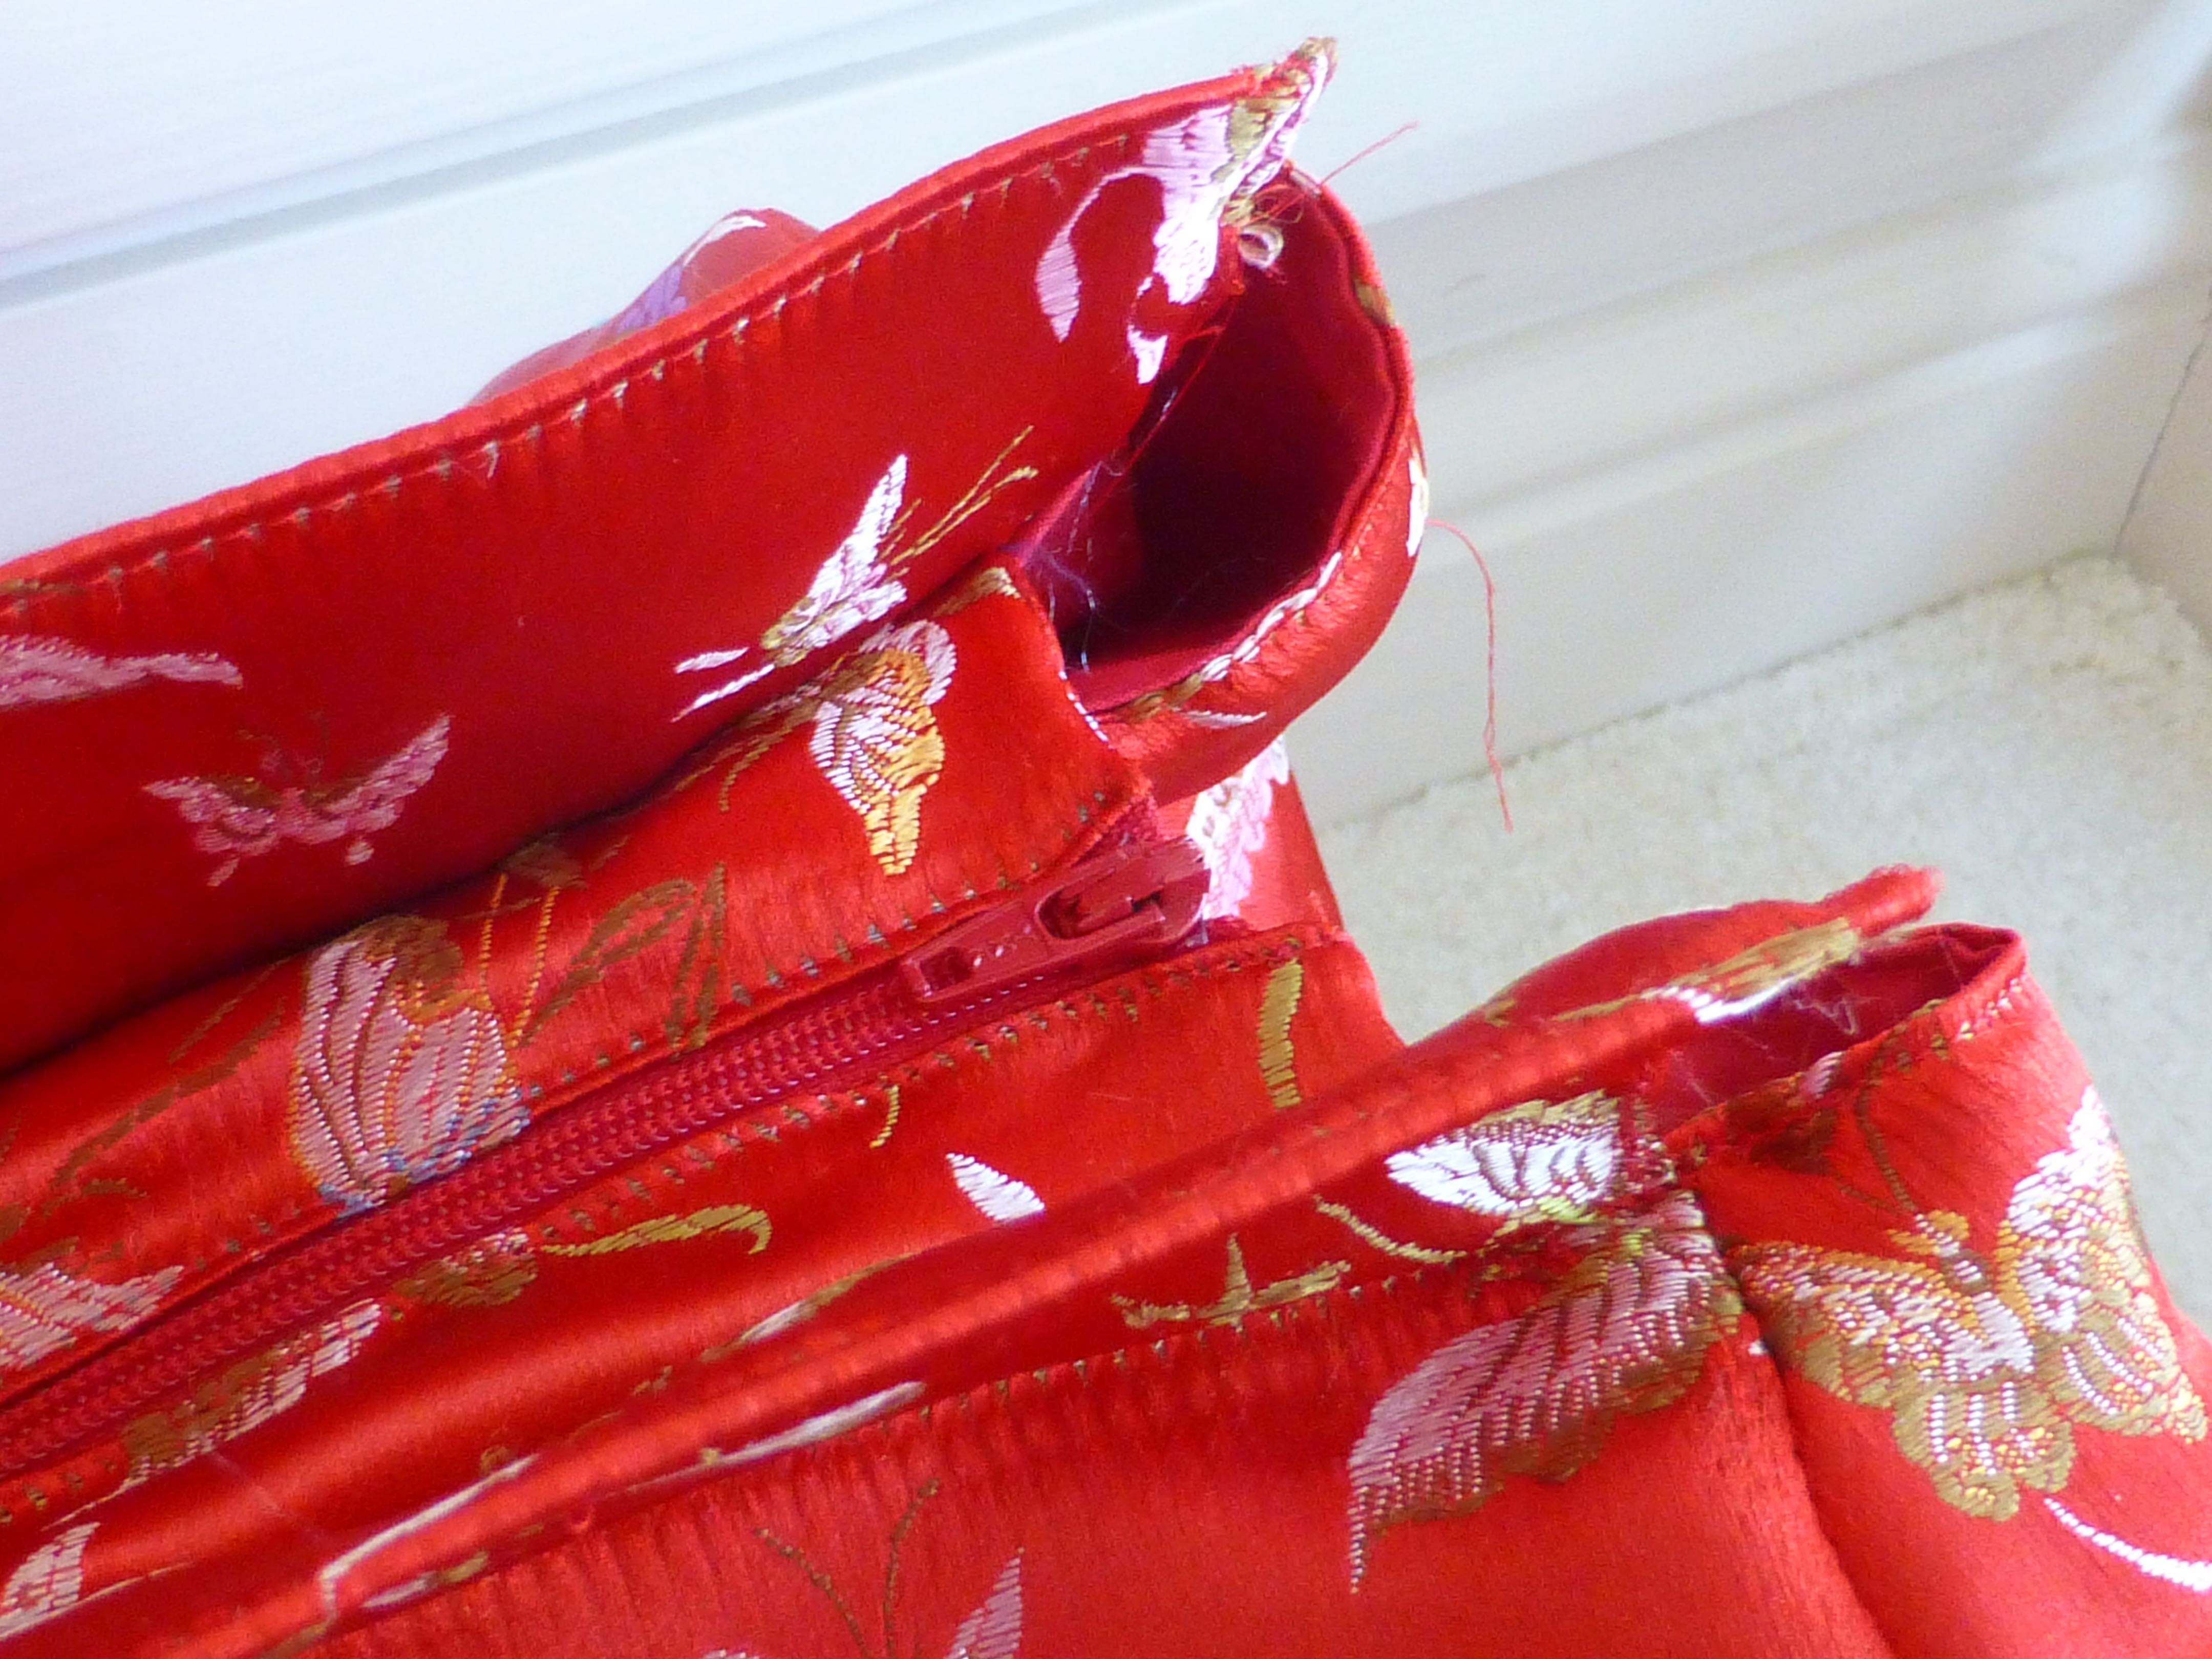
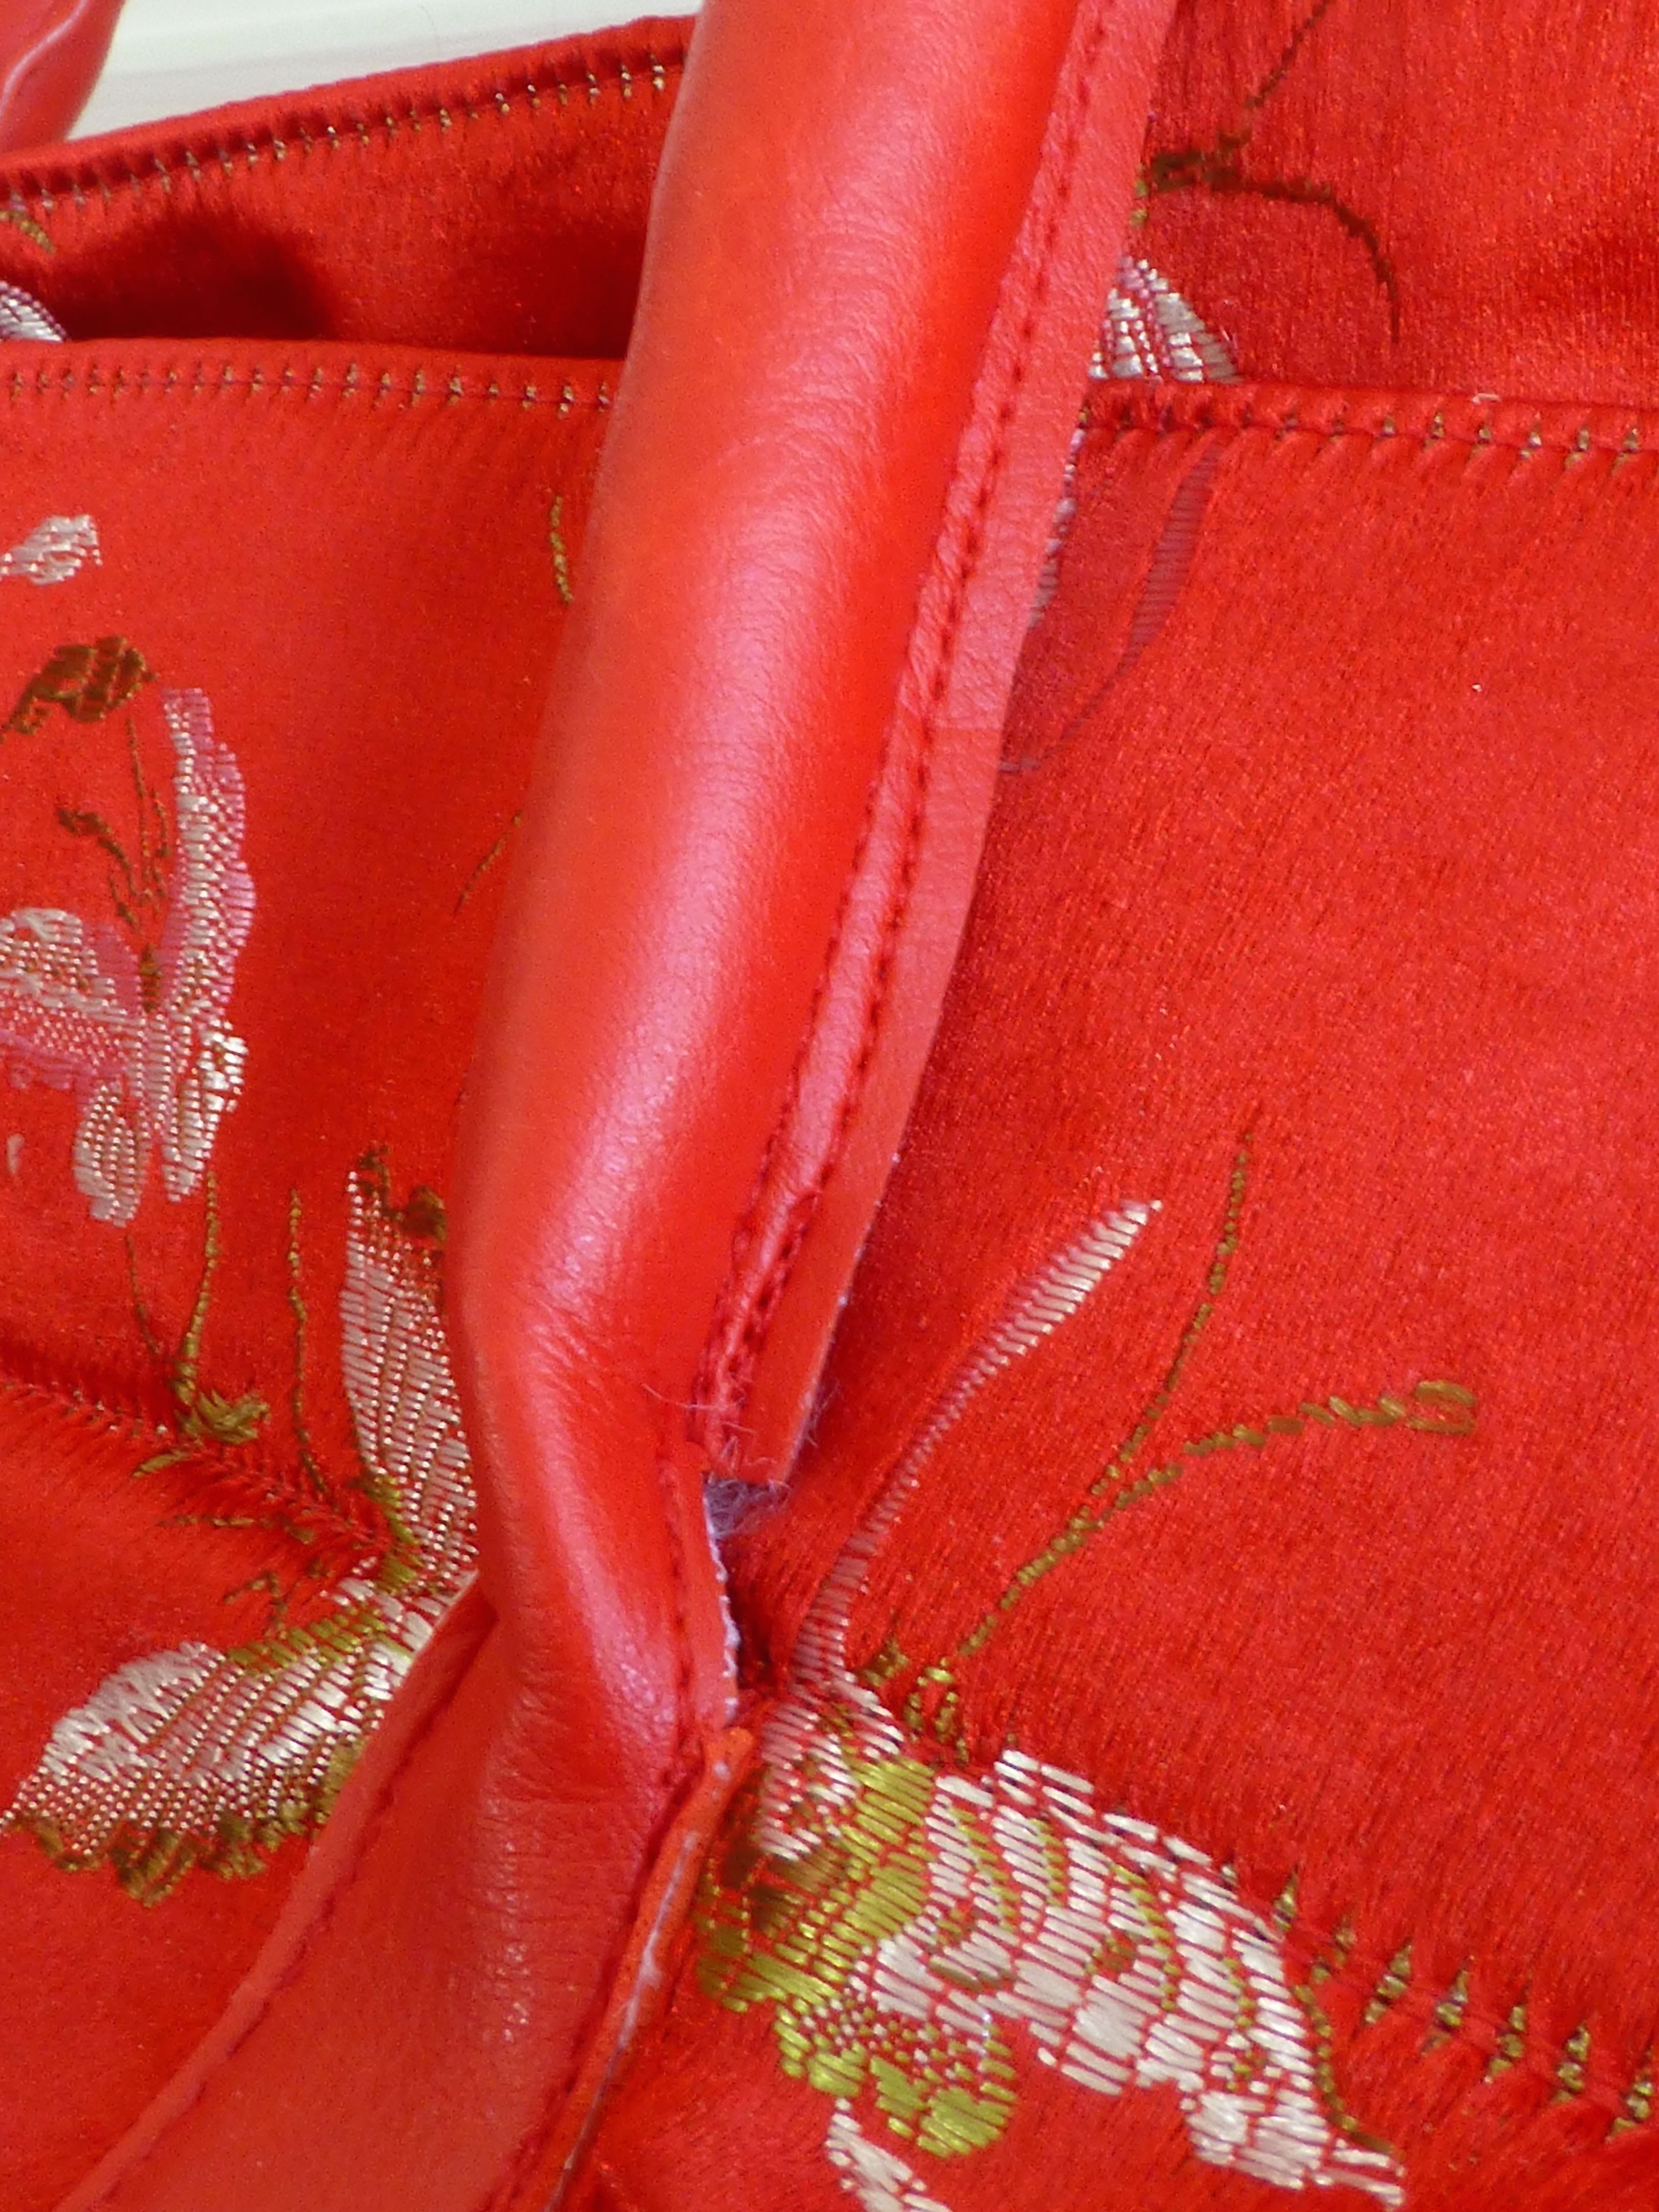
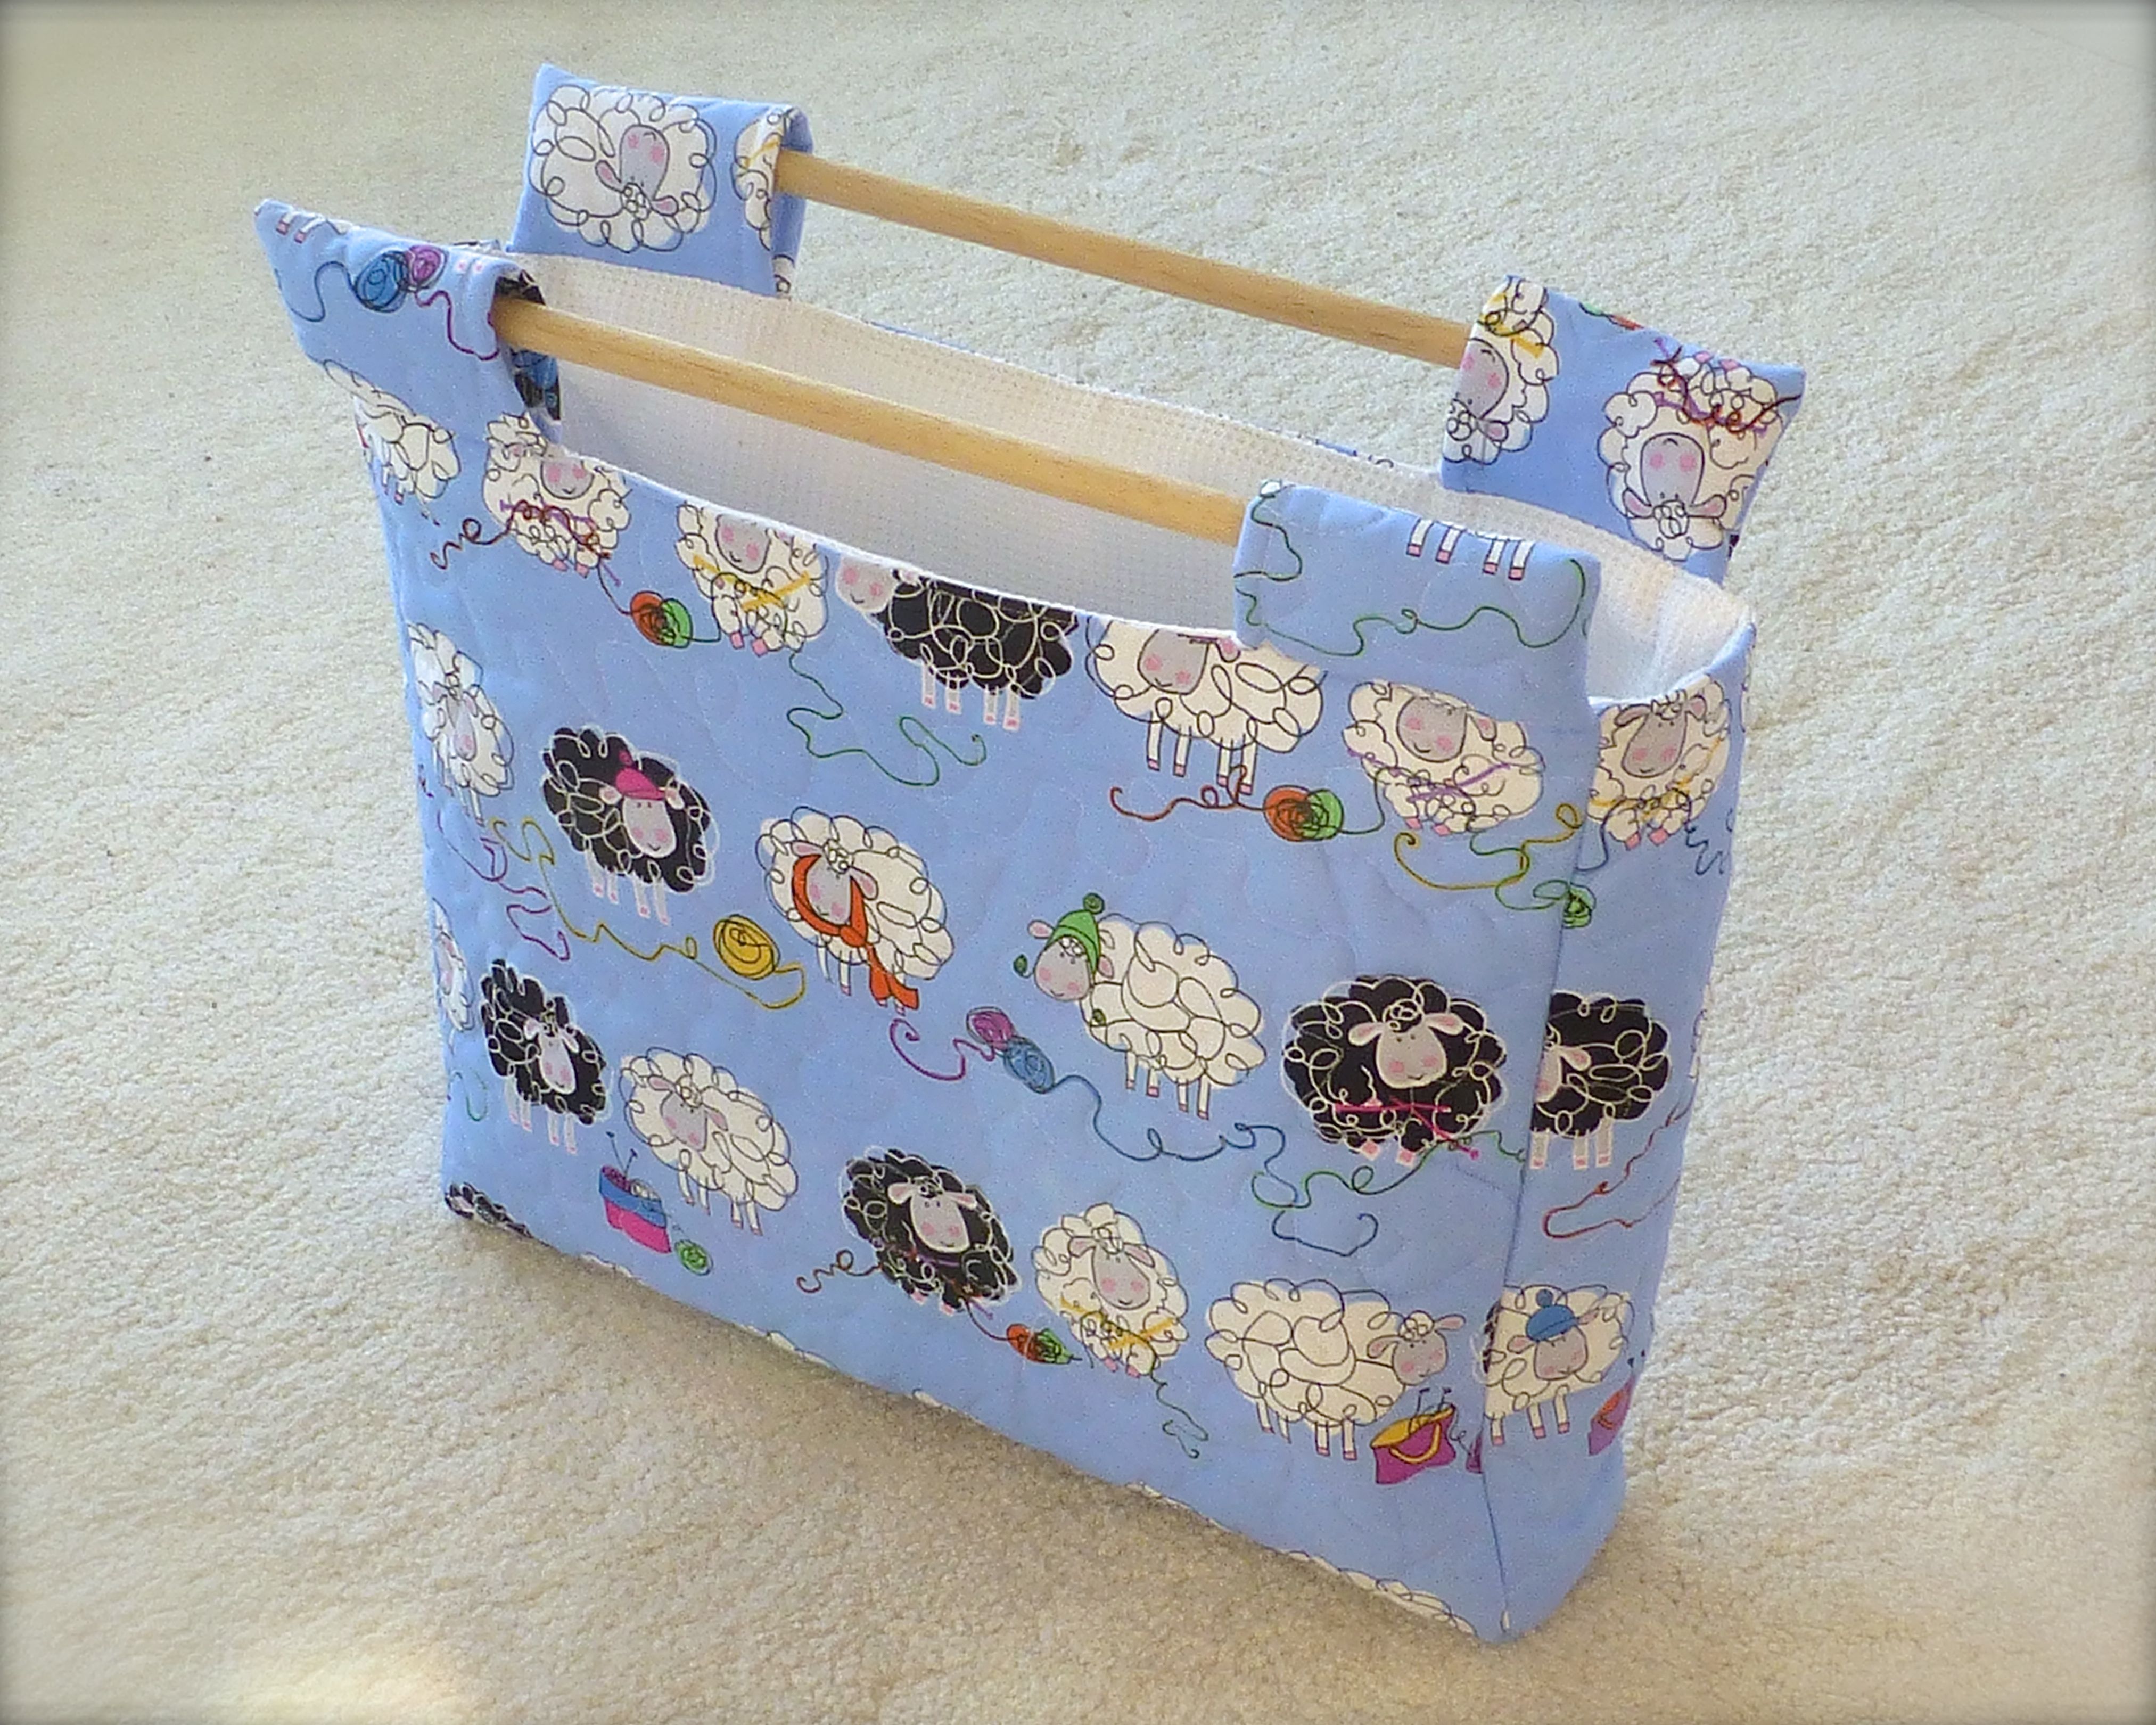
I had in mind a WIP bag using my favourite two fabrics, this one for the main body of the bag…..

sew retro montage

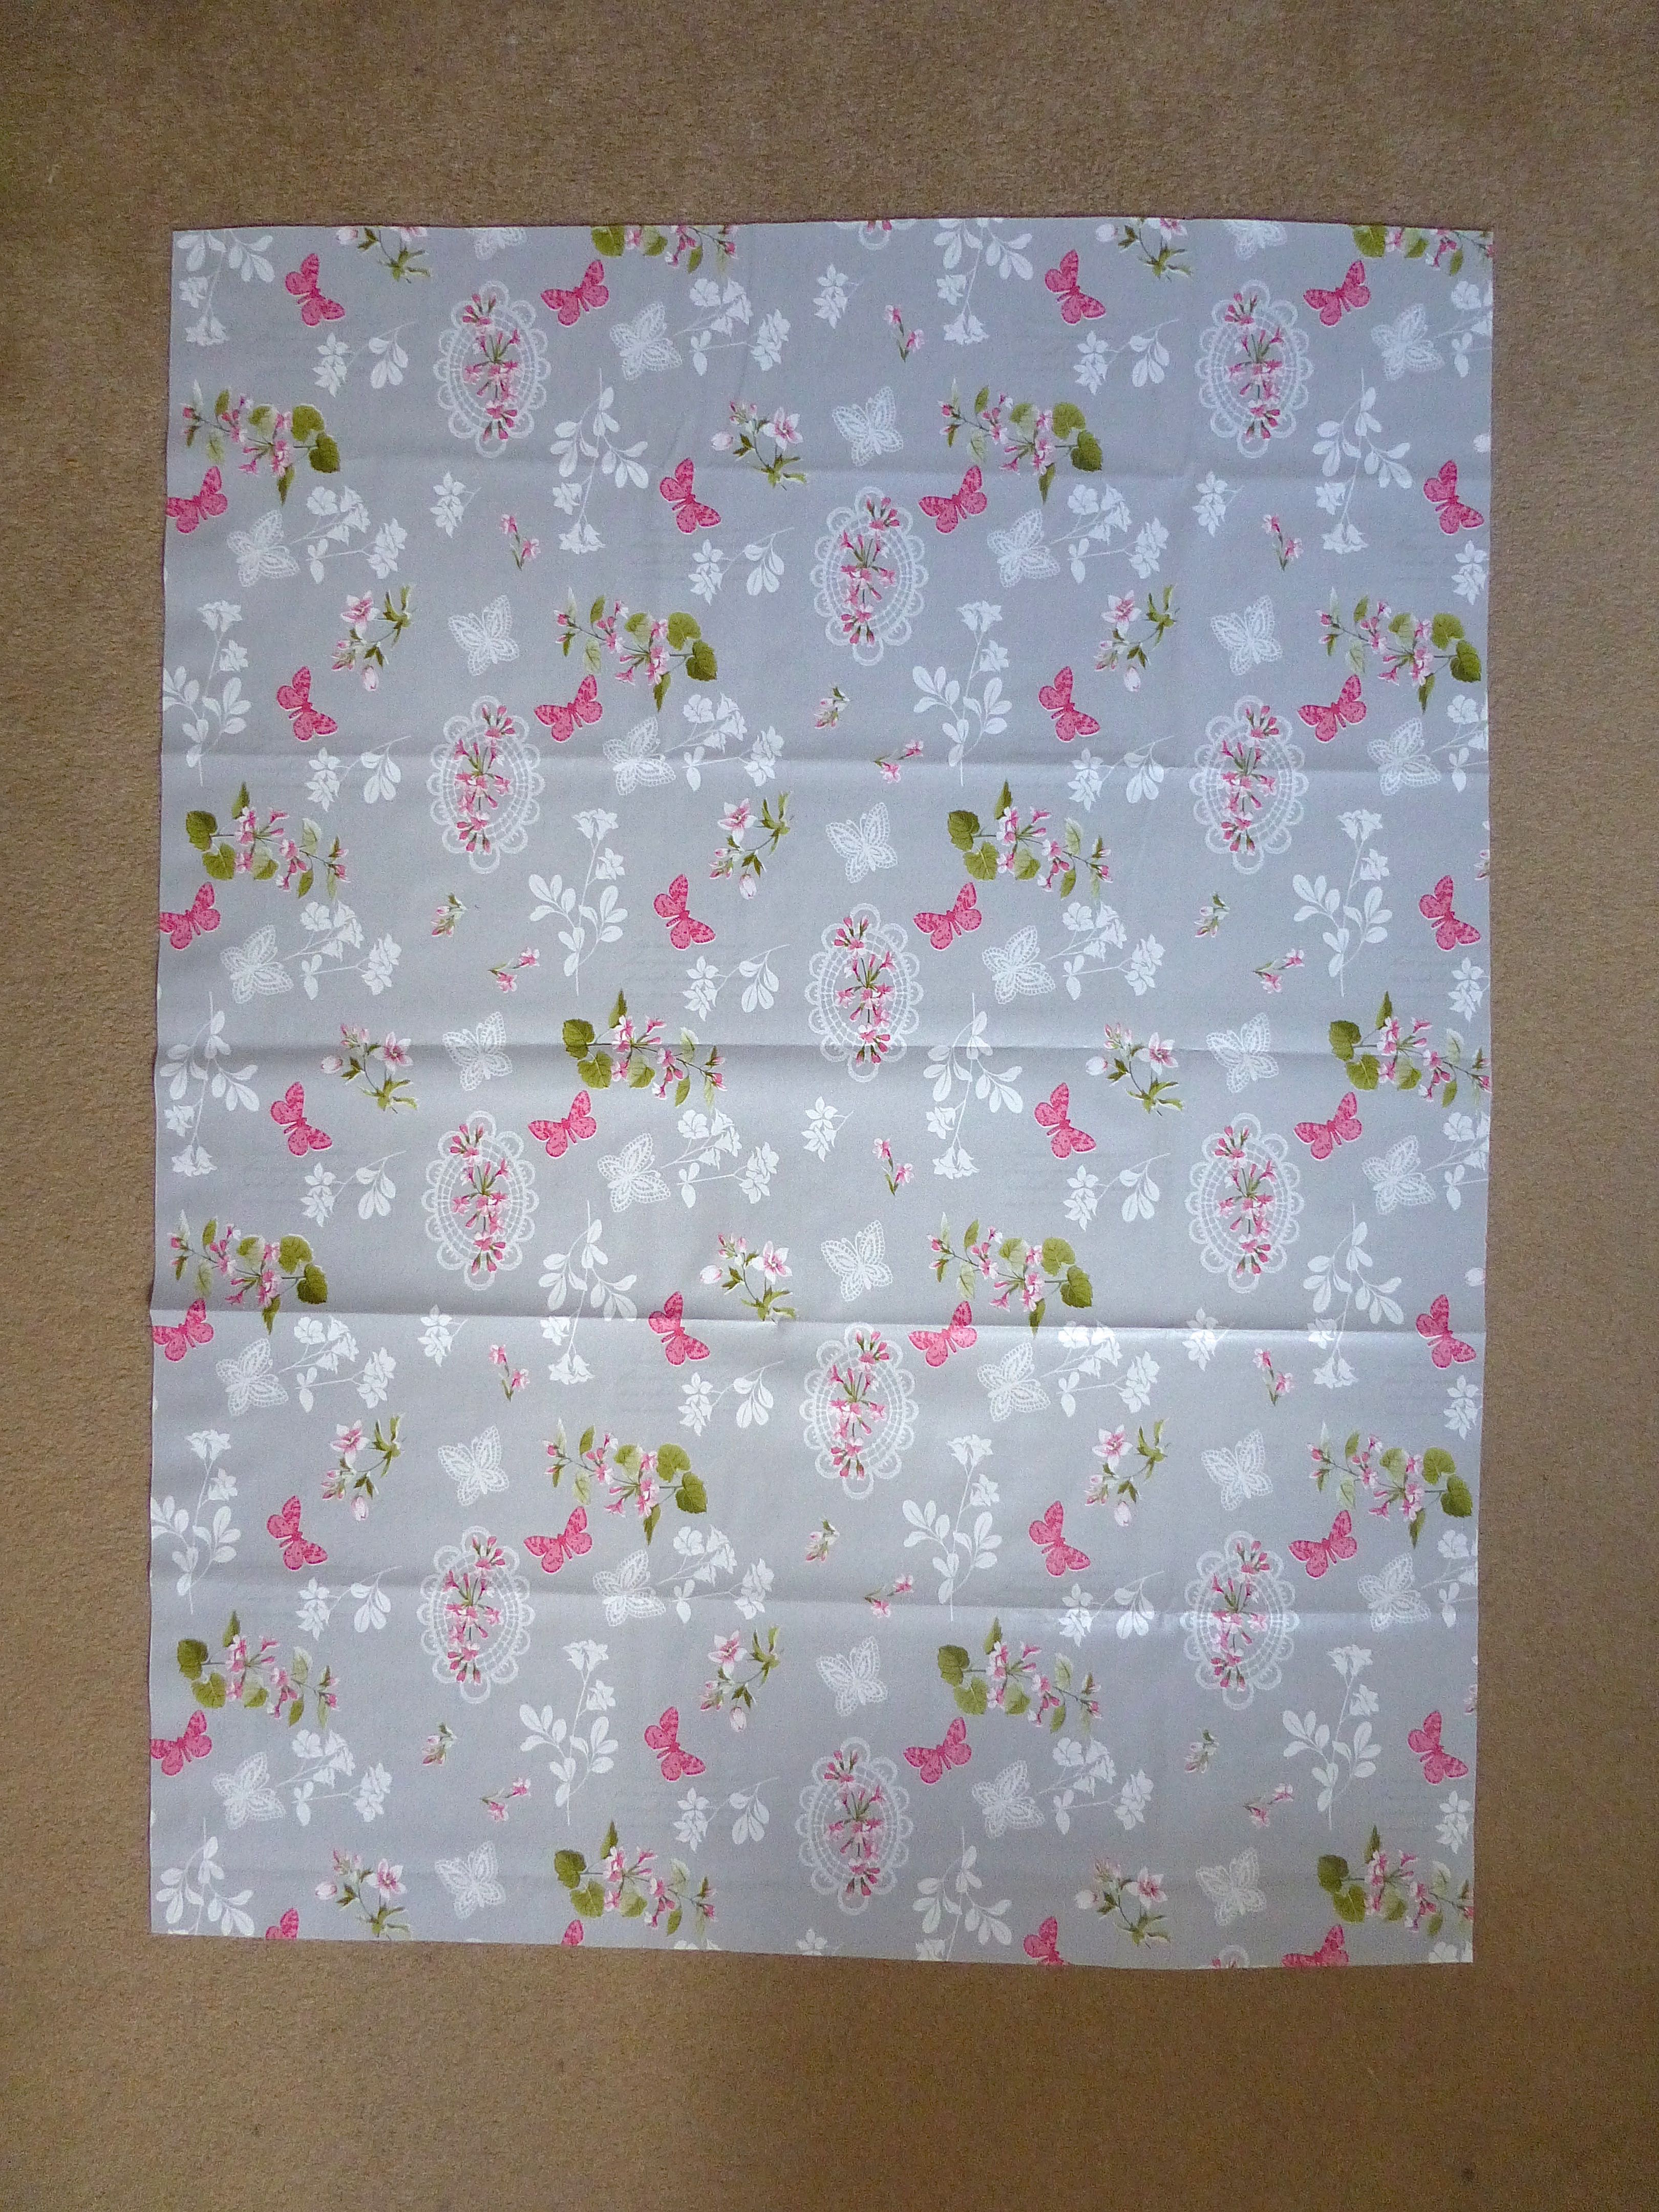
…and this one for the lining;

sew retro tonal pattern

As this bag will be for myself, I could afford to be a little extravagant with my fabric and lining choices.

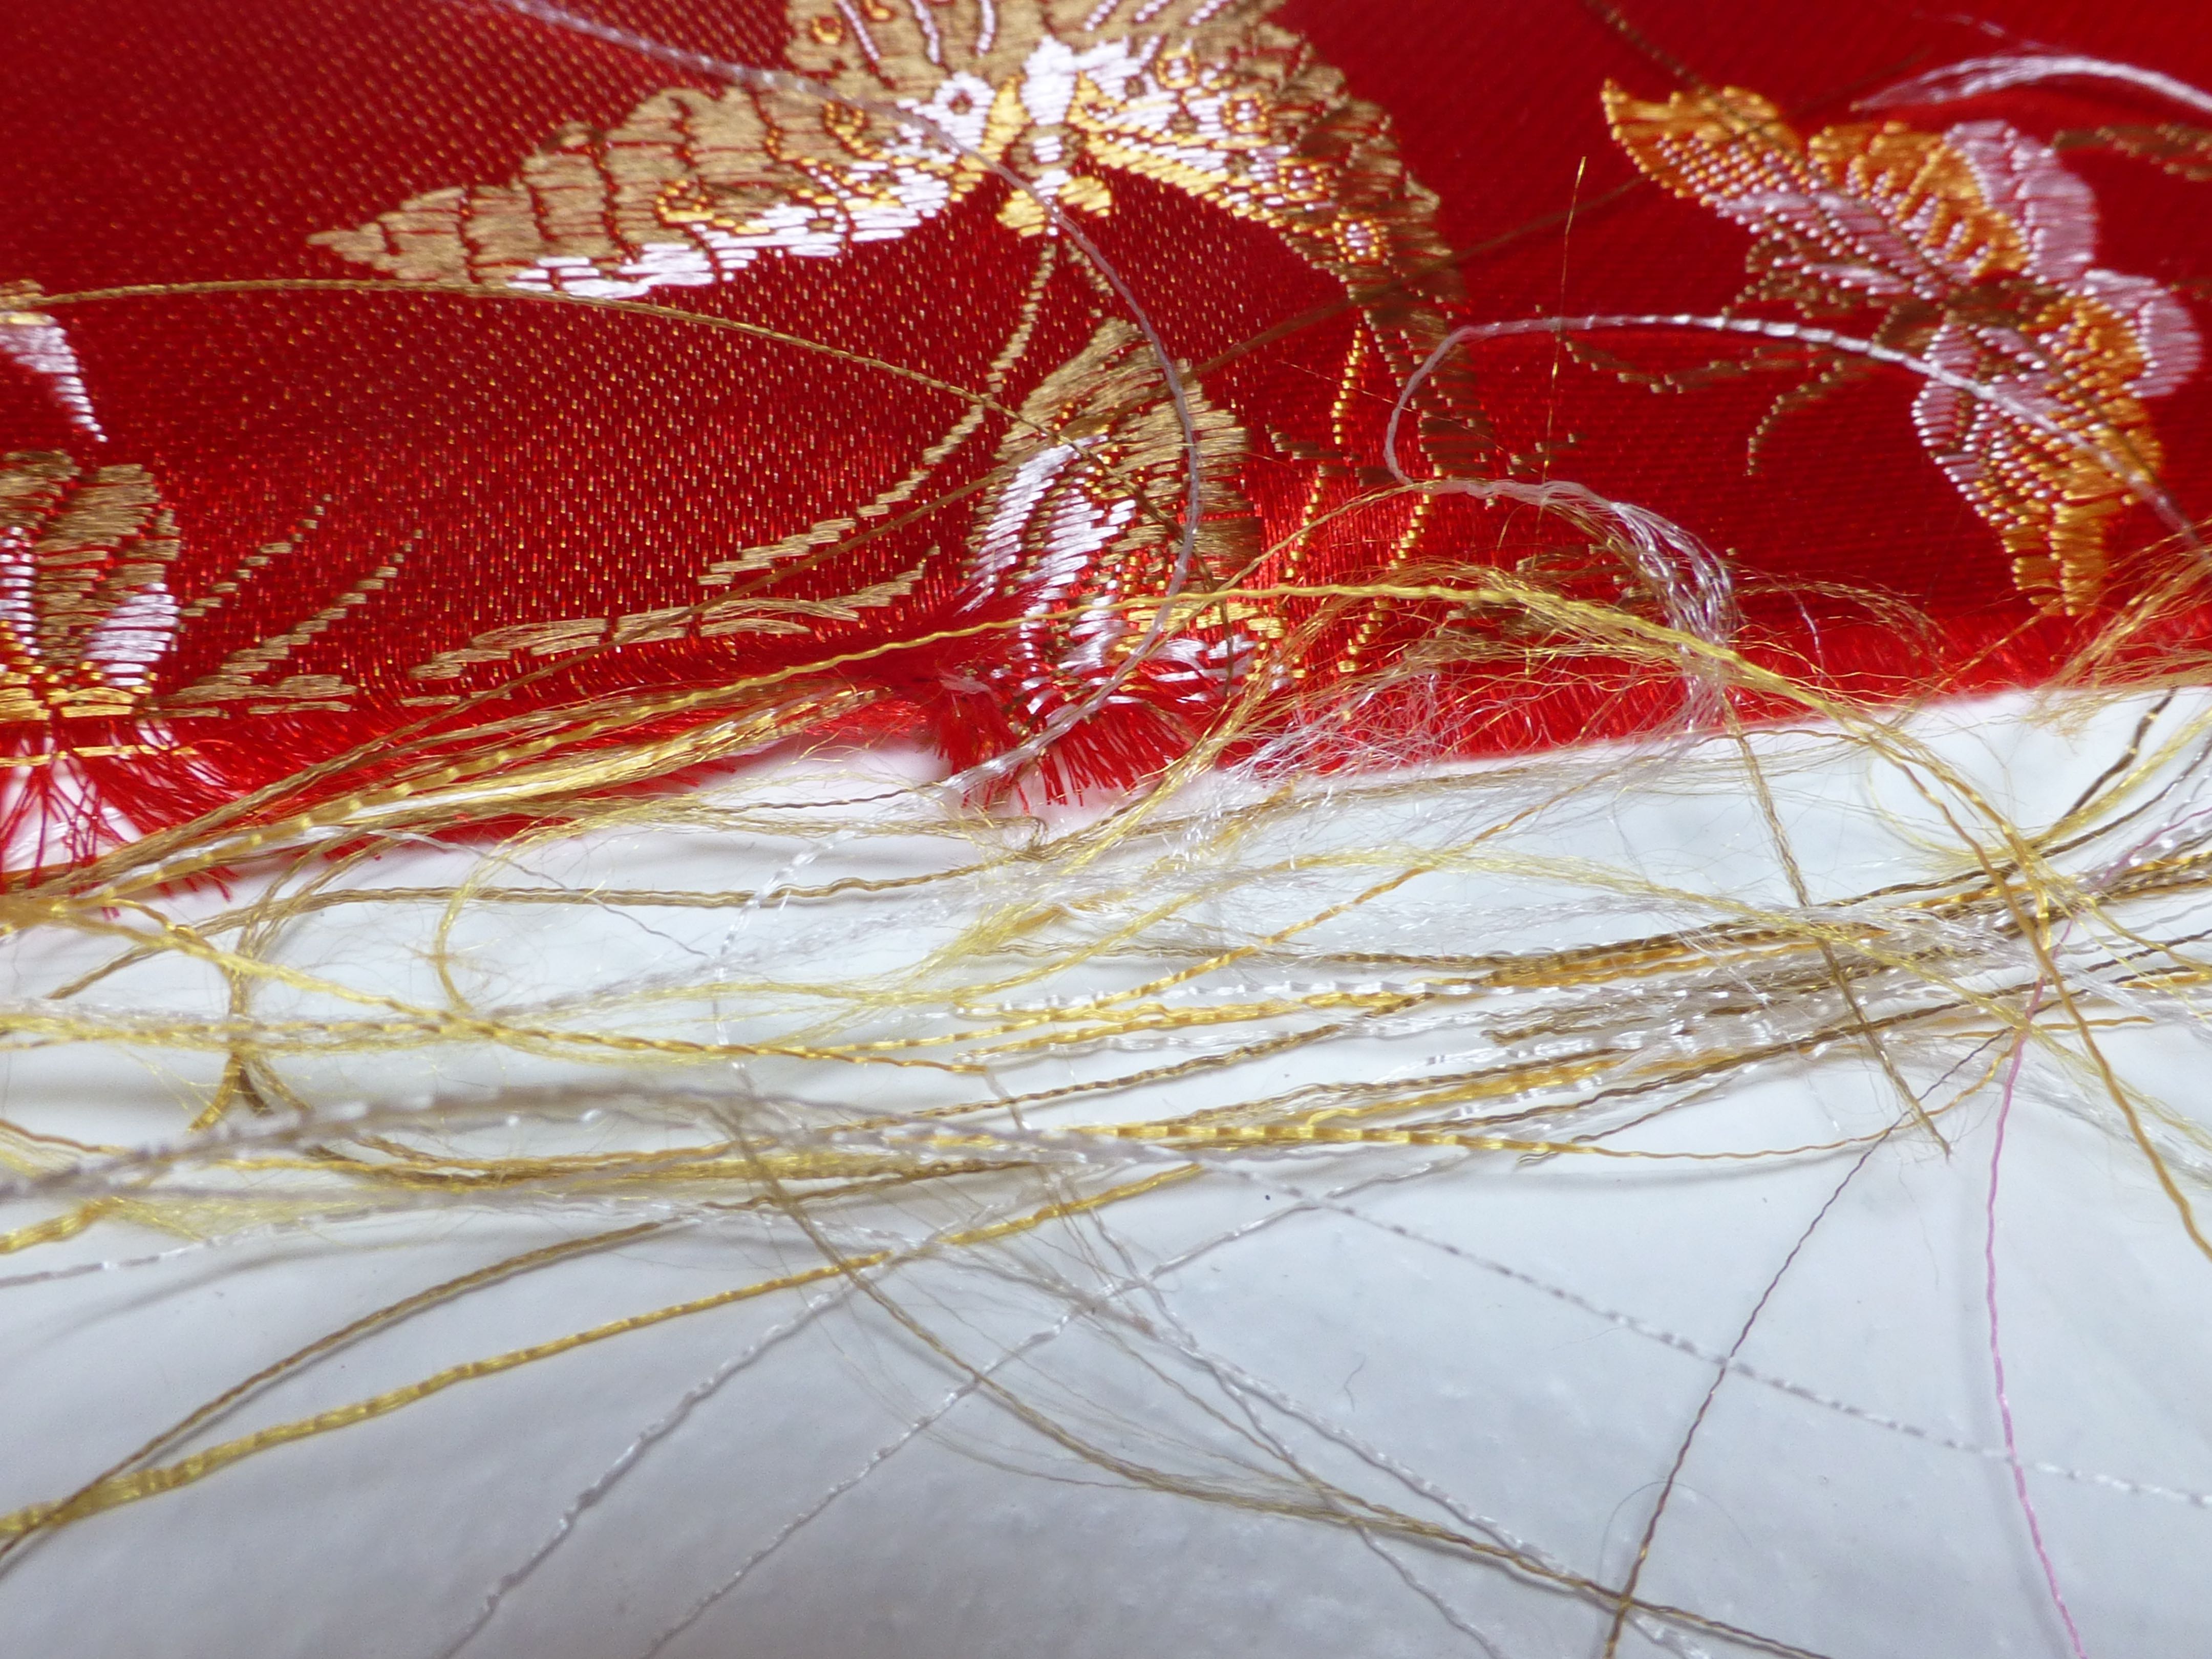
I also decided to make a real statement by quilting the fabric onto wadding prior to construction. This takes quite a long time to do but adds an air of “couture” to the bag and is totally worth it having invested in expensive fabric.

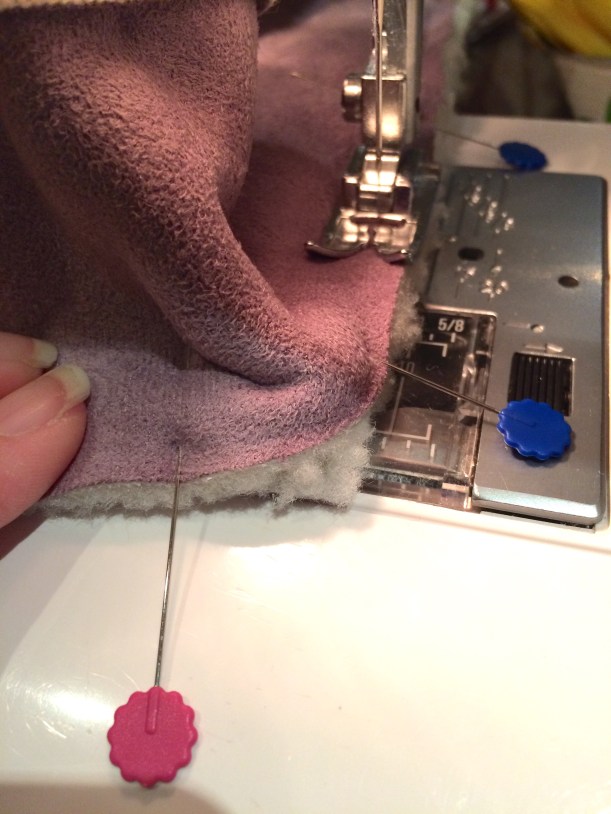
Free machine quilting is not difficult to do, just time consuming – take plenty of breaks to relax those shoulders!

Drop the feed dogs (or cover them, depending on your machine), remove the sewing foot and you’re ready to go. I did the free machine embroidery in a random swirly design, filling in the space as I went.

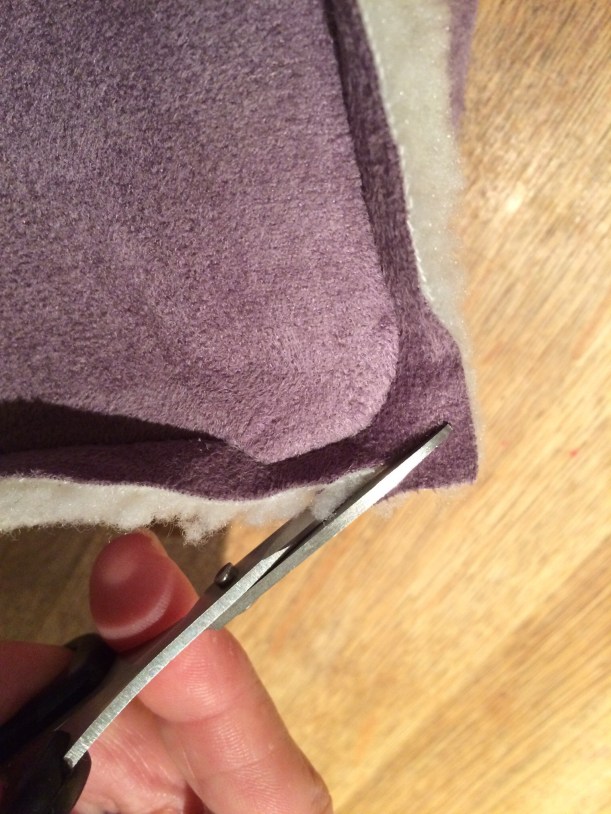
TIP: Use a new needle and good quality thread like Gutermann’s 100% polyester – cheap thread is often made from only two twists and will snap easily and frequently.

P1040359

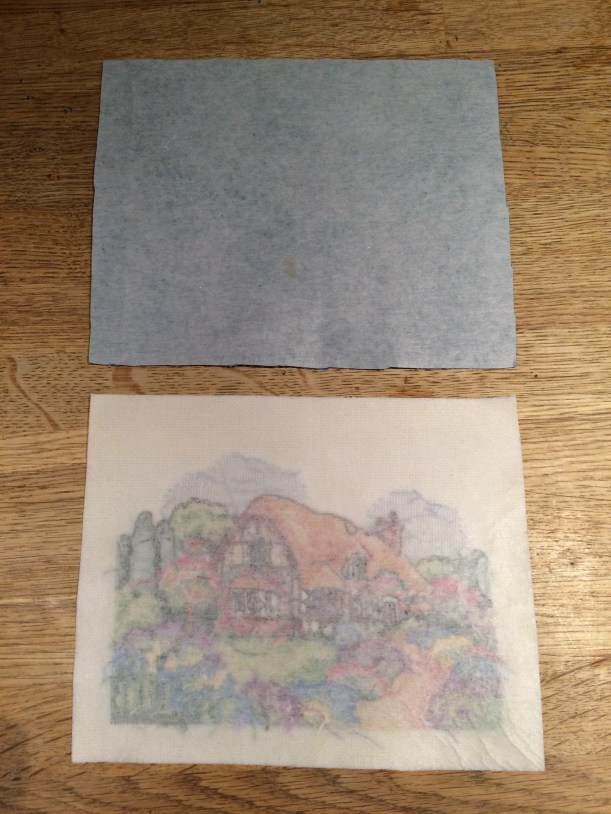
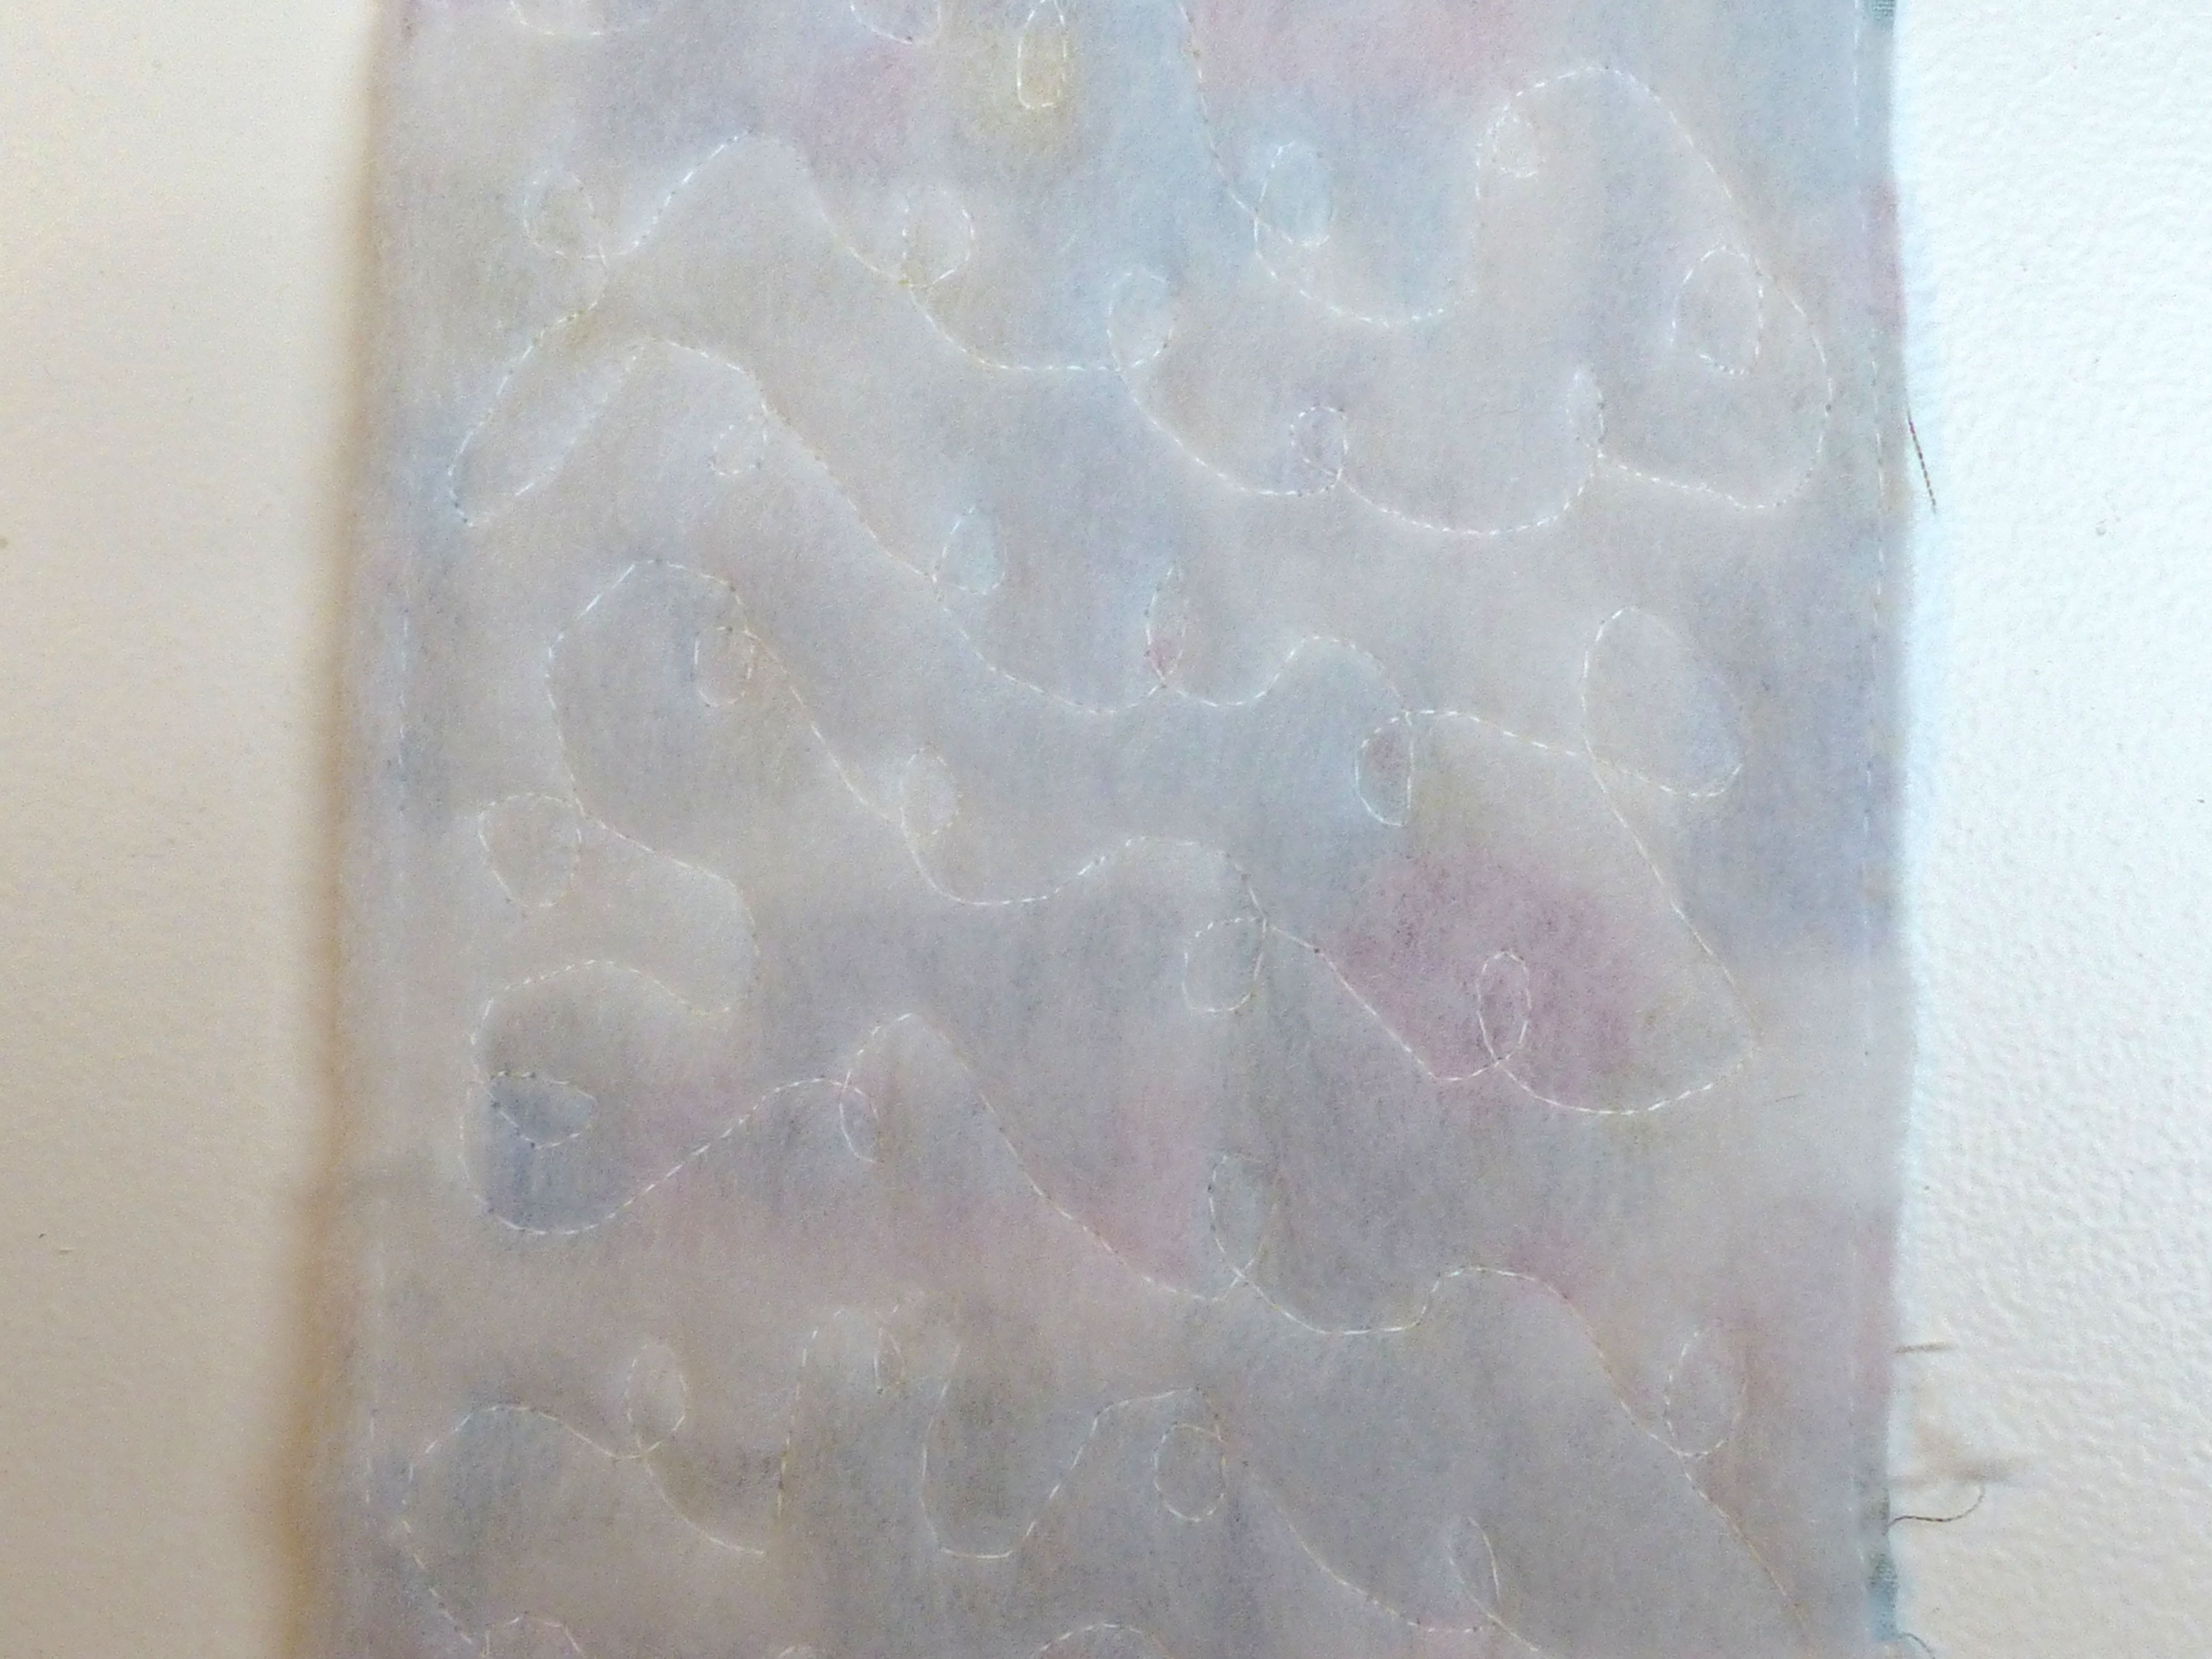
This is what the quilting looks like on the reverse;

P1040360

The textured finish on the front is really lovely;

P1040365

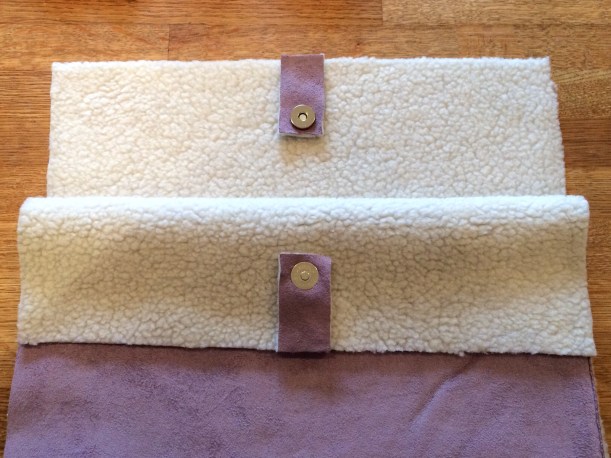
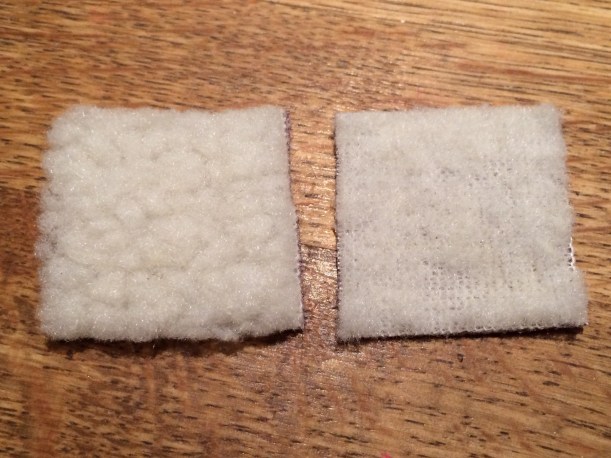
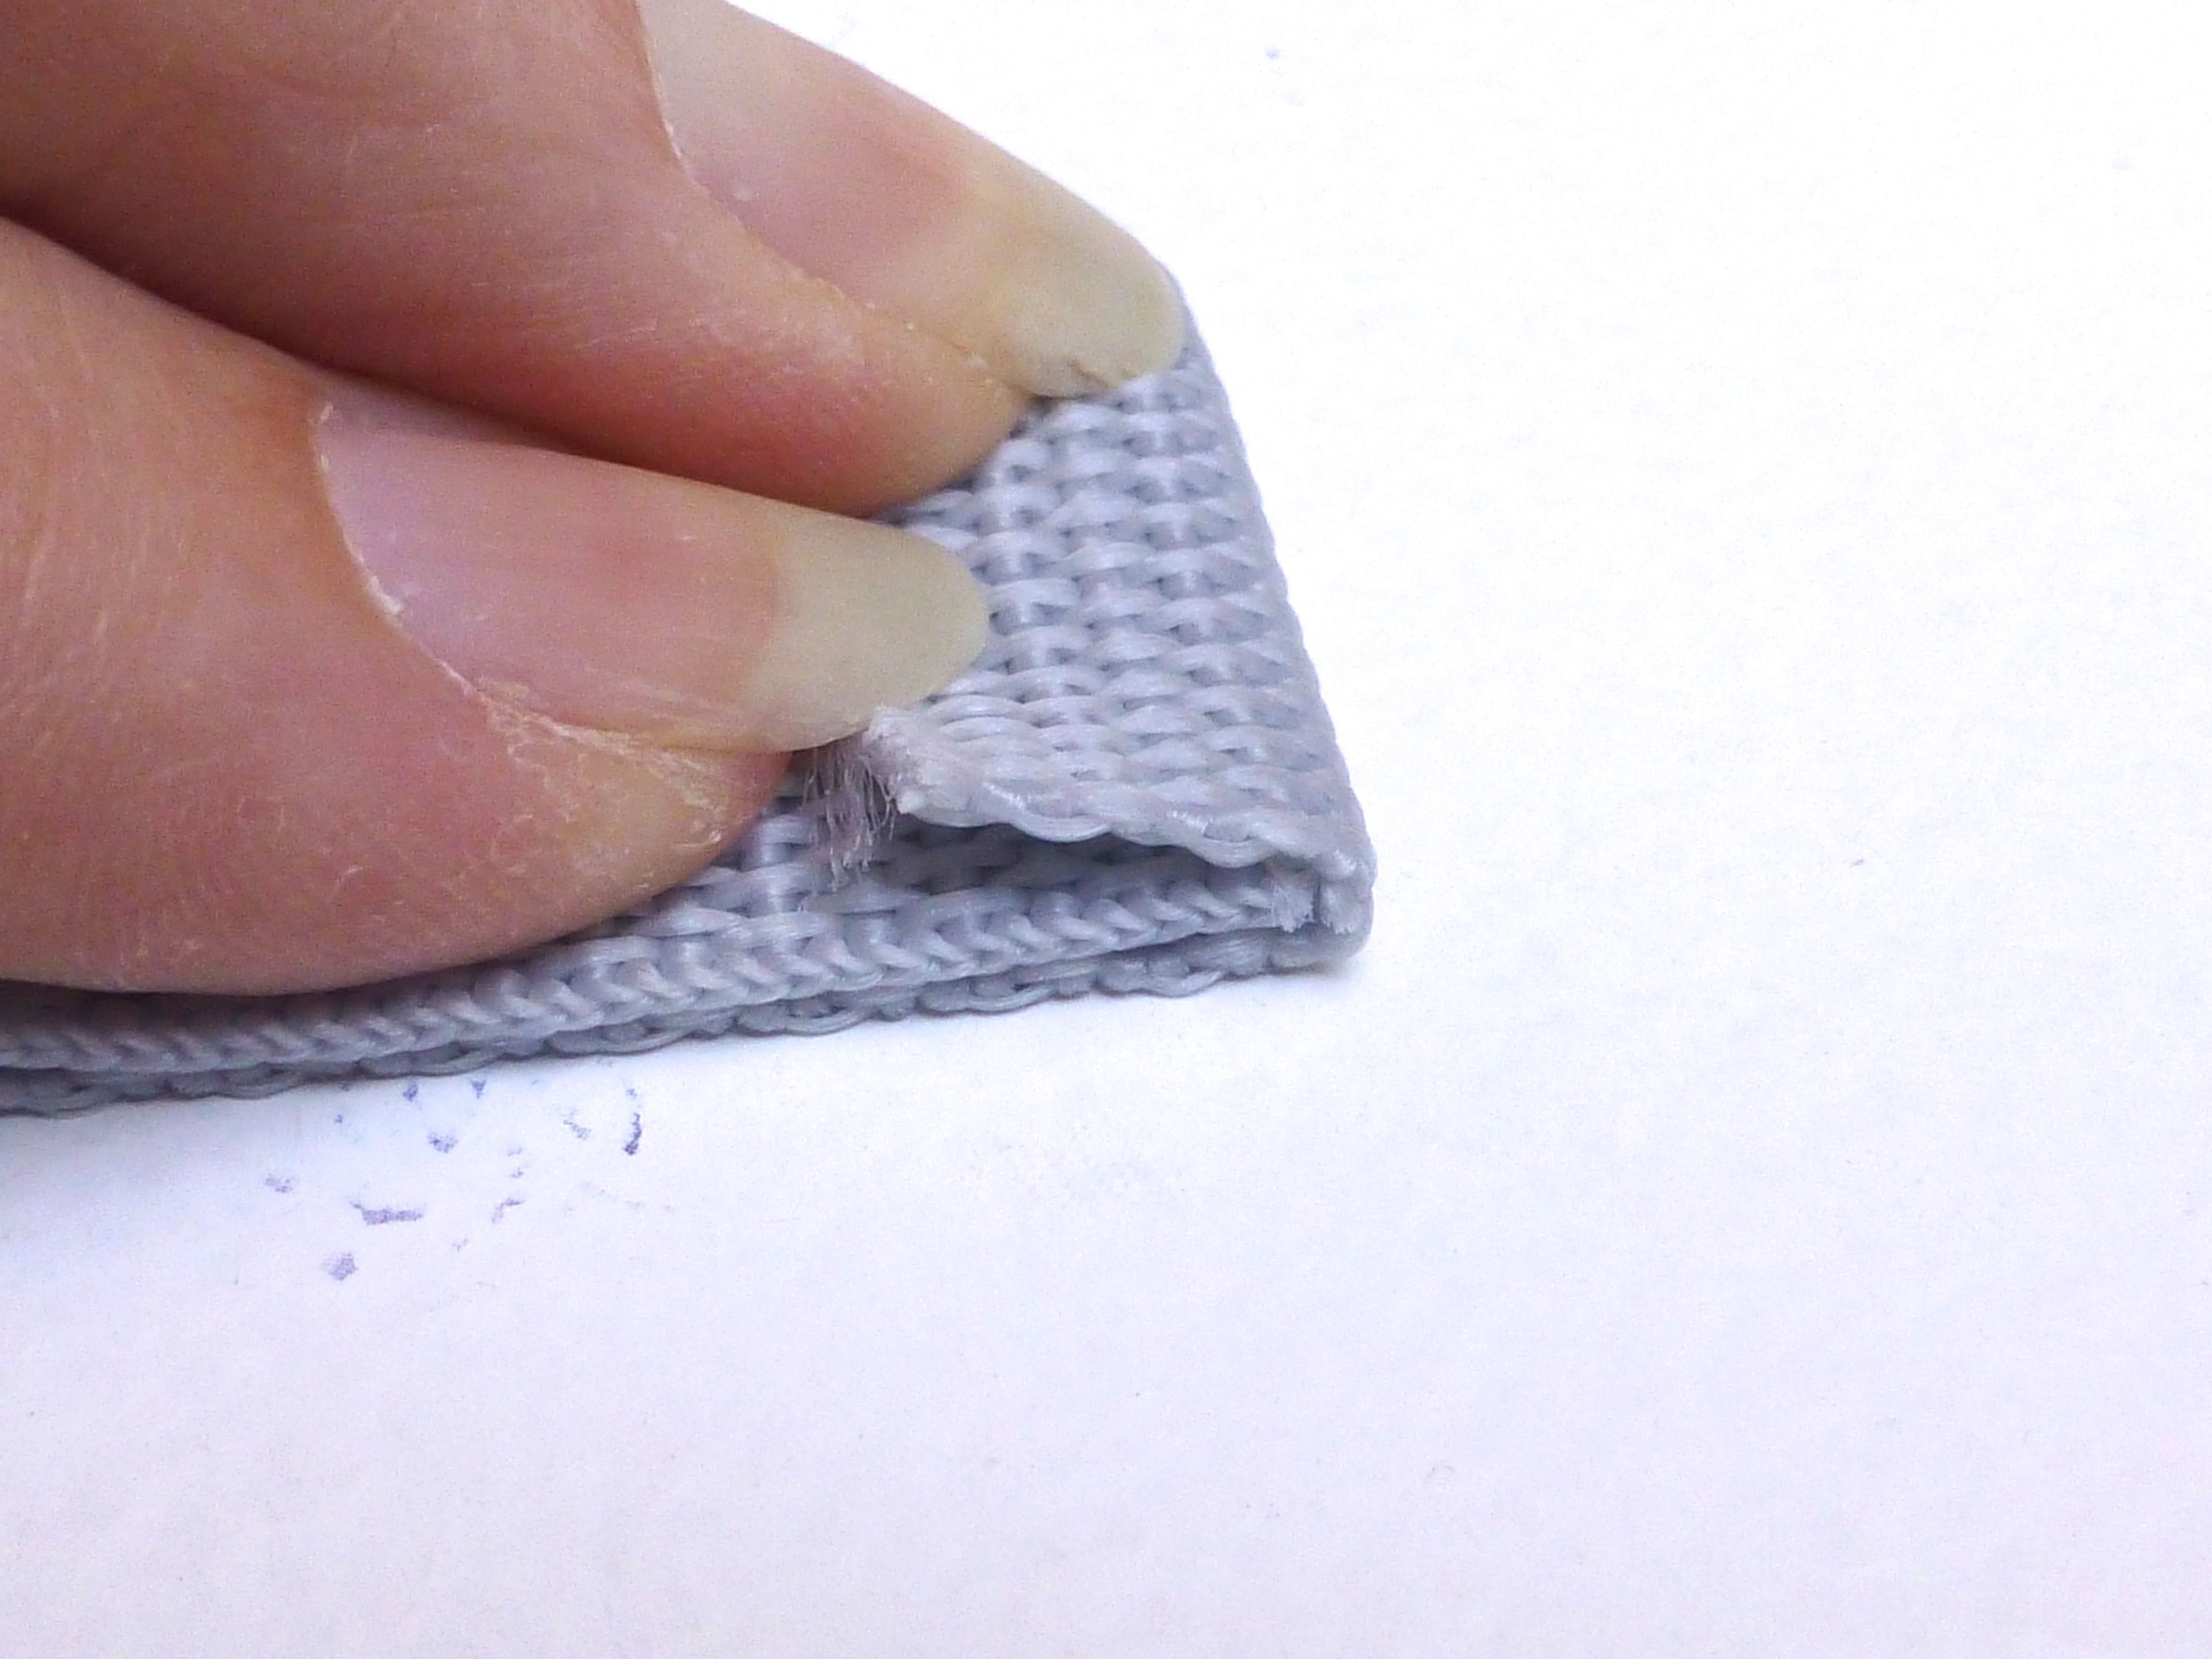
It’s not the easiest thing to show in a photograph, but here’s a direct comparison of an un-quilted and a quilted piece of fabric side-by-side to show you the difference;

P1040371

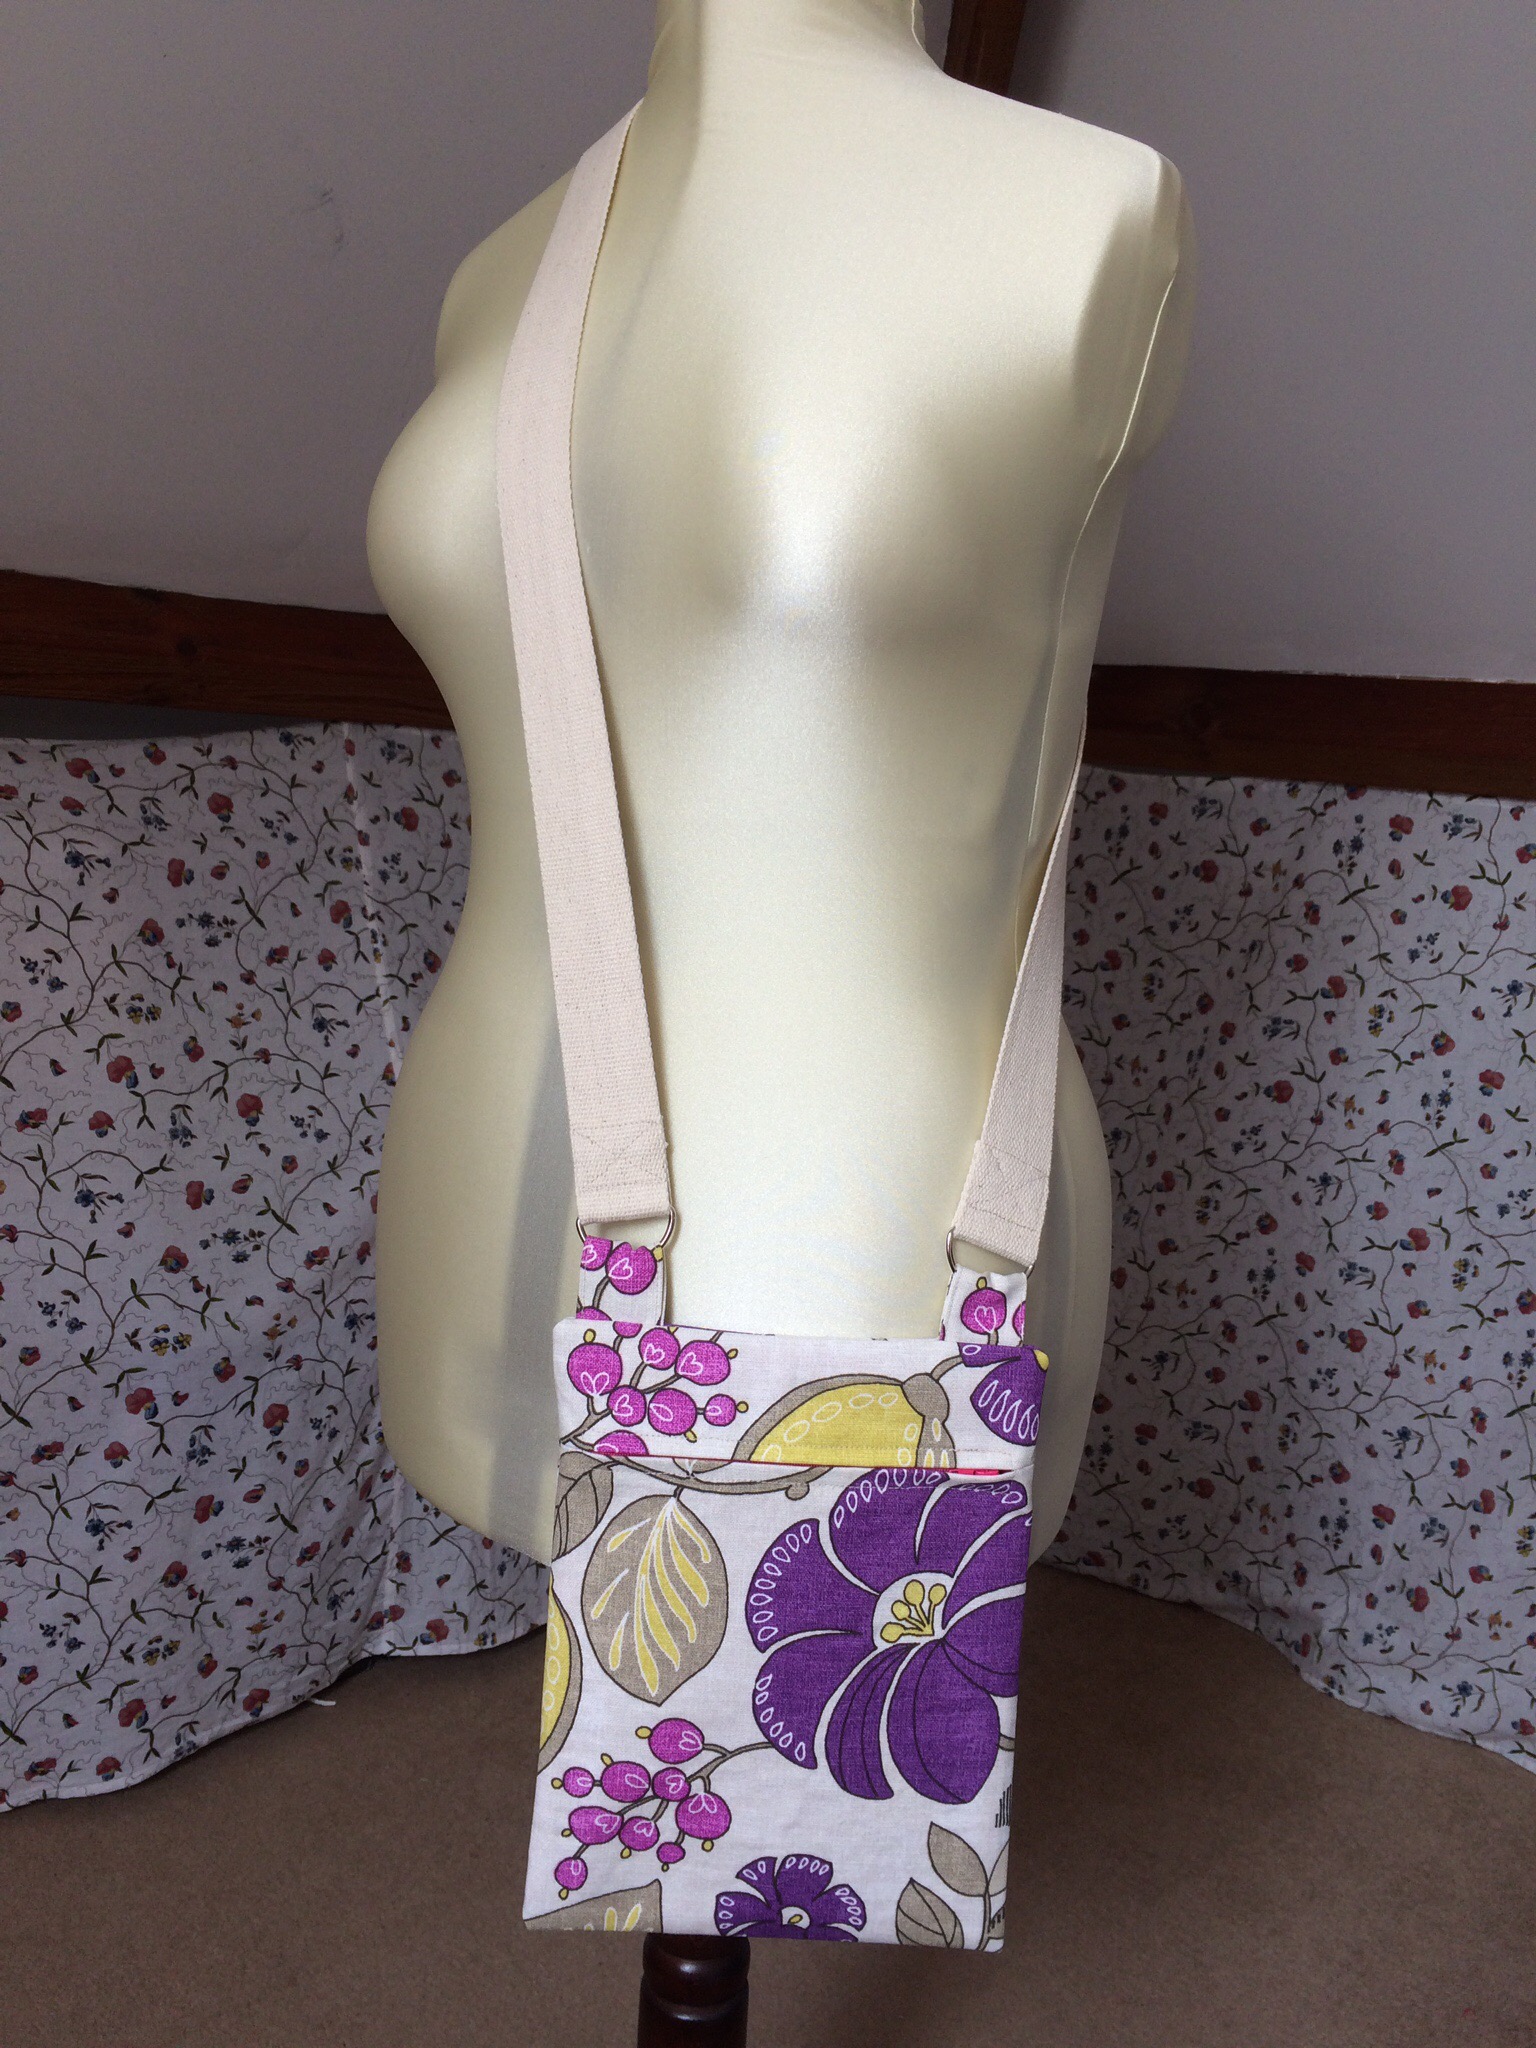
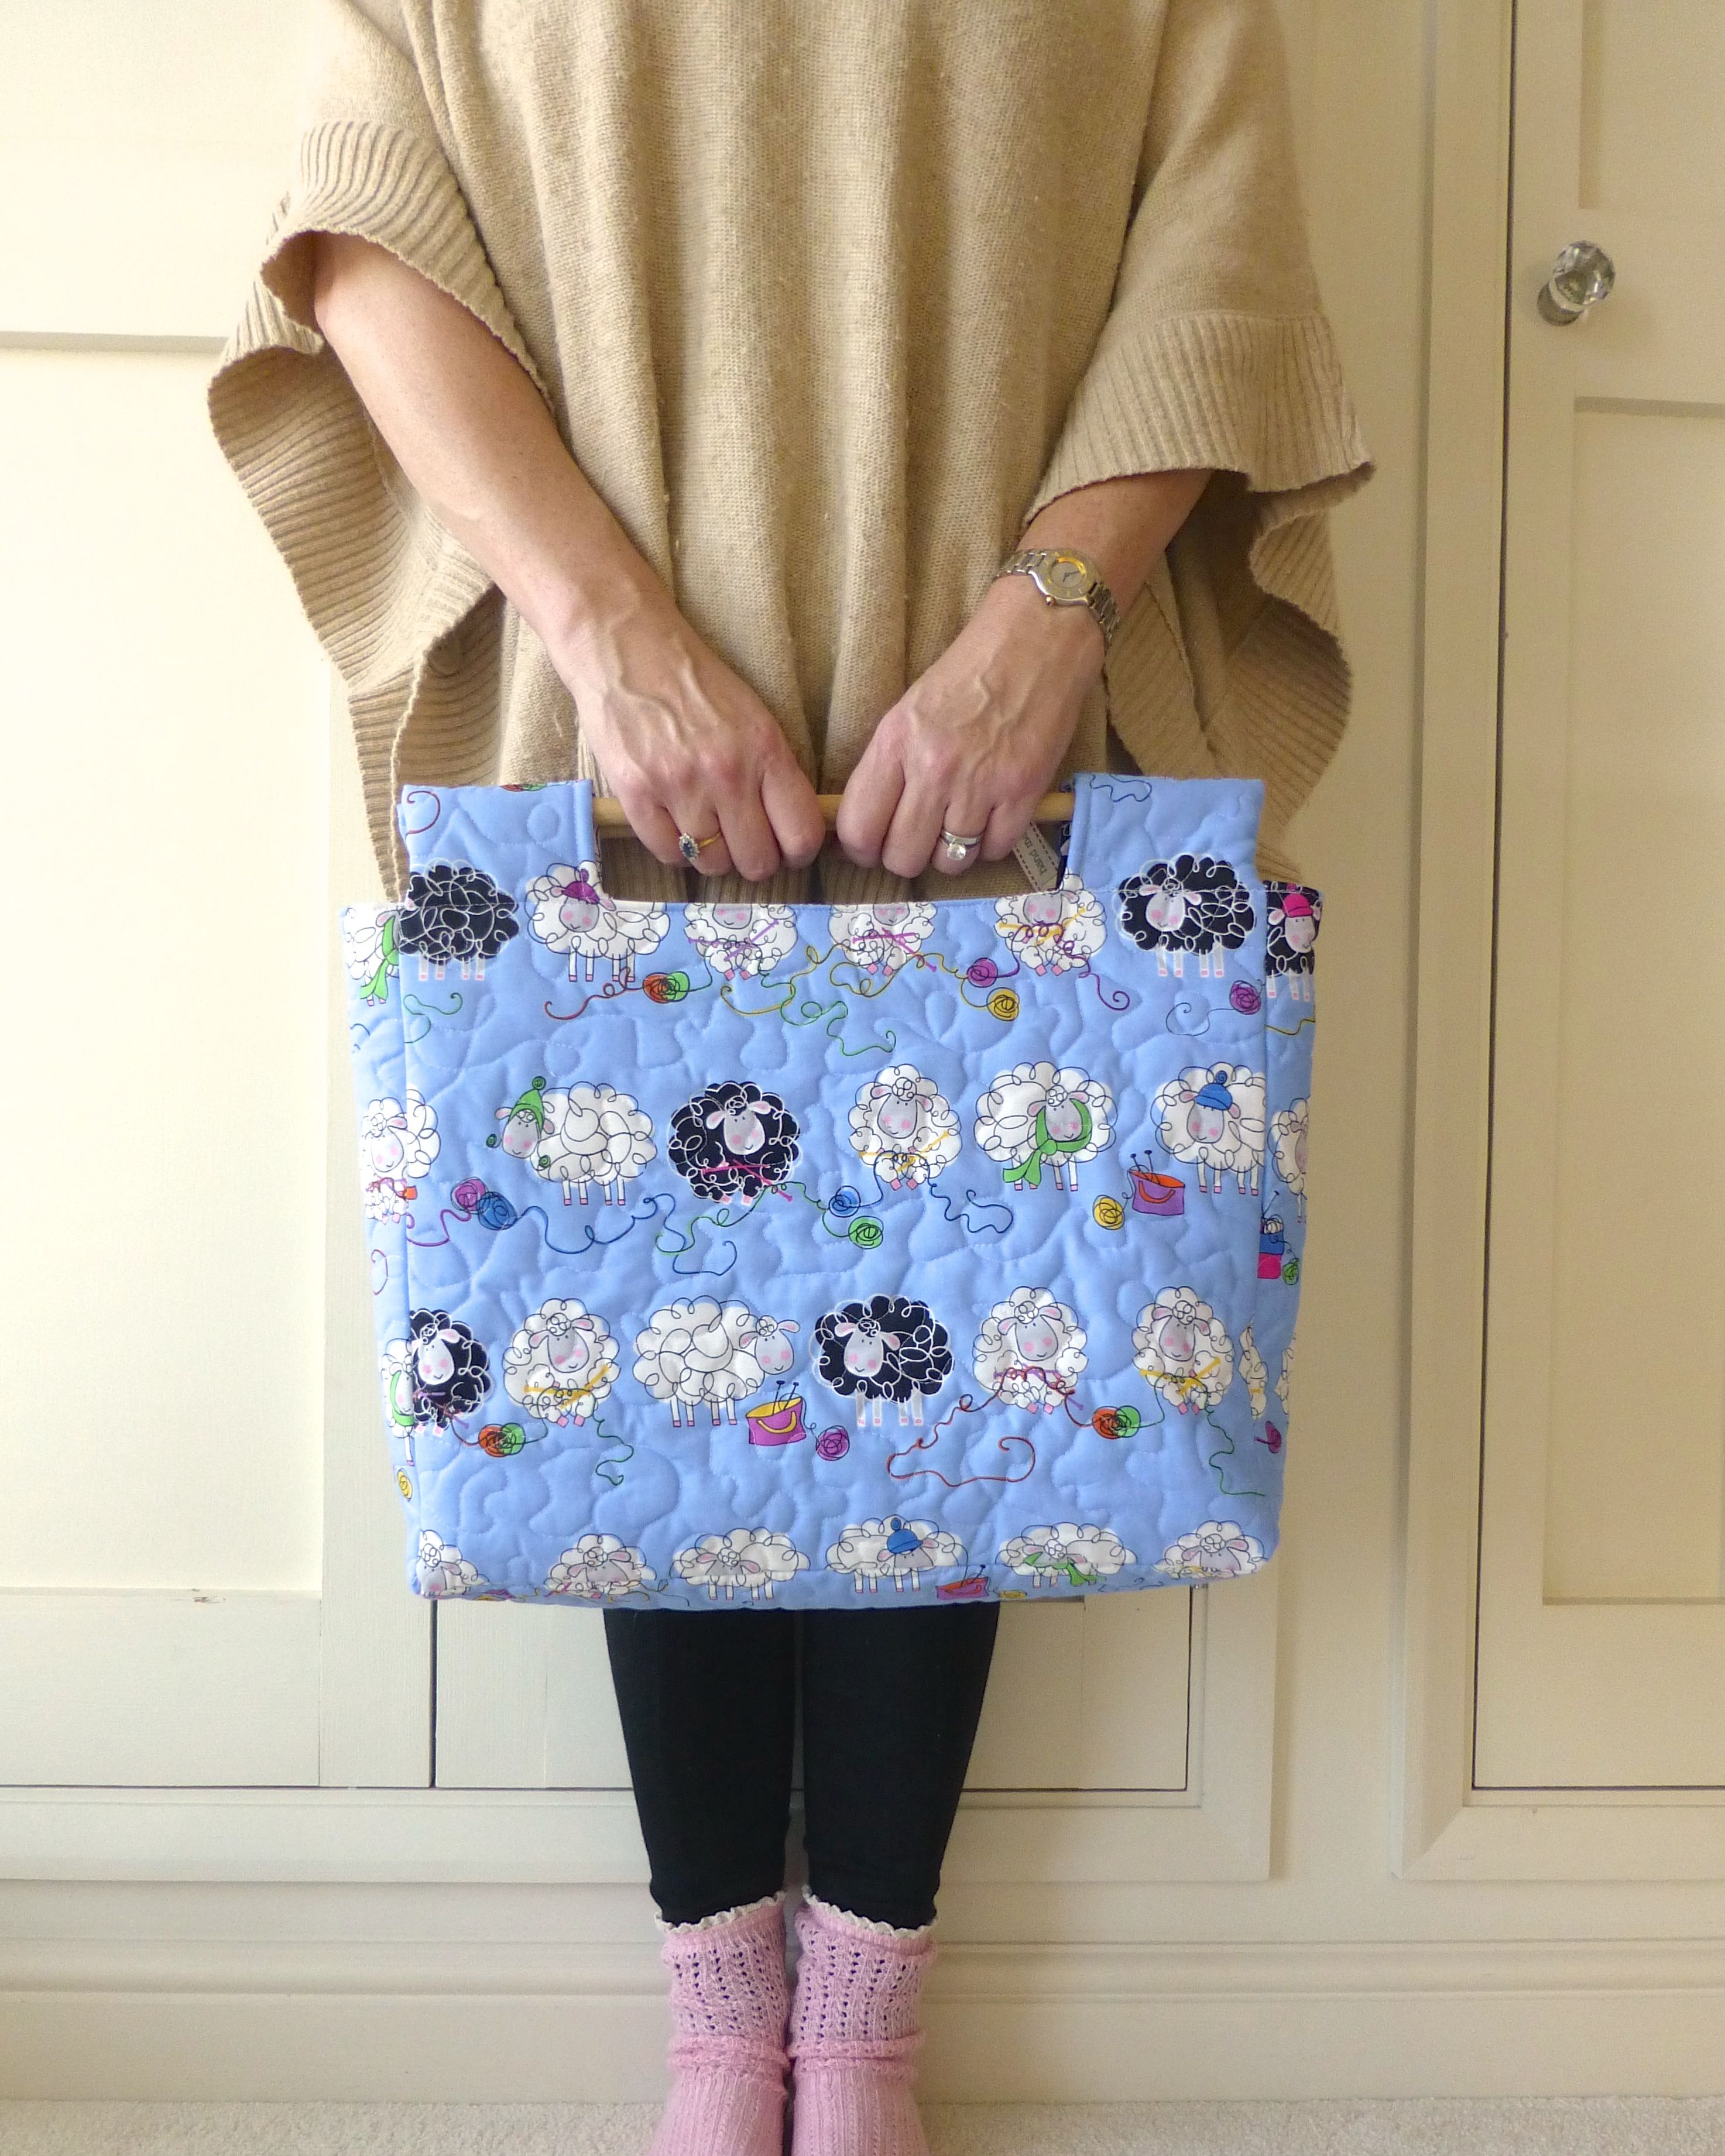
Do you want to see the finished bag?

TADAH!

P1040447

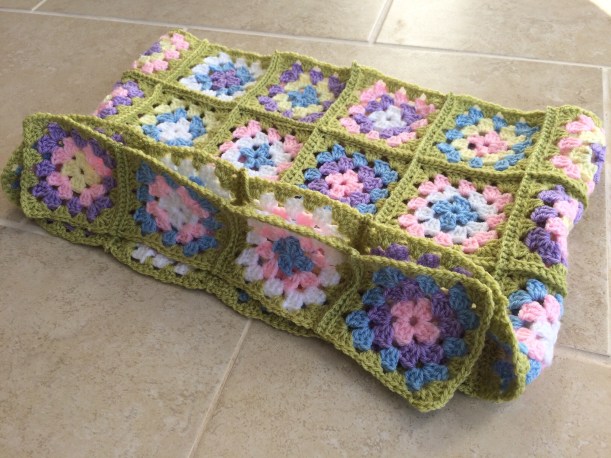
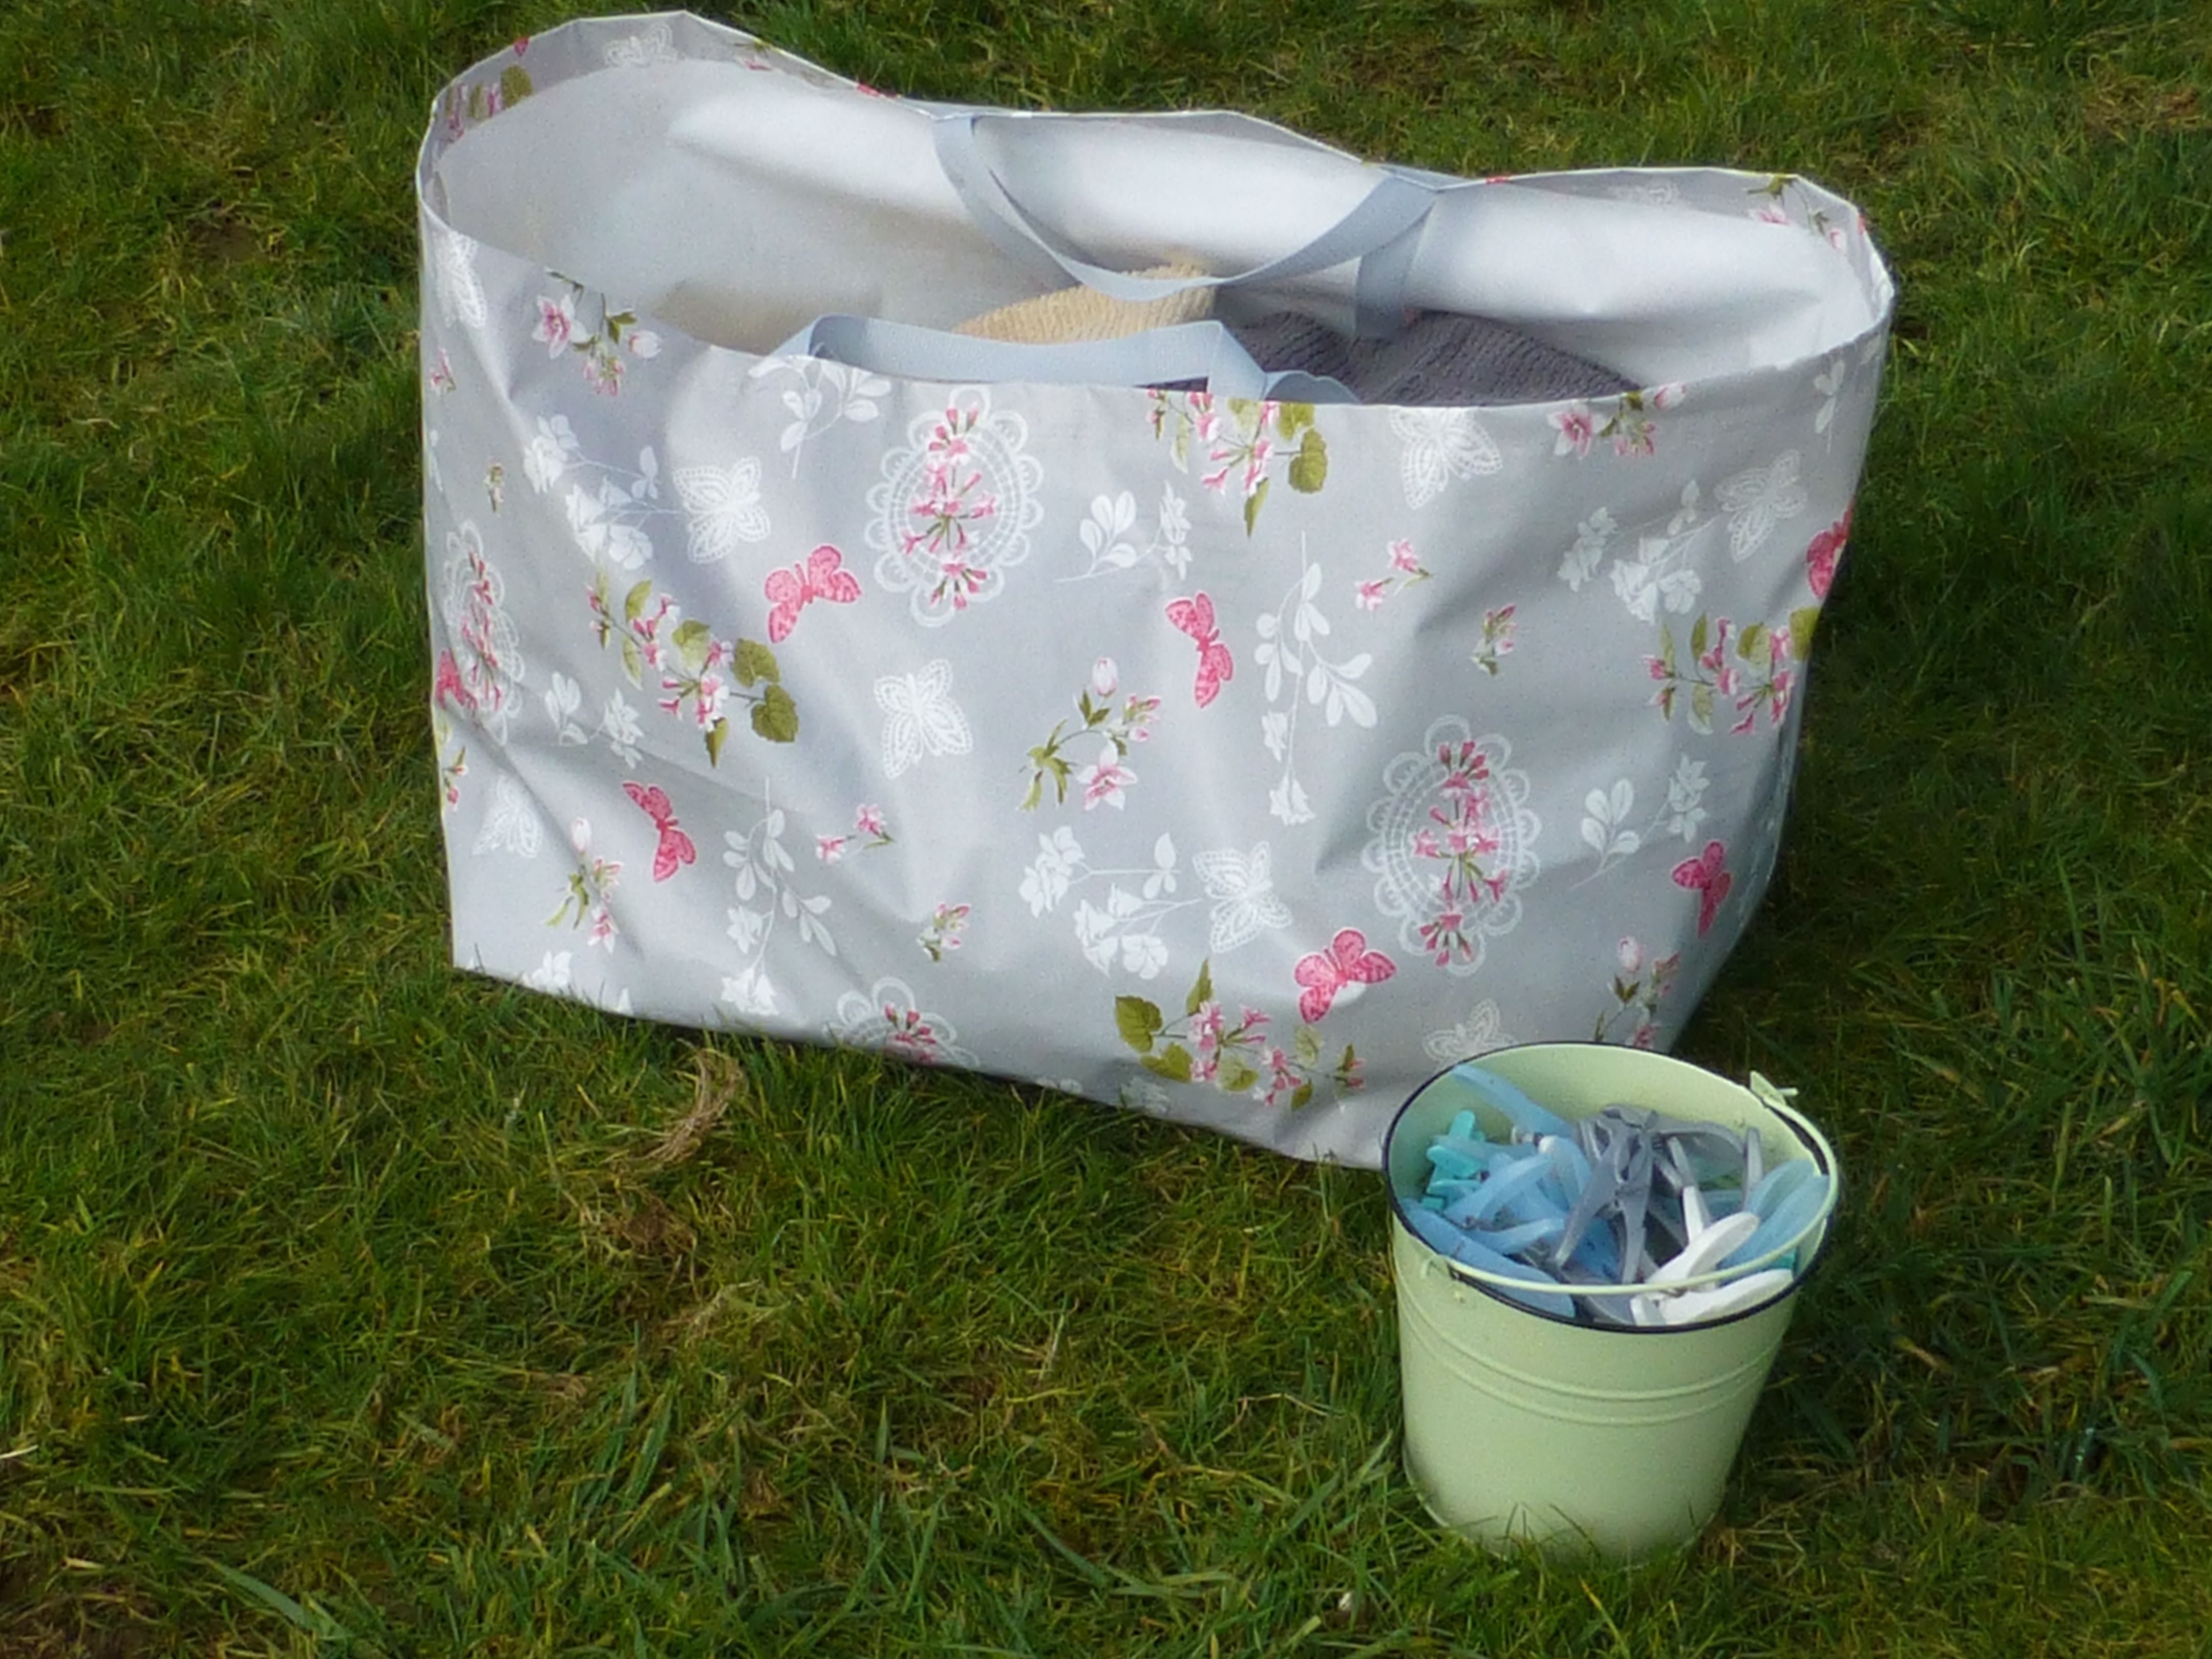
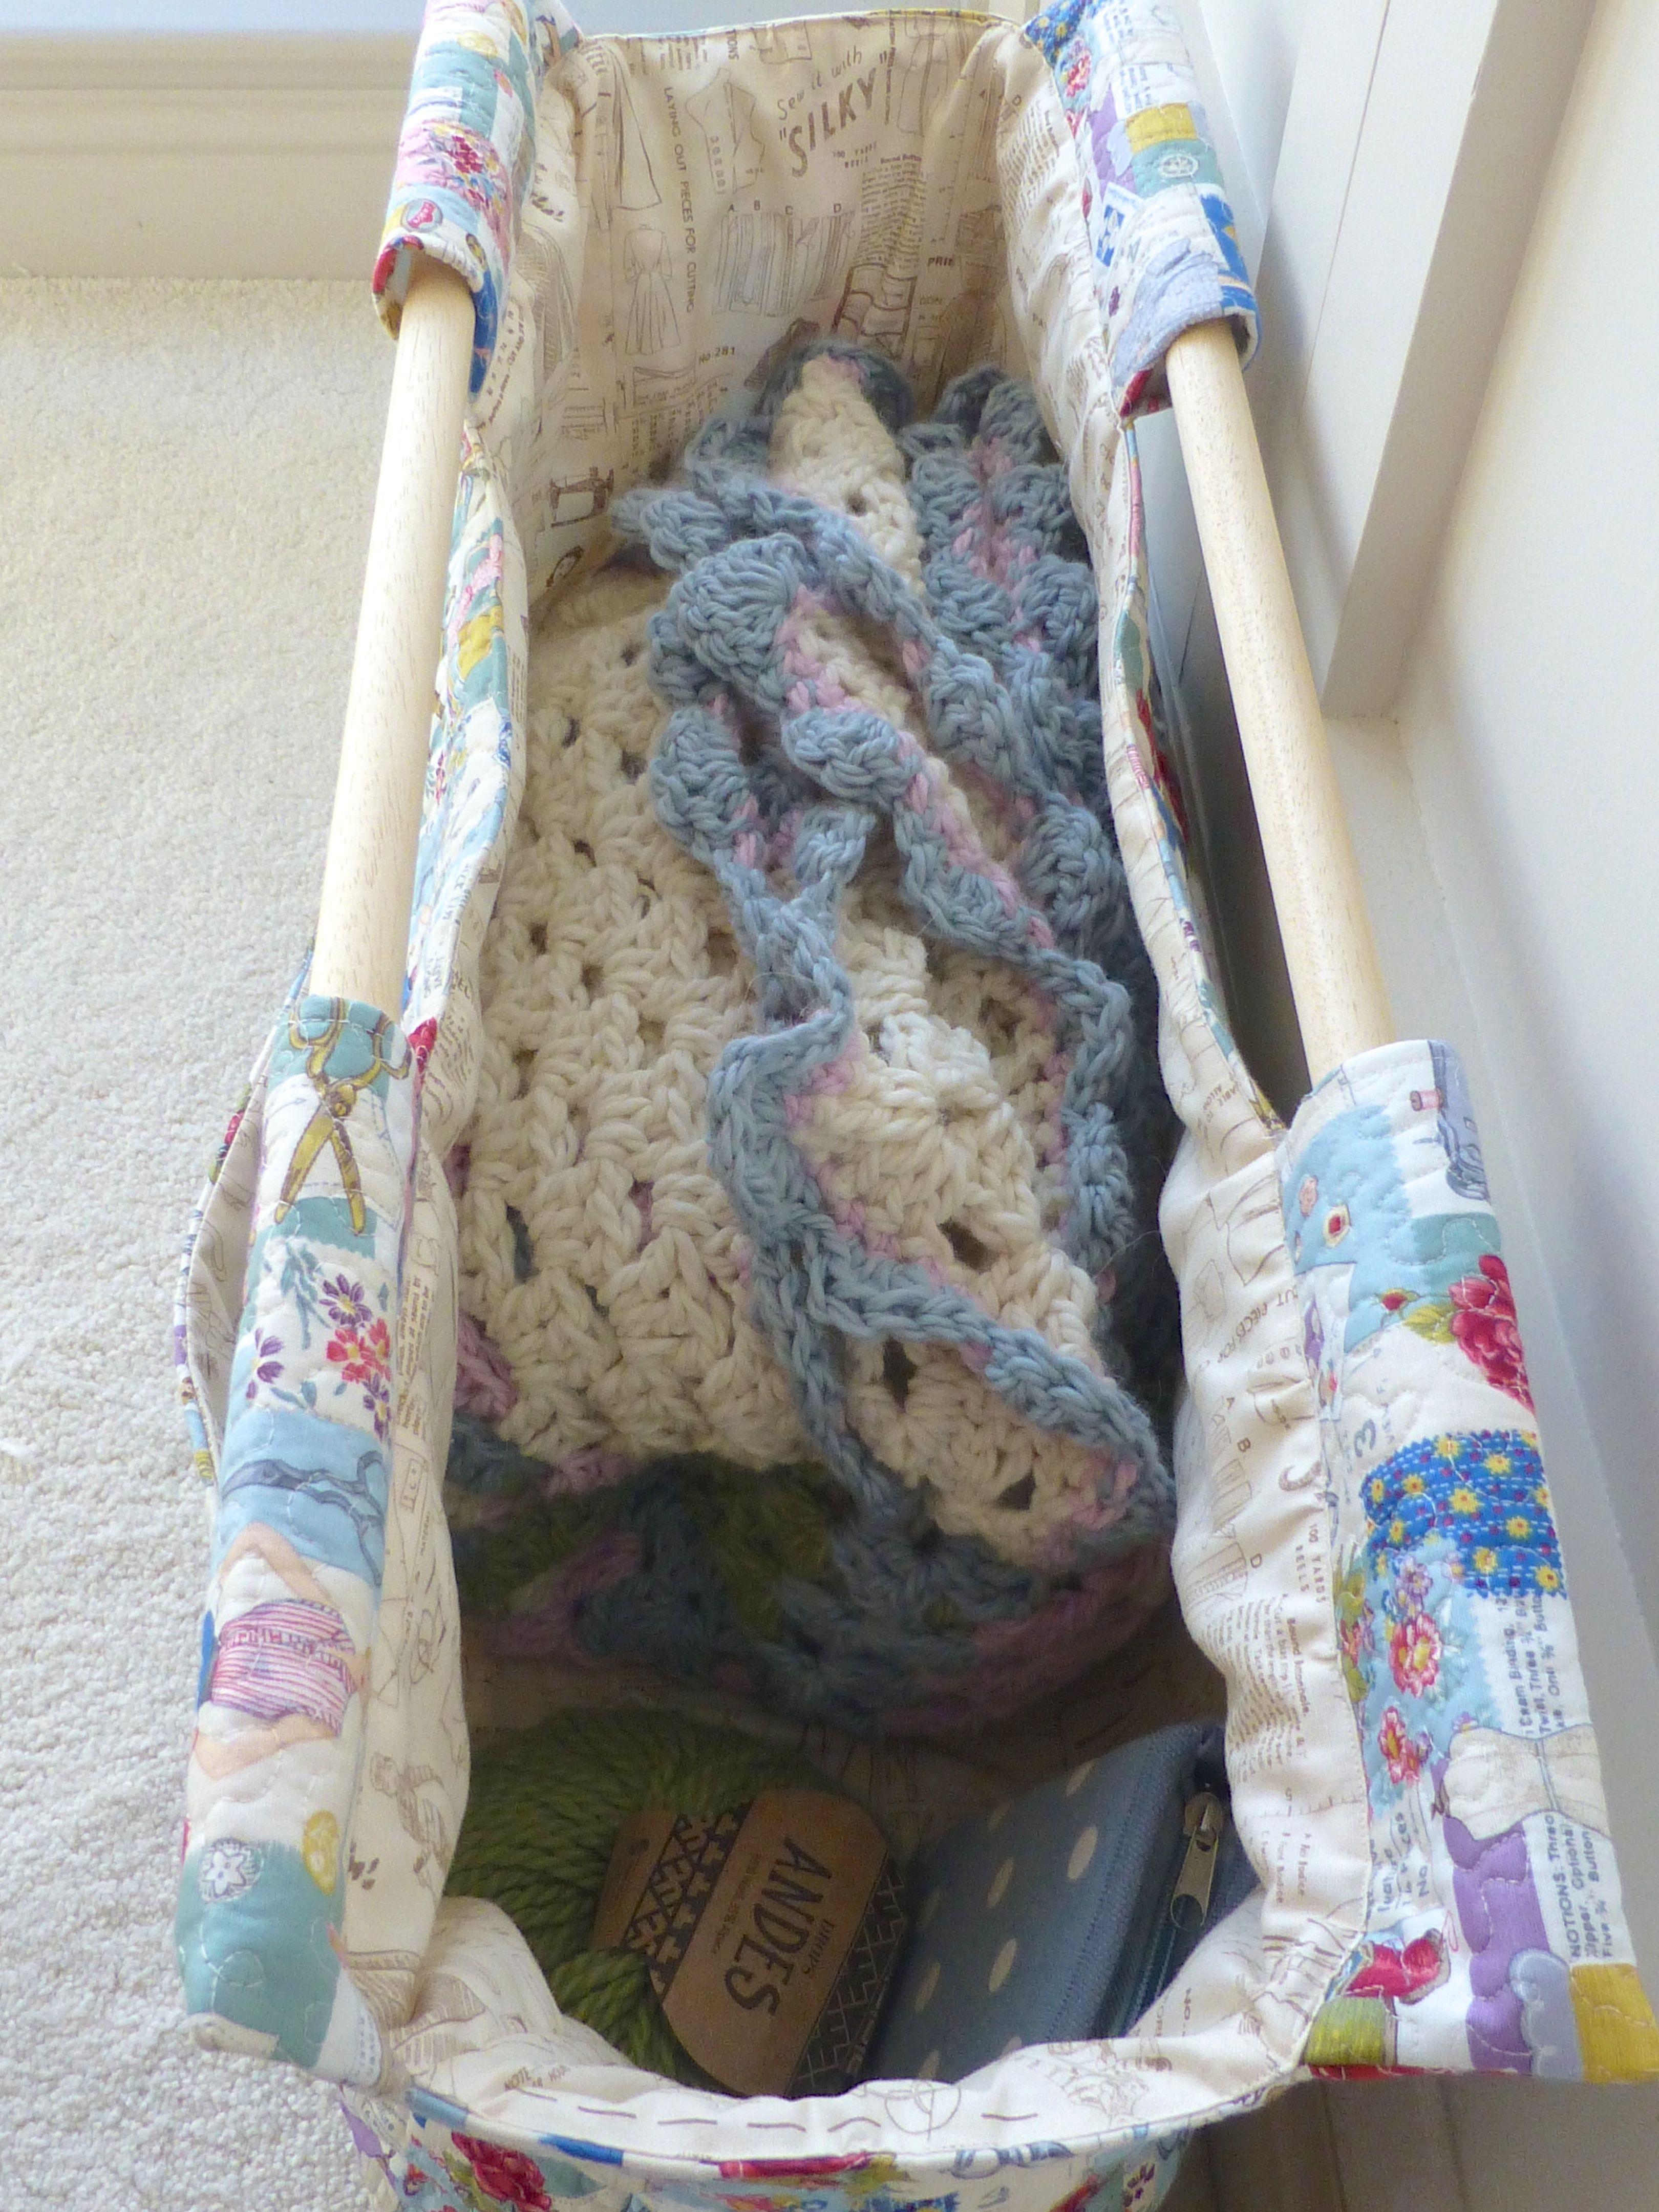
It’s HUGE, large enough for the biggest projects which is just as well as I have a penchant for making bedspreads and throws, whether they’re patchwork, crocheted or quilted. This bag can cope with the lot.

Here it is, holding my latest blanket; a crocheted super-chunky number that measures (at the moment) 1.5m x 1.5m. There’s still plenty of room to carry all the yarn and bag of crochet hooks!

P1040436

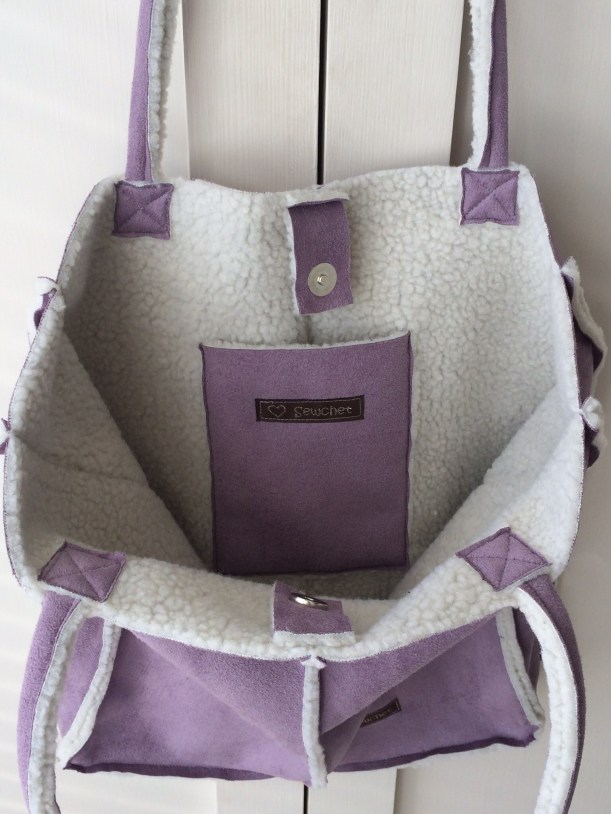
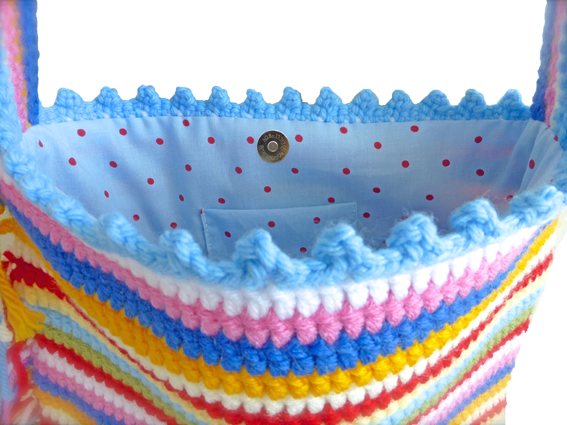
Don’t you just love the lining?

It makes the inside a pleasure to gaze upon:)

P1040435

When empty, you can see how cavernous it actually is.

P1040438

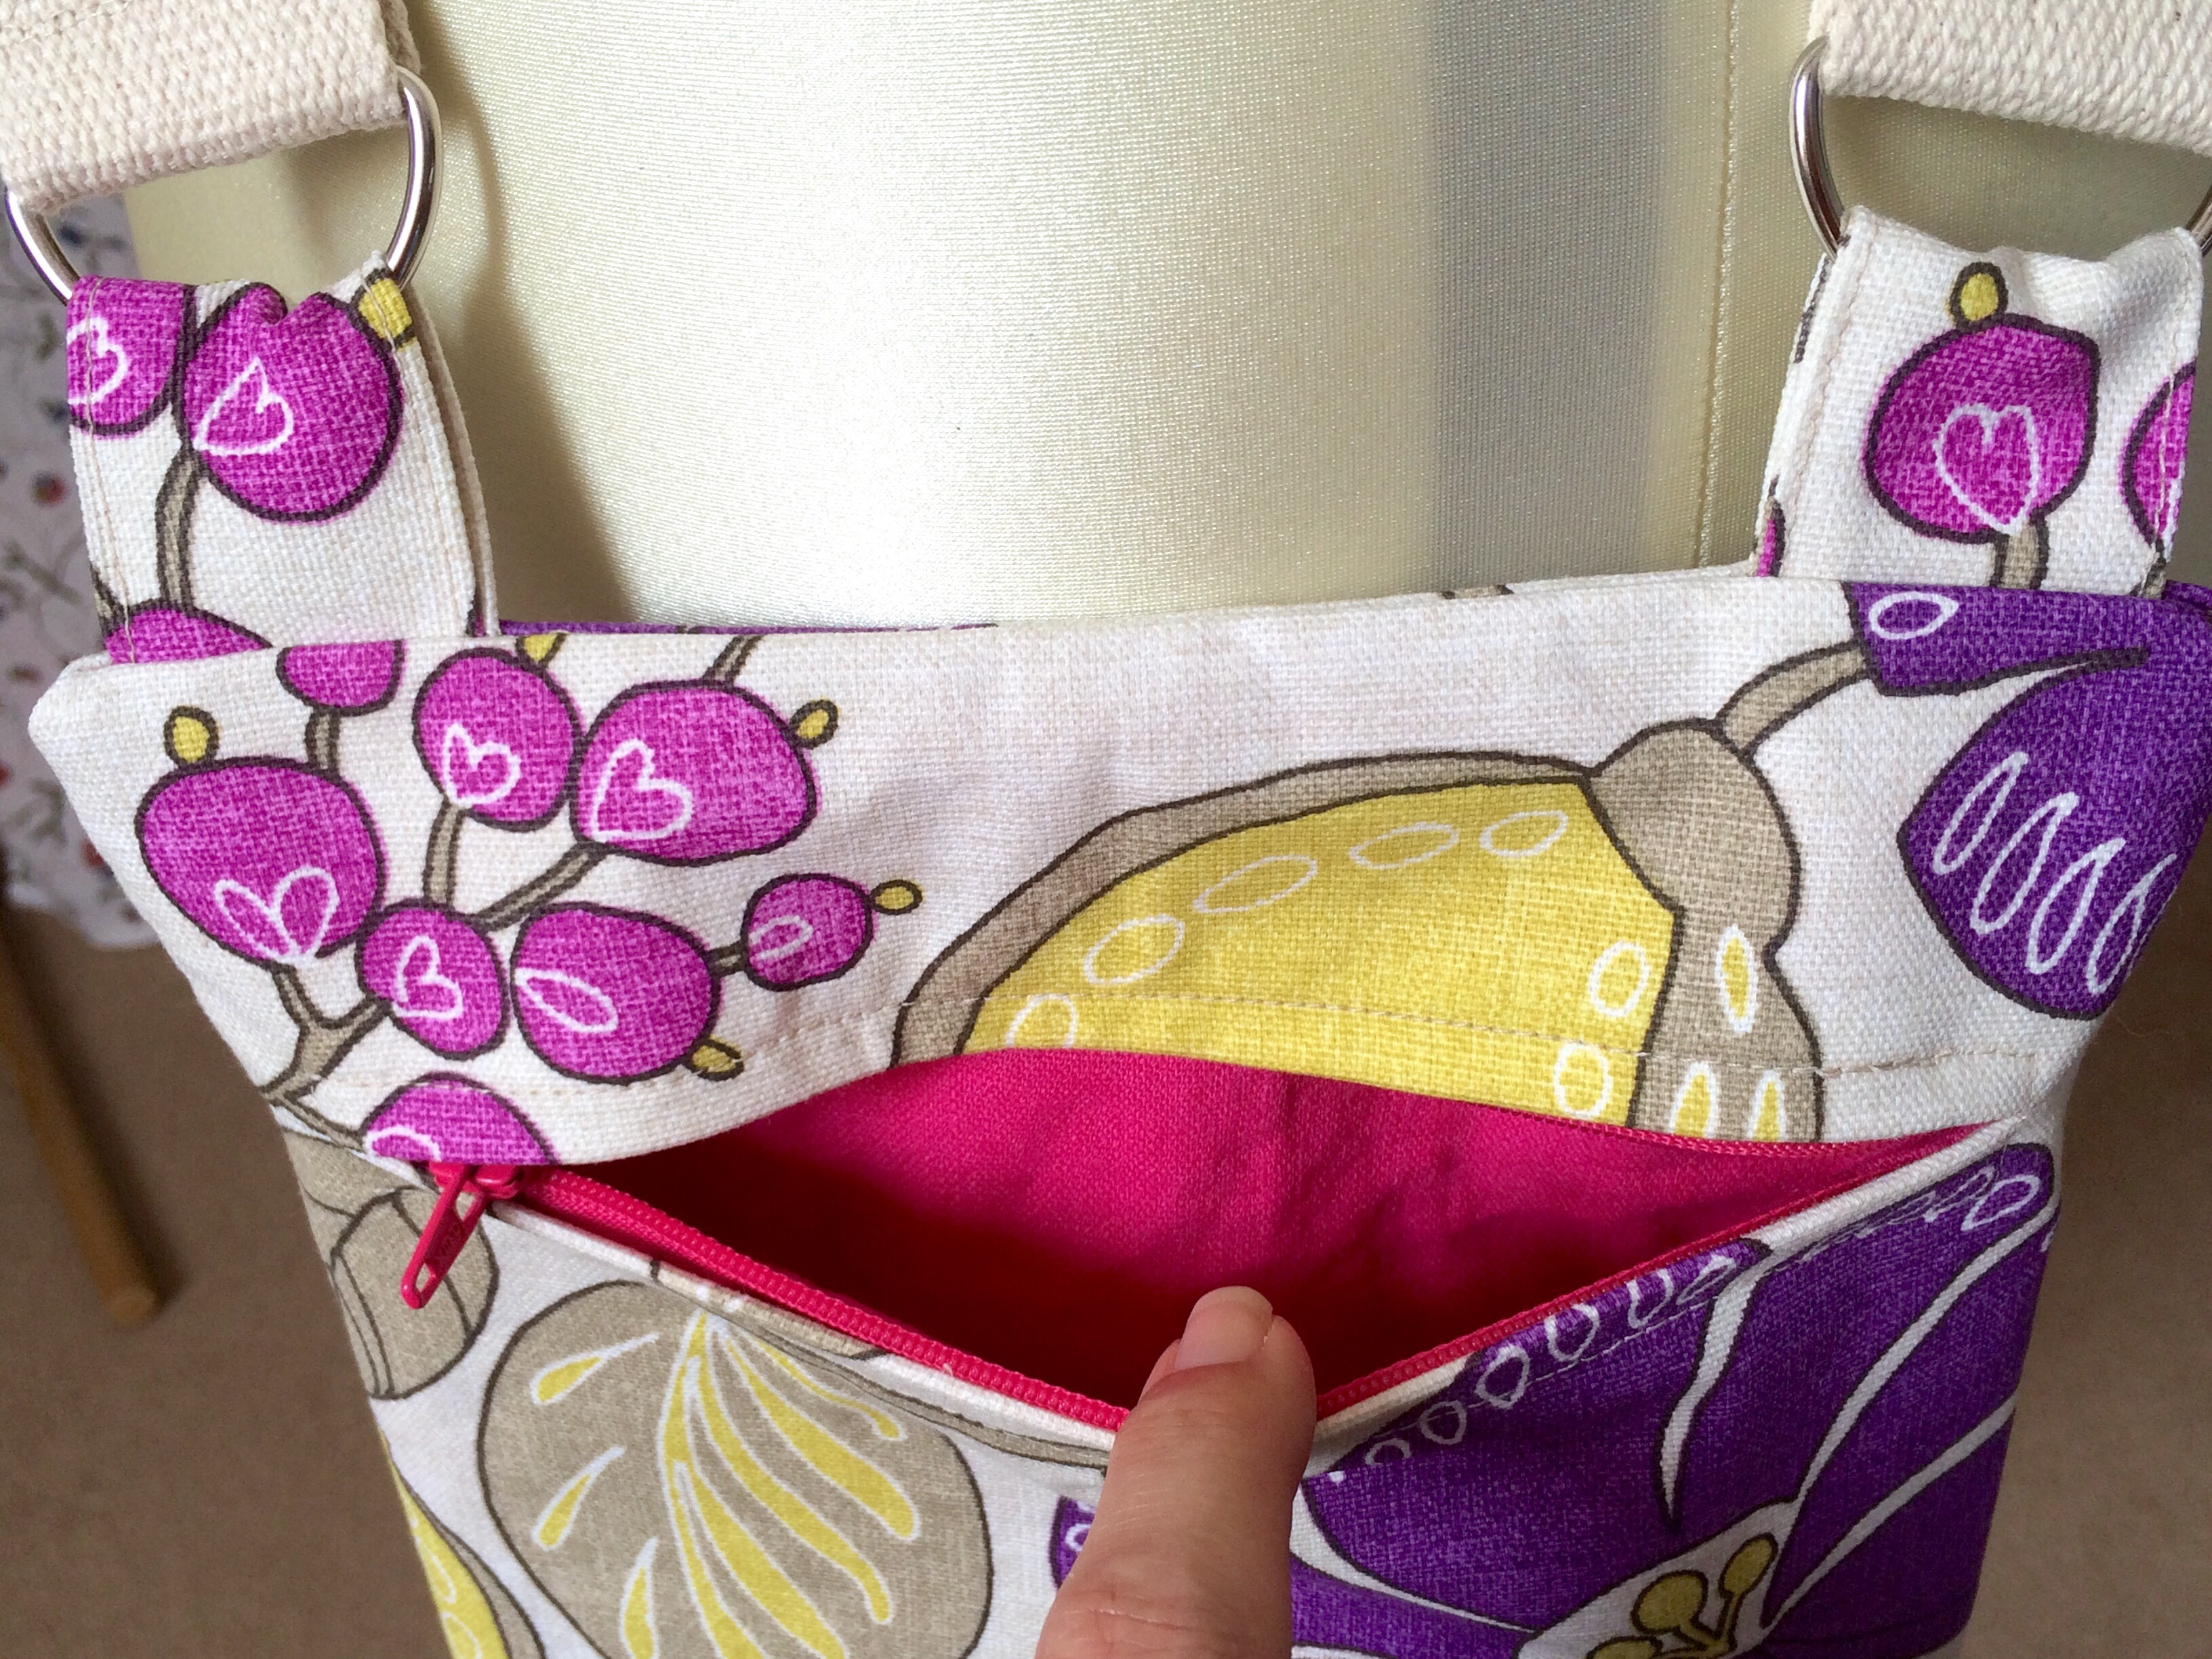
Did you notice the sizeable pocket on the front?

No?

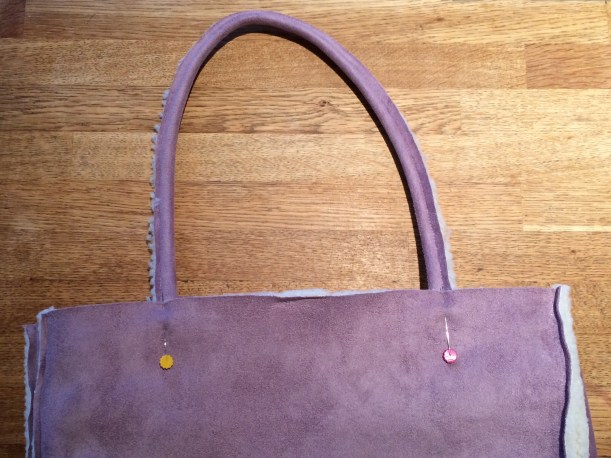
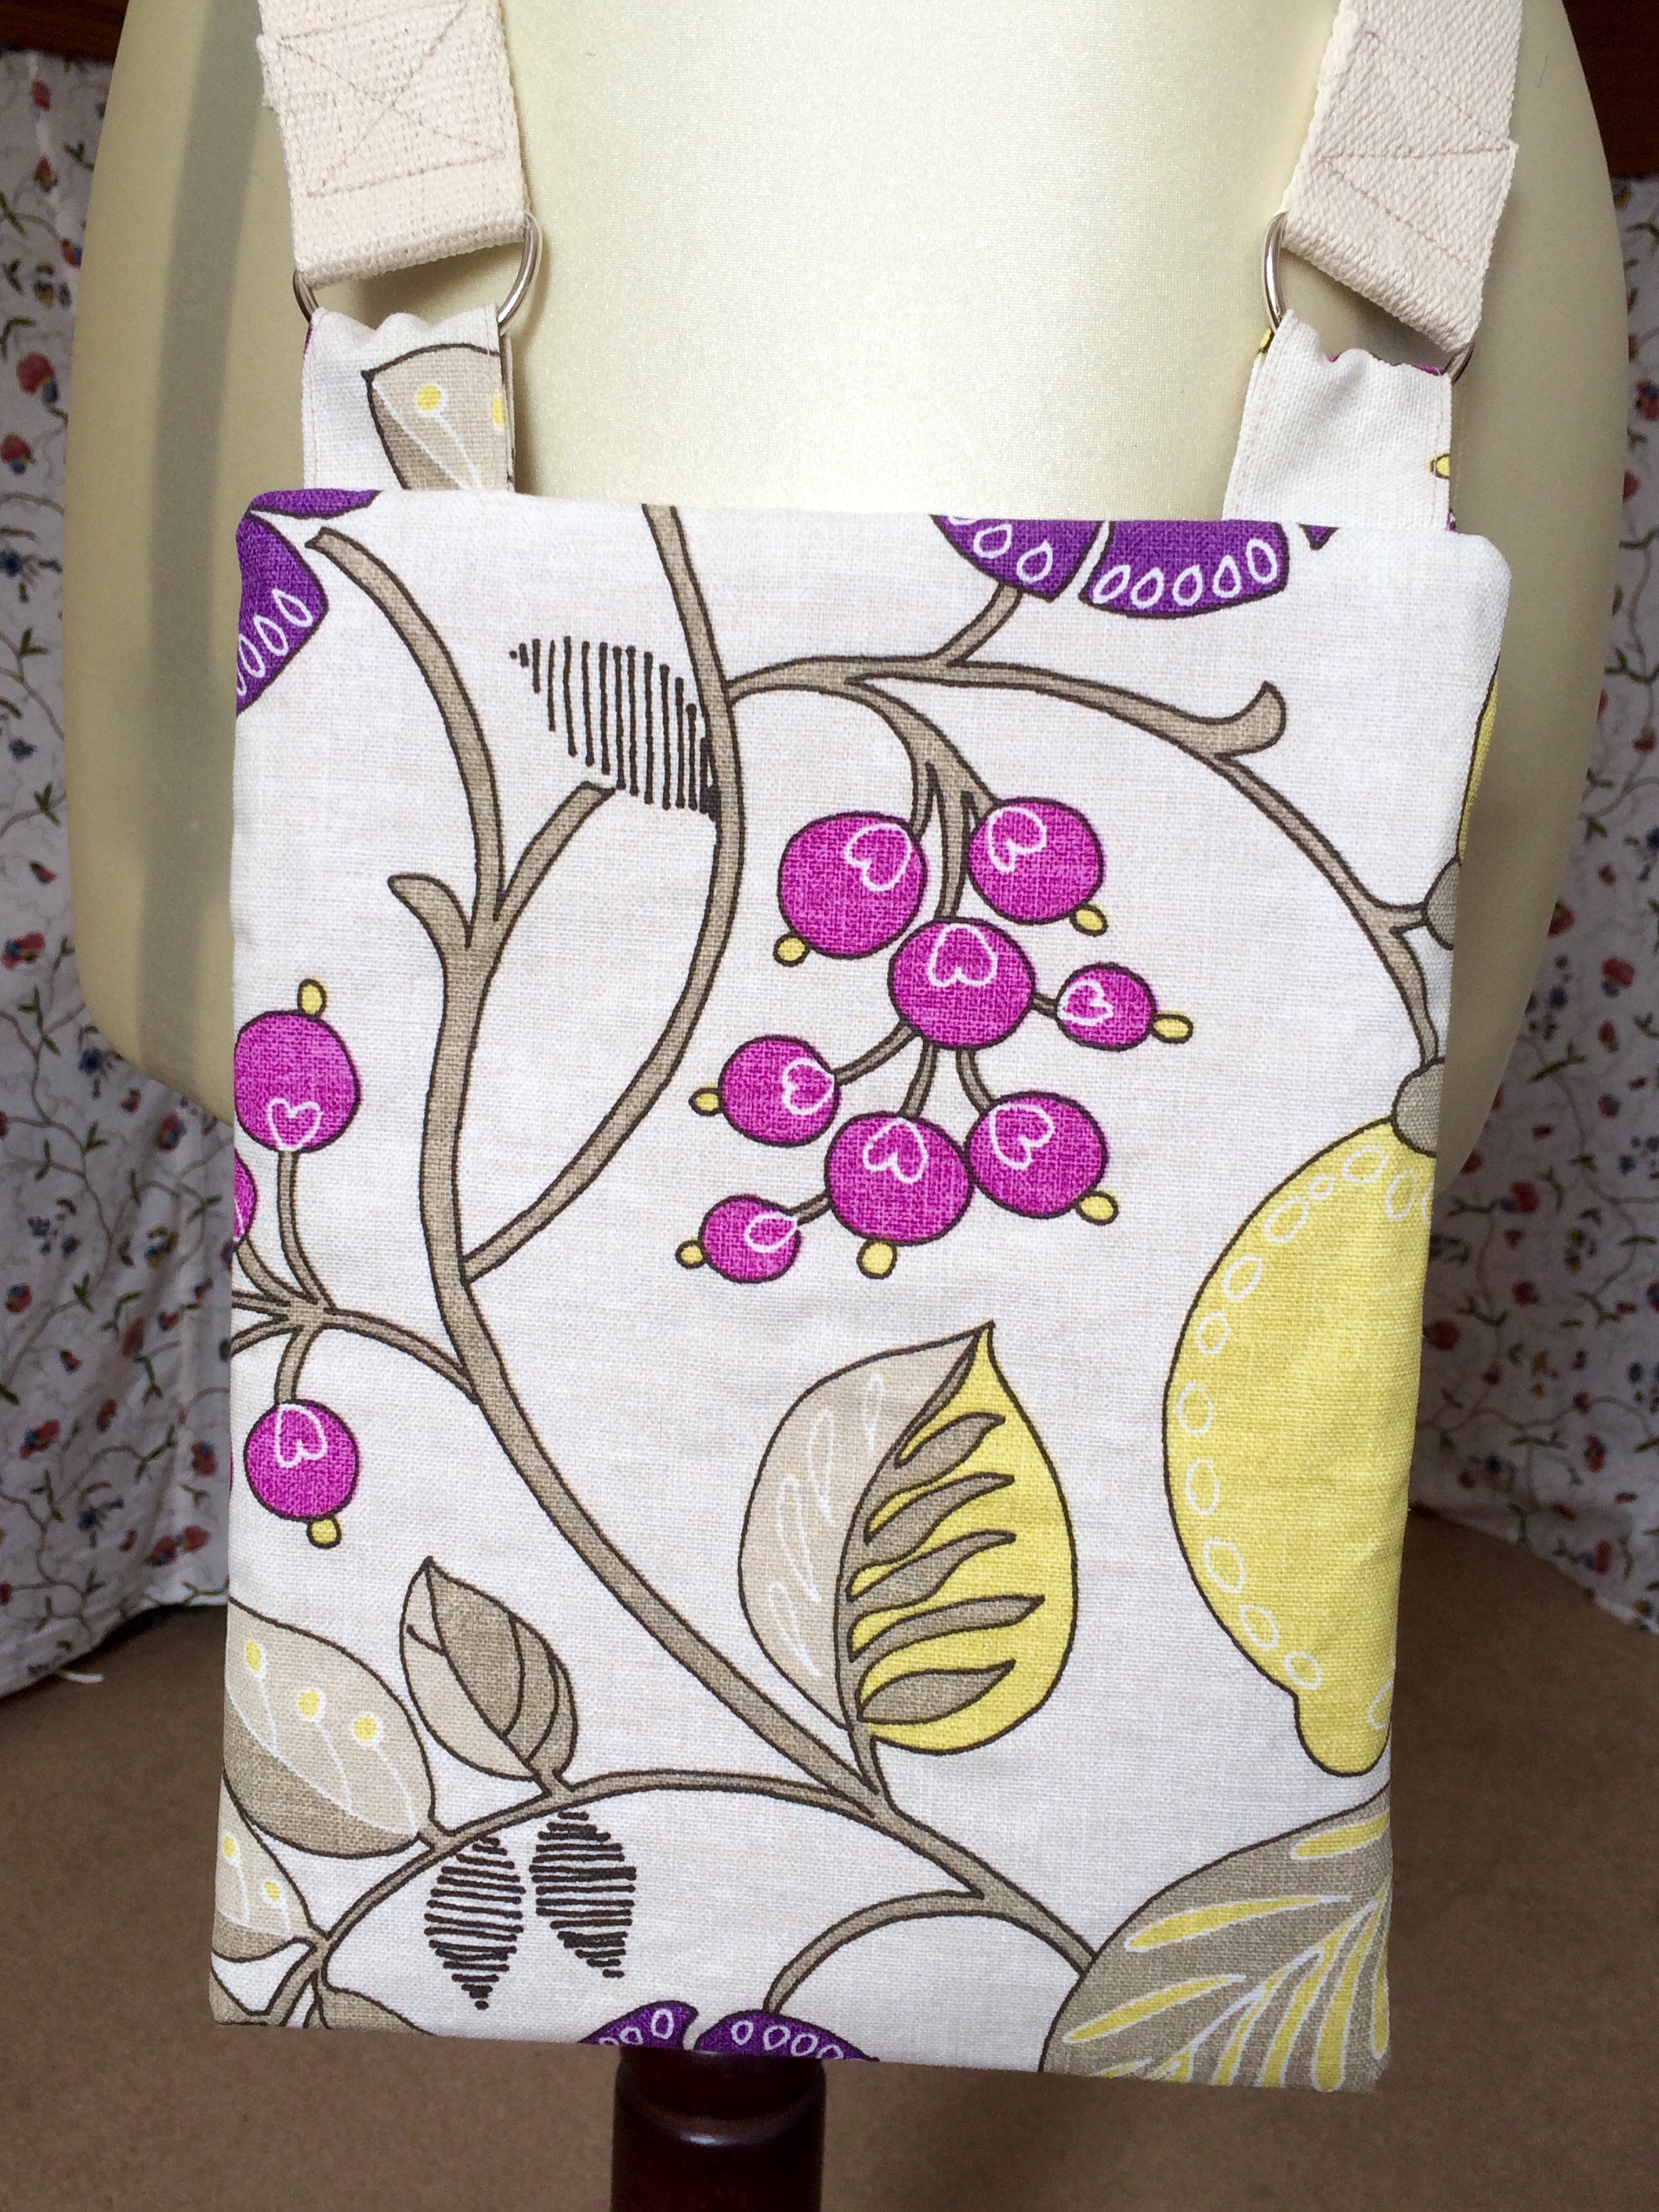
Well that’s good then, because I was very careful to match the pattern so it just appears to be a continuation of the fabric.

Look again – you can just make out the handles of a pair of scissors peeping out of the top….

P1040434

Inside the pocket I made provision for some sewing essentials; a pair of scissors, a seam ripper and a tape measure.

Even the pocket is quilted and lined for consistent quality.

P1040437

I already know this is going to be the most used bag in my collection and I love, love, LOVE it!

P1040440

Now, here’s the thing – I need someone’s help.

I have drafted a PDF pattern which I hope to sell in my Folksy shop, and I am looking for a volunteer to test it first to make sure it is easy to follow.

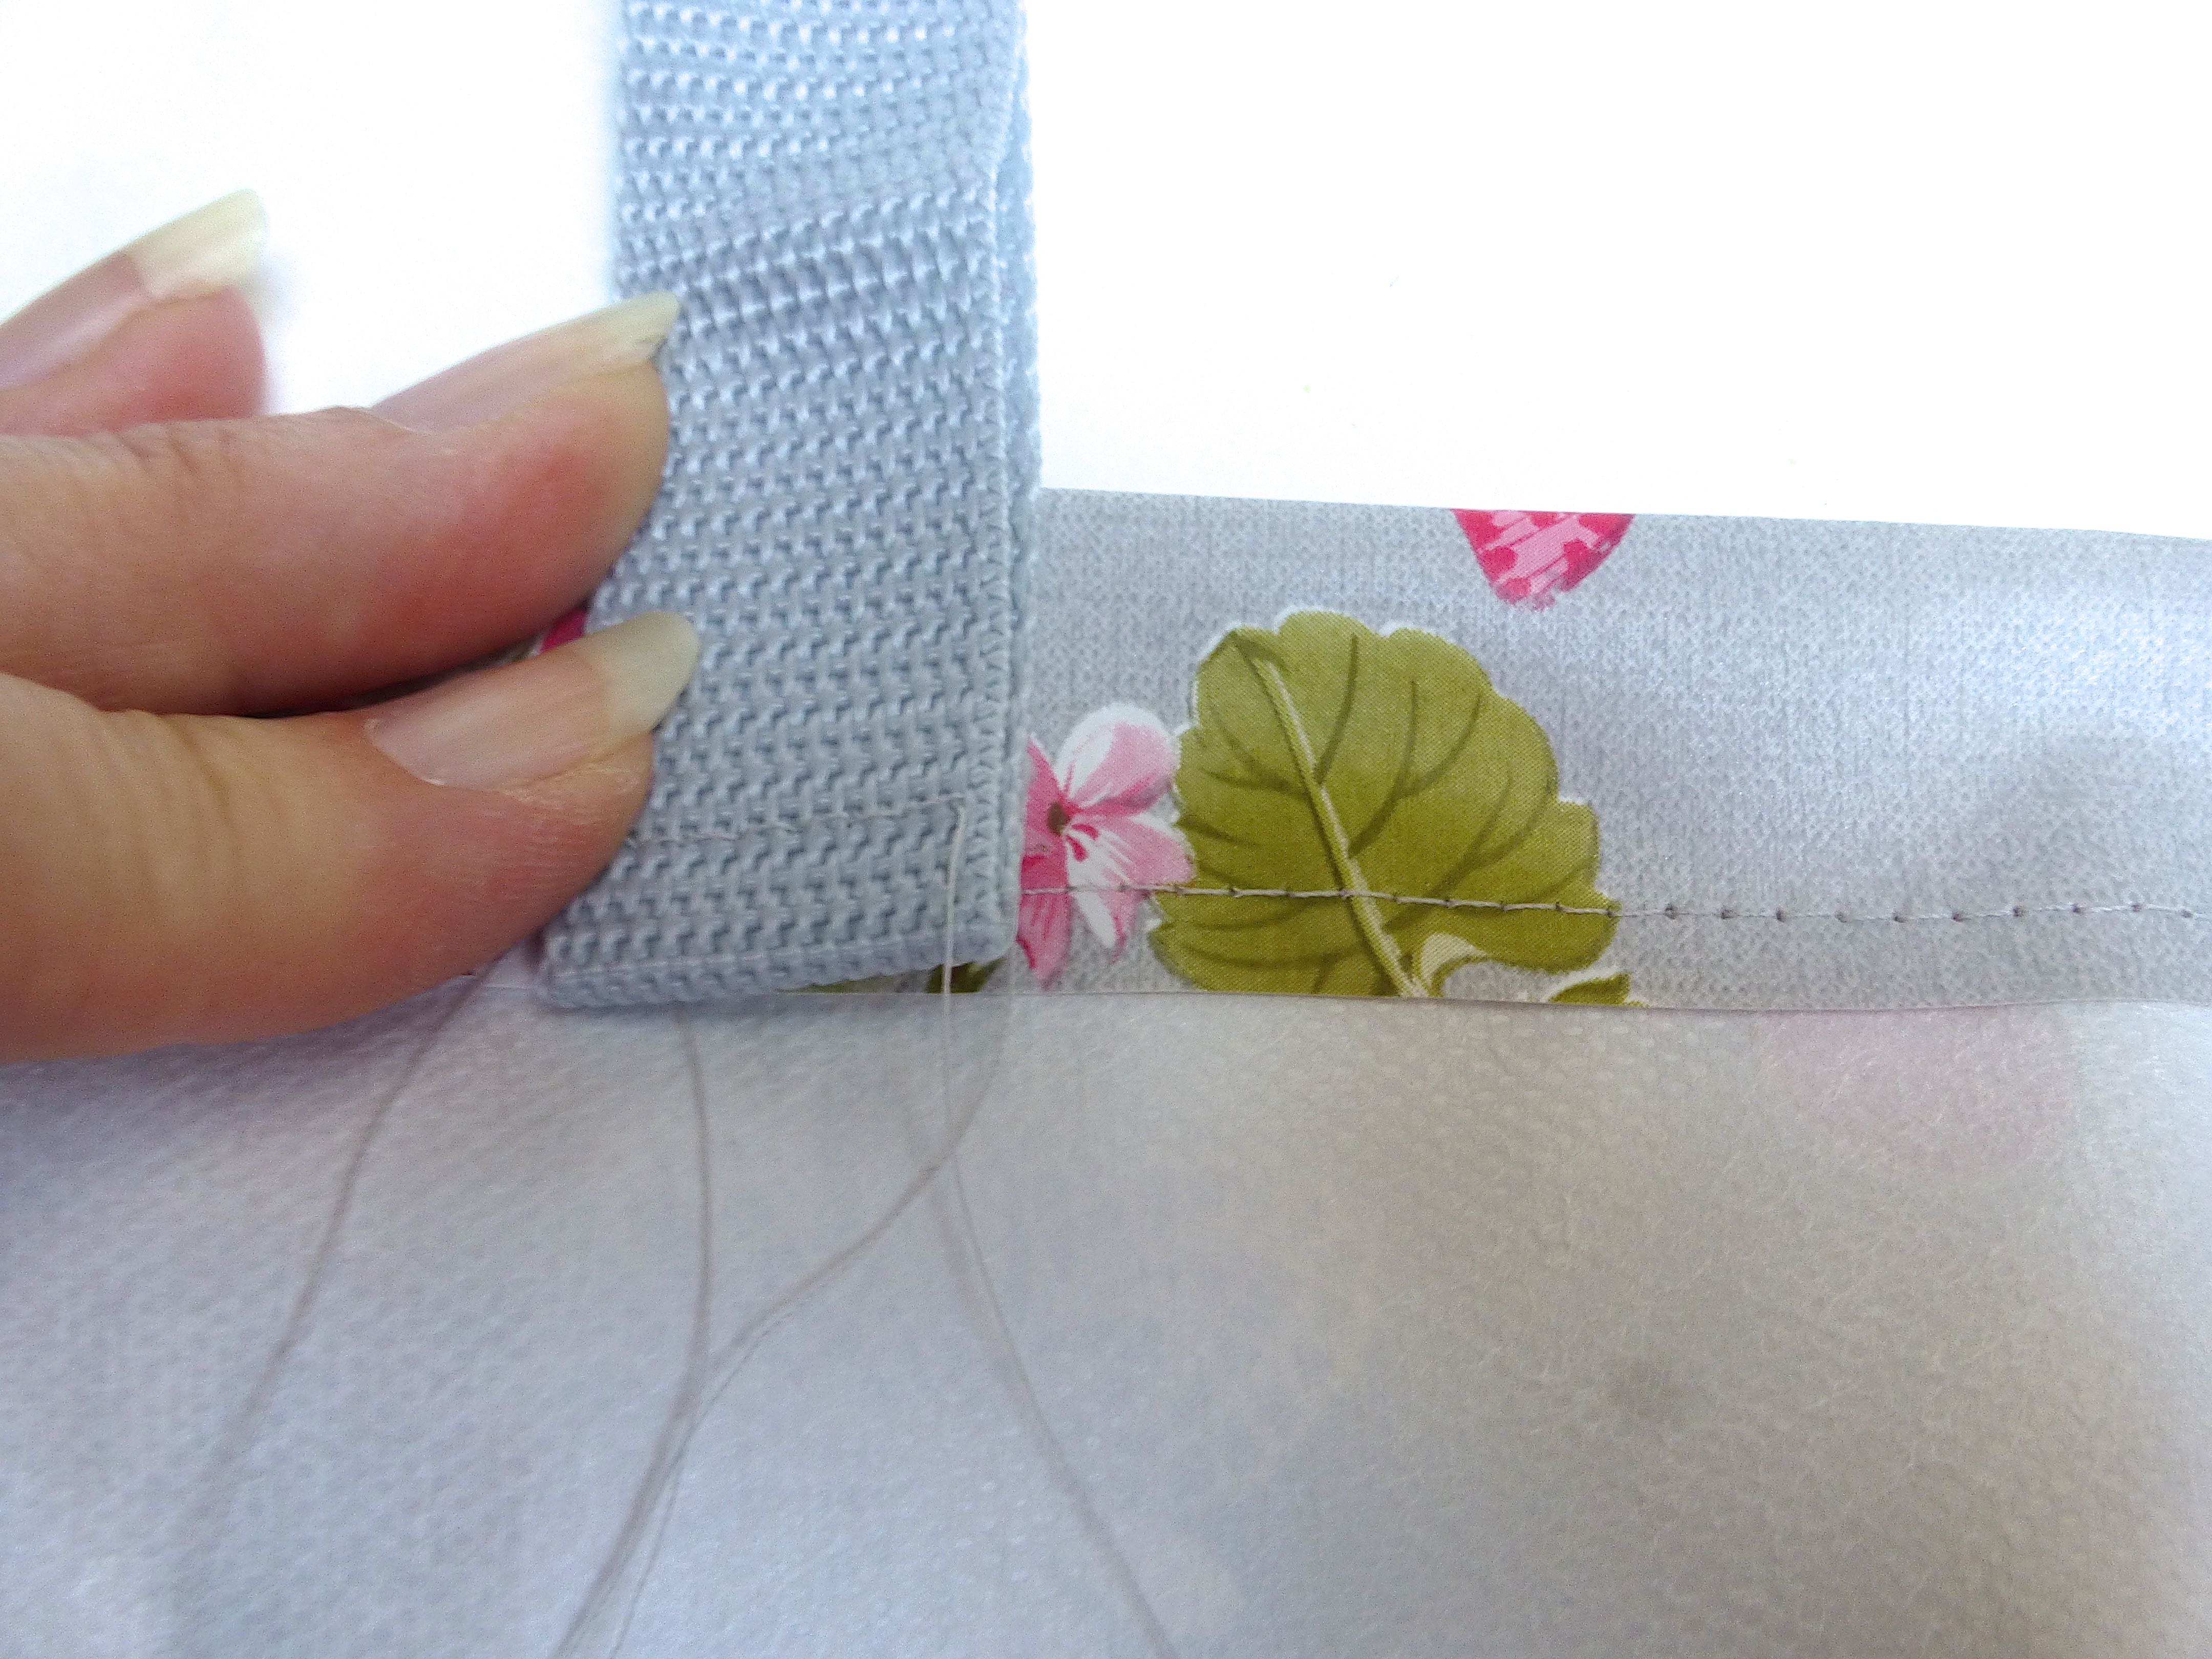
All materials will be included in a parcel that will be sent to the tester; fabric, lining, wadding, thread, wooden handles and pattern drafting paper.

The pattern will be sized for a smaller bag, but the construction is identical as that for the larger bag.

The quilting is optional but the wadding will be included if you wish to attempt it.

The pattern will be emailed in PDF format which can be printed off if preferred.

You will need to be able to follow instructions carefully and make a note of anything that could be worded more clearly/in more depth and any possible errors.

When completed, the bag is yours to keep – I would just ask that you blog about it (hopefully favourably!) on your own page.

So, is there anyone out there willing to give it a try?

Maybe Teresa, Karen, Beth, Lucie, Caren, or Lisa?

Please………:)

Update: Pattern is available NOW in my shop – CLICK HERE


Leave a comment

Crochet Glastonbury Festival Bag!

Well, the festival season is here upon us once again and I happen to live near to the biggest and best – Glastonbury! 

Whilst I’m not actually going this year, two of our daughters are stewarding for free tickets and the eldest son is taking the traditional route in.  By that, I mean he bought a ticket and is not planning to climb over the fence.  (Did you know that Michael Eavis is on record as saying how disappointed he is at the lack of ingenuity shown by would-be festival crashers when trying to sneak in for nothing?).

We used to be able to hear the music from our house but, since moving seven miles further east, no longer have that (dubious) pleasure.

I digress….

The first event was in 1979 and attracted 1,500 party-goers at the cost of £1 each (including FREE milk from the farm!), but it wasn’t until ten years later that Eavis used it as a fundraiser for CND, raising £20,000 for the cause. 

Image

Last year (2013) saw 175,00 ticket holders paying £210 each and raised £2,000,000 for charities and local good causes!

So what images spring to mind when thinking of the Glastonbury (or, more accurately, Pilton) Pop Festival?  Think hippies, rainbows, love, peace, cannabis, wellies, mud, sunburn etc. (although my husband refers to the annual migrants as “smelly soap-dodgers”!)

Taking the optimistic view and thinking ‘sunshine and rainbows’, I designed some free-form crochet bags in the “Hippy-Chic” style.

Would you like to see them?

Of course you would!

Here is my very lovely daughter modelling them together with that other festival staple – wellies (well, my Dubarry’s actually): –

Image

Here’s a close up of the front showing that gorgeous “ripple” pattern…

Image

…and the back is felted wool.  Fully lined with contrasting blue fabric with white polka dots, there is a pocket inside for your mobile ‘phone and it closes with a magnetic clasp.

Image

Here’s the other one: –

Image

This was made in one piece so the back is a continuation of the front.

Image

Lovely spotty fabric for the lining and this shows the ‘phone pocket and magnetic clasp –

Image

Are they “Festival” enough for you?  Both crochet Glastonbury Festival bags are available from my shop on the link at the top of the page – go on, unleash the hippy in you!