
A couple of weeks ago I rescued this beautiful cross stitch from our local charity shop. It was mounted and framed but needed reinventing into something more usable in today’s modern life and was far too wonderful to leave there.

Only measuring a modest 5″ x 7″, I ummed and aahed about what to do with it for a while, having some brilliant suggestions on Instagram.
Ultimately, this is for one of my Stitching Santa recipients (I’m doing both sewing and yarny versions) so I wanted to make it a useful object. This lady is multi-talented across many craft disciplines, as are so many of my blogging pals, and she dabbles in cross stitch herself so I thought this would be perfect for her.
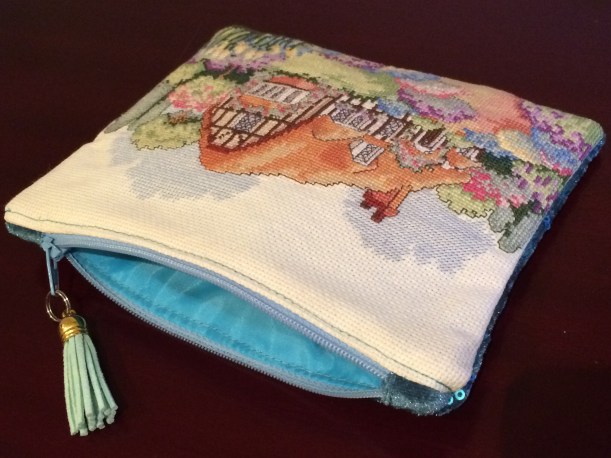
I decided to make a zipped pouch, about the size of a cosmetic bag, which could have a variety of different uses. Maybe for a portable cross stitch project, a small crochet or knitting project, or maybe as an actual cosmetic bag – it is rather swanky, after all!
So here’s a quick run-through of what I did, which might be informative if you have a similar piece of needlework that needs reinventing.
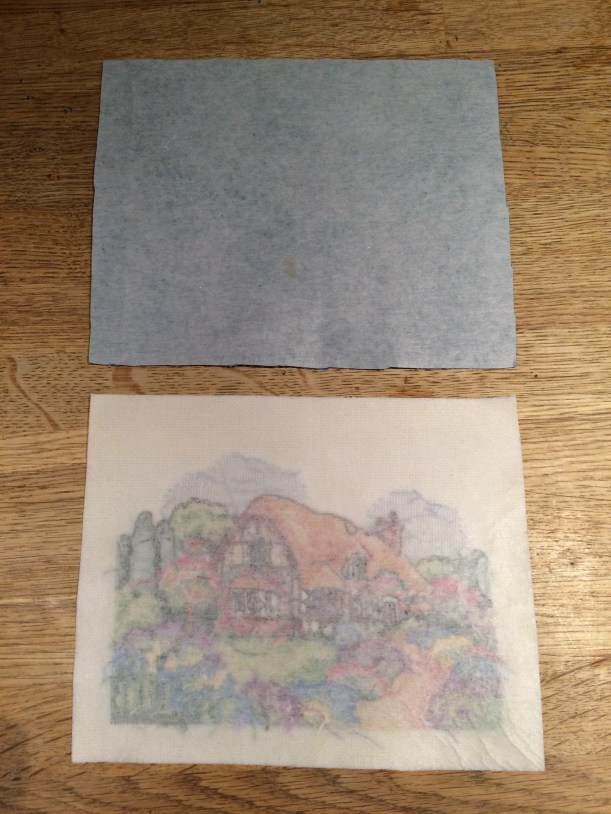
It had been spray-mounted to card and well laced across the back, so all that had to be undone. I then gave it a little steam press.

After trimming the needlework to a useable size, I used it as a template to cut two lining pieces and a back.

Iron-on interfacing was attached to the reverse of the front and back sections to stabilise the bag.
I used the covered tab method for the zip to give as neat a finish as possible (there are plenty of tutorials online on how to do this).

The zipper tabs should be about 1/4″ shorter than the width of the bag to ensure that they don’t get caught in the seam allowance when the bag is stitched together.

After inserting the zip, I topstitched close to the seam through the lining as well. This means that the fabric won’t get stuck in the zip when opening and closing.

OPEN the zip.
With lining-to-lining and front-to-back (right sides together) stitch all the way around, leaving a gap in the lining through which to turn.
Be sure not to catch the tabs in the seam as you sew.

Trim the tabs to reduce bulk.

Cut across all the corners before turning the right way out.
Close the gap in the lining either by hand or machine.

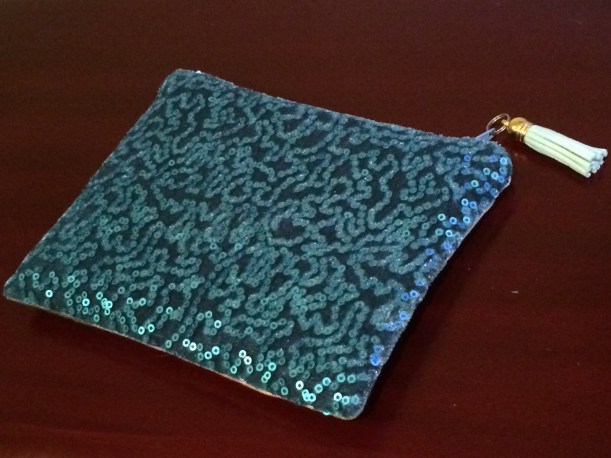
I added a coordinating leather tassel from my supplies.

The sequinned fabric is a small piece cut from a length of fabric that will become a dress later in the week. It adds a touch of glamour.
Some matching blue lining is a nice vibrant surprise when you look inside.
I hope she likes it!


