Remember these socks?


And these wellies?


Well now they have a welly boot bag to keep them in – click on the link to see the full blog post over at Minerva Crafts.


Remember these socks?
And these wellies?
Well now they have a welly boot bag to keep them in – click on the link to see the full blog post over at Minerva Crafts.
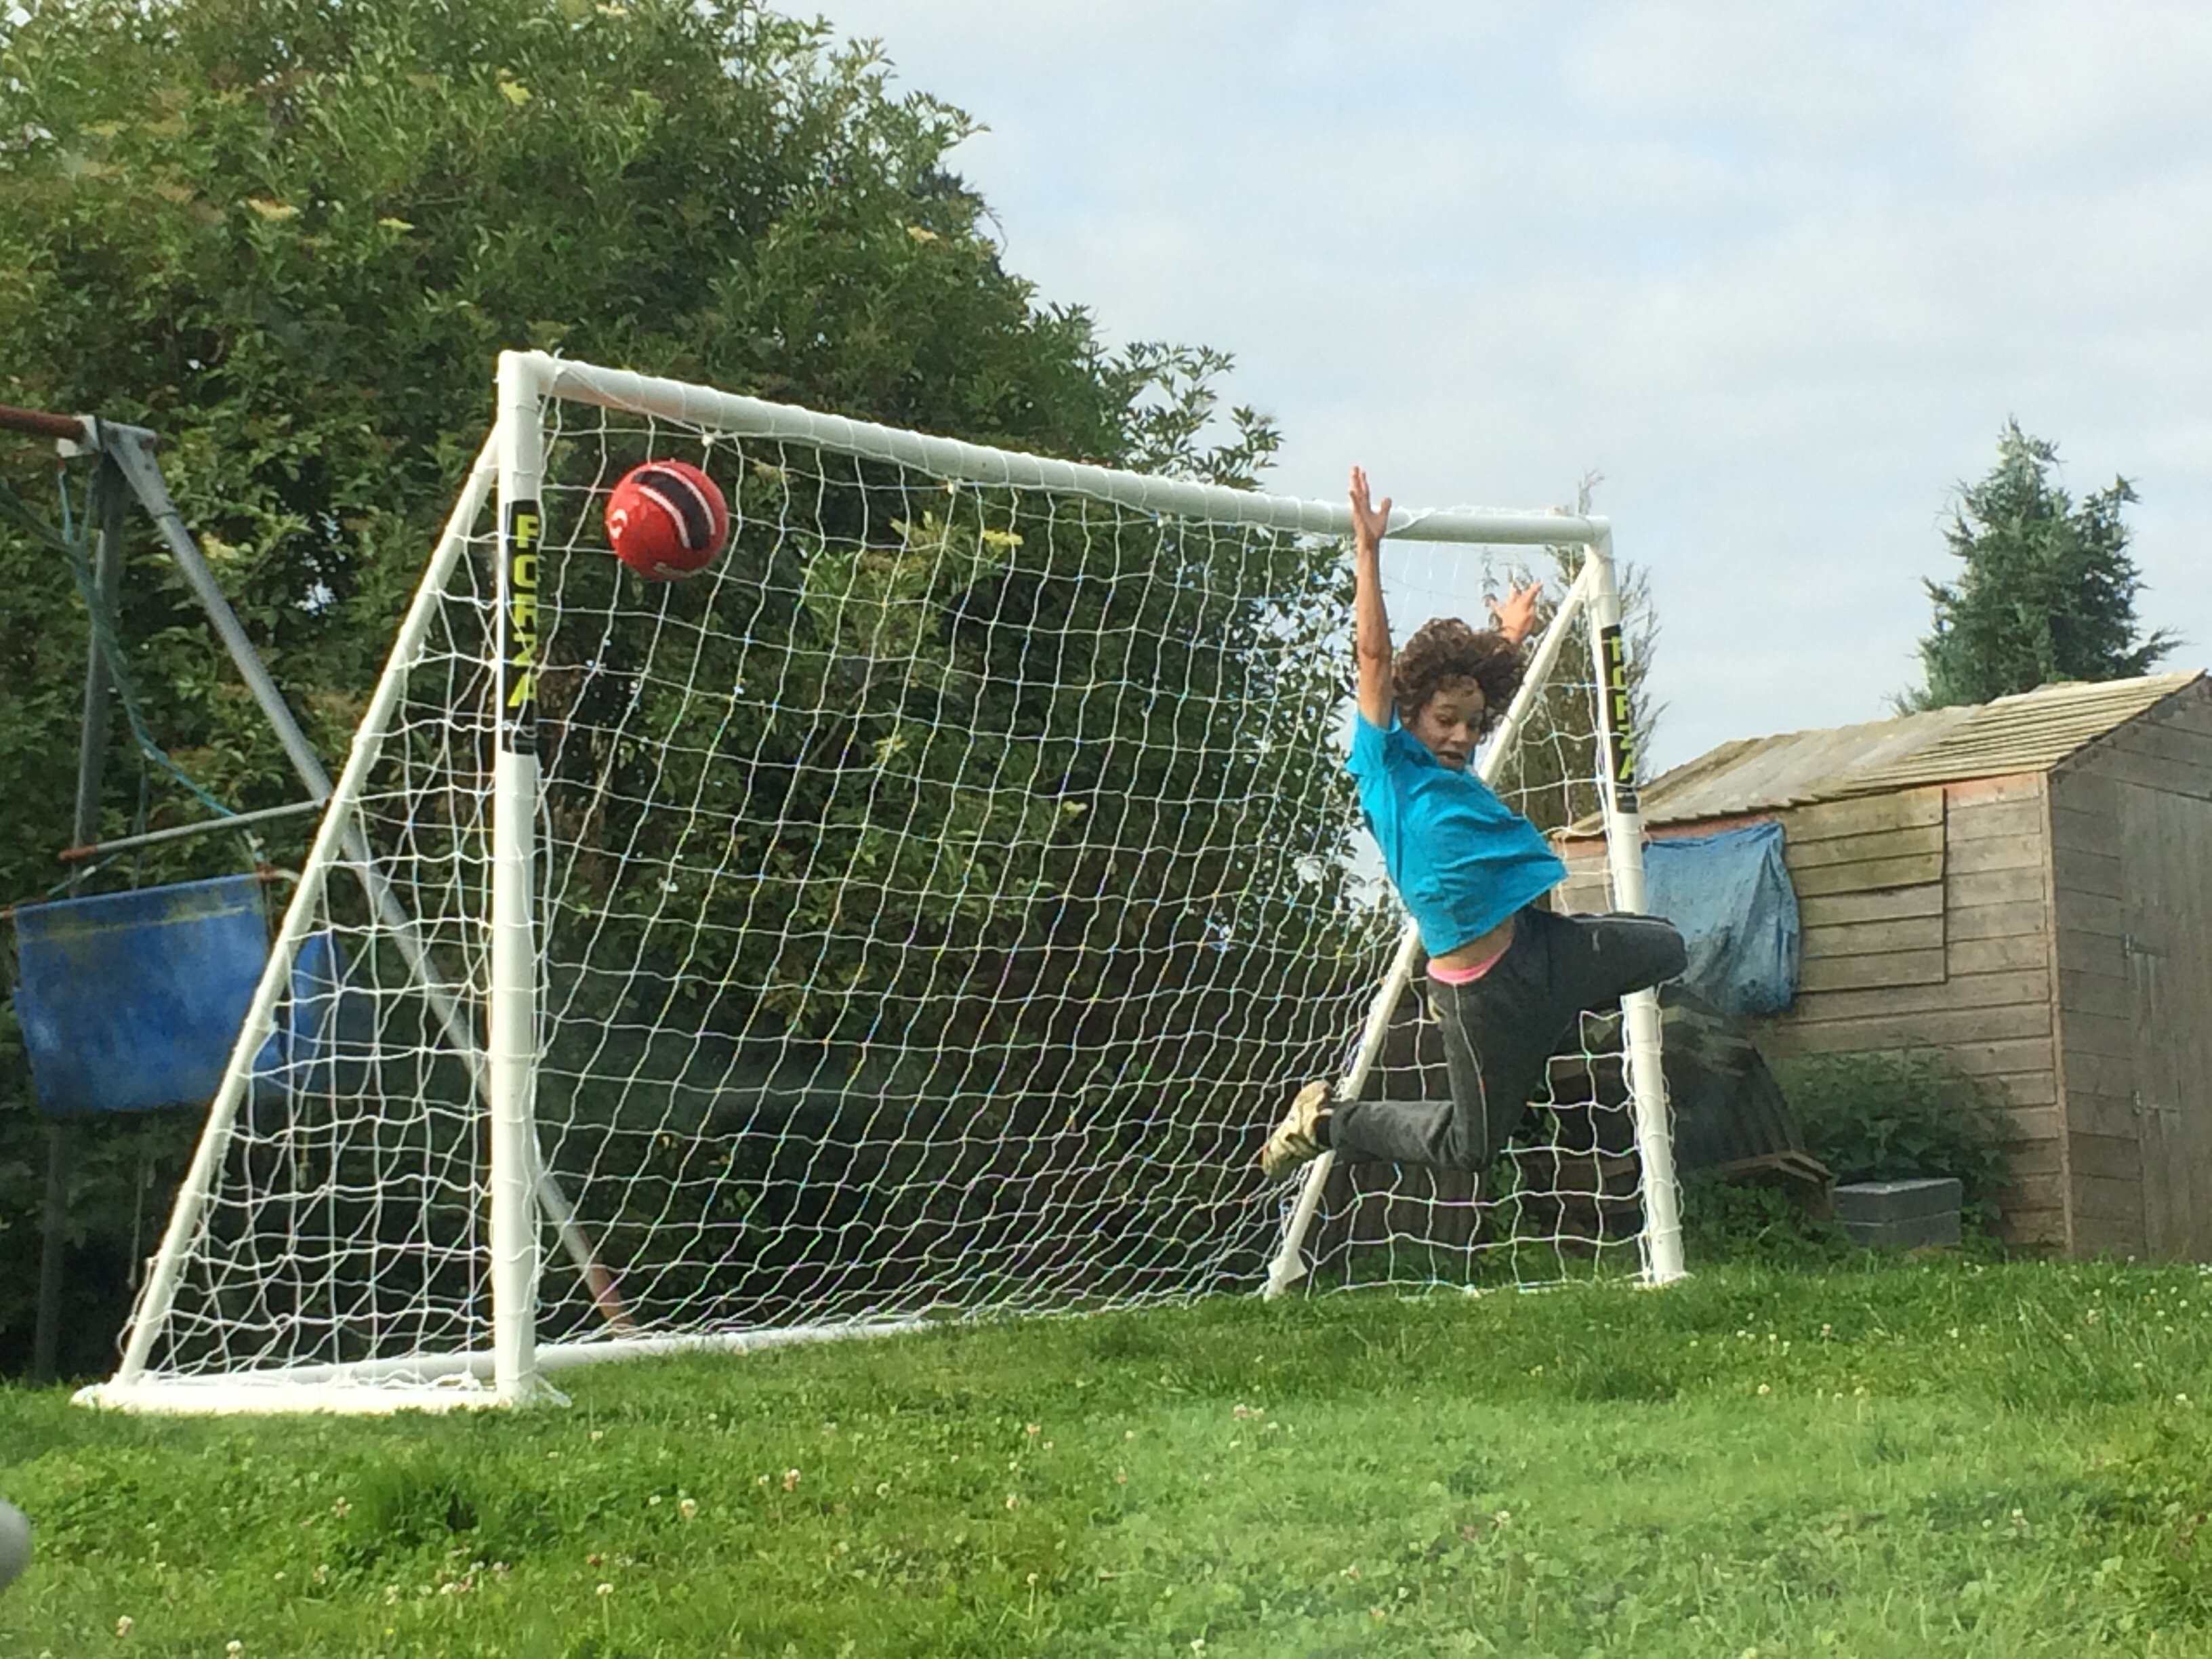
HOW expensive are goalposts?
Even though they were half price, they still cost quite a lot, so it meant No.3 Son would only have one present to open on his birthday.
Don’t get me wrong, I know one present is adequate but it’s always nice to see a little pile of gifts wrapped up with your name on. I managed to buy three secondhand children’s novels and wondered if I could make something for him as well.
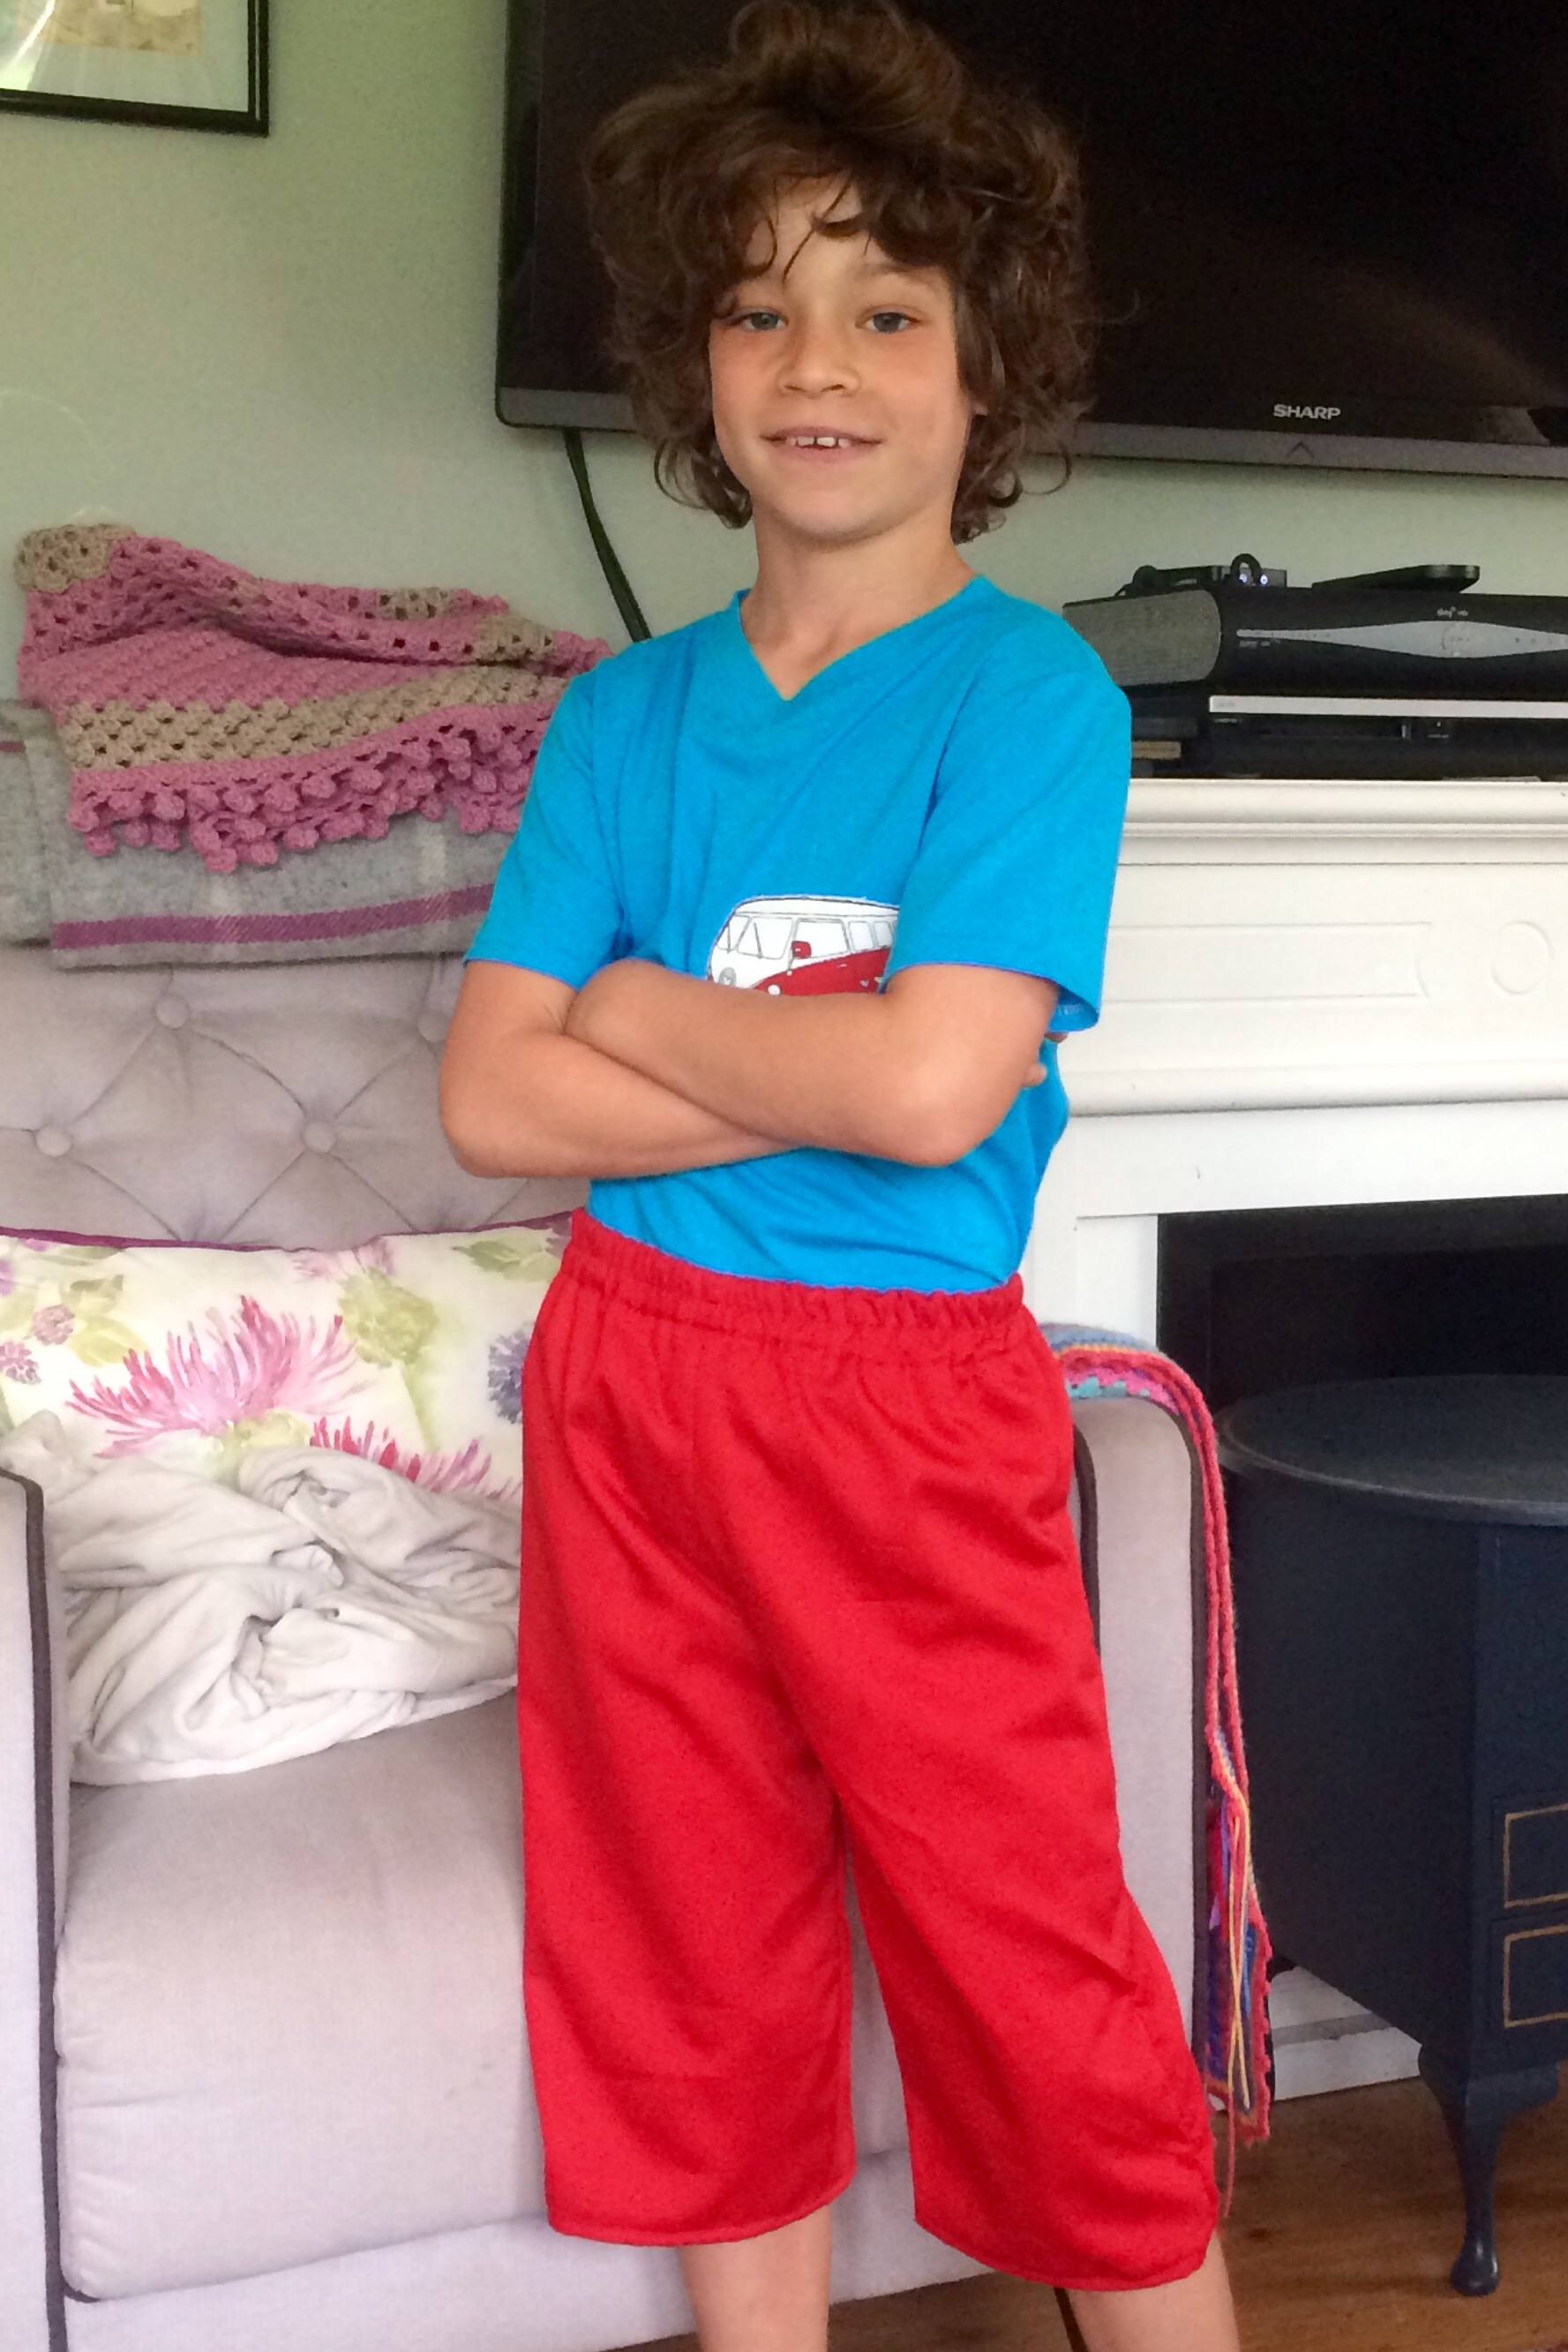
He finished these long shorts earlier in the week and decided that the best T-shirt to go with it was this red one with a picture of a camper van on the front.
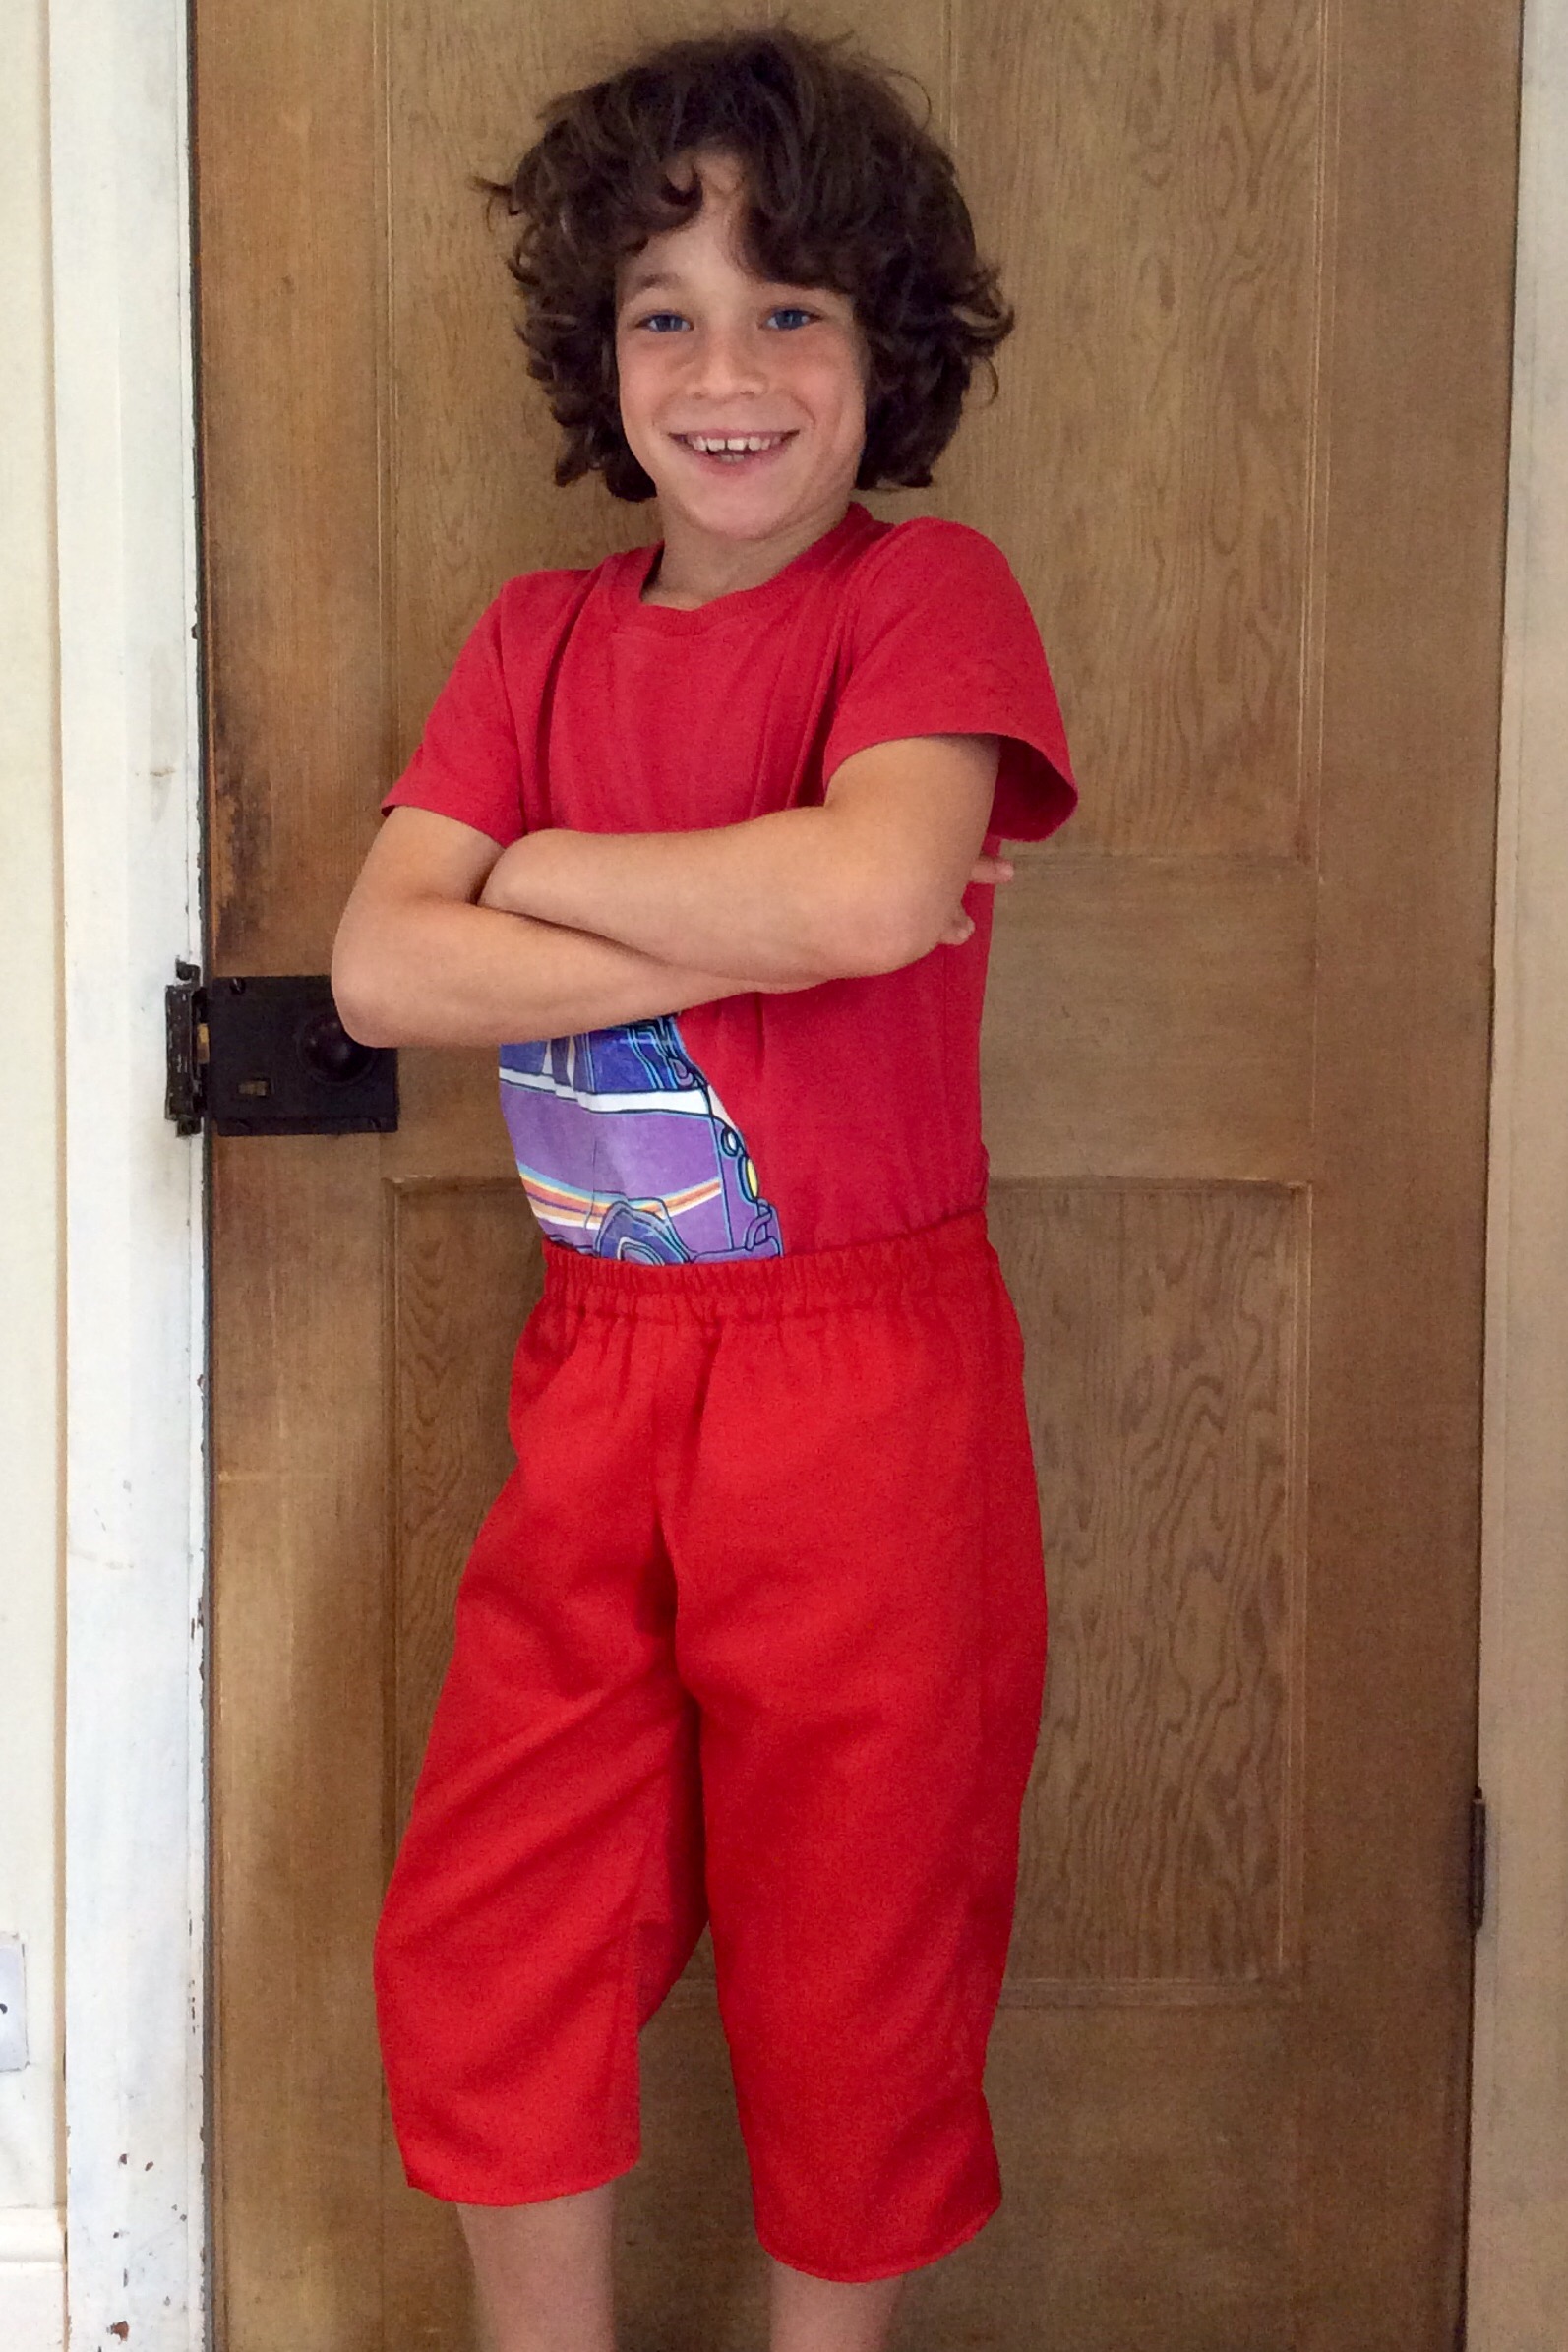
Hmm, two different shades of red do not an outfit make.
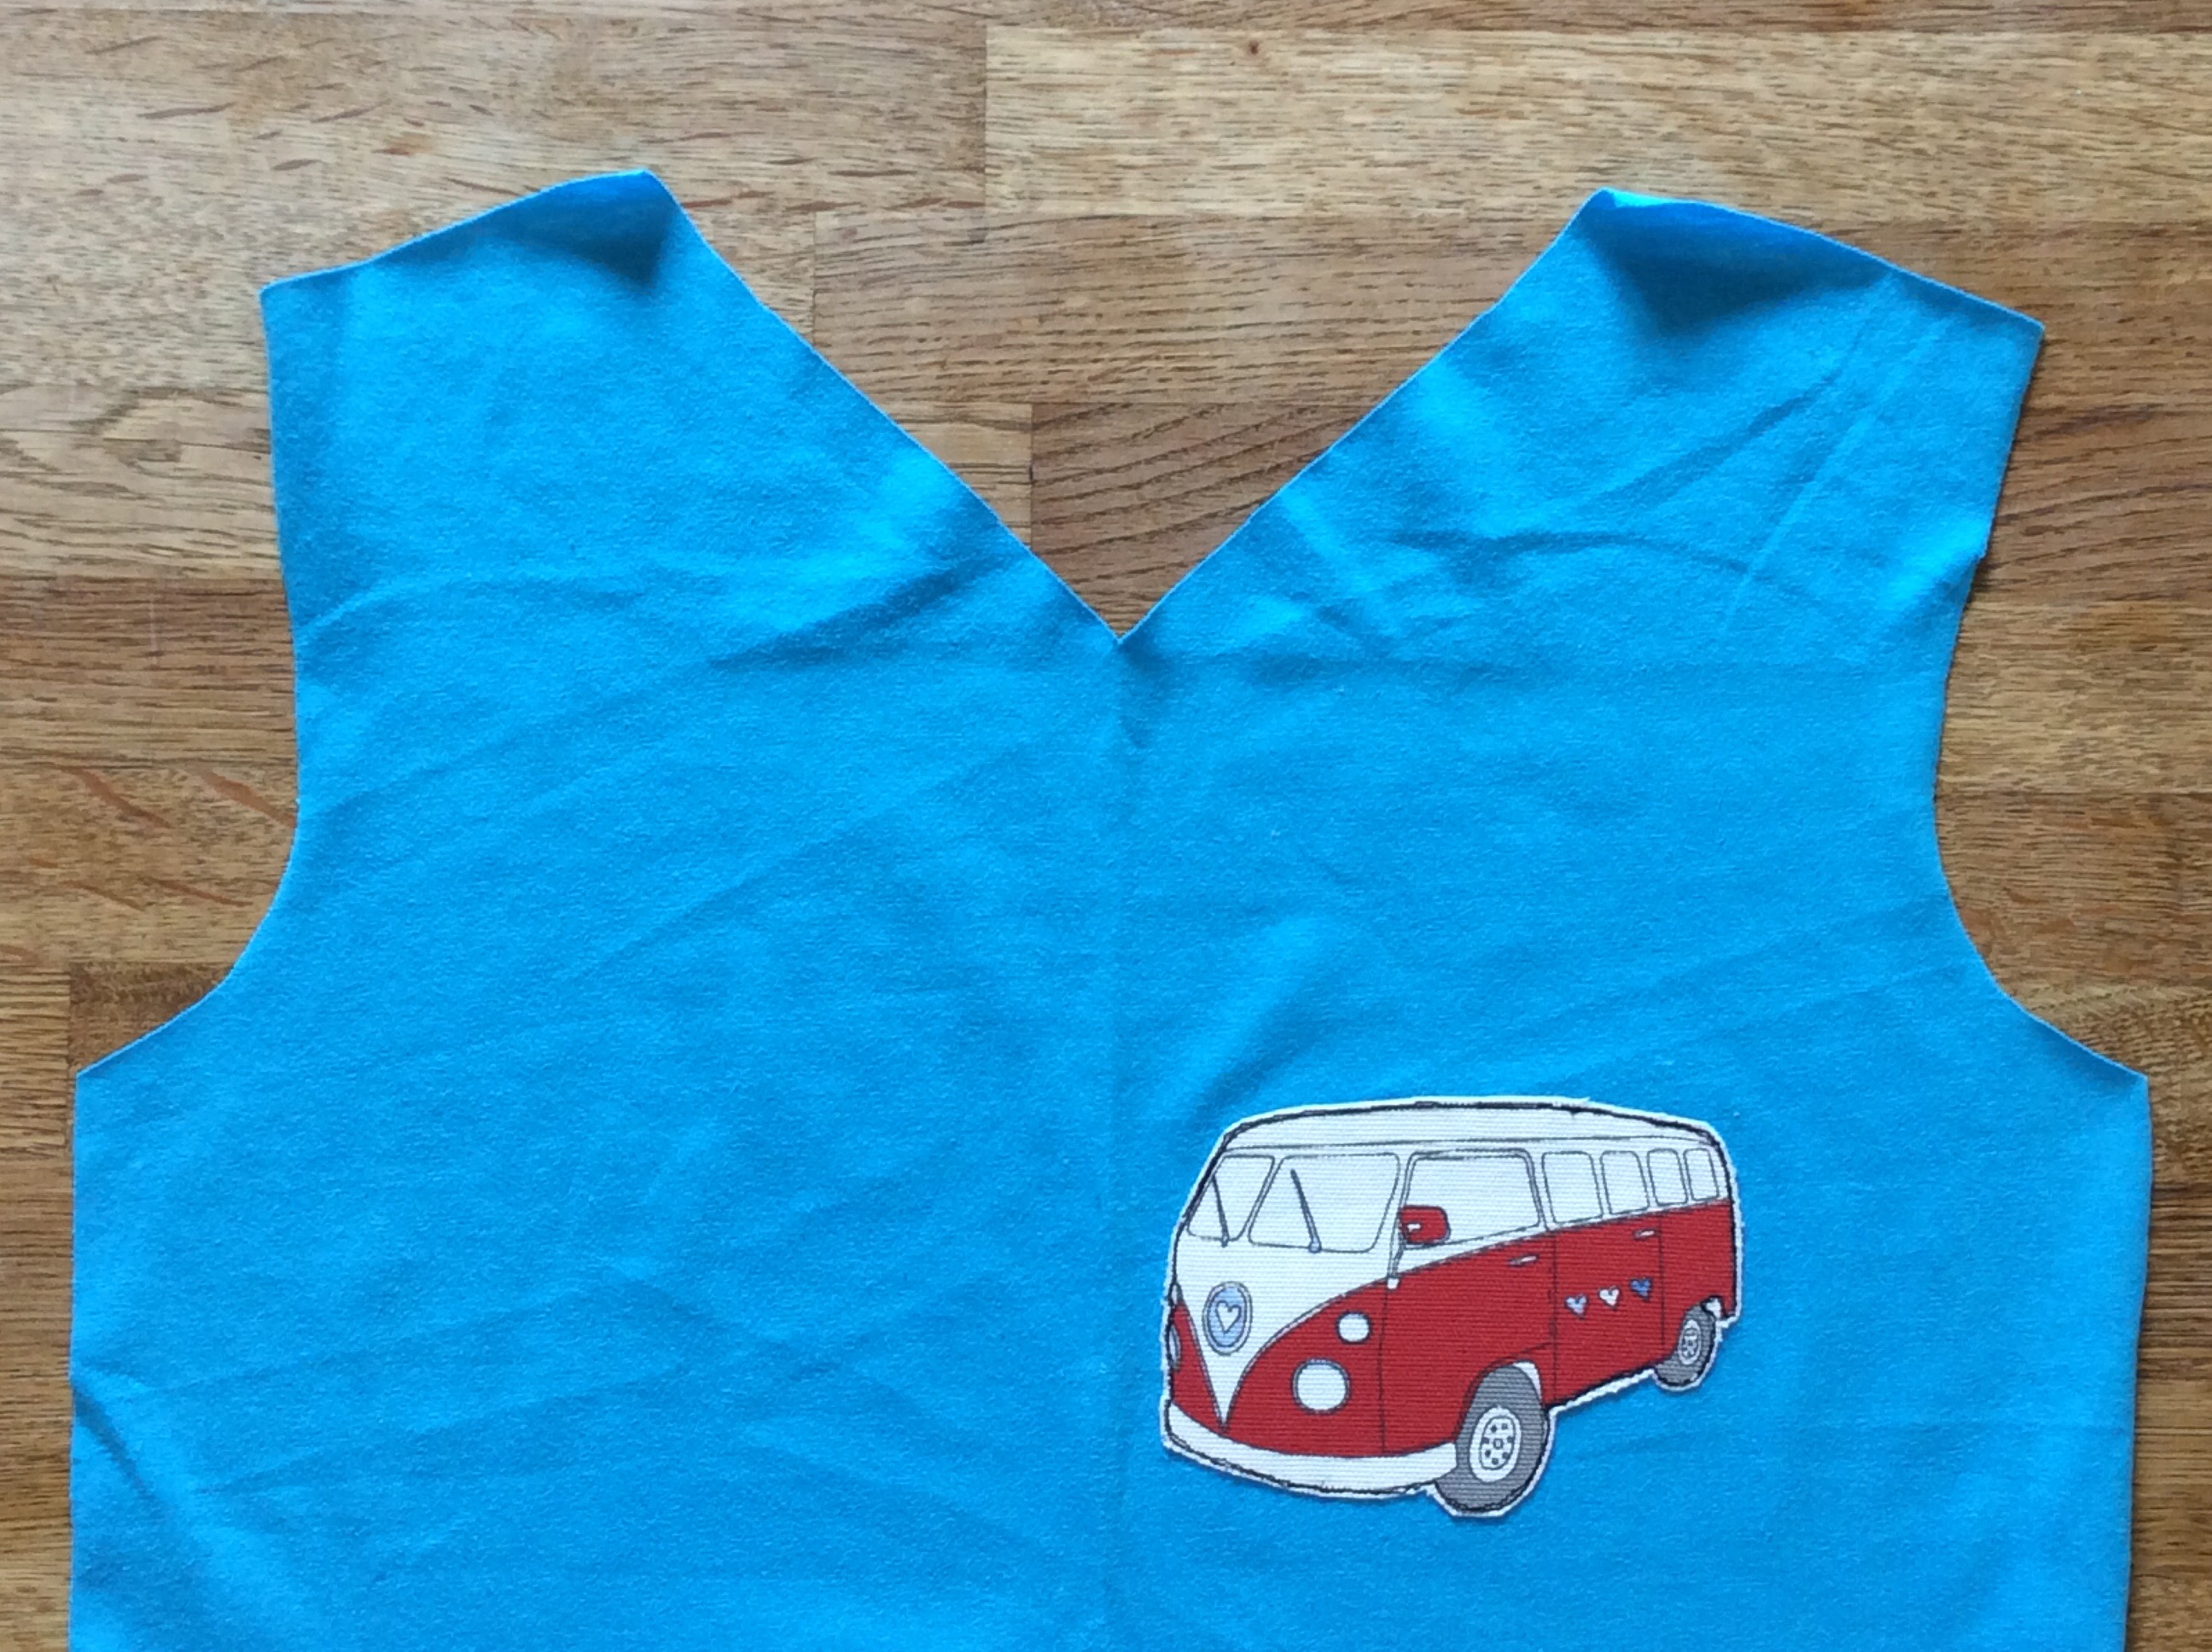
Rummaging through my fabrics, I found a length of turquoise jersey left over from making this sample Coco for my stand at the school fair.

There was just enough for a boy’s T-shirt using this pattern from issue 27 of Love Sewing magazine.
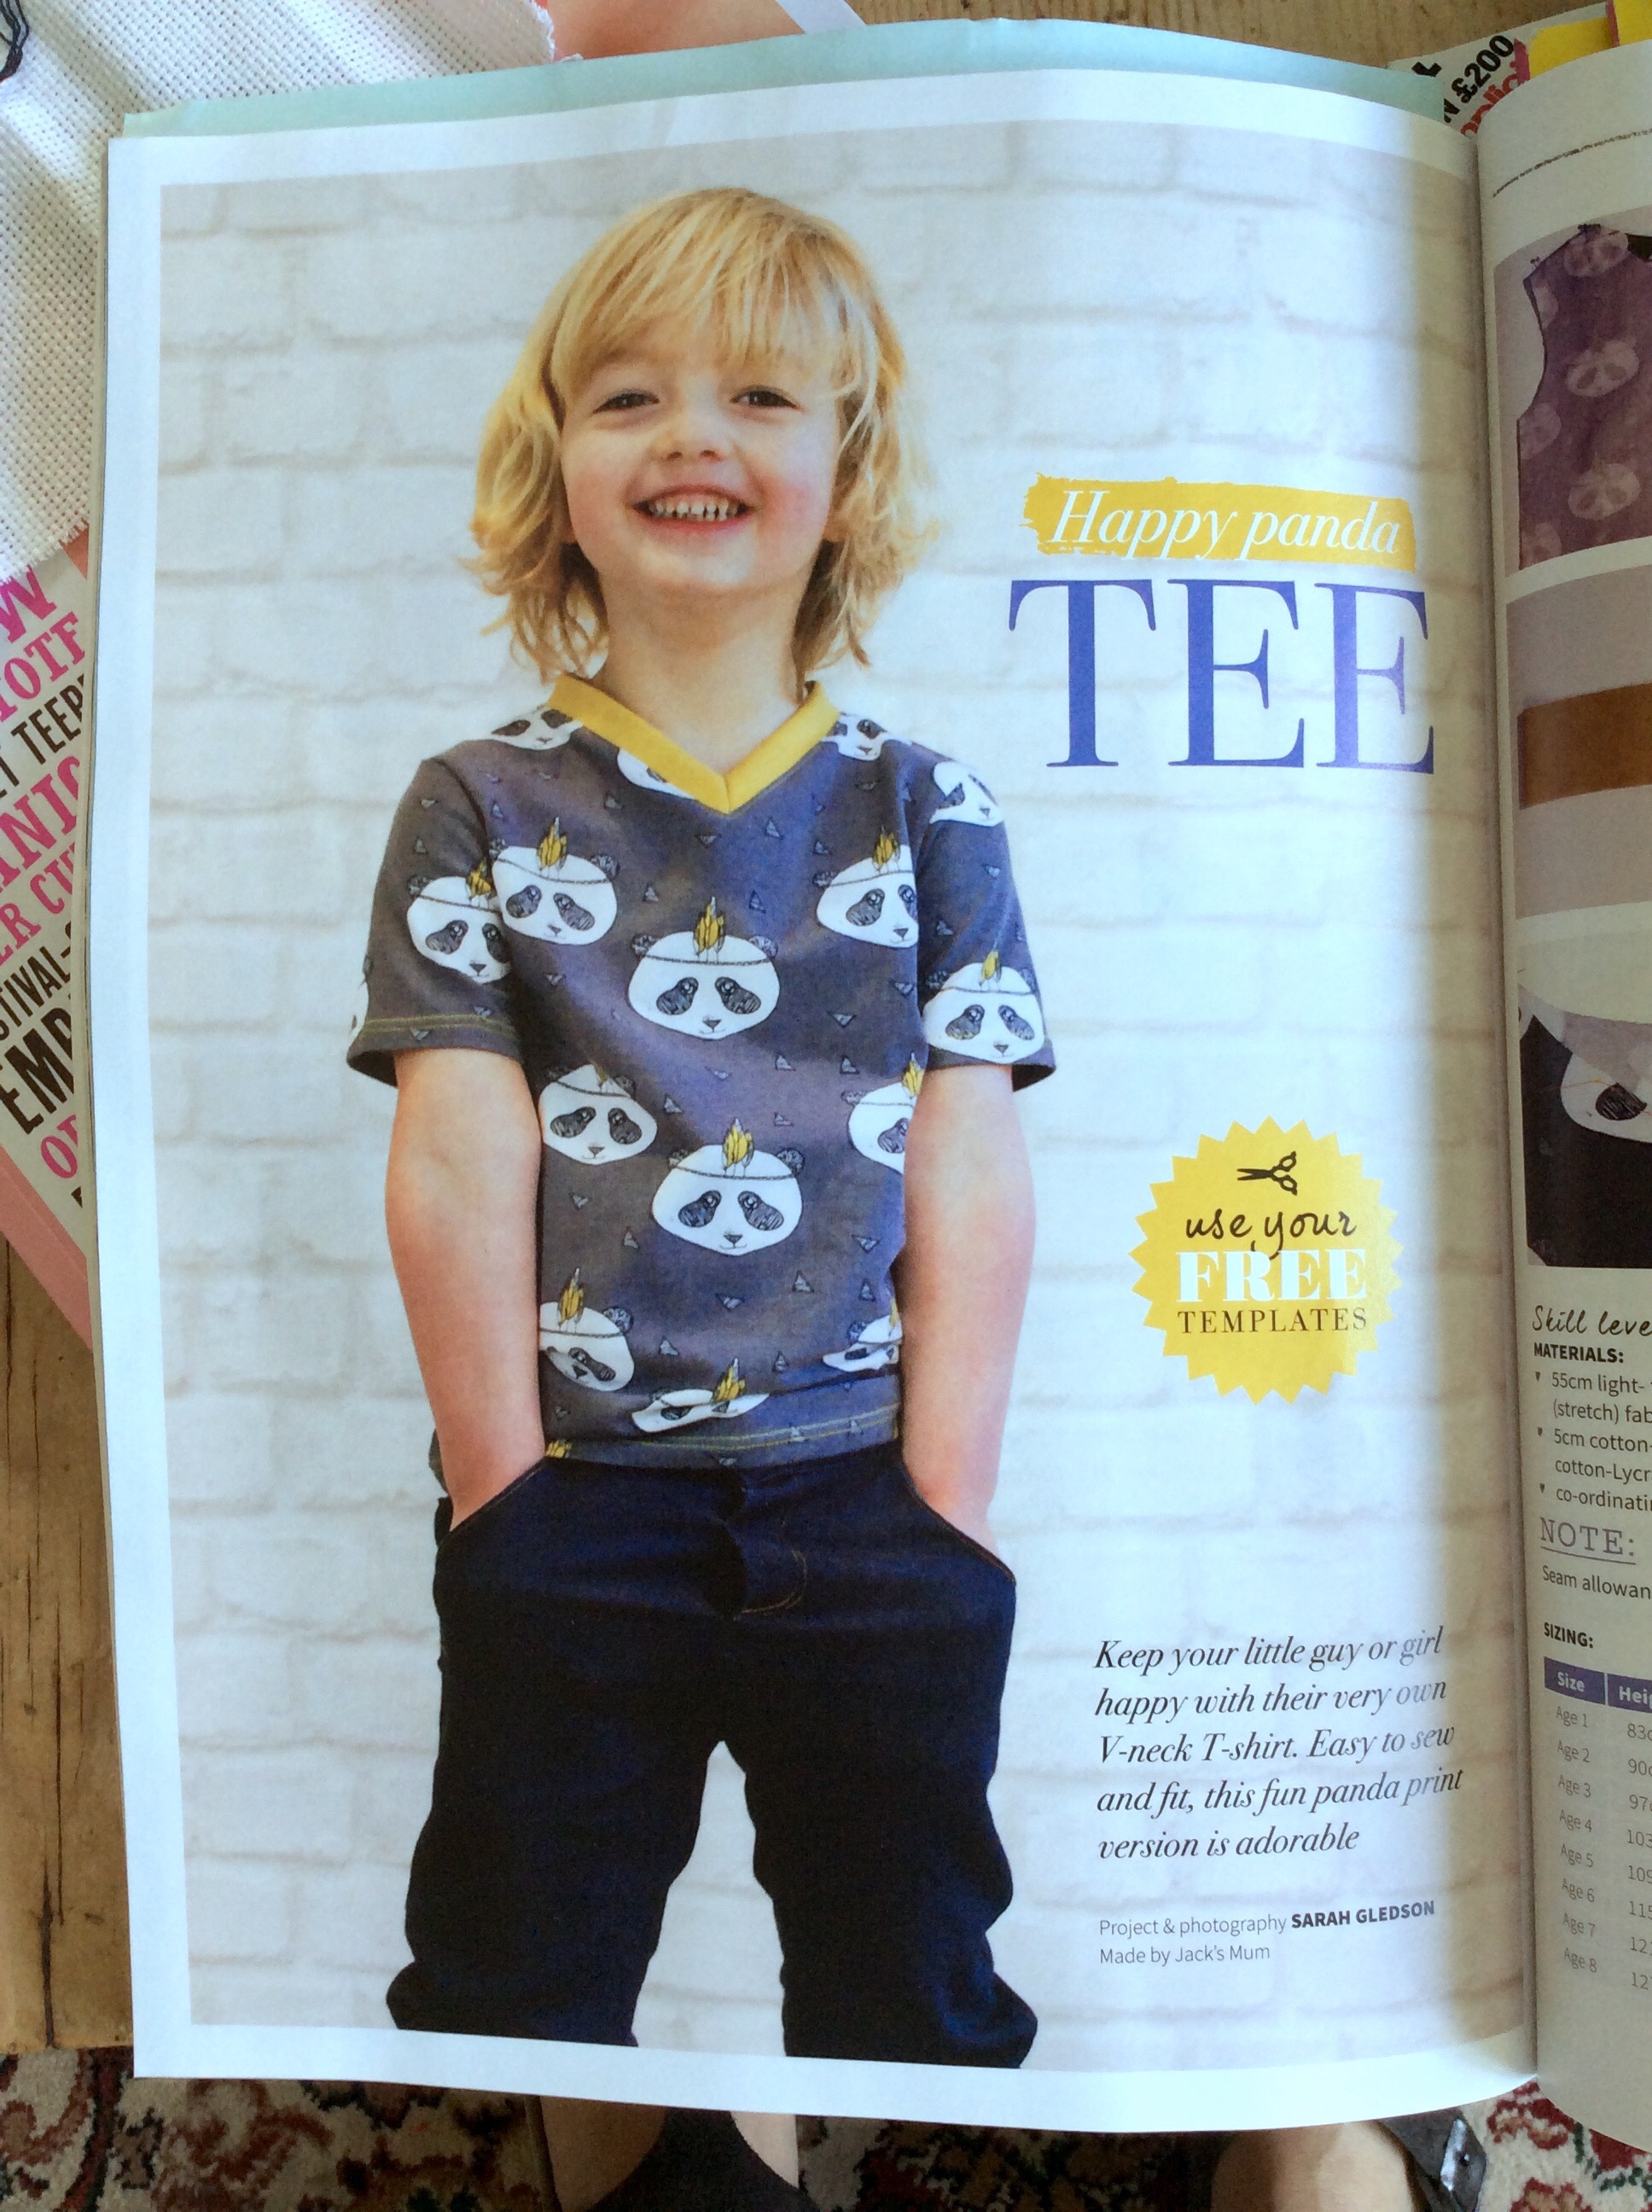
I wouldn’t download and print off a pattern for anything larger, but this was just nine sheets of paper which taped together very quickly.
My French curve came in handy for grading the pattern up to Age 9.
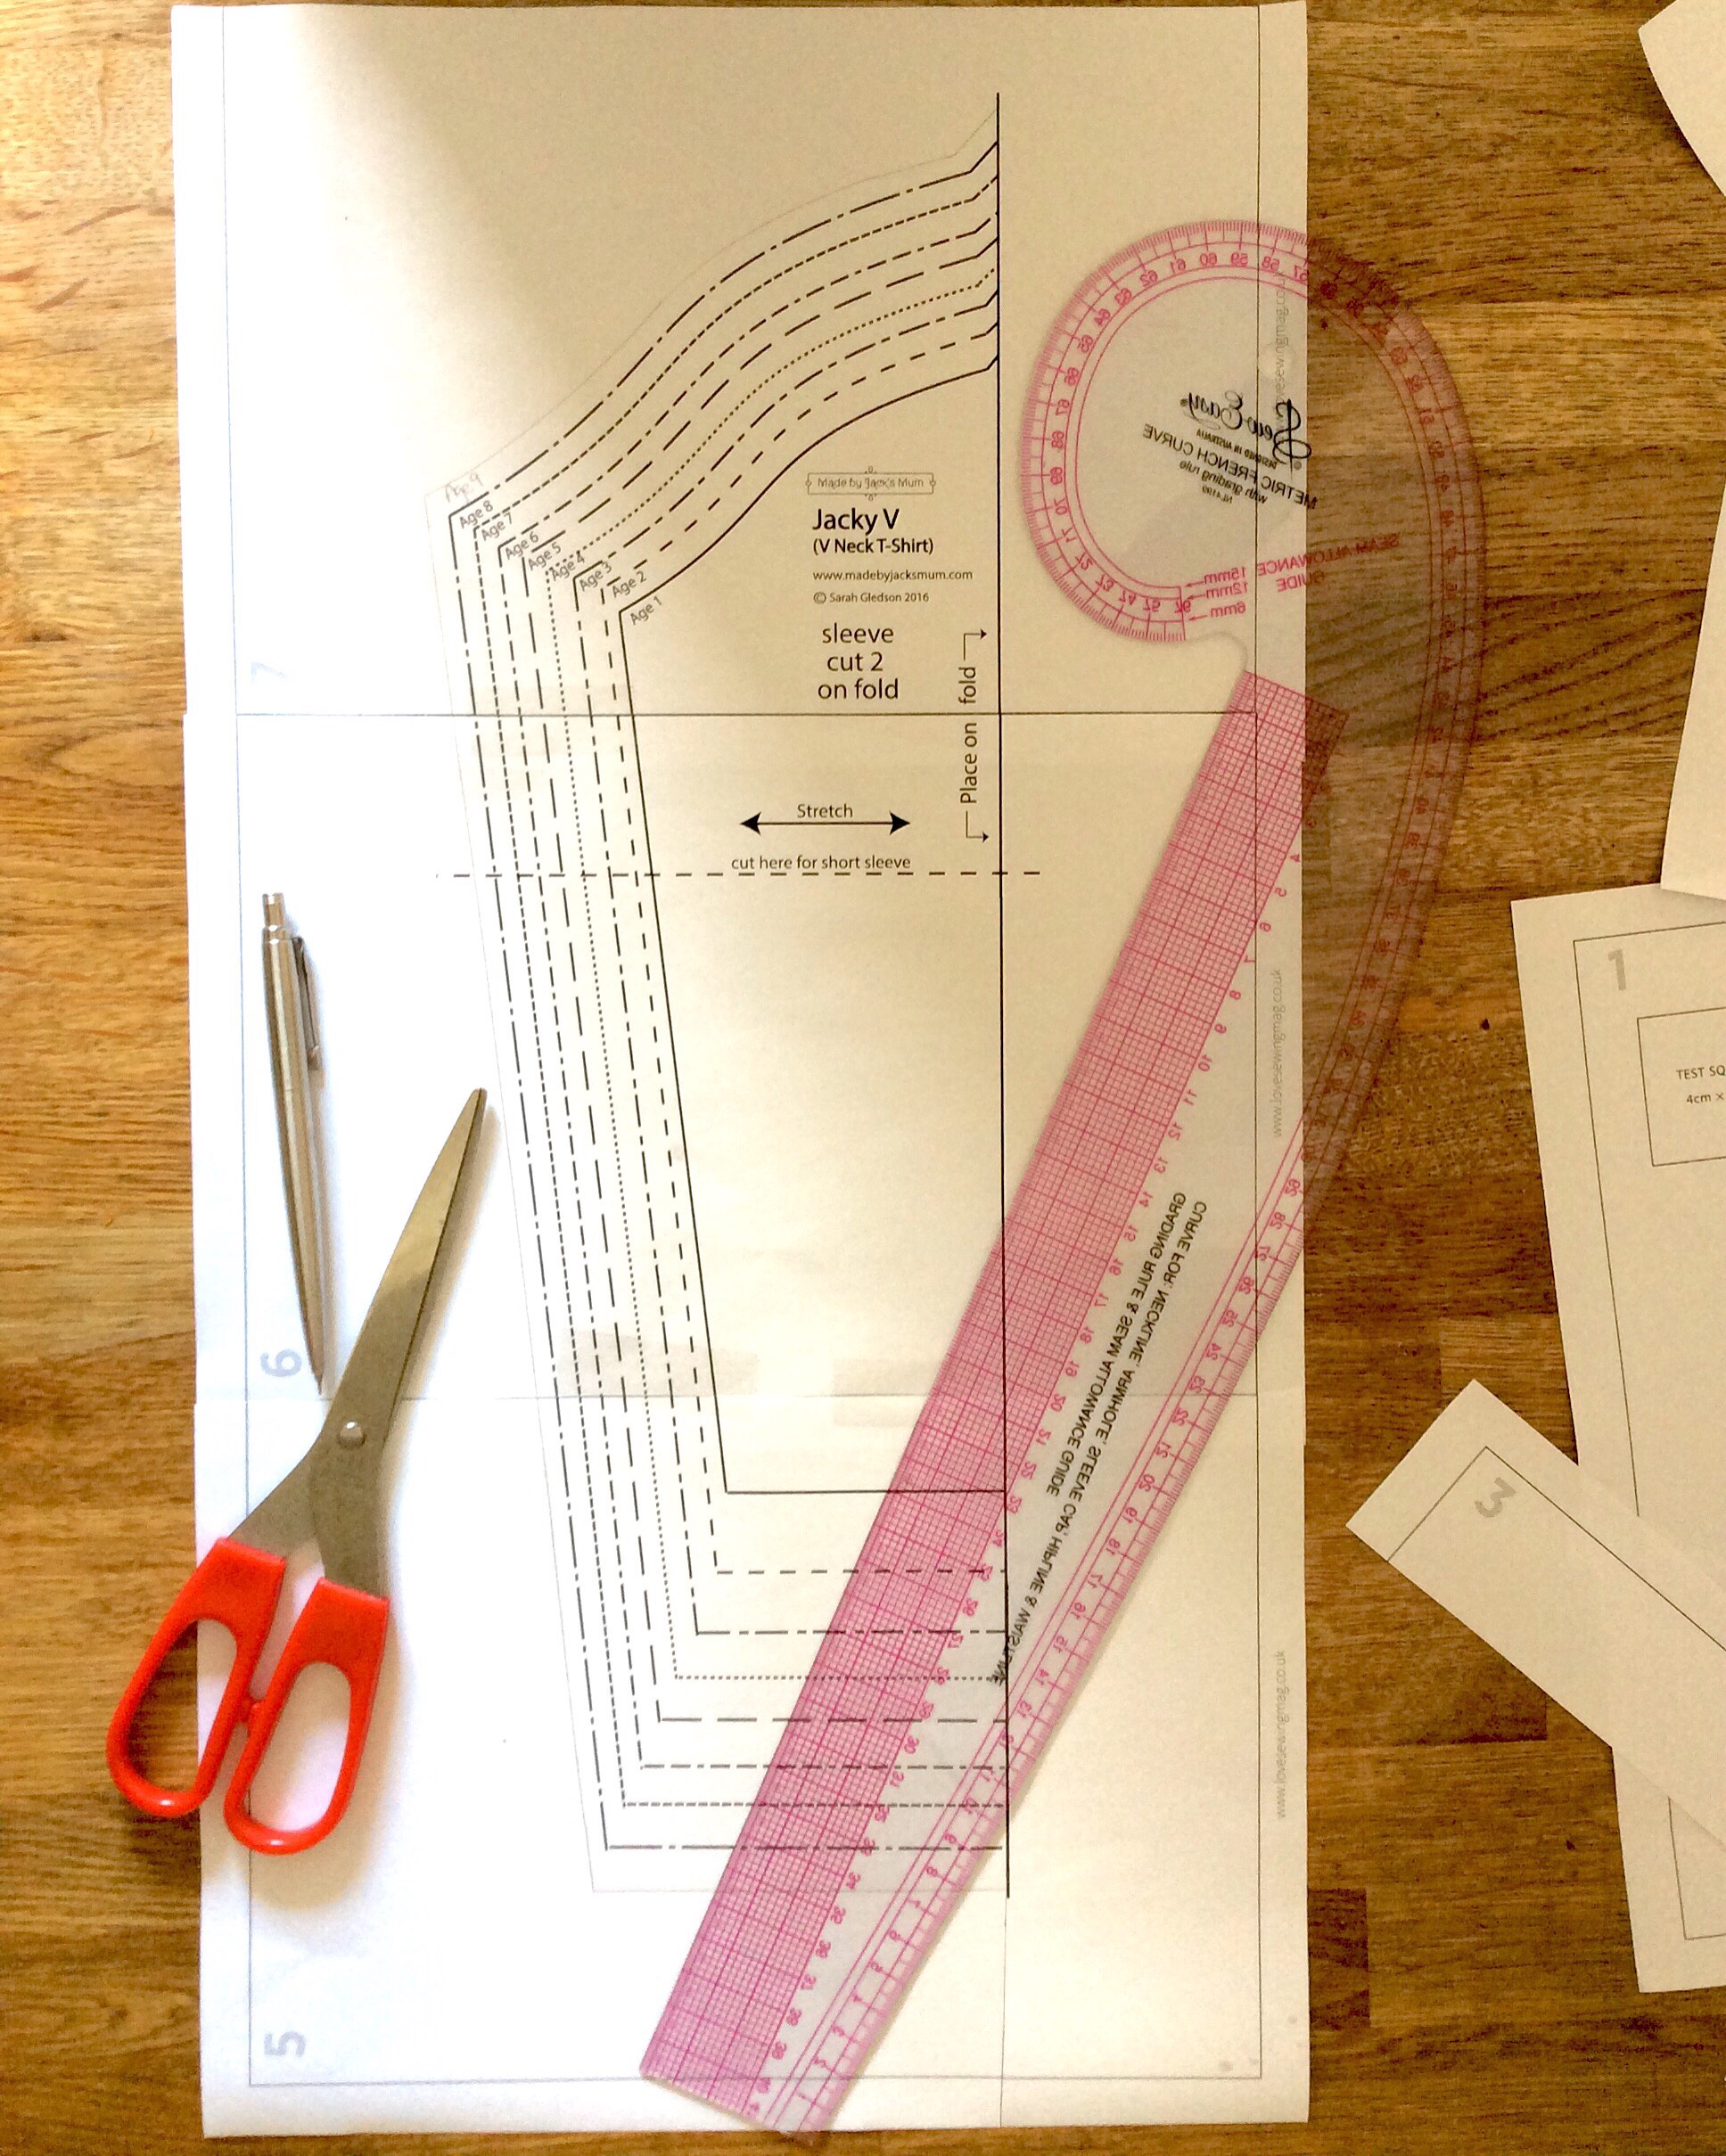

Just three pattern pieces meant this promised to be a quick enough make to complete in the couple of hours before he came home from school.

Some remnants of blind fabric provided the perfect motif to add to the front of the T-shirt and I picked the red one to echo the colour of the shorts they were to go with.

After stabilising with some interfacing, the free motion foot made short work of the appliqué – I sewed two rounds of stitching.

Embroidery scissors were used to cut close to the stitching and remove the excess fabric to reveal the motif.

The finished appliqué.
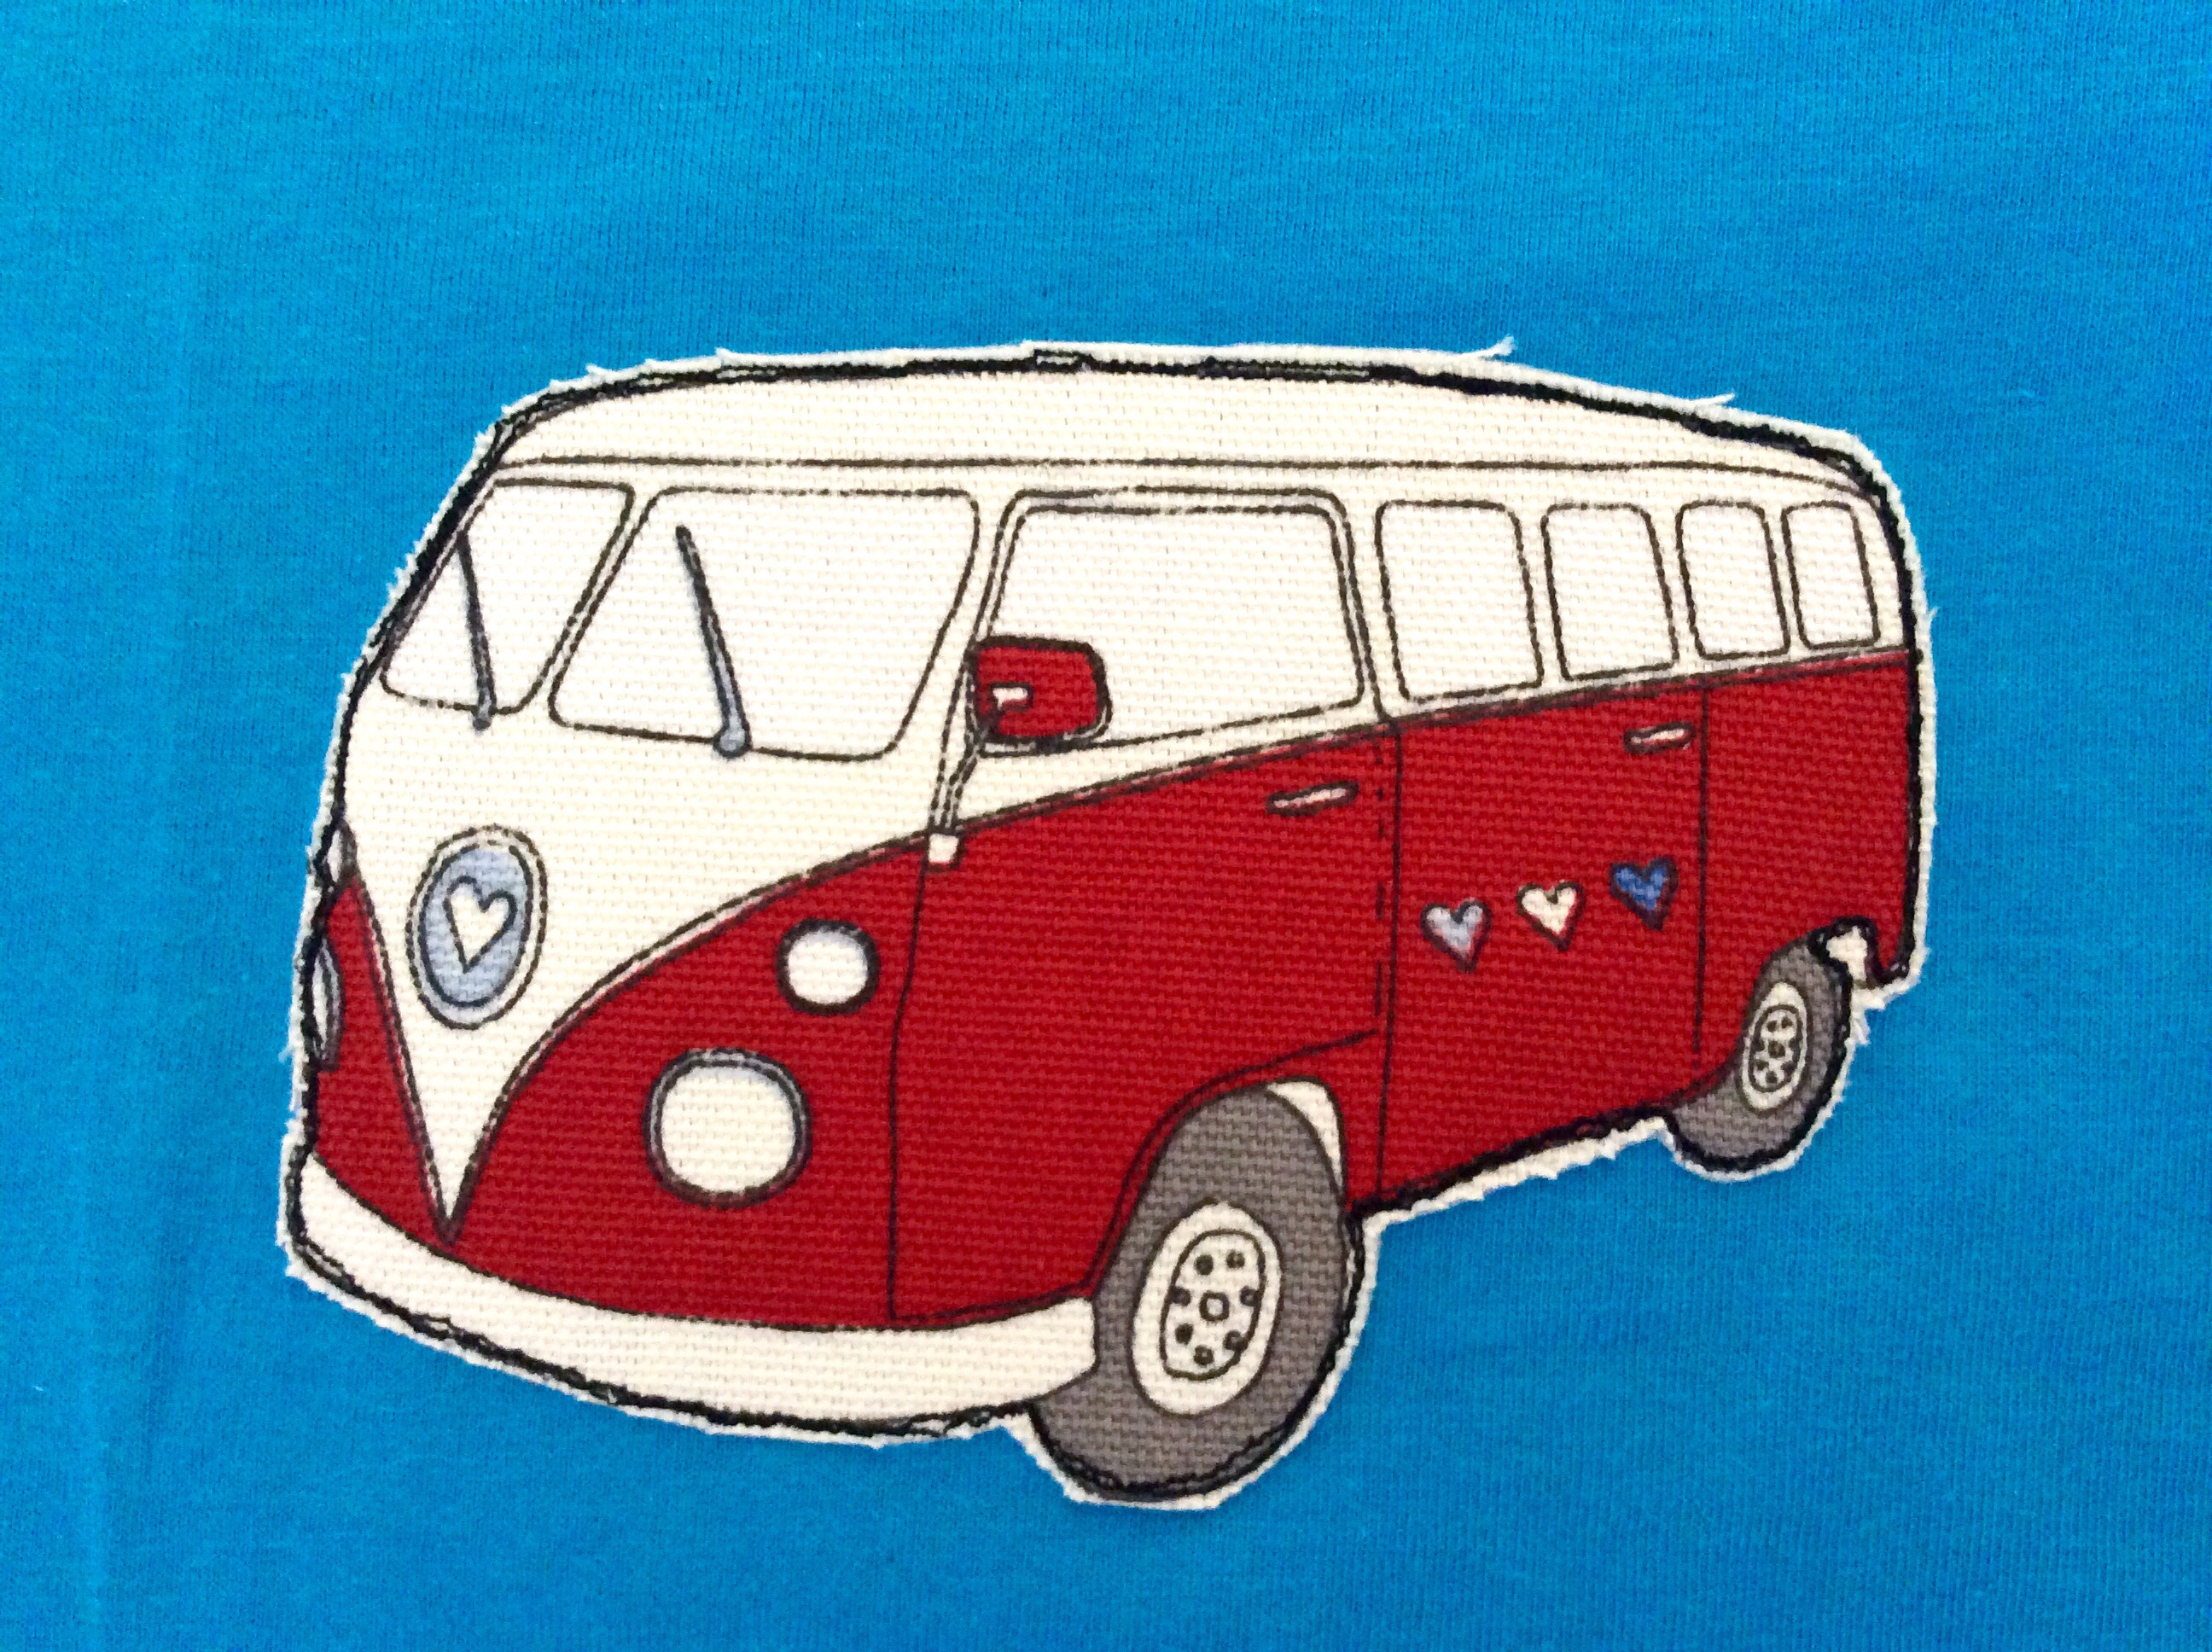
Maybe it would have been better to place it a little higher on the chest?
Full construction details, and the free pattern, can be found in issue 27 of Love Sewing, so I won’t repeat them here.
Suffice to say that it was quick, easy and fun to make and the finish was faultless, though I say so myself!
The overlocker (all four threads) was used exclusively for the construction, with top stitching done on the sewing machine.

Apart from the white overlock thread. It was all I had.
I also didn’t have the requisite ribbed jersey for the neckband, but more of the fabric that I used for the body of the T-shirt worked just as well.
A slight zig zag stitch was used for the top stitching around the neckline, both for decoration and to keep the neckline lying flat.

A straightforward one centimetre hem on the bottom and sleeve hems was the final touch to bring the project in under two hours.

All wrapped up and ready to open – a free extra present for one little nine year old boy!

At precisely 4.51am, a very excited little boy bounded into our bedroom….and was sent back to bed for an hour and a half. I know. We’re mean parents.
At 6.30, Take Two. He woke up everyone in the house (No.1 Son ended up going into work early!) and we all went down to watch him unwrap his presents.
First, his T-shirt….

….then Star Wars masks and light sabres from his oldest brother….
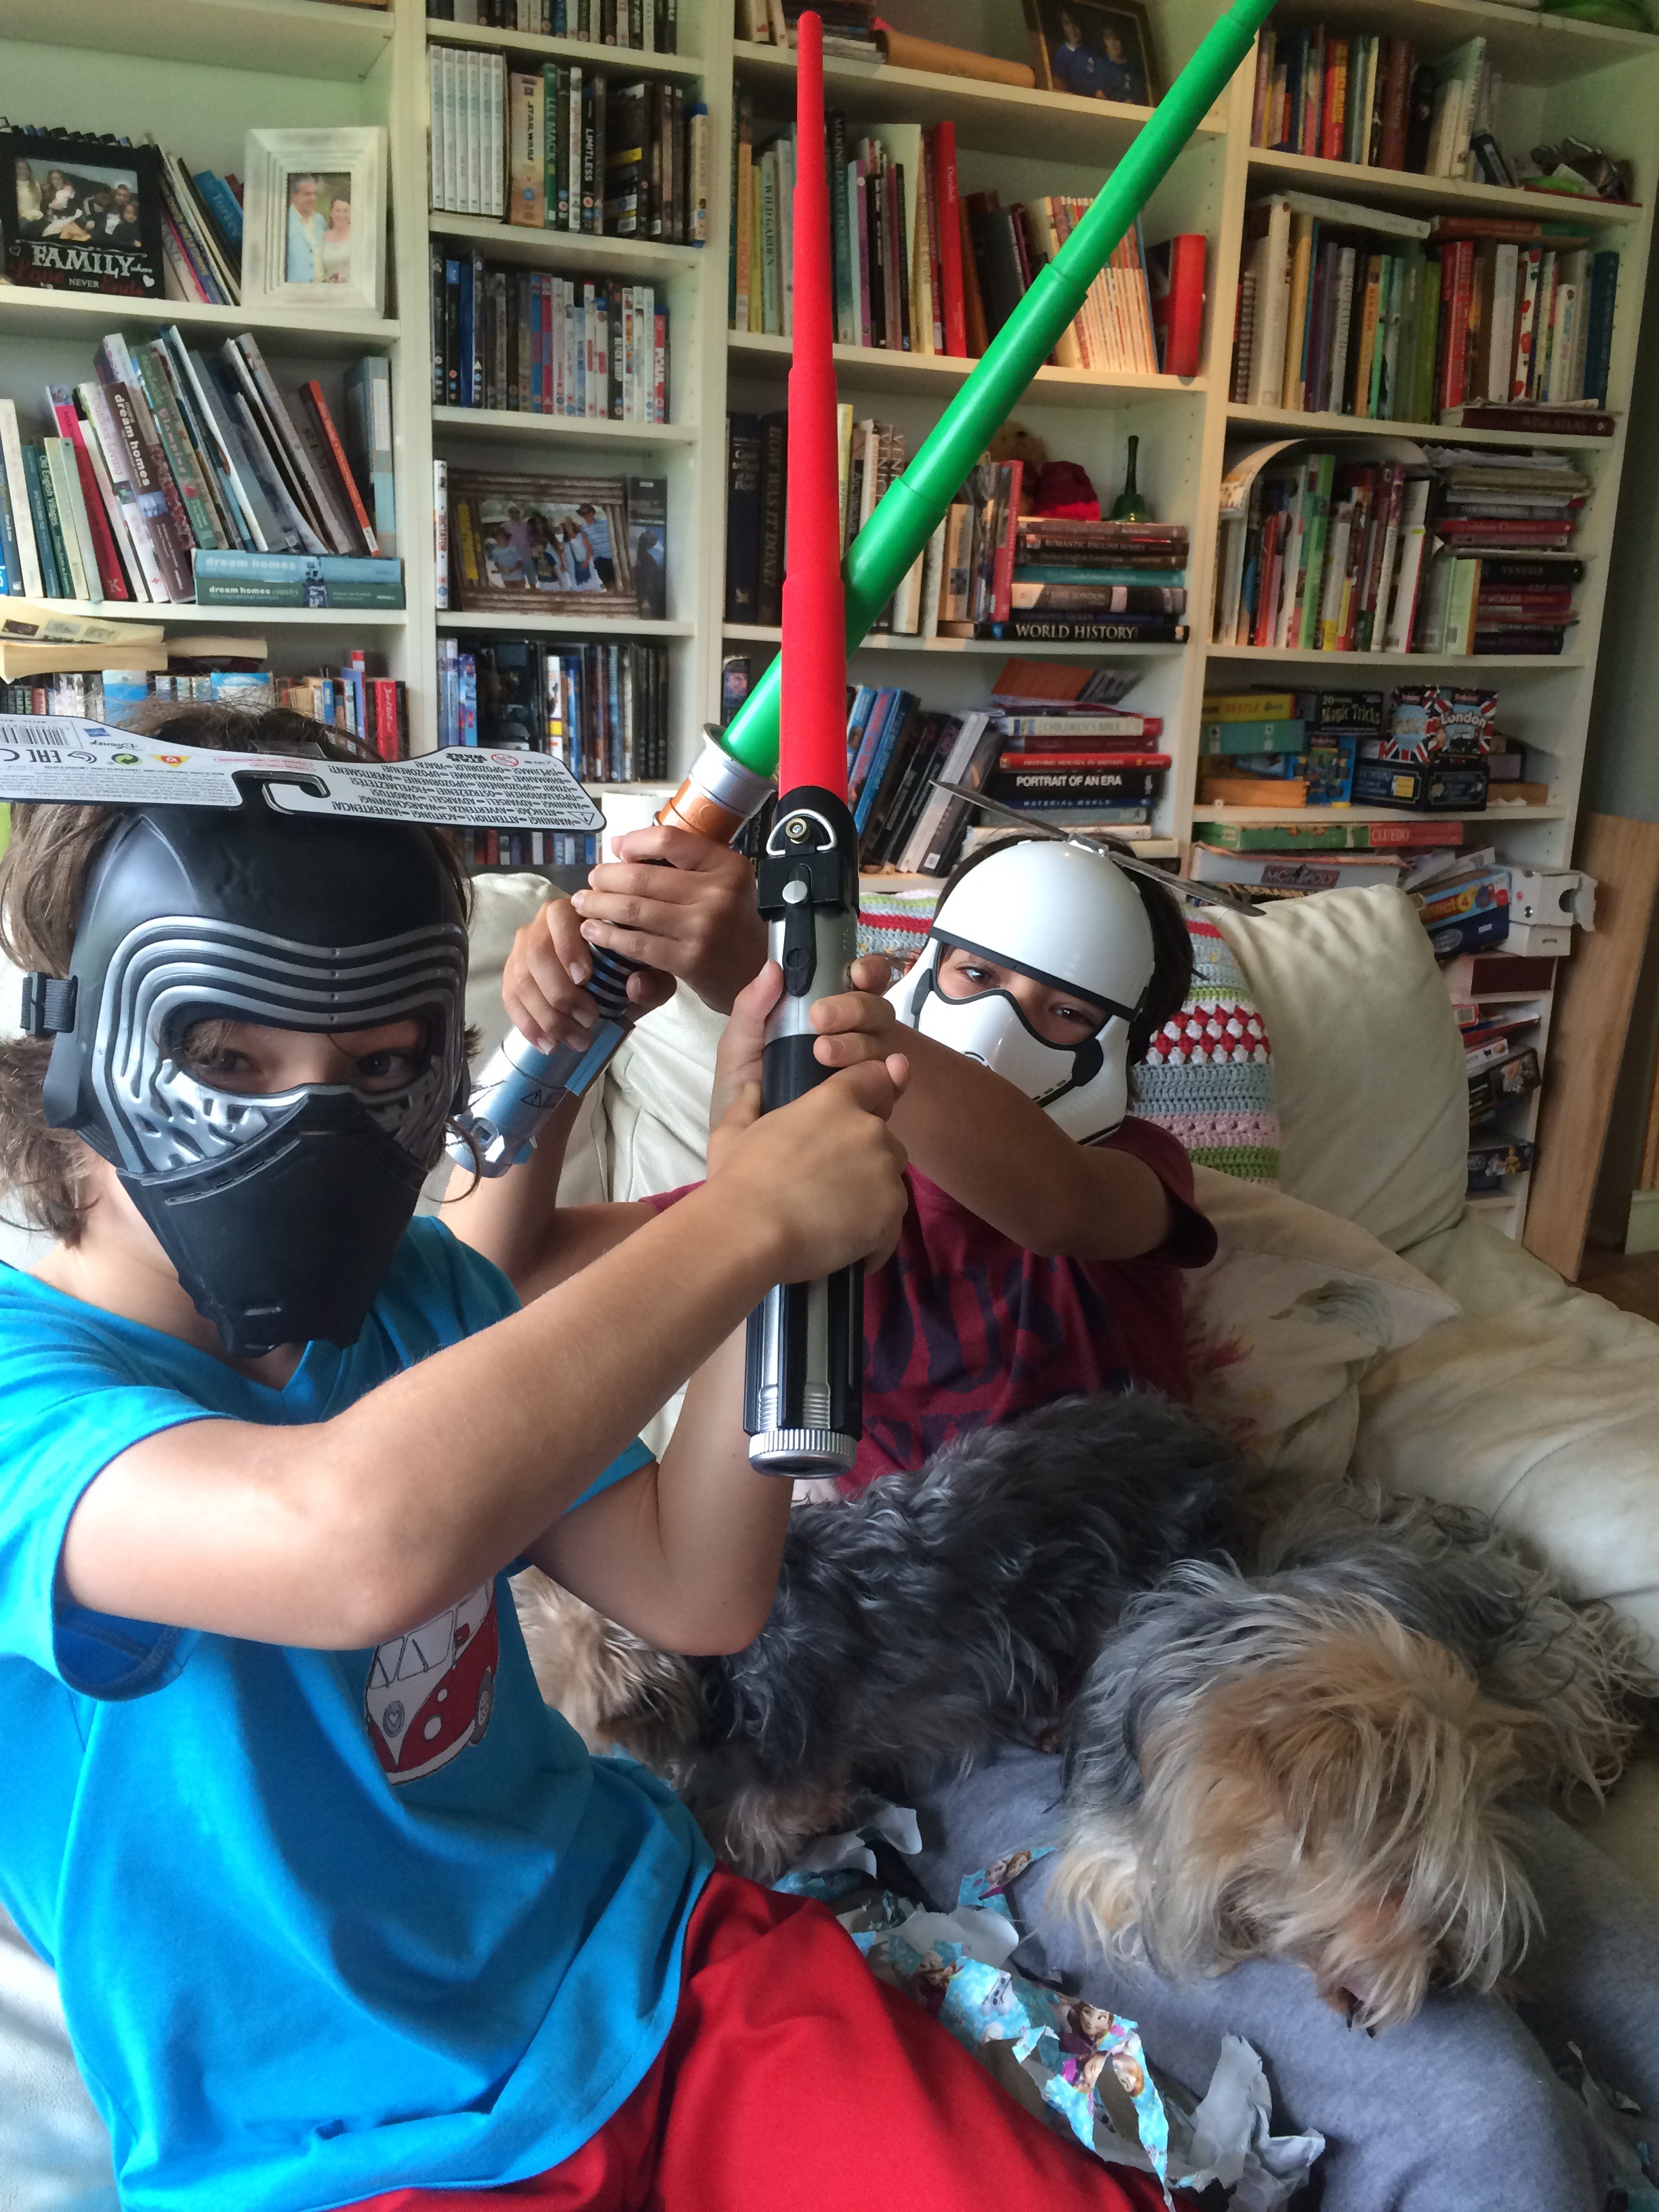
As for the T-shirt….well, it stayed clean for all of five minutes….

I’m not sure when I first noticed the trend for hand-knitted bobble hats with a fur pom pom, last Winter I think, but I know I was grateful for its return.
As any child of the Seventies will attest, the bobble hat was a staple of our Winter wardrobe and was invariably knitted by Grandma whilst we made the pom pom ourselves the traditional way – with two polo-shaped cardboard circles.
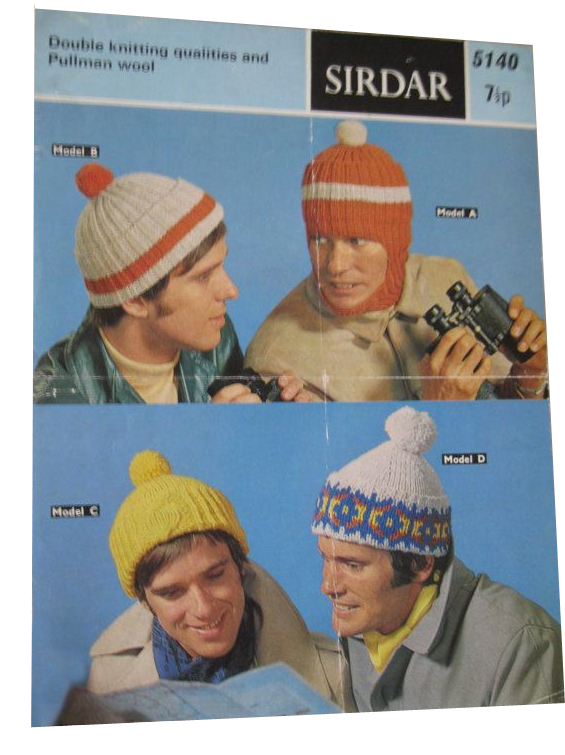
Looking back at this vintage 70s pattern (above), why do I think the models look embarrassingly outmoded compared to the same style today (below)? I mean, the yellow cable hat is virtually identical in both photos and yet, somehow, the models look ‘cool’ in the modern photograph.
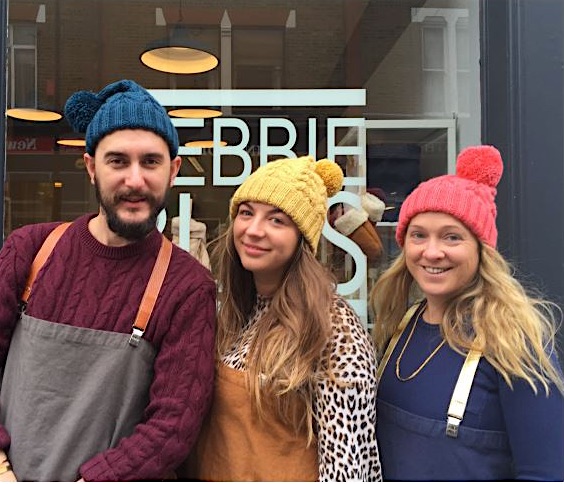
No doubt we’ll look back in another forty years and laugh but, for now, I embrace the return of the bobble hat.
The hat I had in mind had to be cable, which meant it had to be a knitting pattern rather than crochet, and it had to be written for Aran weight yarn because I had a huge ball left over from a jumper project.
So, having Googled and Pinterest-ed my way through hundreds of bobble hat patterns, I decided on the one above which is a free pattern on the Debbie Bliss website.
Sometimes I work straight from the digital pattern on my iPad but, in this case, I printed it out as it was only one A4 page long.
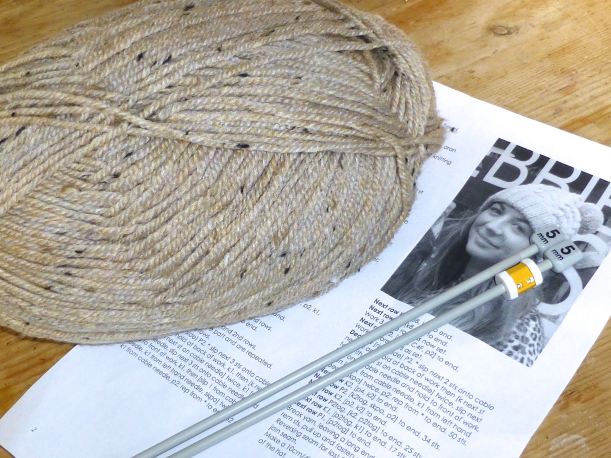
The tweedy yarn was Stylecraft Special Aran With 20% Wool in ‘Oatmeal’ which is a neutral, goes-with-anything shade of beige.
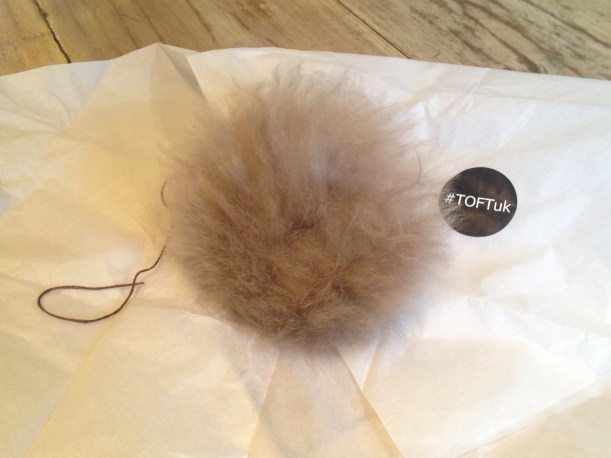
I chose an Alpaca fur pom pom from Toft in ‘Stone’ to match, rather than contrast with, the hat. It’s the lightest, softest pom pom you could ever imagine!
I gave you a sneak preview in my #sundaysevens post, but here it is again under construction.

The pattern called for straight 5mm needles which meant a seam would be necessary – I remembered to reverse the seam for the part of the ribbing that would fold back and be on show!
Can you knit cable in the round on a pair of circulars? I don’t know.
Anyway, before seaming I would normally block my knitting but this time I hesitated as I like the raised texture of the cables and thought blocking might flatten them to a degree.

I asked No.2 Son to model it for me so I could see what it looked like on the head without having been blocked.

I like it – so it’s staying unblocked:)
Ready for some photos?

Just look at the size of that pom pom!

I love the band of wide 2×2 ribbing.

The cables are suitably reminiscent of the 70s when they were the height of fashion and the fur pom pom brings it bang up to date.
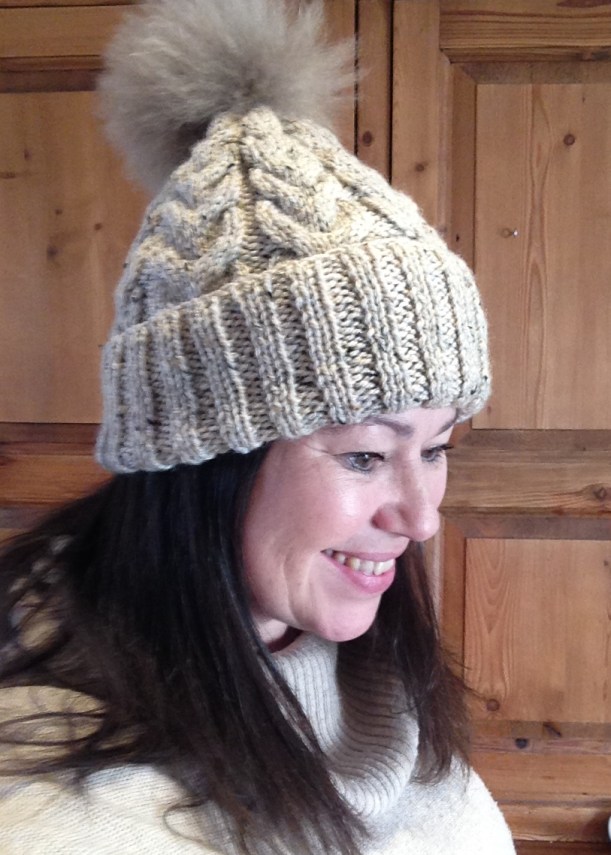
A quick ruffle through with the fingers and all signs of hat-hair are banished!

Yup, this is a new favourite and I can see myself making several more in different colours to go with different outfits.
Has anyone else succumbed to the lure of the pom pom bobble hat recently?
I was contacted recently by Craftseller magazine in relation to their “Blogger of the Month” feature and was asked if I would like a free double page spread in their magazine.
Um, let me think a minute…..yeeees!
As part of the feature I designed a free pattern for the readers, which was to be copyright-free allowing full reproduction rights. This was harder than it initially seems, I mean, what could I design that hadn’t been done before????
I came up with the idea of a folding travel photo frame and Googled/Pinterest-ed it…….not a single result.
Not one.
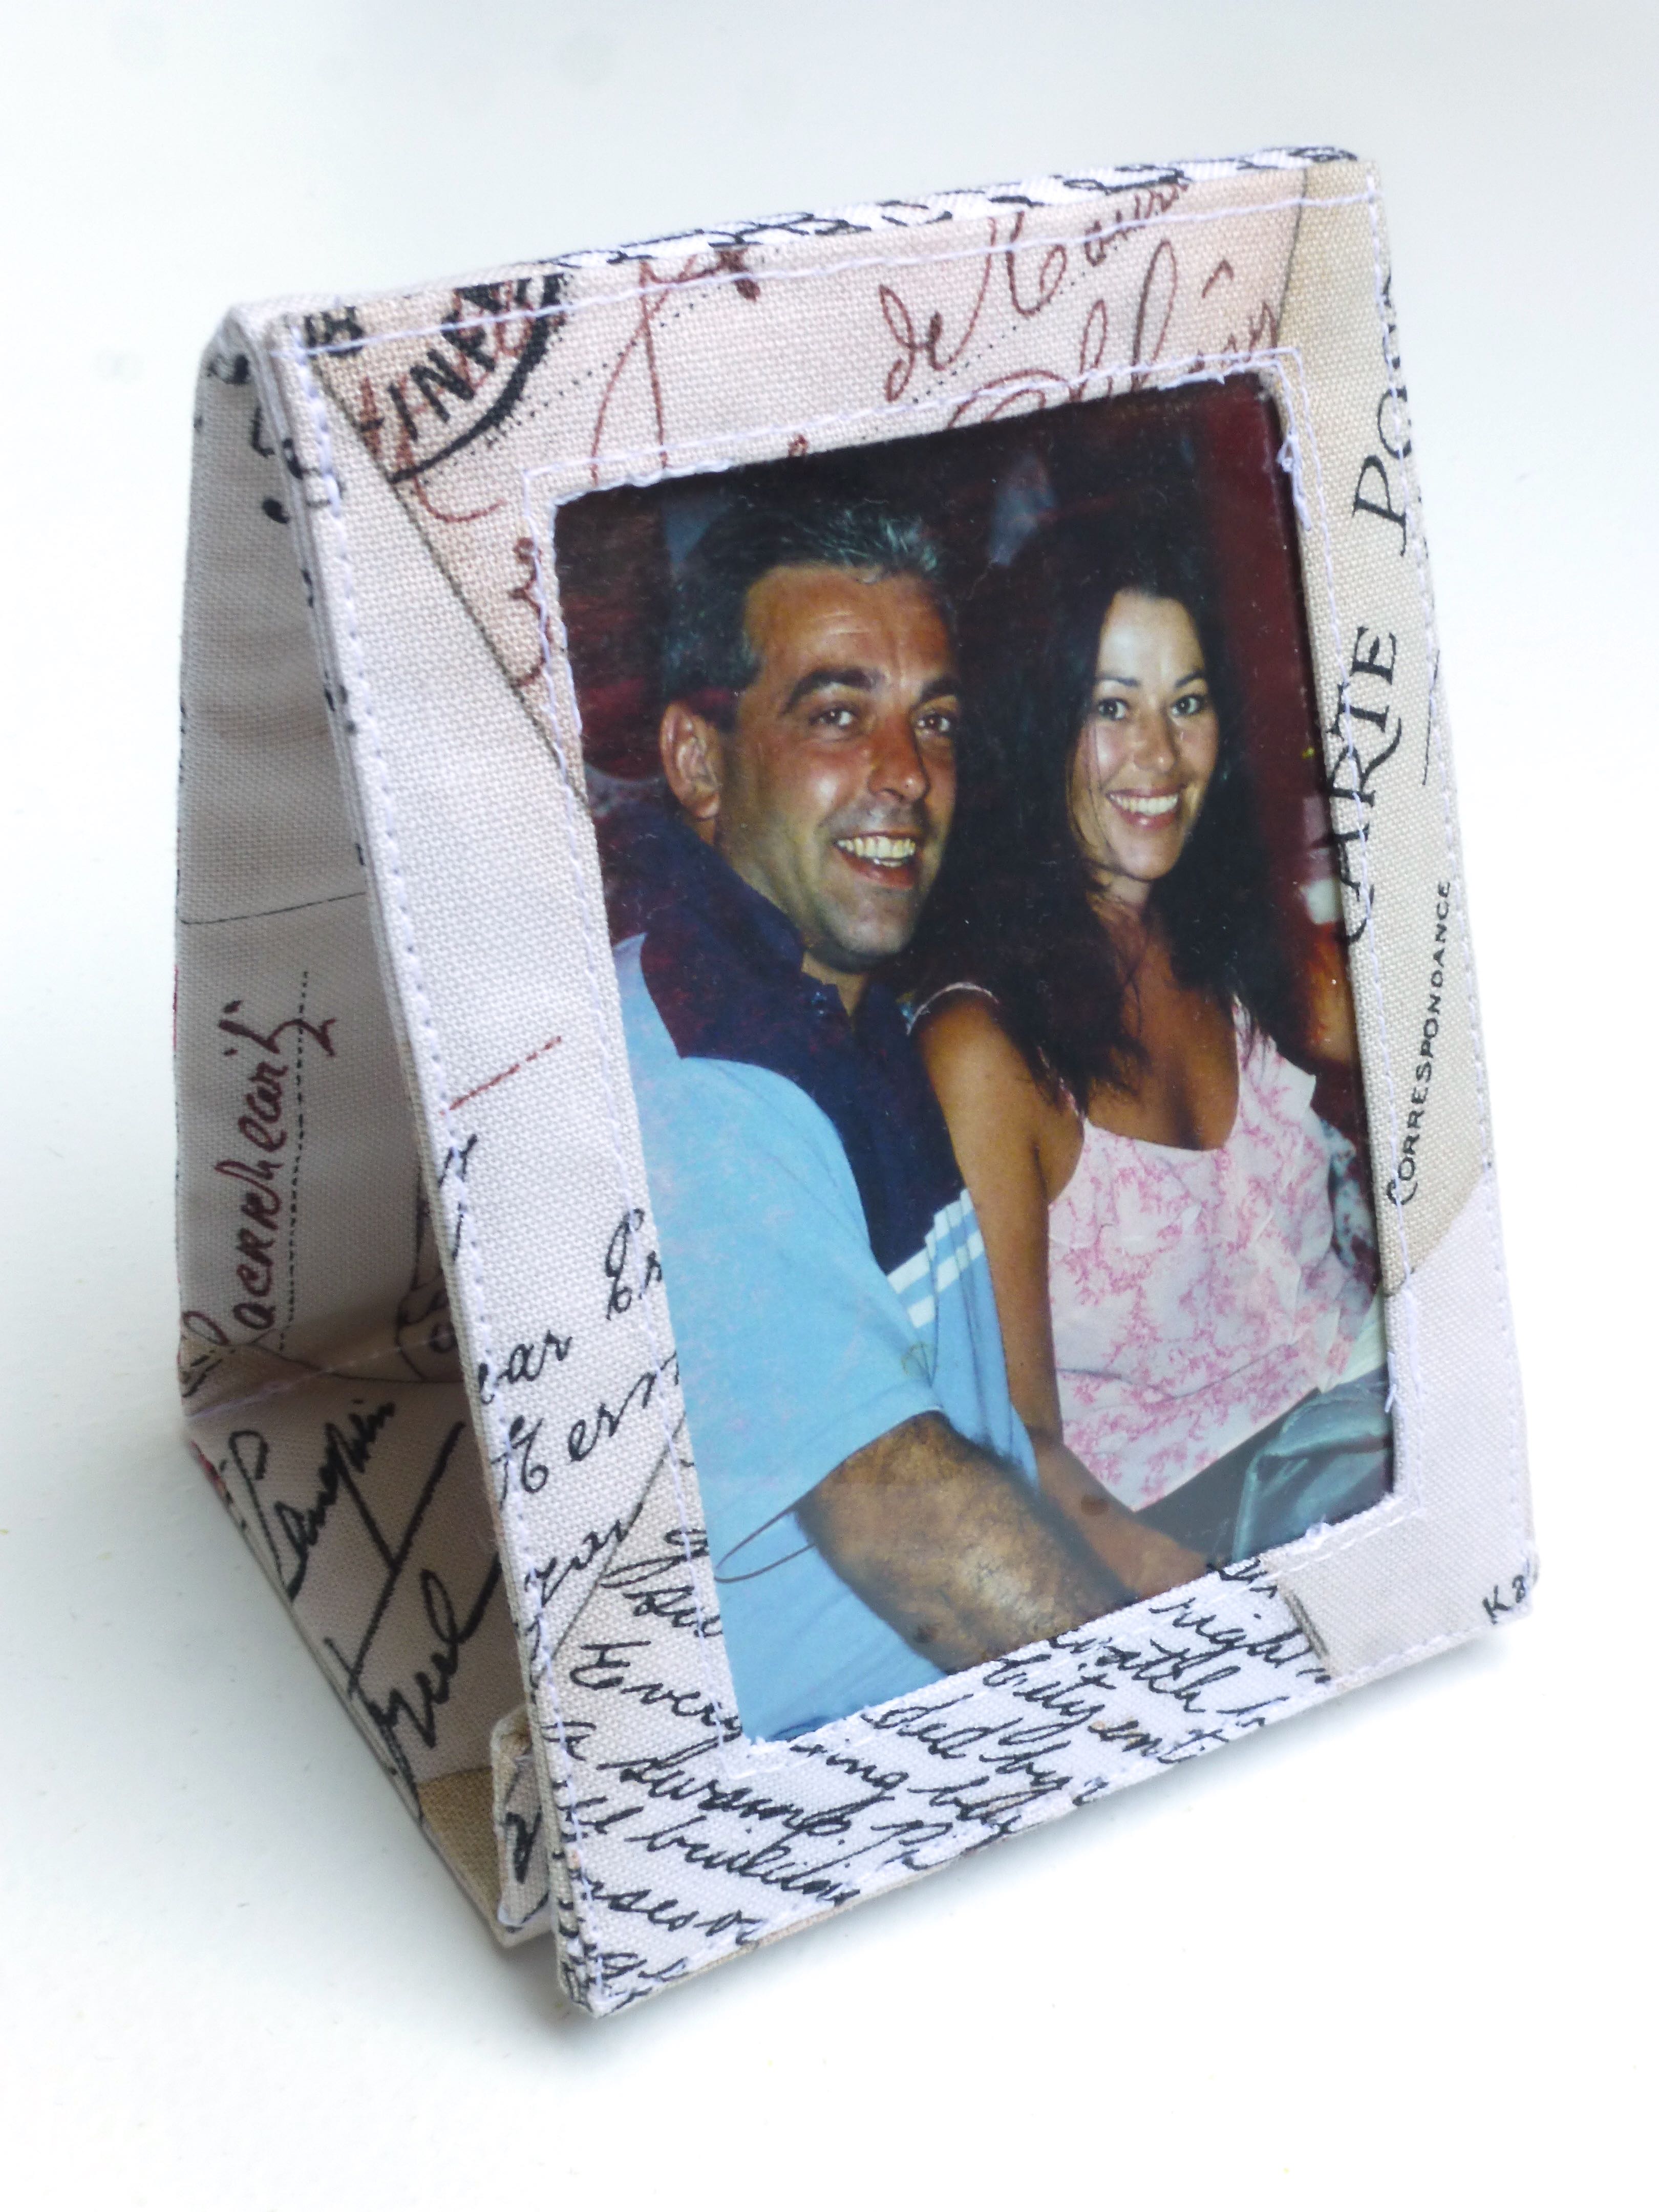
No one seems to have come up with a tutorial for such a thing, unless I just didn’t type in the correct keywords. So that was it, decision made, a “Folding Travel Photo Frame And Case” was going to be the free pattern for Craftseller’s readers.
After finalising materials and method on a prototype, this is the final product: –

Do you like it?
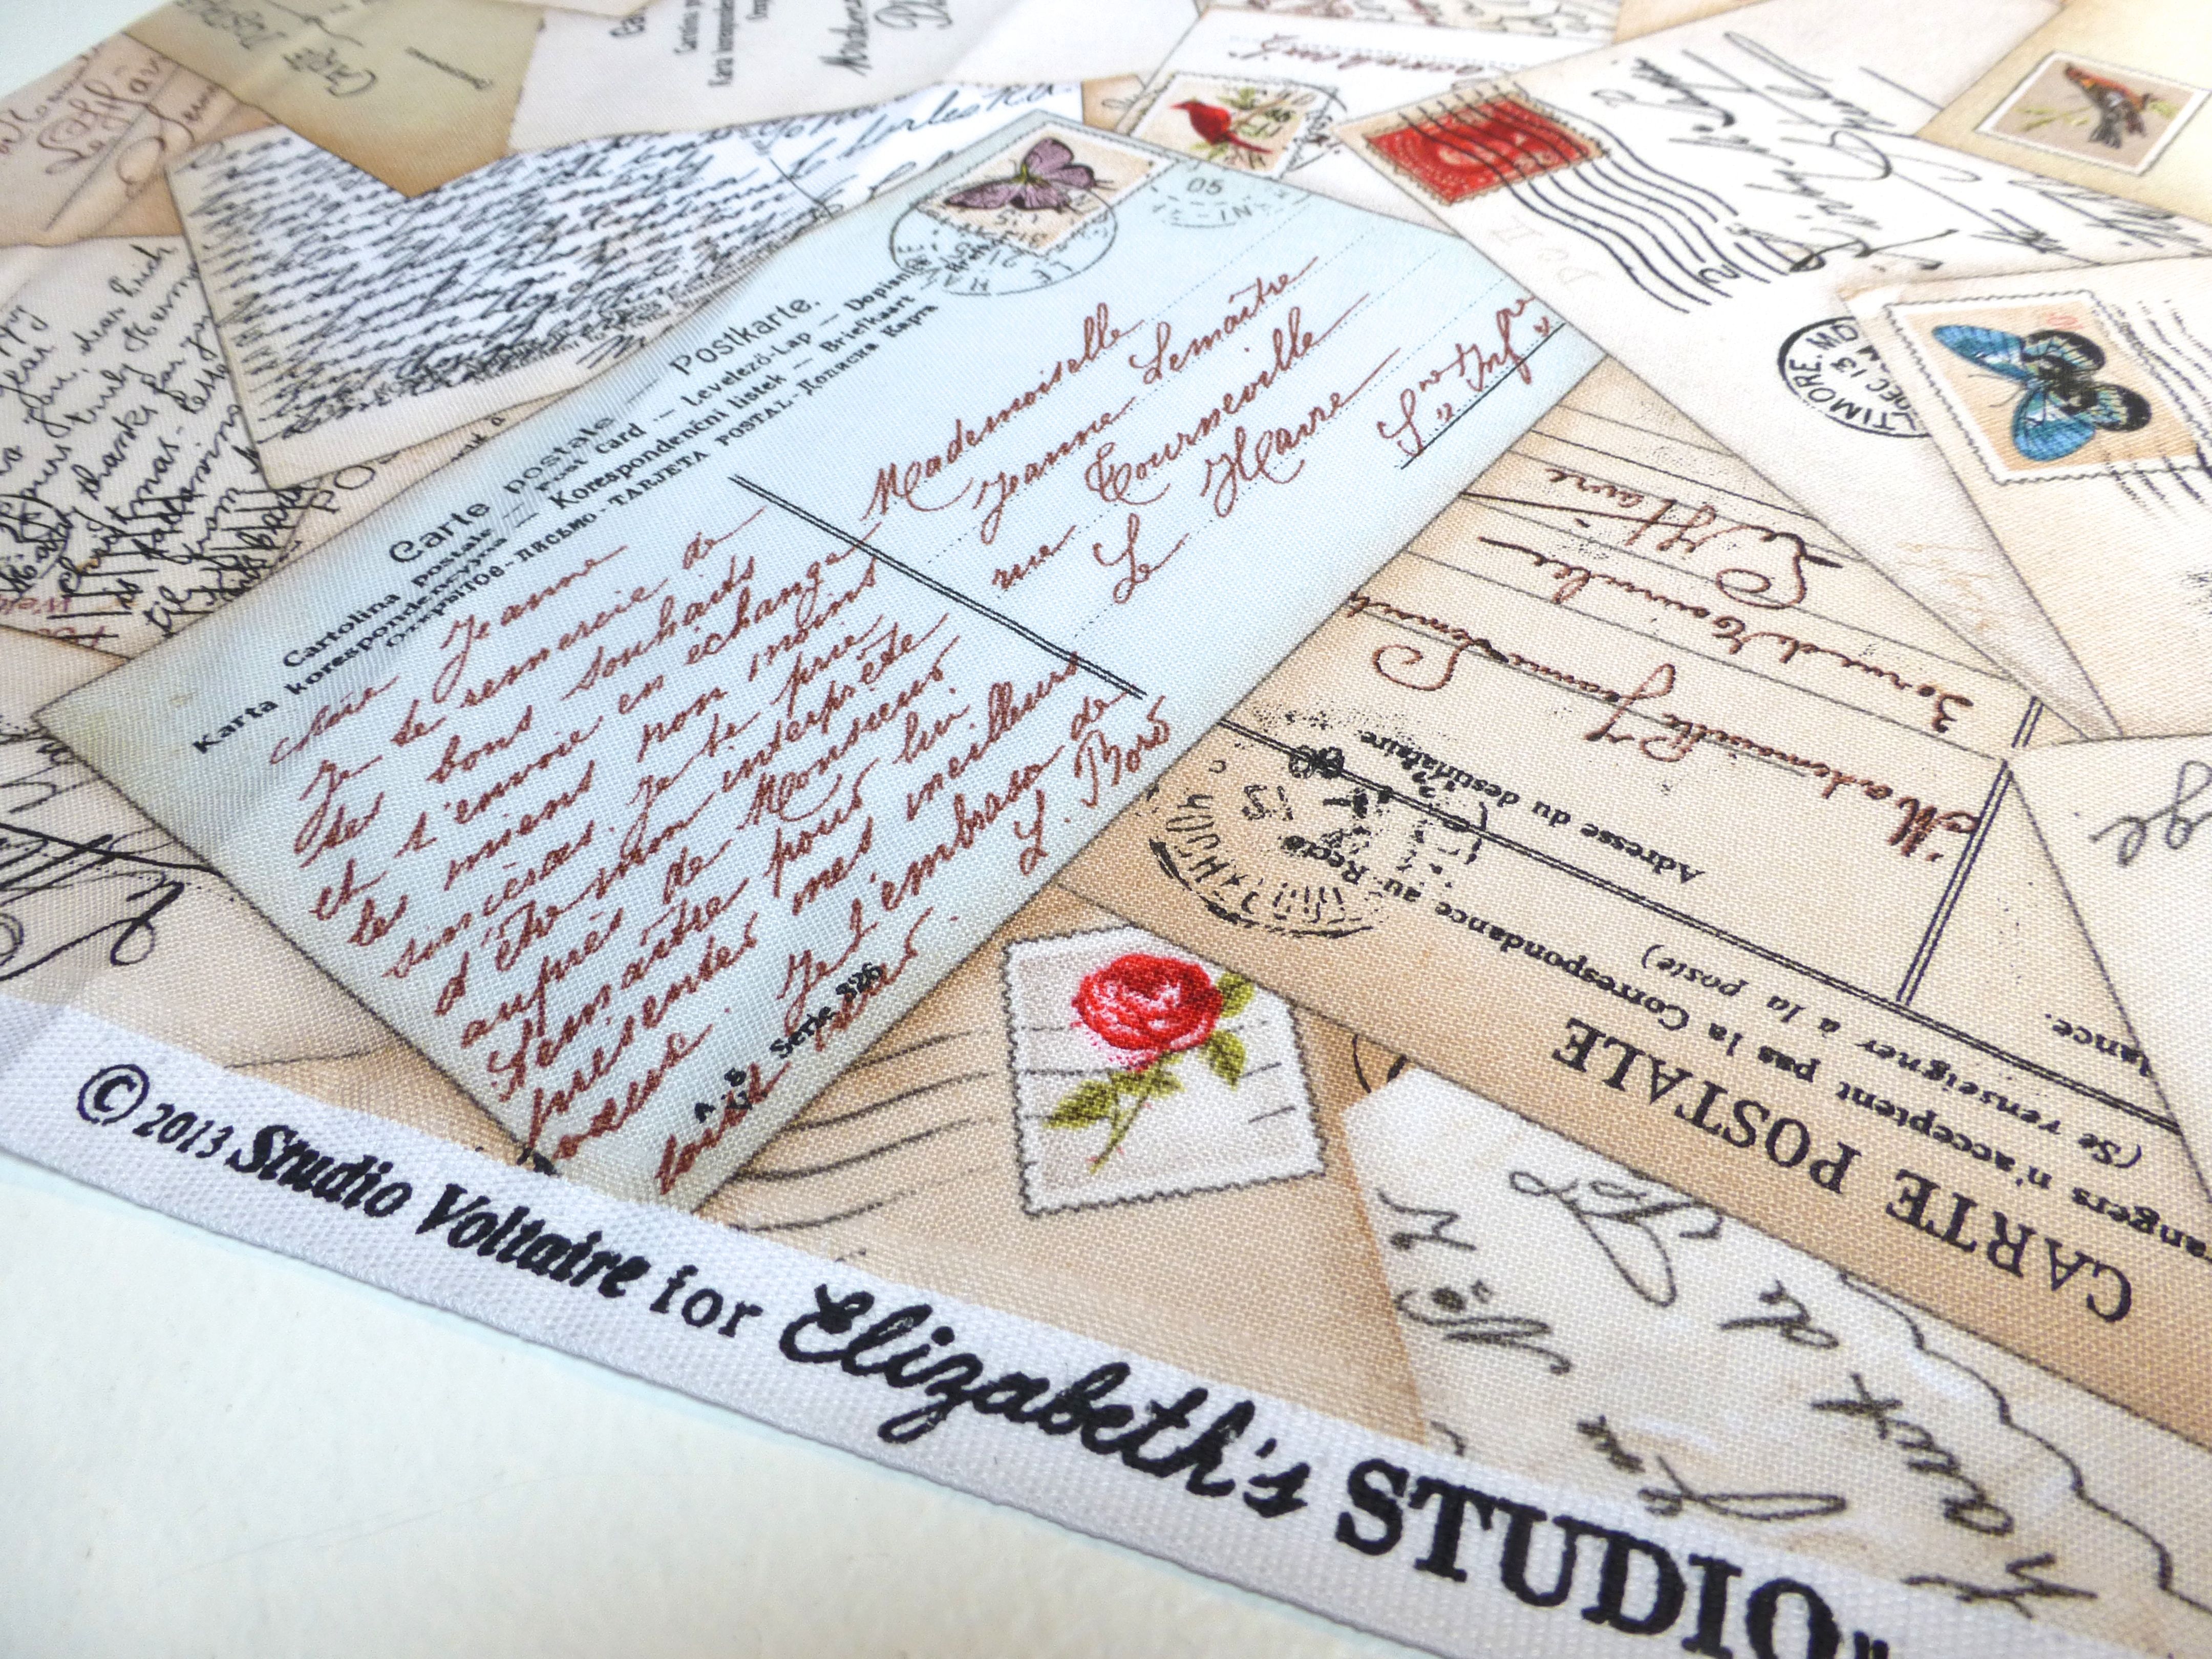
You may remember the “Postcards” fabric from the “Spring In Paris” collection by Studio Voltaire that I bought earlier in the year (see this post), well I thought it would be the perfect match for a travel themed project.
So, here goes with the tutorial!
You will need: –
Cut the following: –
1 x piece 4.5″ x 3.5″
1 x piece 4.5″ x 3.5″
1 x piece 2.5″ x 2″


4. Clip corners diagonally to the stay stitching.

5. Fold to inside along the solid lines. Press.
6. Turn down a 1/4″ hem on the top edge and top stitch close to the fold. 
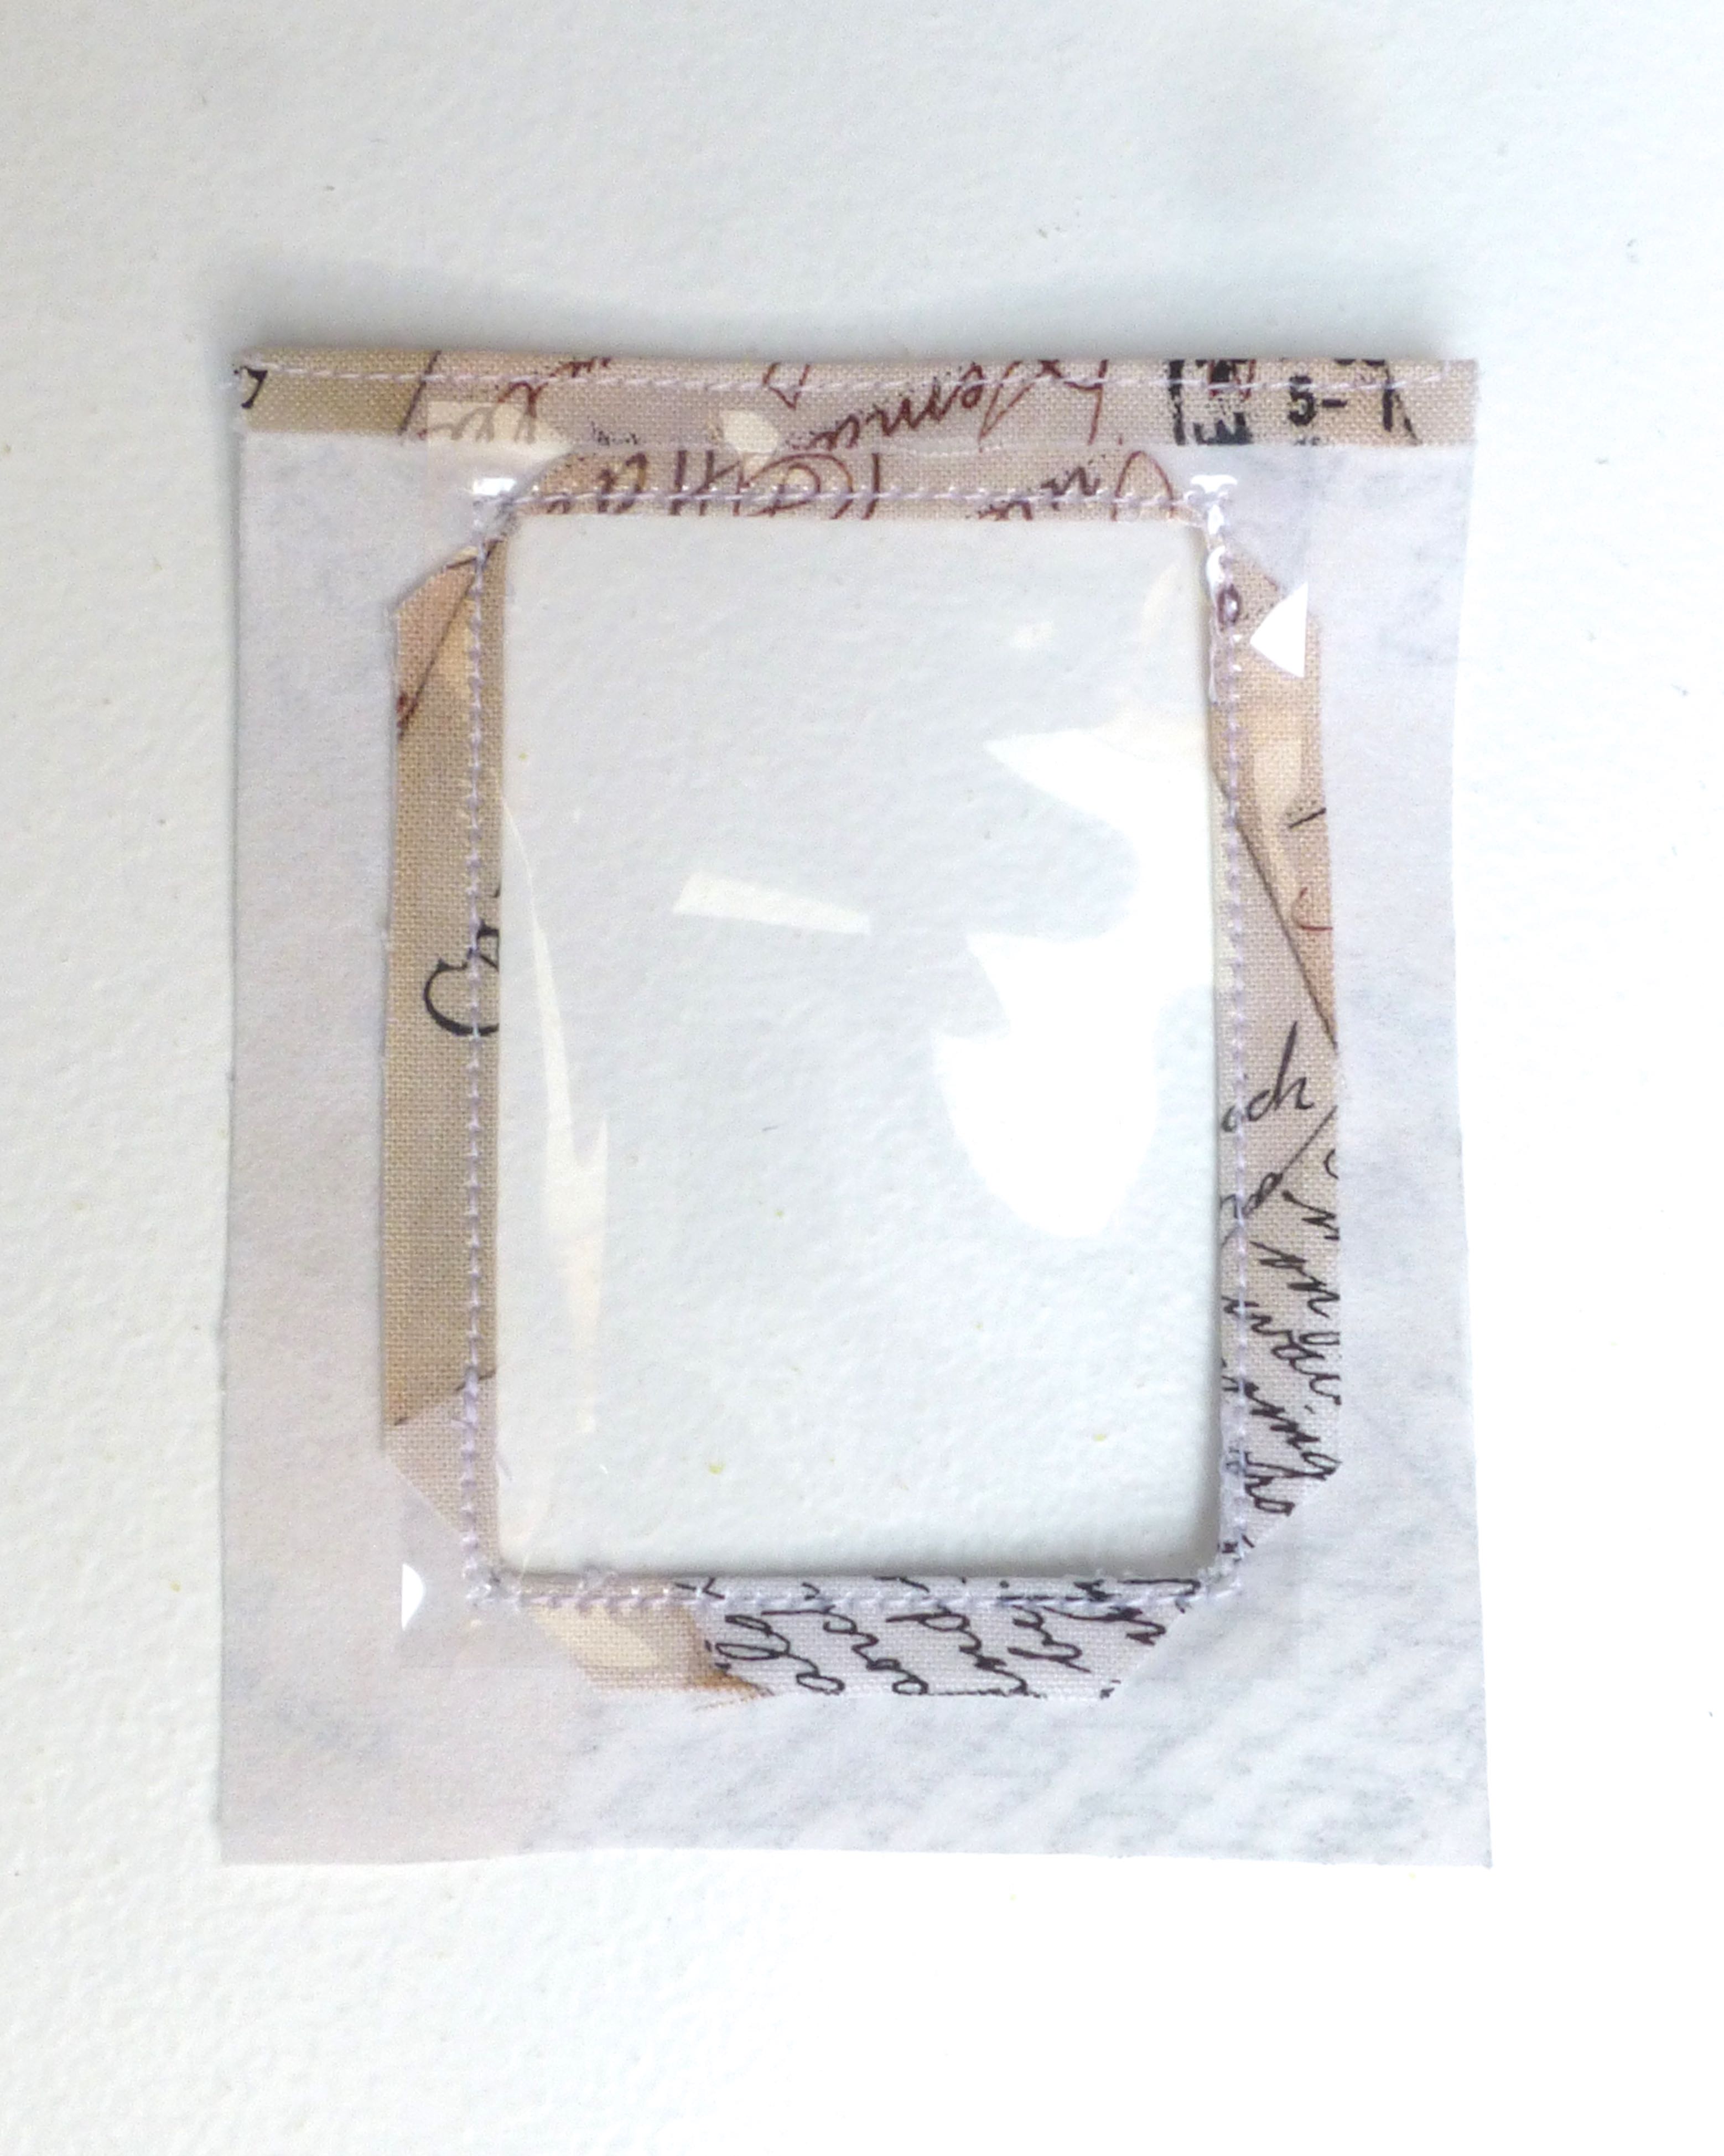
7. Place acetate on the reverse of the window and top stitch close to the inner edge on all four sides.
8. Turn and press a 1/4″ hem on remaining three sides of the fabric, being careful not to touch the acetate with the iron.
It should now look like this from the right side.

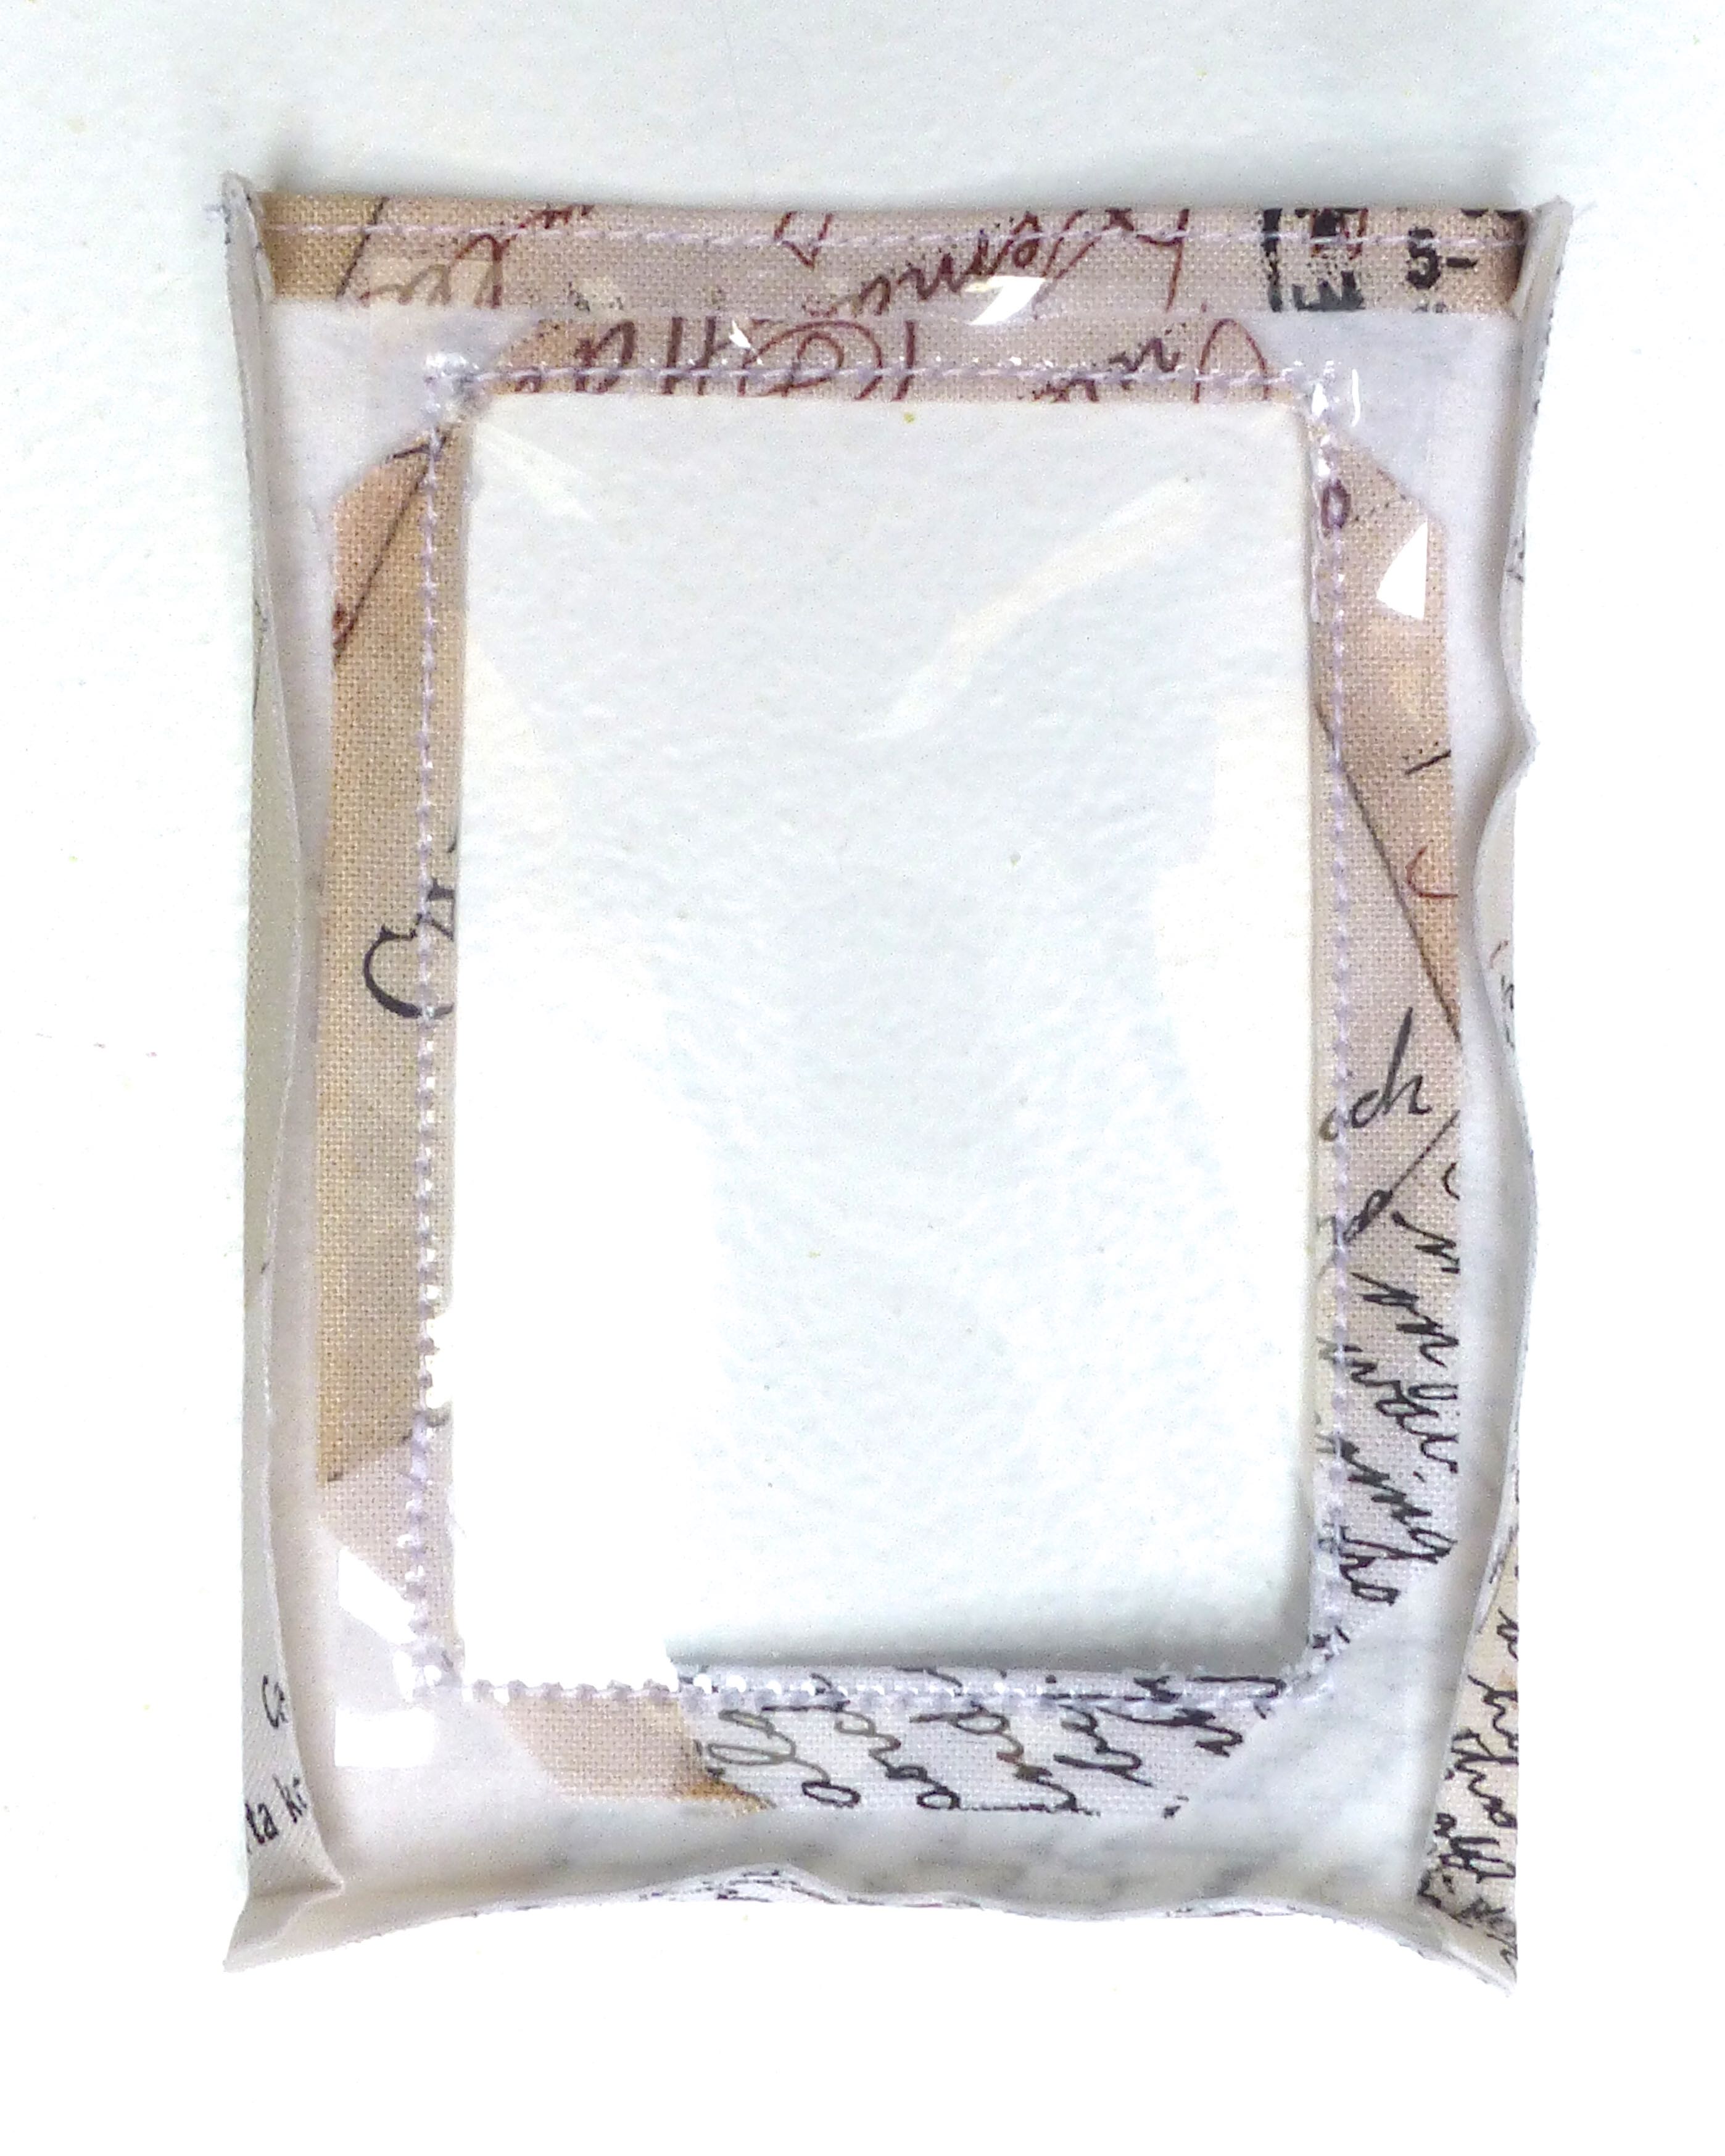
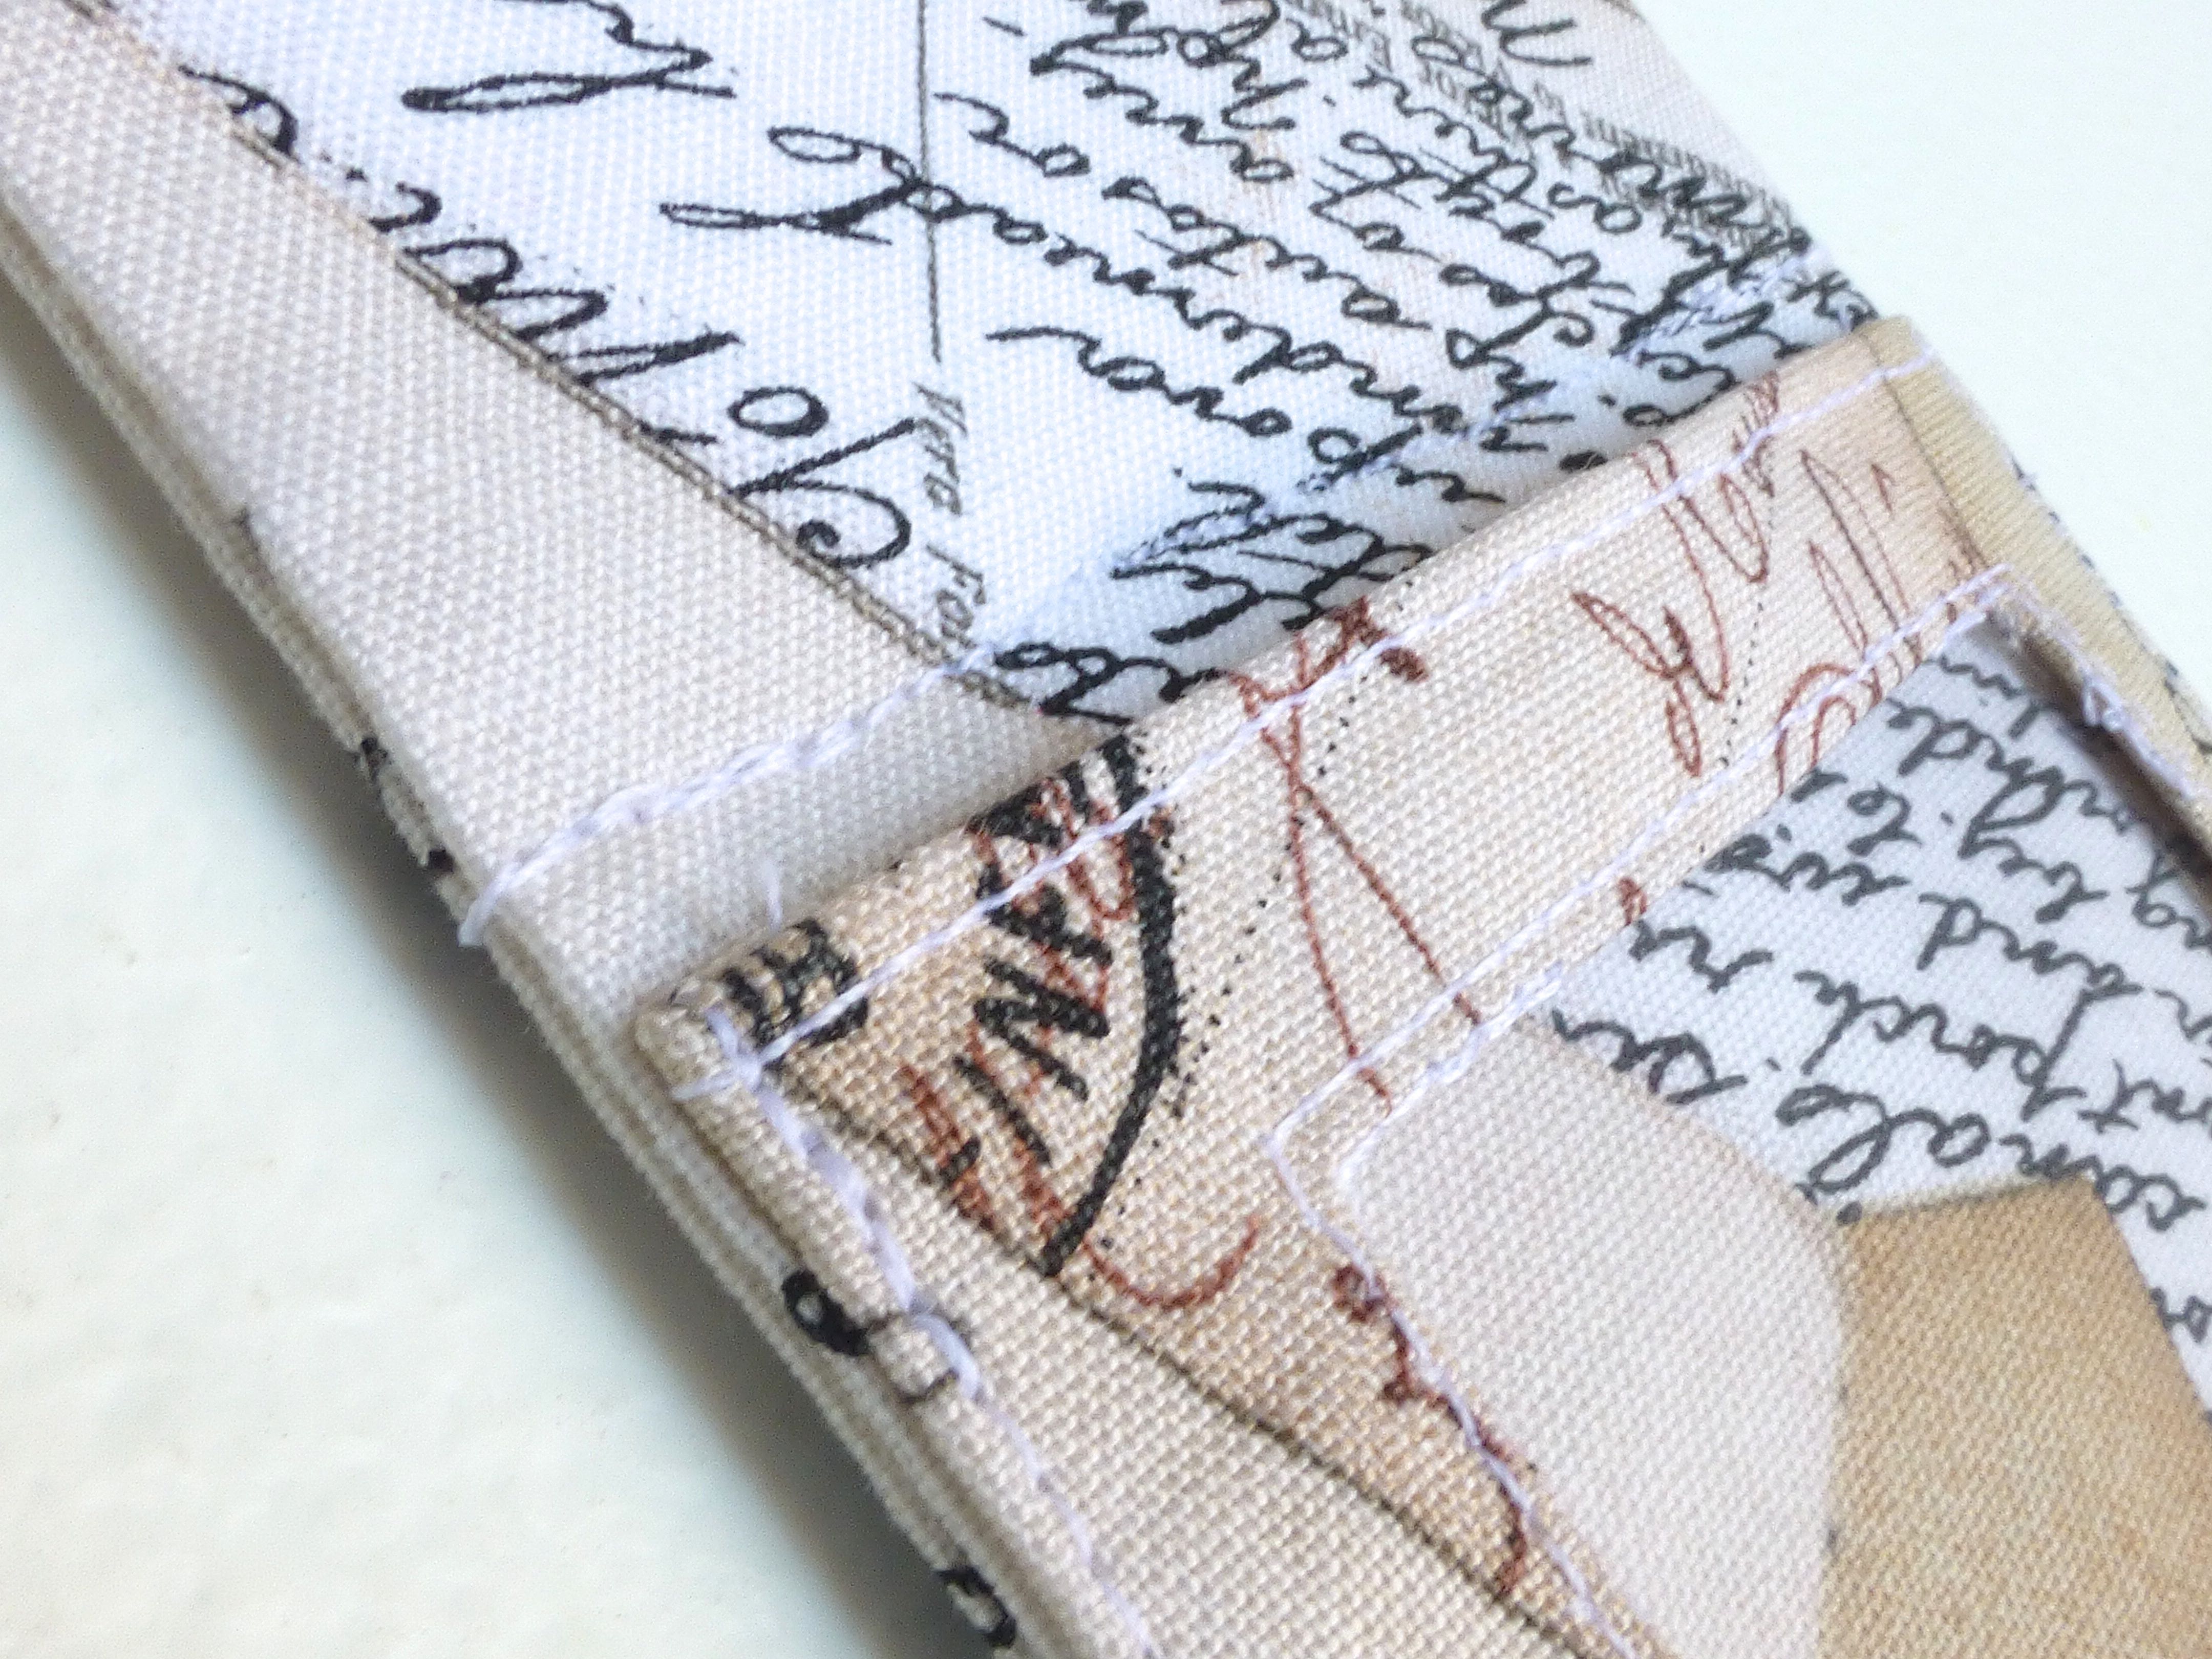
9. To make your frame, take both 12″ x 3.5″ pieces and, with right sides together, sew around three sides with a 1/4″ seam allowance. Trim corners, turn and press.

10. With the right side up, place your window on top of the frame aligning the bottom folded edge with the bottom seam of your frame. Top stitch the window close to folded edges on three sides, leaving the top edge open to slip your photo into.

11. Insert a 3.5″ x 2.5″ piece of card into the open, unfinished end of the frame and push right down to the bottom.
12. Sew just above the window through all layers of the frame to encase the card.
13. Insert the second 3.5″ x 2.5″ piece of card and push down to meet the previous line of stitching.
14. Sew across the width of the frame as before, encasing the second piece of card.
15. Repeat steps 13 & 14 with the smallest 2.5″ x 2″ piece of card.
16.Turn in the raw edges of the frame opening, press and top stitch to close.
17. Window side uppermost, stitch the loop side of the hook and loop fastener to the opposite end of the frame as shown below.

18. Hand stitch the hook side of the fastener to the reverse of the window along the bottom edge.
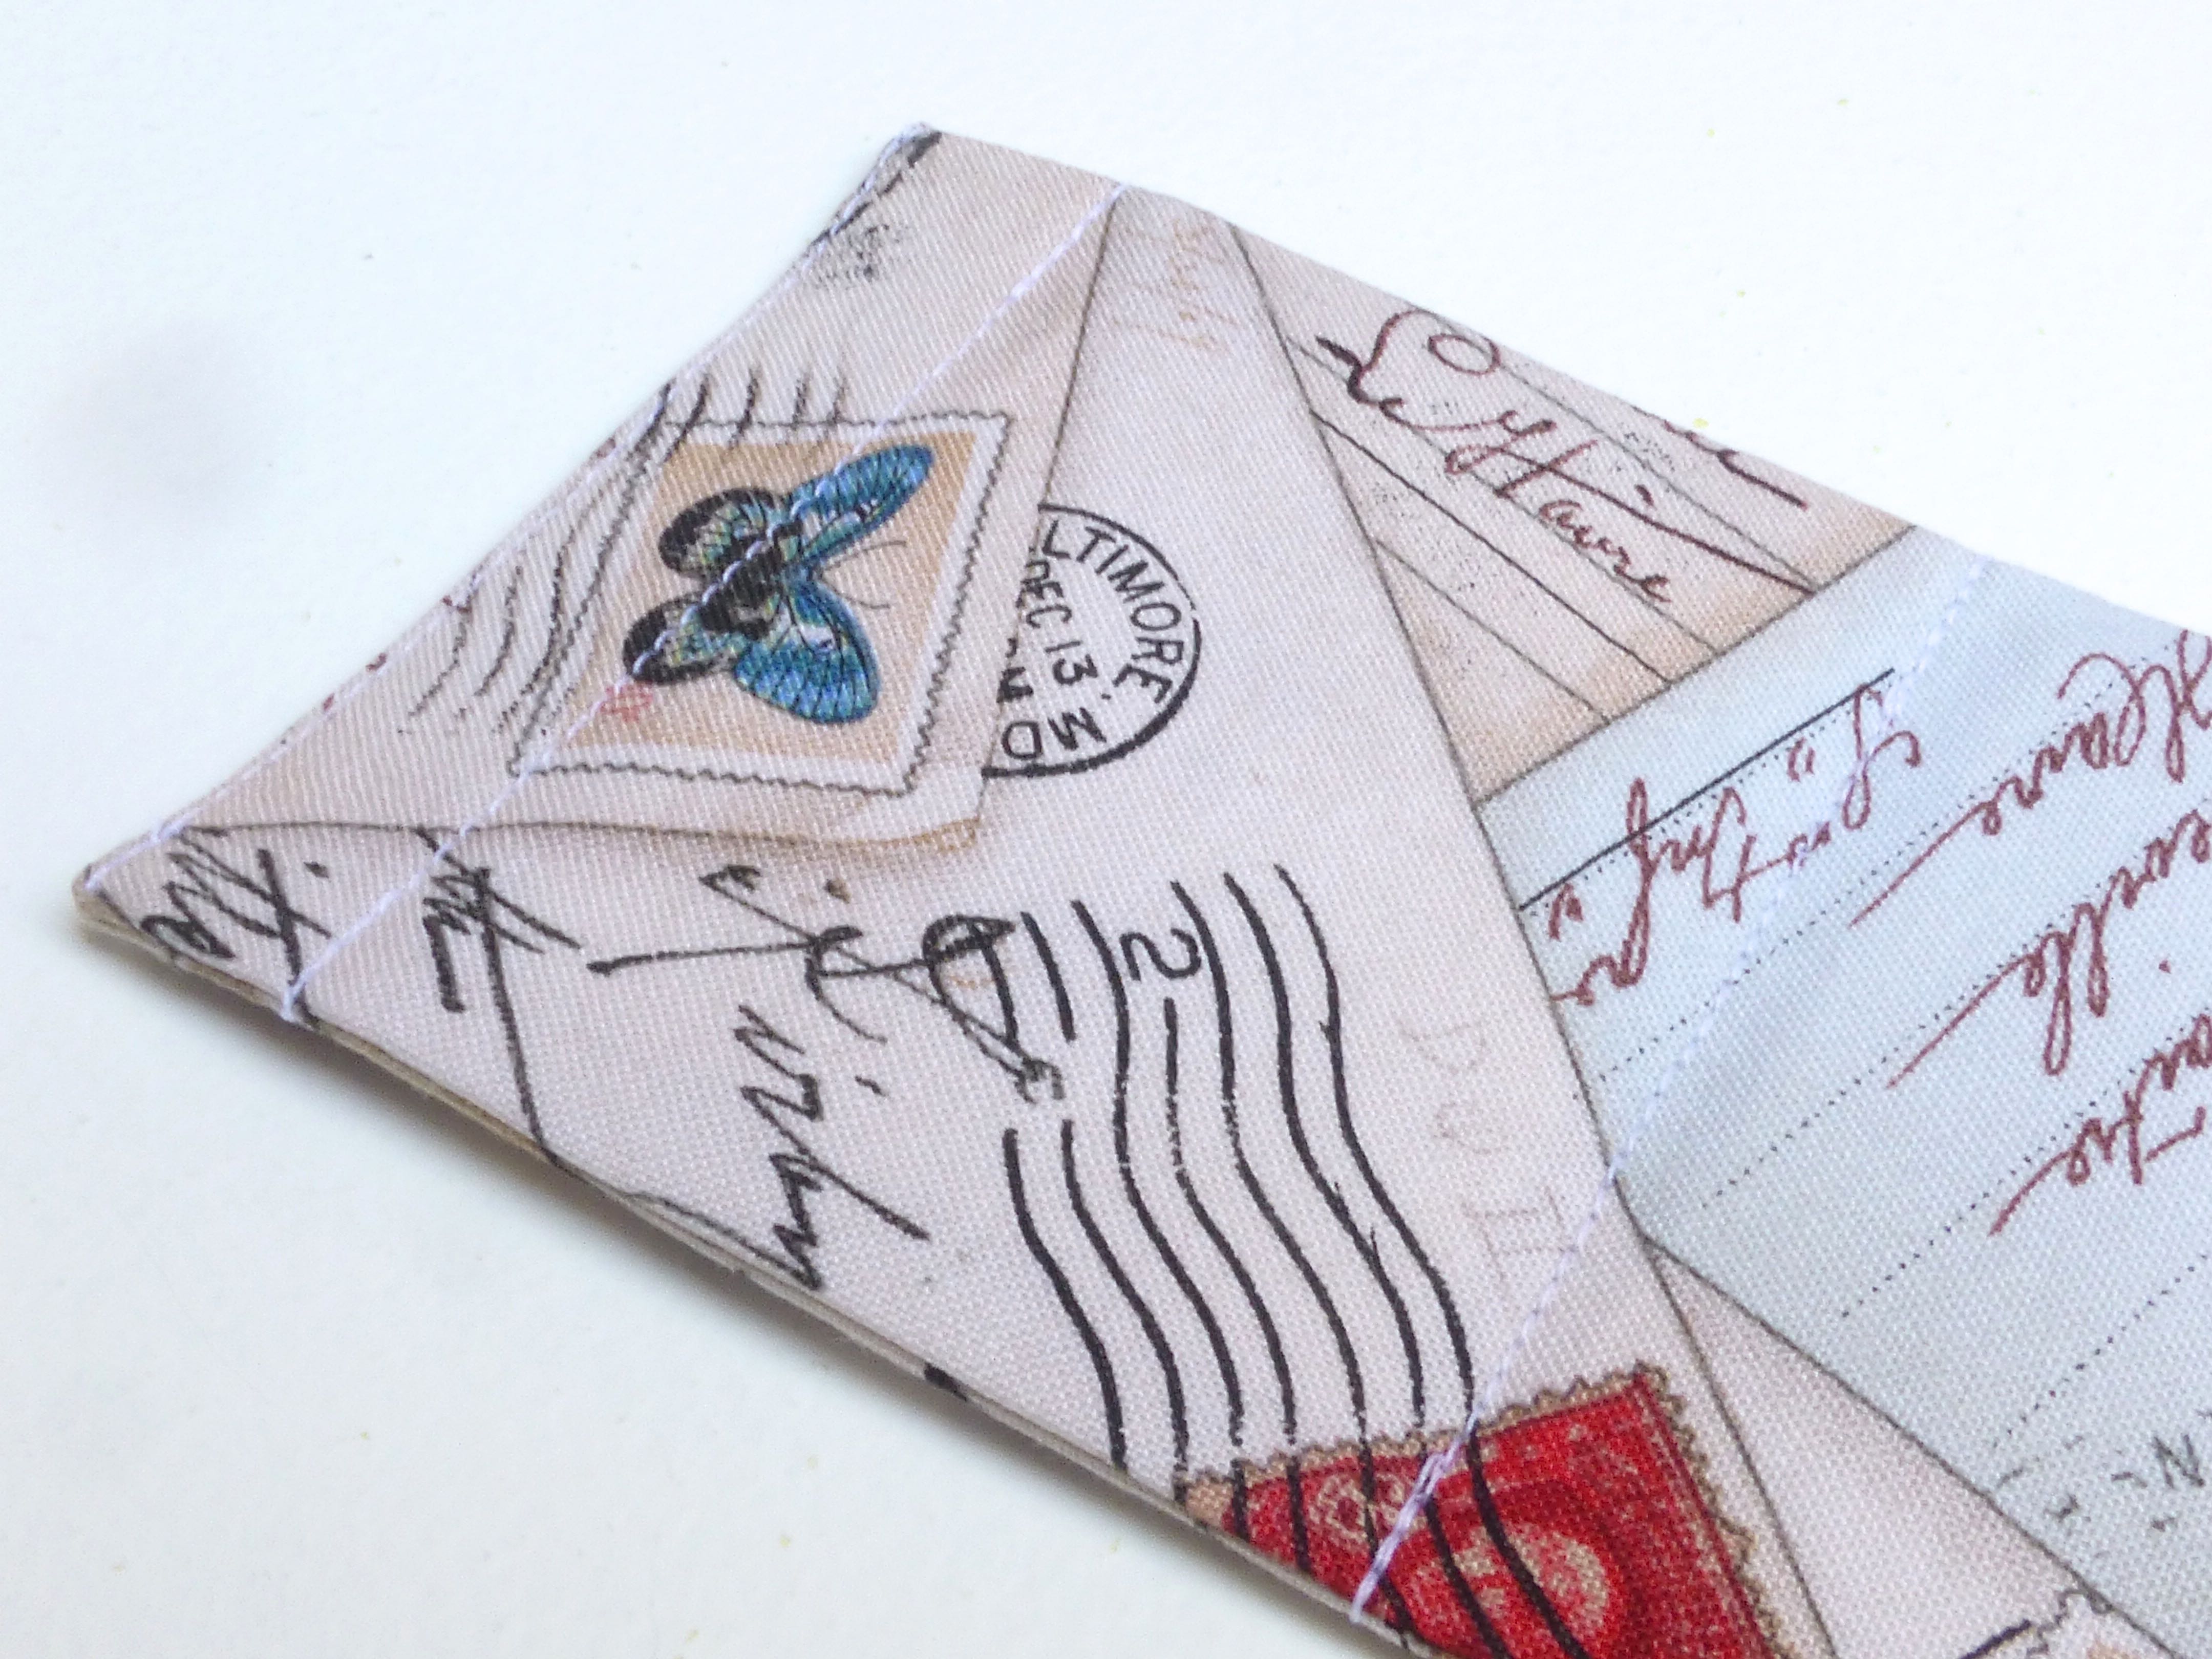
19. To assemble your travel photo frame, simply fold into a triangle shape and press together the hook and loop fastener.

20. Slide your 3″ x 2″ photo in behind the acetate.
For the case: –
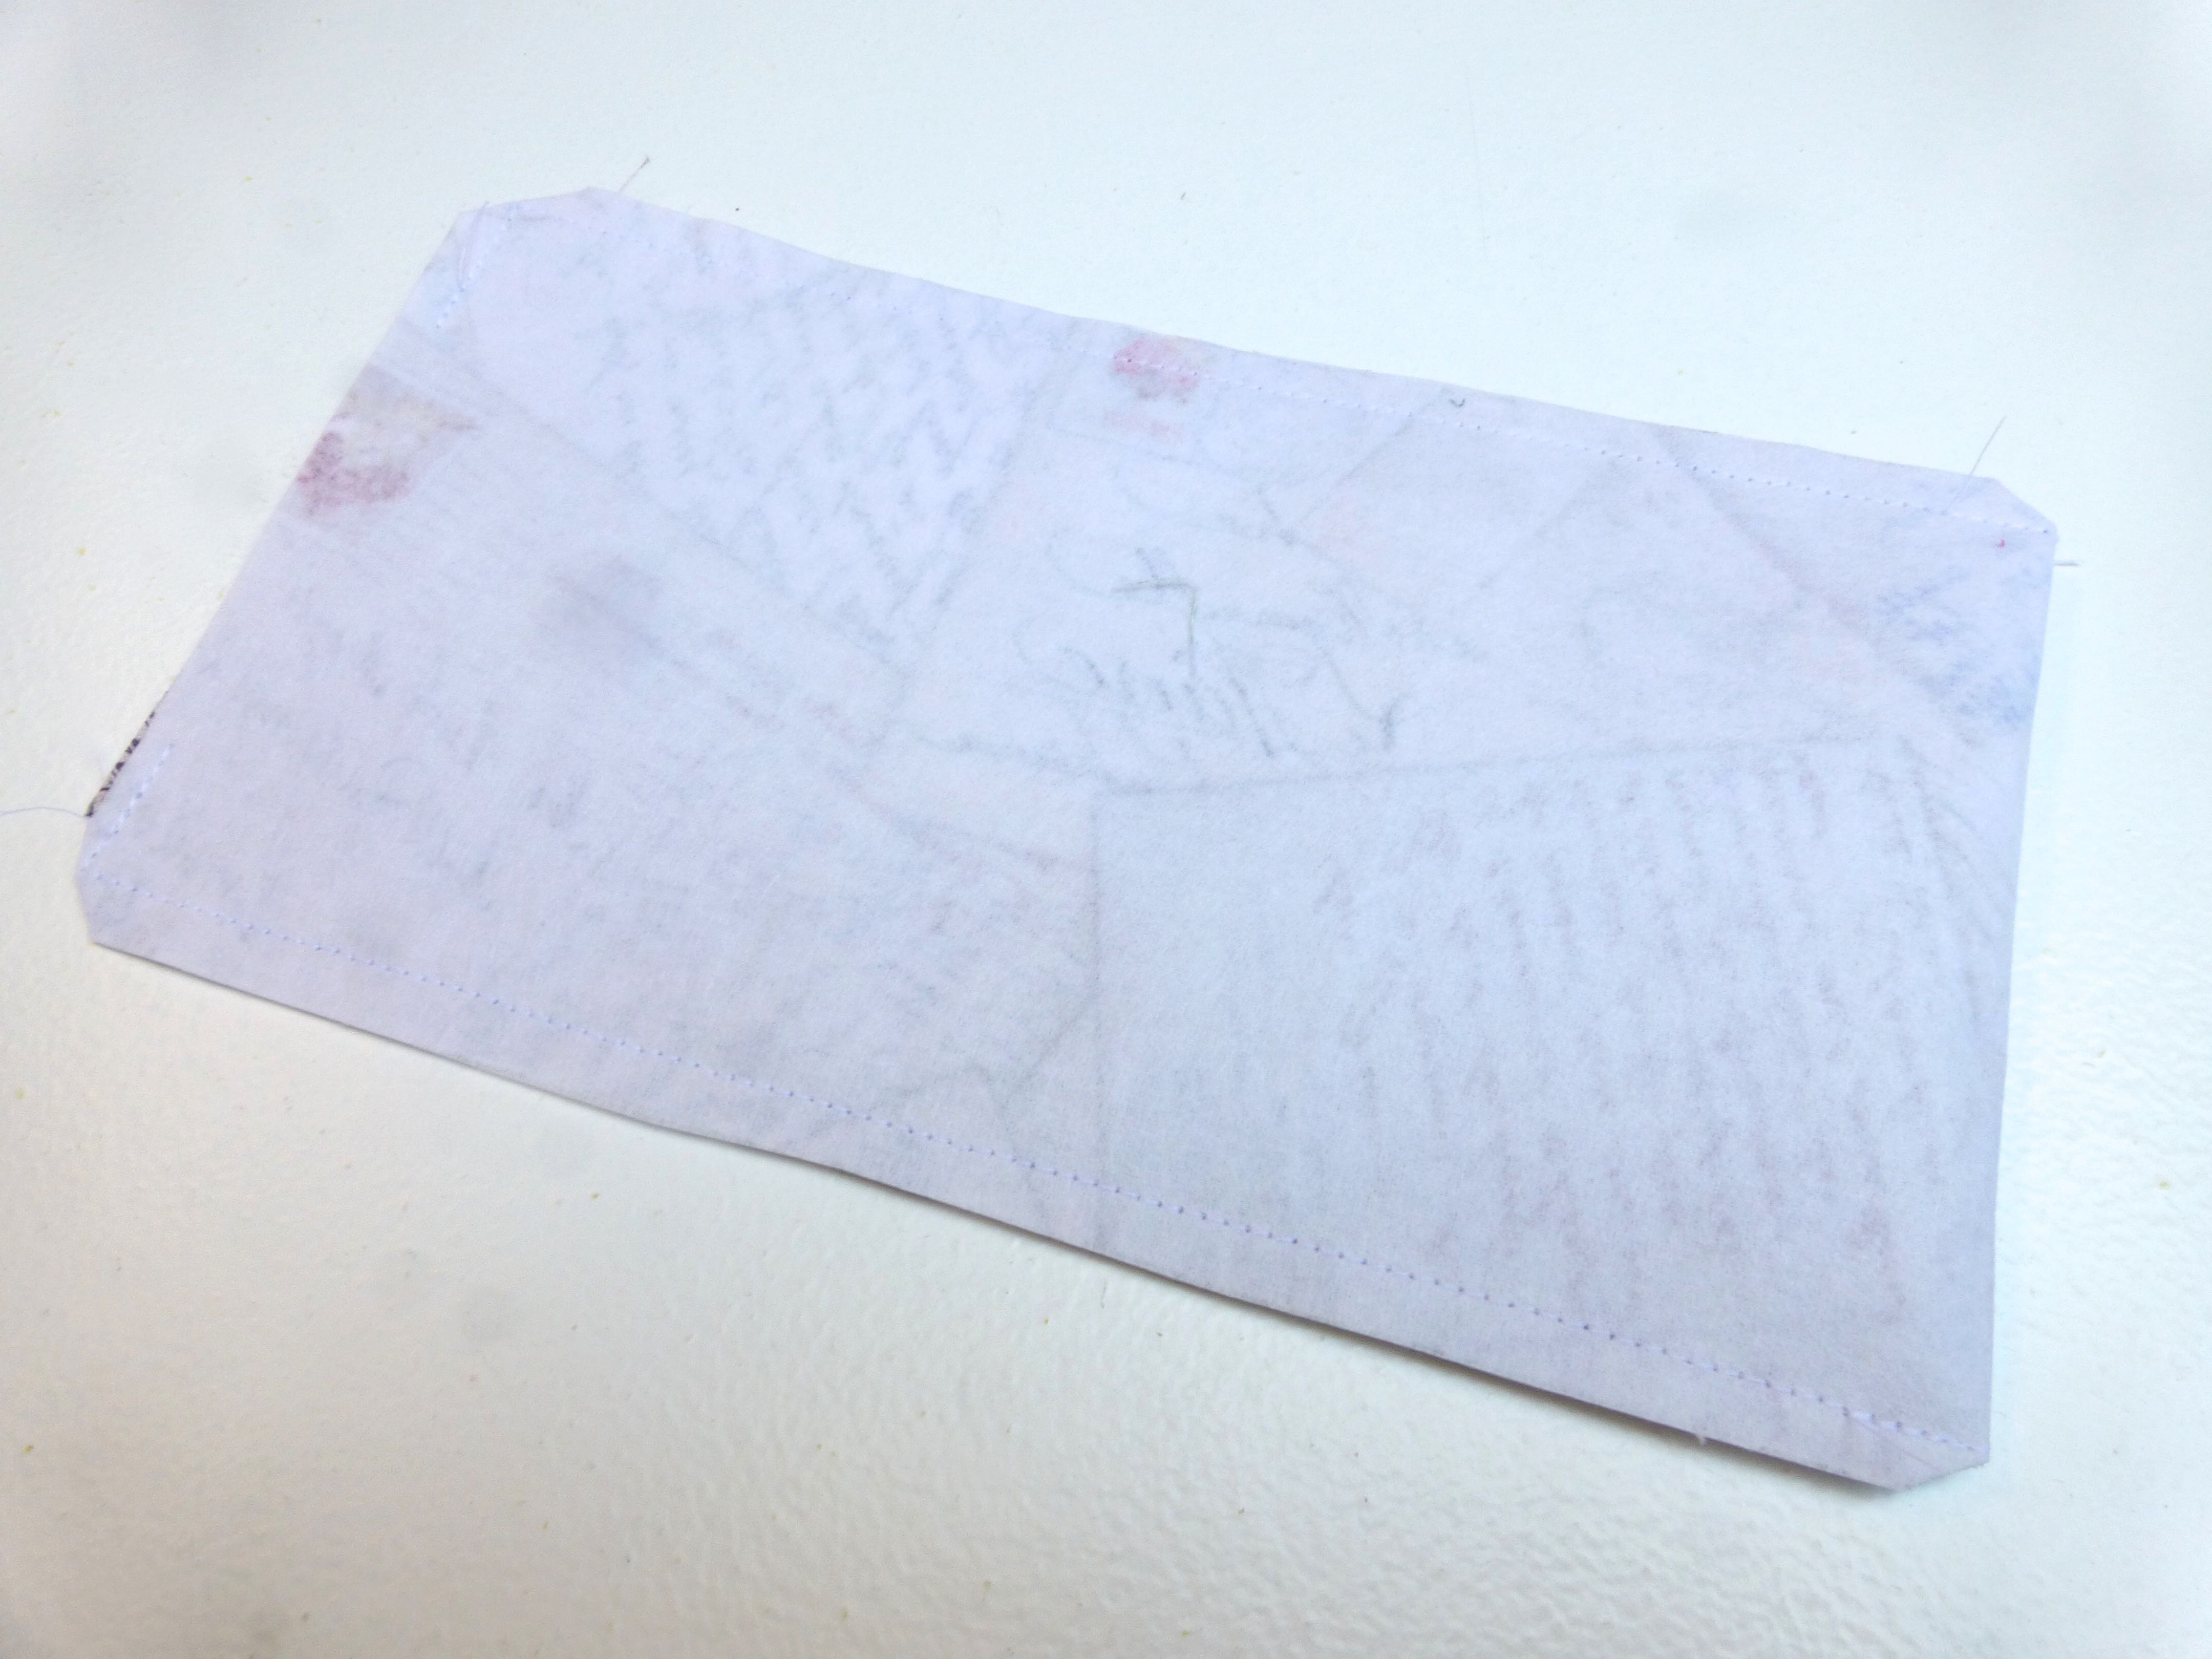
2. Turn and press.

3. Top stitch close to the edge of the bottom edge.
4. Fold up from the bottom about 3.25″, so the top stitched edge stops 1.25″ from the top edge.
5. Top stitch around the side and top edges to finish.

6. Fold your travel photo frame flat and pop inside the case.

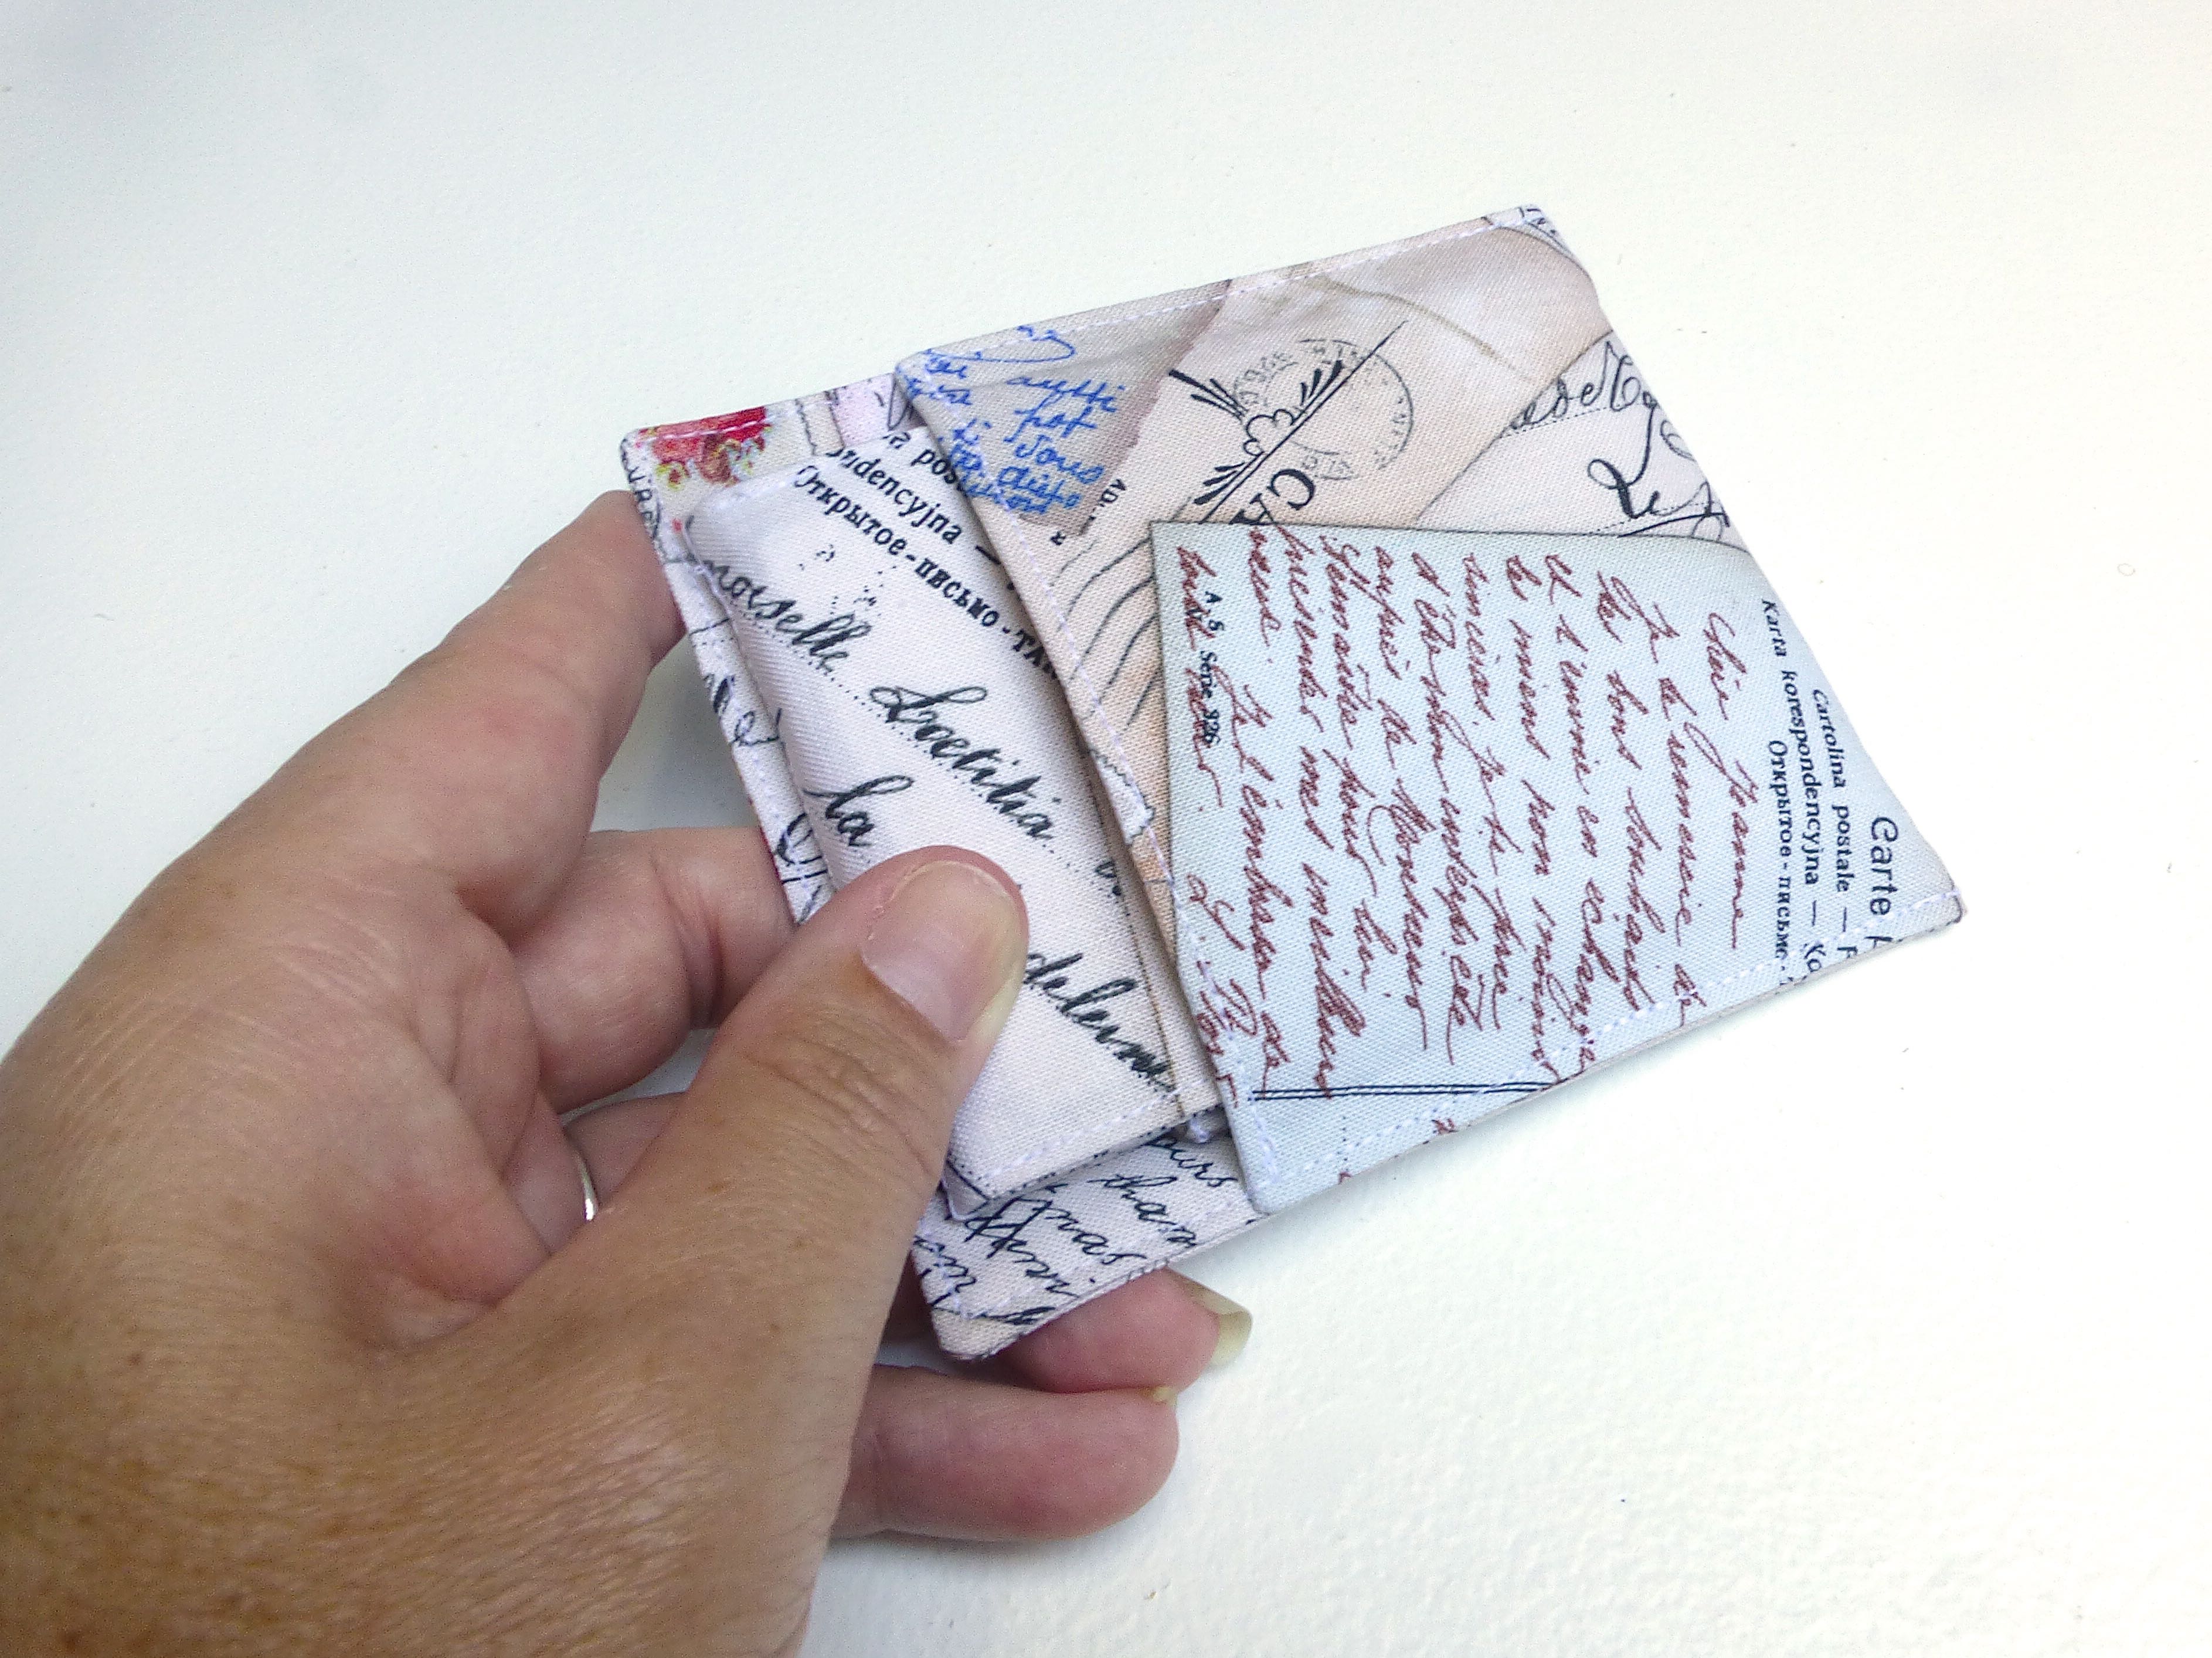
There you have it, a compact and portable, travel-themed folding photo frame – perfect for the traveller or person who works away from home.

Look out for my Blogger Of The Month feature in Craftseller magazine soon!
Continuing the theme of ‘One-Hour’ makes (well, it wasn’t really a theme until just now when I realised that this project also took less than an hour to make), I’ve designed a simple pattern along the lines of one of those big blue Ikea bags.
You know the ones; they make great laundry bags, shopping bags, picnic hampers etc., but there’s one major design fault – they’re just so damned ugly!

There’s a huge choice of suitable vinyl fabric out there, but I fell in love with this “Butterflies” print and ordered a couple of metres online which turned out to be more than enough.

I did come across a tutorial but it involved printing off a pattern on about twenty sheets of A4 paper, piecing it all together, sellotaping and then cutting out, all of which would take longer than actually making the entire bag!
There had to be a better way so, after hours and hours of head-scratching, making sample after sample and at least a dozen pattern refinements (not really!), here is my somewhat simpler pattern: –
Cut one piece of vinyl fabric 90cm x 120cm.
That’s it.
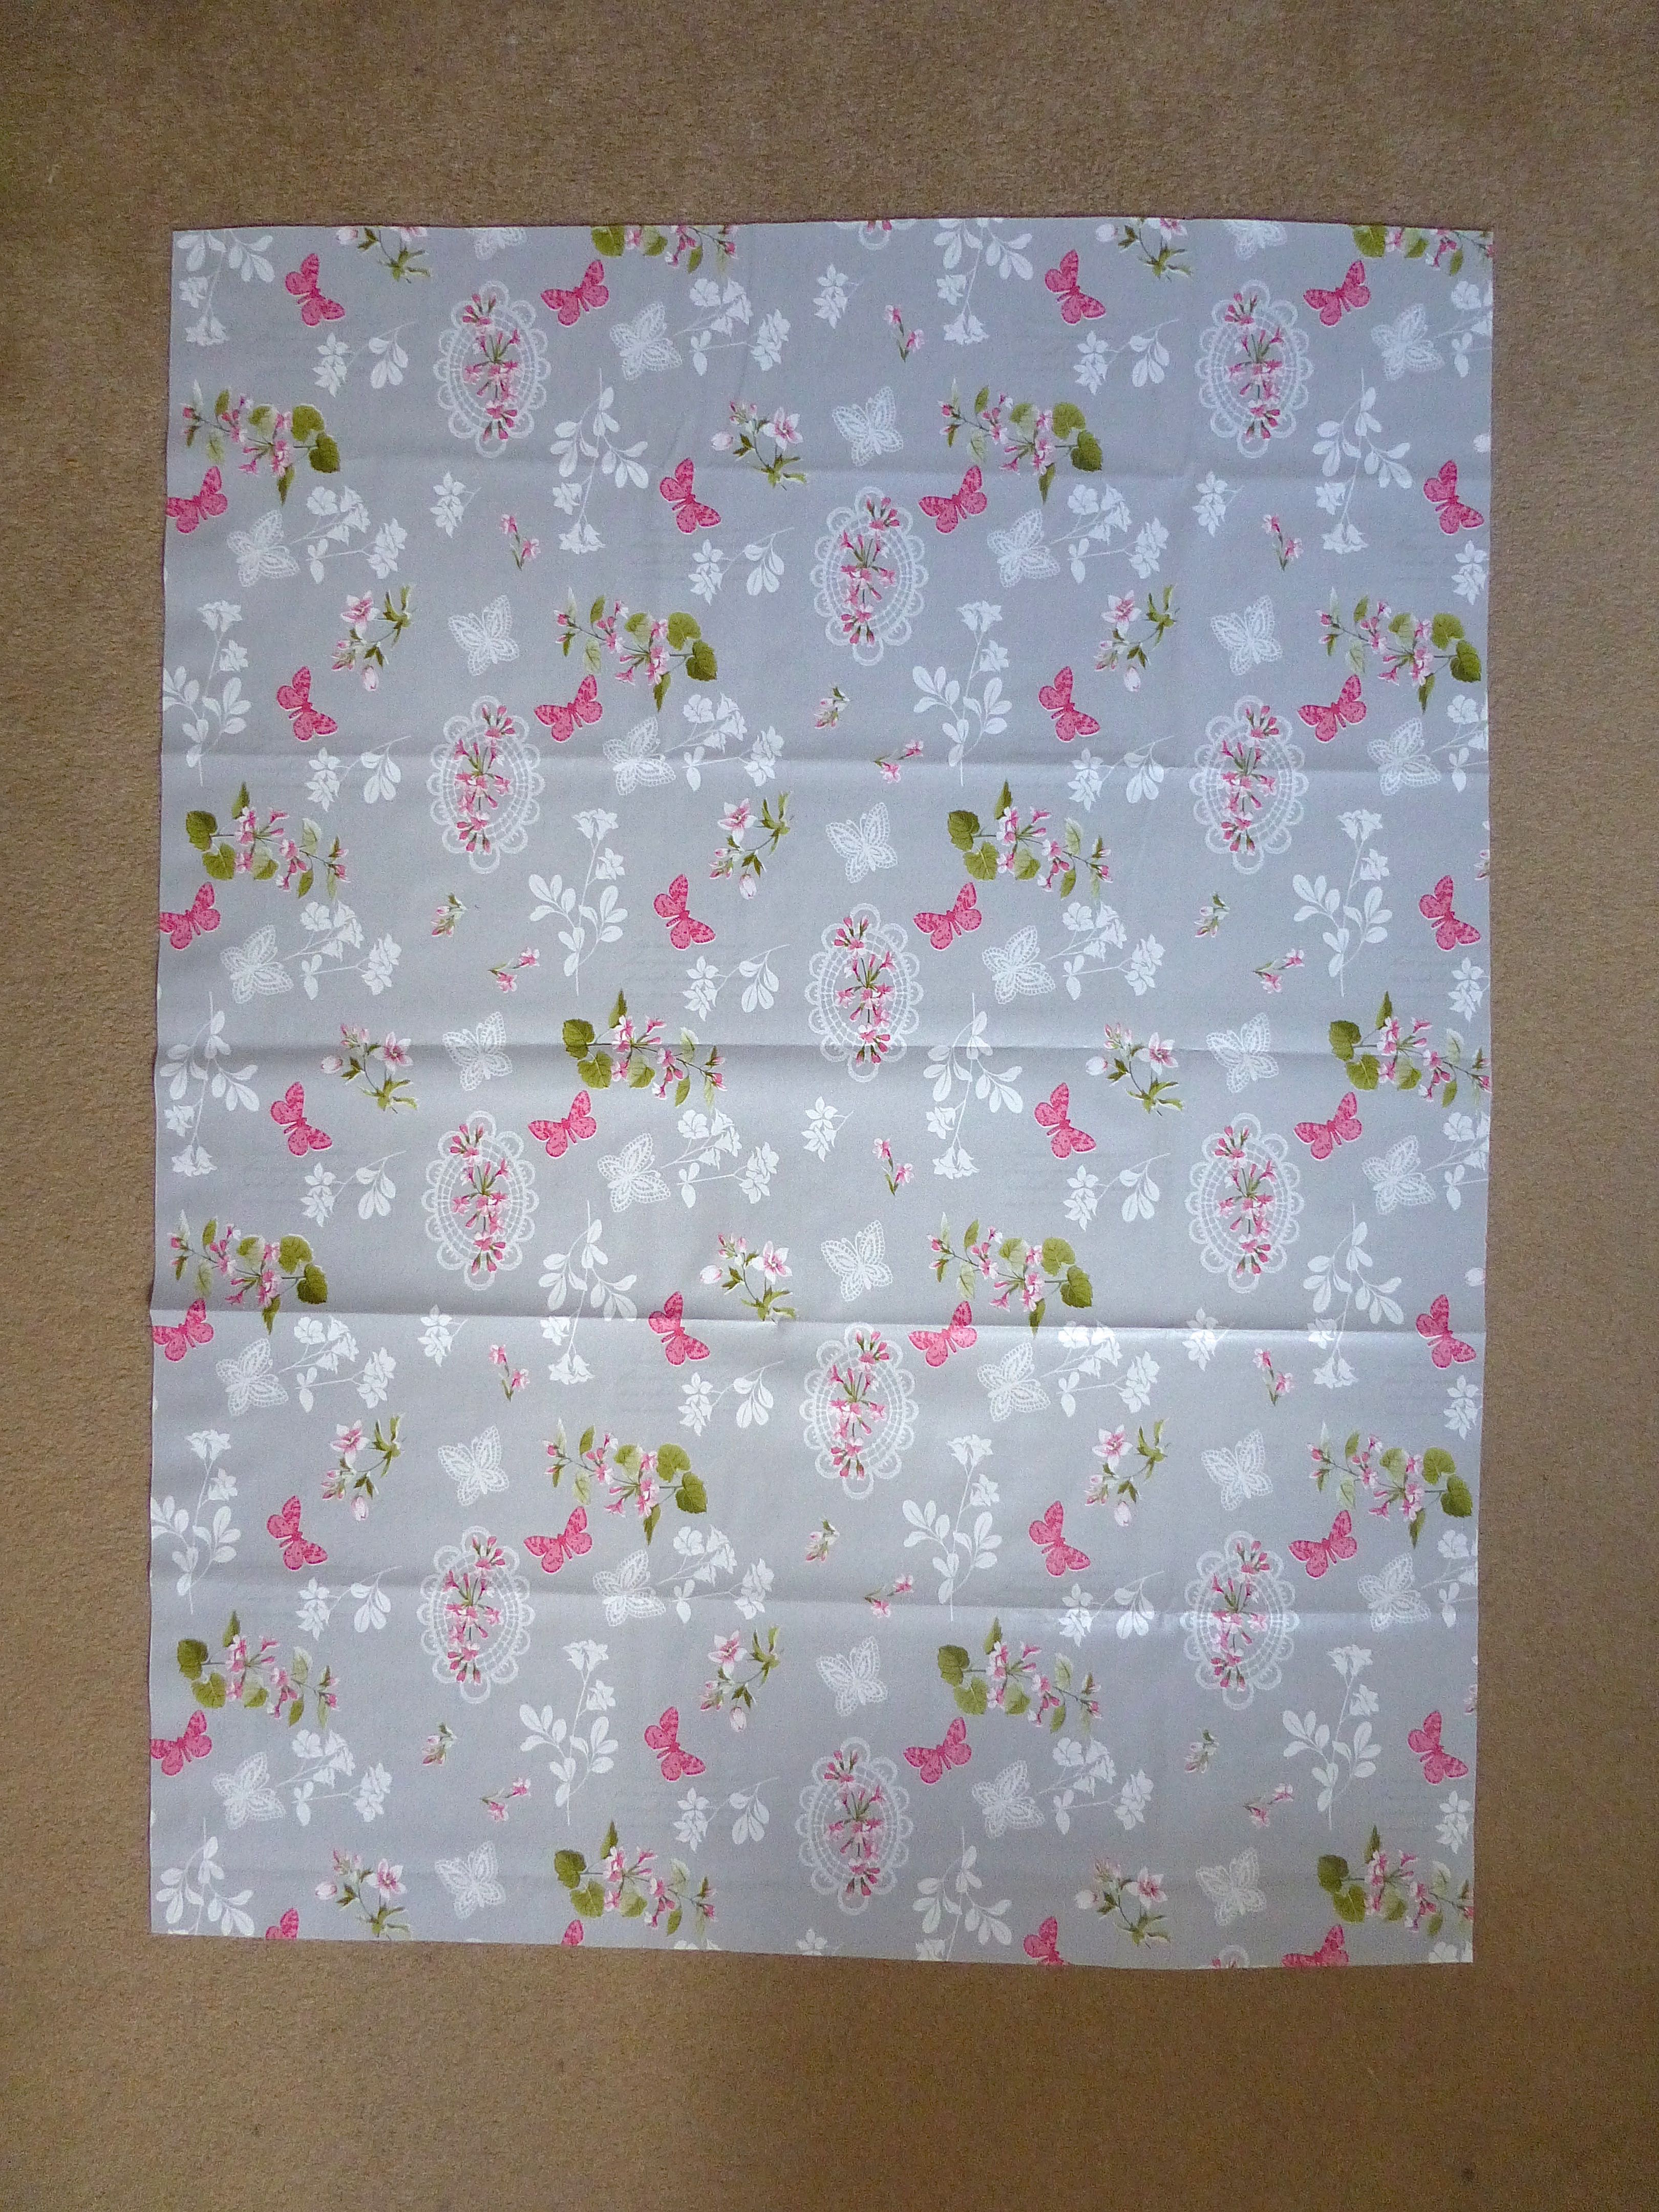
Now, vinyl is notoriously difficult to iron because, basically, it just melts and welds itself to your iron. So you can either buy it from a shop and ask them to roll it for you or put up with the creases which will eventually disappear. A hairdryer is said to speed up this process.
I didn’t bother:)
The only other supplies you’ll need are 2 1/2m of 2.5cm polyester webbing and some matching thread.


Stitching vinyl needs a little bit of forethought as it can be tricky. Sewing right sides together is no problem but when top stitching you may need to change to a Teflon coated foot or improvise with masking tape on the bottom of your normal foot. Putting a layer of tissue paper between the machine bed and the vinyl works for the bottom layer, with the added bonus of ripping away easily afterwards.
Use clips instead of pins to avoid any tell-tale holes in the vinyl.
A longer stitch length is used too, as a short stitch can weaken the vinyl and it could rip between the stitches.

Start by folding your fabric with right sides together aligning the two short edges and sew a 1cm seam along each side, leaving open along the edge opposite the fold.

Bring the seam to the centre and lay flat to form a corner as below. Mark 18cm from the corner along the seam and draw a line all the way across at right angles to the seam as shown.

Sew along this line.

Trim the excess fabric leaving a 1cm allowance.

Repeat with the opposite corner, then turn the bag right sides out.

Turn down a 2.5cm hem and stitch close to the raw edge.
Cut some webbing: –
2 x 35cm
2 x 74cm
Lay a short length of webbing on top of a longer length about 1cm from the end as shown.

Fold the overhang back over as shown below and tack together through all layers.
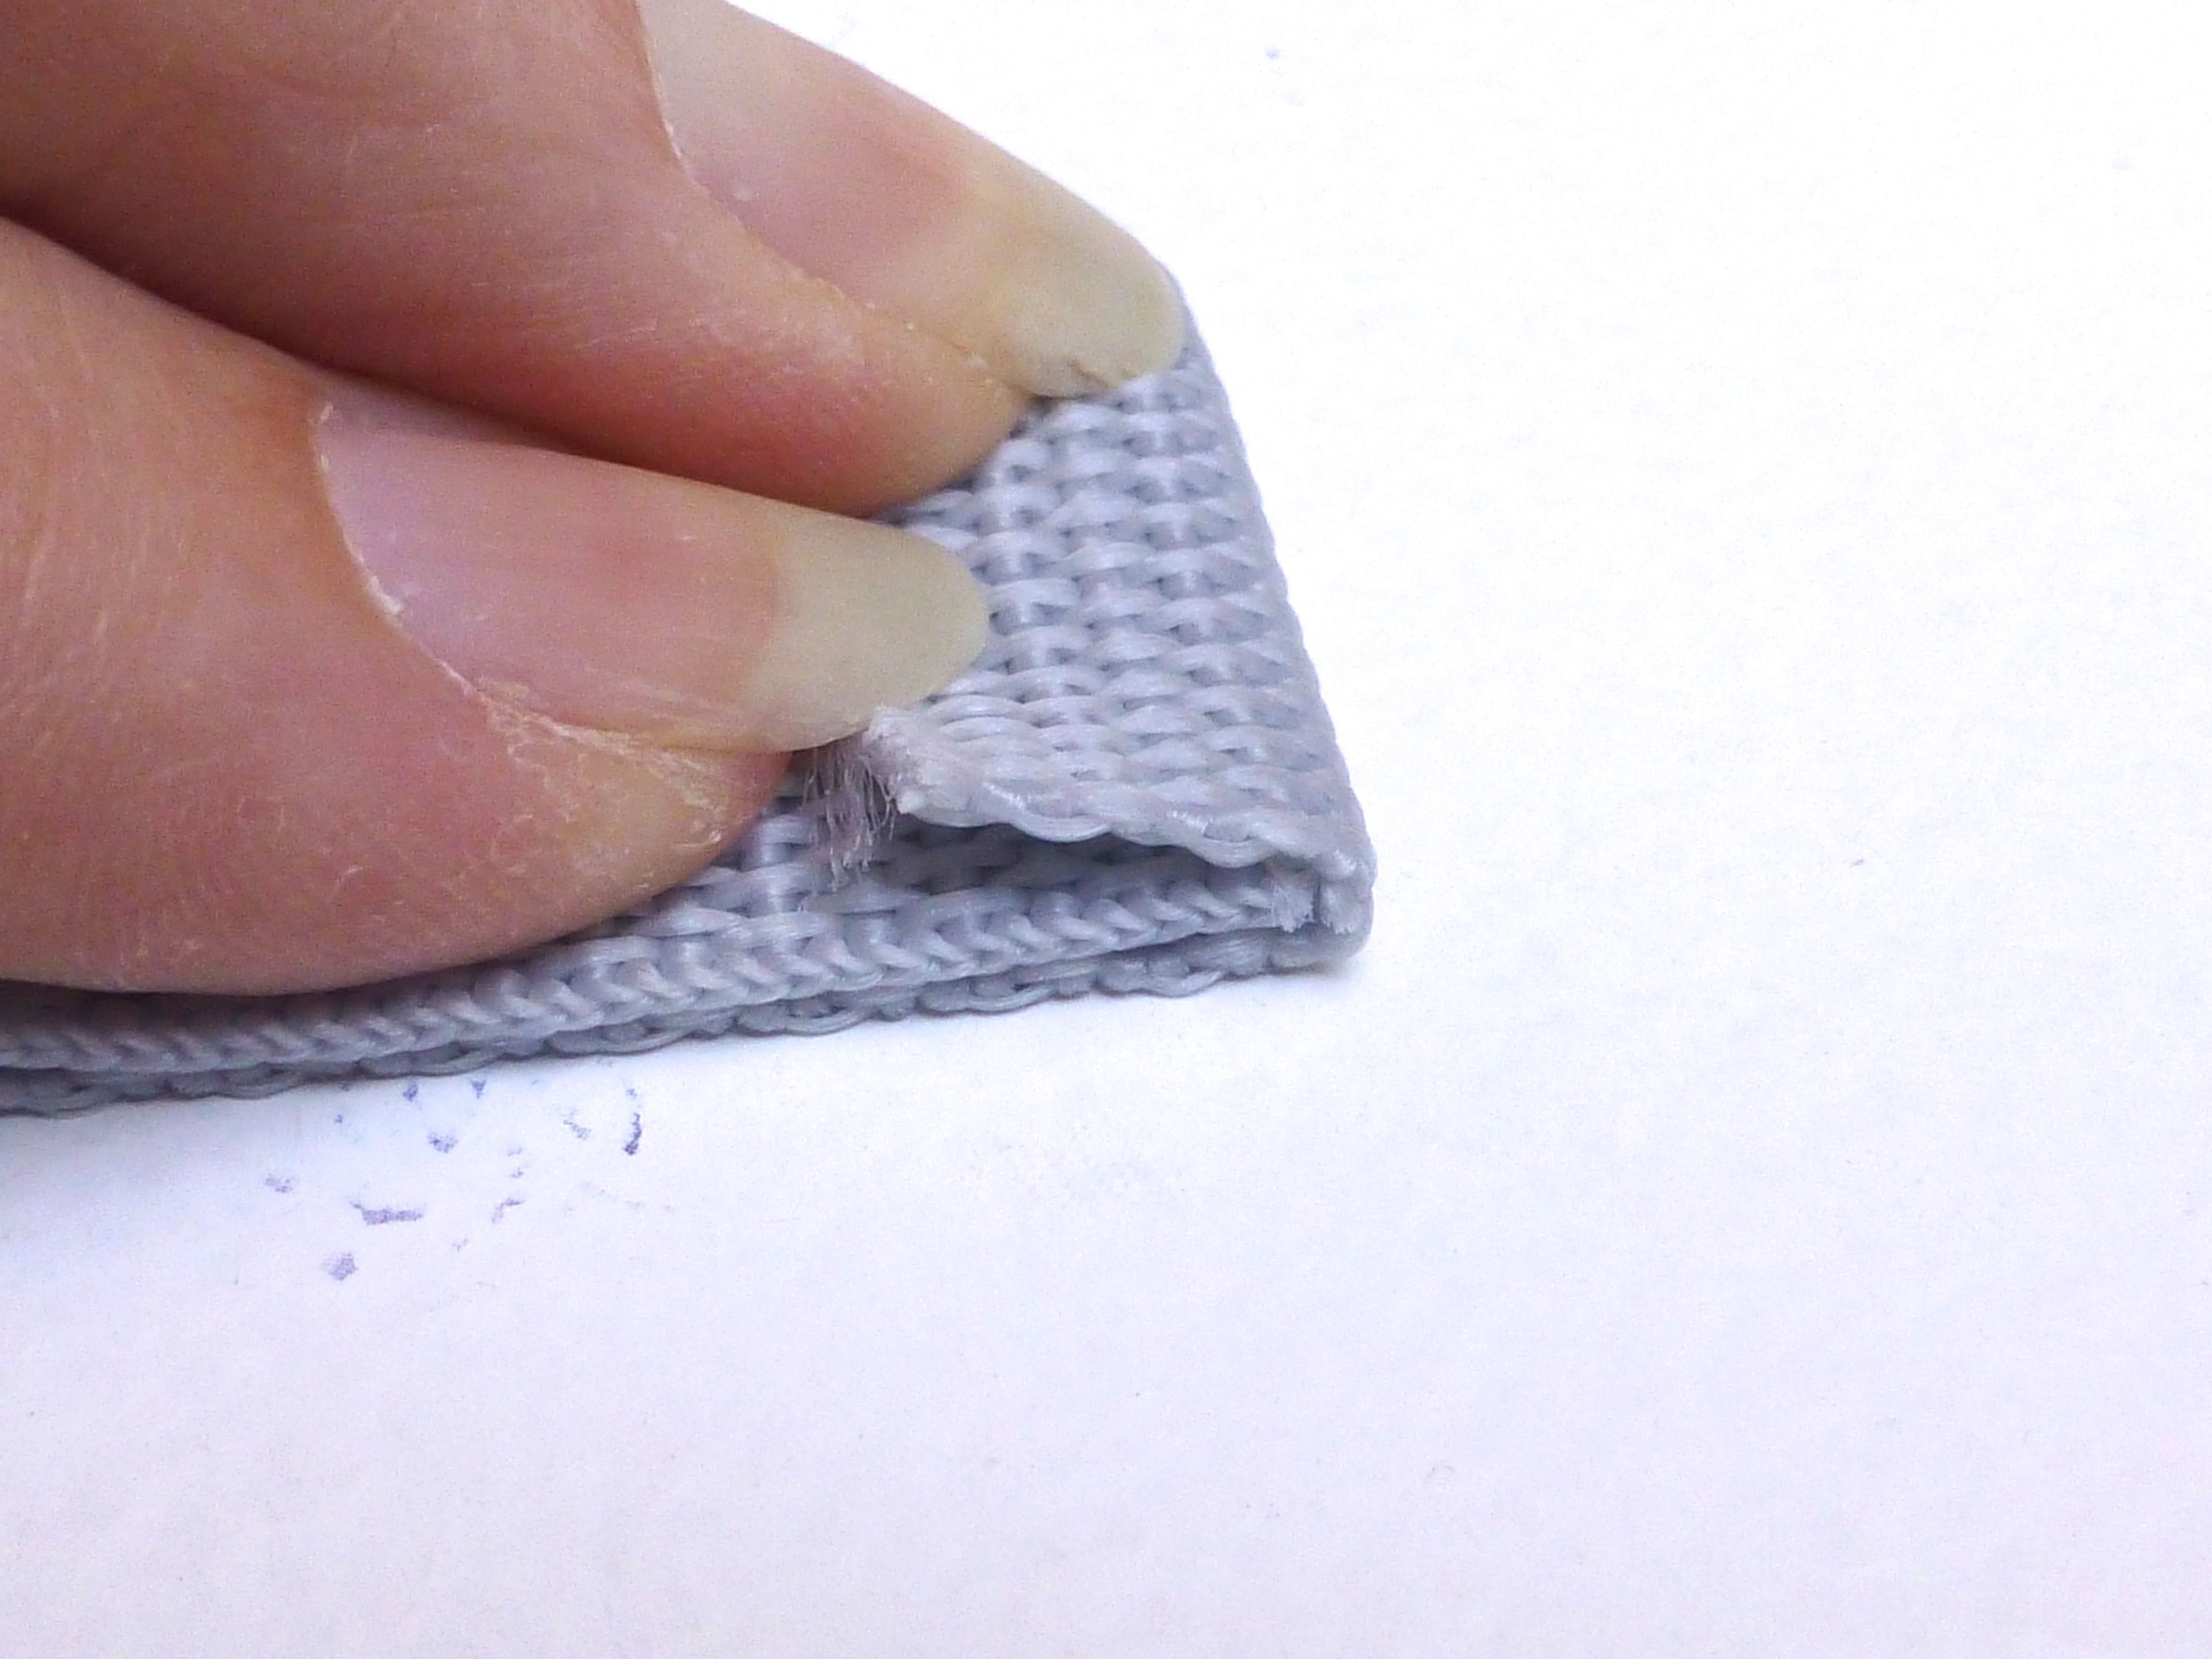
Repeat with the other ends of the webbing, being careful not to twist it in the process.
Make the other set of handles in the same way.

With the raw edges of the handles facing the wrong side of the bag, stitch in place 32cm in from each side seam.

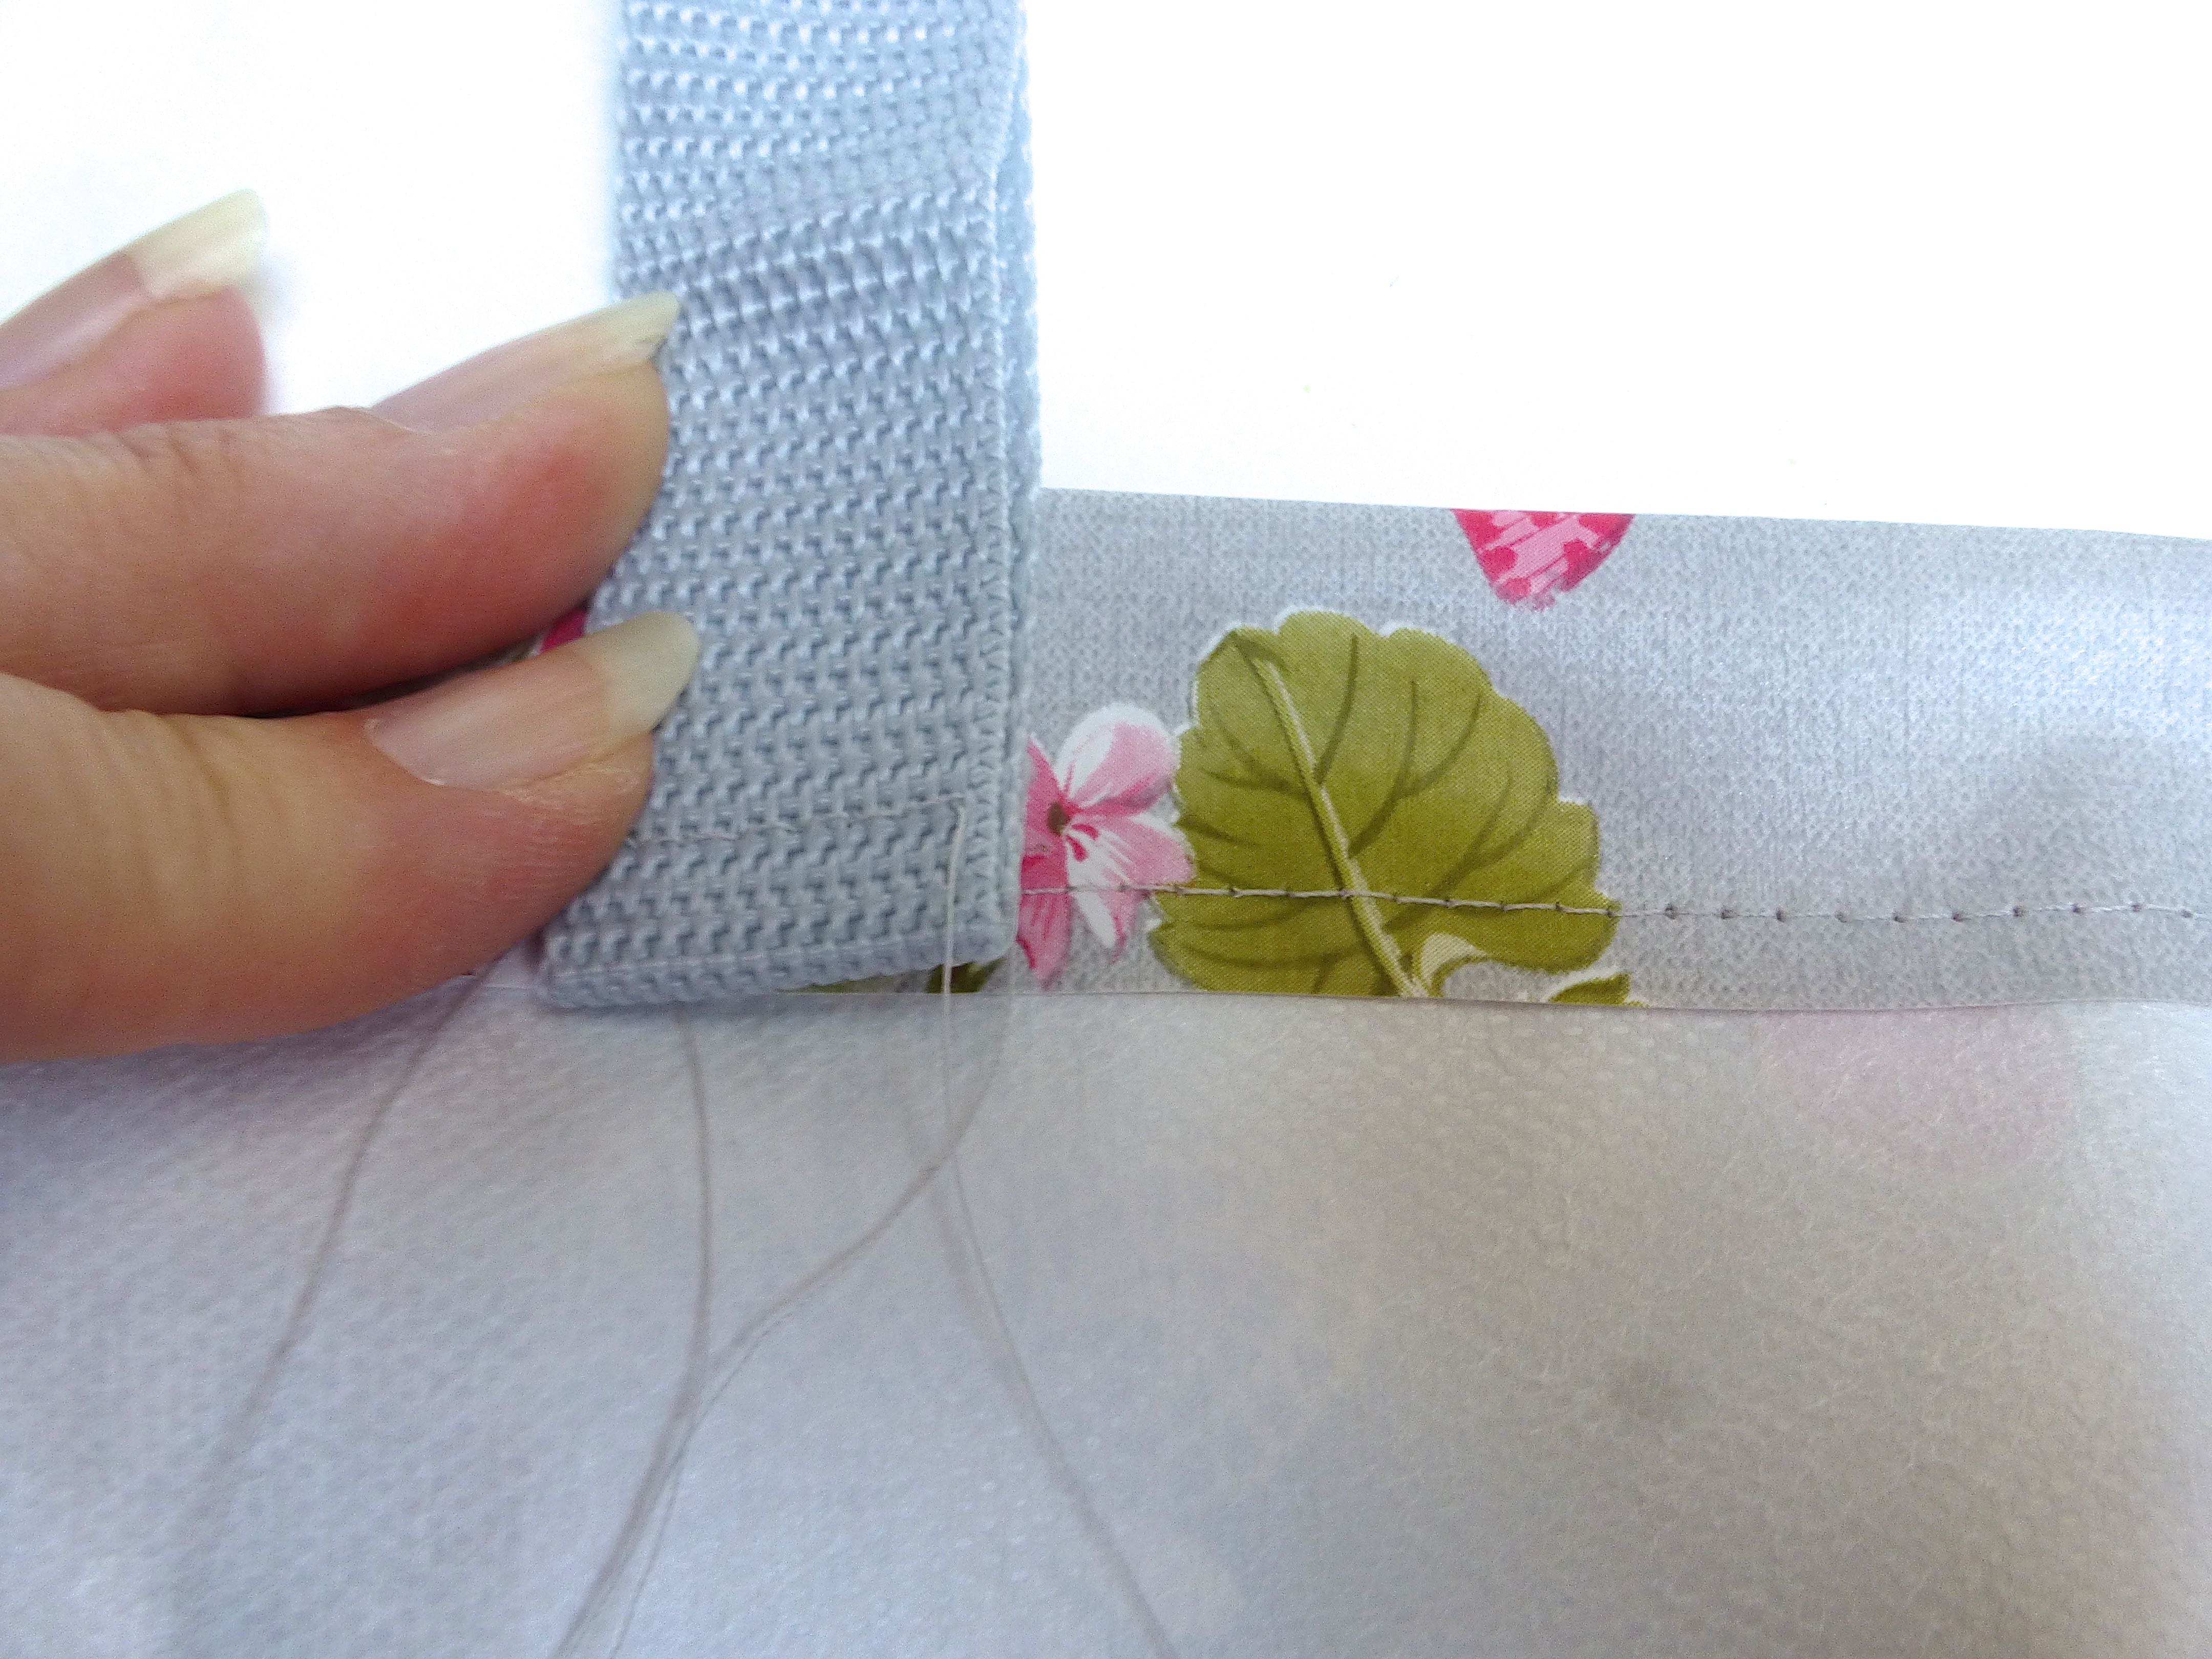
To ensure that there is plenty of strength at the point where the handles join the bag, I stitched a cross within a square as shown in the photo below.

Attach the other pair of handles in the same manner.

Finish with a second row of top stitching around the entire top edge about 4mm in from the first row.

Fill with laundry and go peg your clothes on the line!
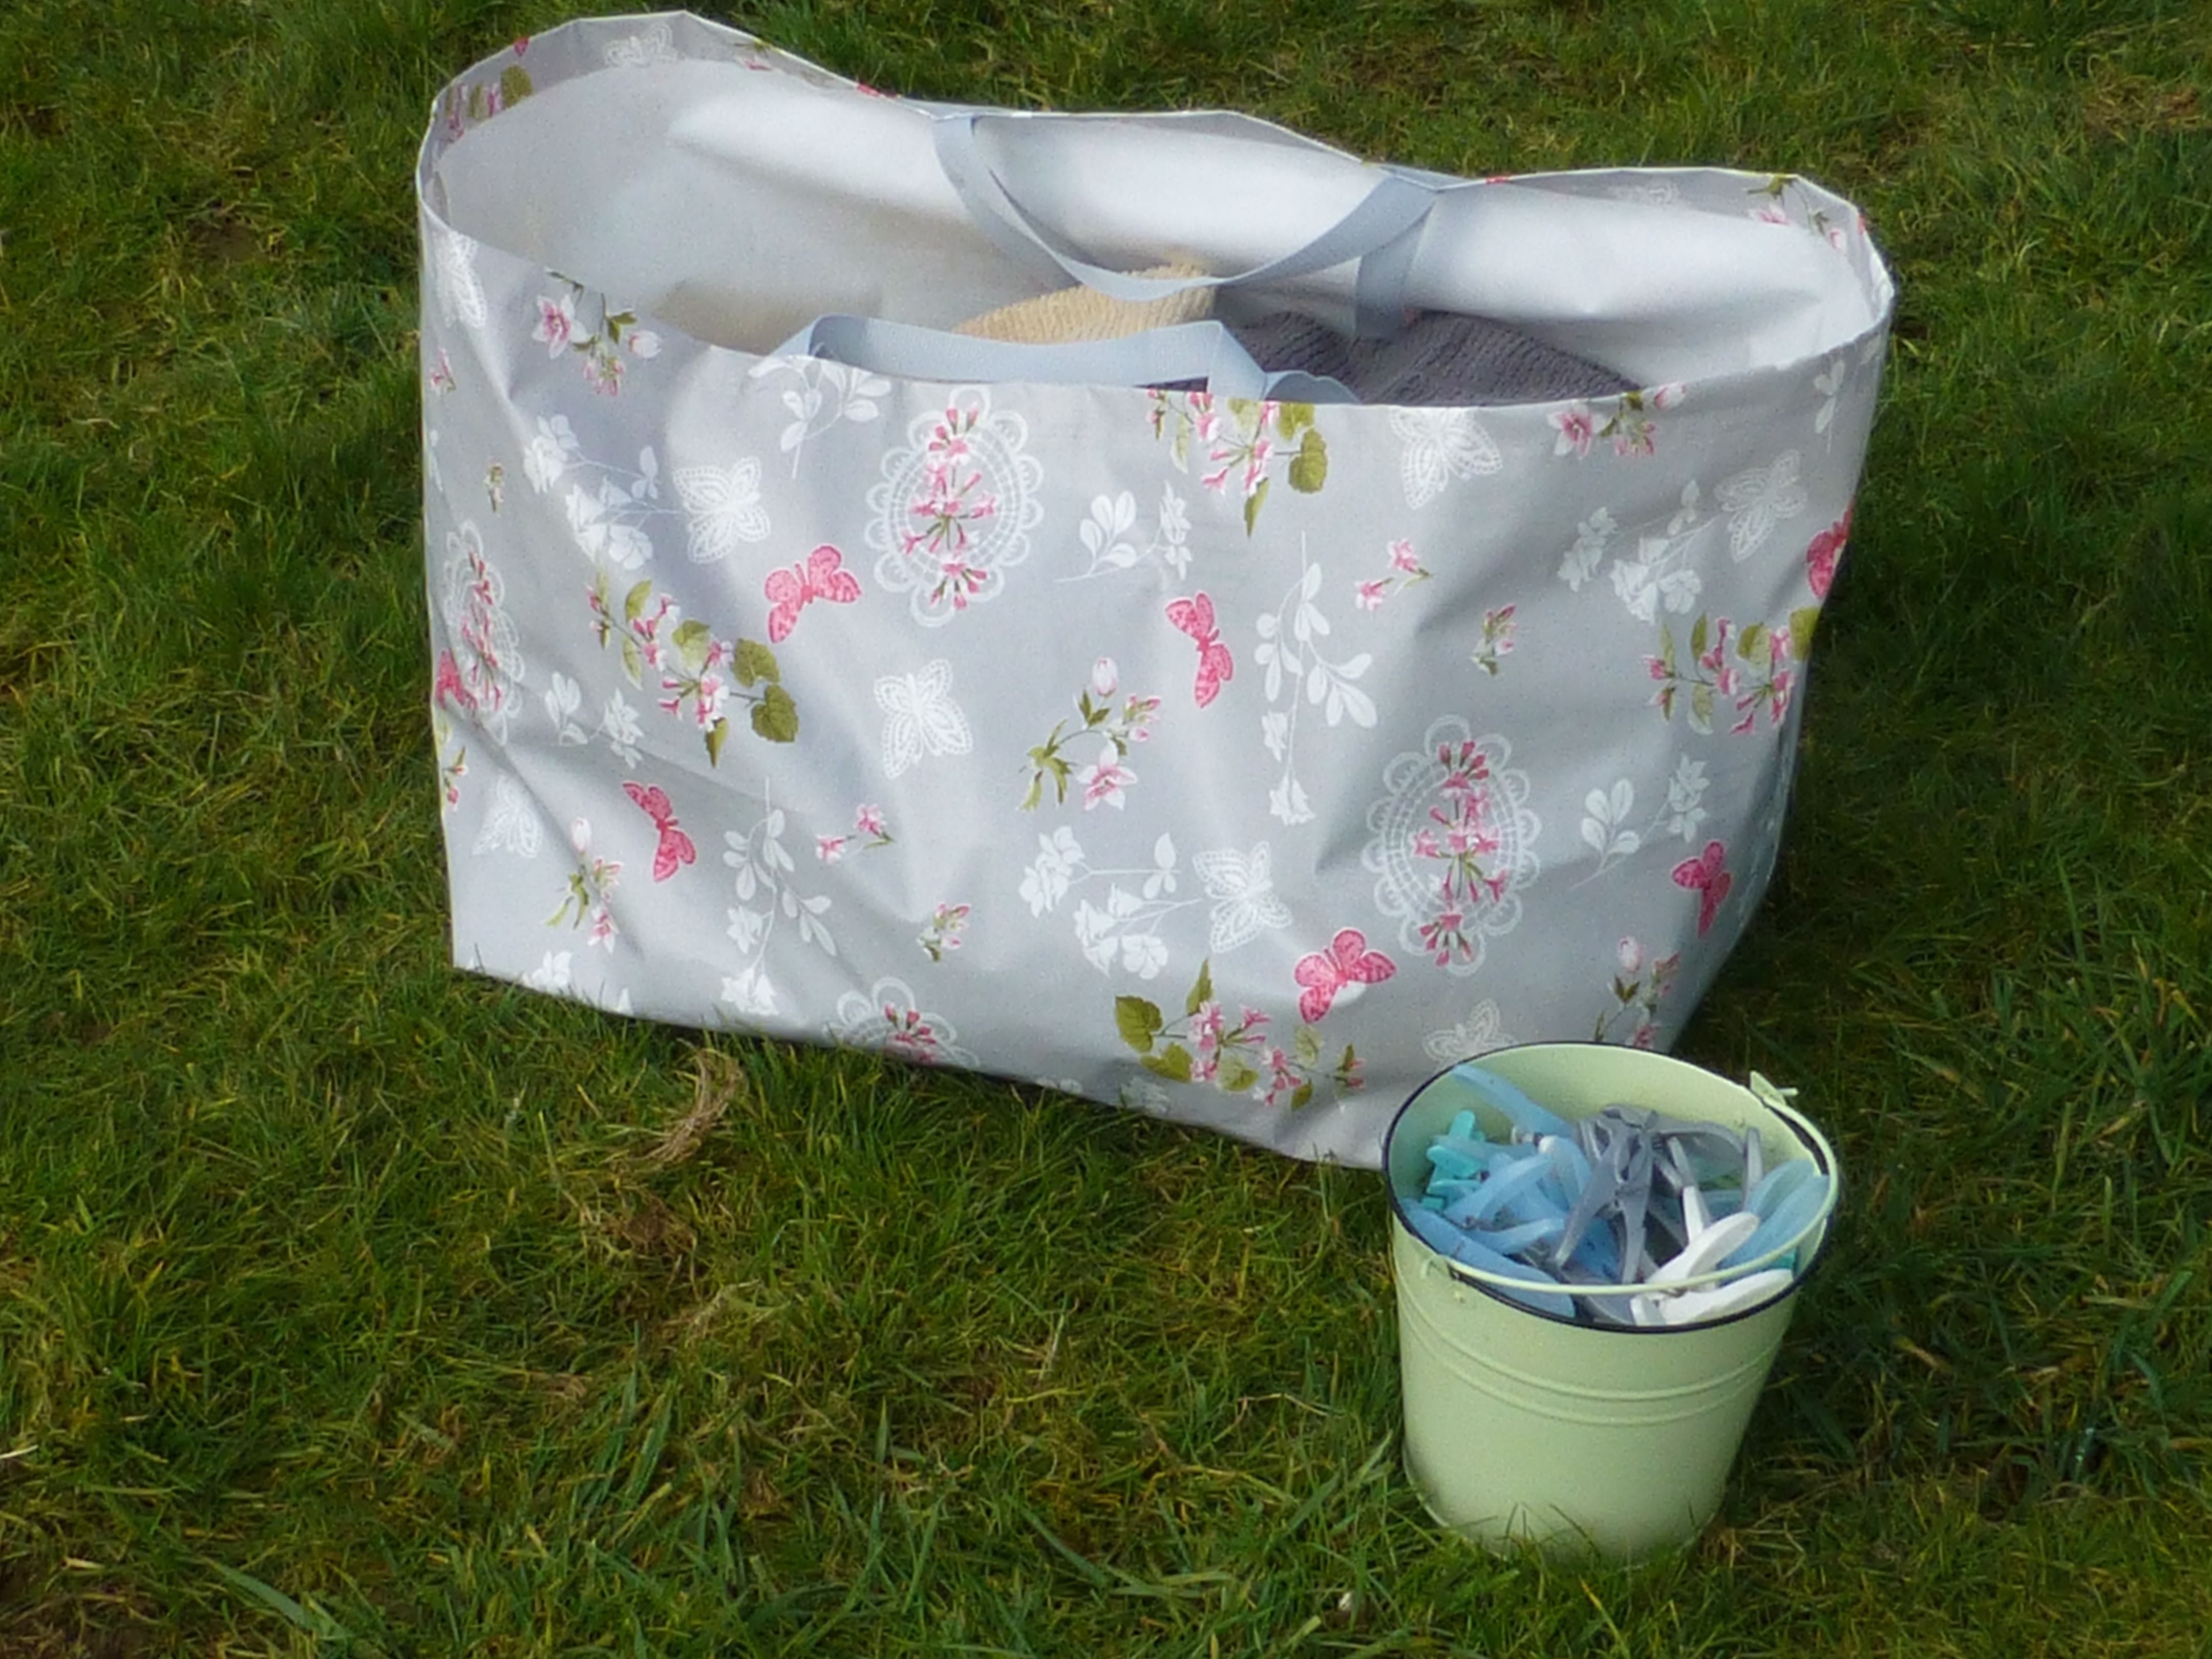


Well, the girls seem to approve of the stranger in the garden!
Anyone tempted to have a go at making an Ikea style laundry bag?
Artist and tutor
a creative life on the spectrum
Everyday craft inspirations
Movin' On Up
Because We're All a Work in Progress
Previously Boys and Chickens, I have created a new blog to share my sewing adventure as 2018 is they year I plan to teach myself to sew! There will also be bits of crochet and cooking too.
Sewing, crochet, crafts, accessories, baking, tutorials,
small steps to a kinder world
Sew What... Sewing, Embroidery and handmade
"She is too fond of books and it has addled her brain." (Louisa May Alcott)
A life of books . . .
Official crafty blog for my Quiet Water Craft Etsy shop
Sewing, crochet, crafts, accessories, baking, tutorials,
my year of trying to be more creative in different ways
Sewing, crochet, crafts, accessories, baking, tutorials,
The latest news on WordPress.com and the WordPress community.
Adventures in dressmaking from an improving sewist!
Knitting, Sewing, Crafting
Sewing, crochet, crafts, accessories, baking, tutorials,
Sewing, crochet, crafts, accessories, baking, tutorials,
Sewing, crochet, crafts, accessories, baking, tutorials,
Sewing up a self-made wardrobe
Sewing, crochet, crafts, accessories, baking, tutorials,
Sewing, crochet, crafts, accessories, baking, tutorials,
My art work and other musings
Fabric, life, and all that
Sewing, crochet, crafts, accessories, baking, tutorials,
Sewing, crochet, crafts, accessories, baking, tutorials,
Making and creating
From Scraps to Quilts
Lesley blogging about her sewing projects
lathaminteriors.co.uk
Sewing, crochet, crafts, accessories, baking, tutorials,
What's happening in North Cheriton
Returning sewist, crafter and runner
My quest to sew a wardrobe of clothes which actually fit me
a blog about making things
the joy of creativity
My challenge: One year - I will not buy clothes - I will upcycle to make what I need - everything from underwear to evening wear! Join me for tips, exclusive BrawHem makes, and inevitably some hilarious disasters...
Go Sew Something
Sewing, crochet, crafts, accessories, baking, tutorials,
