
After several sneak peeks on the blog and on Instagram, I have finally got around to blogging about the guest bedroom makeover which we finished a few weeks ago.
This post is picture-heavy, so you might want to get yourself a cup of tea before you start:)
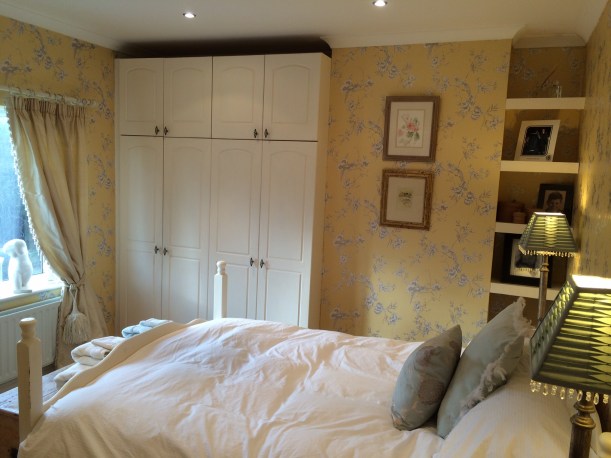
Of course, there’s no point in having the ‘after’ photos if you don’t show the ‘before’ photos, grim though they may be.
Believe it or not, this room was actually quite nice when it was first decorated but, ten years on, it was looking really tired and in desperate need of a facelift.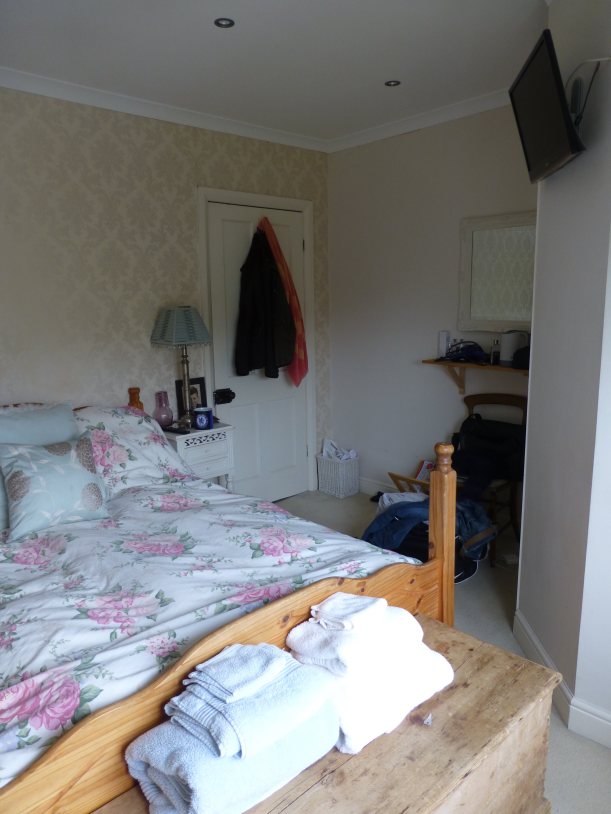
No.1 Son returned home after four years at Uni and decided that he would like to move from his old bedroom into the guest bedroom as it has a double bed. Although he’s generally quite good at keeping his room presentable, boy ‘stuff’ has a habit of piling up, corners get bashed and, before long, redecoration became a must.
We have plenty of nice, plain white, inoffensive bedlinen but, being male, he just puts on any old set, in this instance his sister’s faded old duvet cover from when she was at Uni.
Hmm, not a good look.
The window treatment may look OK at first glance, but when you look closer…..
….the silk edging of the roman blind has disintegrated after ten years of sunlight.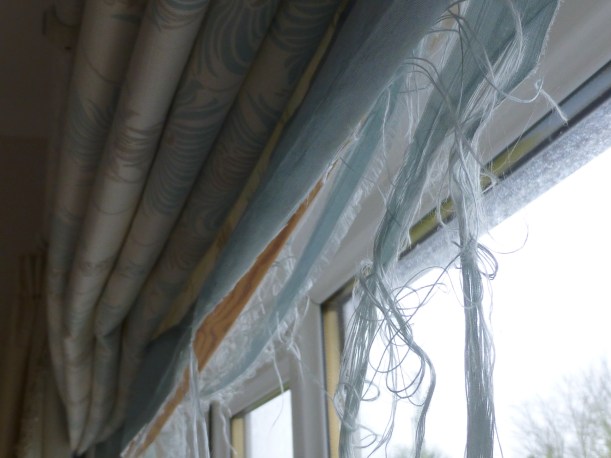
Embarrassed though I am to publicly display these pictures, it does mean that you can’t fail to be impressed at the change!
Having looked carefully at the room, I came to the conclusion that we didn’t have to do an awful lot to make a huge difference – some wallpaper, new curtains and a new bed were all that were really needed. Other elements like the bedside tables and lamps were still in good condition so there was no reason to change them.
I fell in love with this ‘Yellow Chinoise’ wallpaper ages ago at Homebase and managed to buy it when there was 20% discount.

The men set to, stripping off the old wallpaper.
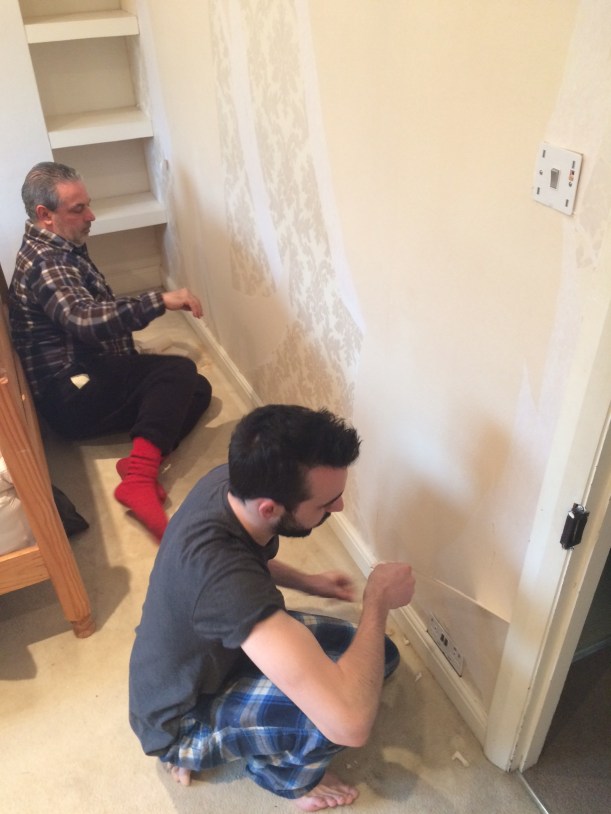

It’s always exciting to see the first drop in place, isn’t it?
The existing pine bed was solid enough so I made the decision not to go to the unnecessary expense of buying a new one, but to update it with chalk paint instead.
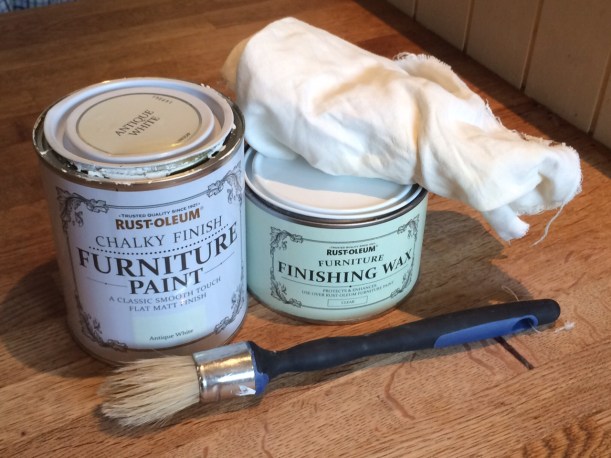
No.1 Son helped out with that task, too, and it only took a couple of evenings to apply two coats and a finishing wax.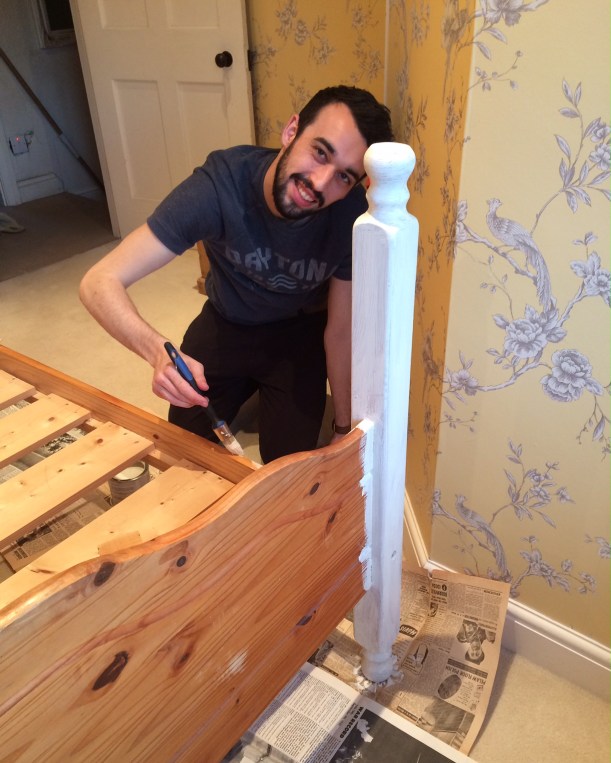
I remade some silk curtains to fit – the leading edges of the originals had also disintegrated in the sunlight, and I had long since replaced them with new ones in the dining room.
I even removed the beading from the pelmet, washed it and restitched it to the leading edge of the new curtains. Hopefully, this will give them a longer life as the sunlight now only falls on the lining and not the silk.

The curtain pole was kept as it ties in perfectly with the new scheme.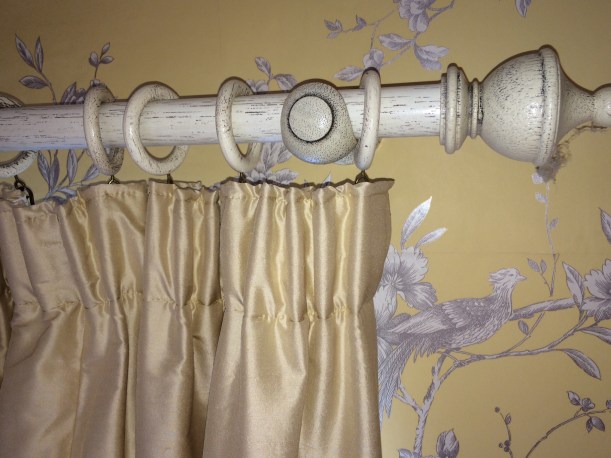
I swapped the huge tasselled tie backs with the ones in the dining room.
Since this photo was taken, we’ve put up tie back hooks on the wall:)

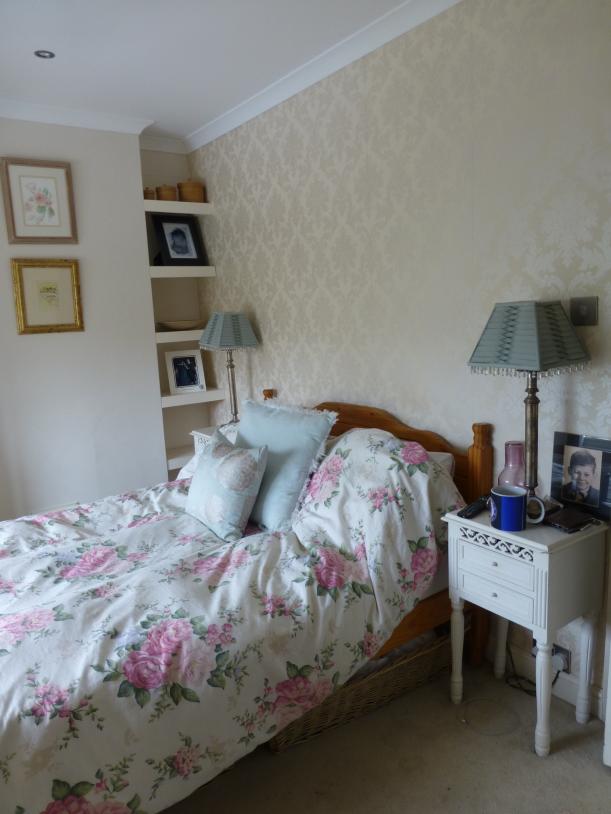
The nasty orange pine has been banished and newly painted bedframe sits much more subtly in its surroundings.

The bedside tables work well in the yellow and cream colour scheme. A bit shabby in places, but that’s fashionable right now, isn’t it?
Duck egg blue silk lampshades are still fine after surviving three house moves – a quick hoover was all that was required to make them look like new again.
I remember adding the beaded trim to the shades when we moved to this house, nearly ten years ago. A quick way to transform them.
The mirror seems to stand out more against the yellow wallpaper whereas, previously, it just blended in to the cream painted walls.
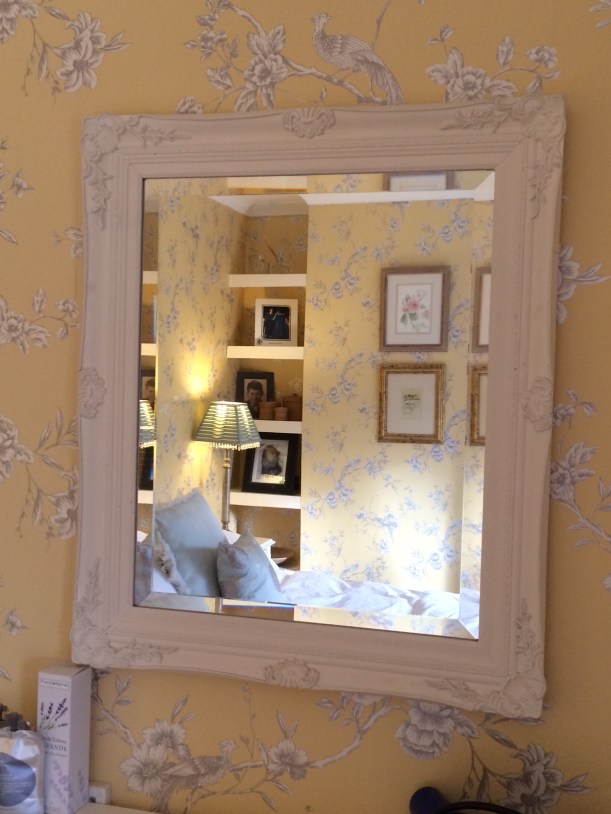
The shelf beneath the mirror was painted to match all the woodwork and some essentials for guests put in place. 

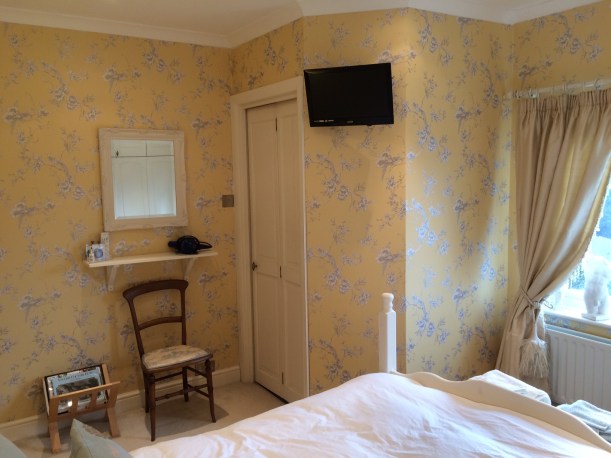
The magazine rack is filled with reading material and recent magazines that might be of interest.
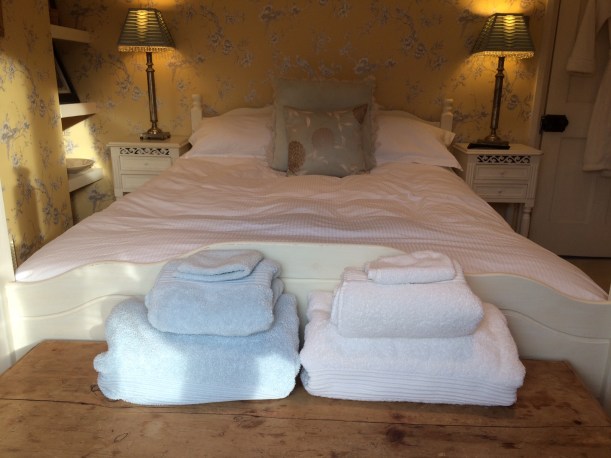
I could reupholster the chair, but the duck egg blue ties in with the lampshades so I think I’ll leave it. His ‘n’ hers towels are stacked on a blanket box at the end of the bed.
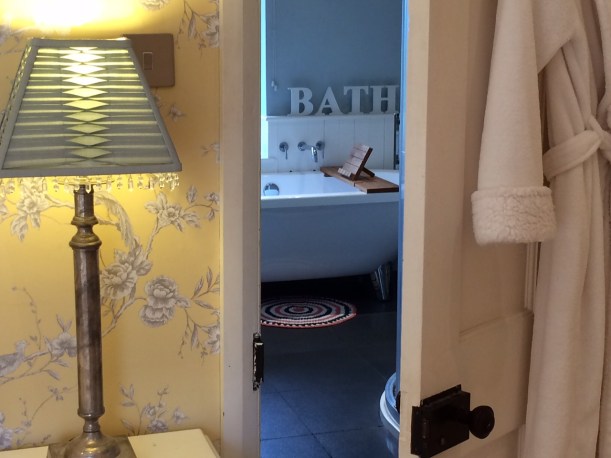
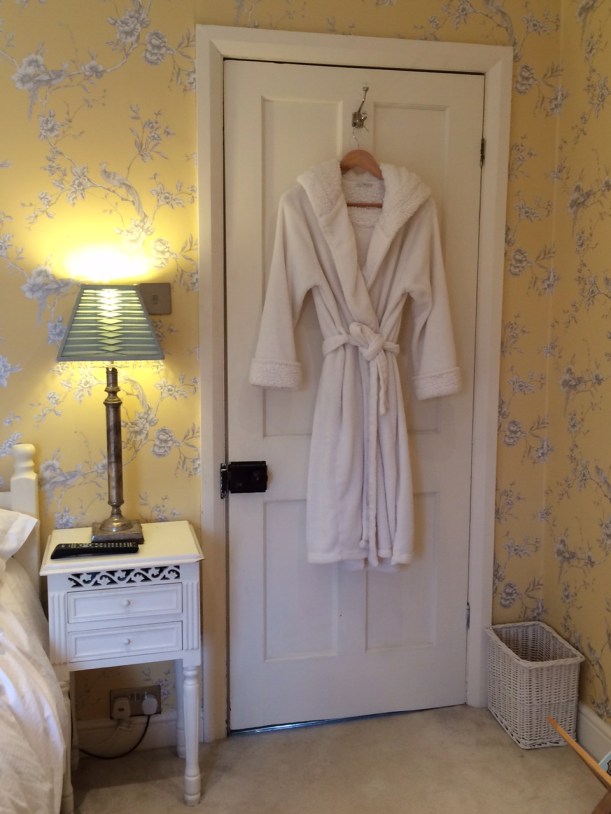
Fluffy robes on the back of the door and disposable slippers in the wardrobe along with plenty of wooden hangers (I can’t stand the plastic ones!) are items that are well received by people that stay.
It’s just across the hallway to the bathroom for now, but…… …..the ensuite is in place behind these doors ready to be kitted out.
 So that’s it, really. Do you want to see some photos of the overall effect?


Here are some direct comparisons of the before and after shots – much more warmer and welcoming, don’t you think?


Best of all, by keeping changes to a minimum and concentrating on things that would have the biggest impact, it only cost just over £80 in total!!
That’s five rolls of wallpaper and some chalk paint and wax! The rest was just hard work and a little vision to see the potential of what was already there.
It may not be to everyone’s taste, but there’s no denying that it’s a vast improvement on the tired old room that it used to be and it’s going down well with our guests so far, so that’s all that really matters:)
