

I made a rare trip to Lidl the other day, just browsing and looking for nothing in particular.
I’m not a fan of Lidl because they only stock basics and I can never get everything on my list. I loathe the weekly Food Shop and am d*****d if I’m going to go to another shop as well to buy the rest. Once, I had a list of thirteen items and could only buy two of them in Lidl!!
Notwithstanding the above, they have a really good selection of non-food items, especially around Christmas and I’ve snapped up some great things in the past.
Anyway, on this occasion, I spotted some T-shirts on offer. A two-pack was reduced from £5.99 to £2.99 and, in true Lidl fashion, they were only stocking men’s size 4XXXL to fit 68-70″ chest so there was a huge pile of them left unsold!
I’ve fancied making my own T-shirt yarn for a while now but decided wisely that Hubby would be a bit peeved if he came home to find that I’d ‘recycled’ them without his knowledge, particularly as they are largely stain and hole free as yet. So these outsize bargains happened along at the right time and I snapped up a couple of packs.

For best results, you need to choose logo-free, 100% cotton T-shirts without side seams. Mine had side seams – you just have to be extra careful not to rip them because they will be weakened after they have been cut through.
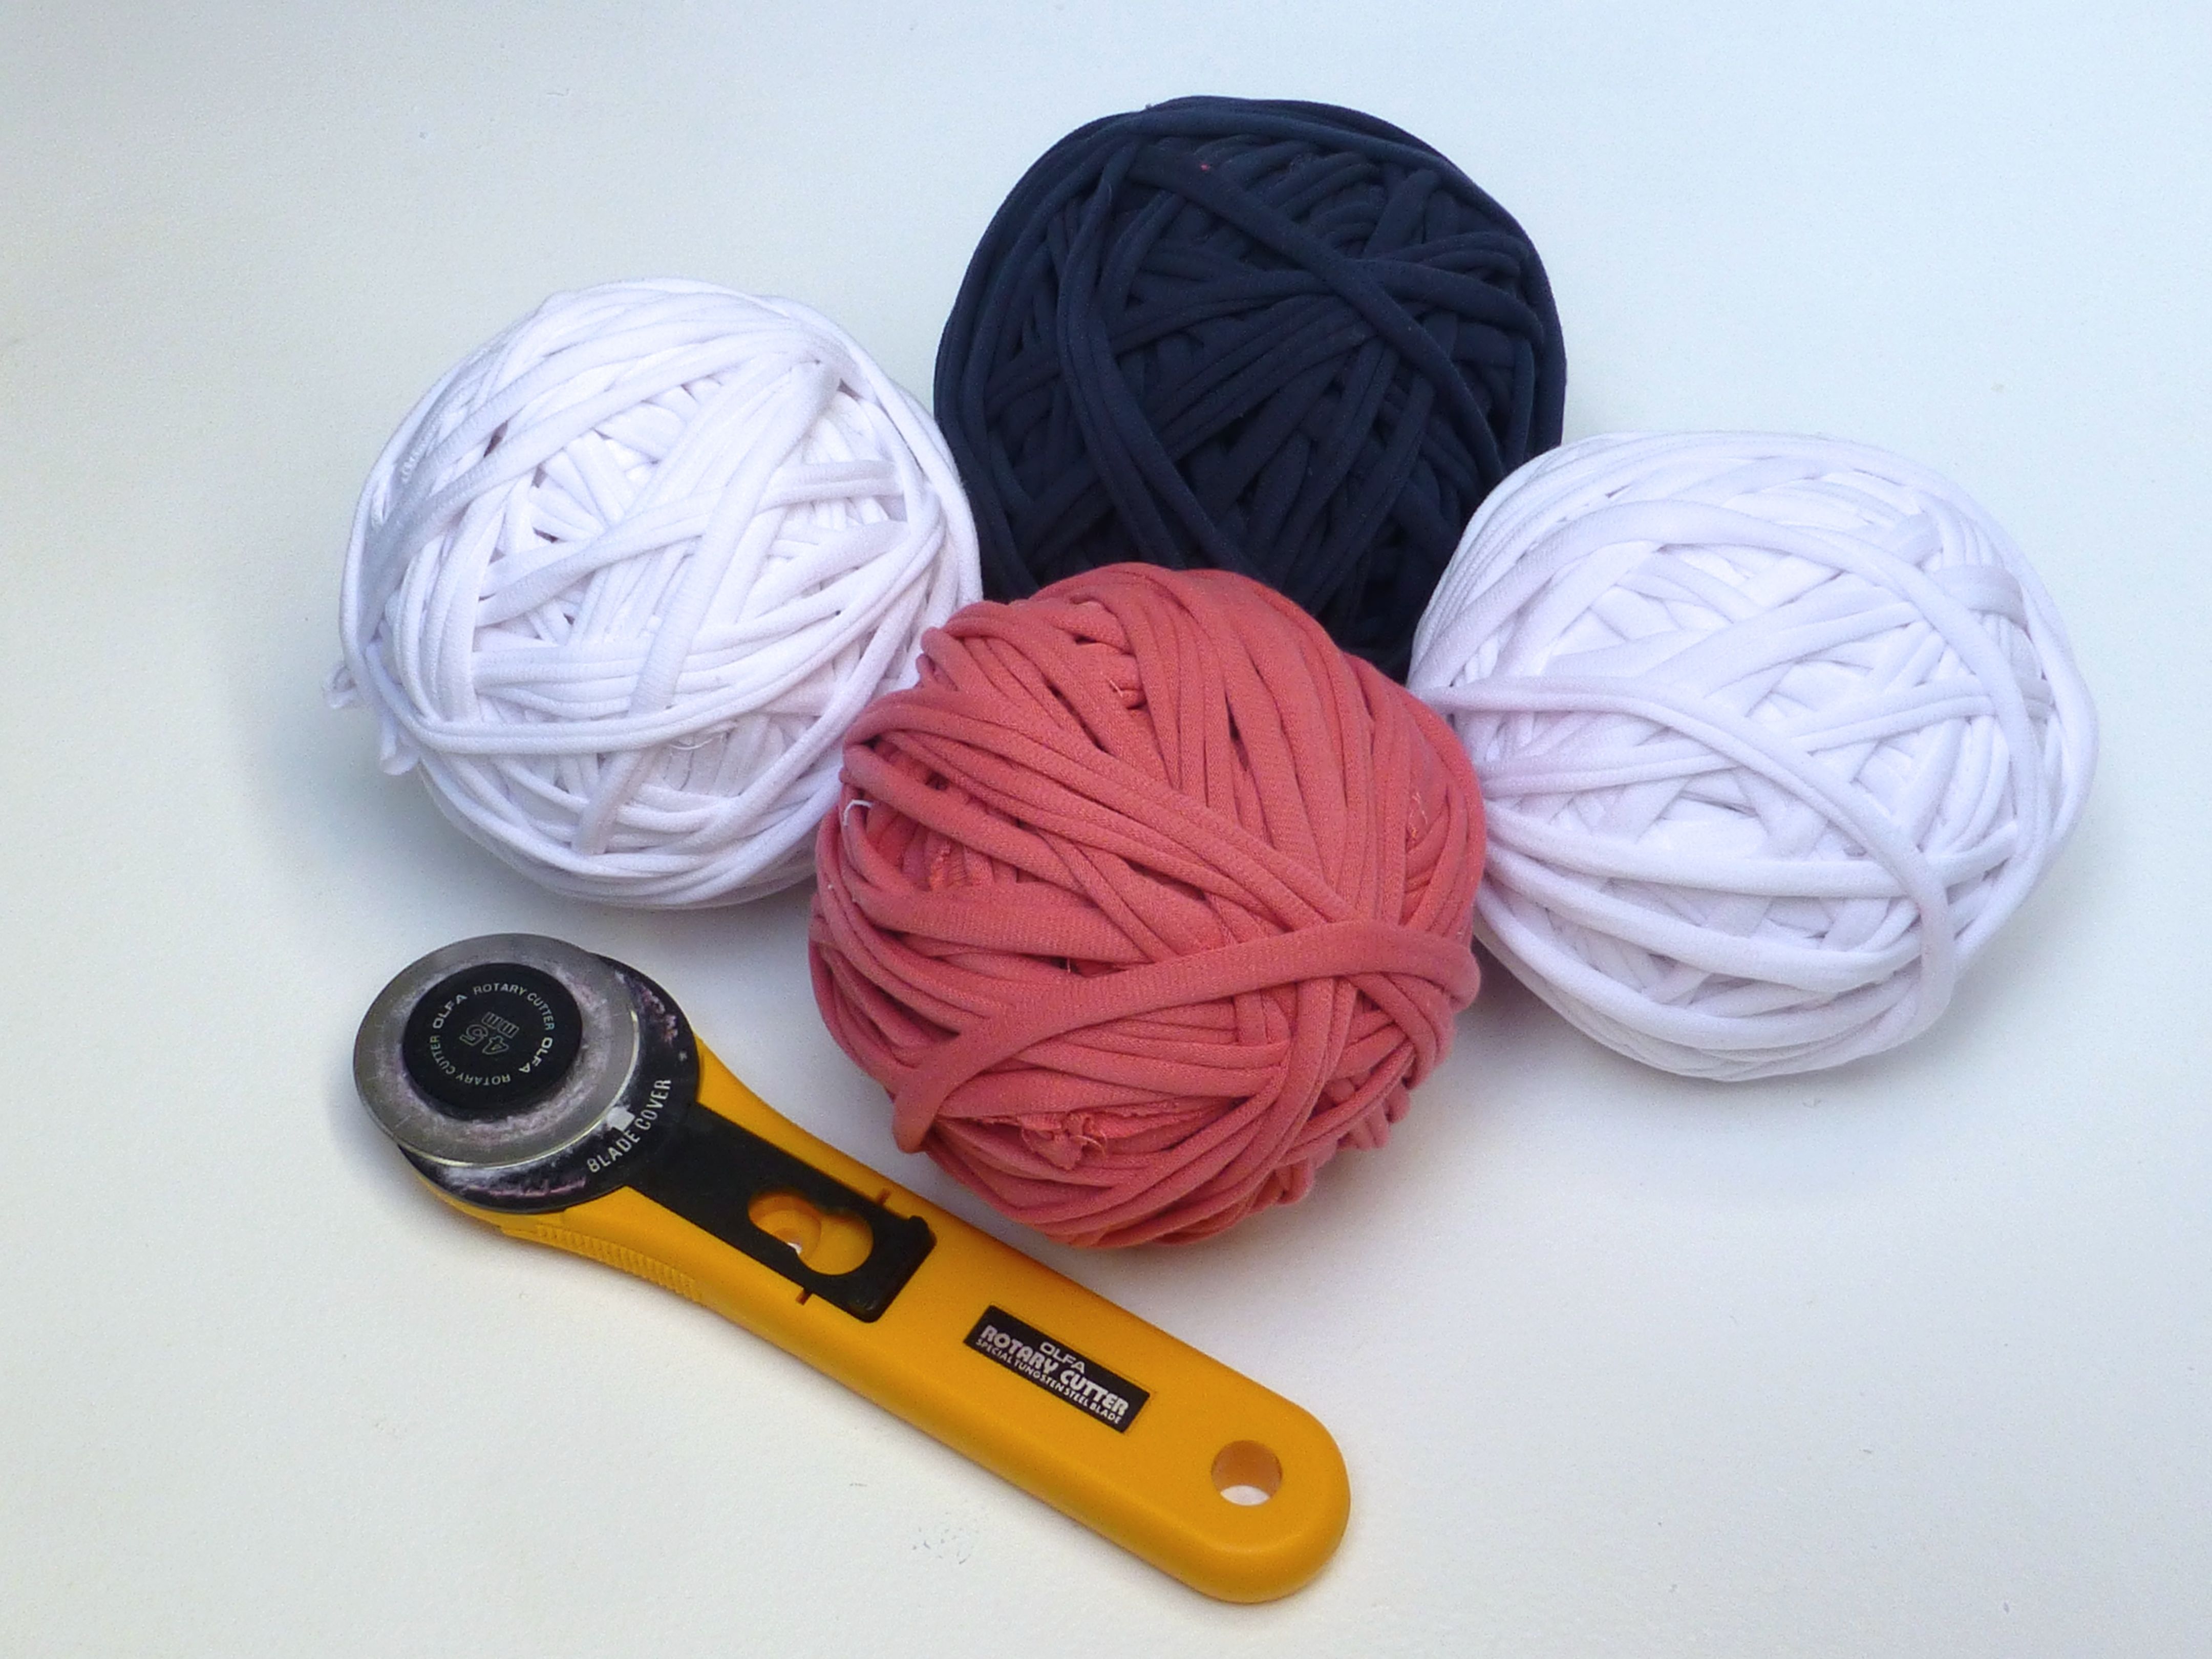
My new Olfa cutting mat and rotary cutter were about to have their inaugural outing – how have I lived my entire life without these?!
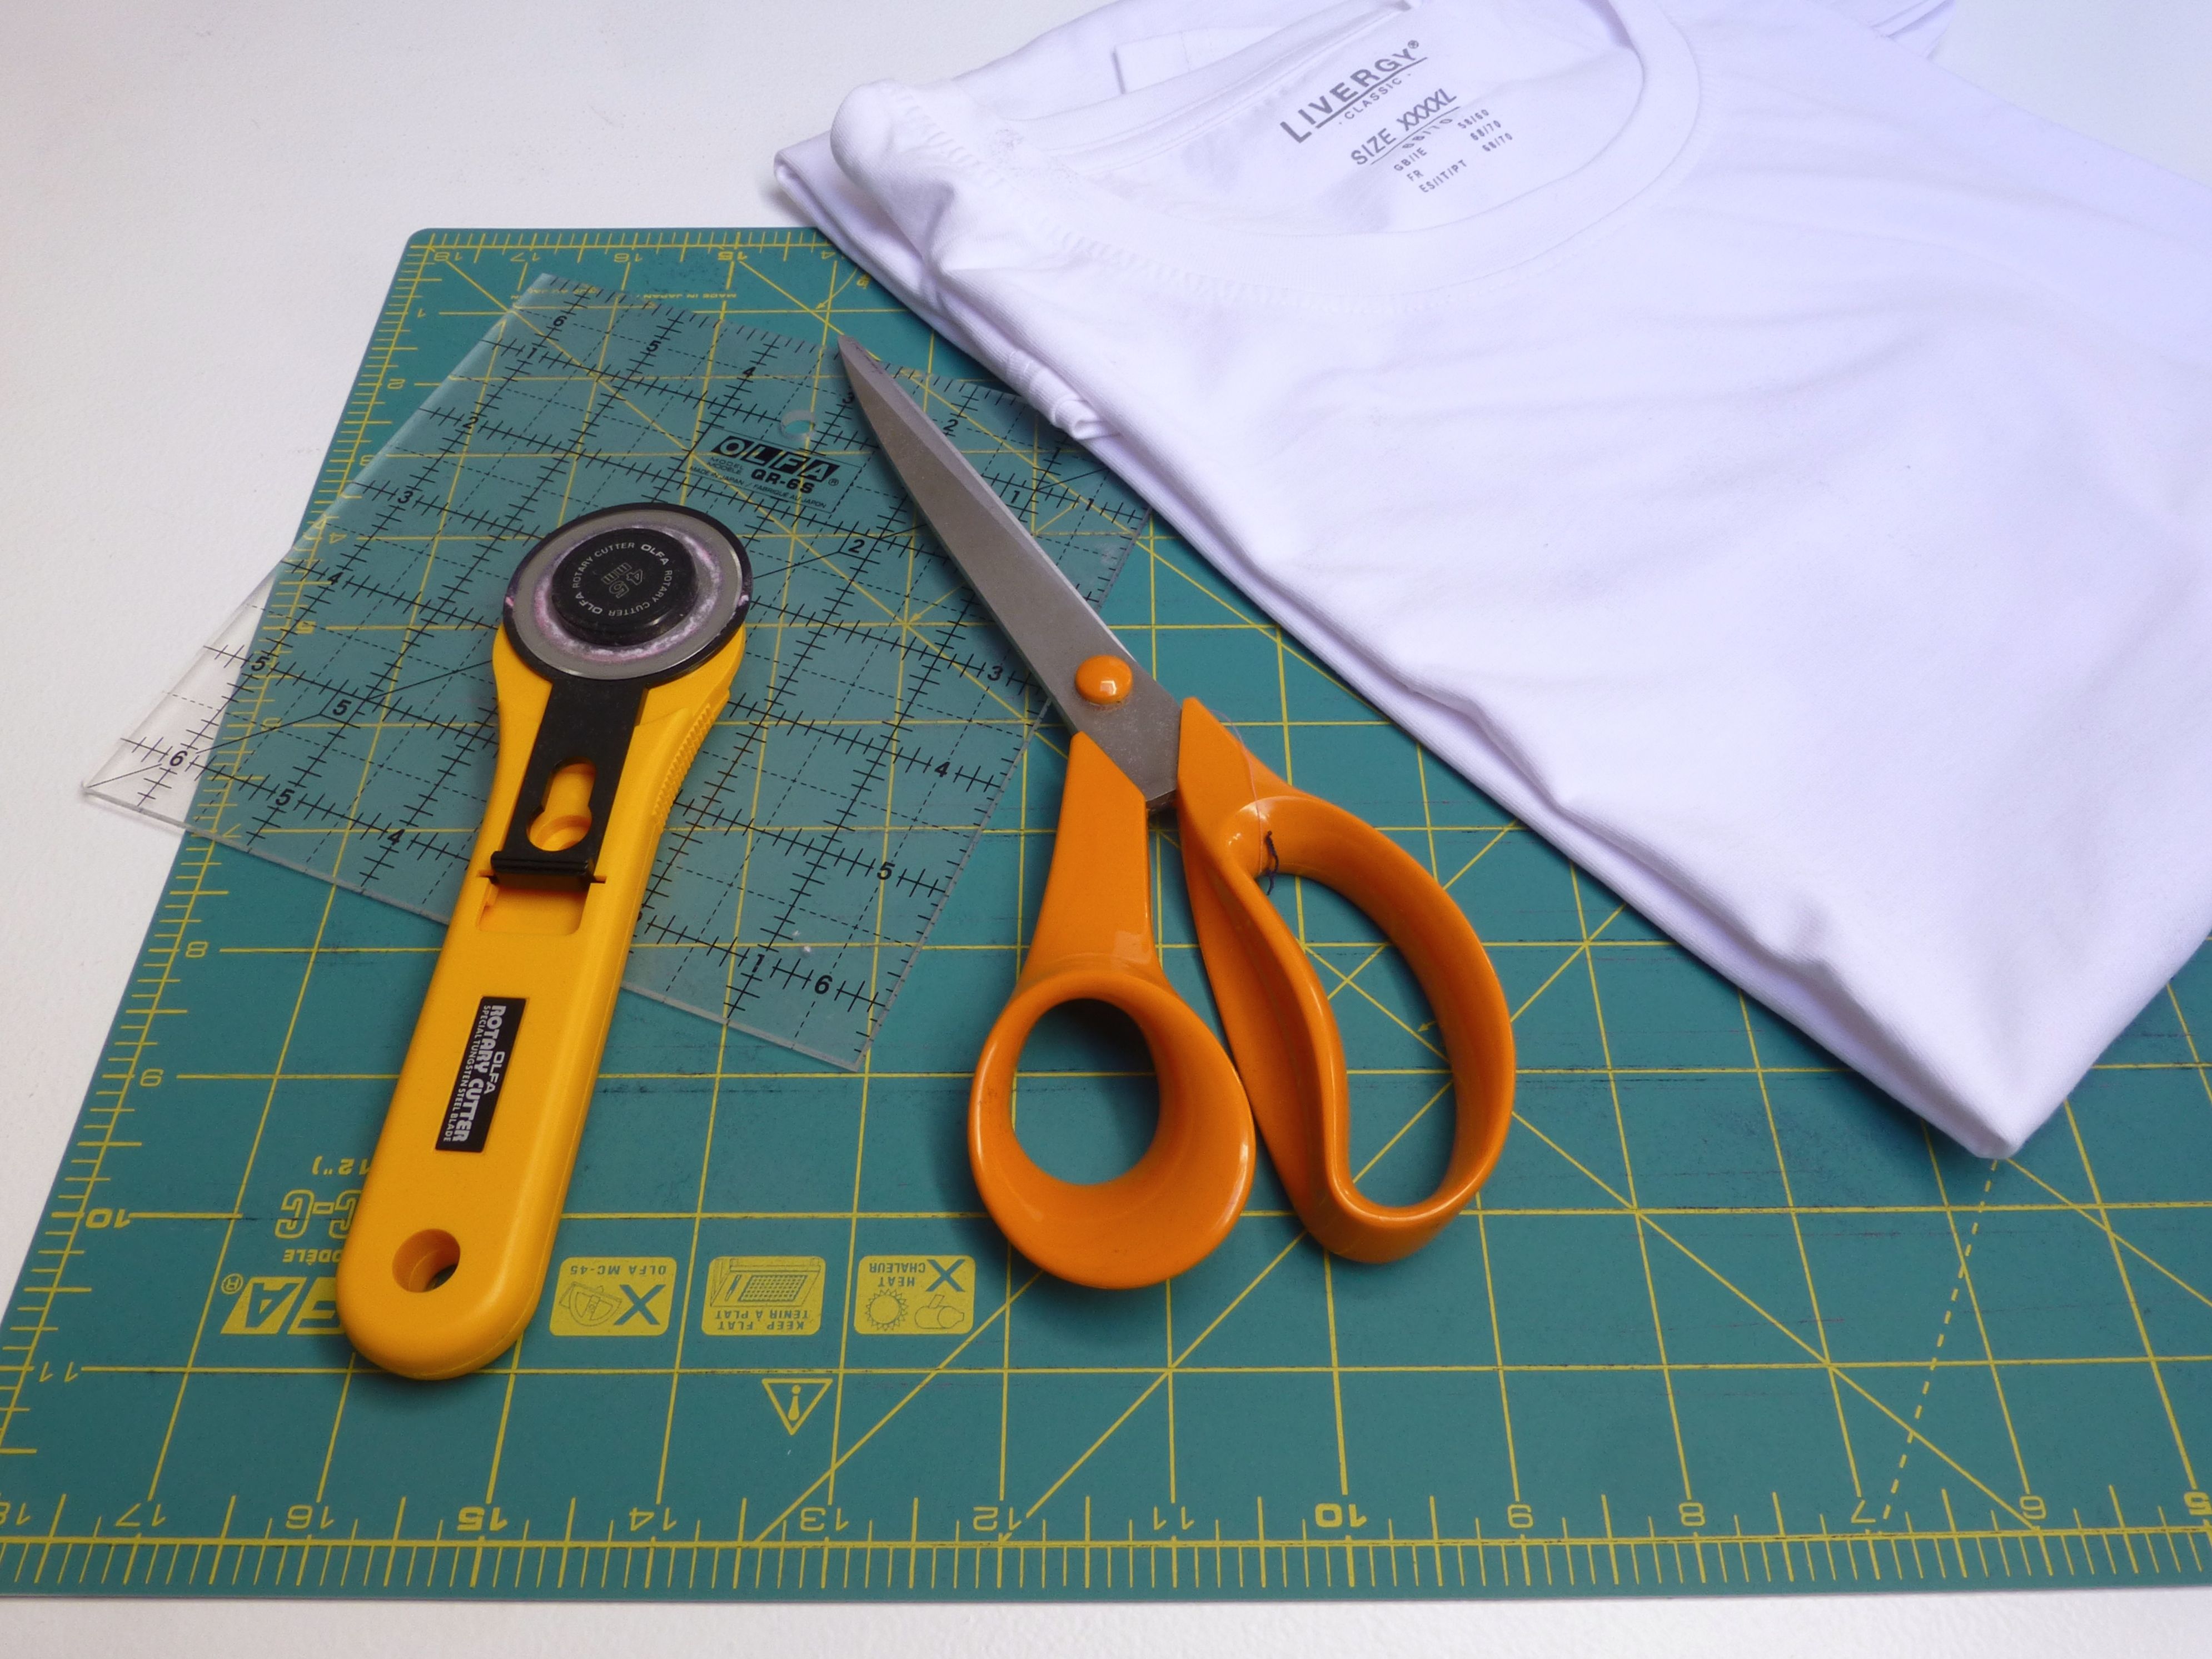
You can, of course, use scissors – it is just easier and quicker with a rotary cutter.
Start by cutting away the main body of the T-shirt below the armholes.

Fold together leaving about 1 1/2 inches between side seams (as shown below) and smooth out any creases.
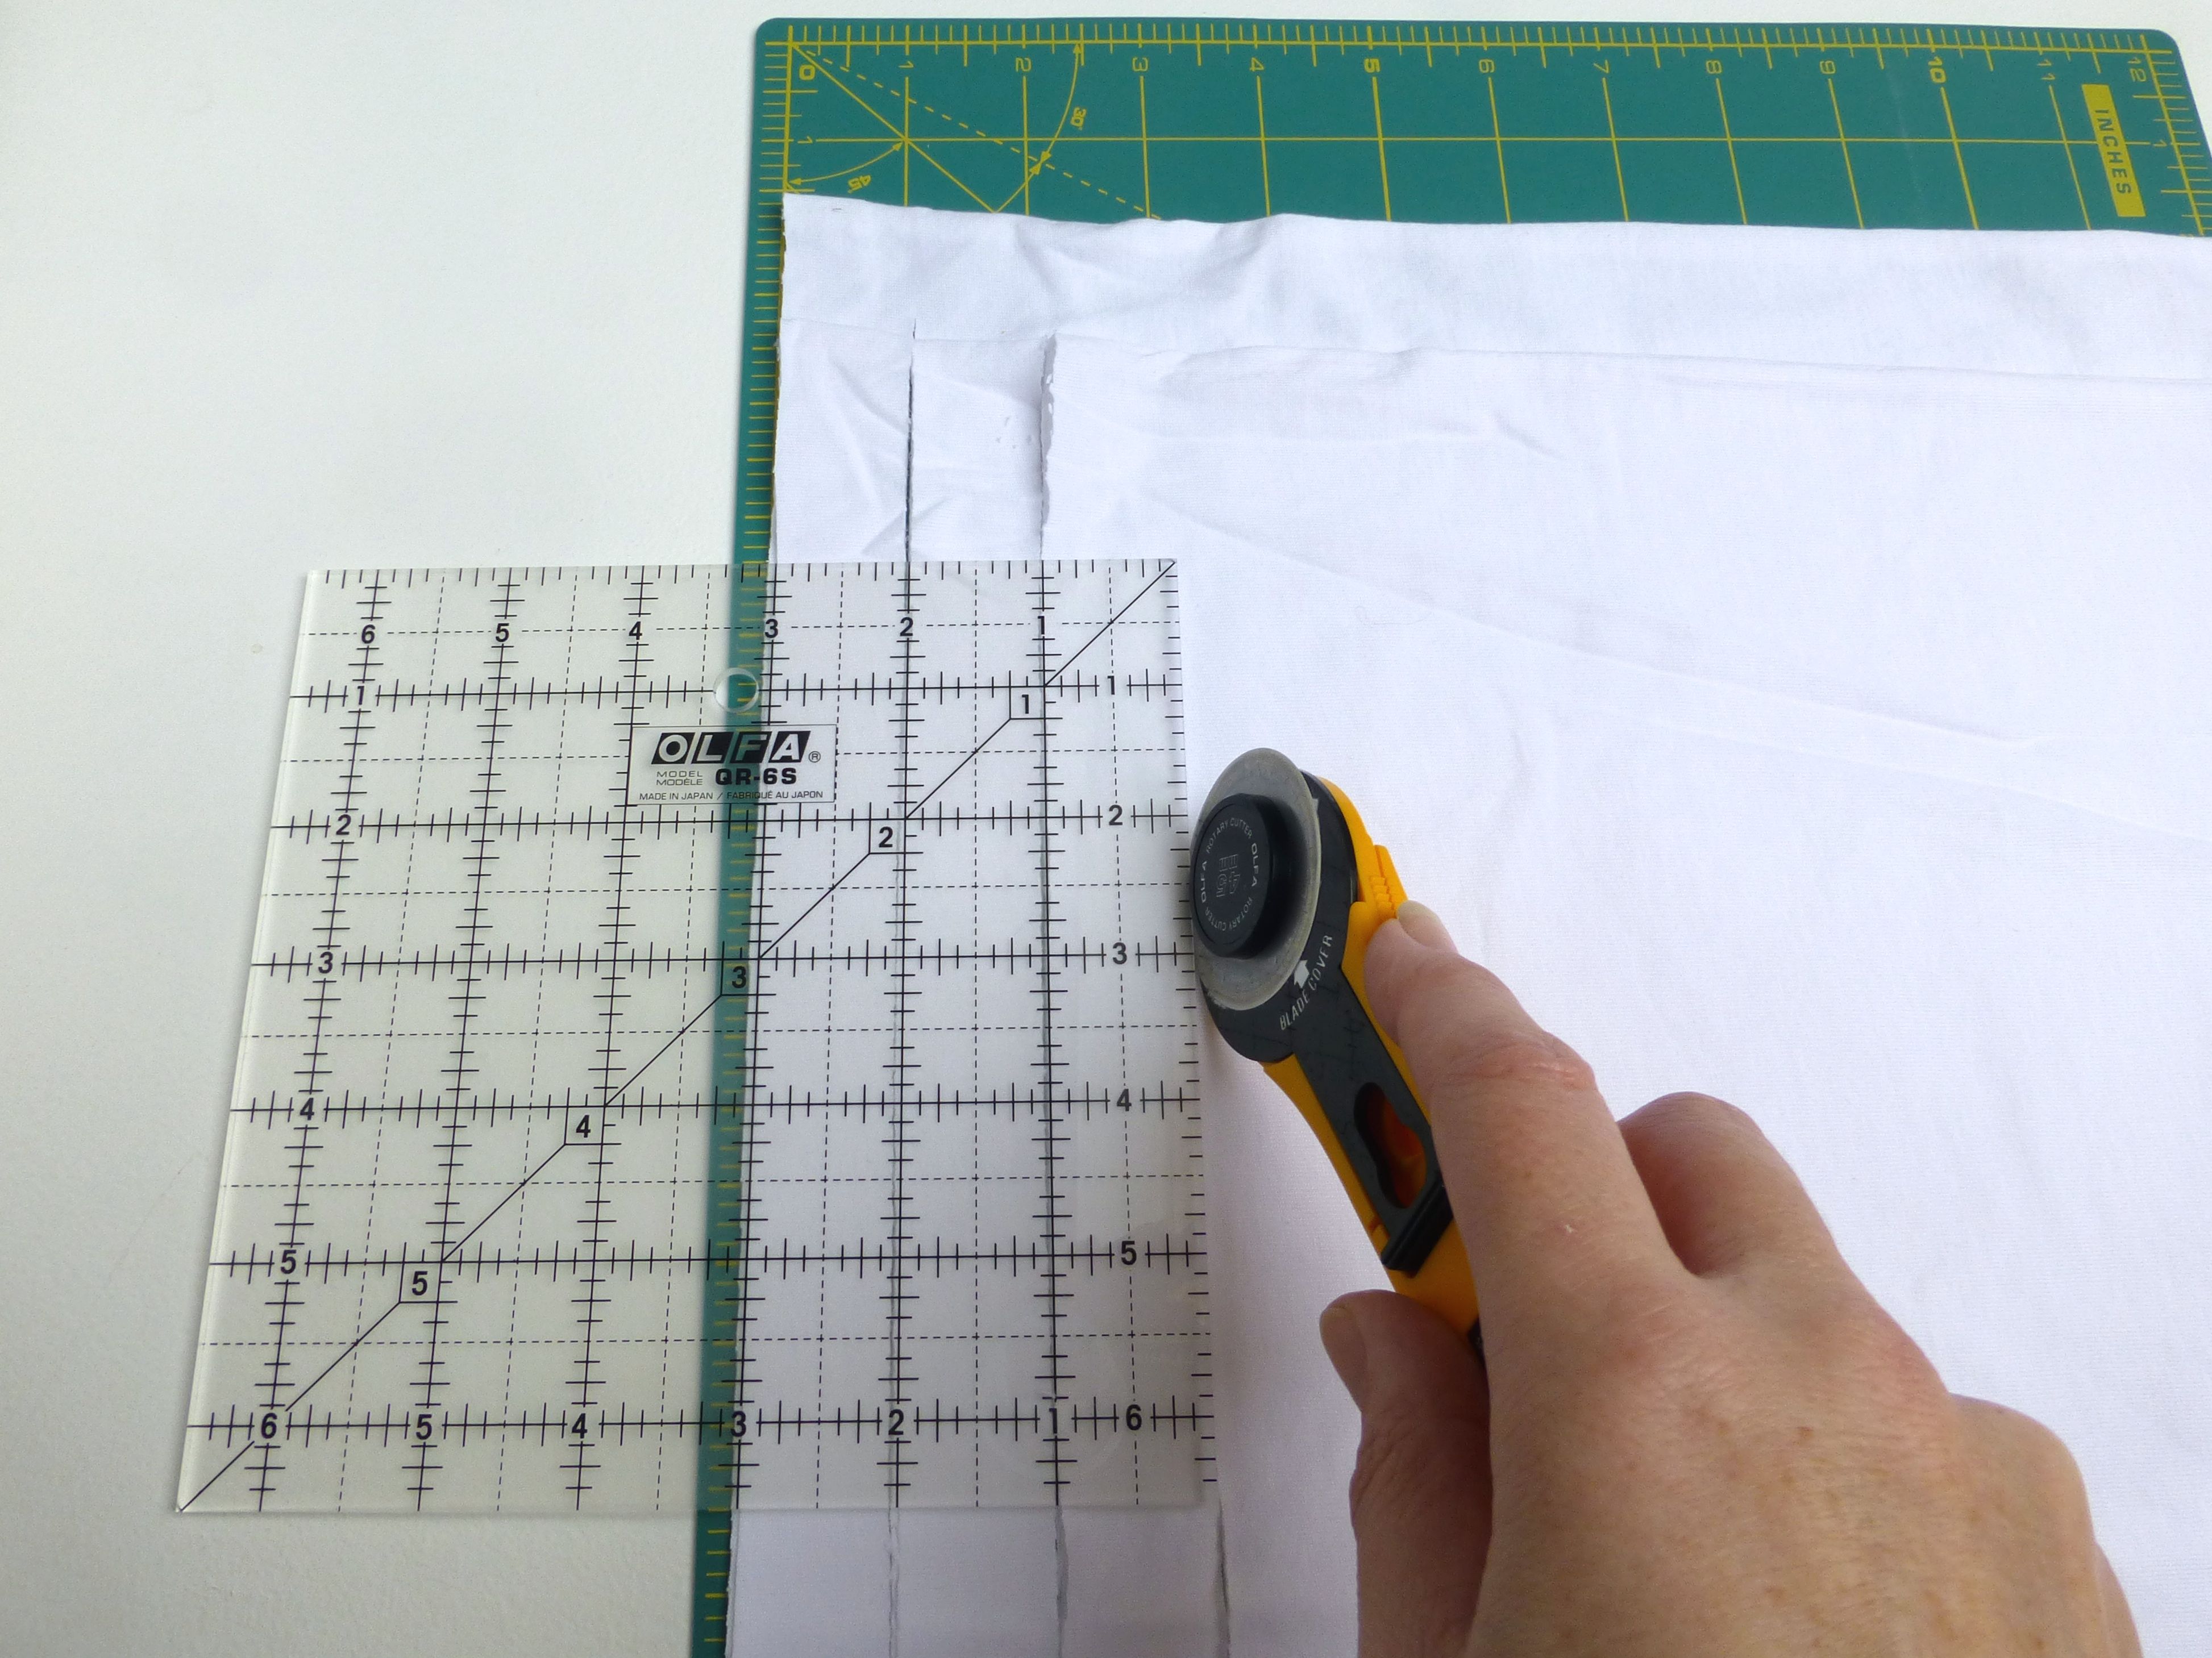
Place the cut edge to the left of your cutting mat.


Using the quilting square as a guide, cut 1″ wide strips through all layers.

Finish cutting about an inch from the second side seam as shown below.

Keep going until you reach the end of the fabric.
When you get to the end, trim the hem off completely.

Insert your hand into the T-shirt at the uncut side seam through all the loops.

Slide your hand right through to the other end and let the strips dangle.
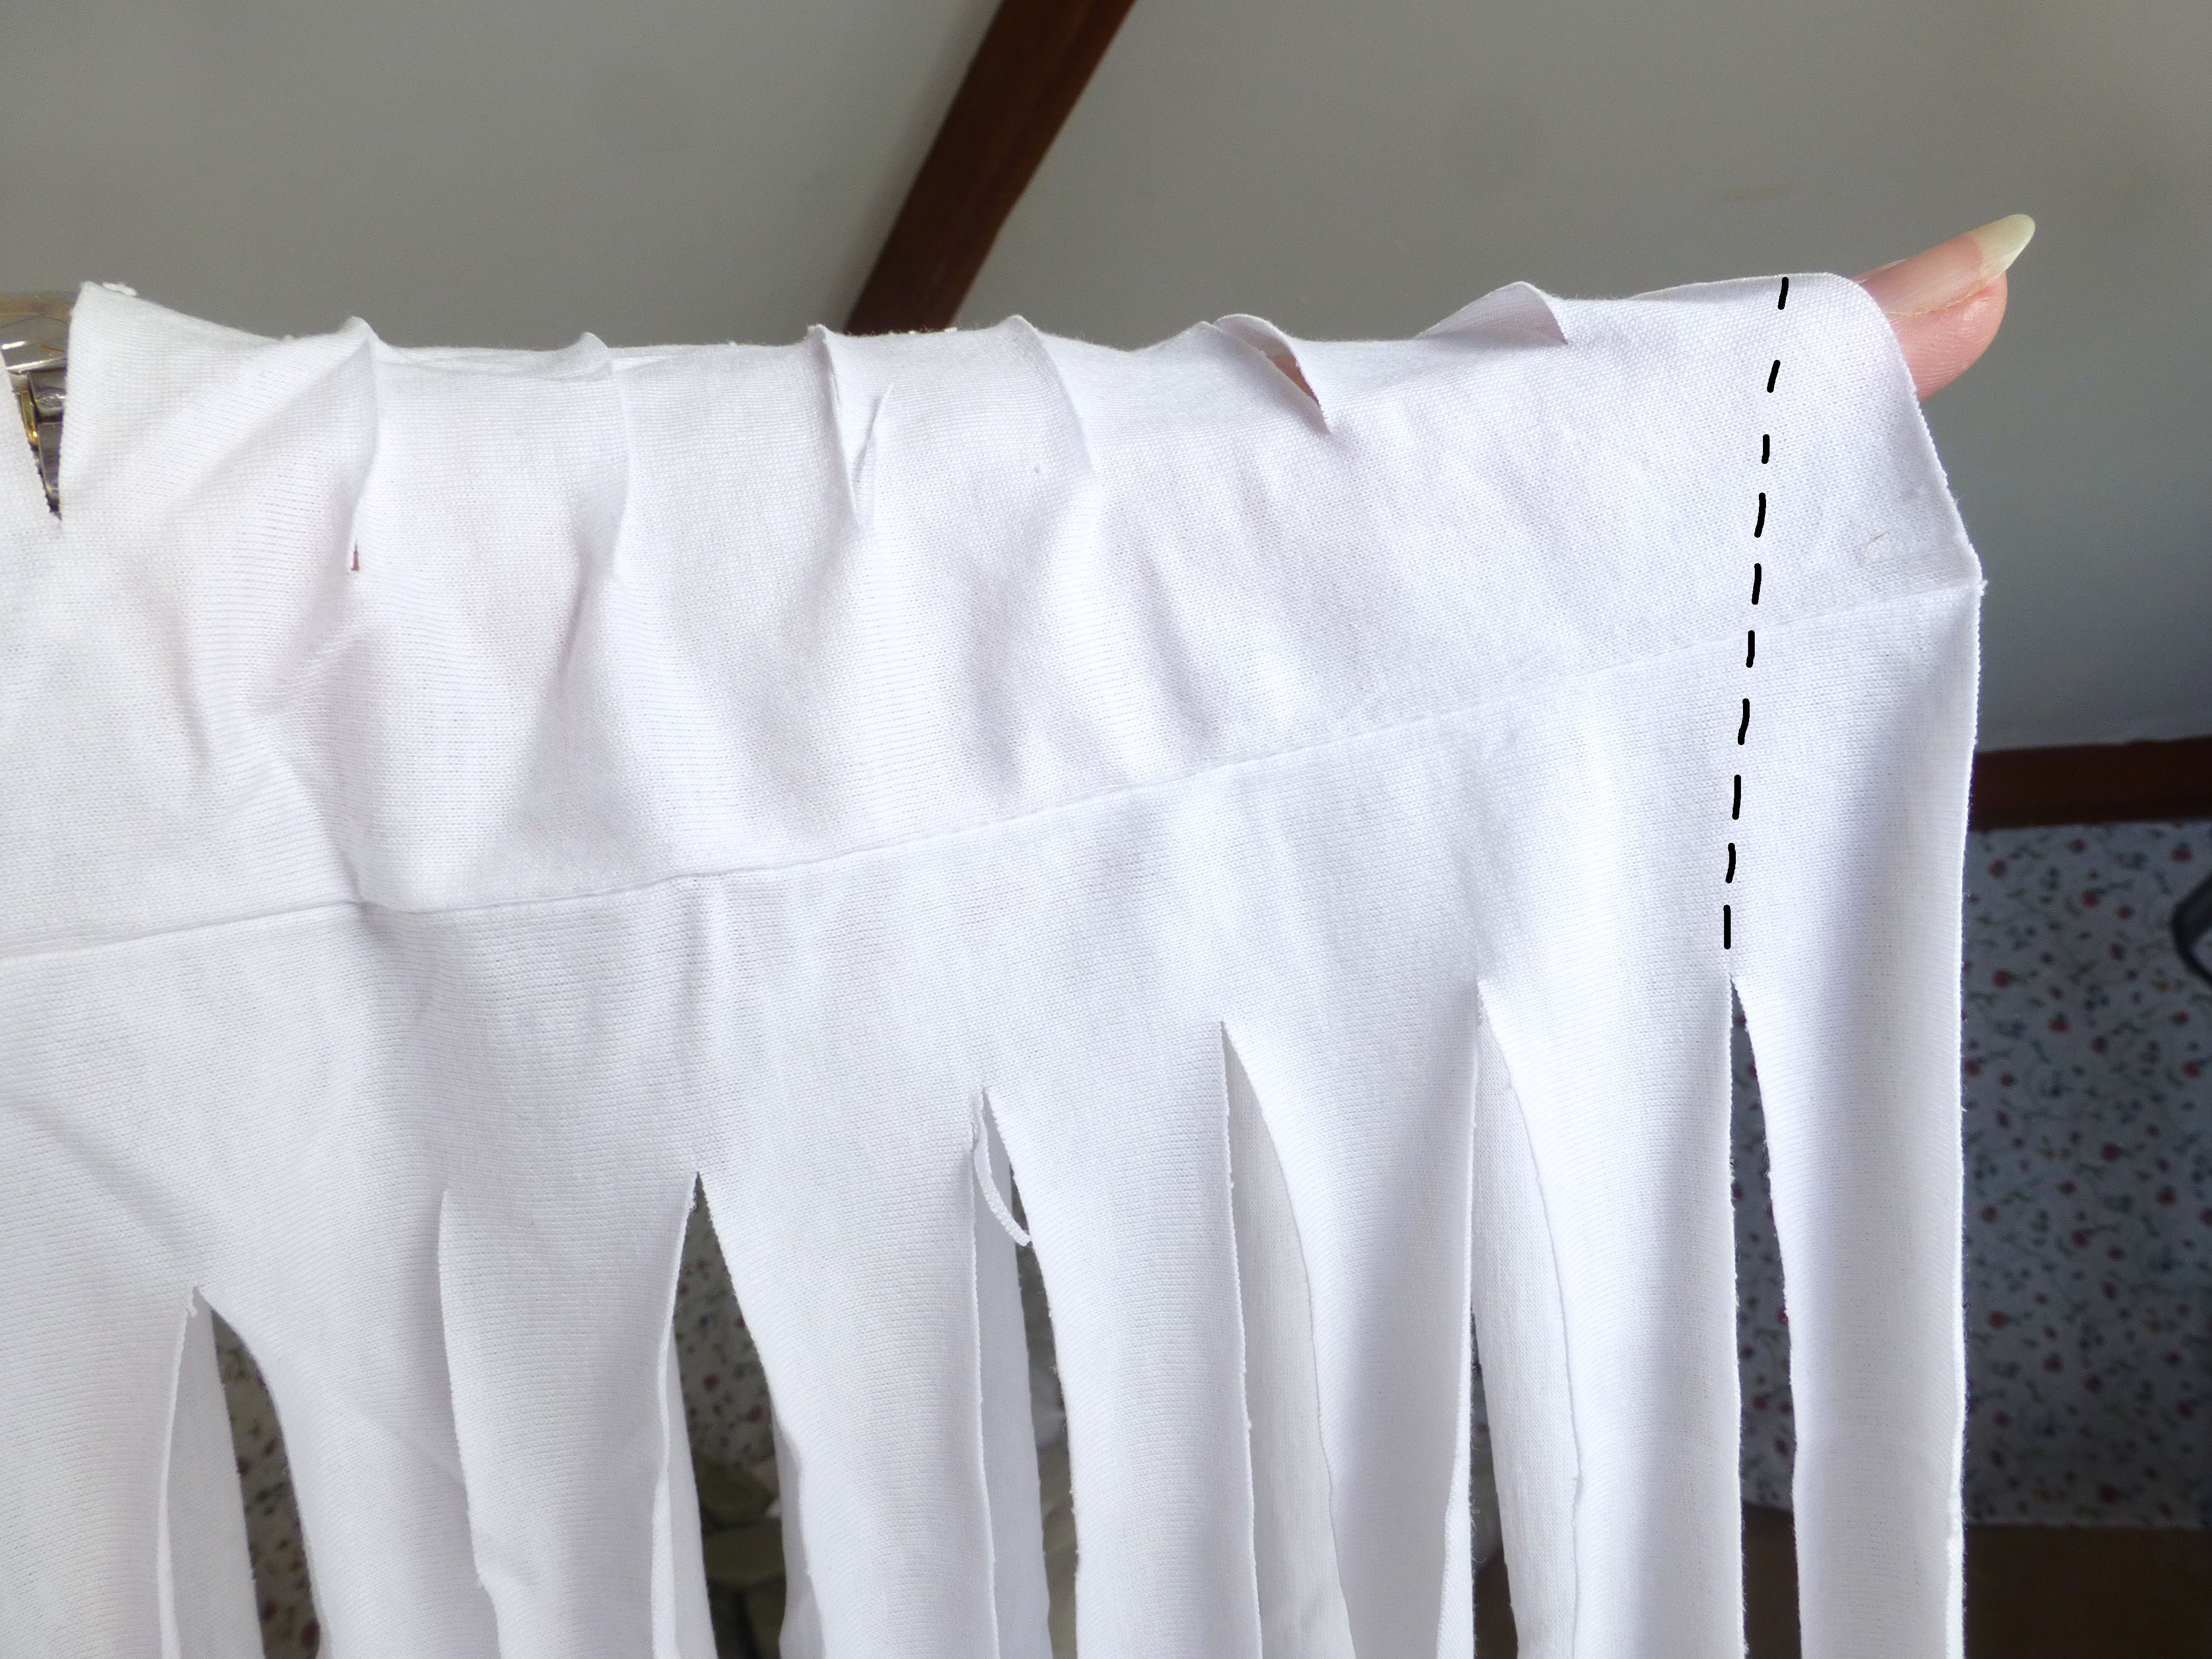
Next comes the vital bit.
To create one continuous strip of yarn, you need to cut diagonally from your lower last slit, to the edge of the fabric as shown by the dotted line.
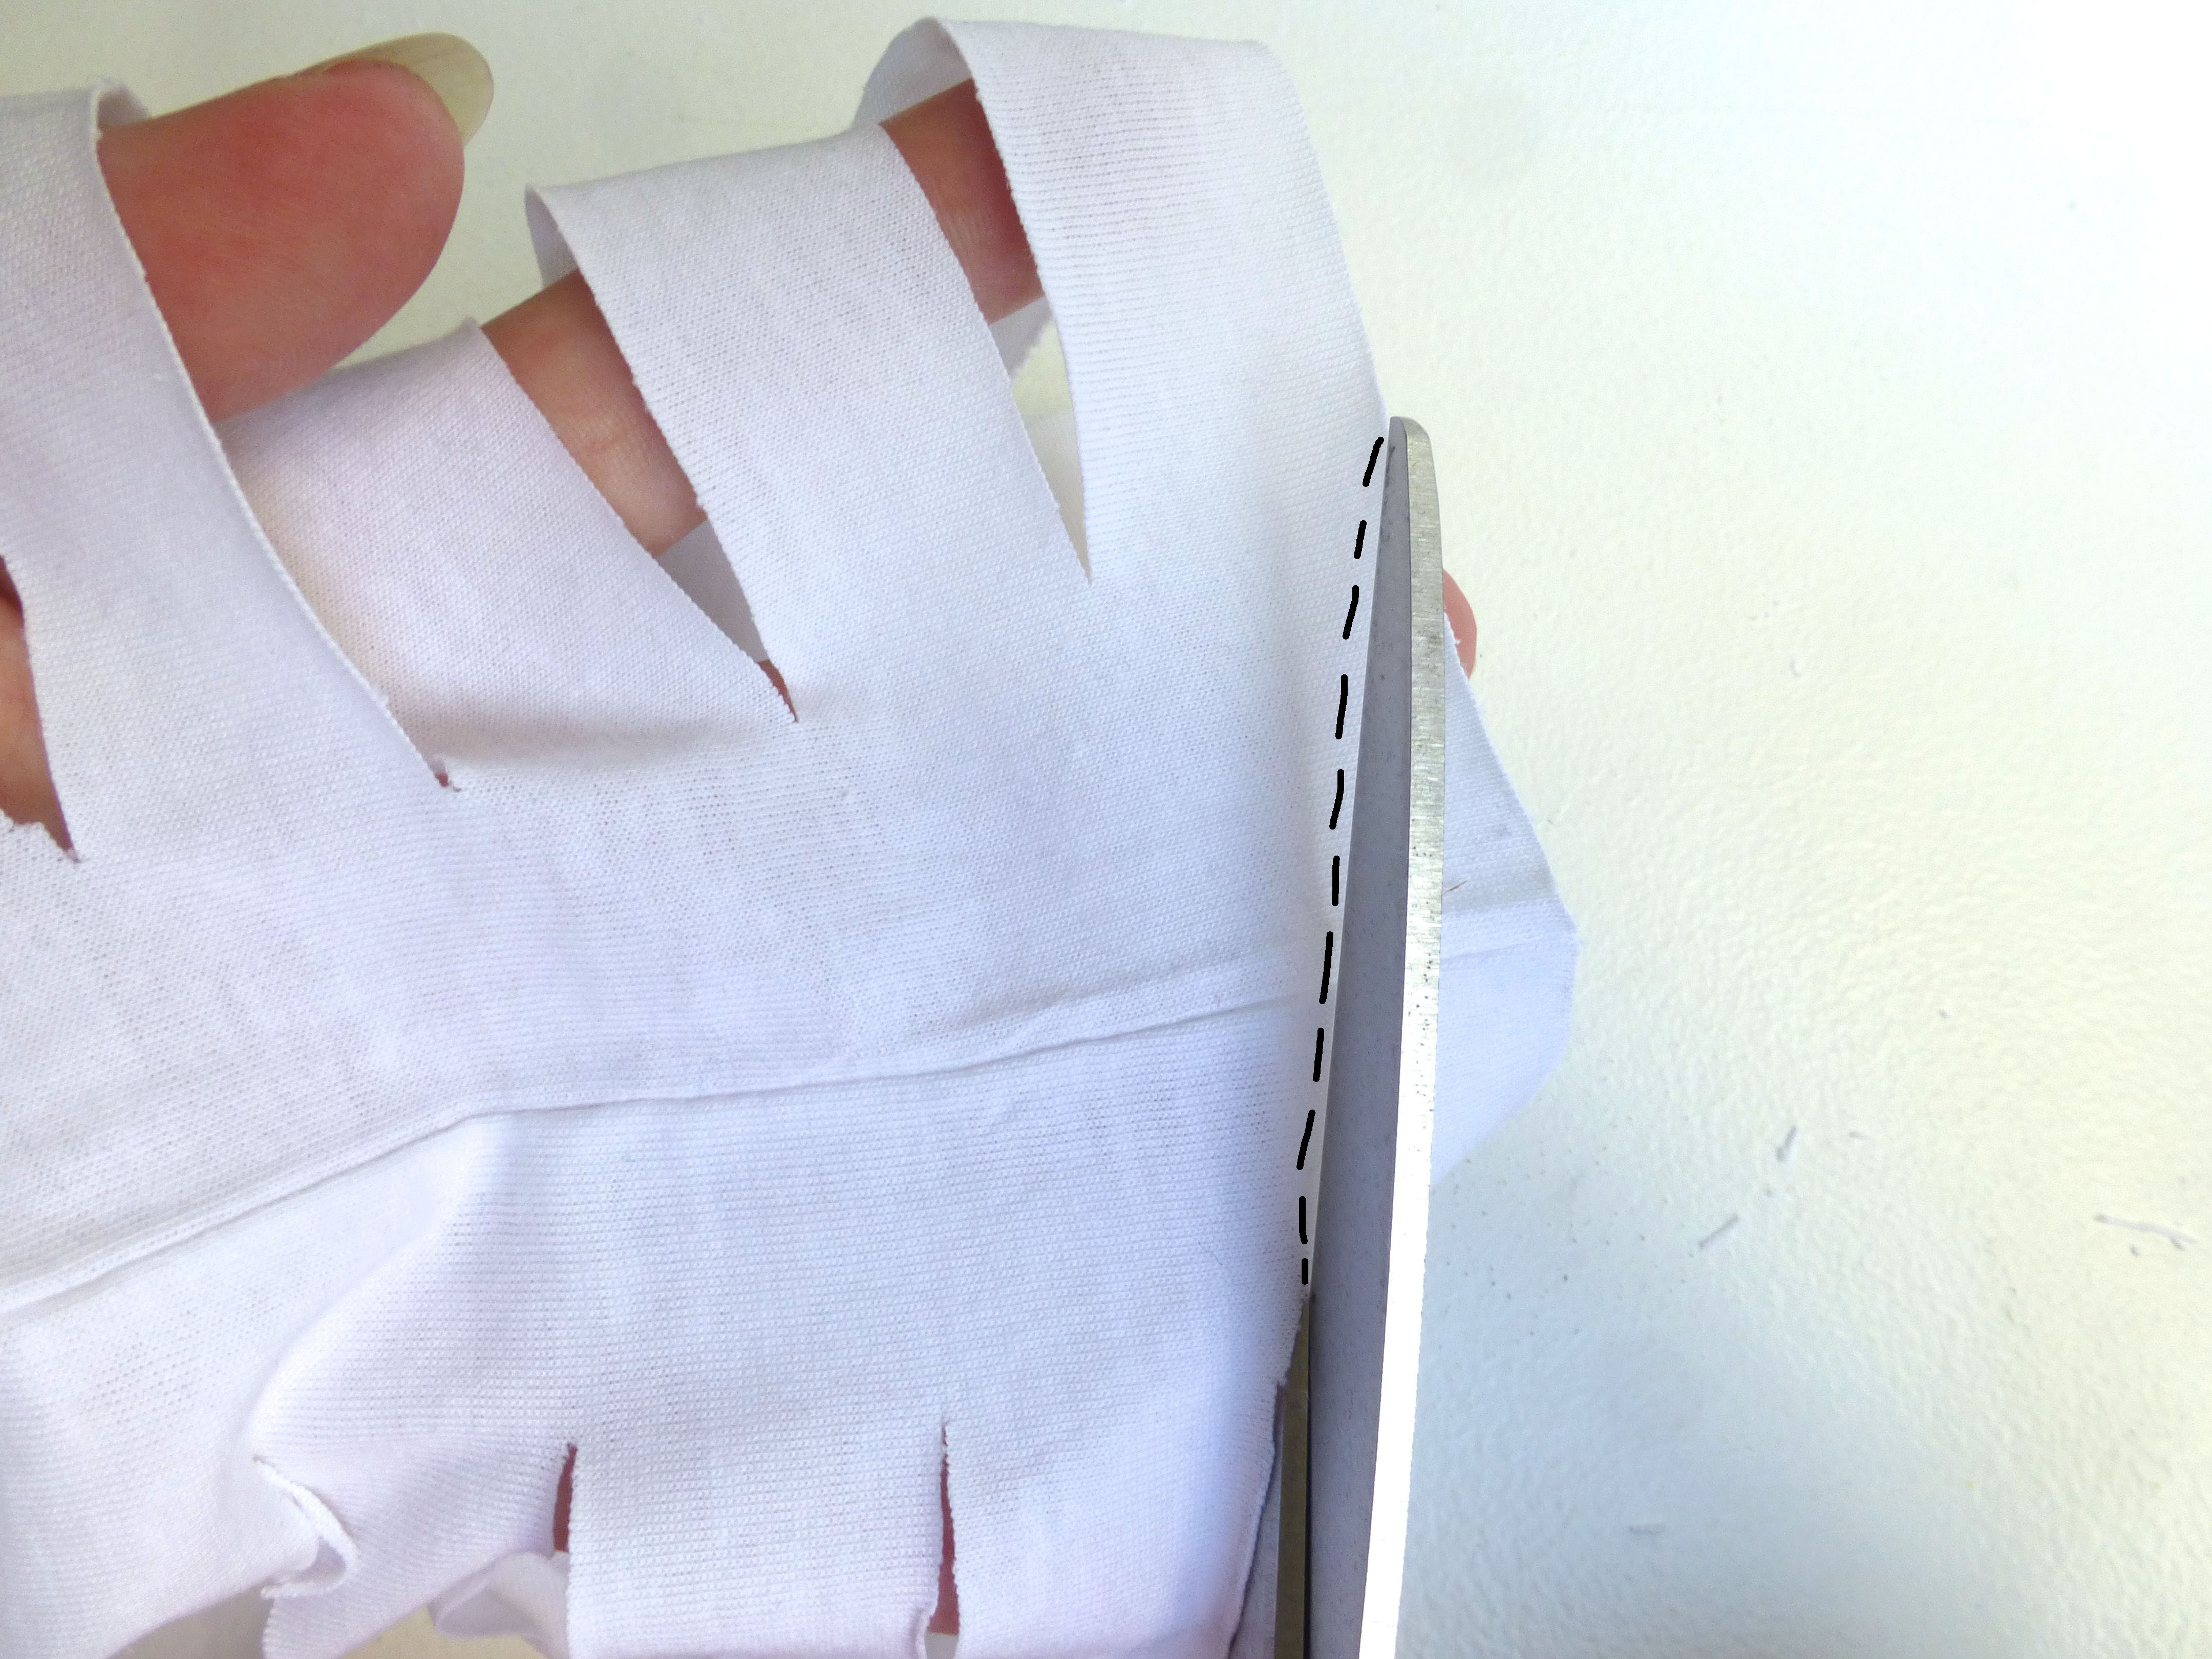
Keep cutting diagonally….

…until you have a nice pool of T-shirt strips on the table!

Now for the fun bit.
You need to stretch the strip between your fingers, holding a section and pulling it firmly until it curls, being very careful not to pull the weakened stitches apart at the seamlines.

Can you see the difference?

Your finished yarn will have increased in length by about 50%.

Roll your new yarn into a ball.


Repeat with the other T-shirts.
So now you have all this glorious new yarn, what to do with it?
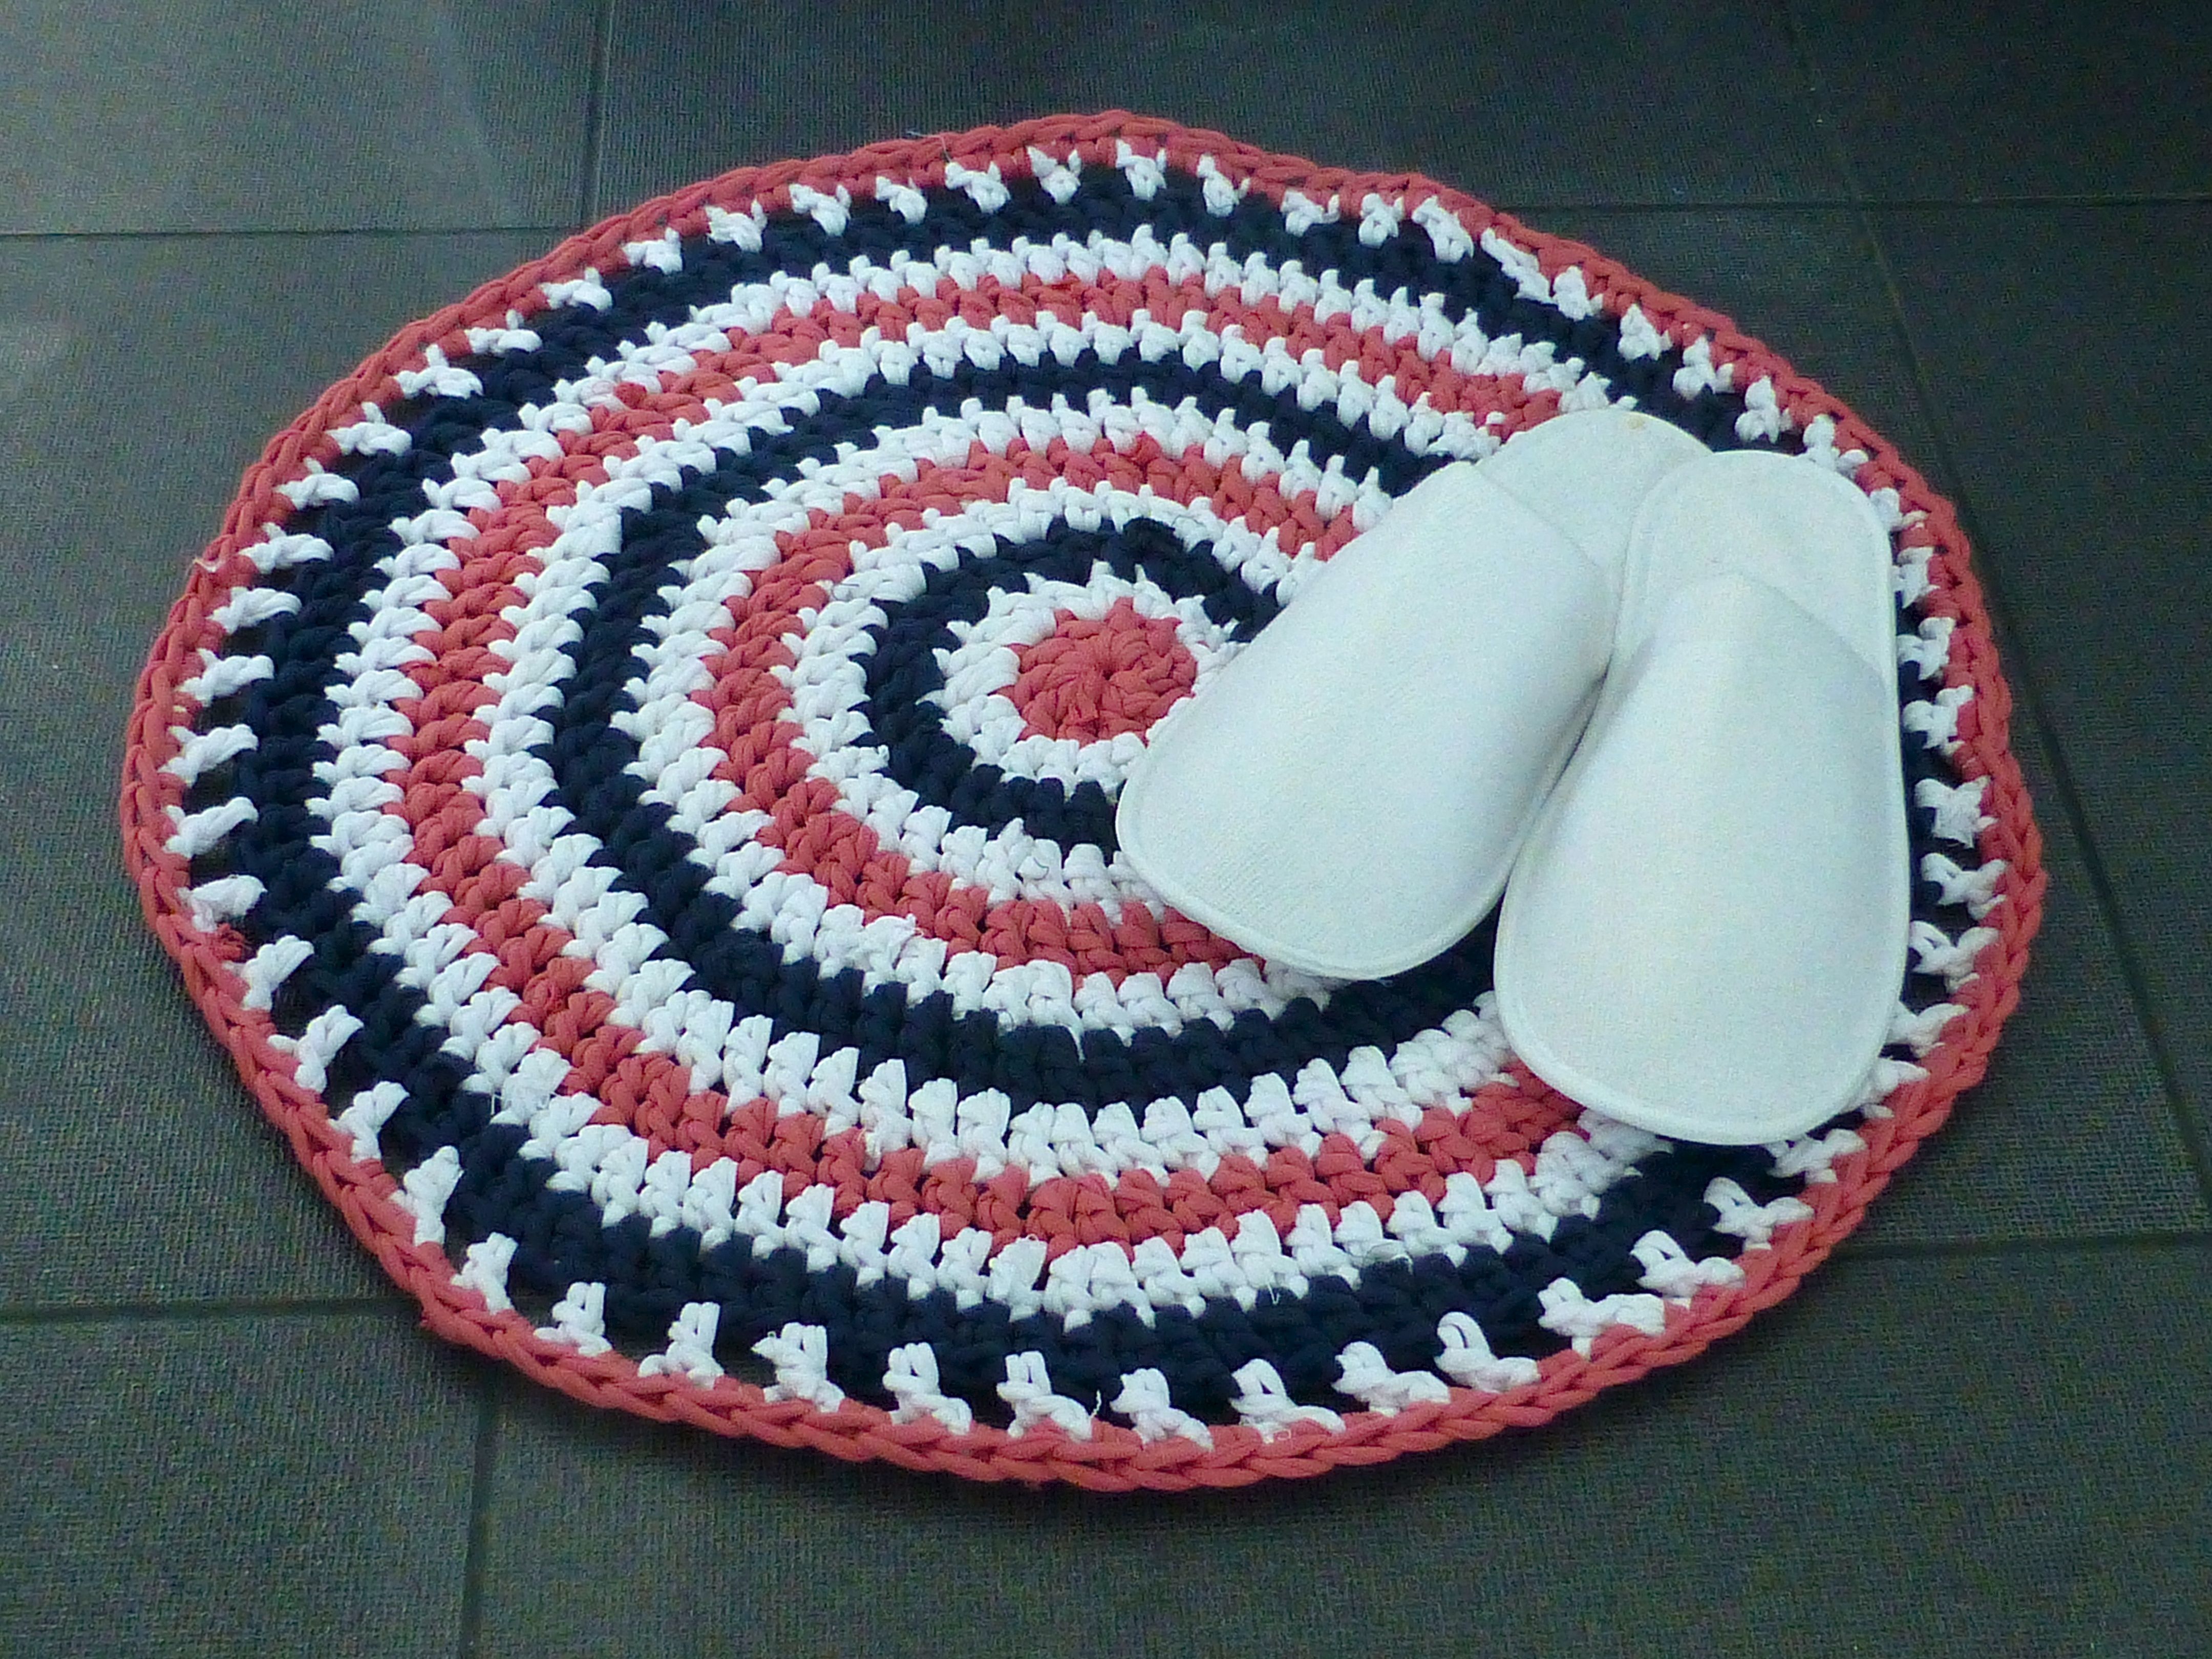
I decided to crochet a bathmat and based it on this pattern here, using fewer stitches (10) in the first round and a smaller hook (12mm). This resulted in a slightly less dense texture which I love.


The rug is nice and cosy underfoot and very absorbant.
It can just be chucked in the washing machine and tumble-dried too – easy!
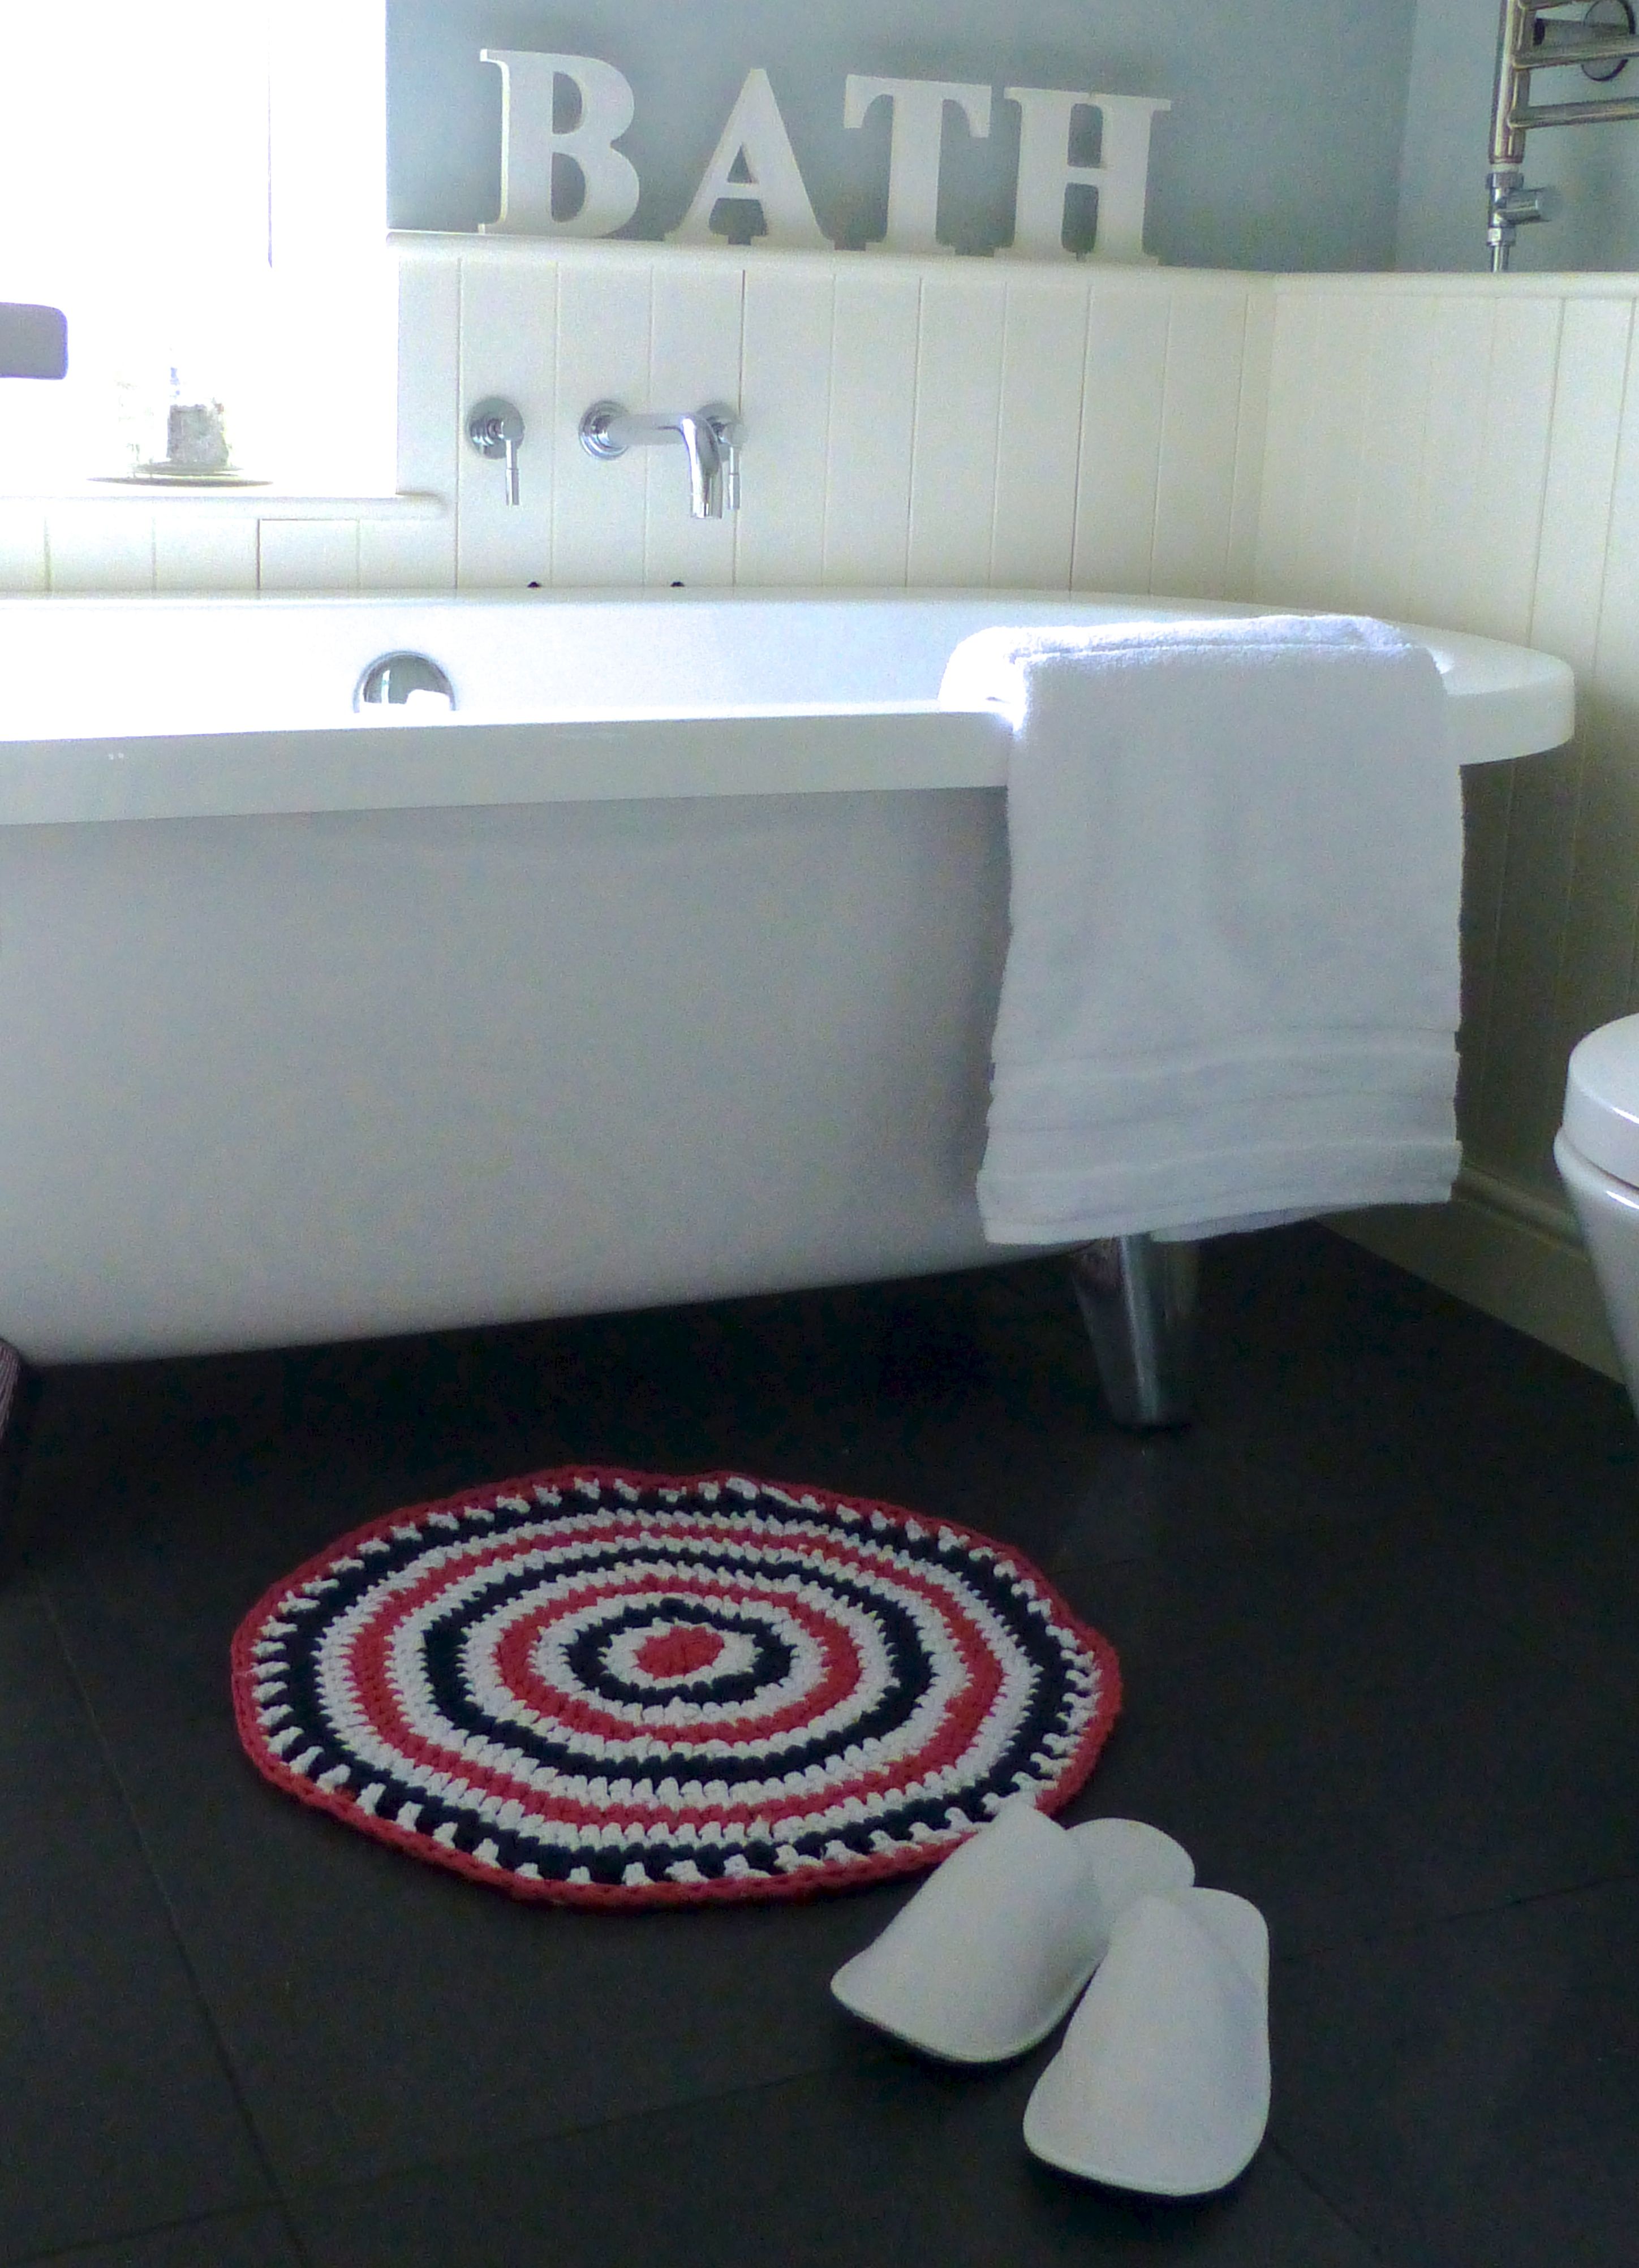
Here’s how it looks in our bathroom. I love the splash of colour it adds.
So, if you fancy having a go at making your own T-shirt yarn – what will you make with it?
