
This last week has been pretty miserable weather-wise in South Somerset. I have managed to walk the dogs on several days but mostly they put one paw on the doorstep, feel the rain and high-tail it back indoors. They’re most definitely fair-weather walkers which is a shame because I quite like walking in the rain.
On the plus side, being cosied up in front of a roaring fire has had its advantages in that I’ve been finishing some WIPs (and starting some others…) and I actually have one ready to show you complete with a tutorial!
This one was relatively straightforward – I wrote the pattern as I went and got it right first time…with no unpicking at all! Or should I say “frogging”. That’s a lovely word that I’ve only just come across but I think I’ll use it in future:)
Anyway, drum roll please…..
…………………………Tadah!

Most of the poncho patterns out there seem to be decorative rather than functional and I wanted one that could replace a coat and scarf, so I designed this one with a toasty cowl neck that can be rolled up around my face if it gets windy.

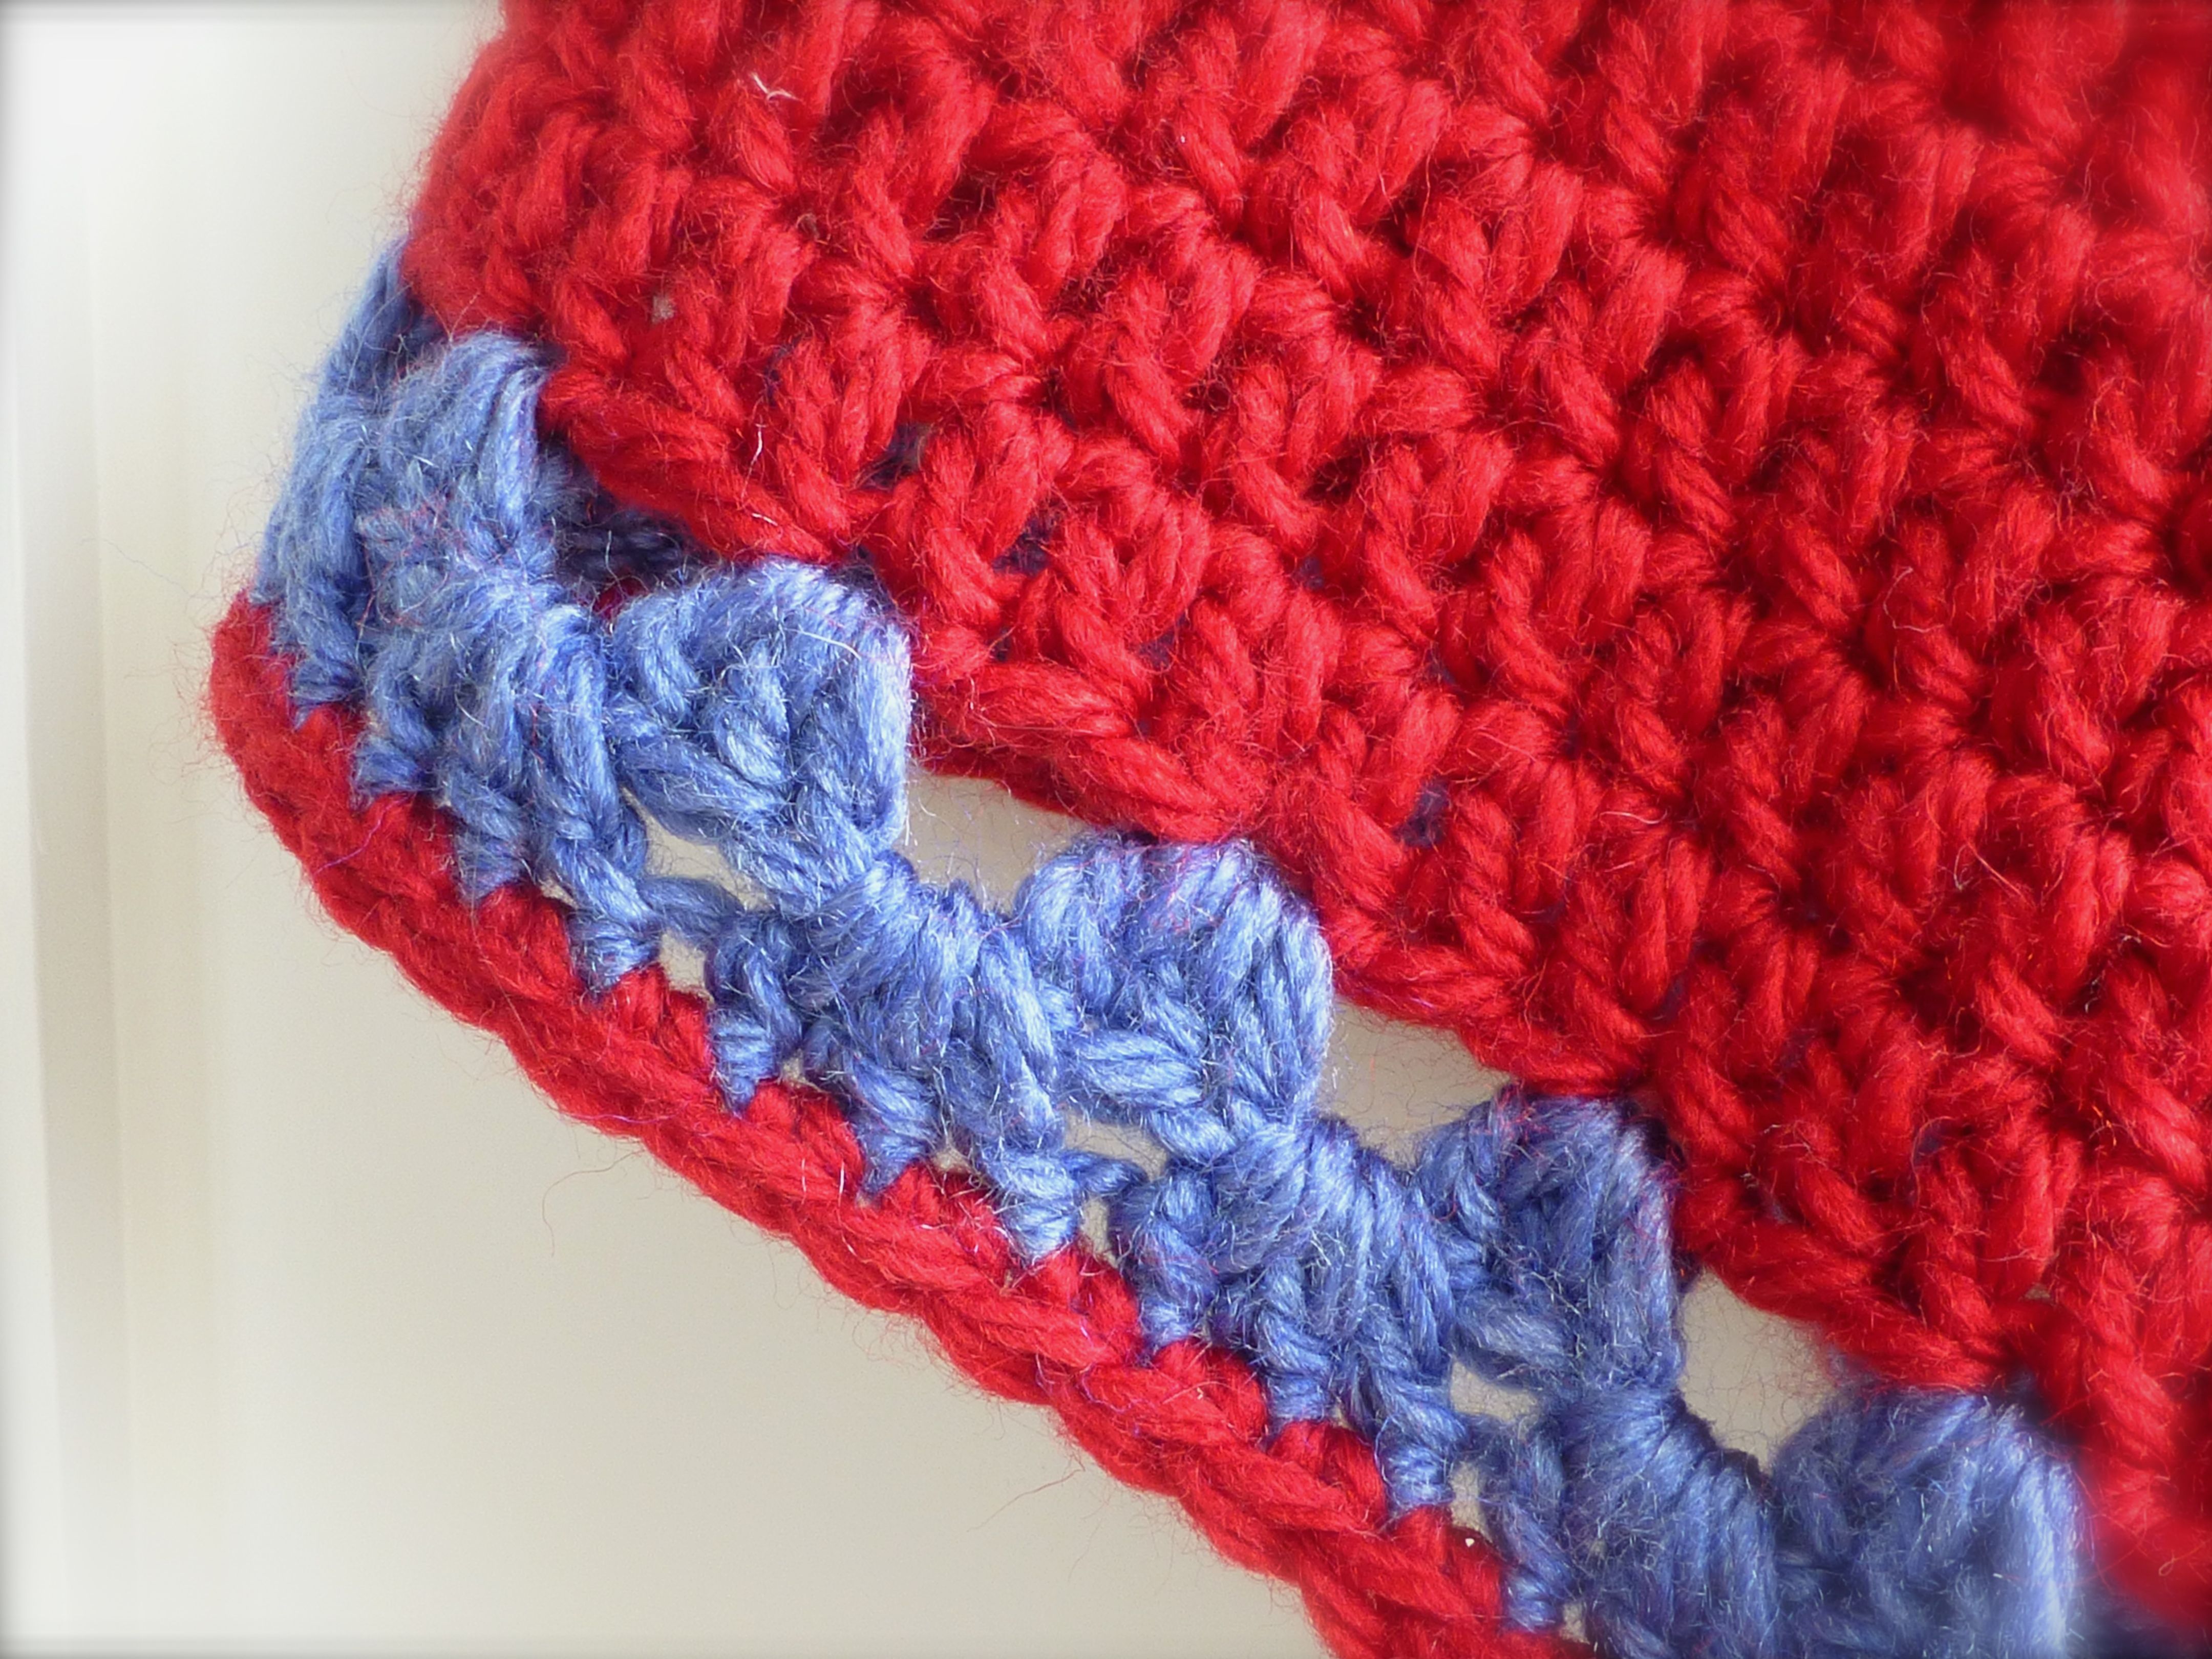
Two rows of granny stripe in blue were added at the bottom edge for a bit more interest.
Impossible to get a decent selfie but this gives you an idea of what it looks like on;

I love it!
It crochets up really quickly and could be finished in two or three evenings so why not have a go? Here are the instructions: –
CROCHET PONCHO
You will need: 5 x 100g super chunky yarn in Red and 1 x 100g in Blue (I used “Life Super Chunky” by Stylecraft with 25%wool)
10mm crochet hook
Tension: 6 rows and 9tr in 10x10cm
Cowl
In Red, Ch50, sl st in first chain to join round
*Ch3, 1tr in each st to end. Join with a sl st into ch3* Repeat ** until your work measures 8″ (20cm) then continue on to work the Poncho
Poncho
Ch3, 1tr, ch1, 2tr all into next stitch (centre back), 1tr into next 26 stitches, 2tr, ch1, 2tr all into next stitch (centre front), 1tr in each stitch to end.
Subsequent rows are all treble crochet, increasing at centre back and front as follows: 2tr, ch1, 2tr
Repeat until your arm length measures 20″ (50cm)
Change to Blue in the sl st to join the last round.
Ch3, 2tr,*sk 2, 3tr* Repeat ** to end increasing at centre back and front as before. Join with a sl st.
Repeat last row.
For the final row, work 1dc into each stitch to end. Fasten off and weave in ends.
And there you have it! A lovely warm crocheted poncho to see you through Autumn:)


October 18, 2014 at 4:20 pm
Hat is gorgeous! I love how the blue compliments the red. You do lovely work.
LikeLike
October 18, 2014 at 4:25 pm
Thank you! I don’t really do beige – I love colour too much:)
LikeLike
October 18, 2014 at 5:18 pm
You’re a rather fast crocheter!It would take me two week to crochet a poncho like yours!Love soooooo much the red colour of the yarn you used….
LikeLike
October 18, 2014 at 8:49 pm
The yarn is so chunky and the hook so big that it crochets up incredibly quickly – honestly! Red is my favourite colour:)
LikeLiked by 1 person
October 18, 2014 at 6:13 pm
It’s beautiful, it looks like a very relaxing, flowing pattern.
LikeLike
October 18, 2014 at 8:50 pm
Thanks:) It’s one of those patterns that you don’t need to concentrate on so you can do it whilst watching tele of an evening.
LikeLiked by 1 person
October 18, 2014 at 8:10 pm
Snuggly and super stylish – the blue sets it off perfectly! 🙂 All you need now is a couple of tiny matching ones for your weather shy dogs 😉
LikeLike
October 18, 2014 at 8:52 pm
Now there’s a thought- matching doggie ponchos! My husband would have me certified for sure…
LikeLike
October 18, 2014 at 11:04 pm
LOL!!! 🙂
But, surely only if he has to walk them and wear the Poncho too!? It will be interesting to know if you do make them….AND, of course. they will have to have a matching outfit for each one you make yourself (..Or, your Husband…!) 😉
LikeLike
October 19, 2014 at 9:21 am
Not in a million years! They have plenty of coats already and still refuse to go out in the rain. I may share a pic of them in their matching Father Christmas coats though. The dogs. Not the husband.
LikeLike
October 20, 2014 at 9:26 pm
I know what you mean, even if it isn’t still raining but the floor is wet our pooch refuses to even step out too. Look forward to seeing yours in their matching Santa coats 🙂
LikeLiked by 1 person
October 19, 2014 at 8:49 am
LOVE your latest creation, I have to agree with Caren a whole family ensemble is a MUST LOL
LikeLike
October 19, 2014 at 9:22 am
It’s not happening!! You and Caren have twisted minds:)
LikeLike
October 19, 2014 at 12:14 pm
You say that now …..the idea will grow on you LOL
LikeLiked by 1 person
October 19, 2014 at 9:05 am
It’s really gorgeous.
LikeLike
October 19, 2014 at 9:23 am
Thanks – I love it:)
LikeLike
October 20, 2014 at 6:49 pm
Thanks for sharing! I may have to have a go at that!
LikeLiked by 1 person
October 20, 2014 at 8:35 pm
If you do, I would love to see a photo – I have no idea if any of my tutorials have ever been made by someone else:(
LikeLike
October 20, 2014 at 8:52 pm
I will definitely try to work it in to my winter projects!!!
LikeLiked by 1 person
October 28, 2014 at 12:33 pm
I’m so happy to have found your wonderful blog! And I was quite stunned to see this gorgeous poncho – I have started exactly the same wip a week ago (no pattern, just winging it), but I’m doing the body first and plan to crochet the cowl later: what a coincidence!! Love the way yours has turned out! Marianne xx
LikeLike
October 28, 2014 at 12:43 pm
Thank you so much! I found you a while back and love how colourful everything you make is:)
LikeLiked by 1 person
Pingback: Pom Pom Poncho | maRRose CCC
January 6, 2015 at 12:34 am
Woo hoo!!! Finally a wonderful poncho! I have been looking forever!! You go girl. I love it. I definately will be making one up for me. Love the red and blue. Fantastic. Thank you so much!! 🙂
LikeLiked by 1 person
January 6, 2015 at 1:06 pm
You’re welcome! I’d love to see a photo when it’s finished:)
LikeLike
October 18, 2015 at 7:14 pm
I think I have left this message 3 places. 😂😂. Question…am into ch 3 (before the front and back 3tr ch1 3tr )for the ENTIRE poncho??
LikeLiked by 1 person
Pingback: 2014 Creative Round Up | Sewchet
January 9, 2015 at 3:11 pm
I will definately send you a pic. The main color of mine will be peacock blue (teal) with red granny stipe. I can’t wait!! Such exciting happenings. LOL 🙂
LikeLike
February 3, 2015 at 1:47 am
So there is no increasing rounds! Just adding the chain one I the corners?
LikeLiked by 1 person
February 3, 2015 at 7:39 am
It’s a natural increase which goes with the pattern, rather than one you have to think about. You increase into the ch1 at the ‘V’ – 2tr, ch1, 2tr. Good luck! I would love to see a photo when you’ve finished:)
LikeLike
November 9, 2015 at 1:03 pm
If you are a medium or small size, this pattern written as-is works. But for a large or extra large, you need to adjust the pattern to add increases at the shoulder otherwise you end up with a too narrow poncho starting at the top of the shoulder with no room to move your arms. I used a worsted weight and a size H hook. It worked up almost as fast as using chunky yarn and a size P which anyone that crochets knows that chunky yarn and a big hook makes it go twice as fast. Since it’s what I call “mindless crochet” it’s a joy to make this poncho. No counting yay! I am going play around with this pattern using both chunky and worsted weight yarn and figure out exactly where to add the increases without changing the overall shape or drape. If successful, I will post here and let you know. The cowl neck is perfect just the way you wrote it and the fact that this is one piece with no sewing seams is also a plus! There has to be a way to adjust this pattern for us fluffy women. I’m on it! Love your color choice, by the way. Green is my favorite color but red makes every woman look amazing!
LikeLiked by 1 person
November 9, 2015 at 1:16 pm
Thank you so much for your comments Nena, the sizing advice is a very helpful addition. It’s good to hear that several people have made this without any issues as I was beginning to think I’d written the instructions down wrong. Please do send some photos – I’d love to share them on the blog.
LikeLike
February 6, 2015 at 3:12 pm
Do you have to use bulky yarn? Can you use worsted weight? Or maybe 2 strands together? Thanks. I want to make this but don’t have any chunky yard and actually have never crocheted with it.
LikeLiked by 1 person
February 6, 2015 at 4:30 pm
As long as you get the tension right you can use any yarn you like, adjusting stitches to the correct tension will mean the size will be the same. Good luck!
LikeLike
March 1, 2015 at 11:08 pm
You still join at the ends of the round right? And is the increase in the change or the chain space?
LikeLike
March 2, 2015 at 2:25 pm
You slip stitch into the top of the first chain of the previous round – for every round. The increase is into the chain except when you get to the blue granny stripe – then the increase is in the space continuing the pattern. Hope that helps:)
LikeLike
March 3, 2015 at 1:35 am
Thank you.
LikeLike
April 24, 2015 at 6:59 am
Hi there, I have been trying to make this in an 8ply (DK) weight yarn for a 3 year old and the increase line keeps going wonky! I started with 70 chains and increased after 36 (instead of 26) but I can’t figure out what I am doing wrong! I have a feeling that I am missing stitches along the way, but if I can figure out how many stitche I am meant to have on each side of the increase I’ll be fine, but my brain is blank. Can you help? I’m also not doing the cowl,as her mother doesn’t want it.
LikeLiked by 1 person
April 24, 2015 at 9:44 am
Hi Carolyn, the ‘seam’ where you join rounds goes at a diagonal rather than vertically so it sounds like you are doing it correctly? I wear mine with this line at the back but it doesn’t really show in the yarn I’ve used so it was never an issue.
LikeLike
April 24, 2015 at 12:23 pm
Thanks for answering so quickly! The seam is fine, it is the pointy bit at front that is going off on an angle! I’d take a photo but not sure how to upload it. I think perhaps where there are two dc, then a chain, the another 2 dc in the corners when you get back to that point on the next round those stitches might hide a stitch on the left side? Not sure if I am explaining right. It is seriously making my brain hurt!
LikeLike
May 13, 2015 at 1:58 pm
I like this! Nice job and thanks for sharing your pattern.
LikeLike
June 24, 2015 at 10:35 pm
Hi Carolyn, I always have a hard time starting patterns. Could you clarify the first row of tr stitches a little more? I got this part: sl st in first chain to join round…but then I’m not sure where to start the first tr stitch? Am I supposed to skip any stitches before starting with the treble stitches?
Thank you so much! I’m really excited to romp around in this poncho!
LikeLike
November 9, 2015 at 1:20 pm
Darlene, I saw your question wasn’t answered so I thought I would pipe in. I hate starting in the round too. If your chain is twisted when you join, you end up with a mobius which is great except in this project you don’t want that. I just made sure I had a little bit longer tail, maybe 6 or so inches when I started my chain row, and worked the entire row without joining. When I reached the end, I joined both ends with a simple slip stitch and used the extra tail to sew up (one little slipstitch into a knot) the gap below the join. You can easily then just weave in that tail to hide it. I would recommend that you make your chain with a crochet hook which is 1 or 2 sizes bigger or chain loosely so that you have some “give” in the cowl. Nothing worse than that chain stitch row being too tight with no “flex”. I make this mistake all the time and have been crocheting since 7th grade (1968). Once you have your first row done and then attached, you can just chain up 3 and begin your second row. Don’t turn your work just keep going in the same direction around and around joining each row with a slip stitch and chaining up. I hope this helps.
LikeLiked by 1 person
January 1, 2016 at 4:55 pm
I’m sorry I just need some clarification. I have made infinity scarves in the round before but have read about people doing as you describe. It seems like it would be easier, but I never quite get it and there are no tutorials on it. You crochet two rows without joining, then join with slip switch on the second time around and use the long tail to join the first row below? Thanks so much!
LikeLike
November 12, 2016 at 10:59 pm
I had the issue of my cowl being too tight at the chain starting row. I did not think I had the tension too right but it really was. I figured out a little too late that it would not fold (cowl) properly. I fiddled with it a bit by trying to add to it to get it to lay properly to no avail. I ended up finishing the poncho as is and then did a drawstring tie around the neck( ( which hid the ” fiddling” I did too) It lies at the base of my neck, which is fine but I really wanted the cowl. It’s in the chunky yarn which I love but I think I’ll try it again and just use a really loose chain to start. Other than my flub the rest of the pattern was wonderful and looks nice 👍
LikeLike
August 2, 2016 at 4:50 pm
My question too! After you slip stitch into the chain 3 to join your round, then chain 3 up does the next triple go into stitch part of the chain 3 from the previous round??? If so that would result in 2 stitches into every beginning chain 3 and I think that balances out the center back so it doesn’t loose it’s line with the center front. Please help, my center back is not only going diagonally but my center back is moving away from the center as well by NOT doing the chain PLUS a treble into the beginning chain3.
LikeLike
August 23, 2015 at 5:38 am
DIRECTION DON’T PRINT OUT ONLY COMMENTS OVER THE PICTURES! WOULD LOVE TO MAKE THIS FOR MY Daughter and Grand Daughter. can you help Thank You.
LikeLike
August 25, 2015 at 4:24 am
I just finished the Poncho patter and I am confused… in the front all of the “vs” line up so nicely, but at the back they go off on a very noticeable angle….what am I doing wrong? I am following the pattern to the letter and don’t know where I went wrong. Any help would be appreciated!
LikeLike
November 9, 2015 at 1:27 pm
I have done that many times myself so don’t feel bad. I think you have to examine your piece from where you are, going back toward the neckline. If I am correct, somewhere along the line you crocheted in the wrong space when you were working your 2 Tr ch 1 2 Tr’s. Those are the front and back “points” in this pattern which create the triangle at the hemline. If you work a 2 Tr ch1 2 Tr anywhere other than in the space created by the ch 1 in the prior “point” your triangle with end up wonky. So just go back carefully and check your stitches. I am sure that you will find somewhere up there between the neck and where you are at right now, there is a mistake there. Like a surgeon, find it, rip it out and move on. Hope this helps!
LikeLiked by 1 person
February 19, 2016 at 7:15 pm
Nena could you please write out the pattern for those of us who are so confused and would really love to make this poncho?
LikeLike
November 17, 2020 at 9:03 pm
Nena i hope you don’t mind me replying to your November 9, 2015 comments. I just found this shawl pattern on Pinterest. I have a couple of questions, I know you are not the pattern designer, but feel you answered other questions in a way that I understood. I’m from the United States so maybe that is why I’m having trouble with the pattern directions.
1) Cowl went fine. I think next time I would use a larger hook for my chain. Little more give.
2) Ponch: first row, Ch3, 1 tr, 2 tr all into next stitch (center back). My question is. Should the Ch3, 1 tr, 2 tr be done in the same hole as the Ch 3. That way it would match the 2 tr, ch1, 2tr at the end of the row. The next part of row where it says to do a 1 tr into the next 26 stitches. Why 26 and not 24,. Wouldn’t 24 be the halfway point in the 50 chains. Front and back “V”s.
At the end of this row do I do a slip stitch to join the beginning and end of the row together.
3) 2nd row: Subsequent rows are all treble crochet, increasing at center back and from as follows: 2 tr, ch 1, 2 tr. At the end of this row do I so a slip stitch to join row? Then would I do 3 chains (which would be equal to a treble crochet (start of the next row).
Sorry for all the questions. Appreciate any clarification you can shed on my above questions. I saw where a couple of my questions were already asked but not answered.
Thanks
Lynnette
LikeLike
August 2, 2016 at 5:05 pm
Me too-sooo frustrating I think I screwed up in the beginning ch3. I slip stitched into the top of the chain, then did a ch3 up to start the next row. I think it’s at this point I goofed and didn’t do a treble in the space immediately following the chain 3 from the previous round. Thus, my center back is no longer at the center but moving off further to the side increasingly with each row. Could that be what corrects it?
LikeLike
September 13, 2015 at 4:18 pm
Thank you for the pattern….this will be my next project
LikeLiked by 1 person
September 23, 2015 at 3:09 pm
Can you please give me the stitches for the subsequent rows after the first row of the poncho?
LikeLike
October 2, 2015 at 6:04 pm
Are these terms British or American crochet? Thanks in advance!
LikeLike
October 14, 2015 at 1:42 am
Can you let me know if this is in American crochet terms or British
LikeLike
October 14, 2015 at 7:30 am
UK terminology throughout.
LikeLike
October 18, 2015 at 7:11 pm
Are you to ch3 at the front and back before the 2tr ch1 2tr for the ENTIRE poncho??
LikeLike
November 8, 2015 at 5:26 pm
this pattern was a life saver for me! After 40 years I decided to take up crochet again, but was very rusty. This pattern and your comments to other users have been so helpful for me. I will post a pic when I finish, I’m very excited!
LikeLiked by 1 person
November 9, 2015 at 10:51 am
That’s lovely to know! I hope you don’t have any problems, although a few people have. I wrote it down as I went along so I hope you can sort out any issues you may come across because I can’t remember what I did now!
LikeLike
November 9, 2015 at 11:50 am
It took a few rows to realize that the “increase center front and back” (2tr, ch1, 2tr) in the same stitch should be done in the chain 1 from the previous row. Once I understood that it went beautifully. Also, I am doing it completely in the round rather than rows so I’m hoping I don’t have a problem with the last row.
LikeLiked by 1 person
November 9, 2015 at 12:02 pm
Brilliant! PLEASE send me a photo when it’s finished – I would love to share it on my blog:)
LikeLike
November 14, 2015 at 5:49 pm
Hi I just wanted to thank you for the fab poncho pattern you pinned. I was a complete beginner to crochet and along with this pattern and Internet help I taught myself to crochet this fab poncho and in just a week. It is gorgeous and I will make more as Christmas gifts. Happy crocheting X
LikeLiked by 1 person
November 14, 2015 at 7:49 pm
Thank you so much Caroline, I’m delighted that you found the pattern useful. Would you be kind enough to send me a photo? I’d love to see it. My email is info@sewchet.com
LikeLike
November 16, 2015 at 1:42 am
Hi! I just found this poncho pattern late last week. It was EXACTLY what I’ve been looking for. I am not good at reading instructions so I usually just look for projects with video tutorials. But I loved this one so much that I thought I’d give it a whirl. And I am so glad that I did! It was very easy to follow your instructions and mine turned out too cute! Thank you so much!
LikeLiked by 1 person
November 16, 2015 at 9:40 am
Thank you for your kind comments, I’m so pleased that you found it easy to follow! I’m blogging next week about things people have made using my tutorials and would love to include yours. Could you send me a photo please? info@sewchet.com Thanks!
LikeLike
November 21, 2015 at 1:24 pm
Hello, I am working on the crochet poncho, but I have come into a bit of a snag, I am at the bottom where you completed the decorative trim, but when I do it, it is kind of tight. Are you supposed to but any chain spaces between the 2tr skip 2 3tr crochet parts?
LikeLiked by 1 person
November 21, 2015 at 5:17 pm
I didn’t need to but, if you crochet quite tightly, then just add a couple of chains in between the trebles – whatever works for the way you crochet.
LikeLike
Pingback: Sunday Sevens #63 | Sewchet
December 2, 2015 at 1:24 am
If I was to use 1 strand of worsted weight yarn and an H hook, would it come out okay? I don’t have any bulky yarn. Or should I use 2 strands and a P hook? What do you suggest? Also I’d like to make the poncho in an extra large size. How would I do that?
LikeLiked by 1 person
December 2, 2015 at 10:16 am
If you read Nena’s comments further up the page (she makes several) she covers most of this. I would suggest adding stitches in the cowl and carrying this on down through the body of the poncho to make it wider at the shoulders for an extra large, otherwise it may be too tight. I am a UK size 14 (US size12), if that helps.
LikeLike
December 3, 2015 at 7:52 pm
Thankyou for replying so quickly. I will try that. I love that this poncho is basically all the same stitch over and over! Am I supposed to chain 3 before my increases?
LikeLike
January 12, 2016 at 1:10 pm
How can I downsize this pattern to fit a child?
LikeLiked by 1 person
January 17, 2016 at 8:56 am
By reducing the number of stitches in the cowl (by ten?) and making the arm length to suit.
LikeLike
January 16, 2016 at 7:14 pm
This poncho is gorgeous. I was wondering is it written in UK terms or US terms
LikeLiked by 1 person
January 17, 2016 at 8:53 am
UK terms throughout.
LikeLike
January 16, 2016 at 8:18 pm
Please help me. I’ve started over 3 times but the back center keeps going off at an angle and I don’t know why.
LikeLiked by 1 person
January 17, 2016 at 8:52 am
Have you read all the other comments? You mind find some answers there, particularly about starting the next row in the ch3 from the previous row.
LikeLike
August 2, 2016 at 4:57 pm
I think you have to add another triple to the previous chain 3 (so you slip stich into the top of the ch3 and then you still do a triple into the space after the chain3 and before the next stitch) at the beginning of the last row. I still have not solved the problem. So I’m with you. I hope we can figure this out!
LikeLike
January 16, 2016 at 11:52 pm
Hi thanks for the pattern! Do you have a ravelry page? I like to save my patterns there.
LikeLiked by 1 person
January 17, 2016 at 8:50 am
You’re welcome but, no, I don’t have a Ravelry page.
LikeLike
January 17, 2016 at 5:46 pm
Do you have any suggestions on how i could make it for a plus sized woman. It really is pretty.
LikeLike
January 19, 2016 at 5:15 am
I like this poncho. The stitching is Double crochet? I forgot what TR meant. ^^
LikeLiked by 1 person
January 19, 2016 at 8:14 am
Treble Crochet (UK terms)
LikeLike
January 23, 2016 at 12:55 am
Thank you so much for such a wonderful pattern. I am going to try to do it in an XXL size for a friend. I figure if I increase the cowl chains to 70 that should be enough to accommodate for the increased size needed at the shoulders . I will let you know how I make out 🙂
LikeLiked by 1 person
February 2, 2016 at 12:28 am
Are there adjustments for bulky yarn if you can’t find super bulky? I’m not sure how much different the stitch count would be…
LikeLiked by 1 person
February 2, 2016 at 10:58 am
If you try different hooks until you get the tension right for your choice of yarn, you will be fine. The correct tension is stated before the pattern instructions.
LikeLike
February 2, 2016 at 8:05 pm
If i use a 7 or 6 crochet hook how many ch i do ti start? Tanks
LikeLike
February 2, 2016 at 8:09 pm
Sorry – I have no idea, I used a 10mm hook. You need to use the combination of hook size and yarn to get the tension stated in the instructions.
LikeLike
February 19, 2016 at 6:54 pm
When you increase at the center front and back, do you do it in the chain one from the previous row?
LikeLike
February 19, 2016 at 7:27 pm
Into the chain three from the previous row. If you read the other comments, it might help you. Good luck!
LikeLike
June 23, 2016 at 2:49 pm
Me encanto!!!….realmente es lo que estaba buscando, algo simple y a la vez hermoso!!…lastima que no entiendo las explicaciones, me gustaria tener el diagrama, si el posible, … es para hacerselo a una de mis hijas, quiere un poncho bien abrigadito!!!….pues esta haciendo mucho friooo!….te felicito!, muy lindo lo que haces y publicas para que otro pueda hacerlo tambien!…saludos desde La Pampa Argentina….!
LikeLiked by 1 person
June 23, 2016 at 2:55 pm
No sé cómo hacer un diagrama , lo siento. Tal vez podría traducir el texto en Google ? Eso es lo que hice para responder a usted!
LikeLike
June 26, 2016 at 1:14 pm
Love the poncho would you have a pattern for a child size 5or six?
LikeLiked by 1 person
June 26, 2016 at 6:35 pm
No, sorry, I made this for me and just thought I’d share how I made it.
LikeLike
Pingback: Crocheted Poncho | My Thoughts Bottle
July 19, 2016 at 12:33 am
20 IN FROM YOUR NECK FOR ARM LENGTH ?
LikeLike
August 9, 2016 at 1:27 am
I am now making my 6th poncho using this pattern. I have made it for adults and teenagers and little girls. I have used the Lion Brand Homespun for many of them and have found the yarn works very good. I have also used a chunky yarn and that works good, The real chunky yarn seems a bit too heavy.
LikeLiked by 1 person
August 14, 2016 at 9:13 am
Fabulous – I’m so pleased you’ve found the pattern useful! Could you send some photos for me to show on the blog please, to info@sewchet.com Thanks!
LikeLike
February 2, 2017 at 8:43 pm
I wonder if you could share your pattern for a ladies xl? How many stitches did you use?
LikeLike
December 7, 2016 at 10:13 pm
Please make a video tutorial!!!!! I’m not so great with reading patterns but am very visual, lol. This is so perfect! Are your instructions UK or US terms?
LikeLiked by 1 person
December 7, 2016 at 10:33 pm
All terms are U.K. Wouldn’t know where to start with a video, I’m afraid – good luck!
LikeLike
January 14, 2017 at 2:22 pm
Thank you for sharing 🙂 don’t suppose you have a child’s version?
Great poncho will definitely be making one for myself
LikeLiked by 1 person
January 15, 2017 at 10:05 am
No, sorry, I don’t. Hope yours turns out well!
LikeLike
October 18, 2017 at 10:33 am
I love the roll neck, it looks so cosy!
LikeLiked by 1 person
October 18, 2017 at 11:15 am
Thanks – it is!
LikeLike