Sewchet

Sewing, crochet, crafts, accessories, baking, tutorials,


39 Comments

Holiday Sewing

🎶 “Oh, this year I’m off to sunny Spain, Y Viva España” 🎶

We’re talking HOLIDAYS – a whole two weeks!!!

My Auntie lives in Spain and we hop on a plane as often as possible to visit her in the beautiful mountainous region of Andalucia.

That time has come around again and not a moment too soon considering the pretty grim weather we’ve endured recently. I mean, The Boots have made a reappearance after having been enthusiastically relegated to the back of the wardrobe for the “Summer” after the glorious Easter we enjoyed.

I know, a tad optimistic, I’ll grant you, but flip-flops make you feel summery, don’t they, and I kind of assume the sun would be duty bound to follow.

Not so. So, Spain, here we come.

(Burglars please take note: we have House Sitters for the duration. And dogs. And a feisty Cockerel. You have been warned.)

Anyhoo….

I took a quick look through my wardrobe and decided that, although I have plenty of summery clothes, I fancied making a few things.

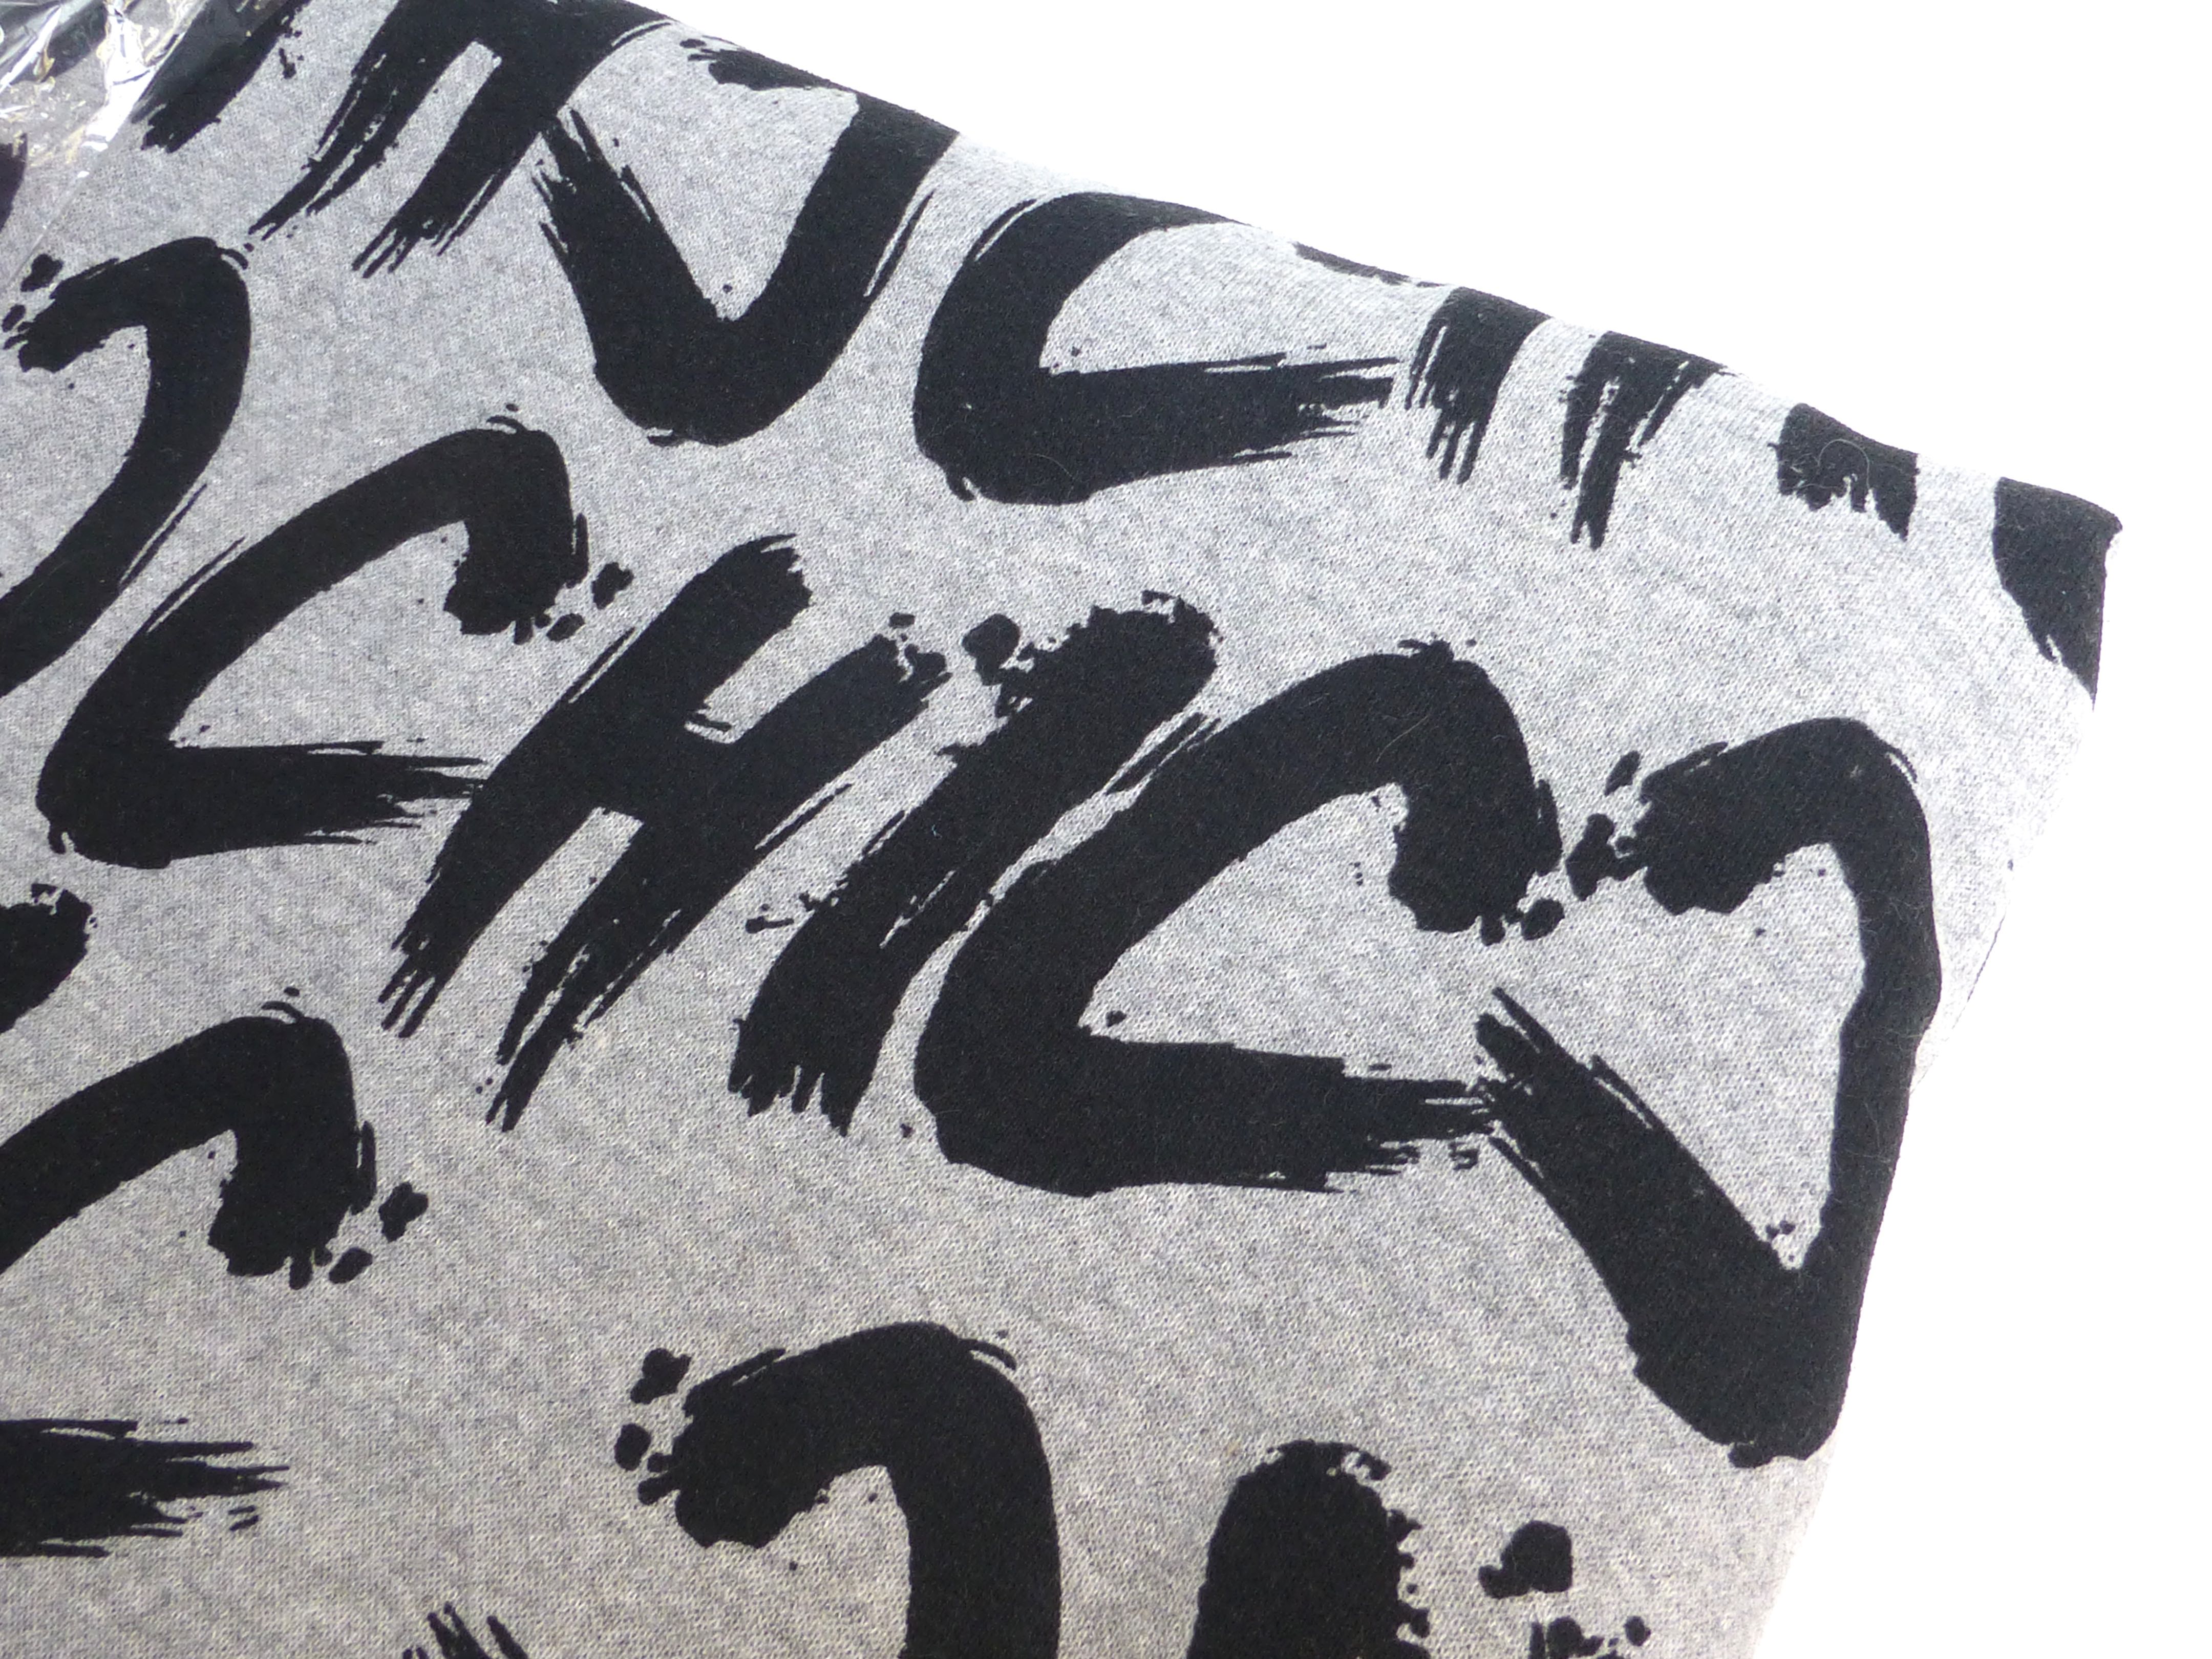
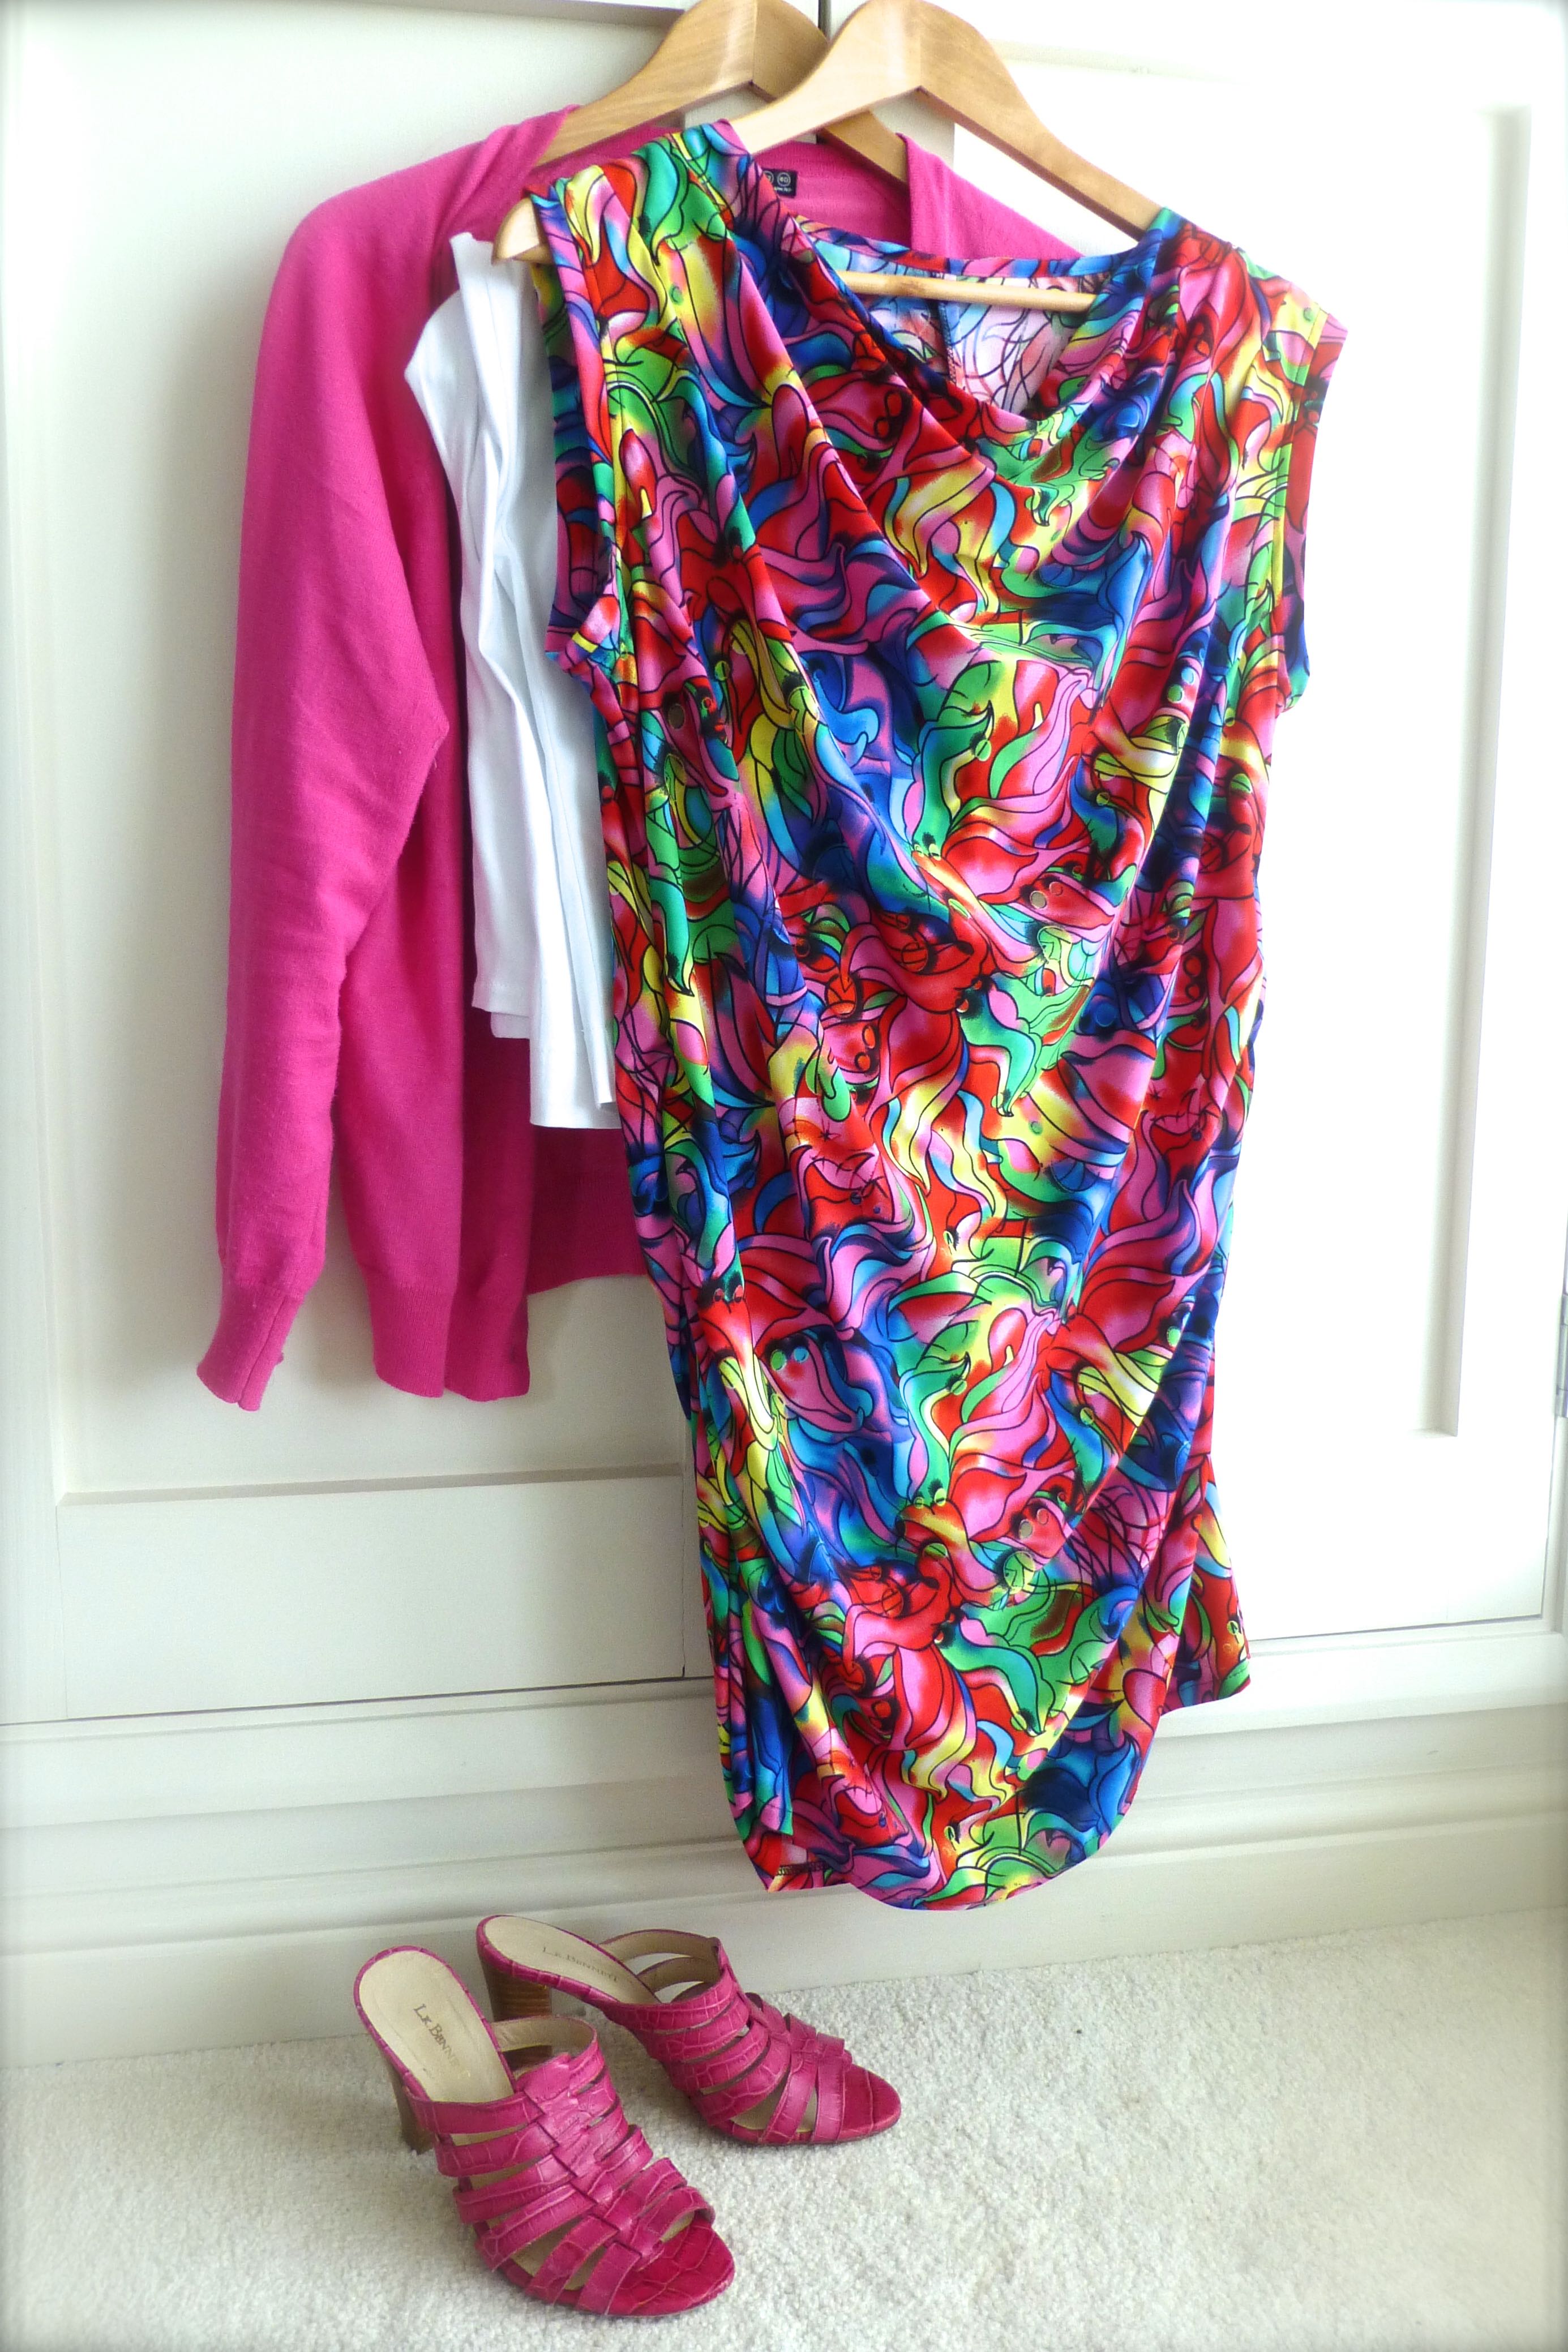
I have acquired several pieces of fabric lately (as you do) and this one in particular caught my eye, glaring garishly back at me from the ever-growing stash.

P1050308

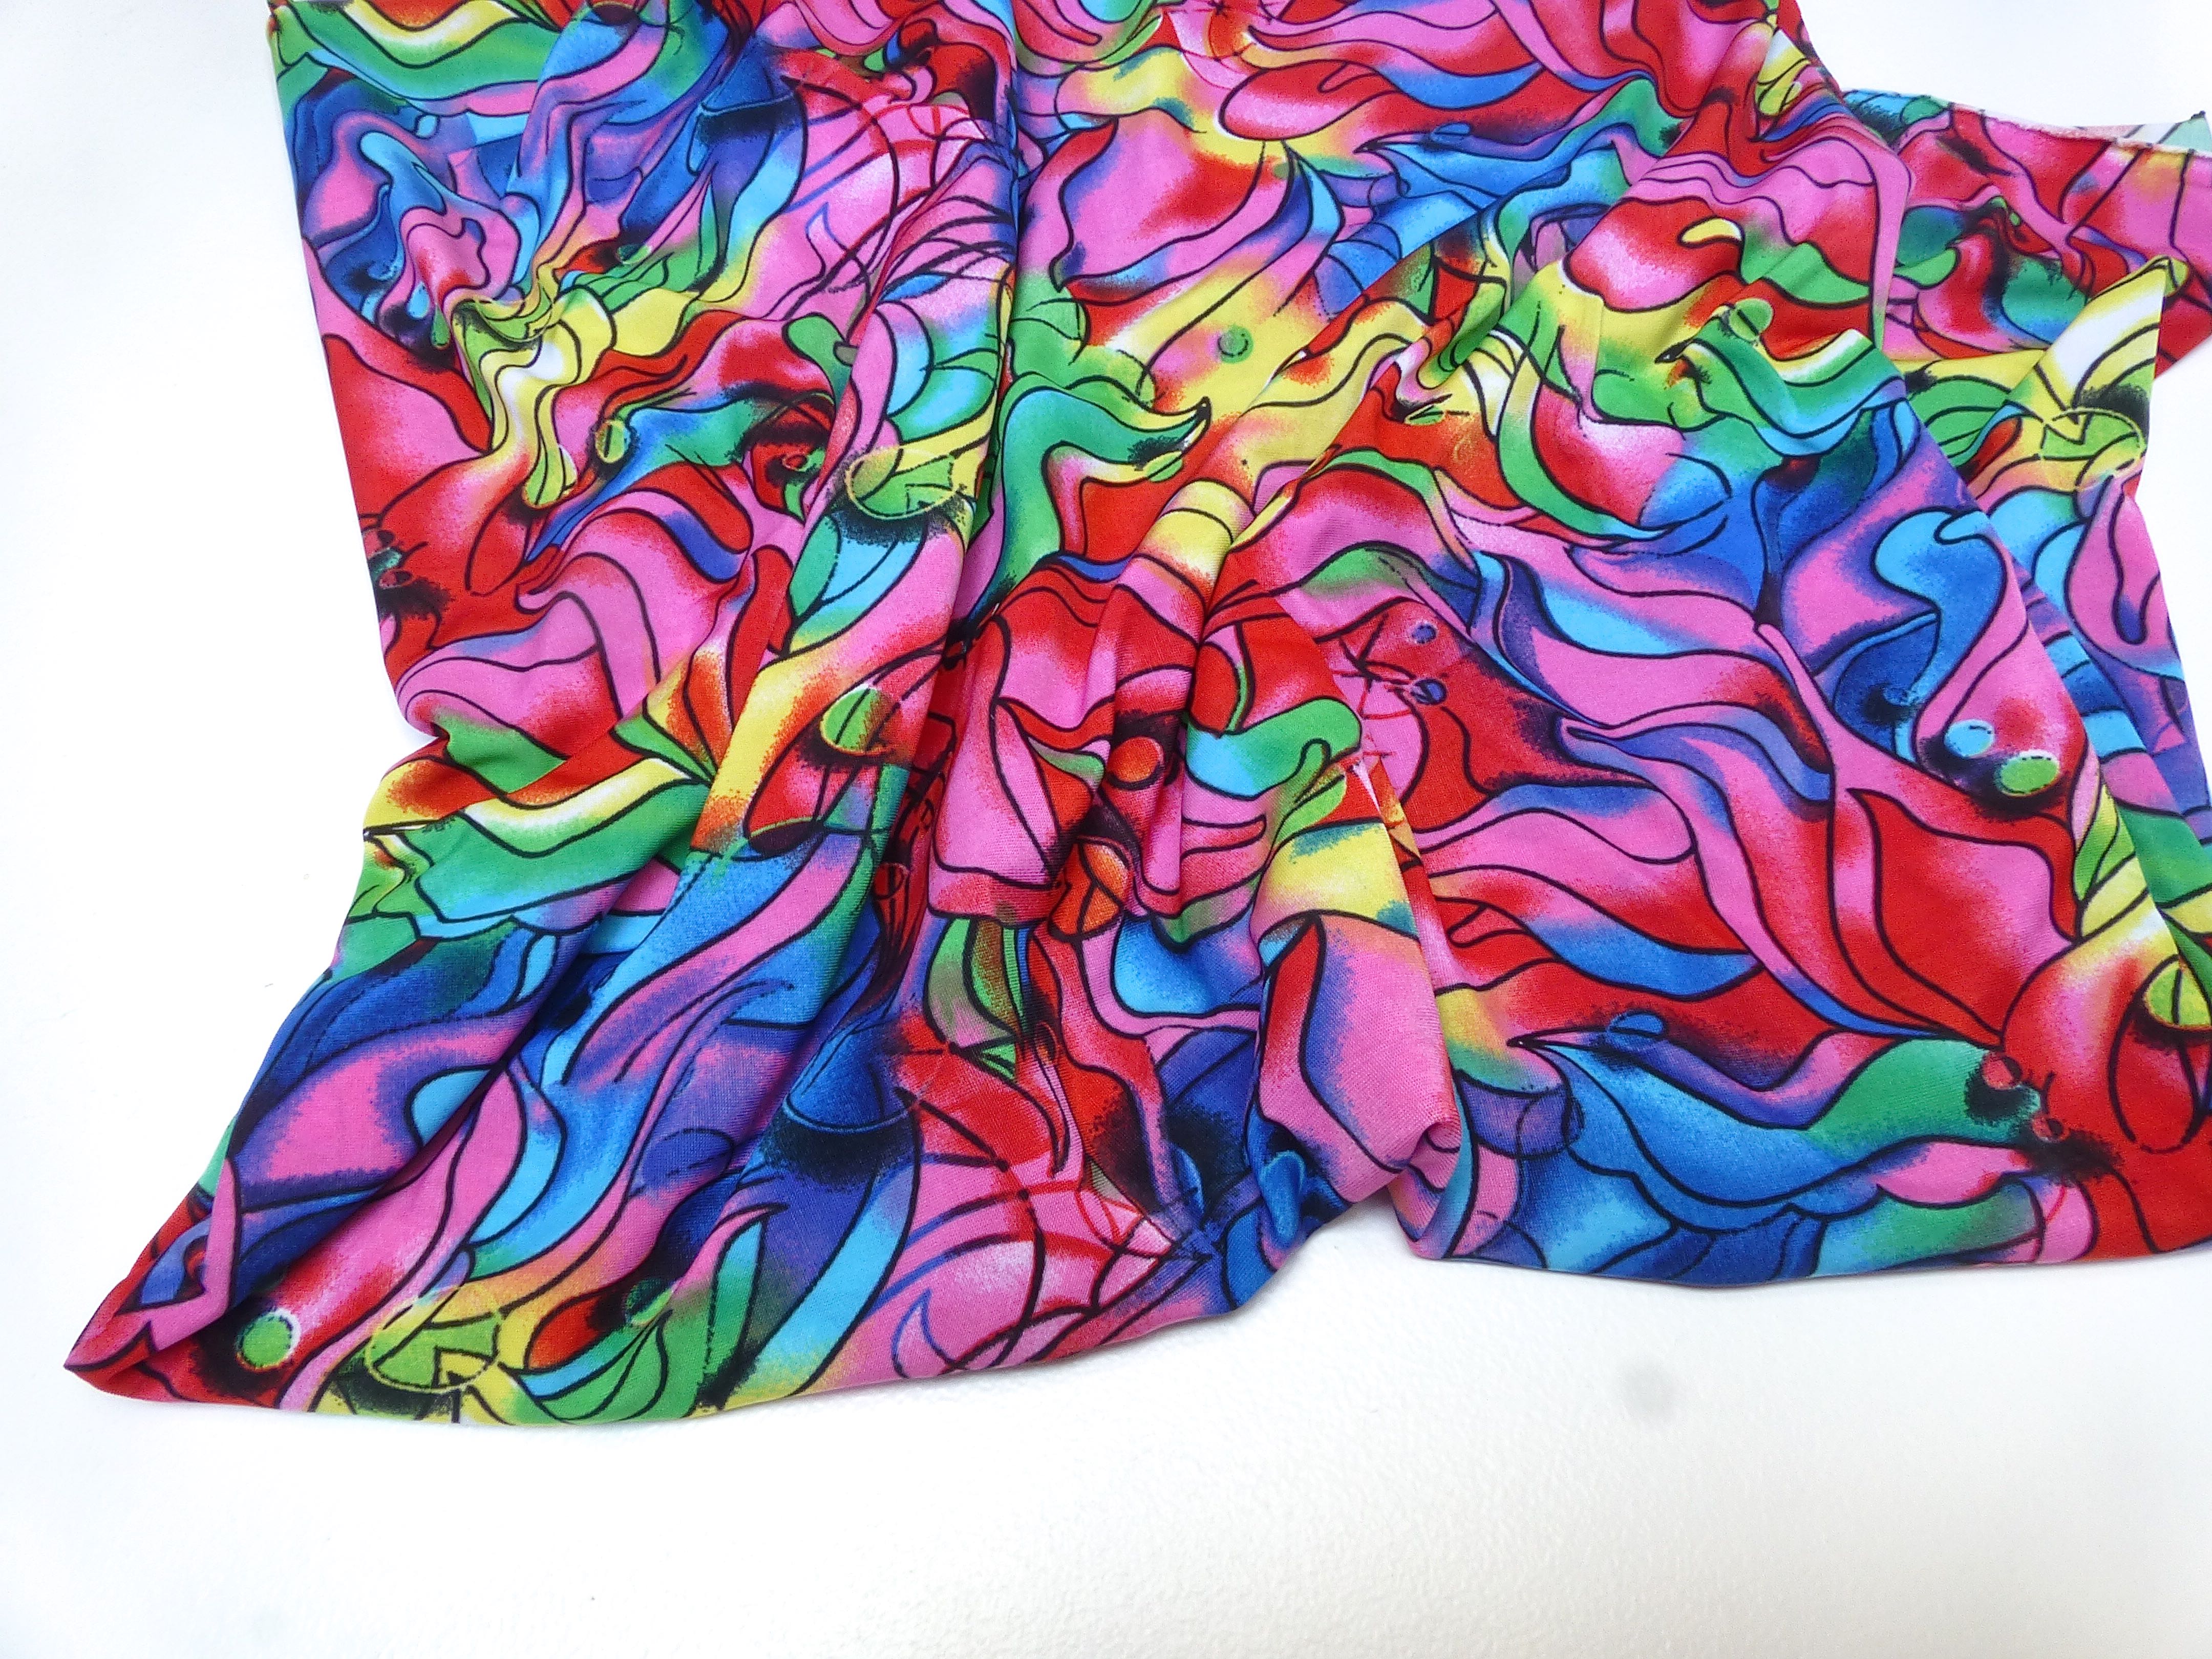
Not for the faint hearted, I’ll admit, but it’s so “me”.

A medium weight polyester jersey which is incredibly soft to the touch, I imagined it would drape perfectly on a cowl neck.

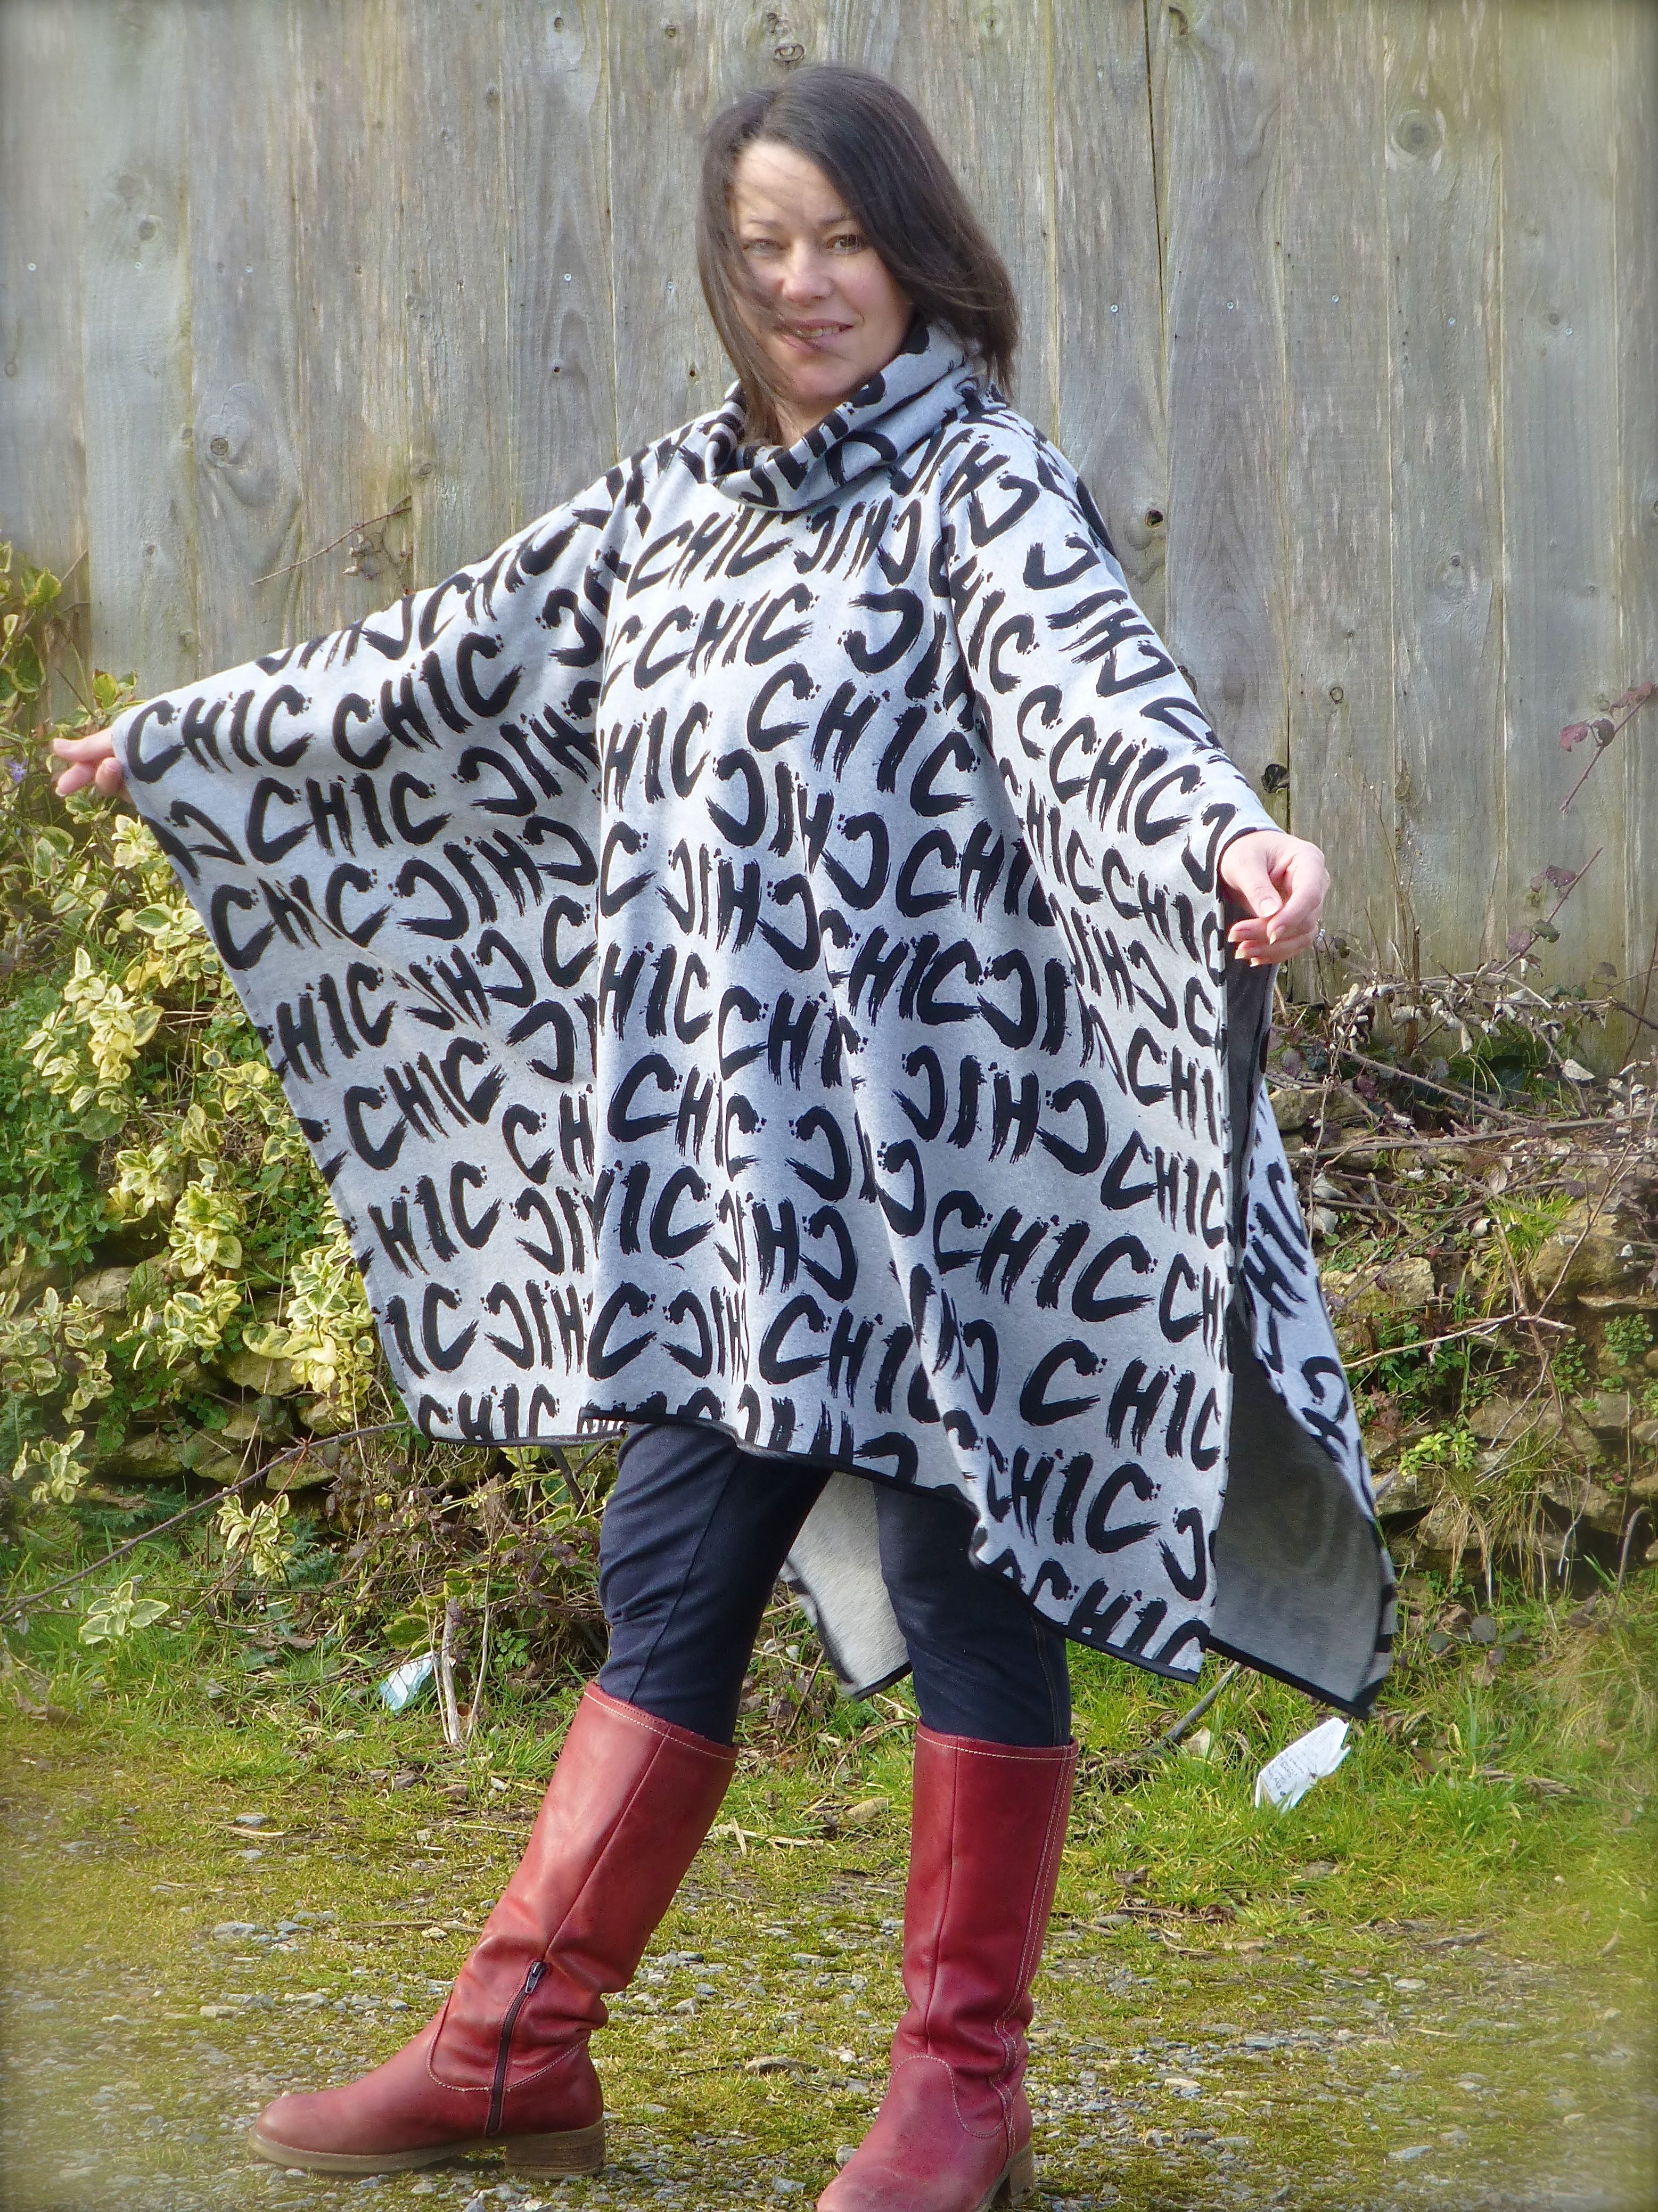
I chose Simplicity 1716 with view ‘D’ in mind, but with the pleating continuing to the hips as in view ‘F’.

P1050306

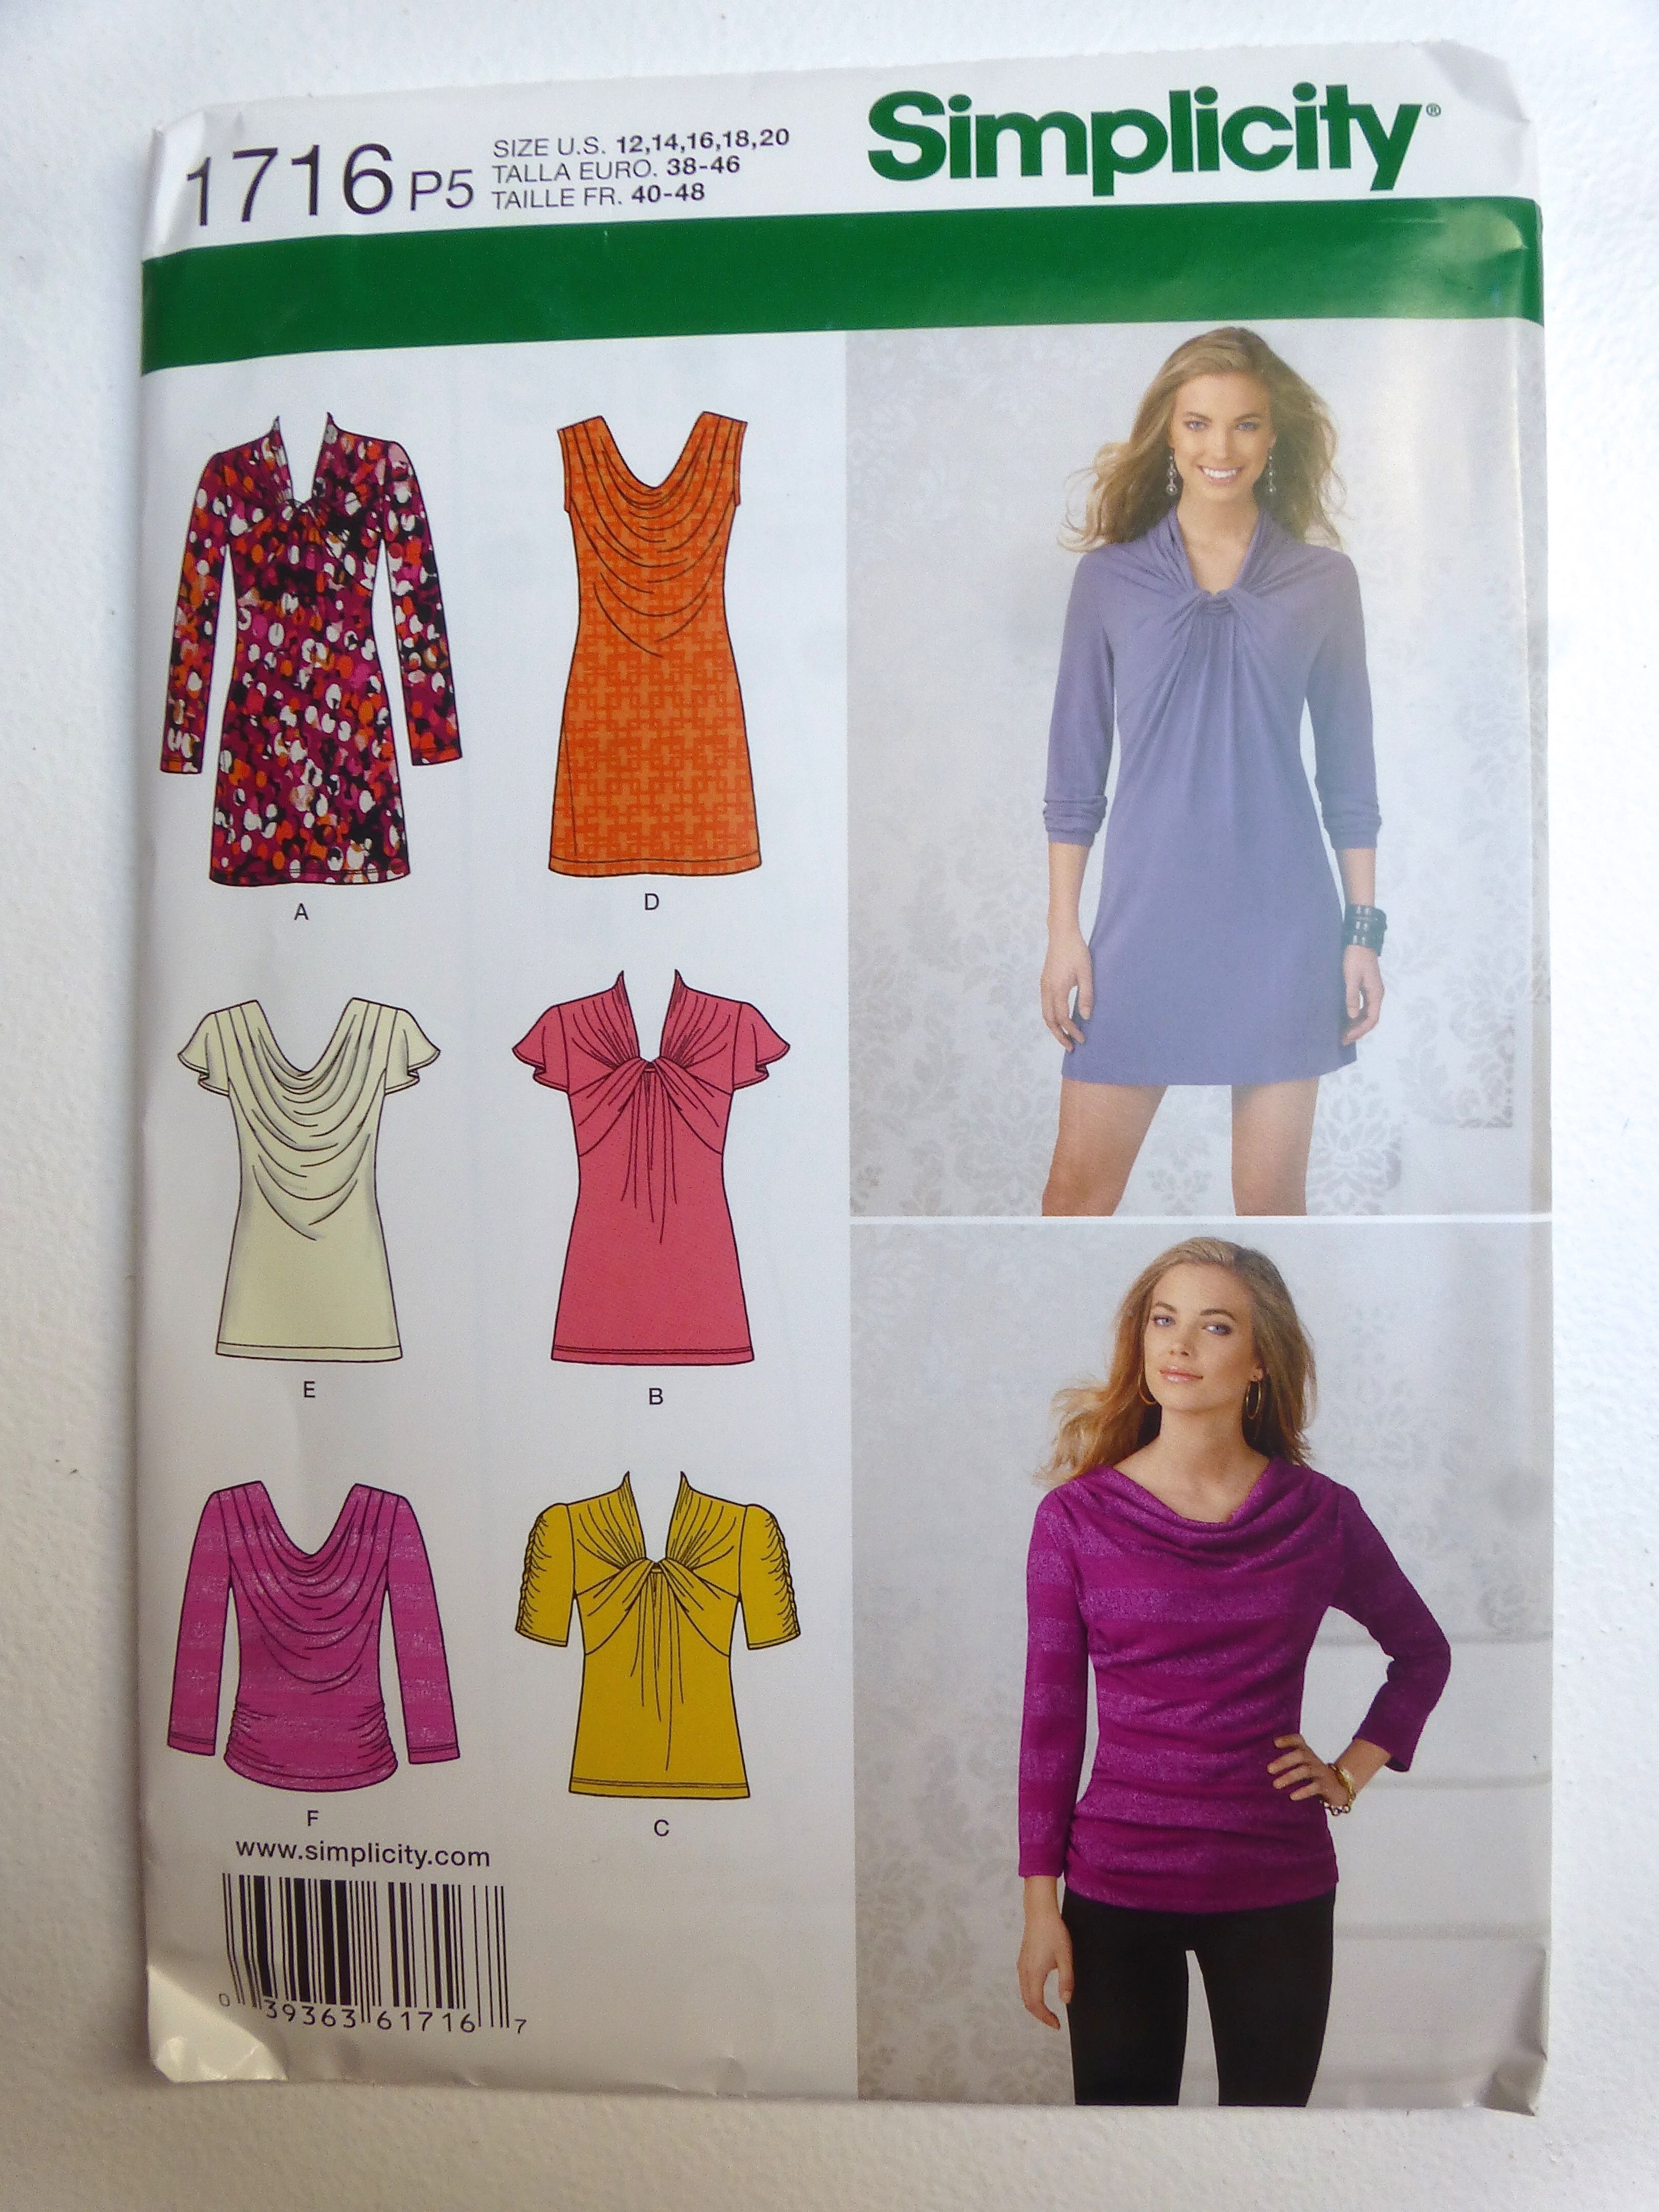
I’m a size 14 in UK stores which equates to a US size 18, so I cut the pattern pieces out accordingly and the fit was spot on without any adjustments.

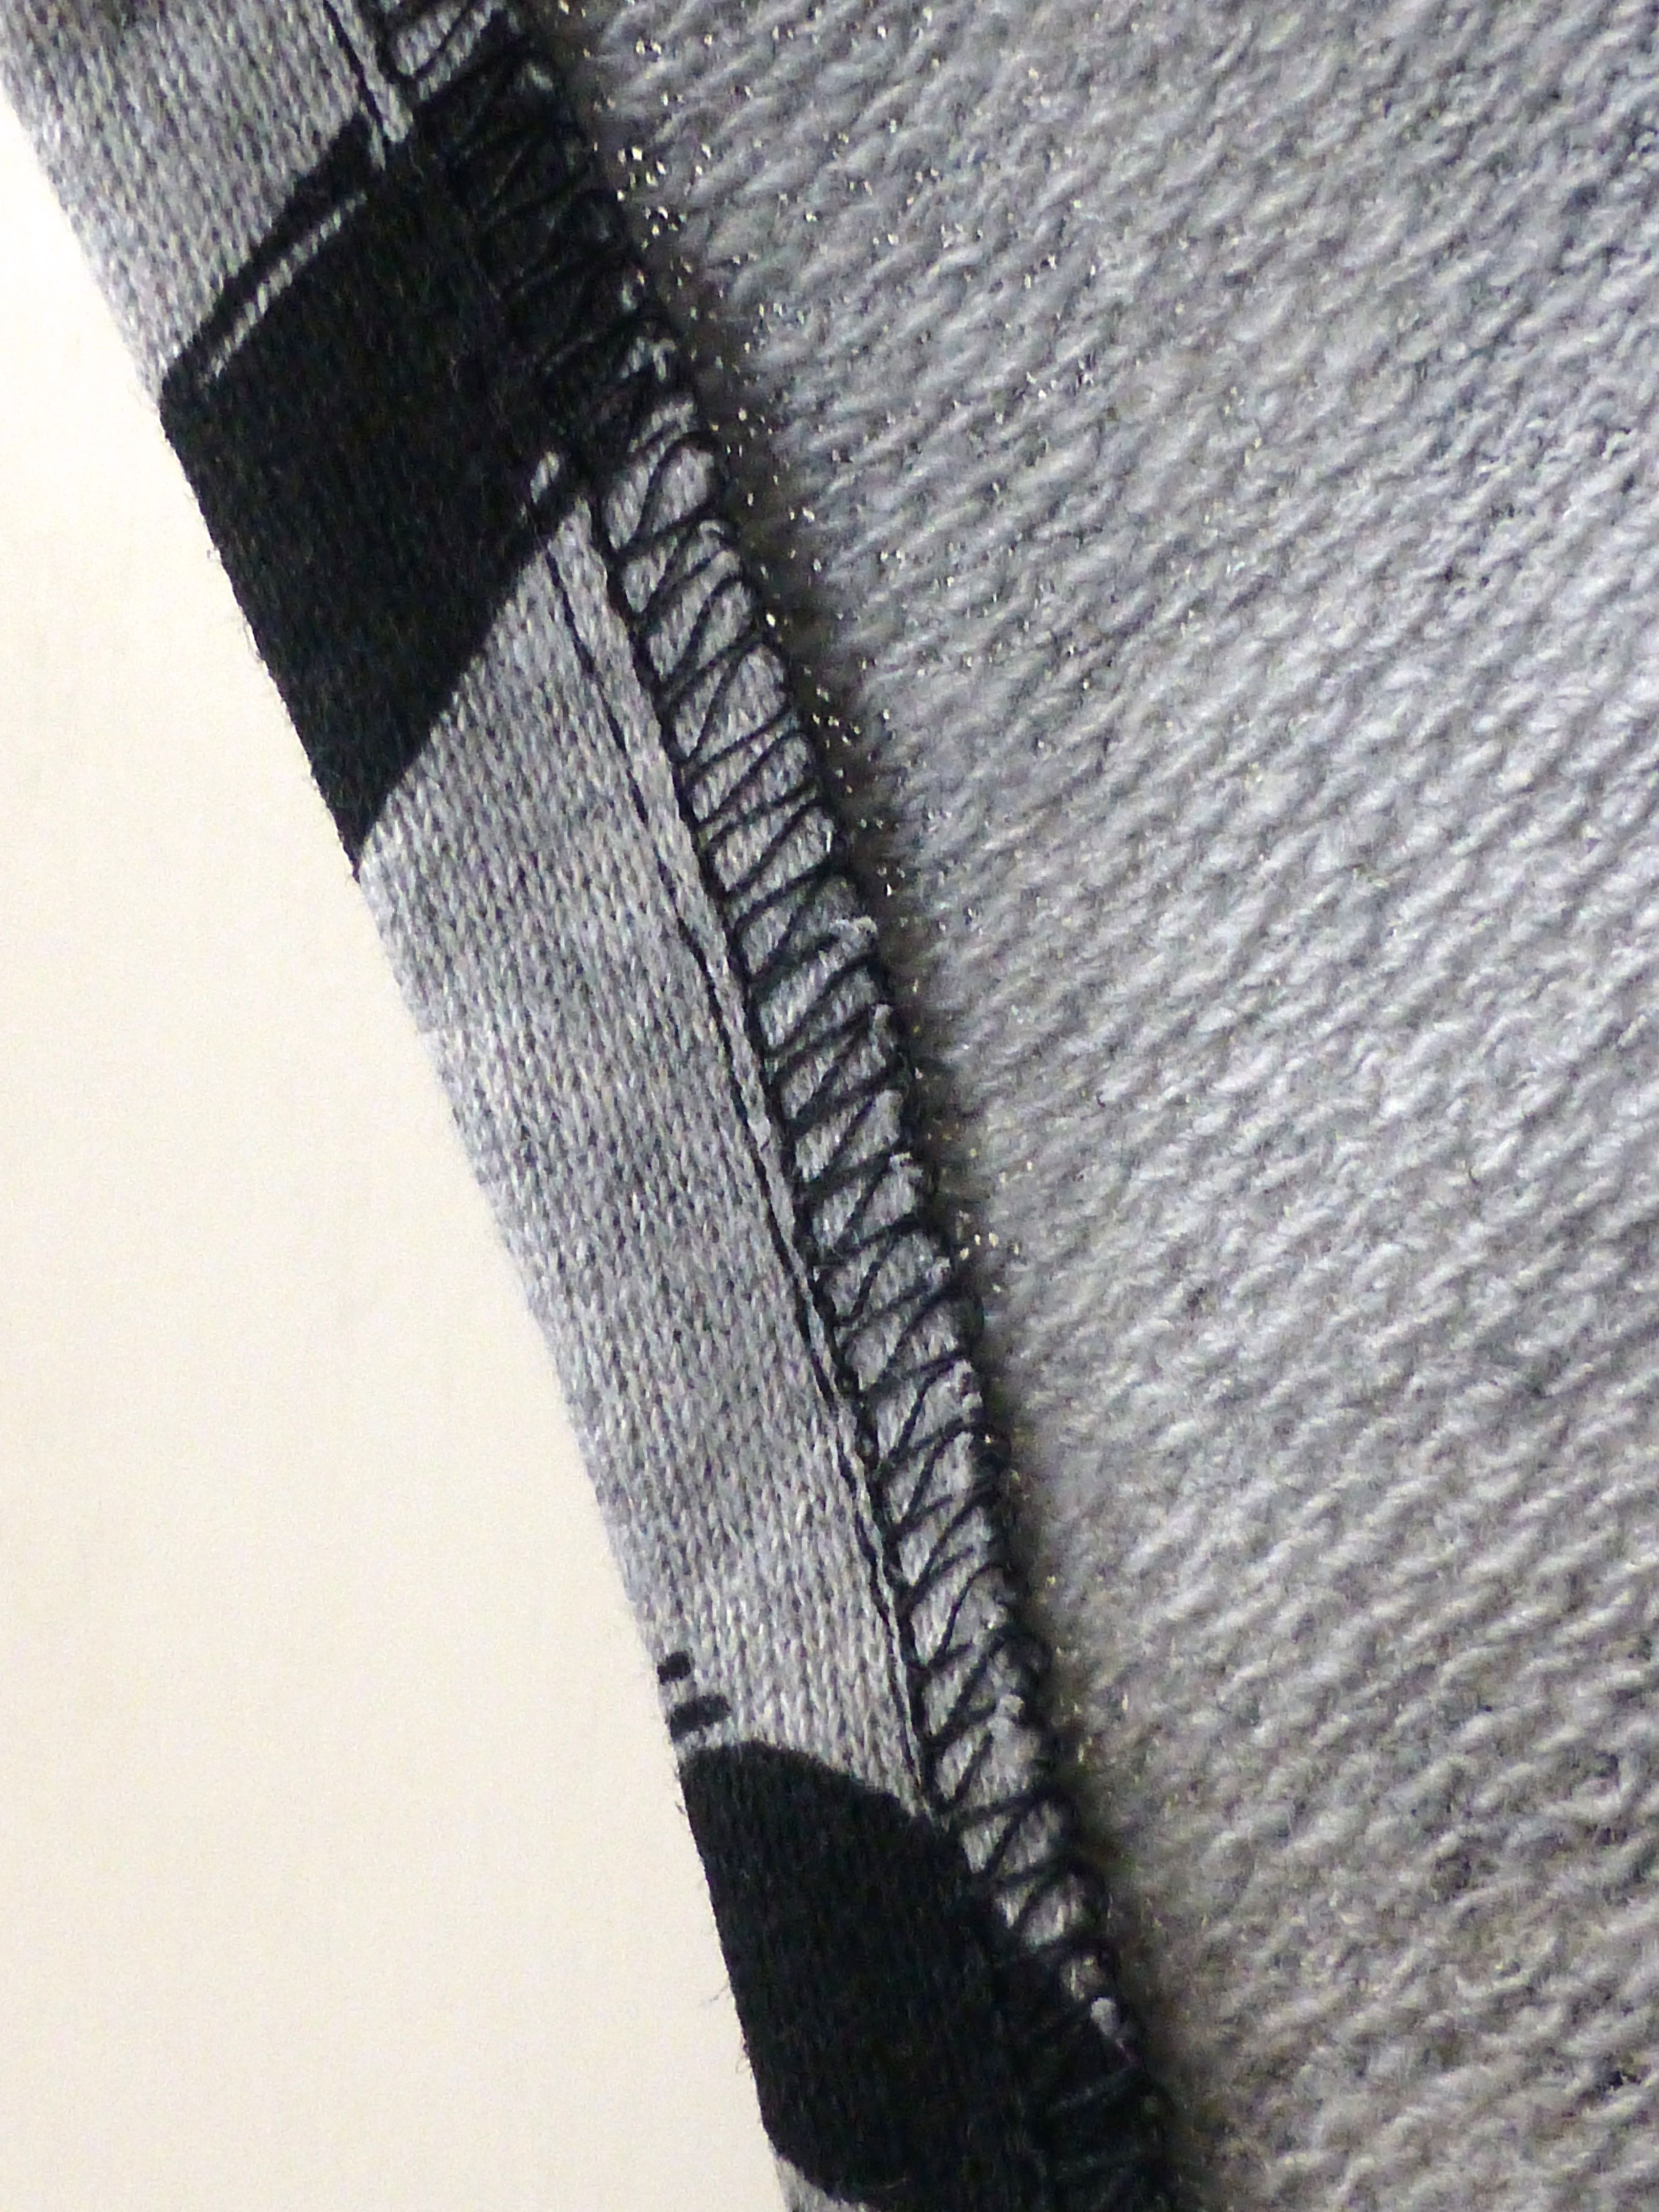
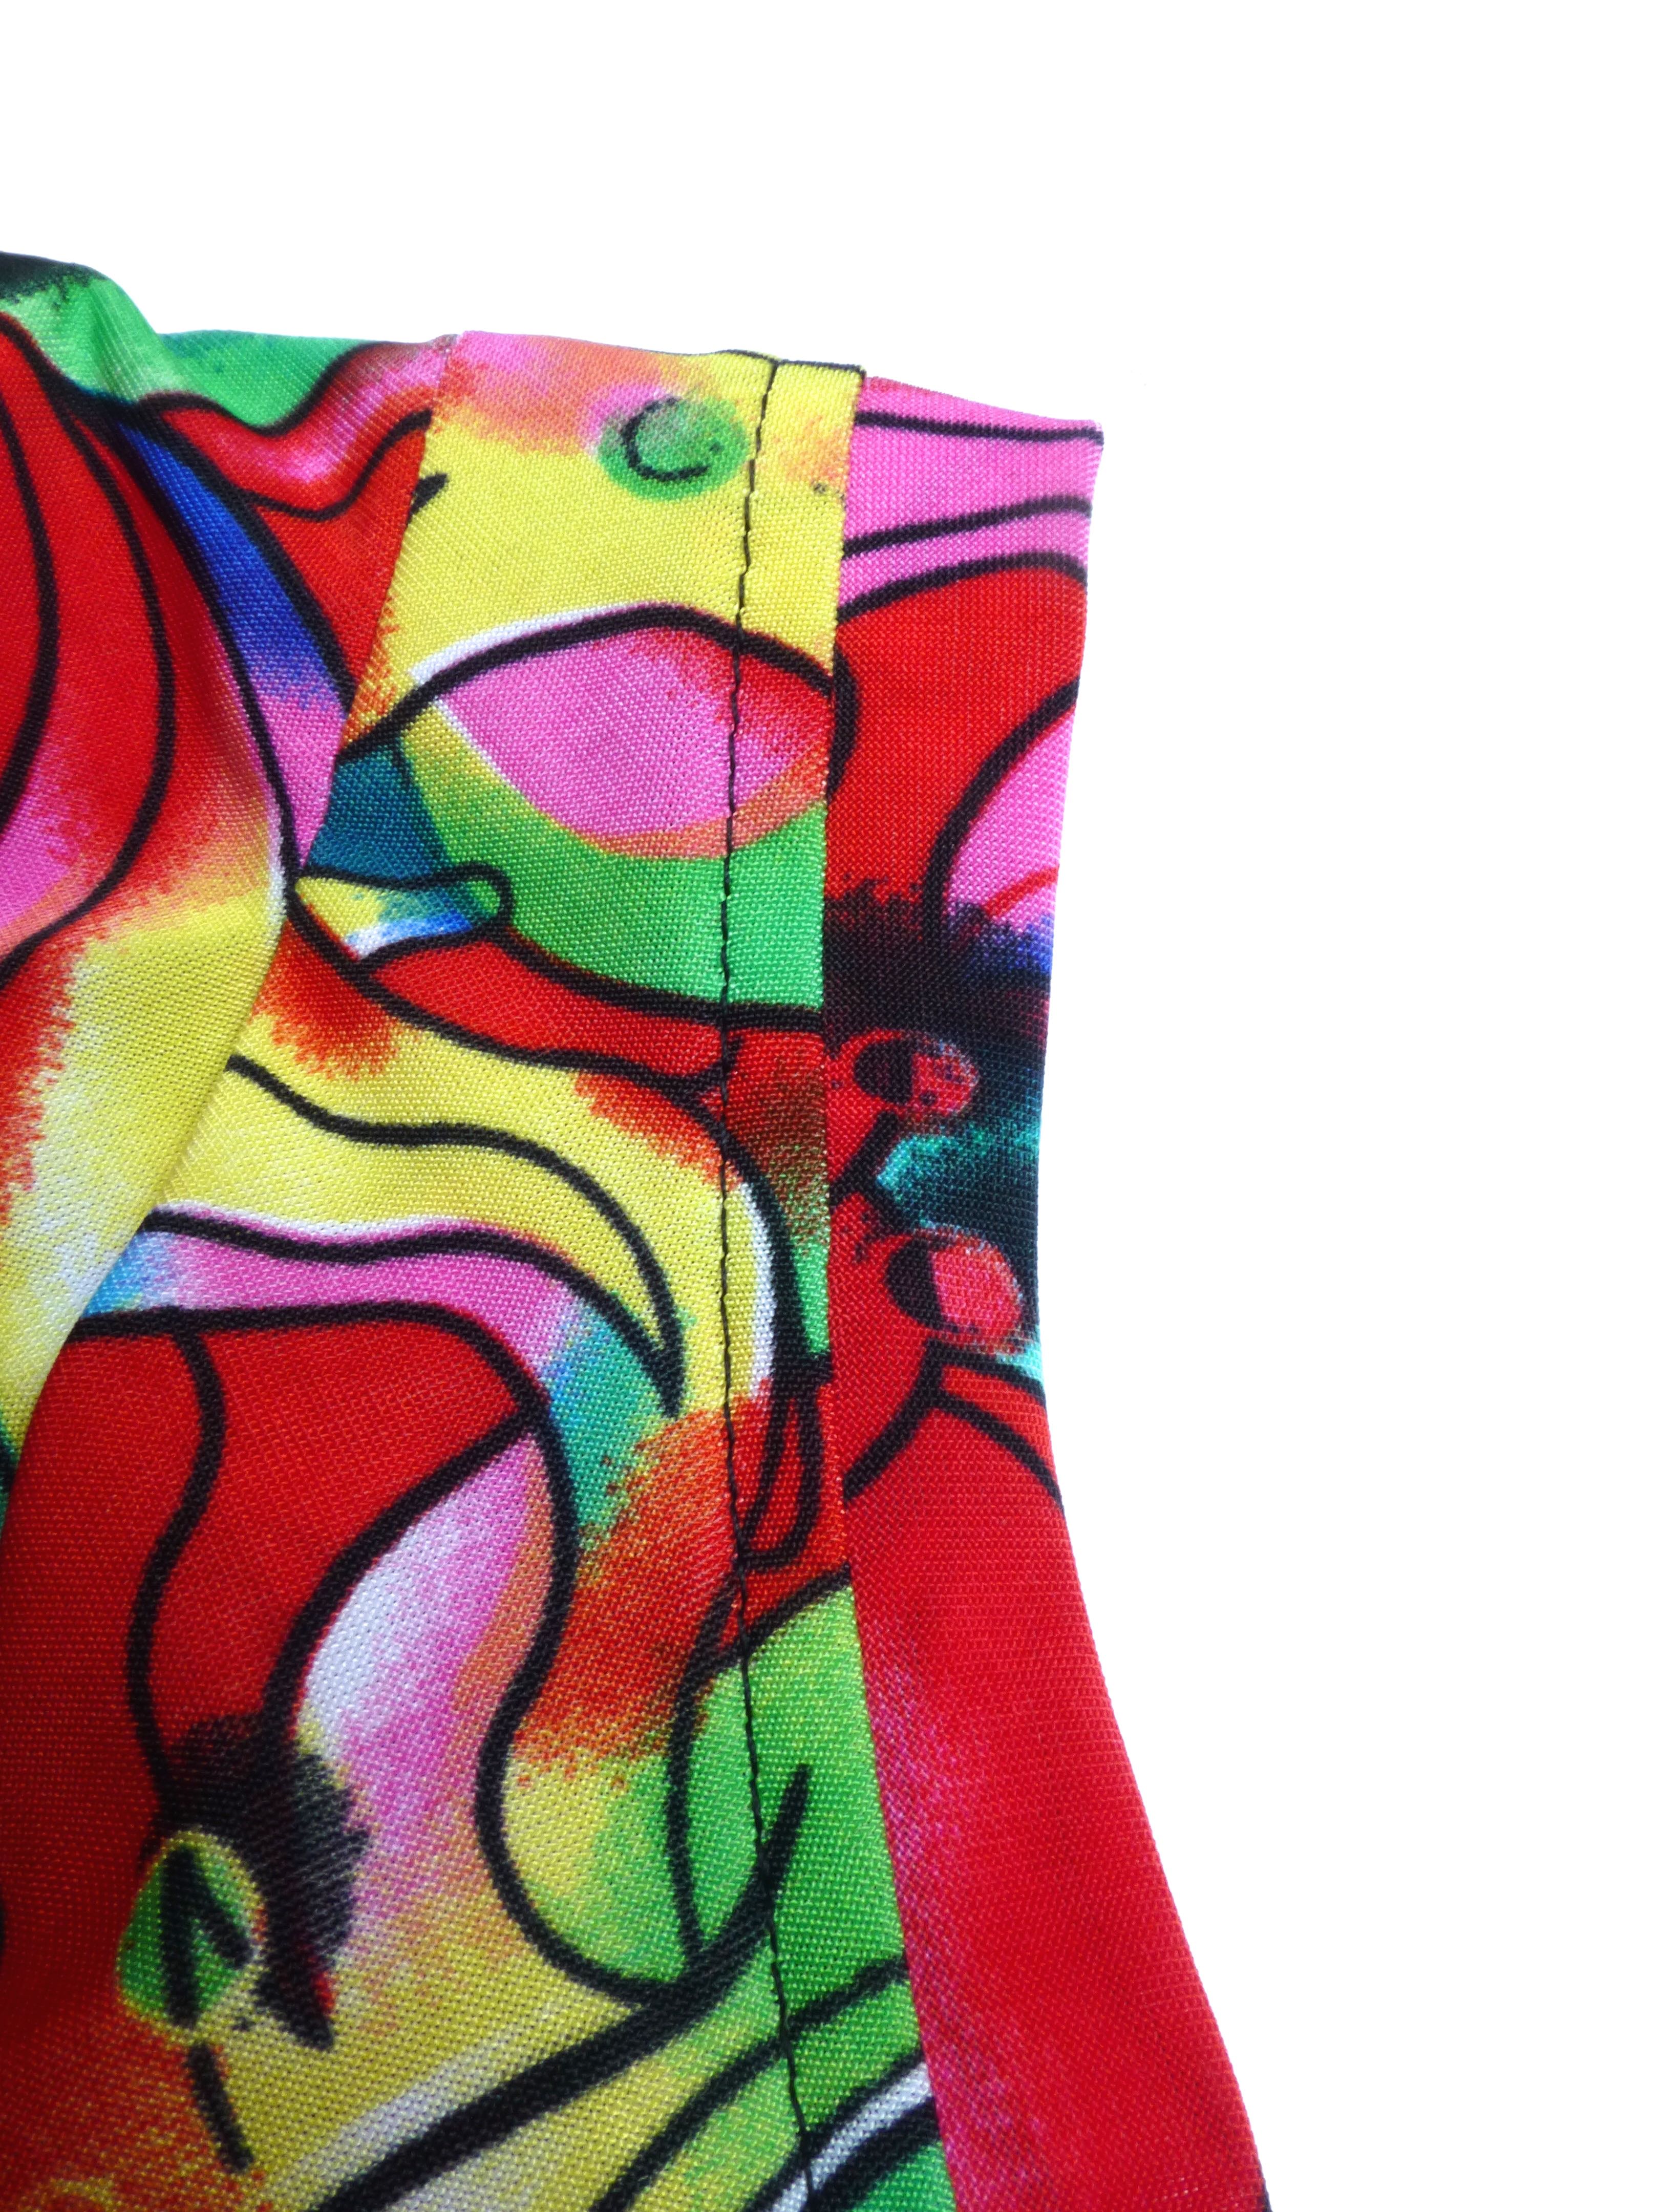
I didn’t have any black cotton tape for stabilising the shoulder seams so used white but, as the fabric is opaque, it doesn’t show through so all is well.

P1050309

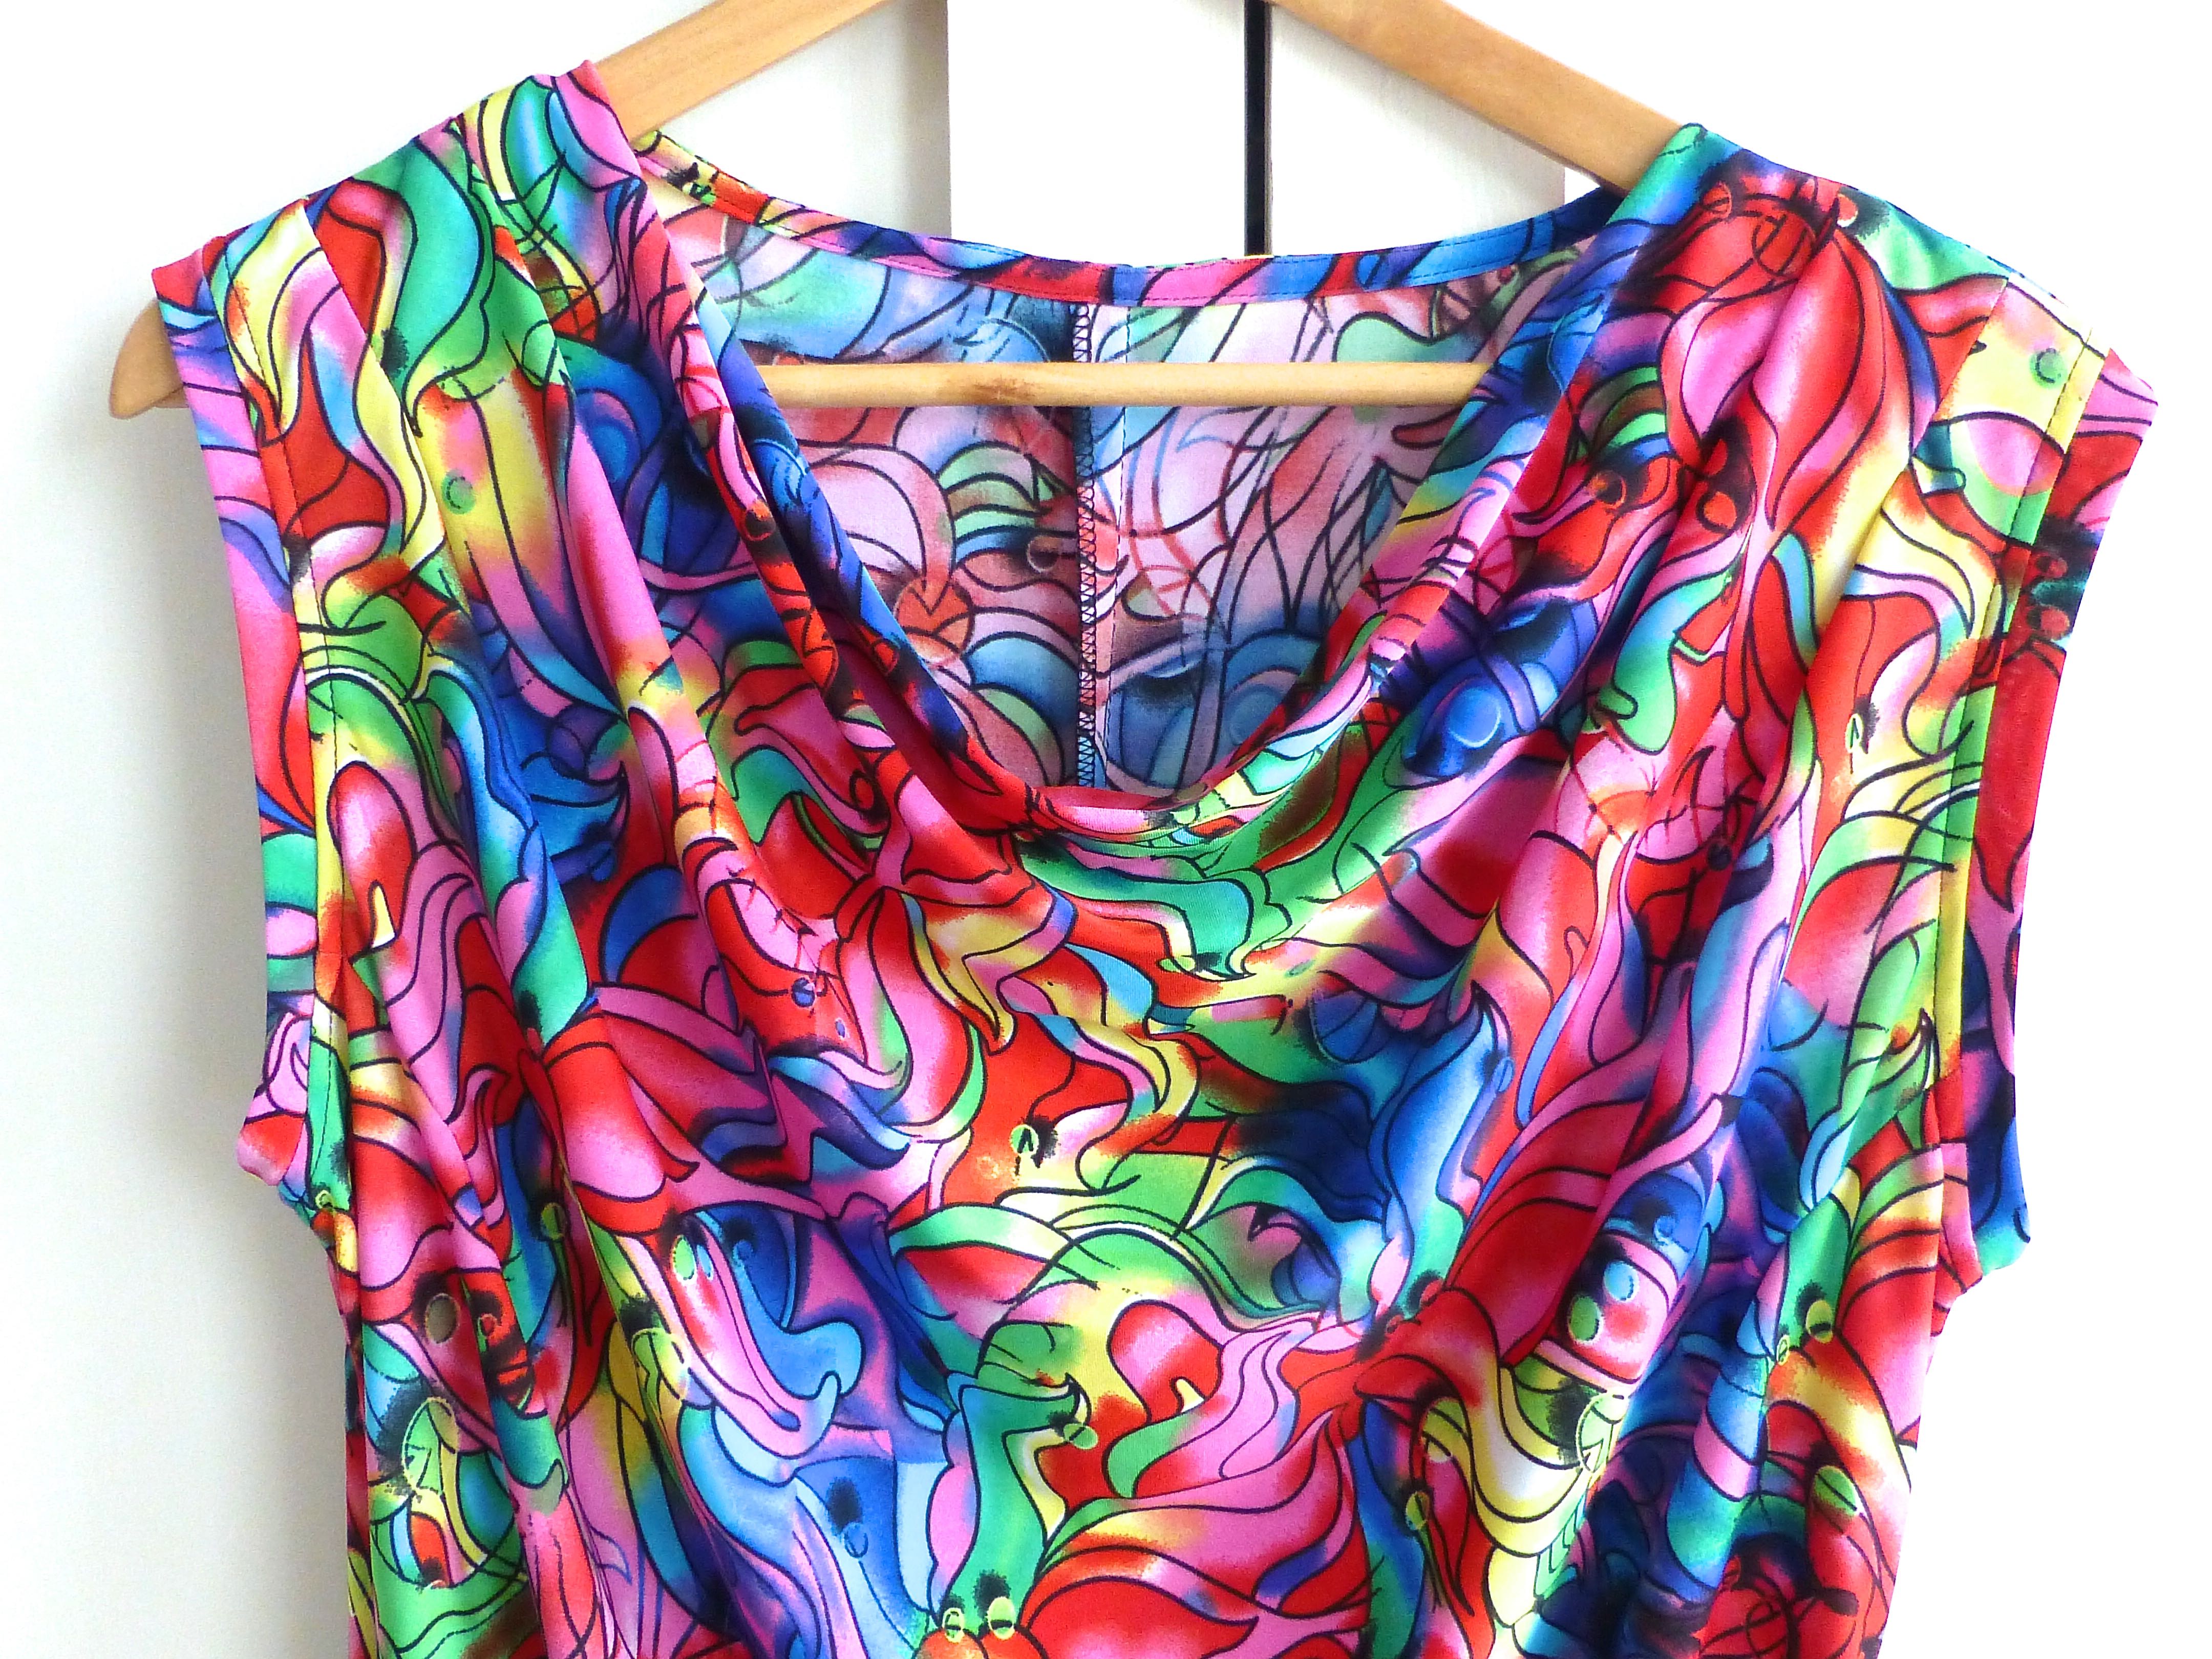
I like the neat method of attaching the facing to the back neck…..

P1050312

…and the armholes.

P1050311

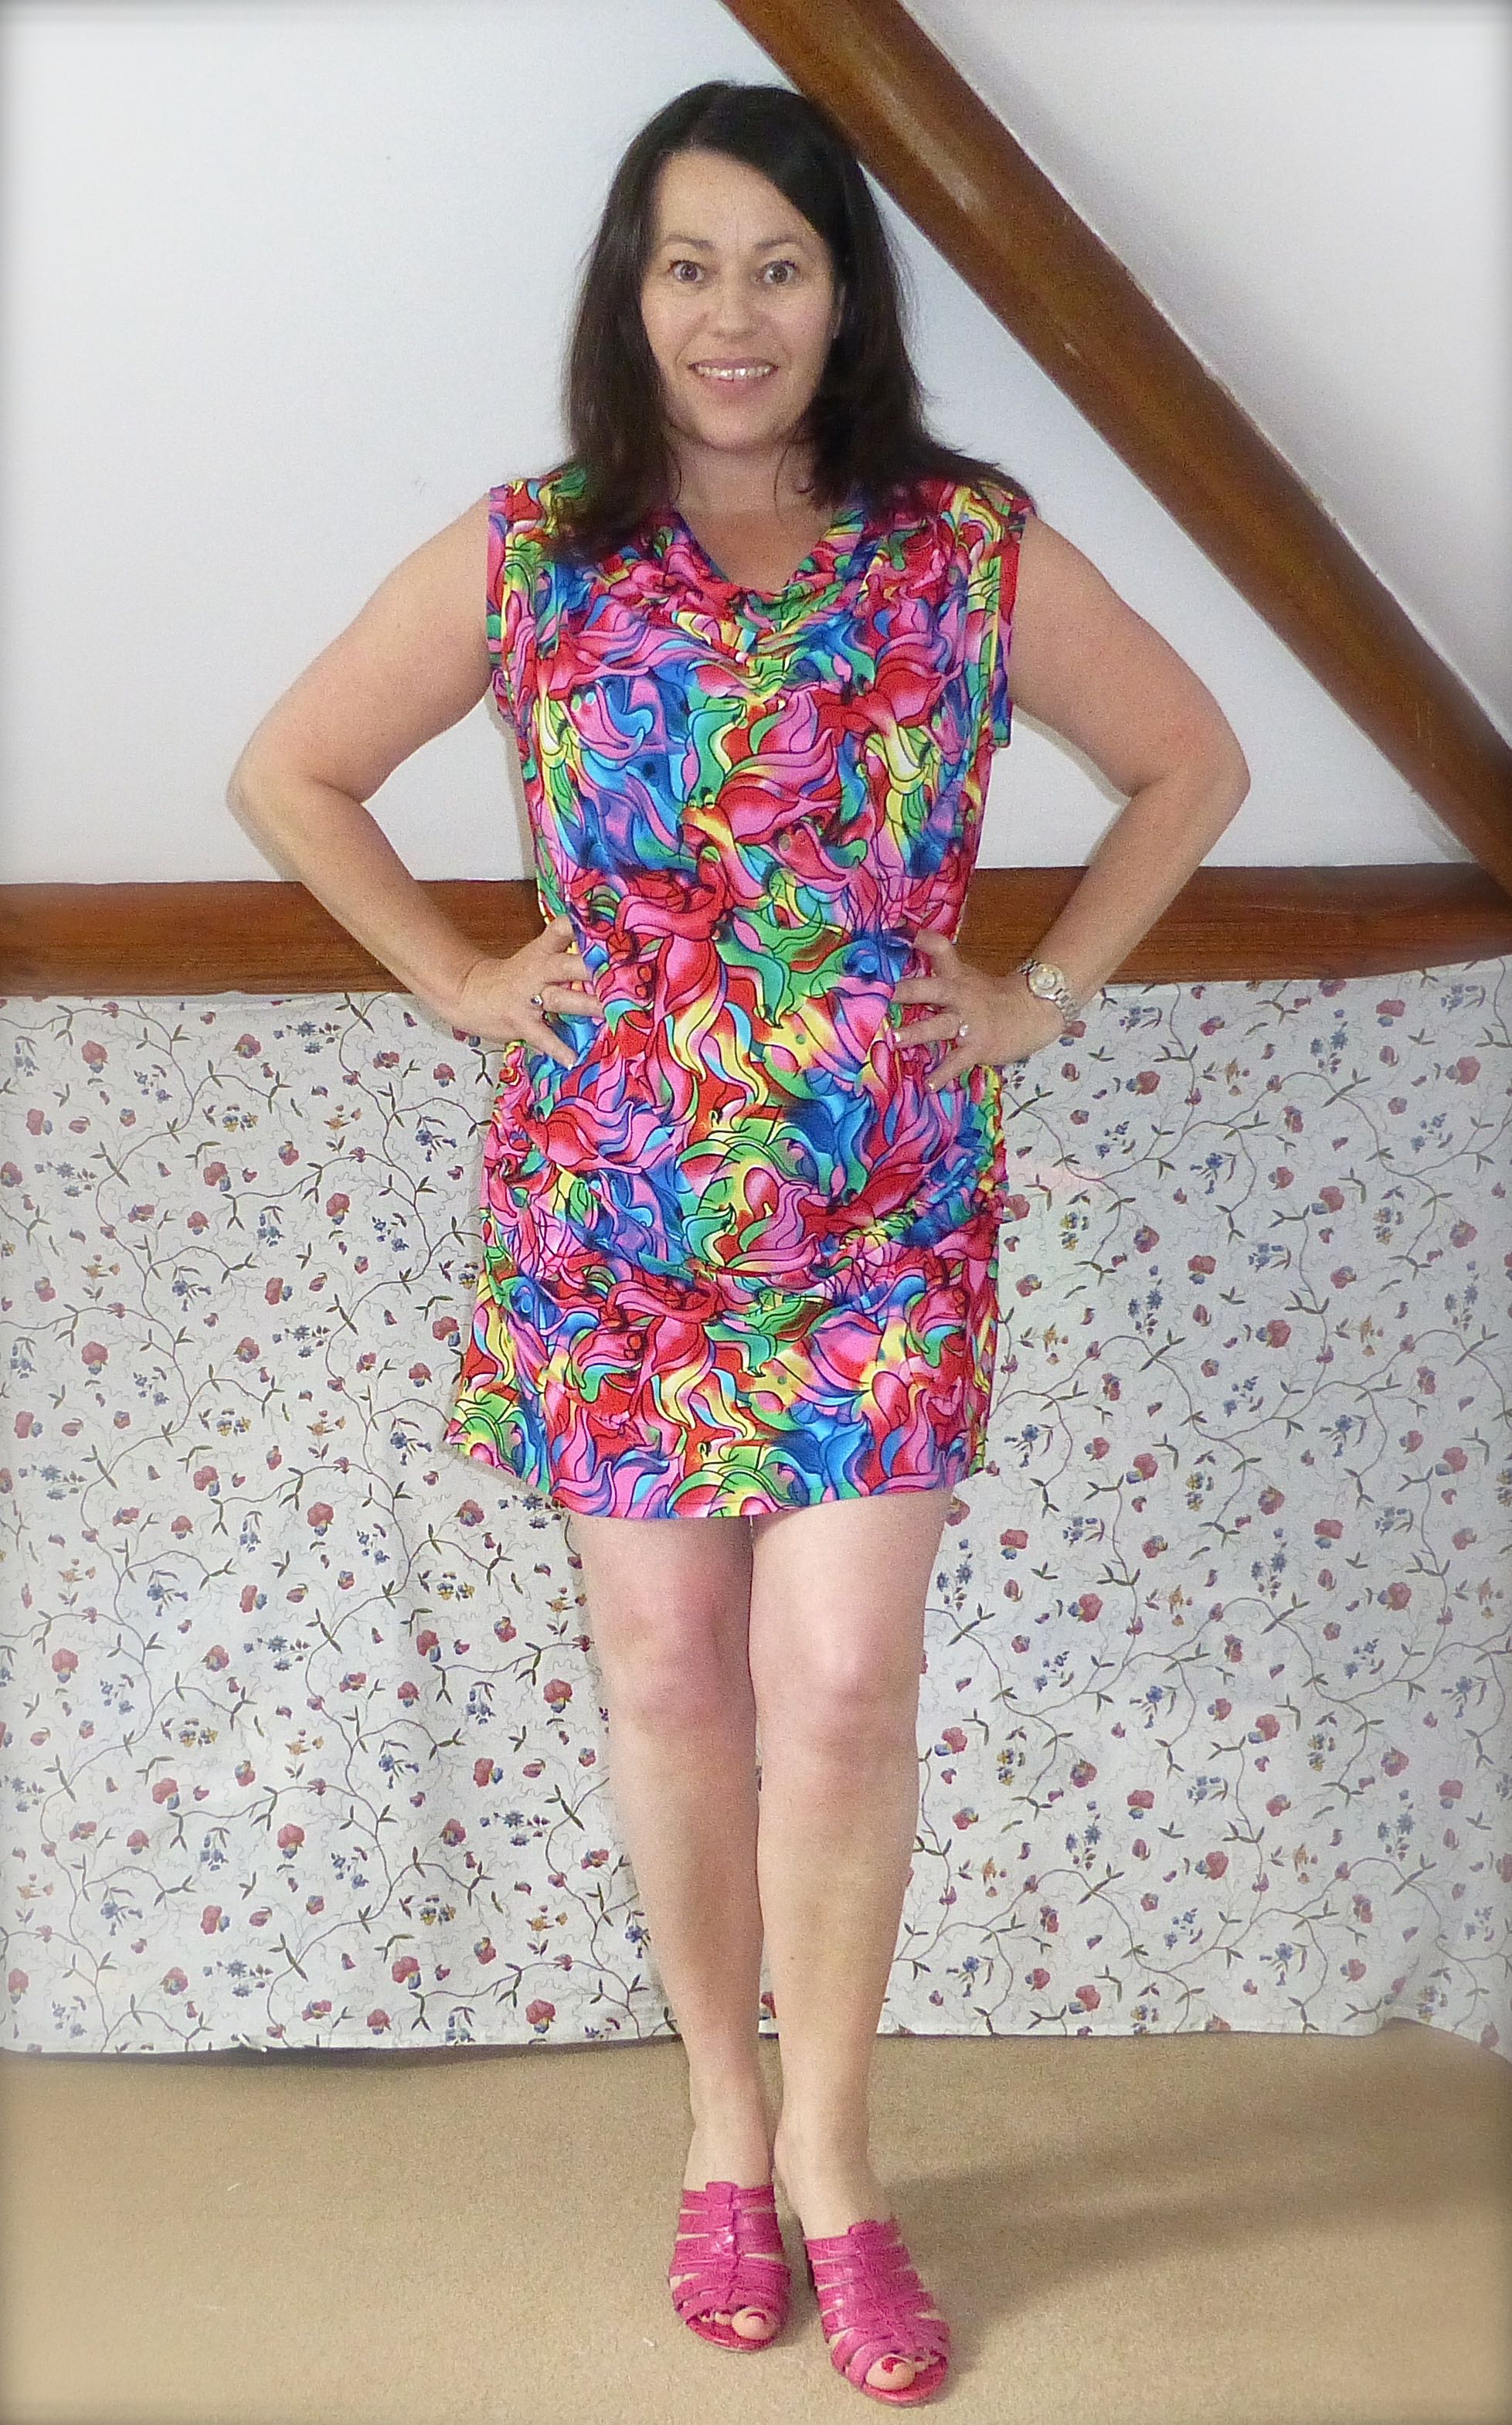
The cowl neckline does indeed drape beautifully, falling into soft folds right down to the hips.

P1050326

P1050324

Excuse the scary expressions in the photos that follow – it’s a case of set up the self timer and run!

Hmmm, far too short to wear as a dress – note to self, allow another four inches for the hem if combining two pattern designs.

P1050322

A quick root through my wardrobe resulted in some coordinating items.

P1050327

That’s better, but what about the slightly saggy upper arms, after all, I can’t walk around with my hands on my hips all the time, can I?
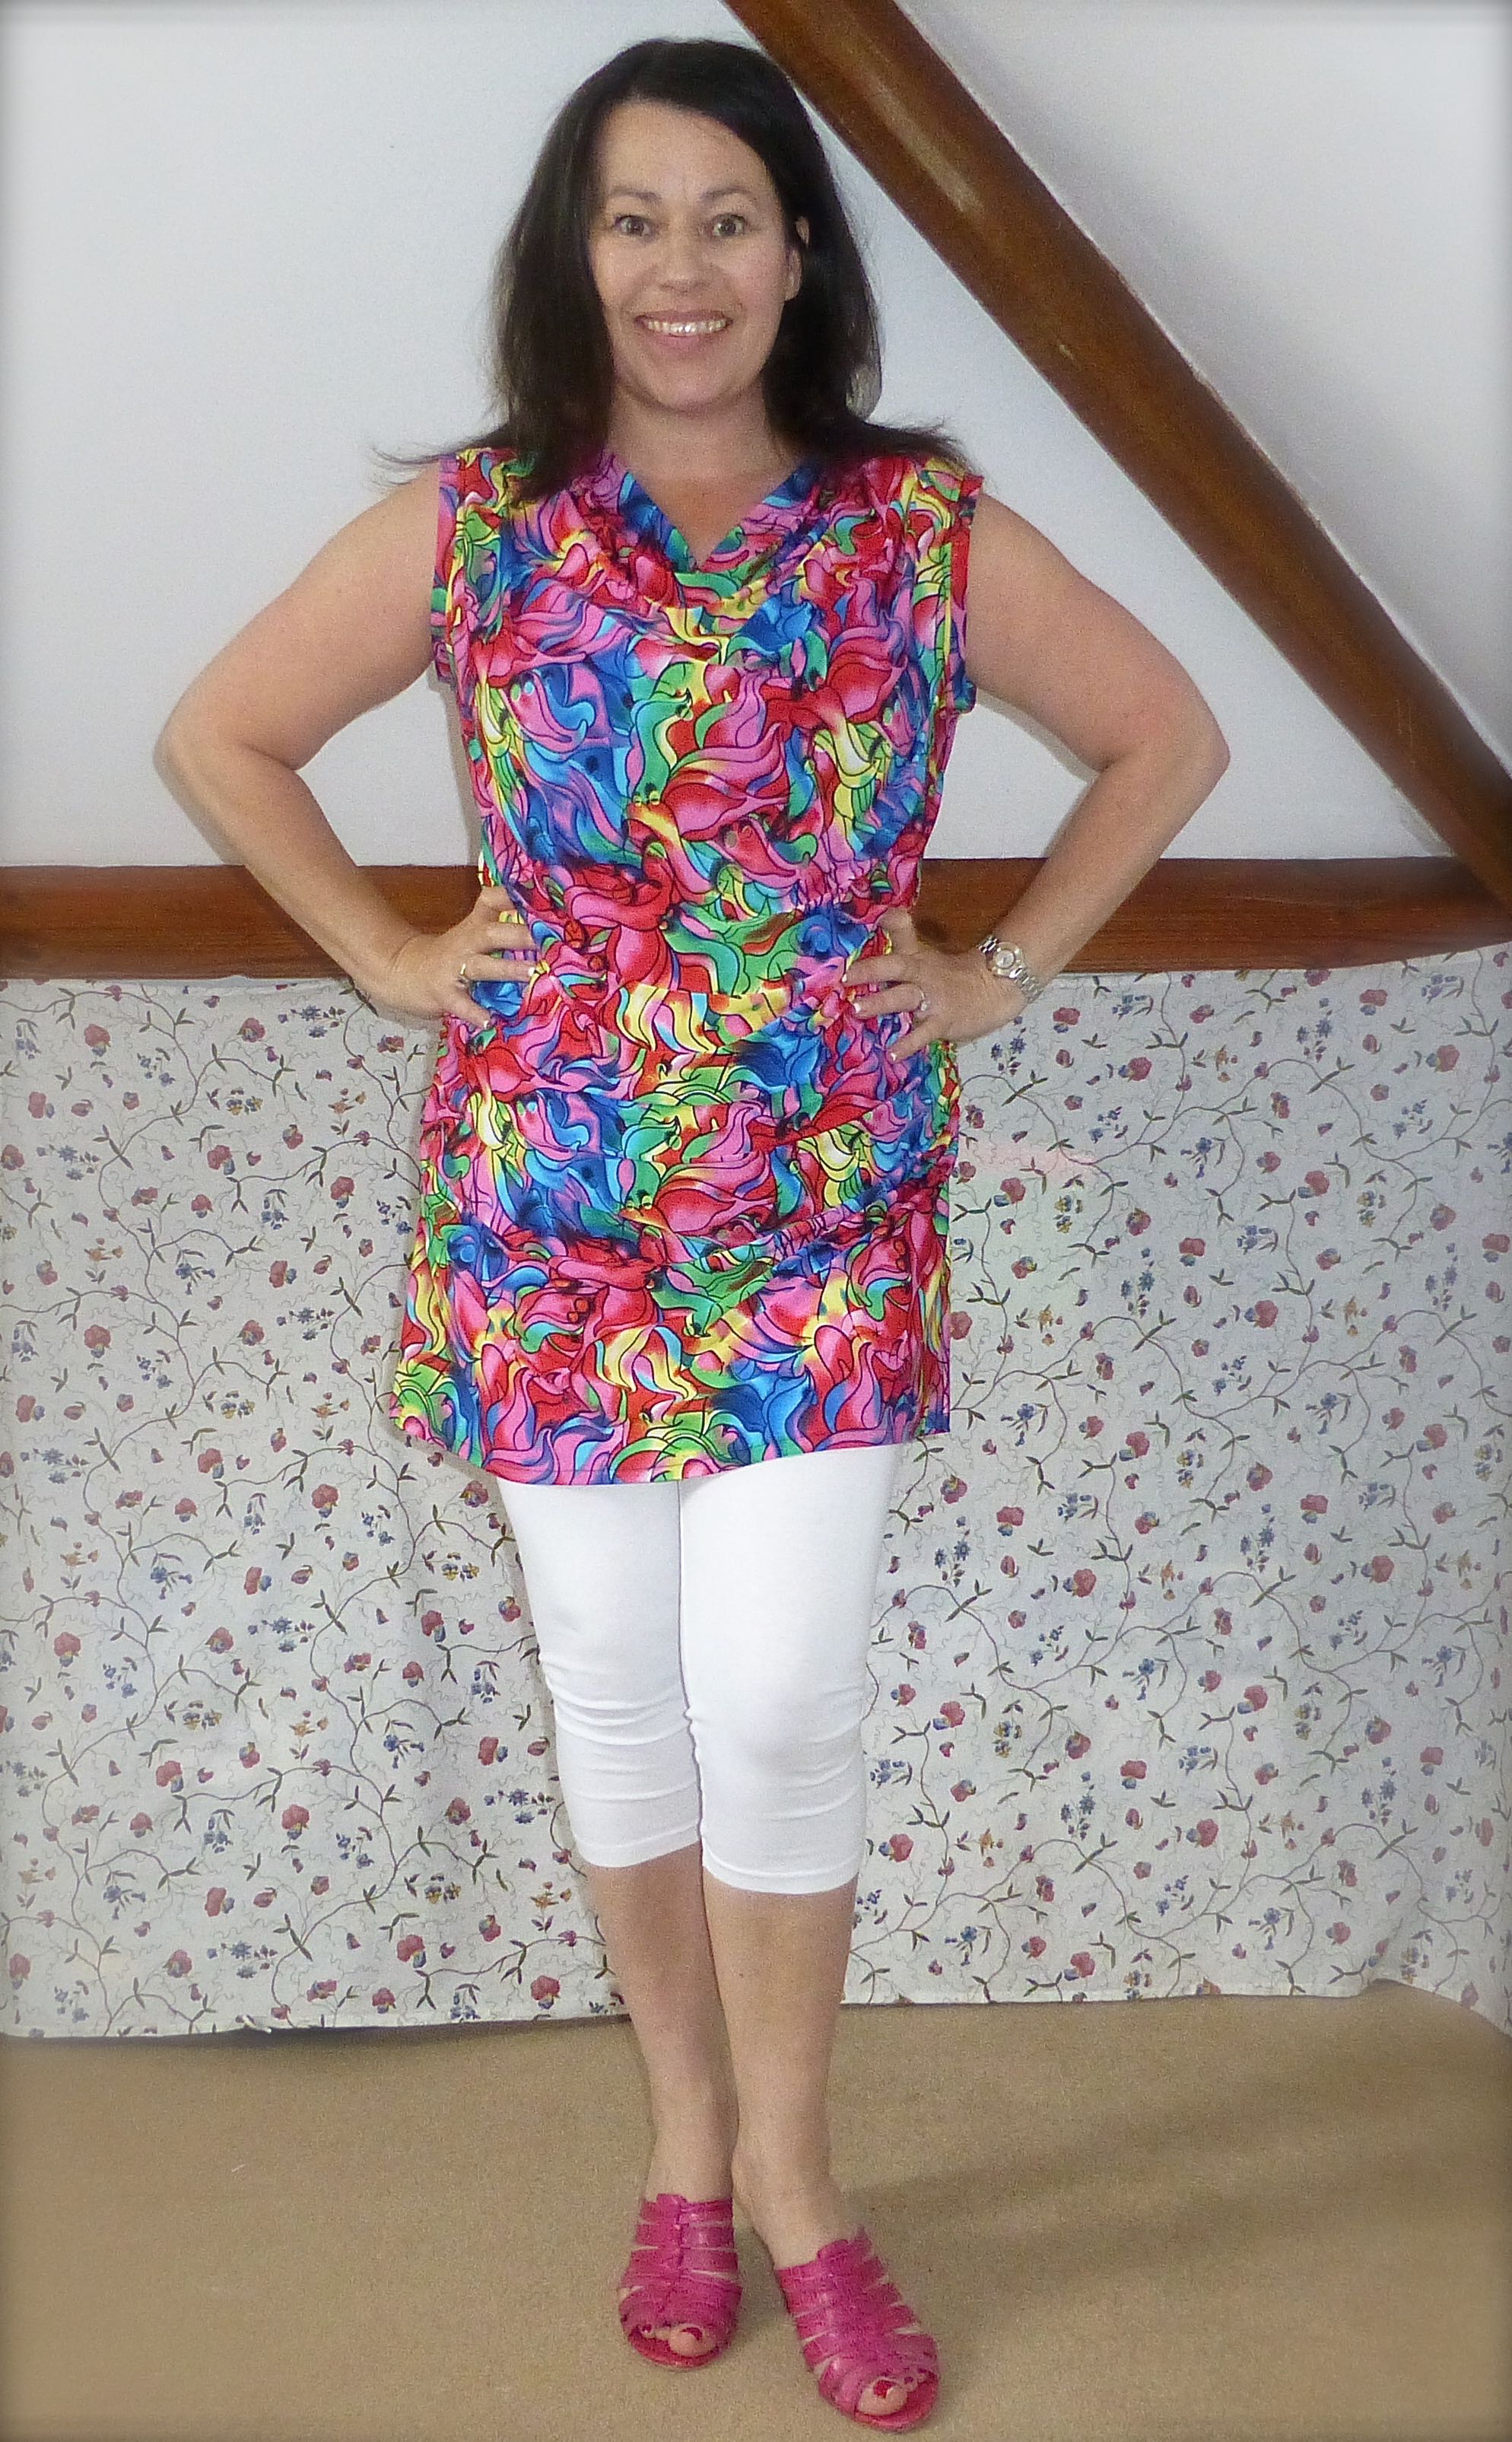
P1050320

Sorted!

Although, in Spain it’s currently 40°C so a pair of bikini bottoms is probably going to be the most I’ll wear. (It’s a private villa, otherwise it would be a maxi dress).

P1050319Right, onto some tops using that gorgeous Liberty fabric I bought in April:)


44 Comments

One-Hour Poncho!

This is my first post as part of the Minerva Crafts Bloggers Network, and this is what I chose for my first make – a bold print Poncho with a cosy cowl neck, perfect for this time of year.

poncho3

If you’re anything like me, you’ve probably got your fingers in several pies and have lots of projects on the go at any one time, many of which are time-heavy and are completed over the course of weeks or even months.

Occasionally, just occasionally, I get impatient and don’t want to add yet another row to a seemingly unending WIP.

Once in a while I feel the need to make something quickly, to achieve something within a couple of hours, to finish something.

Well this is just such a project. In fact it is such a satisfyingly speedy make that it can be whipped up in just one hour!

No, really – look!

one hour poncho

Other than speed, the inspiration for the poncho came from browsing the huge range of fabrics available at Minerva, and happening upon this bold “Chic” print which I thought had a touch of the Parisienne about it – isn’t it fantastic?

P1040557

The fabric is described as “….sweatshirt jersey fabric, a lovely heavy weight with a soft fuzzy-textured backing. The print is a fantastic bold design with the word ‘Chic’ printed randomly across the surface….great for making hoodies and comfy jackets”

Please don’t be put off by the word ‘sweatshirt’ – it’s such good quality that it looks deceptively like wool from a distance, the benefits being that it is cheaper and easier to wash.

If you like it, you’d better be quick as it’s on clearance and there are only limited stocks:)

fabric

I’m not a hoodie kind of gal, so I searched for a poncho pattern and found McCall’s 6209 which is half price at the moment, and decided to make view ‘E’ with a cowl neck to keep those chilly winds out.

poncho pattern envelope

I’ve actually got a knit poncho that looks exactly like the one illustrated and I wear it all the time in place of a jumper. It’s not substantial enough to replace a coat though, so I wanted to choose a warmer fabric which drapes loosely for comfort and the jersey does just that.

poncho pattern

I made the cowl up as per the instructions. The fabric has a lovely weight to it that stops it flopping too much.

poncho cowl neck

The top stitching around the neck edge looked so nice that I decided to stray from the directions a little and top stitch from the shoulder to the arm too, on either side of the seams.

poncho top stitching

I overlocked the raw edges before hemming them as a double-turned hem would have been too bulky in this fabric.

poncho overlocked edges

I meandered a little further from the instructions when I also decided to add some satin bias binding all around the lower hem.

This addition creates a more professional finish and the sheen of the satin adds a luxury edge to the poncho.

poncho binding detail

poncho binding

I’m so pleased with the bias binding, I wish I’d ordered more and done the armhole edges too, instead of hemming them.

poncho bias binding

So, one and a half hours later (due to the extra embellishments) all it needed was a cold, windy day to test it out and, being in good old Blighty we are not short of those!

chic poncho

I had no idea the poncho would cause such a stir though and I’ve already had loads of compliments. I suppose it is pretty unique and that in itself will draw comments.

Do you ever get the urge for a quick make?

What have you created in just a couple of hours?


128 Comments

Tutorial: Crochet Poncho

This last week has been pretty miserable weather-wise in South Somerset. I have managed to walk the dogs on several days but mostly they put one paw on the doorstep, feel the rain and high-tail it back indoors. They’re most definitely fair-weather walkers which is a shame because I quite like walking in the rain.

On the plus side, being cosied up in front of a roaring fire has had its advantages in that I’ve been finishing some WIPs (and starting some others…) and I actually have one ready to show you complete with a tutorial!

This one was relatively straightforward – I wrote the pattern as I went and got it right first time…with no unpicking at all! Or should I say “frogging”. That’s a lovely word that I’ve only just come across but I think I’ll use it in future:)

Anyway, drum roll please…..

…………………………Tadah!

crochet poncho

Most of the poncho patterns out there seem to be decorative rather than functional and I wanted one that could replace a coat and scarf, so I designed this one with a toasty cowl neck that can be rolled up around my face if it gets windy.

crochet poncho3

Two rows of granny stripe in blue were added at the bottom edge for a bit more interest.

crochet poncho4

Impossible to get a decent selfie but this gives you an idea of what it looks like on;

crochet poncho5

I love it!

It crochets up really quickly and could be finished in two or three evenings so why not have a go? Here are the instructions: –

CROCHET PONCHO

You will need: 5 x 100g super chunky yarn in Red and 1 x 100g in Blue (I used “Life Super Chunky” by Stylecraft with 25%wool)

10mm crochet hook

Tension: 6 rows and 9tr in 10x10cm

Cowl

In Red, Ch50, sl st in first chain to join round

*Ch3, 1tr in each st to end. Join with a sl st into ch3* Repeat ** until your work measures 8″ (20cm) then continue on to work the Poncho

Poncho

Ch3, 1tr, ch1, 2tr all into next stitch (centre back), 1tr into next 26 stitches, 2tr, ch1, 2tr all into next stitch (centre front), 1tr in each stitch to end.

Subsequent rows are all treble crochet, increasing at centre back and front as follows: 2tr, ch1, 2tr

Repeat until your arm length measures 20″ (50cm)

Change to Blue in the sl st to join the last round.

Ch3, 2tr,*sk 2, 3tr* Repeat ** to end increasing at centre back and front as before. Join with a sl st.

Repeat last row.

For the final row, work 1dc into each stitch to end. Fasten off and weave in ends.

And there you have it! A lovely warm crocheted poncho to see you through Autumn:)

crochet poncho2