
I am quietly fuming after being (very kindly) informed that someone is selling my Greengate Style Baby Poncho pattern on eBay, even using the original photograph from my blog!
It’s not just the fact that they are making money from my design, but that people are paying for it when it is available for free. Maddening.
Anyway, being the sharing, caring folk that we Crafters are, I have another tutorial for you – a Bookbound Journal.

I made mine using part of a hide of turquoise leather that I had leftover from a previous project, but you could use boiled wool, felt, cardboard – anything really. This was constructed entirely from stuff I had already so was completely free to make, which was essential as it went into my #sewingsanta parcel and I had already reached my spending limit.
So, here we go.
How To Make A Bookbound Journal
You will need: –
16-20 sheets paper (I used a mix of plain, squared, lined, coloured and notelet)
Cover Material which doesn’t fray (Leather, Cardboard, Felt, Boiled wool etc)
Waxed Cotton/Strong Thread
Magnetic Closure
Bradawl/Craft Knife
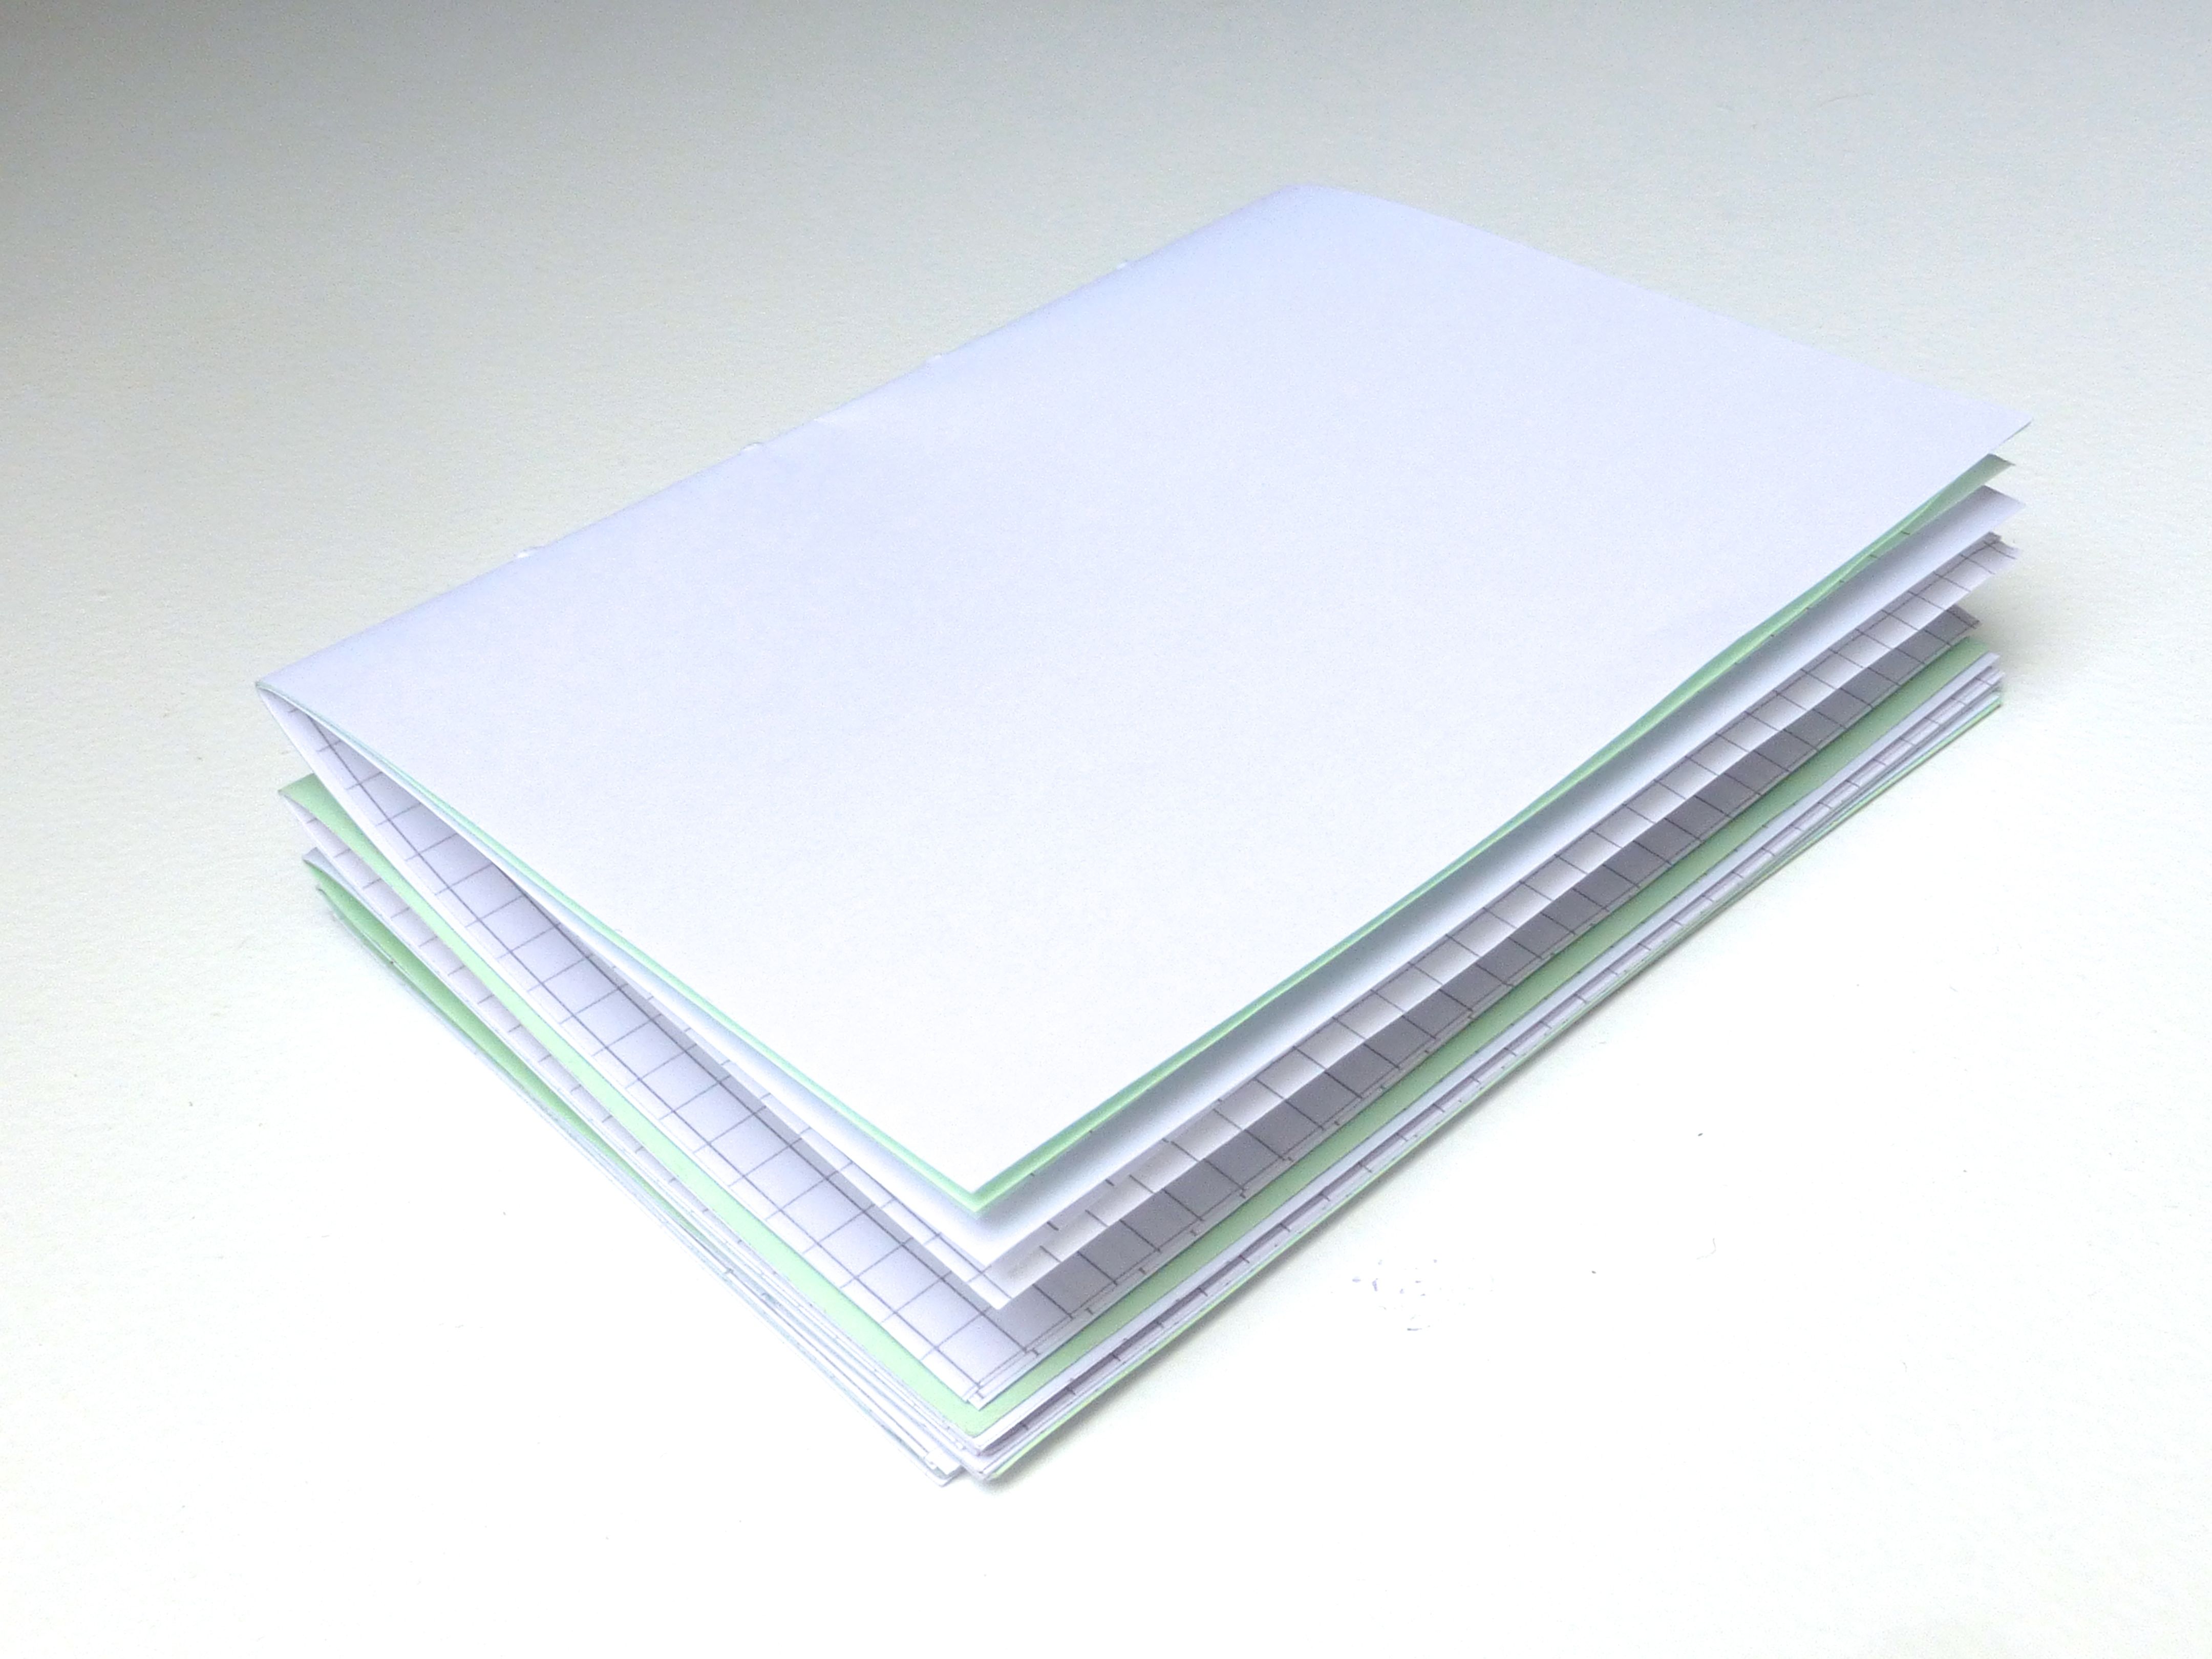
1. Stack your paper in piles of 4 or 5 and fold in half to make a ‘signature’. I made 4 signatures to go in my book.
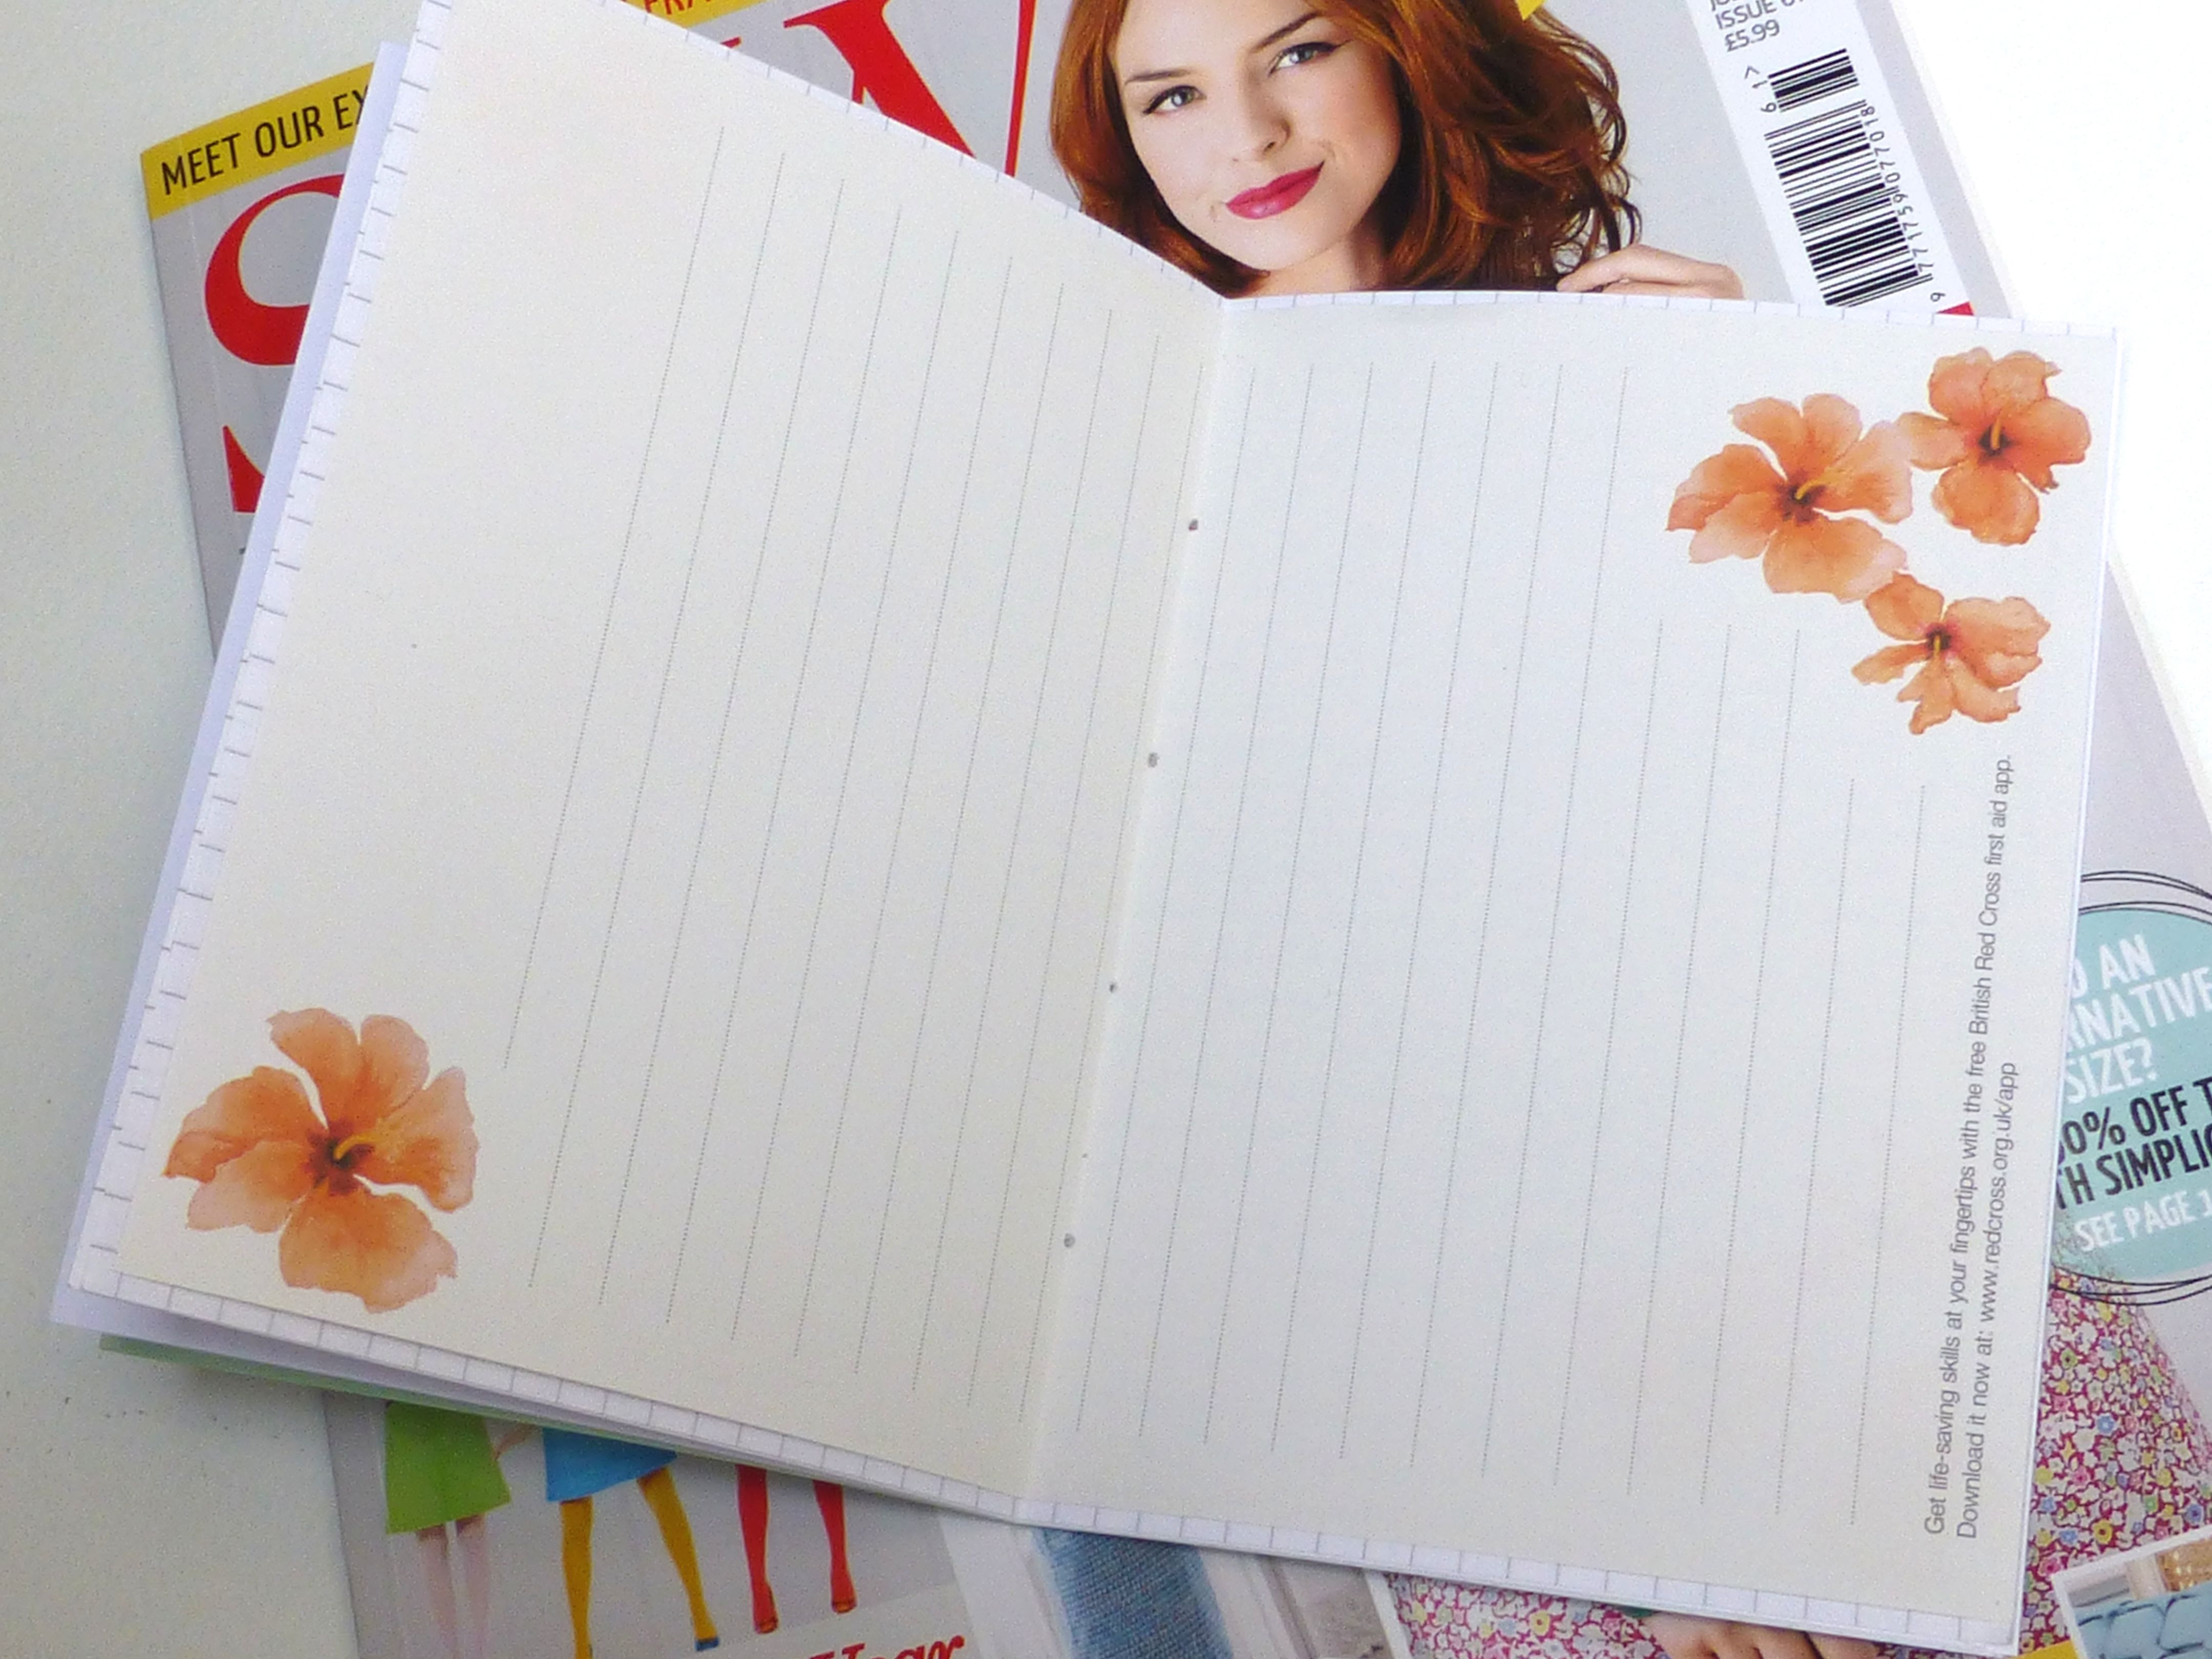
2. Using a bradawl or other sharp pointed tool, pierce four holes through the fold at regular intervals making sure you go through all the layers of paper.


I use an old magazine underneath to protect my table.
3. Fold and stack all your signatures neatly together and lay on your chosen cover material. Cut around leaving about half a centimetre all round.
If you want to make a flap to close the journal, you can extend the fabric as shown below.


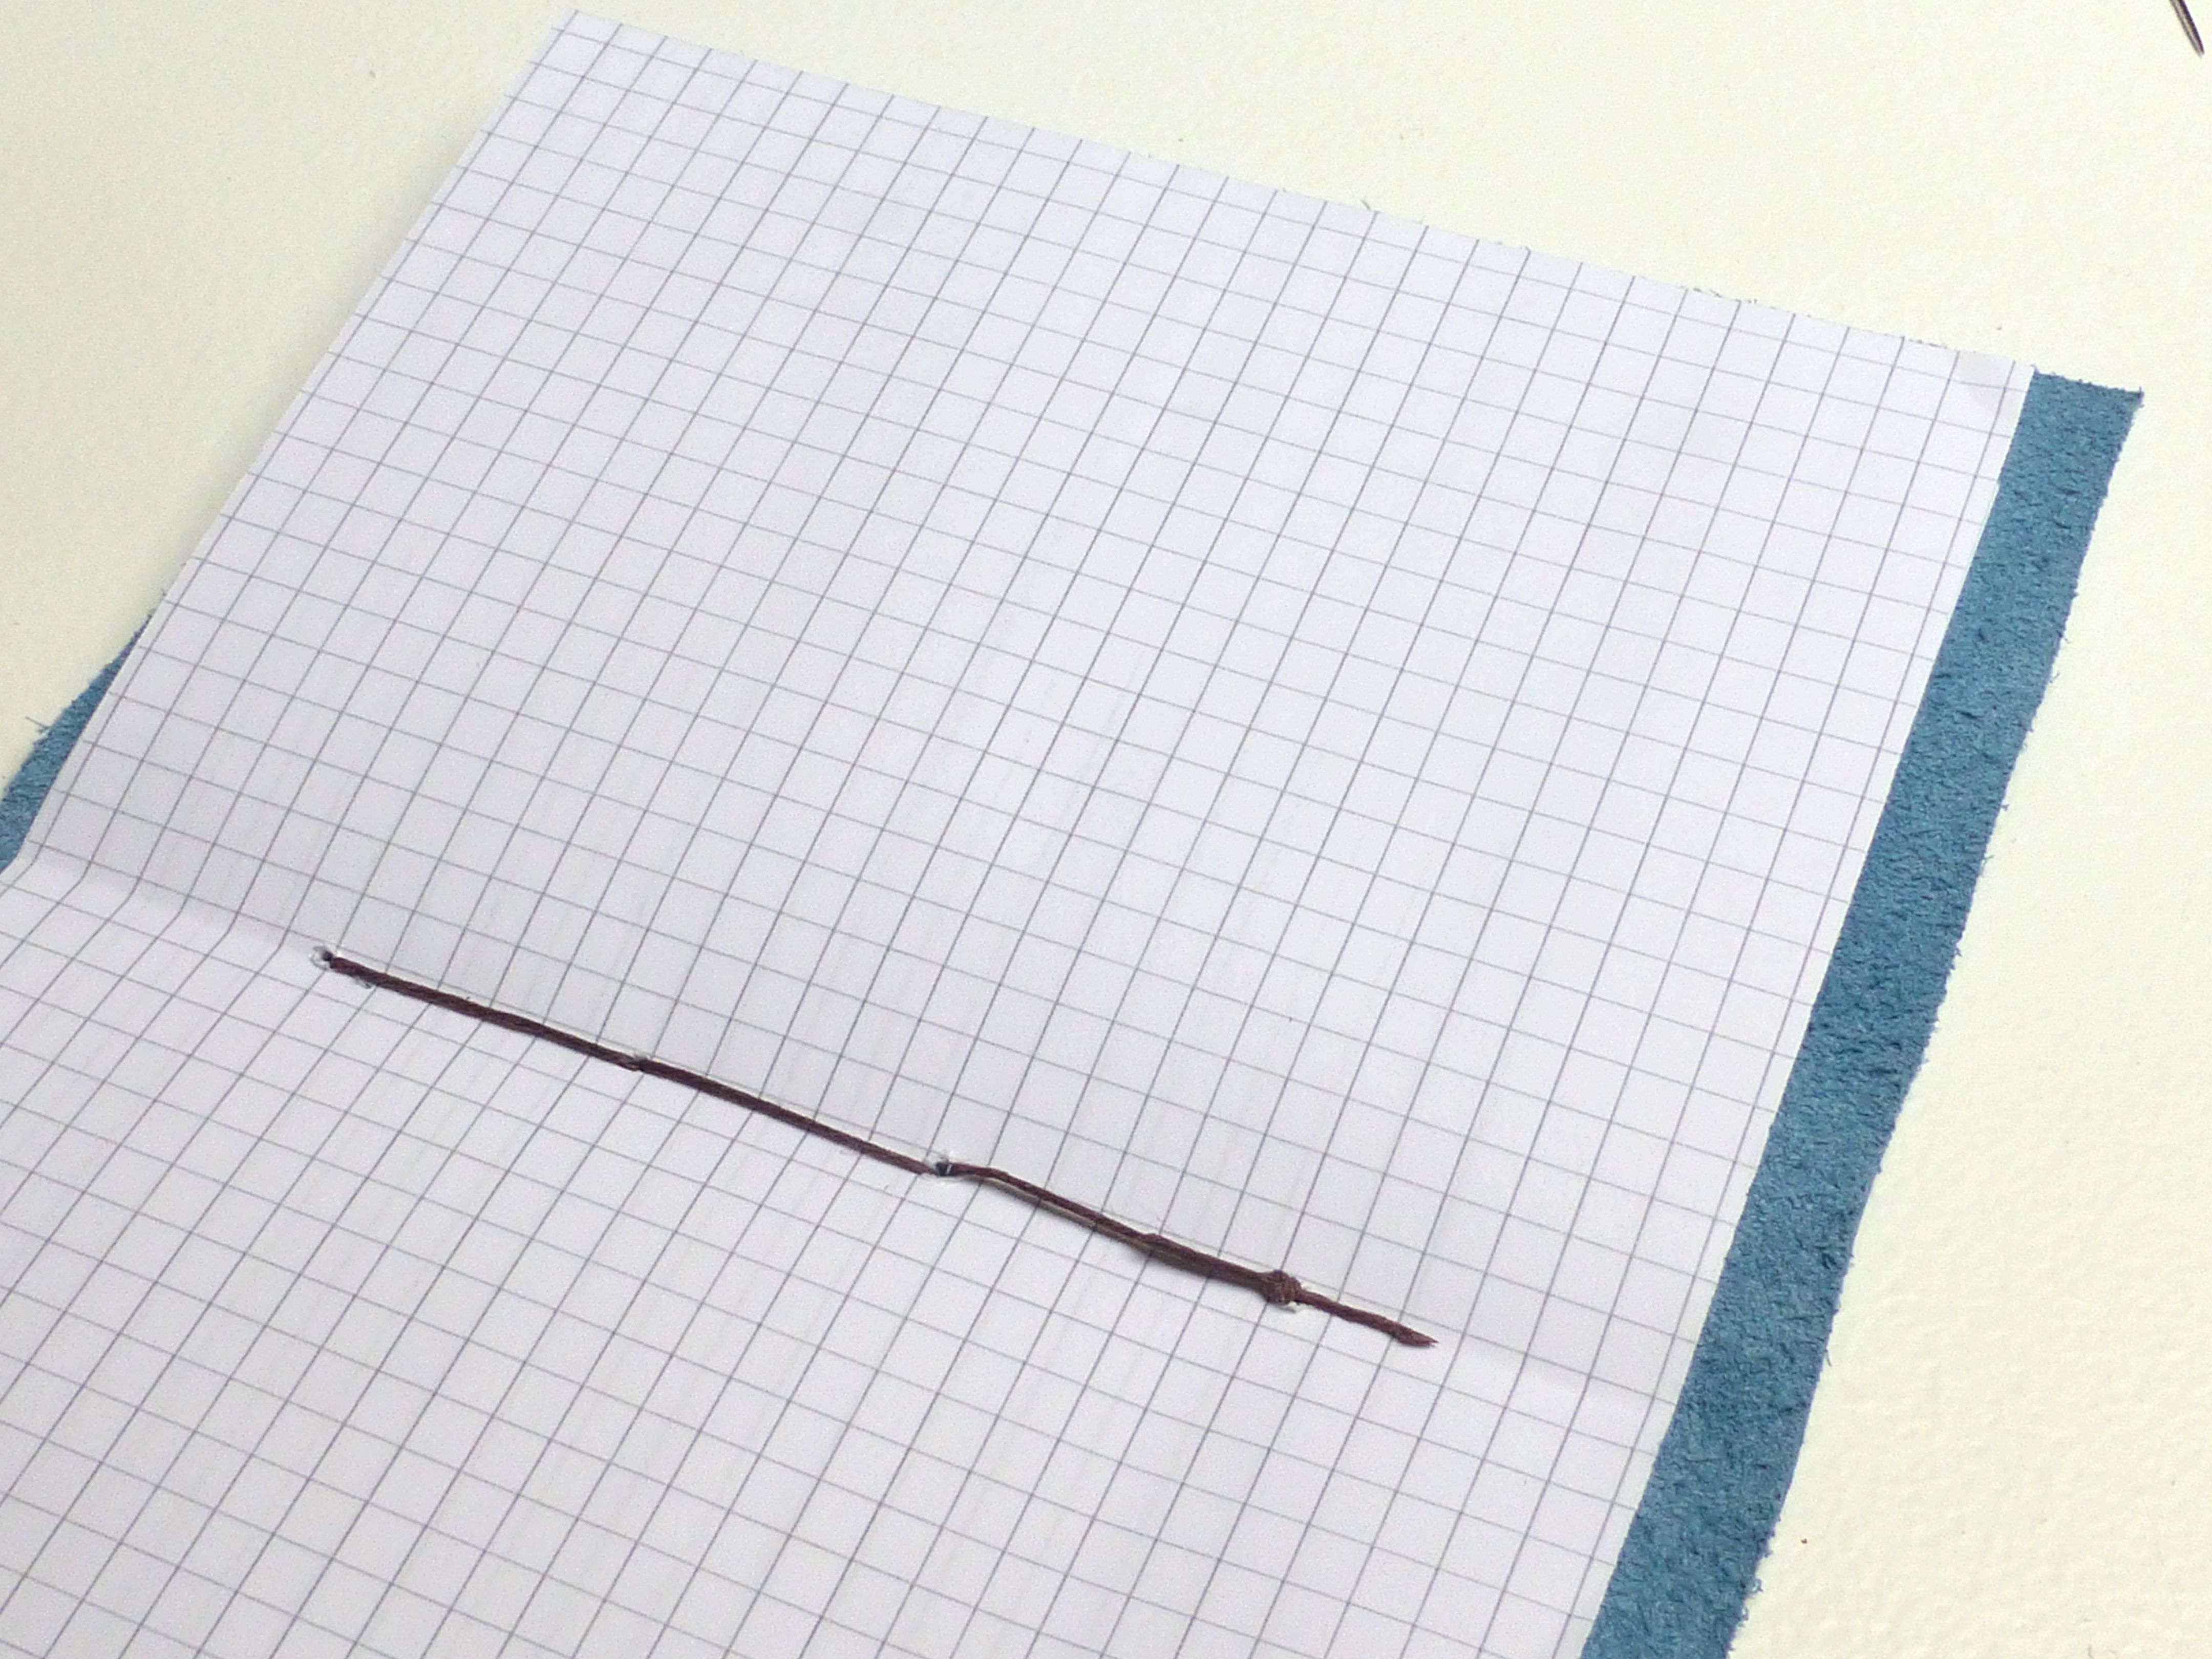
4. Mark a line about half a centimetre onto the fabric, directly in line with the holes in the signatures.


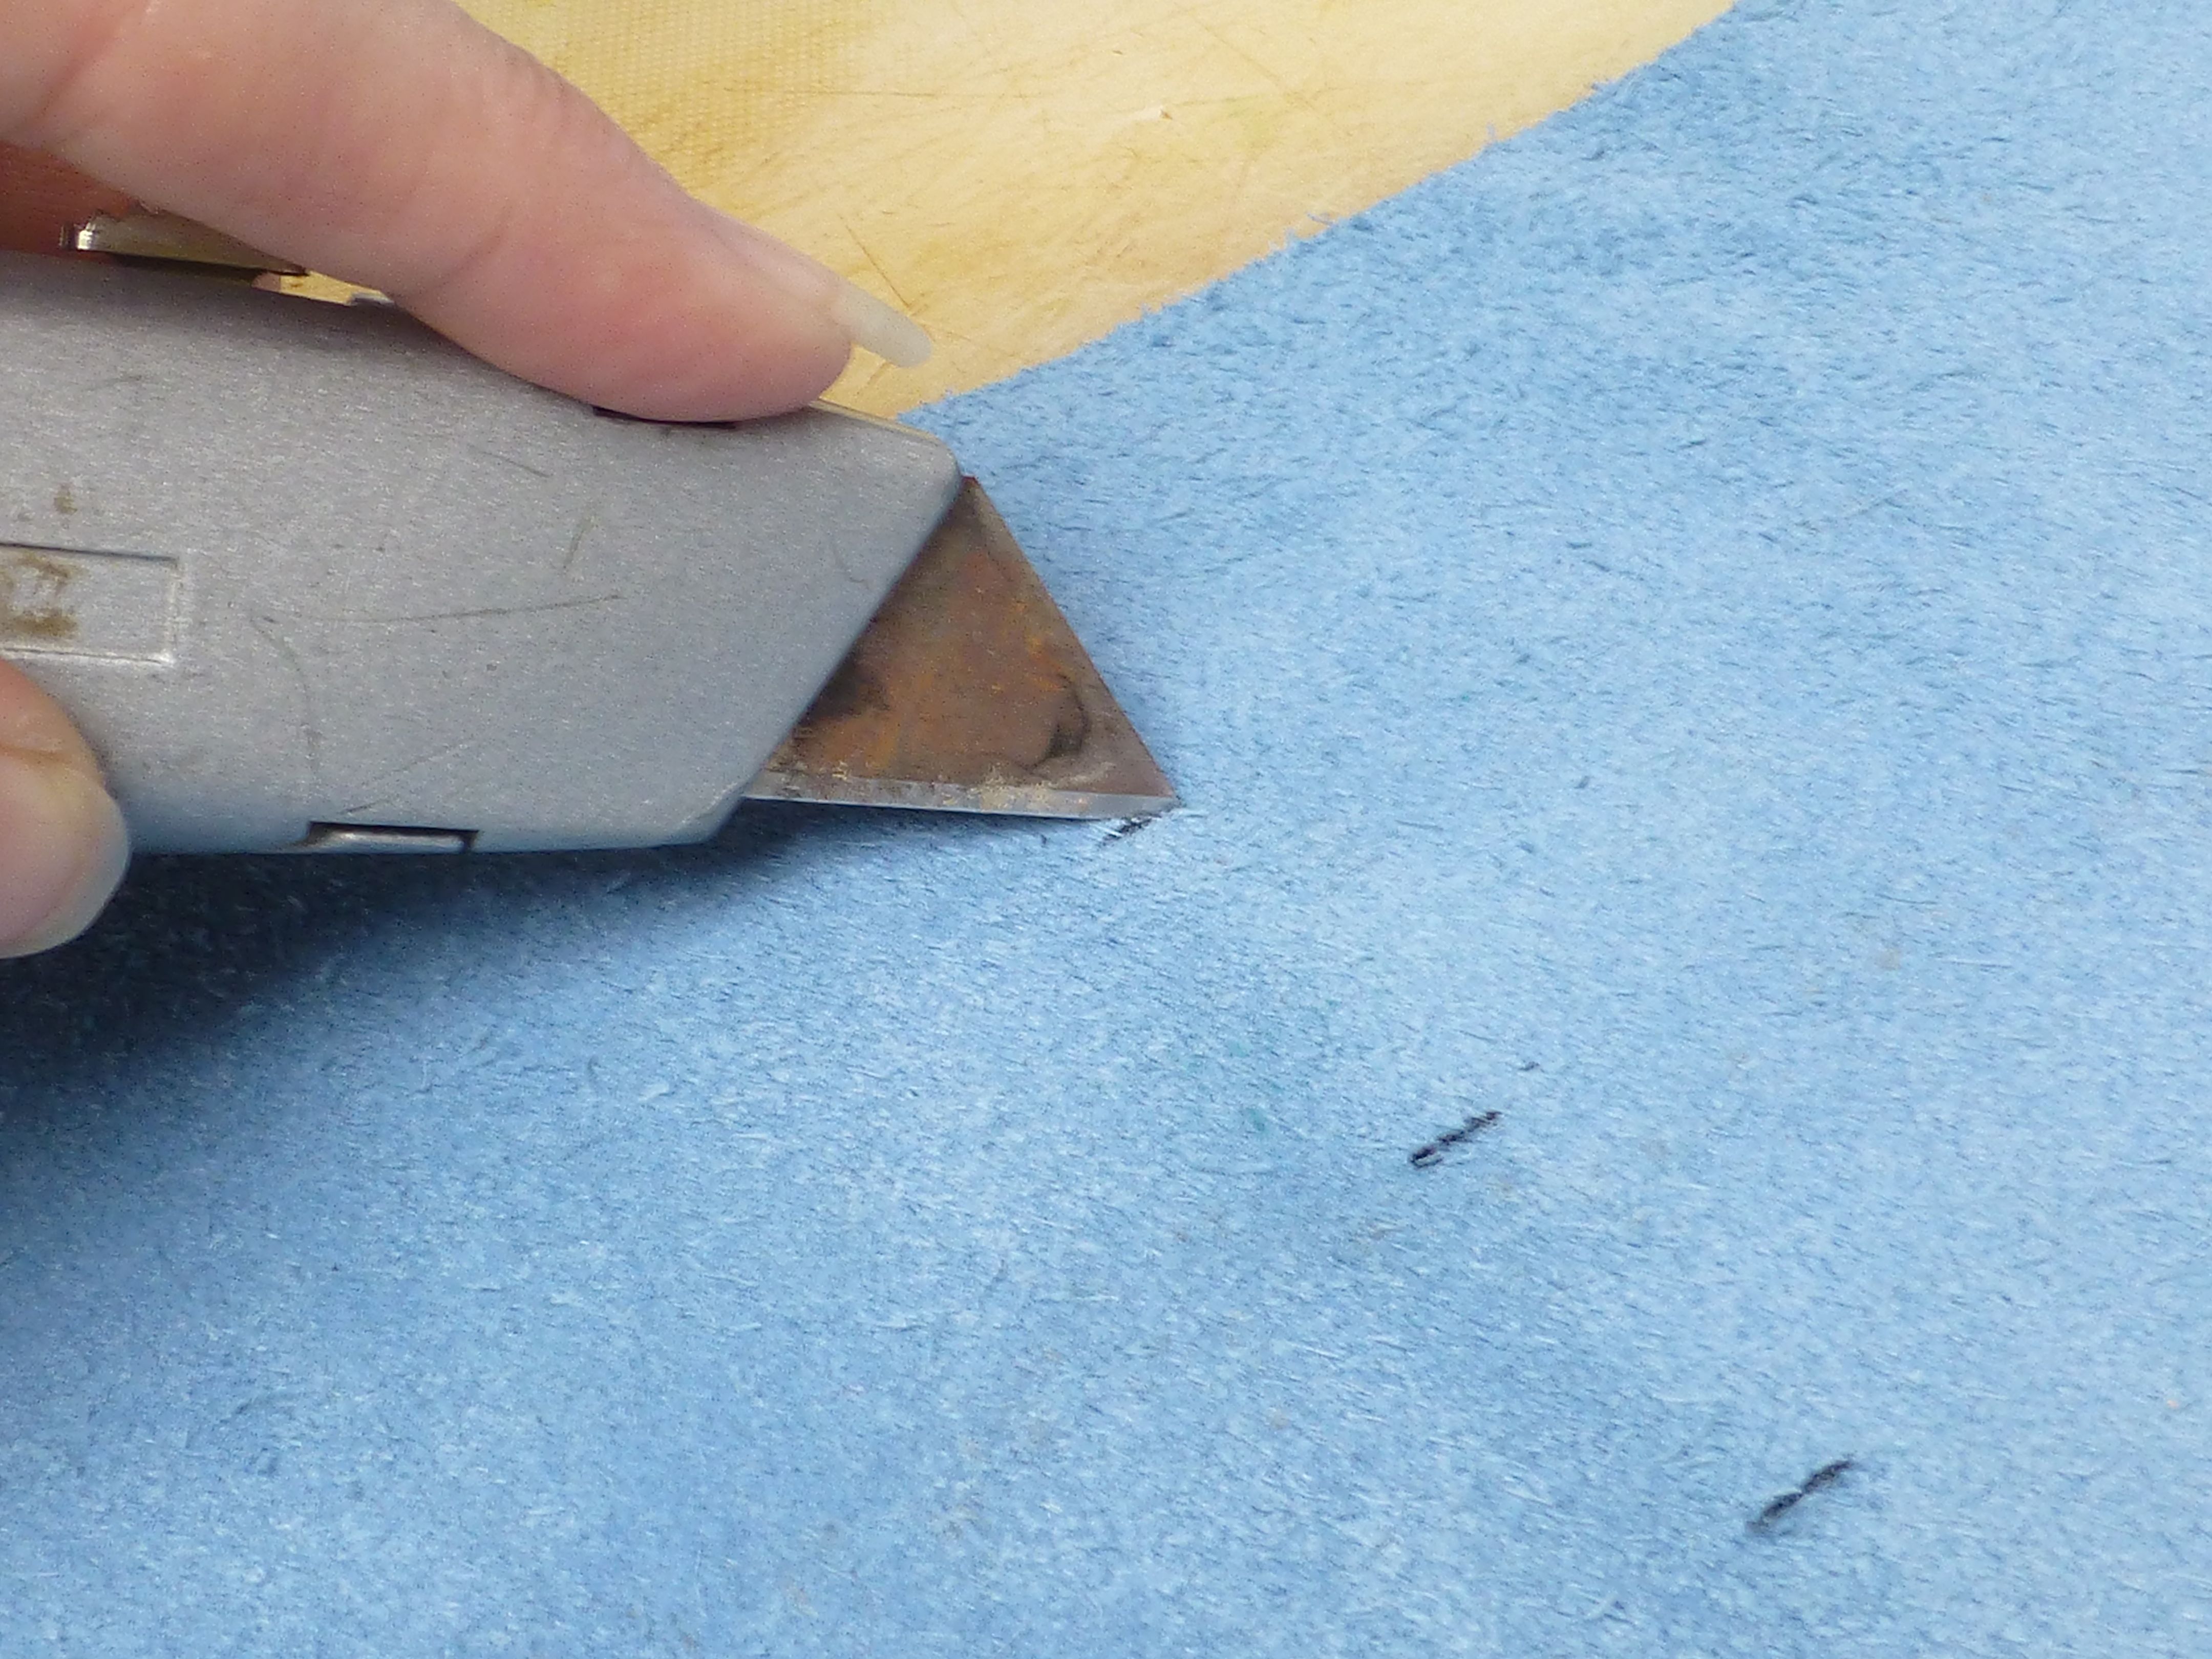
5. Cut through the fabric at these markings using a craft knife.
6. Thread a needle with a length of waxed cotton (or strong thread) twice the measurement of the spine of your journal.

7. Starting at the bottom, pass the needle through the hole in the first signature and the slit in the cover from the inside to the outside as shown below. Leave a tail of thread about 5cm long.

8. Pass the needle back through the second slit and signature.

10. Continue in this way until you reach the top, then weave your way back down to the bottom in the same way.


11. Tie the ends together and trim for a neat finish.


12. Add all the other signatures in the same way.


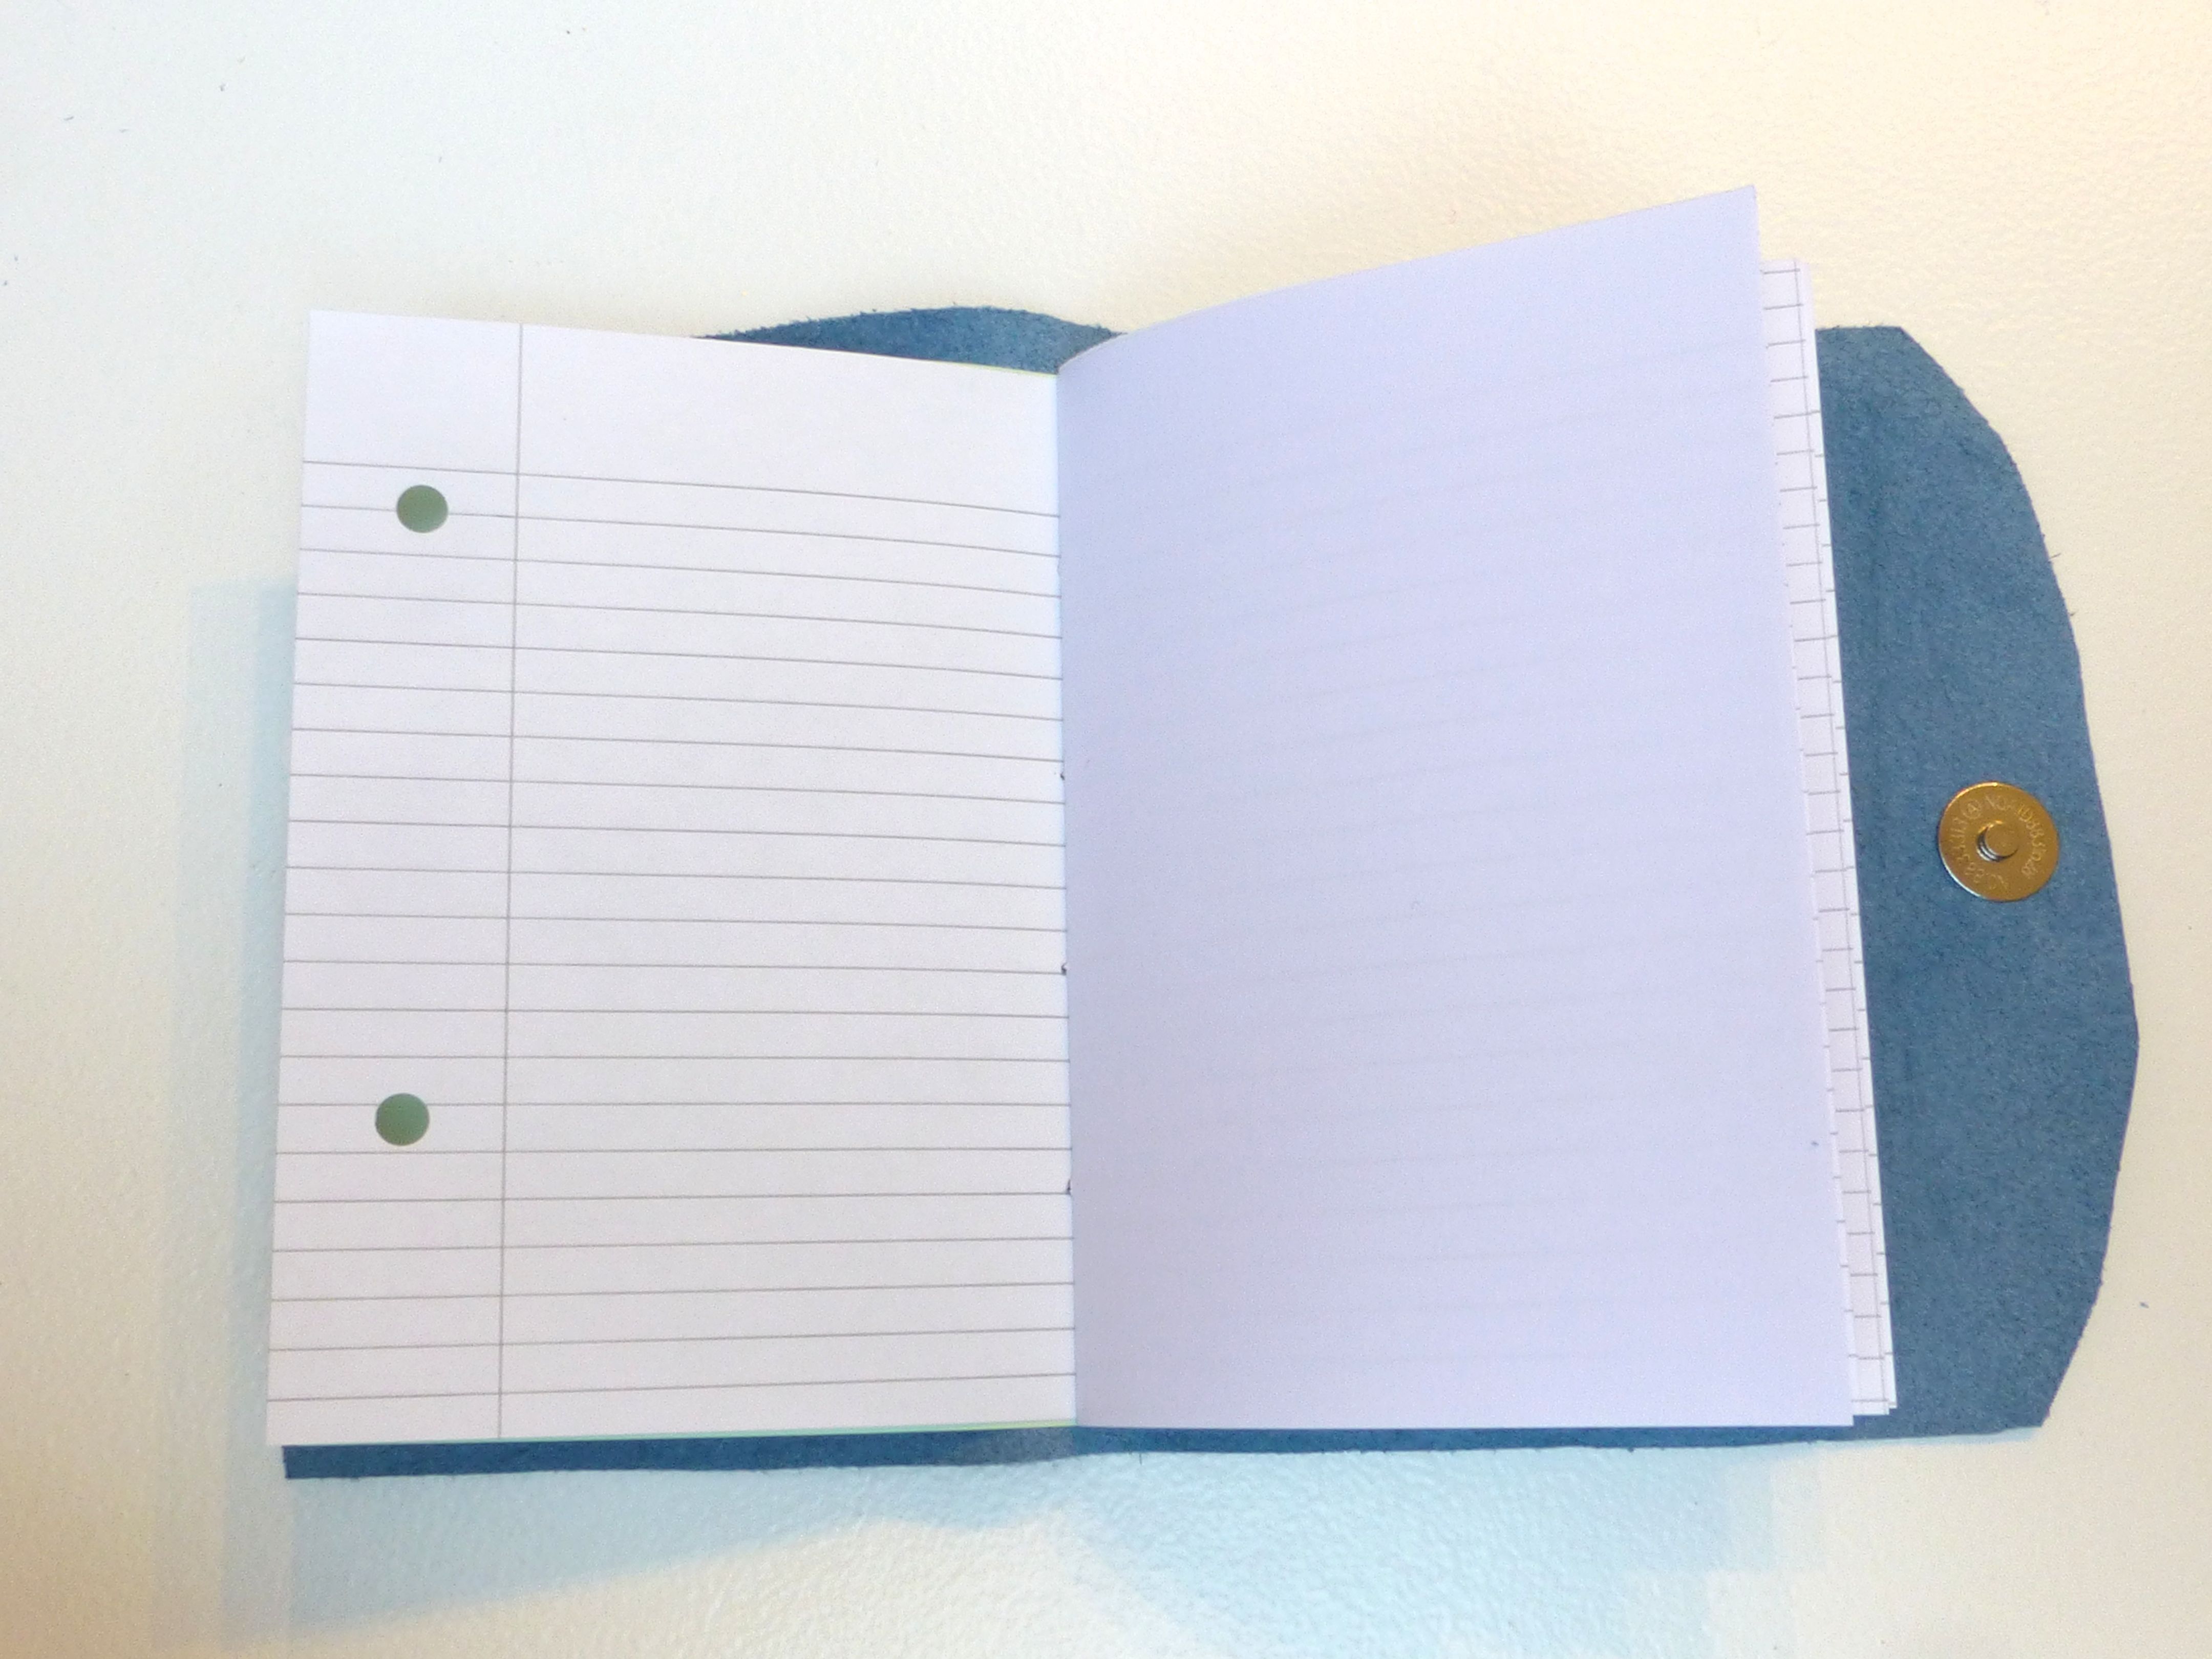
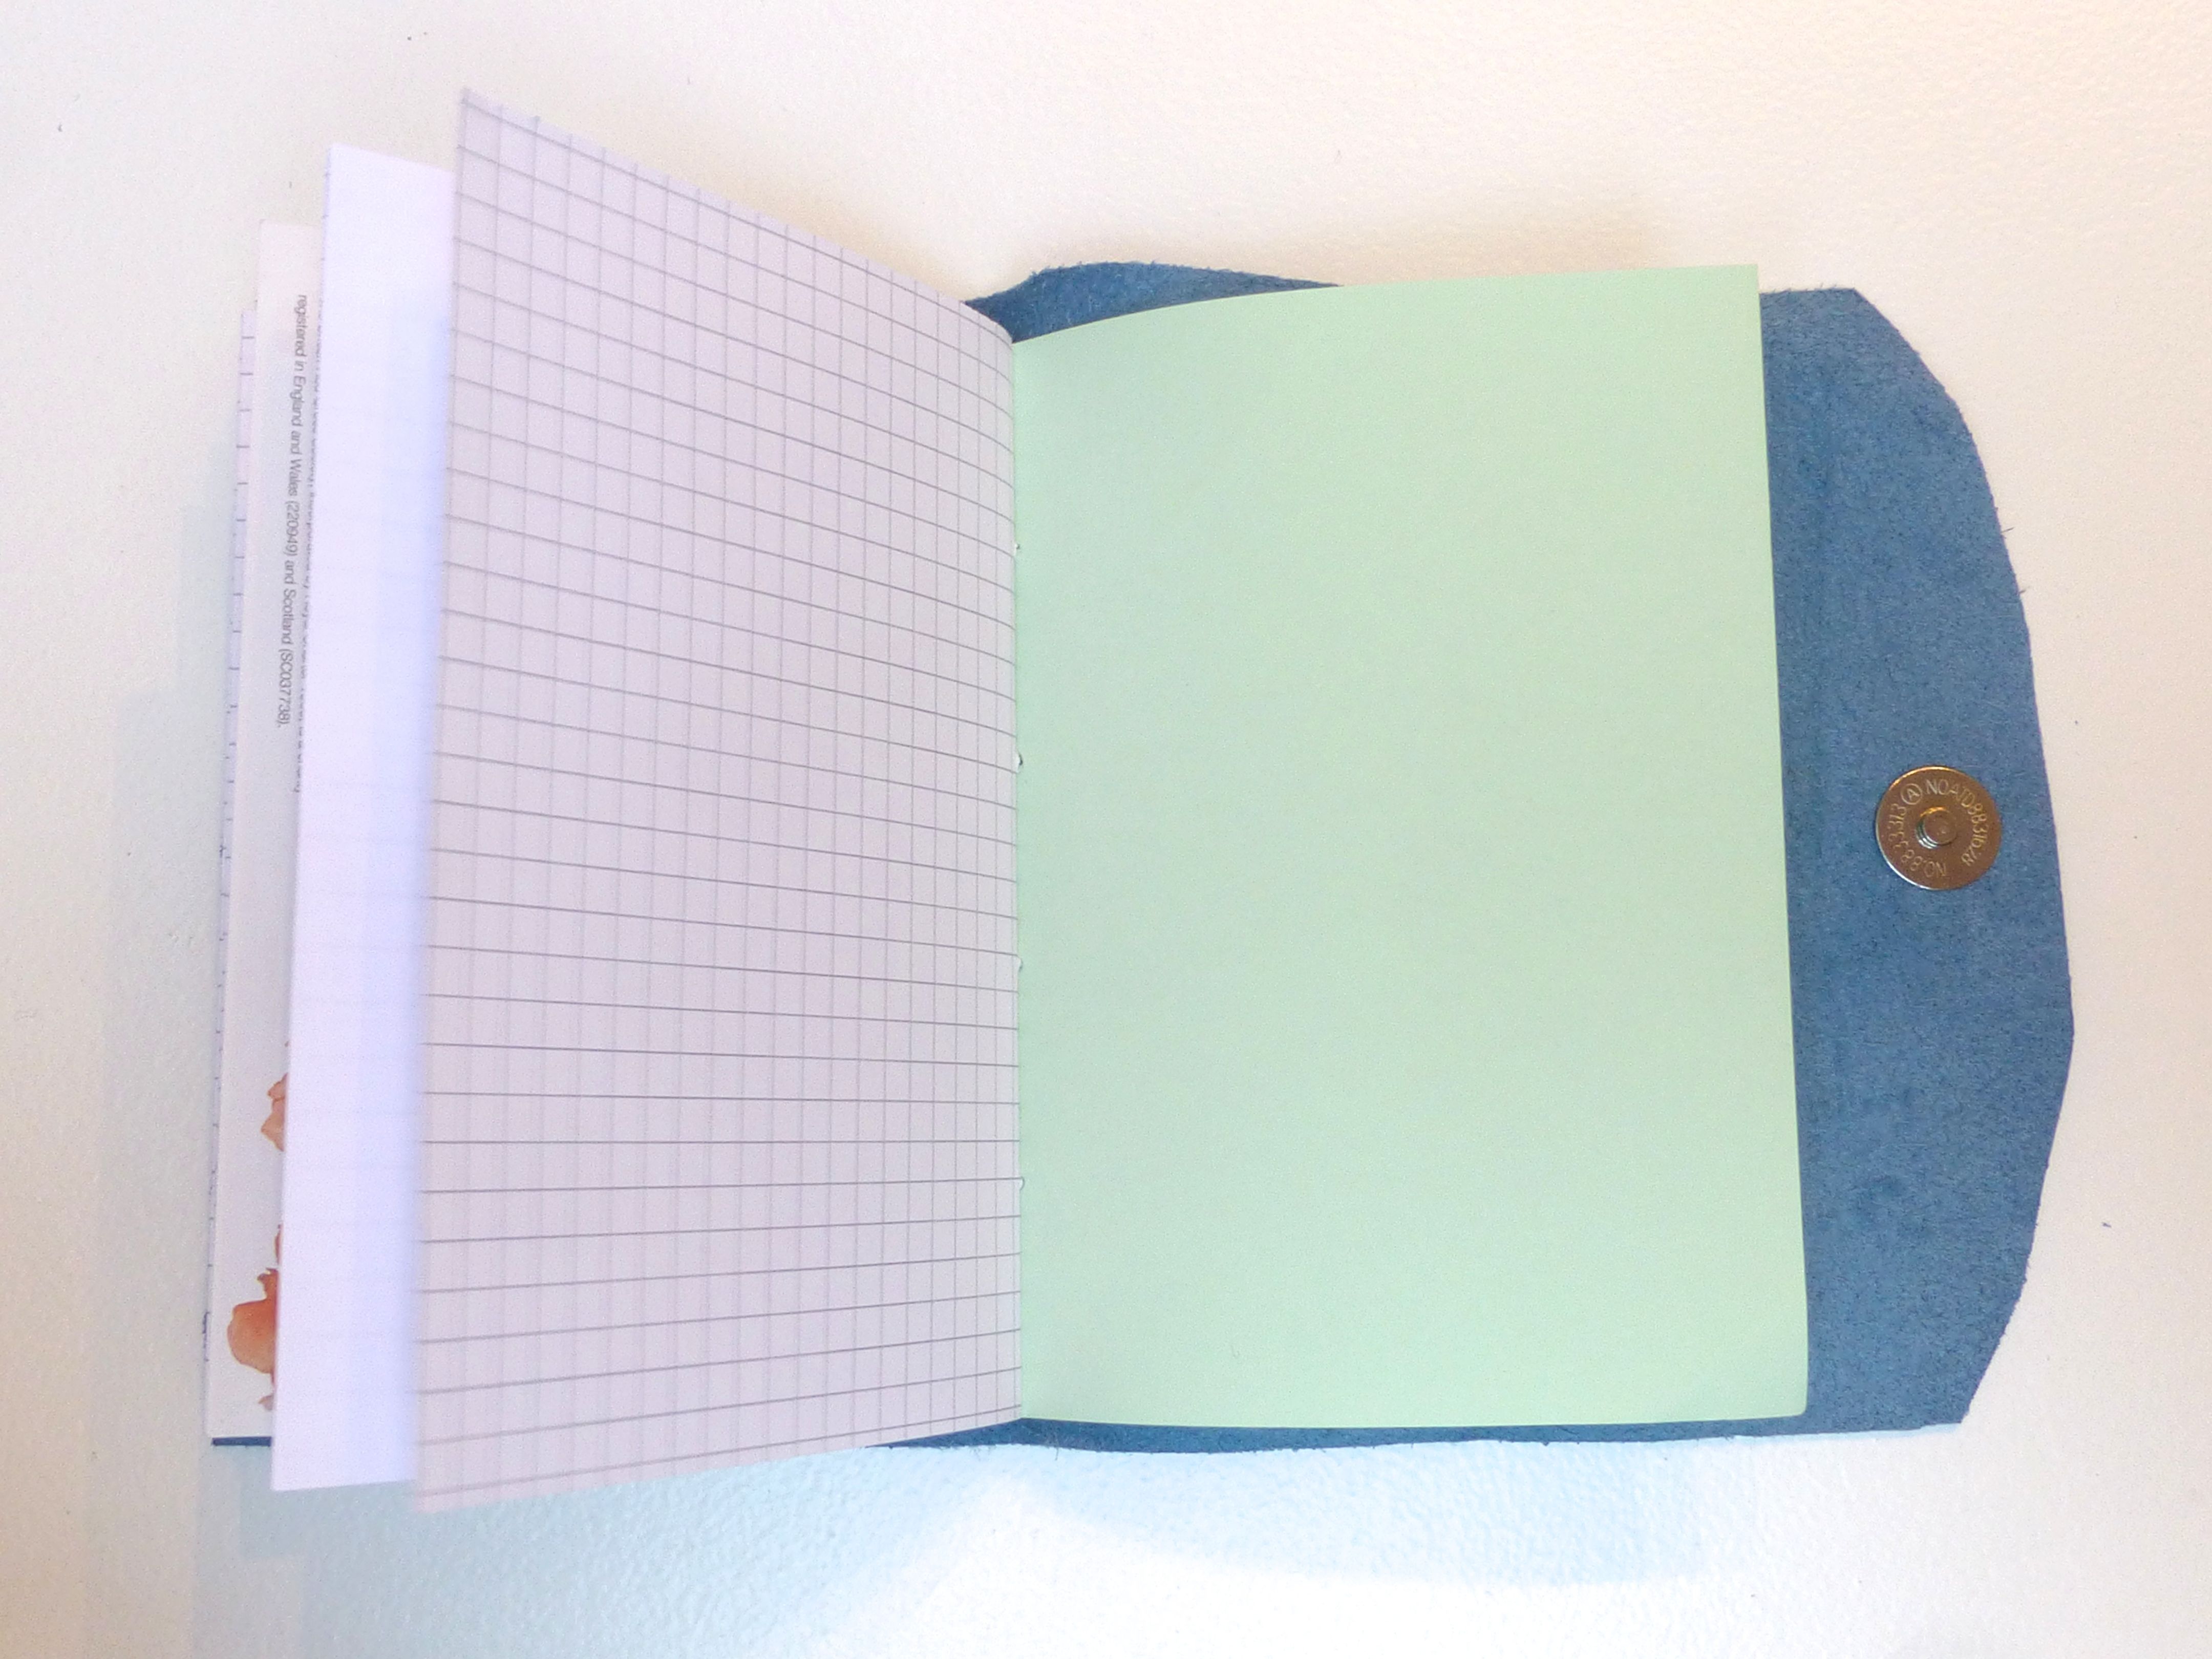
13. If you’ve added a flap, now is the time to add a closure of your choice. It can be a simple length of leather knotted at one end, slipped through a slit and wrapped around or a magnetic snap fastening as I have used.
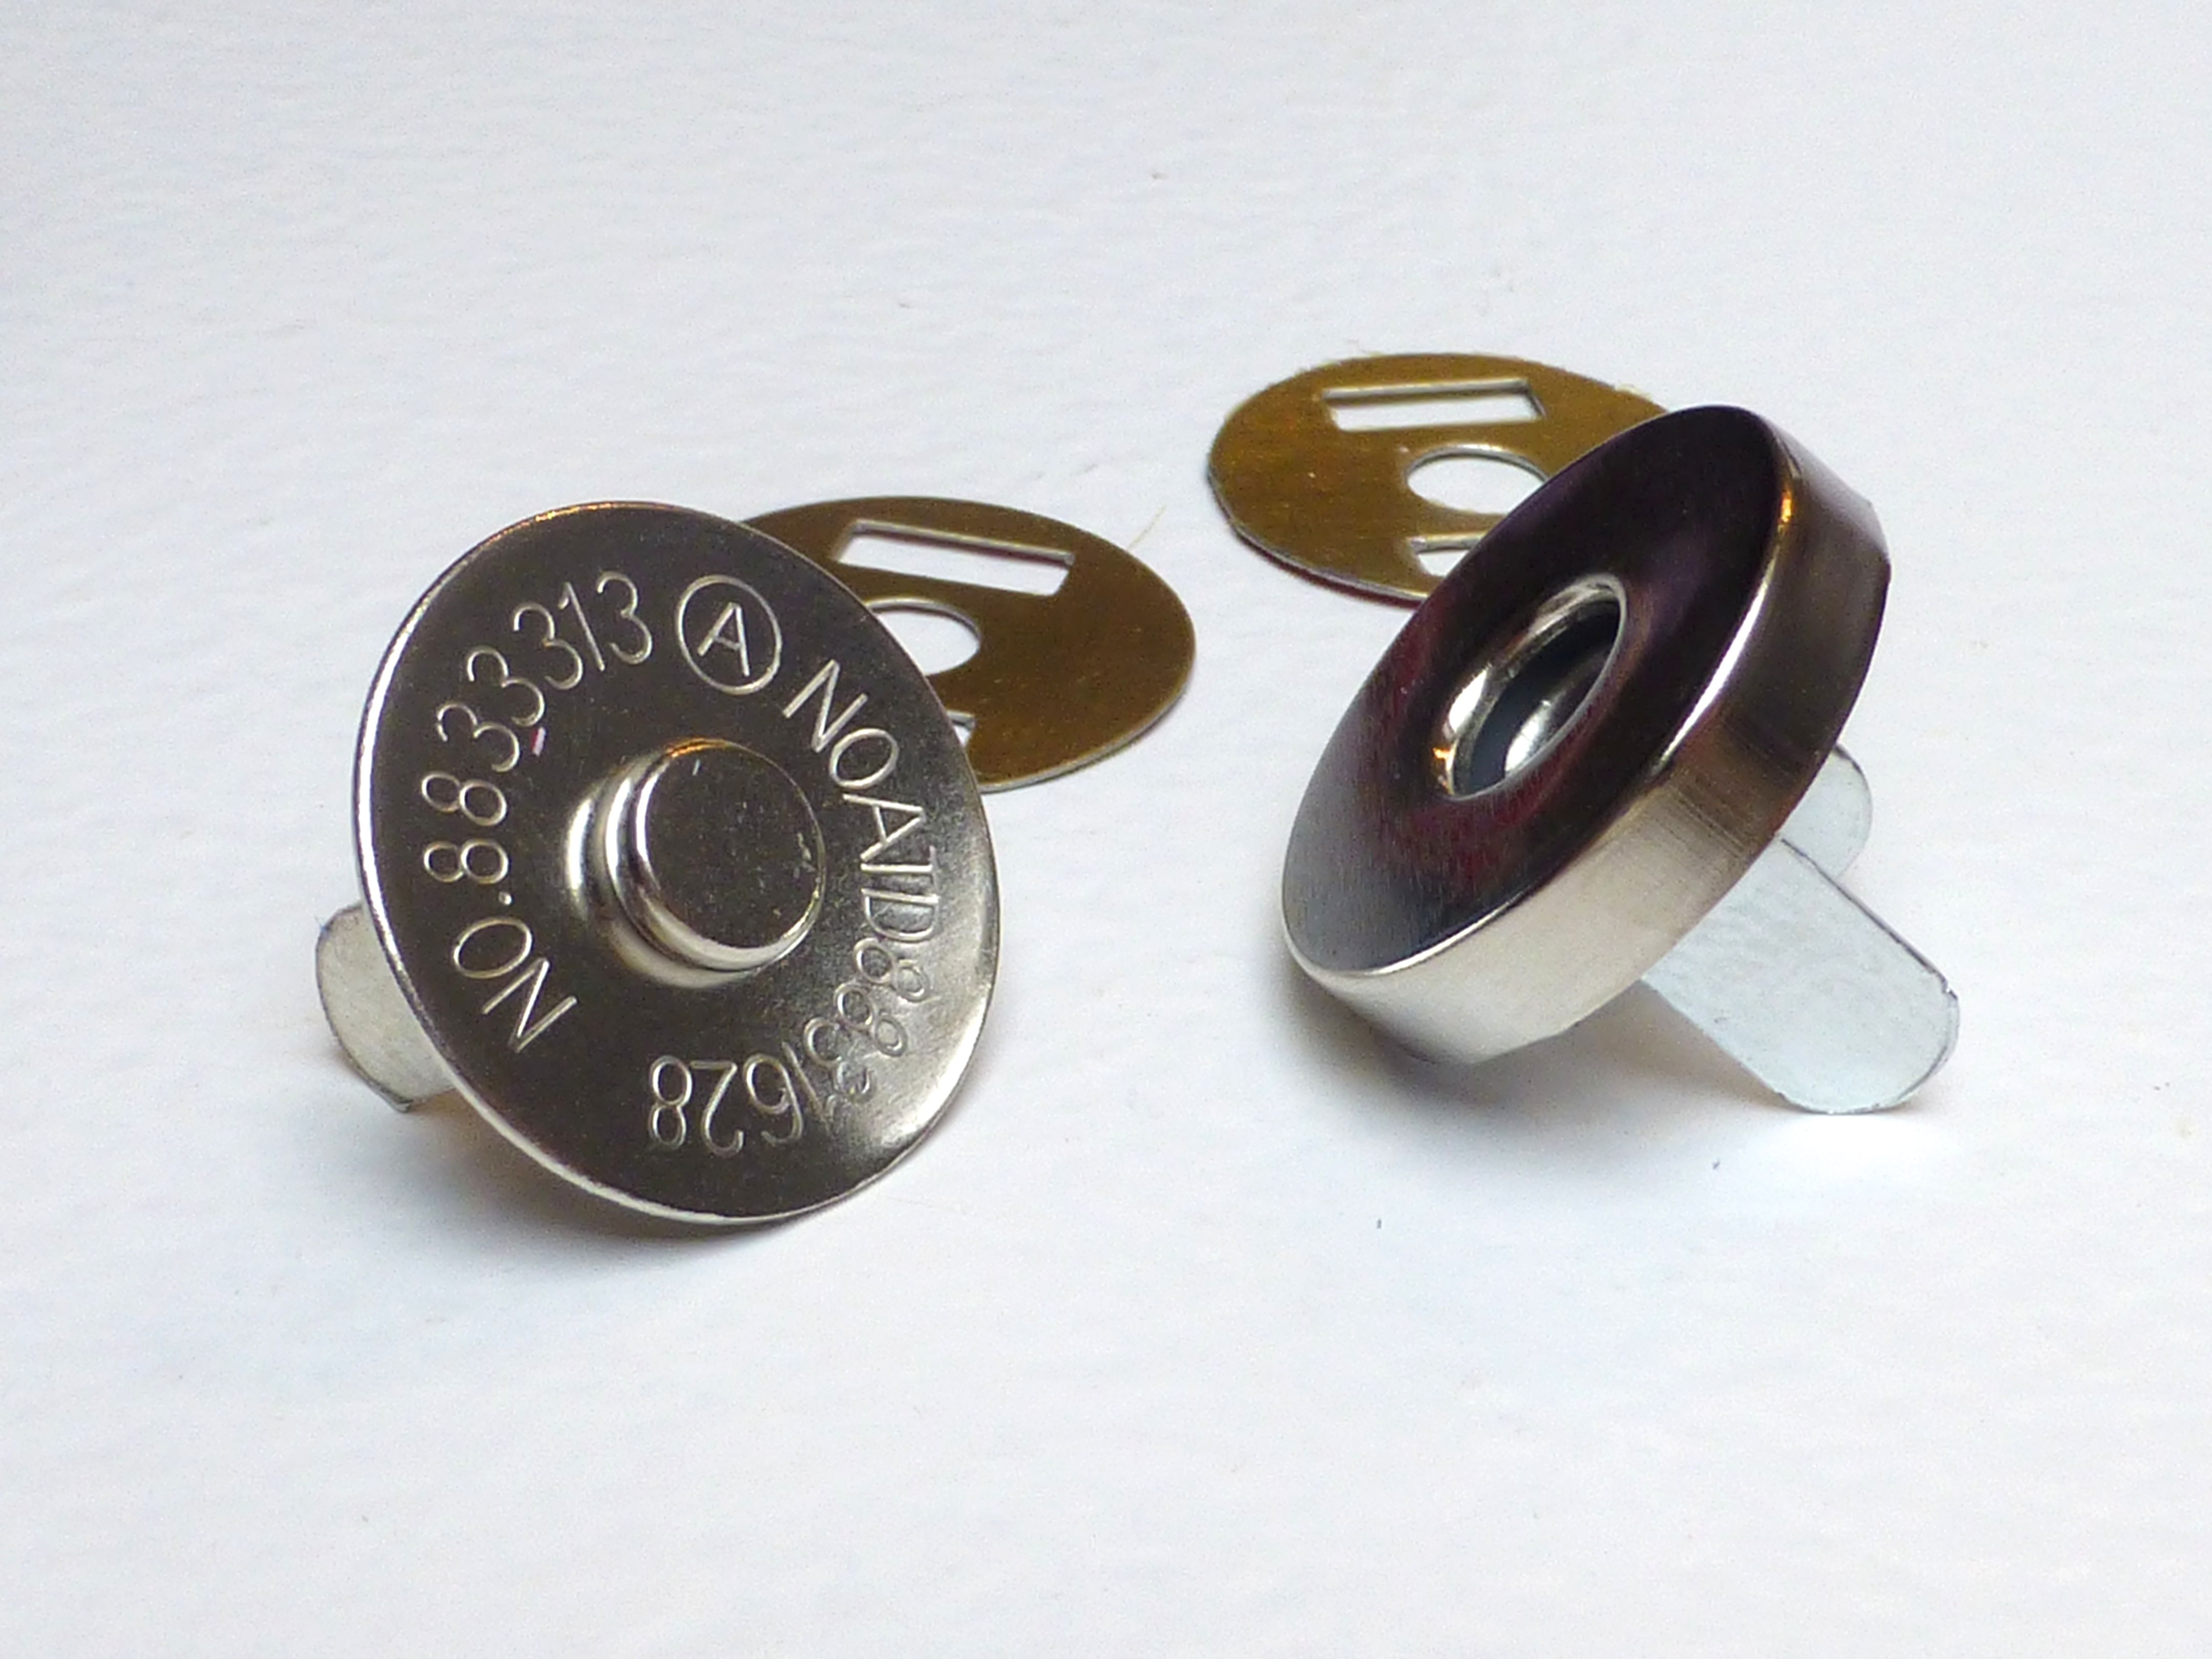
14. Attach following the manufacturers instructions and cover the snap with a decorative feature button or piece of fabric. I made a bespoke needle felted button using three colours.


You could use handmade paper with deckled edges to make it really special, or just stick to printer paper to keep it simple, but I rather like using several different types of paper to make it more interesting.

I can’t show you what it looks like from the top because it is personalized with the recipient’s initial, but you get the idea.

I wrapped it up, popped it in the parcel along with lots of other goodies (blogged about here) and posted it First Class today, so somebody should be getting a big box from #sewingsanta in the post tomorrow! How exciting!
