Sewchet

Sewing, crochet, crafts, accessories, baking, tutorials,


11 Comments

Dreams Of Thatch & A Crochet Headband ‘Tadah!’

Sigh…back from our Cornish travels:(

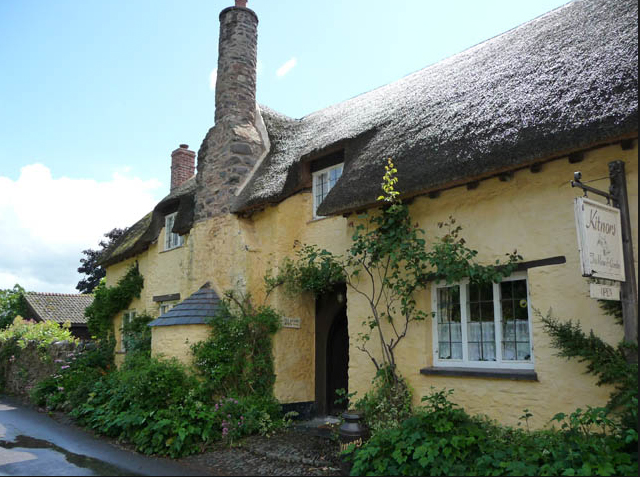
I do so love going even deeper into the West Country and South West; Devon and Cornwall are just so beautiful that it’s no wonder people migrate there in their thousands on an annual basis. When the sun is shining there is no place I’d rather be in Summer than Blighty, Exmoor in particular and the picture-postcard villages of thatched cottages that pepper the landscape so prettily. So much so that we are seriously considering ways of bringing forward our dream of running a guest house and tea room/garden in the Porlock area. Like this one that we have been frequenting for over twenty years – Kitnors in Bossington, a mile’s walk from Porlock.

P E R F E C T I O N ! !

Kitnors2

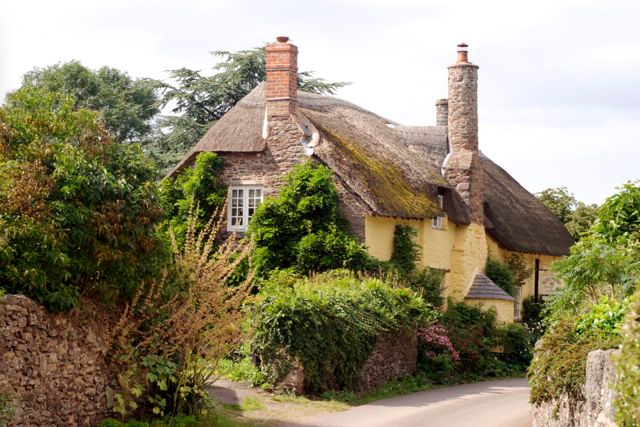
Owned by the National Trust, the lease became available recently and I would have loved to be in a position to take it. Isn’t it pretty?

Kitnors

Back to reality and I have permission to show you a photo of a special little girl wearing a gift that I crocheted for her birthday last week.

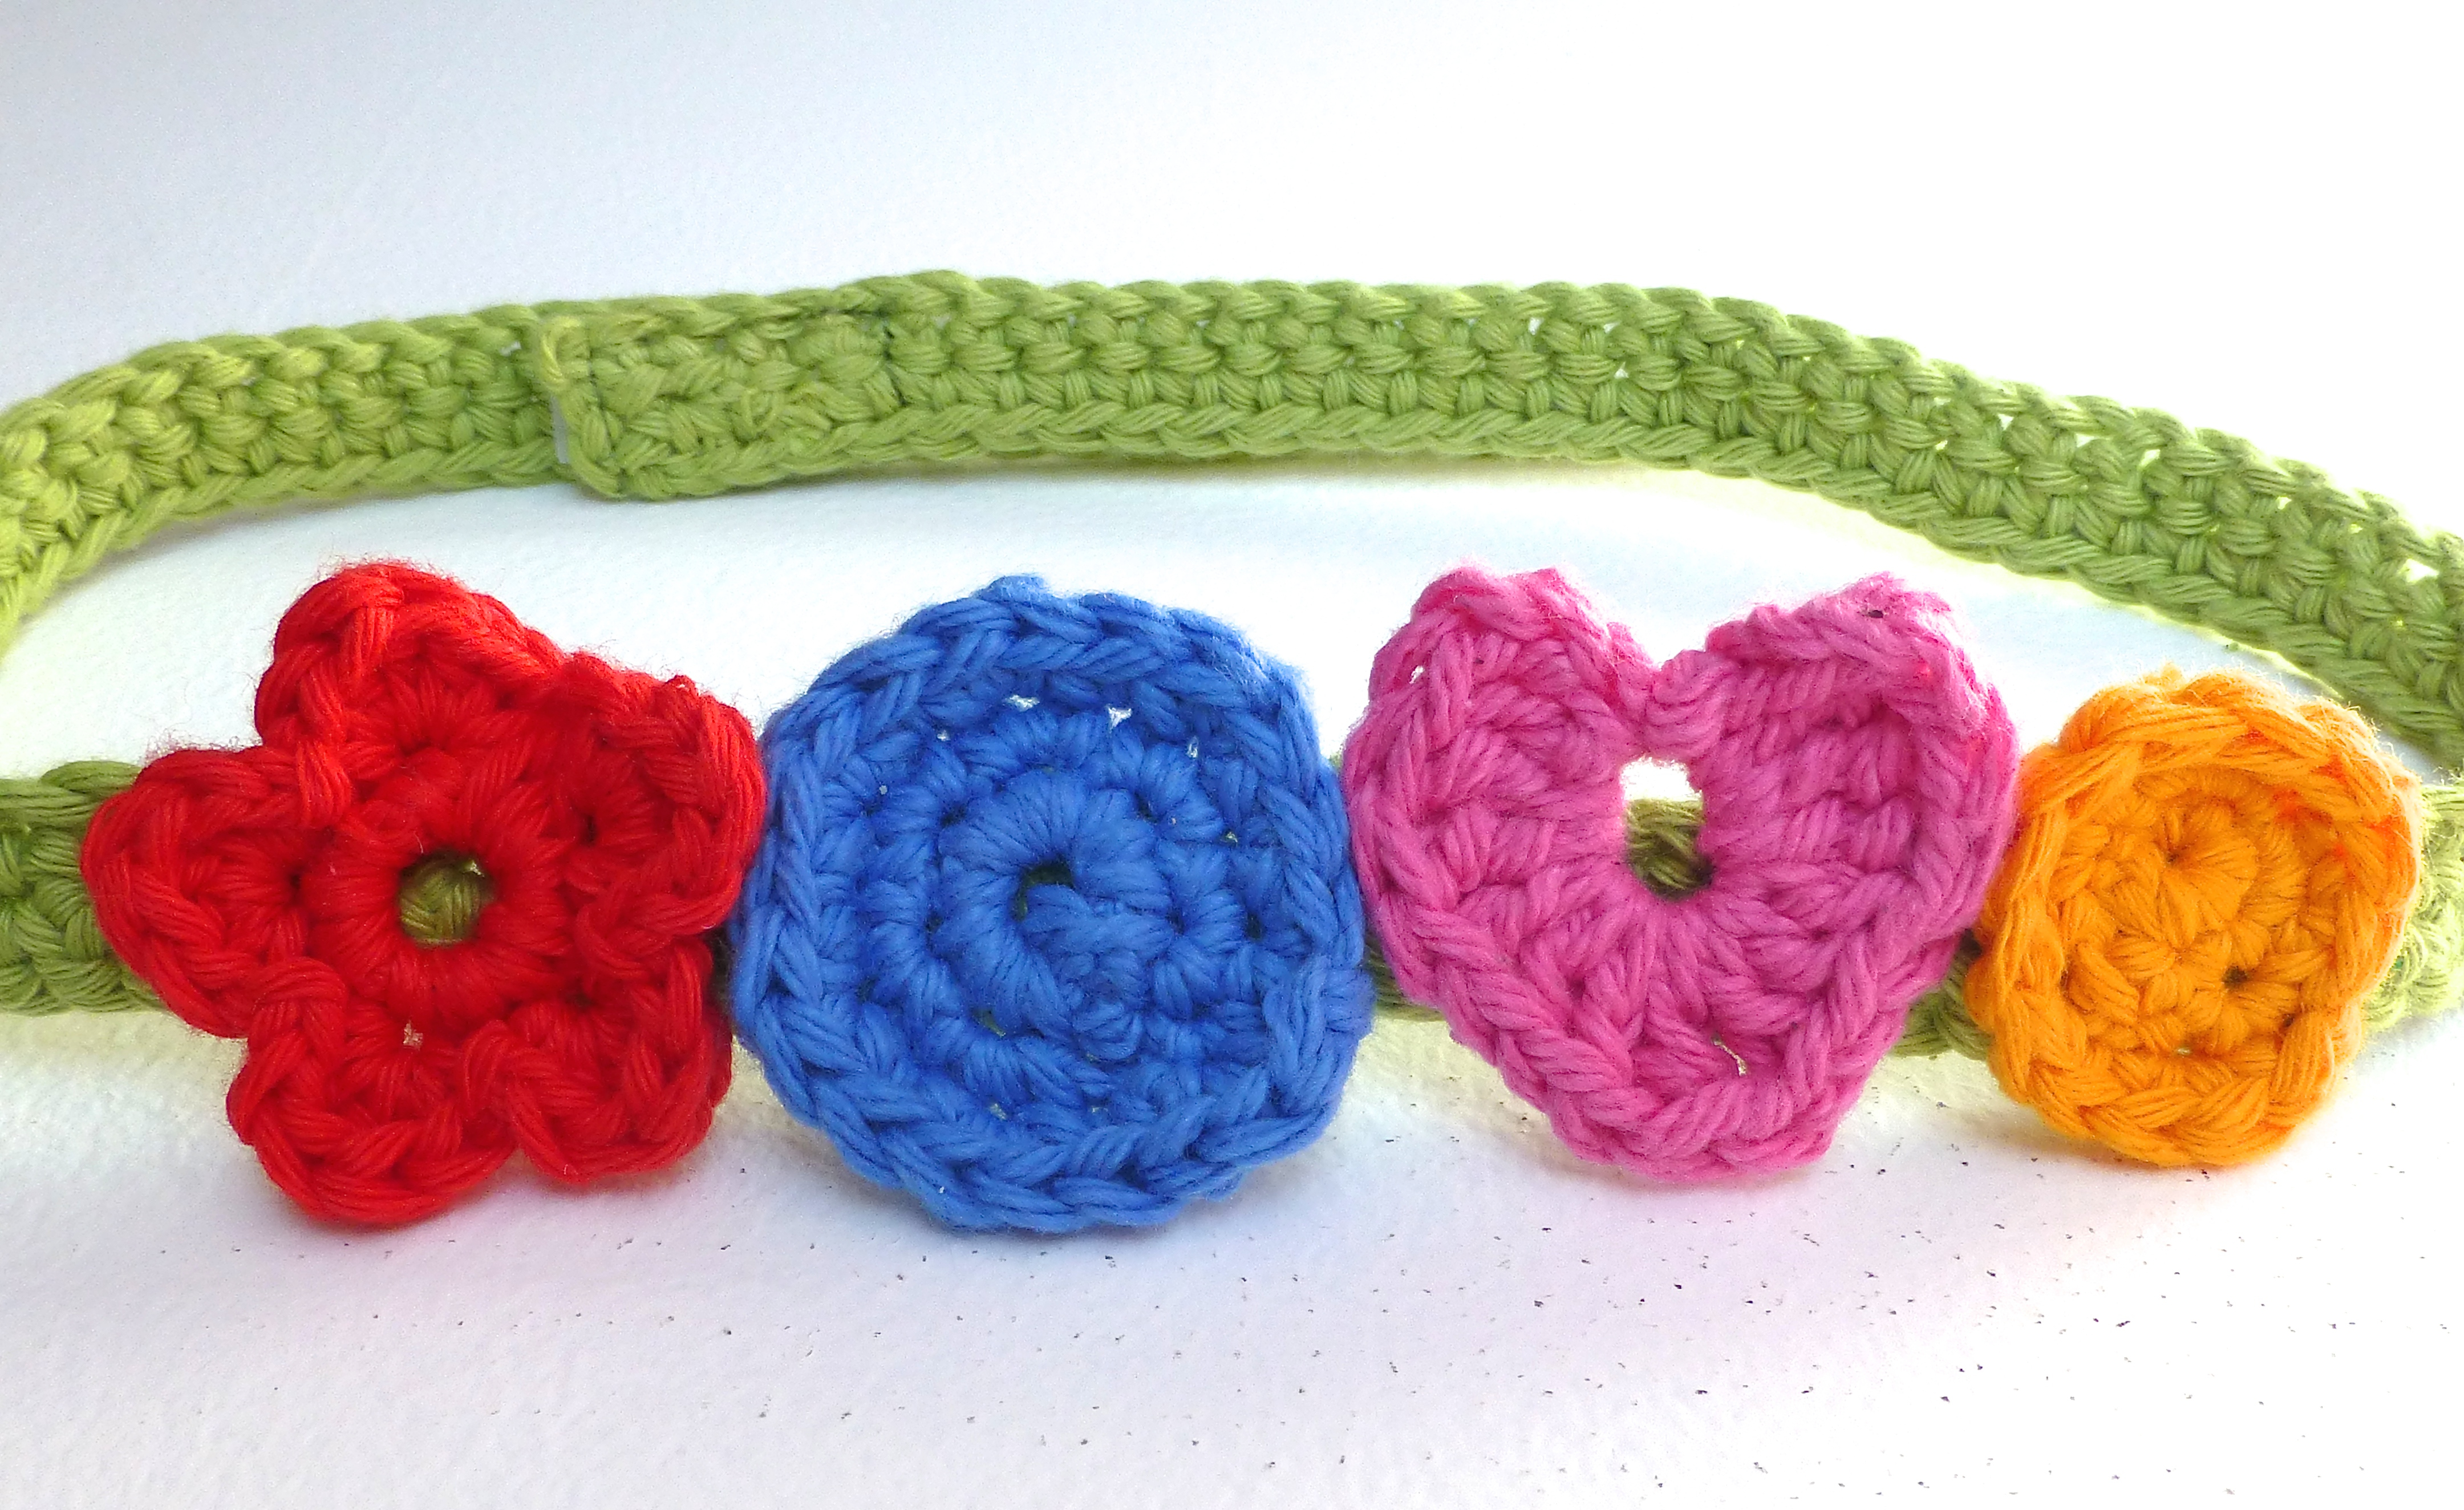
This is said pressie: –

crochet headband - 1crochet headband - 3crochet headband - 5crochet headband - 6

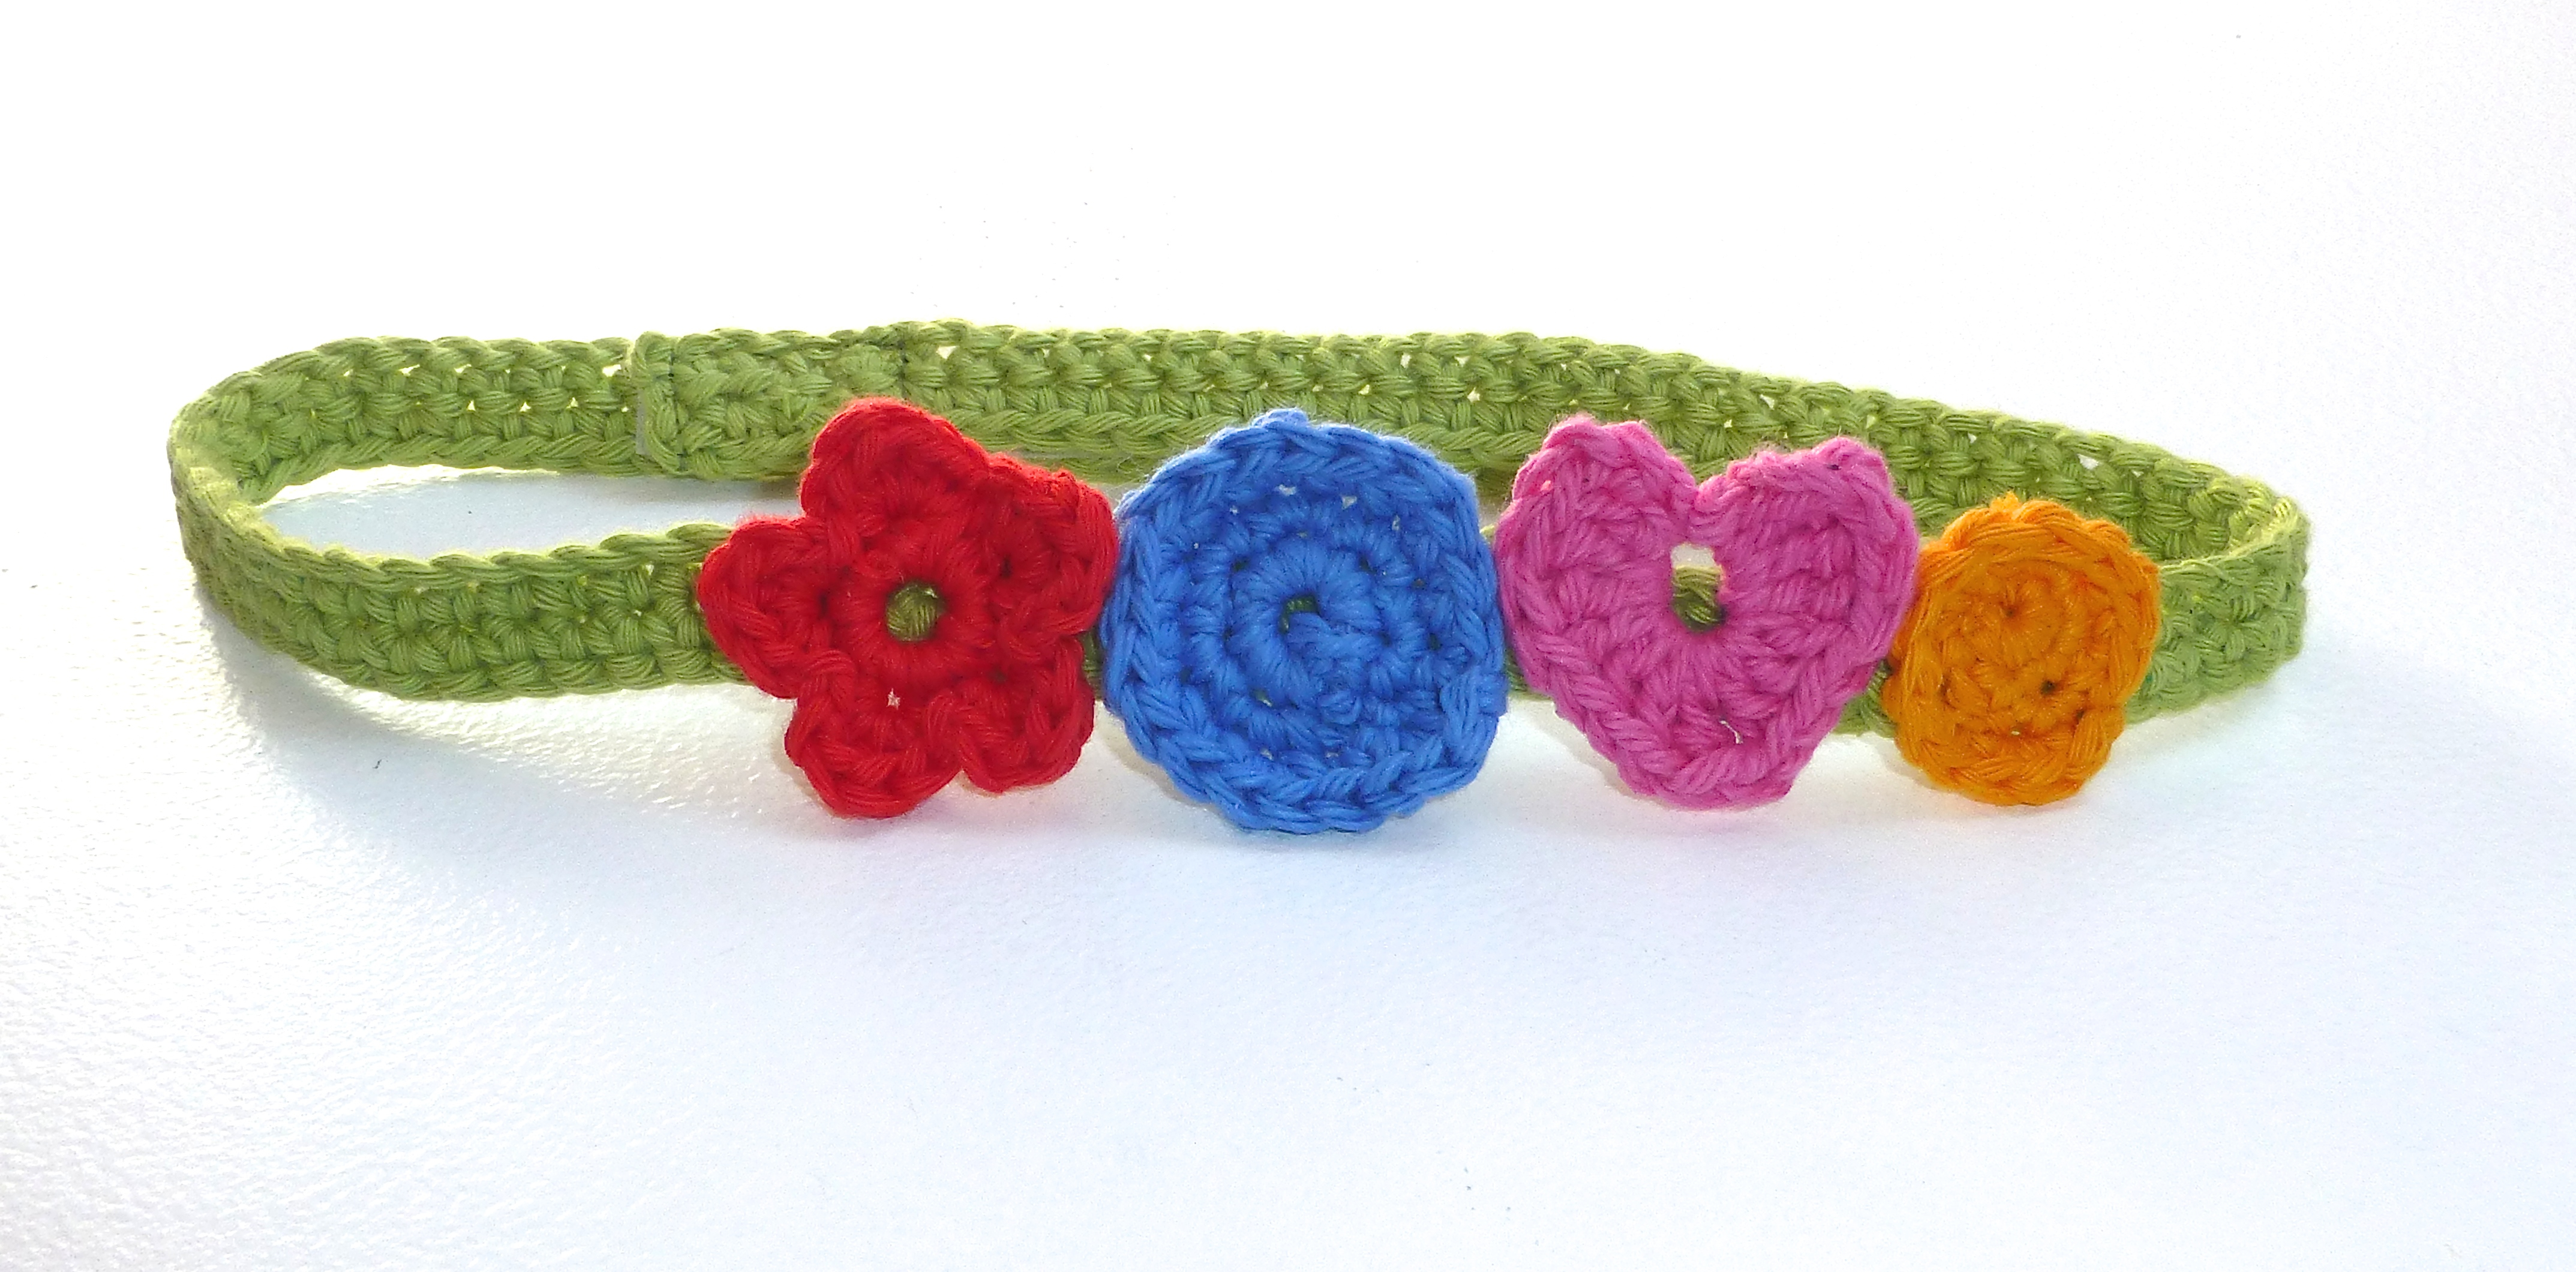
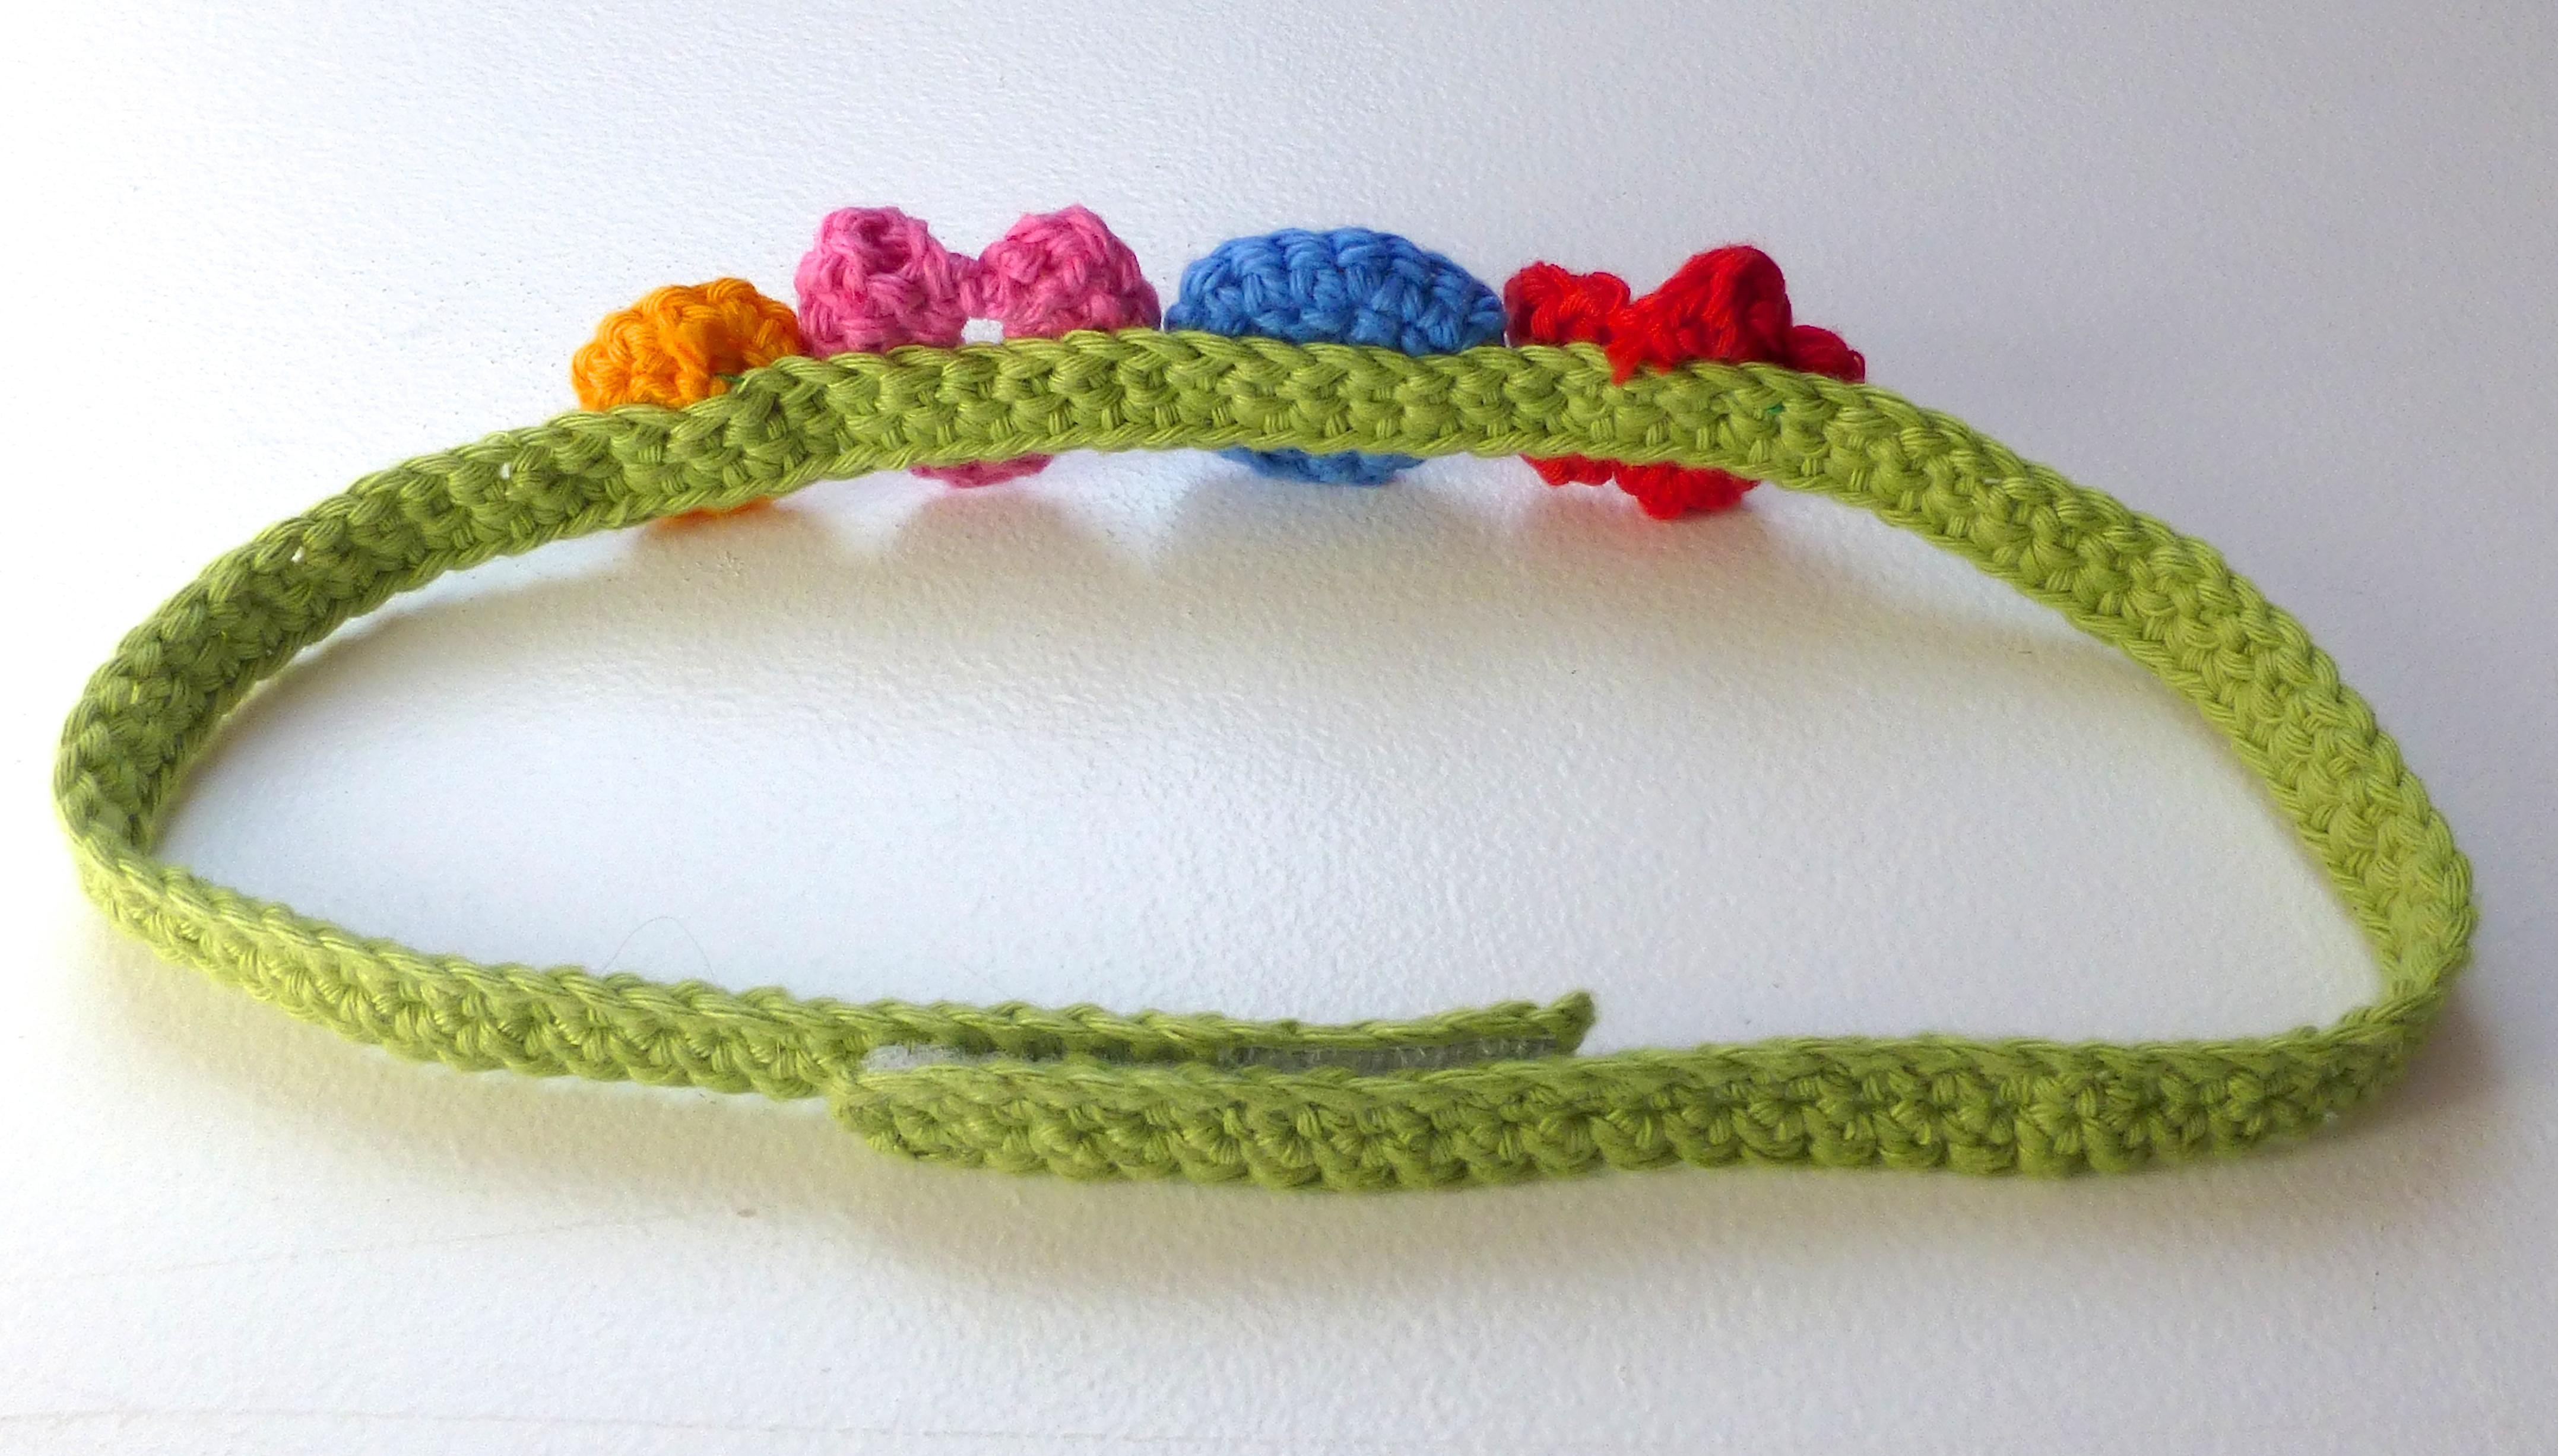
I made an adjustable closure of velcro so it should fit however it is worn.

I found the pattern here by the very creative Revlie – pop over and have a look at her colourful blog REVolution. This is HER photo…

Untitled

…and this is MY photo of the birthday girl wearing the headband another way.

Sophie's hairband

How sweet? Simple and quick to make, it’s a great project for using up small amounts from your stash.

crochet headband - 2

I’d love to see any crochet headband, or any other small project, that you whip up from scraps of yarn – I know I’m not the only one who can’t bear to throw them away!


8 Comments

Crochet Cushions & A Nosy Chicken!

I finished these “rainbow” cushions a couple of weeks ago and have been meaning to show you, so this morning I pulled my finger out (along with the camera) and set to it.  Amber, our “Amber Star” hen, took the precise moment I was about to press the shutter to investigate the new additions to her familiar walking ground. 

Image

Are you allowed to have favourites? I love that hen – she is sooo bold!  She has masses of character and keeps the puppy in line (who has learned that she WILL get a peck if she gets too close!).

I laid a work-in-progress blanket on the sofa to set the scene; this corner is where I put my feet up of an evening and settle down with my crochet to watch TV, while my ever-patient husband has the sport (on silent) on his iPad beside him.  He’s a keeper – he lets me watch Midsomer Murders, Poirot, Lewis (and other such stuff that he hates) on the 60″ HD TV and he watches football on a 10″ screen without complaining!

Anyway, Amber very obligingly turned around to pose for the camera. Isn’t she lovely?

Image

I love this combination of colours (thank you Lucy at Attic 24) and used them to make two cushions, one in ‘Raindrop’ stitch and the other in ‘Ripple’.

Here is the smaller, Raindrop cushion…

Image

…and this is the back made from a gorgeous fuchsia sweater from my stash of felted woollen jumpers.

Image

I made a simple envelope-style back so that I could crochet a lovely contrasting trim in turquoise.  I just love the different coloured buttons.

Image

The Ripple cushion cover is huge and I don’t actually have a large enough feather insert for it yet, so I borrowed a smaller one from another cushion just to take the photo:)

Image

The reverse is made from part of a £3-00 charity shop find; a cream utility, pure wool, blanket with faint blue stripes running through.

Image

I left the original label on it – I don’t know why really, I suppose to shows its vintage origins. I think it adds authenticity to it and a bit of quirky character which I like.

Image

More contrasting trim and bright buttons…

Image

…and here is the “Ta Dah!” moment with them both looking very cheery on my sofa (after the hen finally got bored and disappeared into the kitchen to eat the dogs’ food, much to their disgust).

Image

Don’t you just adore crochet; it makes me feel all happy inside to see rainbow coloured cushions (and blankets) scattered around my home – and even happier knowing that I’ve made them all.


2 Comments

Homemade Fudge

It’s that time of year again – School Fair!  This begs the question: “What-to-make-that-kids-will-want-to-buy?”. It has to be cheap for two reasons;

  1. It’s a donation – you don’t get costs refunded
  2. Children have about two pounds to stretch around the entire fair


I decided to do something different to the usual fairy cakes and hit upon the idea of fudge in two flavours – “Chocolate” and “Vanilla & Raisin”.

Fudge is sweet (so kids will love it) and simple to make, the ingredients are cheap and I thought I could package it up to look appealing.

This is the Chocolate…

Image

and this is the Vanilla.

Image

Mmmmm, delicious!

Image

Here’s what I did:

Ingredients: –

397g can condensed milk

150ml single cream

450g demerara sugar

115g butter

  1. Melt all the ingredients in a large, non-stick pan over a low heat, stirring until the sugar dissolves.
  2. Bring to the boil then simmer for 10-15 minutes, stirring continuously and scraping the base of the pan.
  3. Continue until a sugar thermometer reads 118°C – this is vital, or the fudge won’t set.
  4. Transfer to a mixer and beat until very thick and only just beginning to set.
  5. Pour into a 20cm square tin, lined with baking parchment, and leave to set before cutting into squares.


For chocolate, add two tablespoons of cocoa powder at step 4.

For vanilla (and raisins) add one teaspoon of vanilla extract (and two tablespoons of chopped raisins) at step 4.

Image

I found some small cellophane bags here www.wrappingsandbows.co.uk

Image

I designed some simple labels to attach to each bag with the price clearly stated.

Image

Pricing is tricky but, as this was my donation, I just added up the cost of the ingredients and packaging and divided it roughly between the number of bags created. I put two squares of each flavour in each bag and made twenty-eight bags, plus plenty of offcuts which could be bagged up and sold off cheaper (if you haven’t already succumbed to temptation and eaten them as you go along!).

Image

I think they look quite saleable, don’t you?

Here they are all lined up in bread baskets, ready to go.

Image

Image

Image

So there you have it – handmade fudge, simple but perfect idea for school or village fairs!


Leave a comment

New design swing tags

Wahay, my new swing tags/business cards have arrived from Moo.com!

After lots of deliberating and inspiration from the brilliant Pinterest, I decided on a very simple design; an image featuring my creations on the reverse with just text on the front. This will allow the addition of a little handmade brooch as a token of appreciation for my lovely customers:)

Image

This is how they look in situ: –

Image

I bought a paper punch with a doily edge a while ago with the intention of creating this pretty effect.

This is the reverse: –

Image

I’m quite pleased with the final design; what do you think?