
A couple of months ago, I was lucky enough to buy this solid oak dresser on eBay for just £96.00.
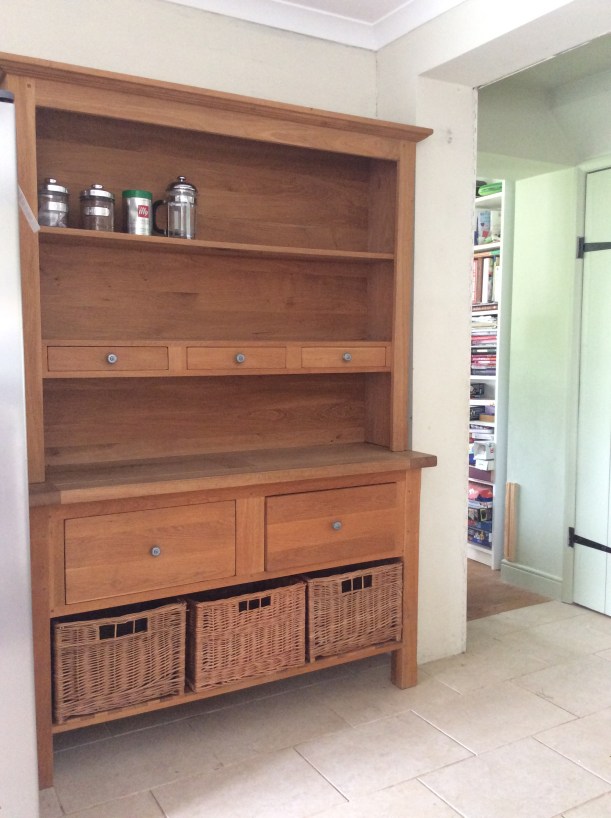
Now, I know there’s nothing wrong with it and it is, indeed, a beautiful piece of furniture just as it is, but I had plans to paint it.
We have a large kitchen diner with a LOT of wood in it, so yet another ‘heavy’ piece was never going to look right. I spent months searching for the right dresser at the right price and the right size and eventually found this modern one, which was beautifully made and really solid.
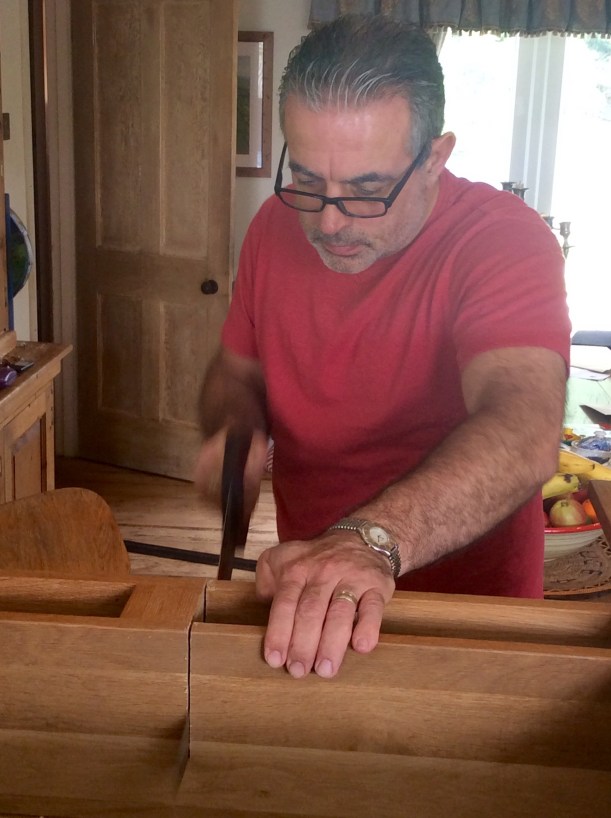
Mr H-L drove for over an hour to go and collect it and wasn’t particularly happy about it being painted, but resigned himself to the fact that I was going to, anyway. What he DID object to, though, was that I wanted him to chop a section of the dresser out, in order to fit our coffee machine in.

I won that debate, too:)

Having used Annie Sloan and Rustoleum chalk paint successfully in the past (guest room makeover), I opted for ‘Bleu Clair’ by Autentico, purely because they had the exact shade of blue that I was looking for.
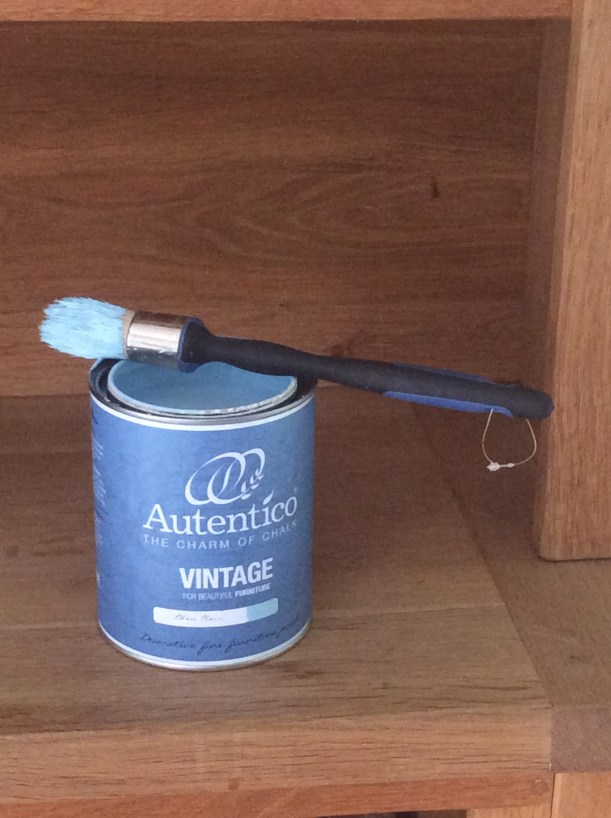
The main reason that I chose chalk paint in the first place is that there is no need for preparation on most surfaces – you just slap it on.

Two coats are usually needed for good coverage, especially when covering dark with light.

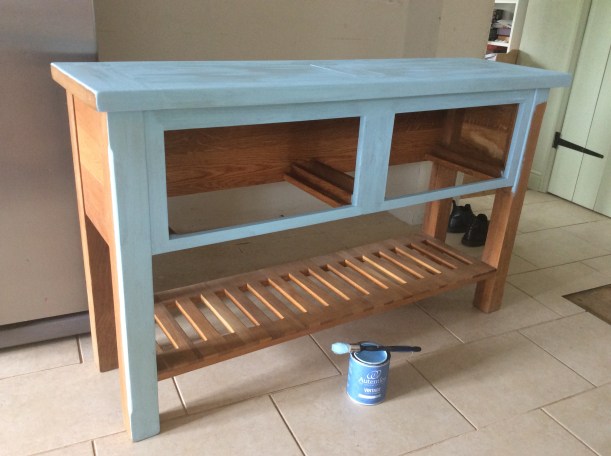
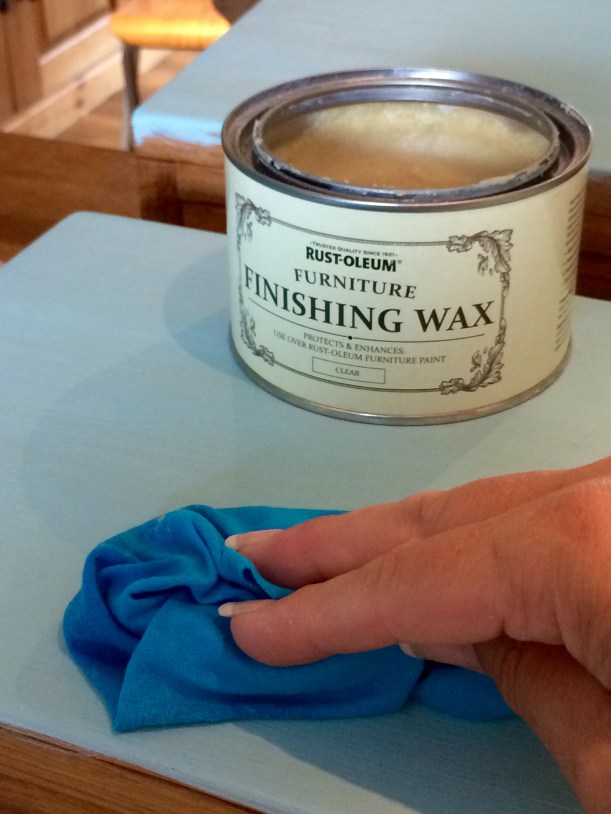
When the paint was totally dry, a coat of finishing wax was rubbed in and buffed to a sheen to protect the surfaces.
I’m told it takes a month to cure completely, so be careful until then. It’s been over a month now, and the finish is still blemish free.

With a bit of determination (for which, read ‘impatience’), I managed to get two coats of paint and a coat of wax on in just one day.

Then I left it for a month.
Or two.
And decided that the knobs had to go.

I dug out four wooden knobs leftover from the kitchen cabinet doors and painted them with two coats of ‘Walnut’ wood stain and a coat of Matt varnish.

Now they match the kitchen units.

So this is the finished article, brightening up the other end of the kitchen part of the room, and I have to say that I’m very pleased with it.

The coffee station works brilliantly with everything in one place – all I need now are some beautiful mugs to hang on the new hooks we installed.

Turn around 180 degrees and this is what greets you, so you can see that both the style and the colour work really well as a whole.

Before and after: –


I love it both ways, but it just sits in our kitchen better now it’s painted and if I ever change my mind, it should be easy to get dipped back to the plain oak.
What do YOU think – love, or loathe?
