
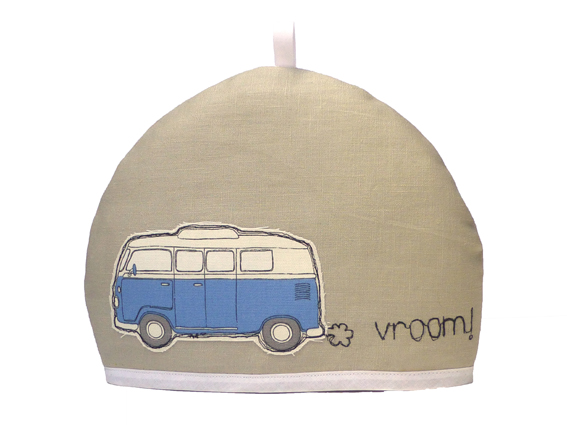
There has been quite a lot of interest in my ‘Camper Van’ and ‘Hen’ tea cosies, so here is the tutorial I promised. I would love to see any that you make – post your photos on my Facebook page:)

You will need: –
- a sheet of A4 paper
- 1/4 metre of fabric of your choice
- 1/4 metre lining fabric
- 1/4 metre polyester wadding
- motif (for appliqué)
- iron-on interfacing
- matching thread
- cotton tape
- bias binding
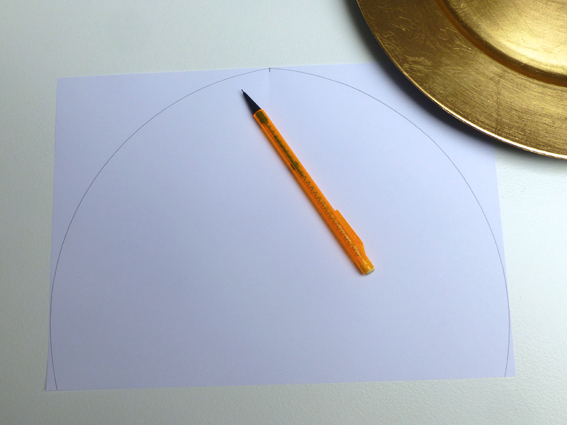
On an A4 sheet of paper, use a large plate to draw the rounded corners of the tea cosy.
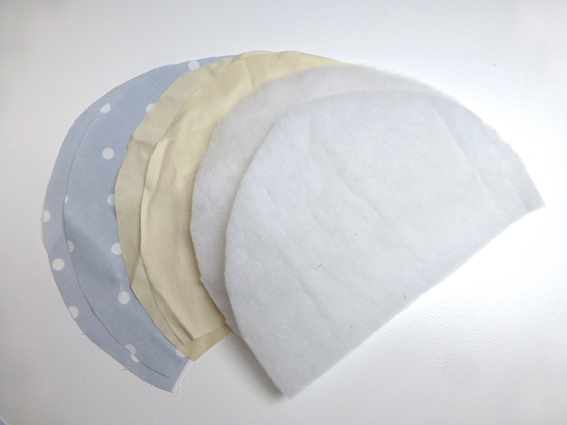
Using the paper template you have just made, cut TWO each out of your main fabric, lining and some polyester wadding.
Take your chosen motif (I cut out a Camper Van from the Fryett’s range) and iron onto fusible interfacing.

Cut roughly around the motif and pin onto one of your main pieces of fabric. Stitch all around the motif three times. You can be as neat as you like, although I “scribble-stitched” using the freehand machine embroidery method. This allows the fabric to fray very slightly and adds to the rustic charm. You could use a close zigzag stitch if you prefer, to enclose the raw edges for a neat finish.

Trim the excess fabric from the finished appliqué.

Cut a 4″ (10cm) piece of non-stretch cotton tape.

Fold the tape in half and pin to the right side of one of your main fabric pieces as shown to form a small handle.

Pin your fabric, right sides together, sandwiching the cotton tape in between. Pin your lining, right sides together. Stitch all the way around the curved edge, leaving the bottom, straight edge, free.

Turn and press.
Trim the wadding by 1/2″ (1cm) all the way around.

Slip the lining inside the cosy, wrong sides together to hide the seams. Now insert the wadding in between the fabric and the lining (front and back) as below.

Pin the bias binding around the bottom of the cosy, enclosing all three layers.

When you get to the end, cut to length and fold under before pinning over the cut end.

Sew close to the edge of the binding.

And there you are – finished!

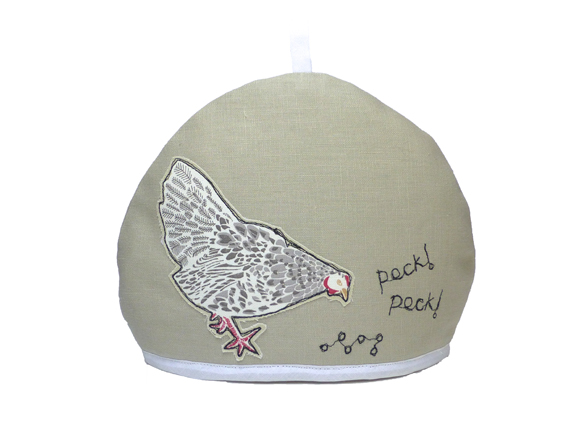
You can customise it to suit your style using any motif. Here’s a variation with more free machine embroidery.
This is one I made out of beige linen with a hen appliqué.
Feel free to share on your own blog; a link back to this page would be appreciated:)

Pingback: London Tea Cosy | T H I M B E R L I N A
Pingback: got a tea cosy? | Curls n Skirls