
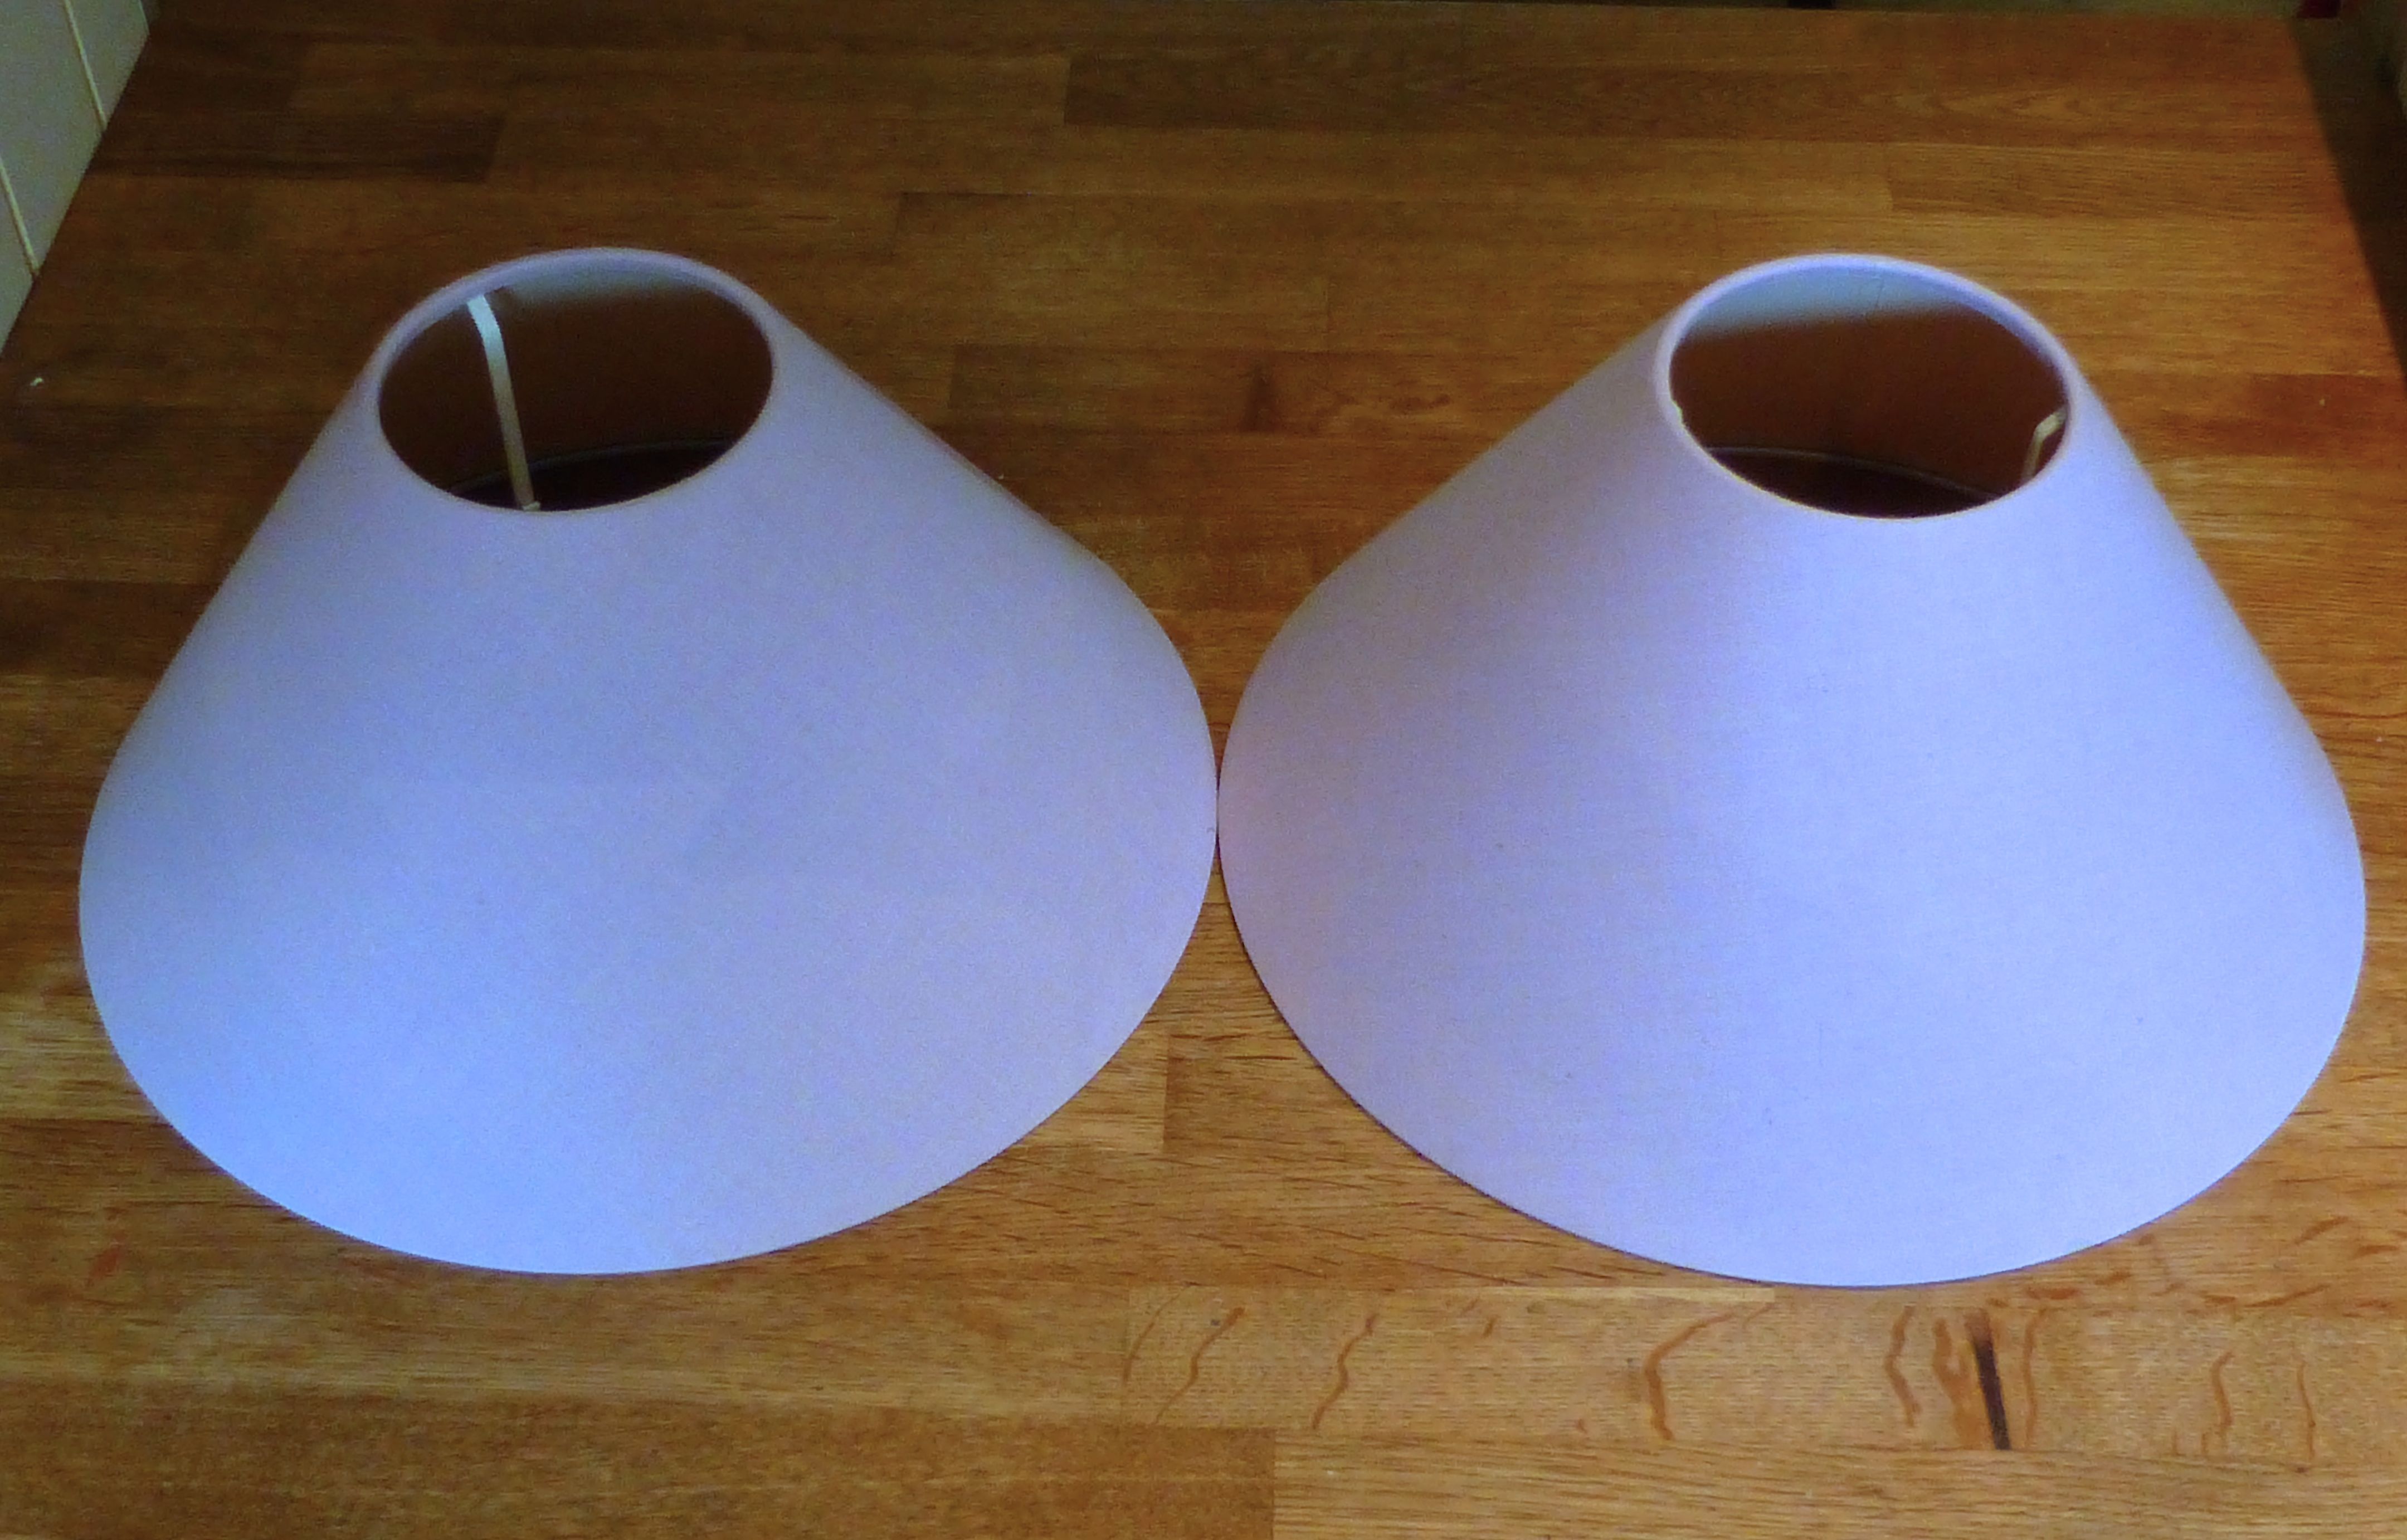
You may remember a post from earlier this week when I mentioned that I had been bargain hunting in charity shops for Number One Son’s return to Uni. Part of our haul included two utterly minging shiny brass-effect table lamps complete with two equally vile lilac lampshades.
I snapped them up solely because they were in perfect working order and only cost a meagre £3.00 in total. No.1 would never have bought them but, as I was paying, he was grateful for anything and I convinced him that we could do something, anything, with them to increase their aesthetic appeal.
Quite frankly setting a match to them would make them more attractive so my plan to paint the bases and cover the shades was over and above, I think!
My lovely friend Roz over at The Velvet Cow has been extolling the virtues of Annie Sloan’s Chalk Paint for a while now and very kindly lent me a pot of Old White and a paintbrush for the afternoon. (Be sure to check her blog out to see the wonderful things she has done with it!)
We started painting before I remembered to take photos, but you get an idea of what we were up against: –

The great thing about Chalk Paints (we used Annie Sloan but Autentico also has an extensive range of colours) is that they eliminate the need for laborious preparation. No sanding necessary, just wipe clean and paint – it truly is that simple!
So we did…

One coat was all they needed before being left to dry. A coat of wax should then really be applied as a protective layer but, as these were table lamps, not table legs, we figured they weren’t going to get bashed about that much to warrant it. And we didn’t have any anyway:)
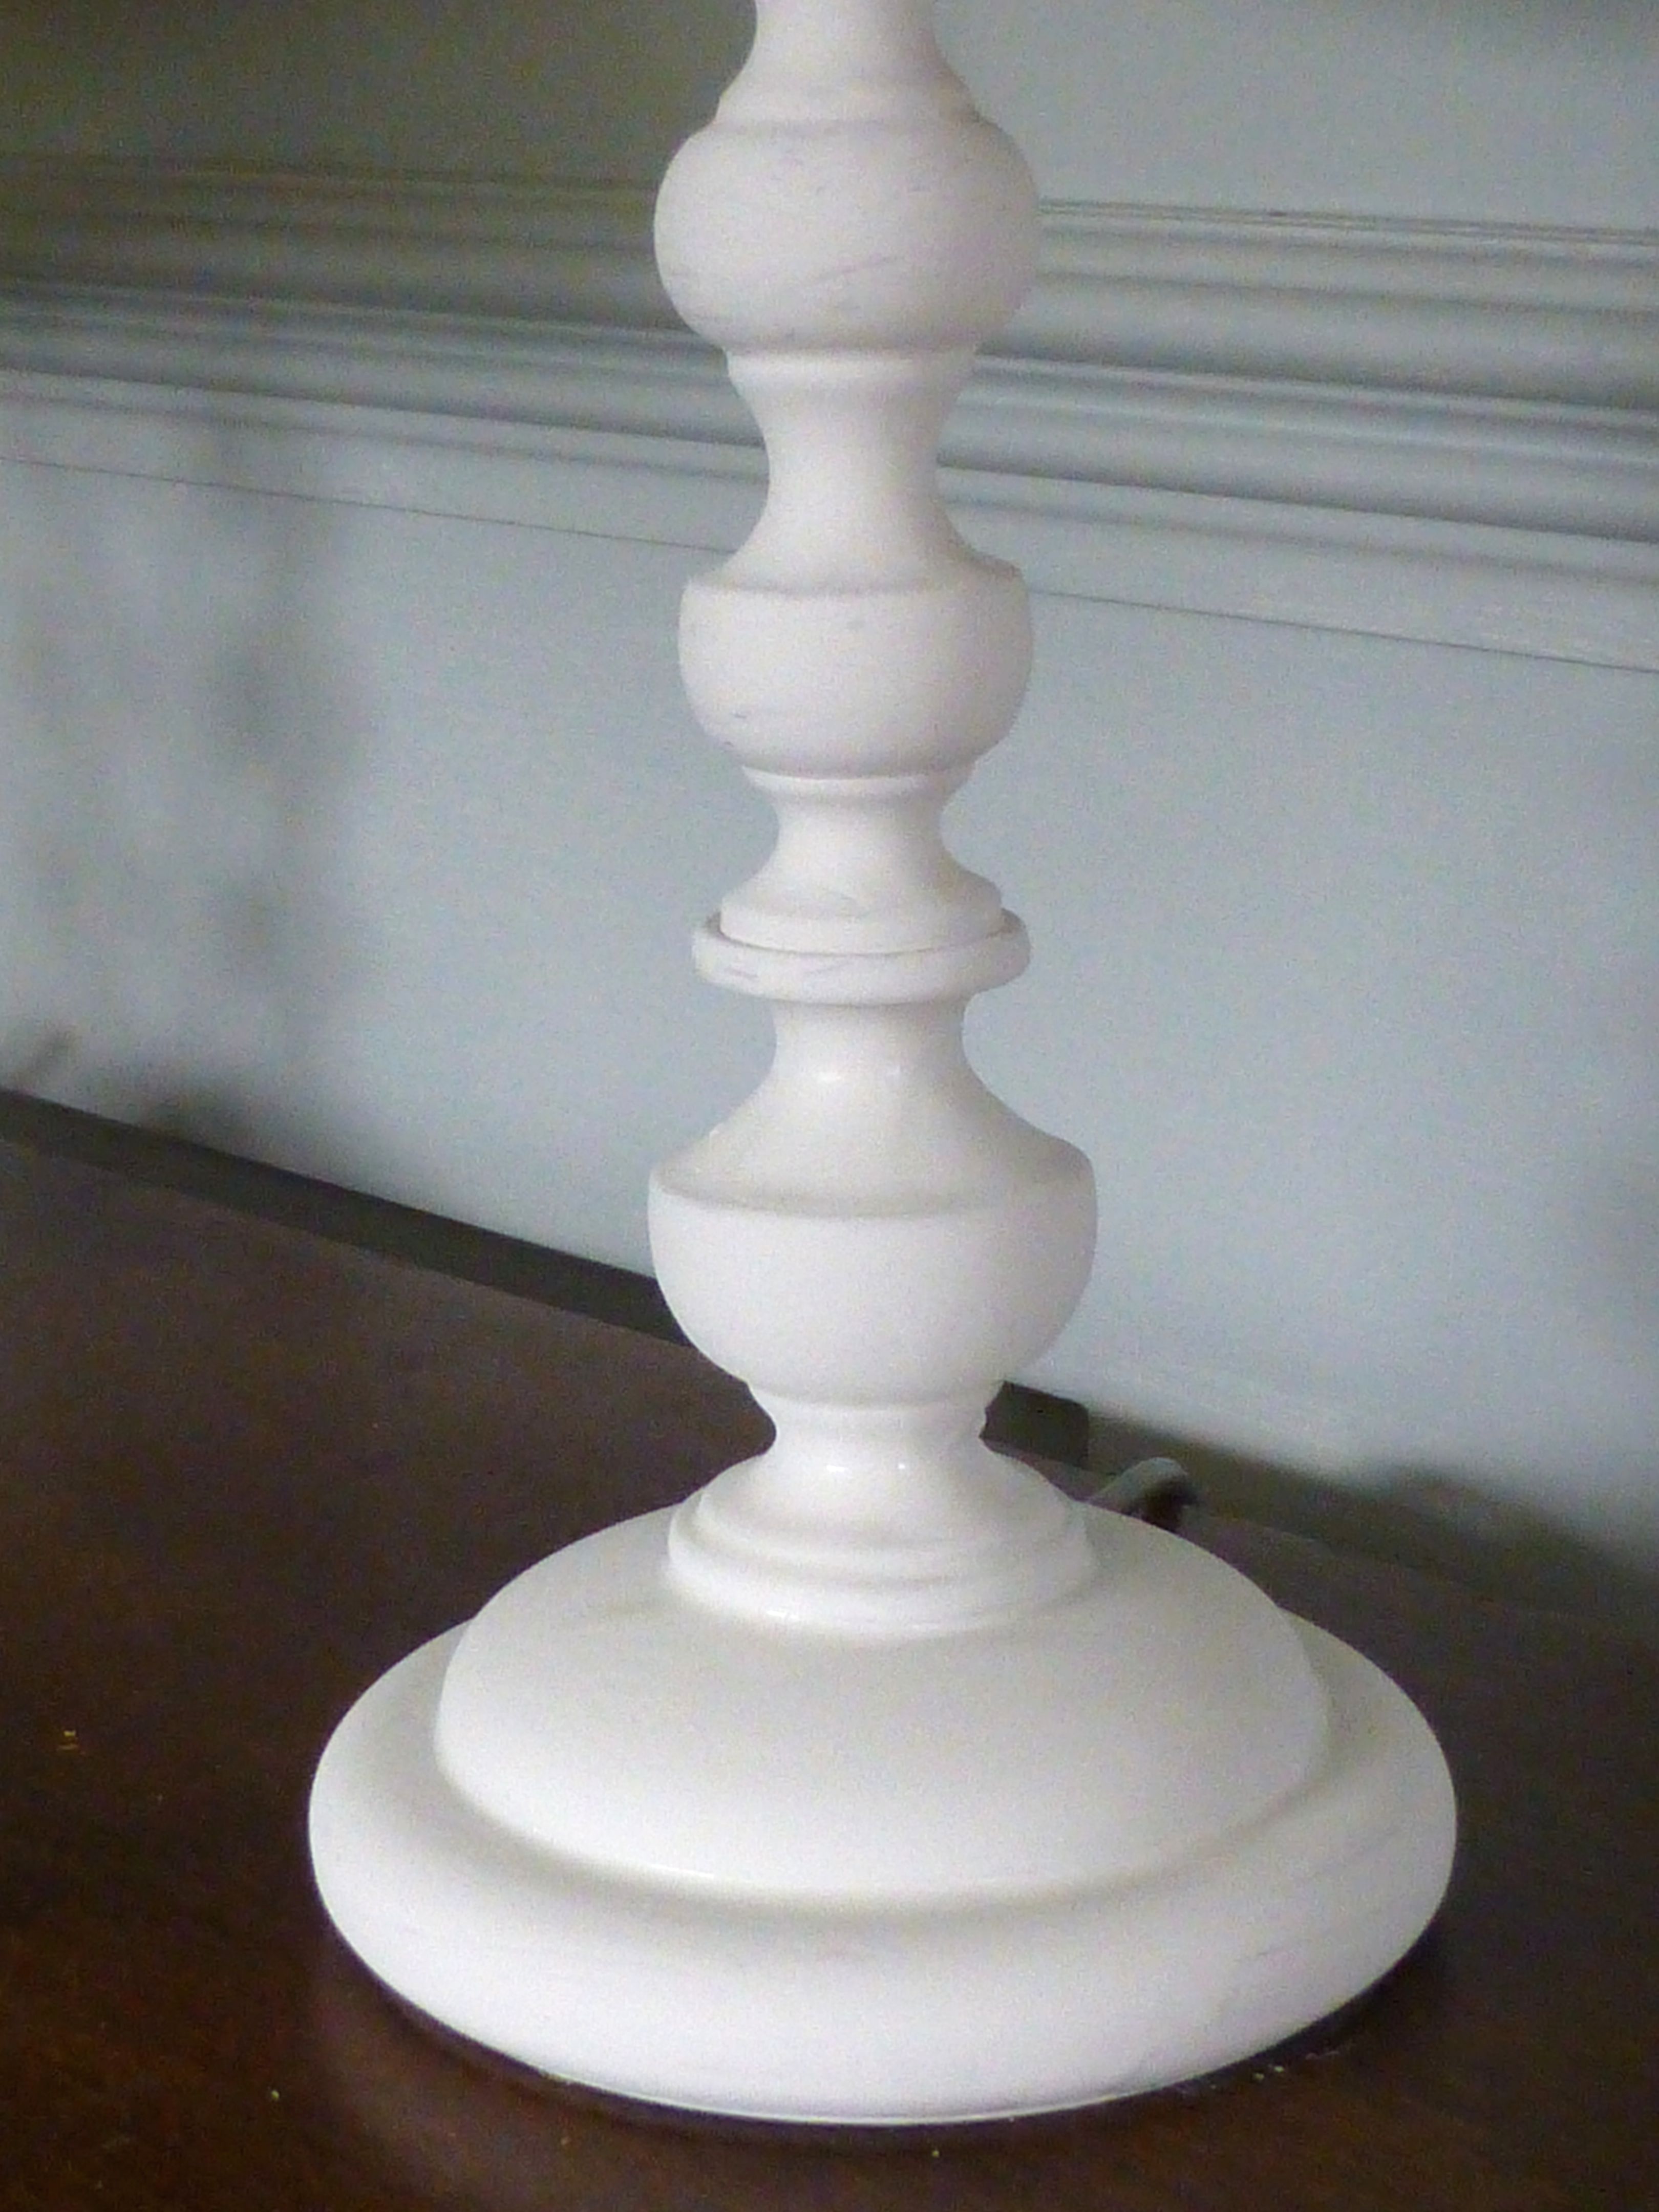
Much better.
Now to start on the lampshades.
Having mixed some PVA glue with an equal amount of water, it was slopped on the the shades very quickly.

Another charity shop find that I couldn’t resist ages ago was this book of musical scores, each one the National Anthem of a different country. It’s so old that the pages are the authentic tobacco-stained brown that is so often faked with cold tea; a lovely contrast to the white base.
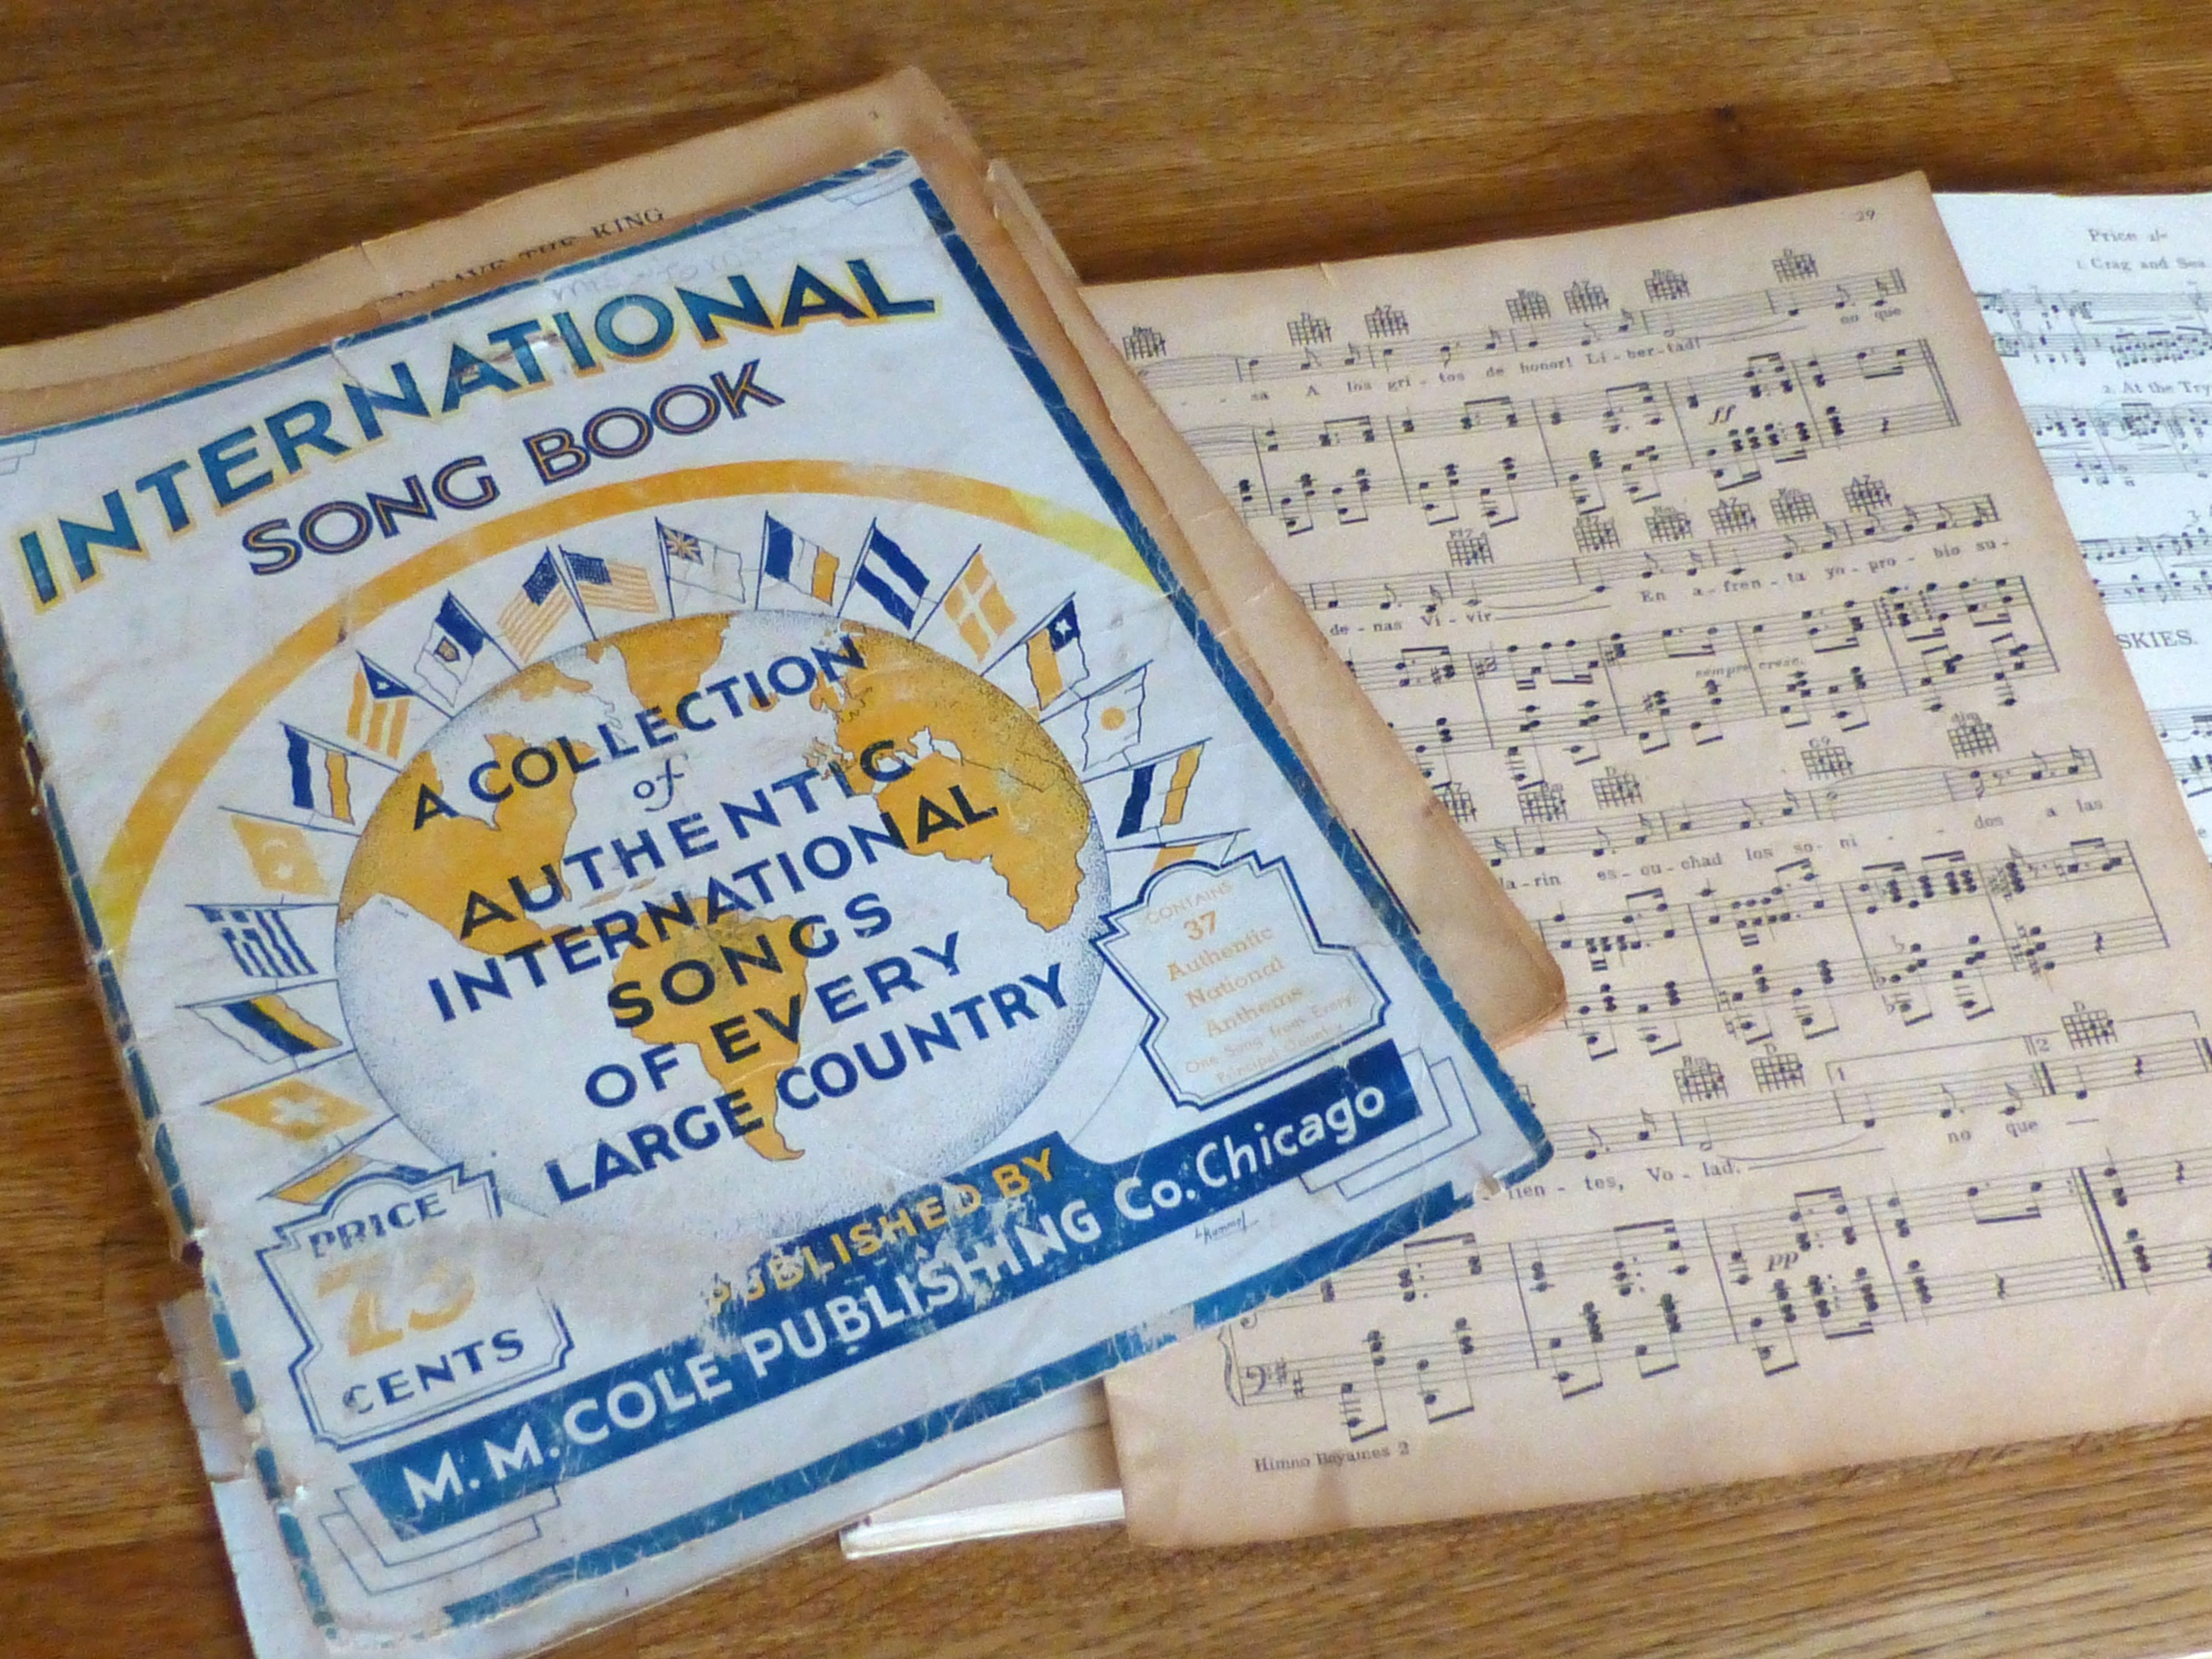
We literally tore pages from the book and pasted them with more PVA onto the shades, smoothing it as we went.

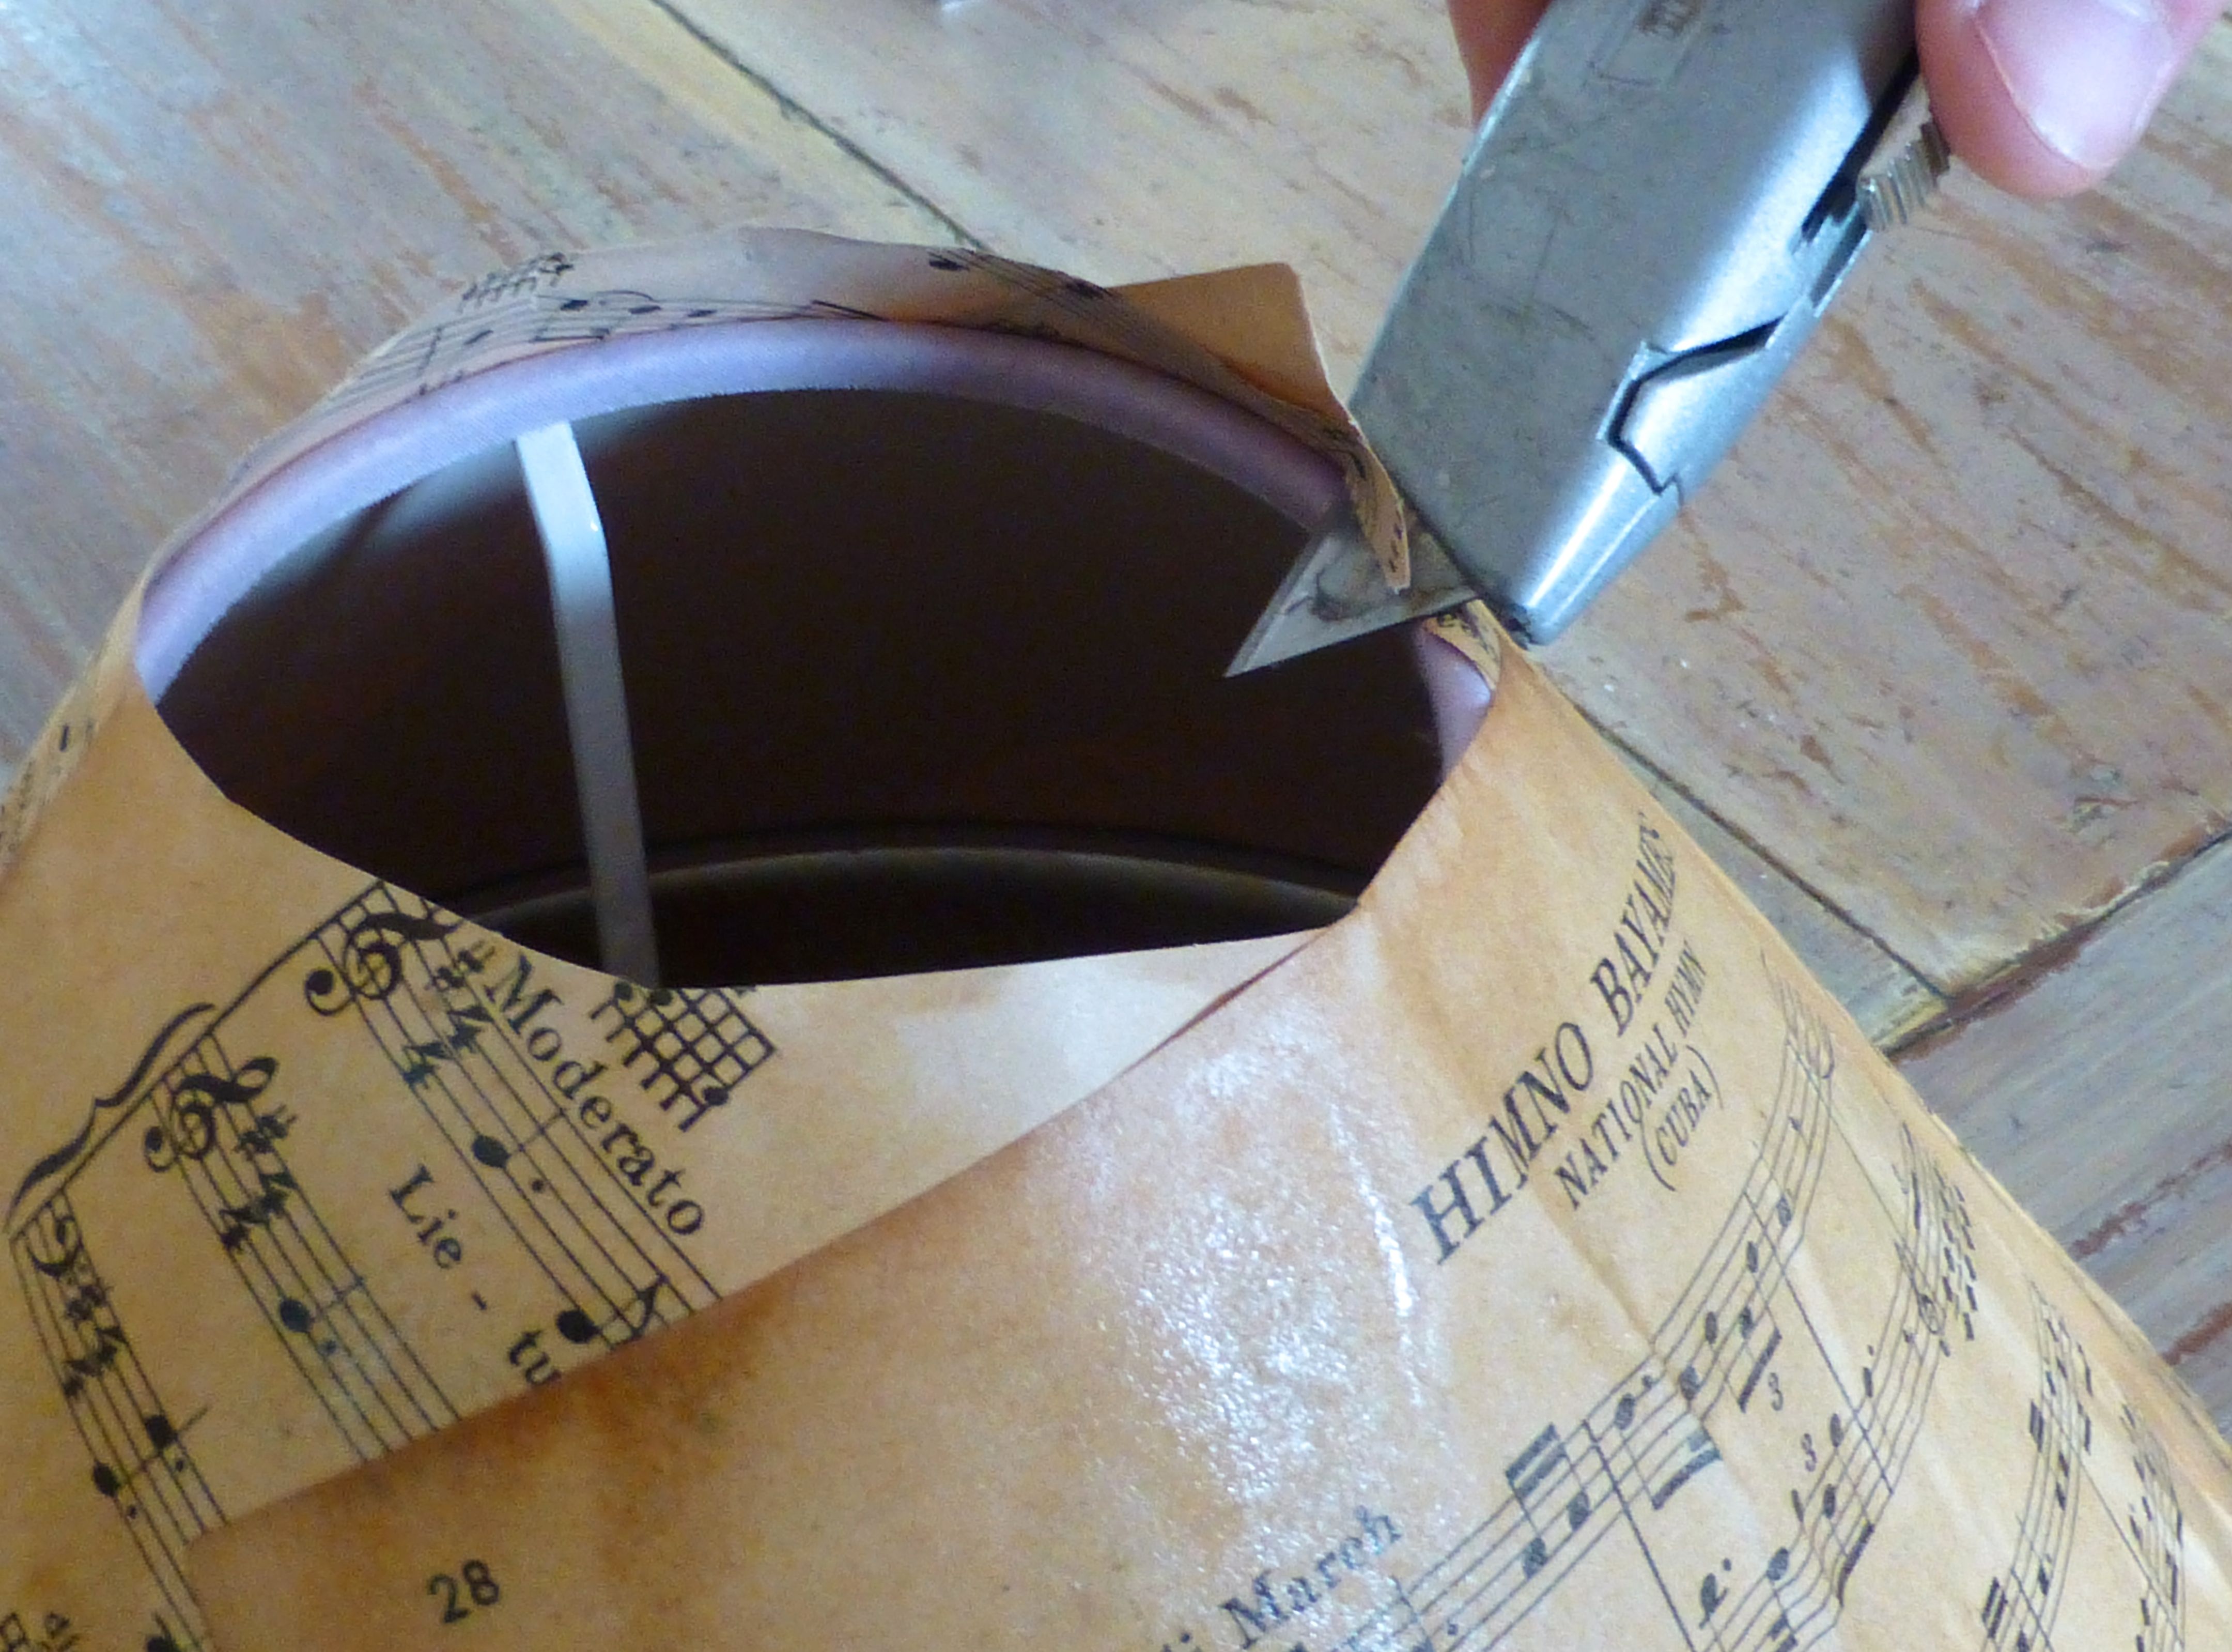
Extra pages are slapped on, overlapping where necessary, until the whole shade is covered.

When dry, use a Stanley knife or (similar craft knife) to cut away the overhanging edges. (Tip: make sure you use a fresh blade or you risk ripping the paper).

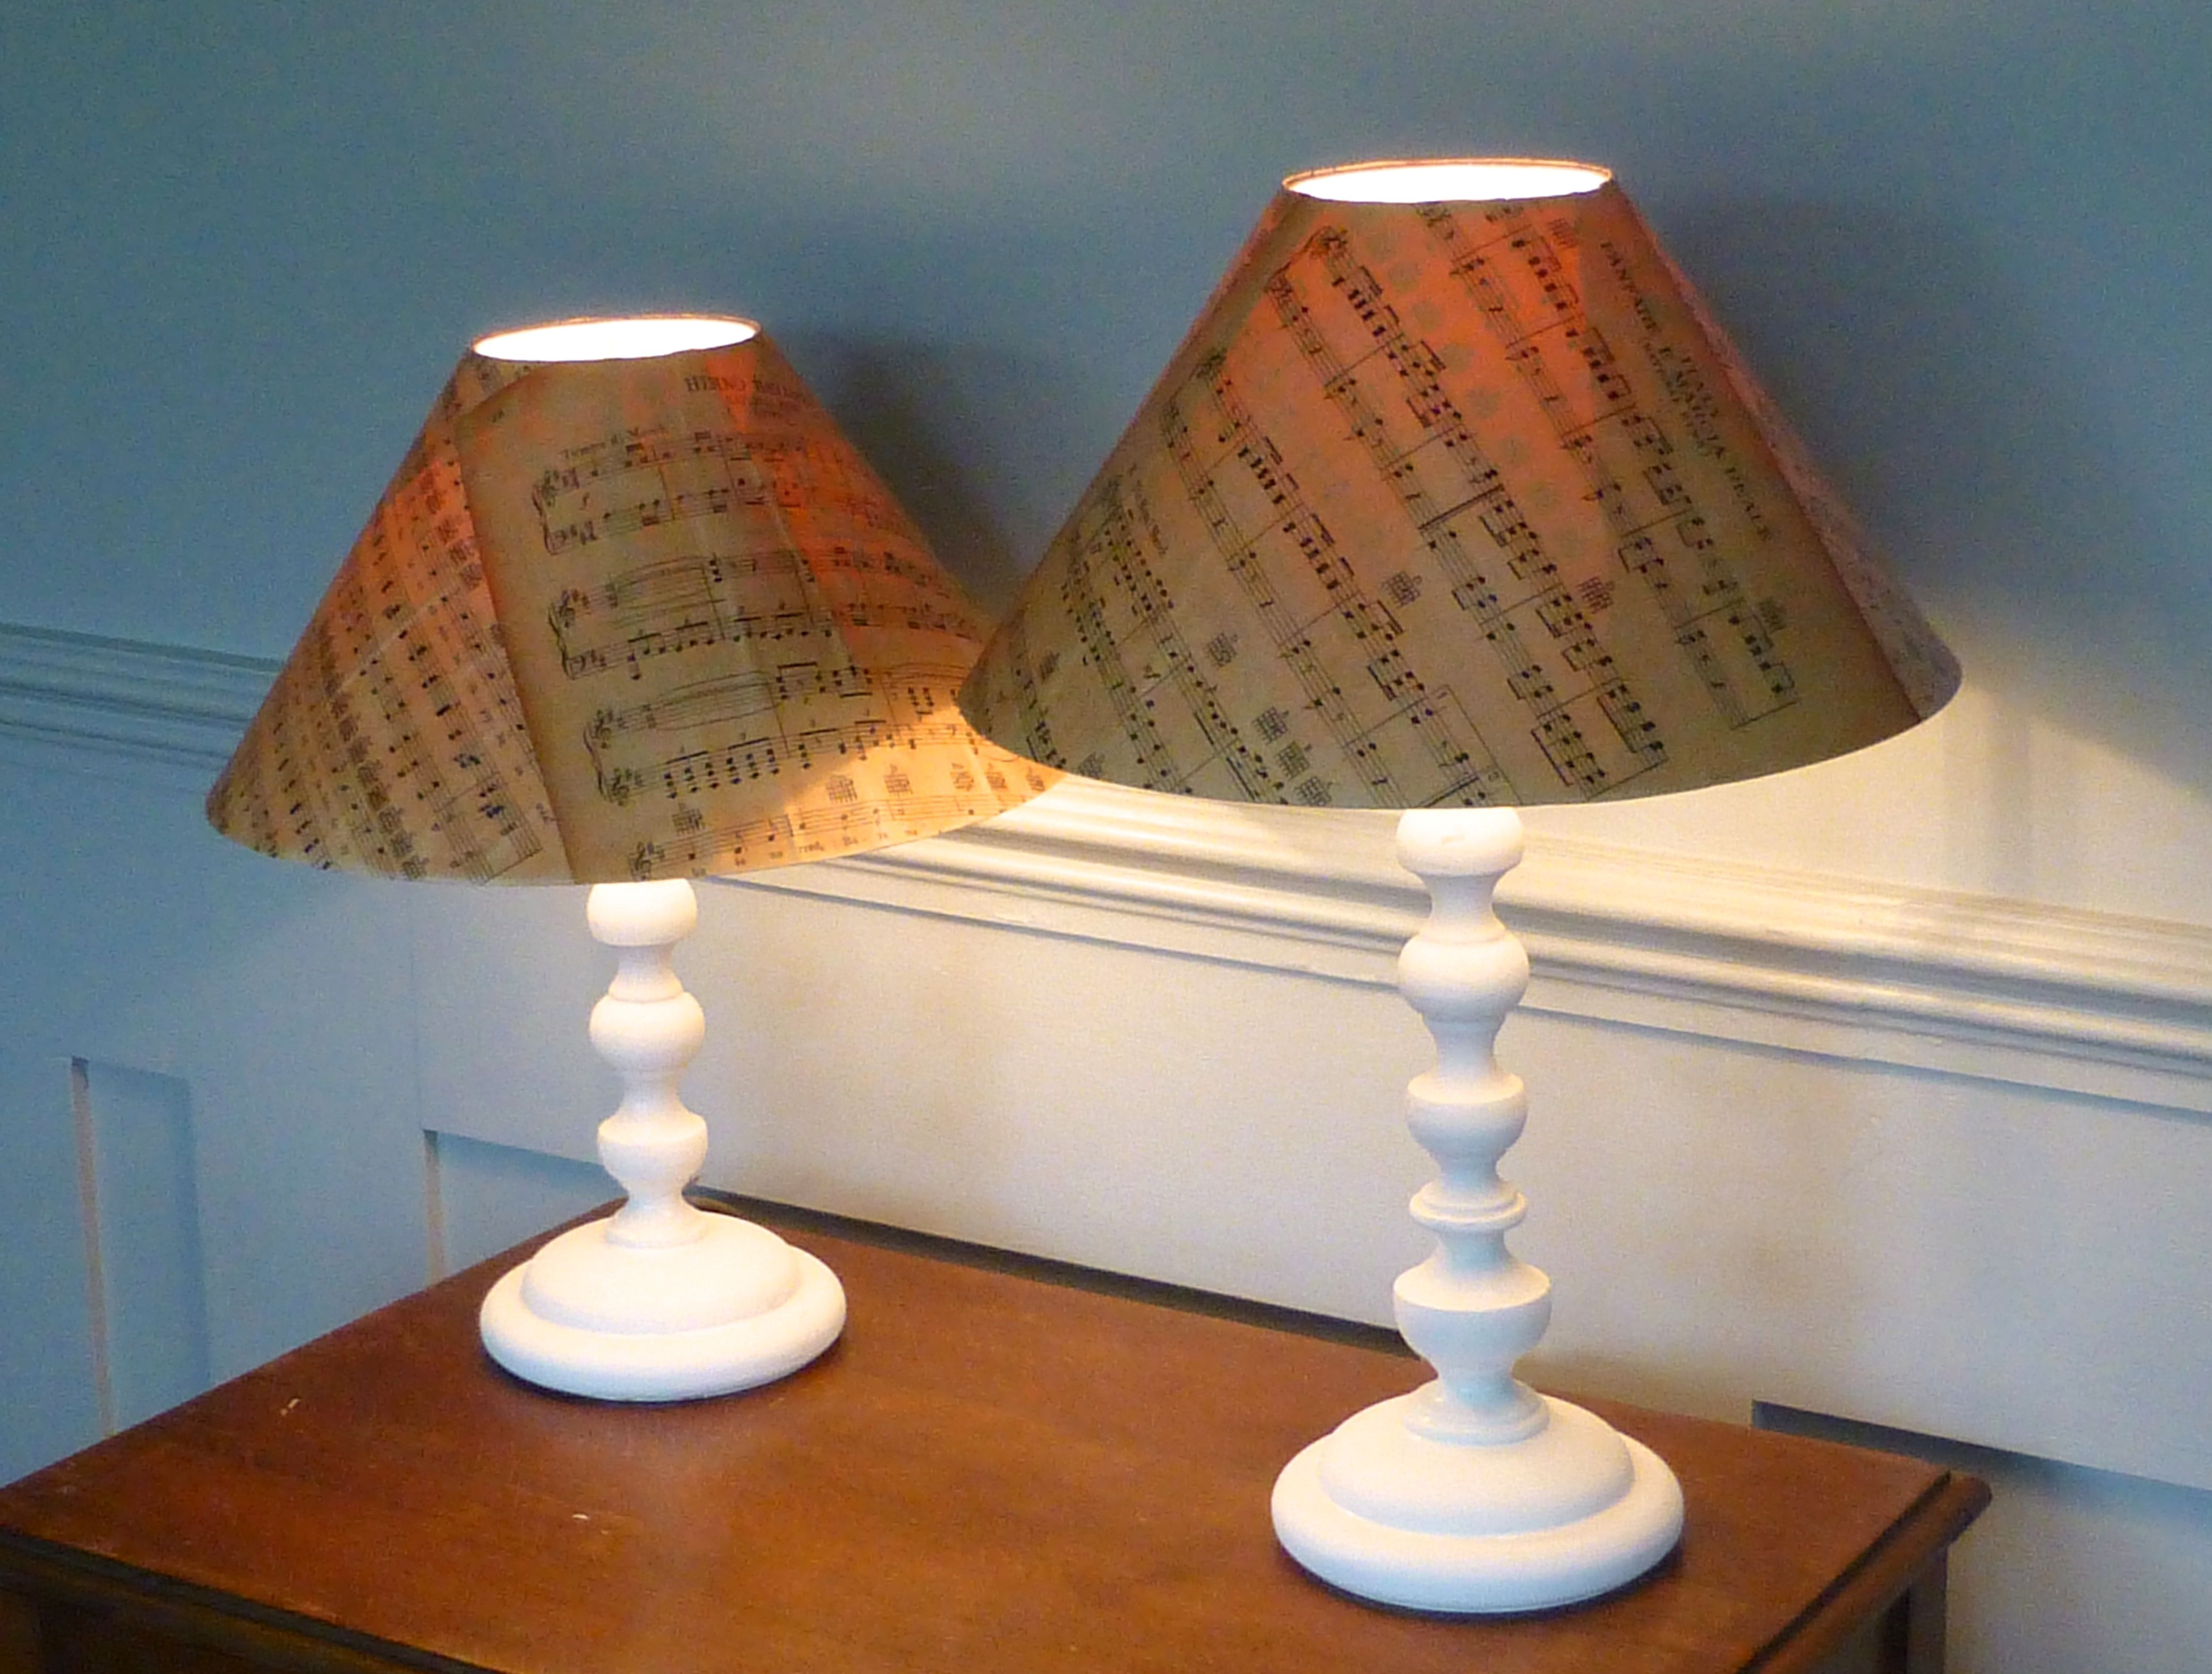
I can’t wait to show you the result so, without further ado…..
….TADAH!
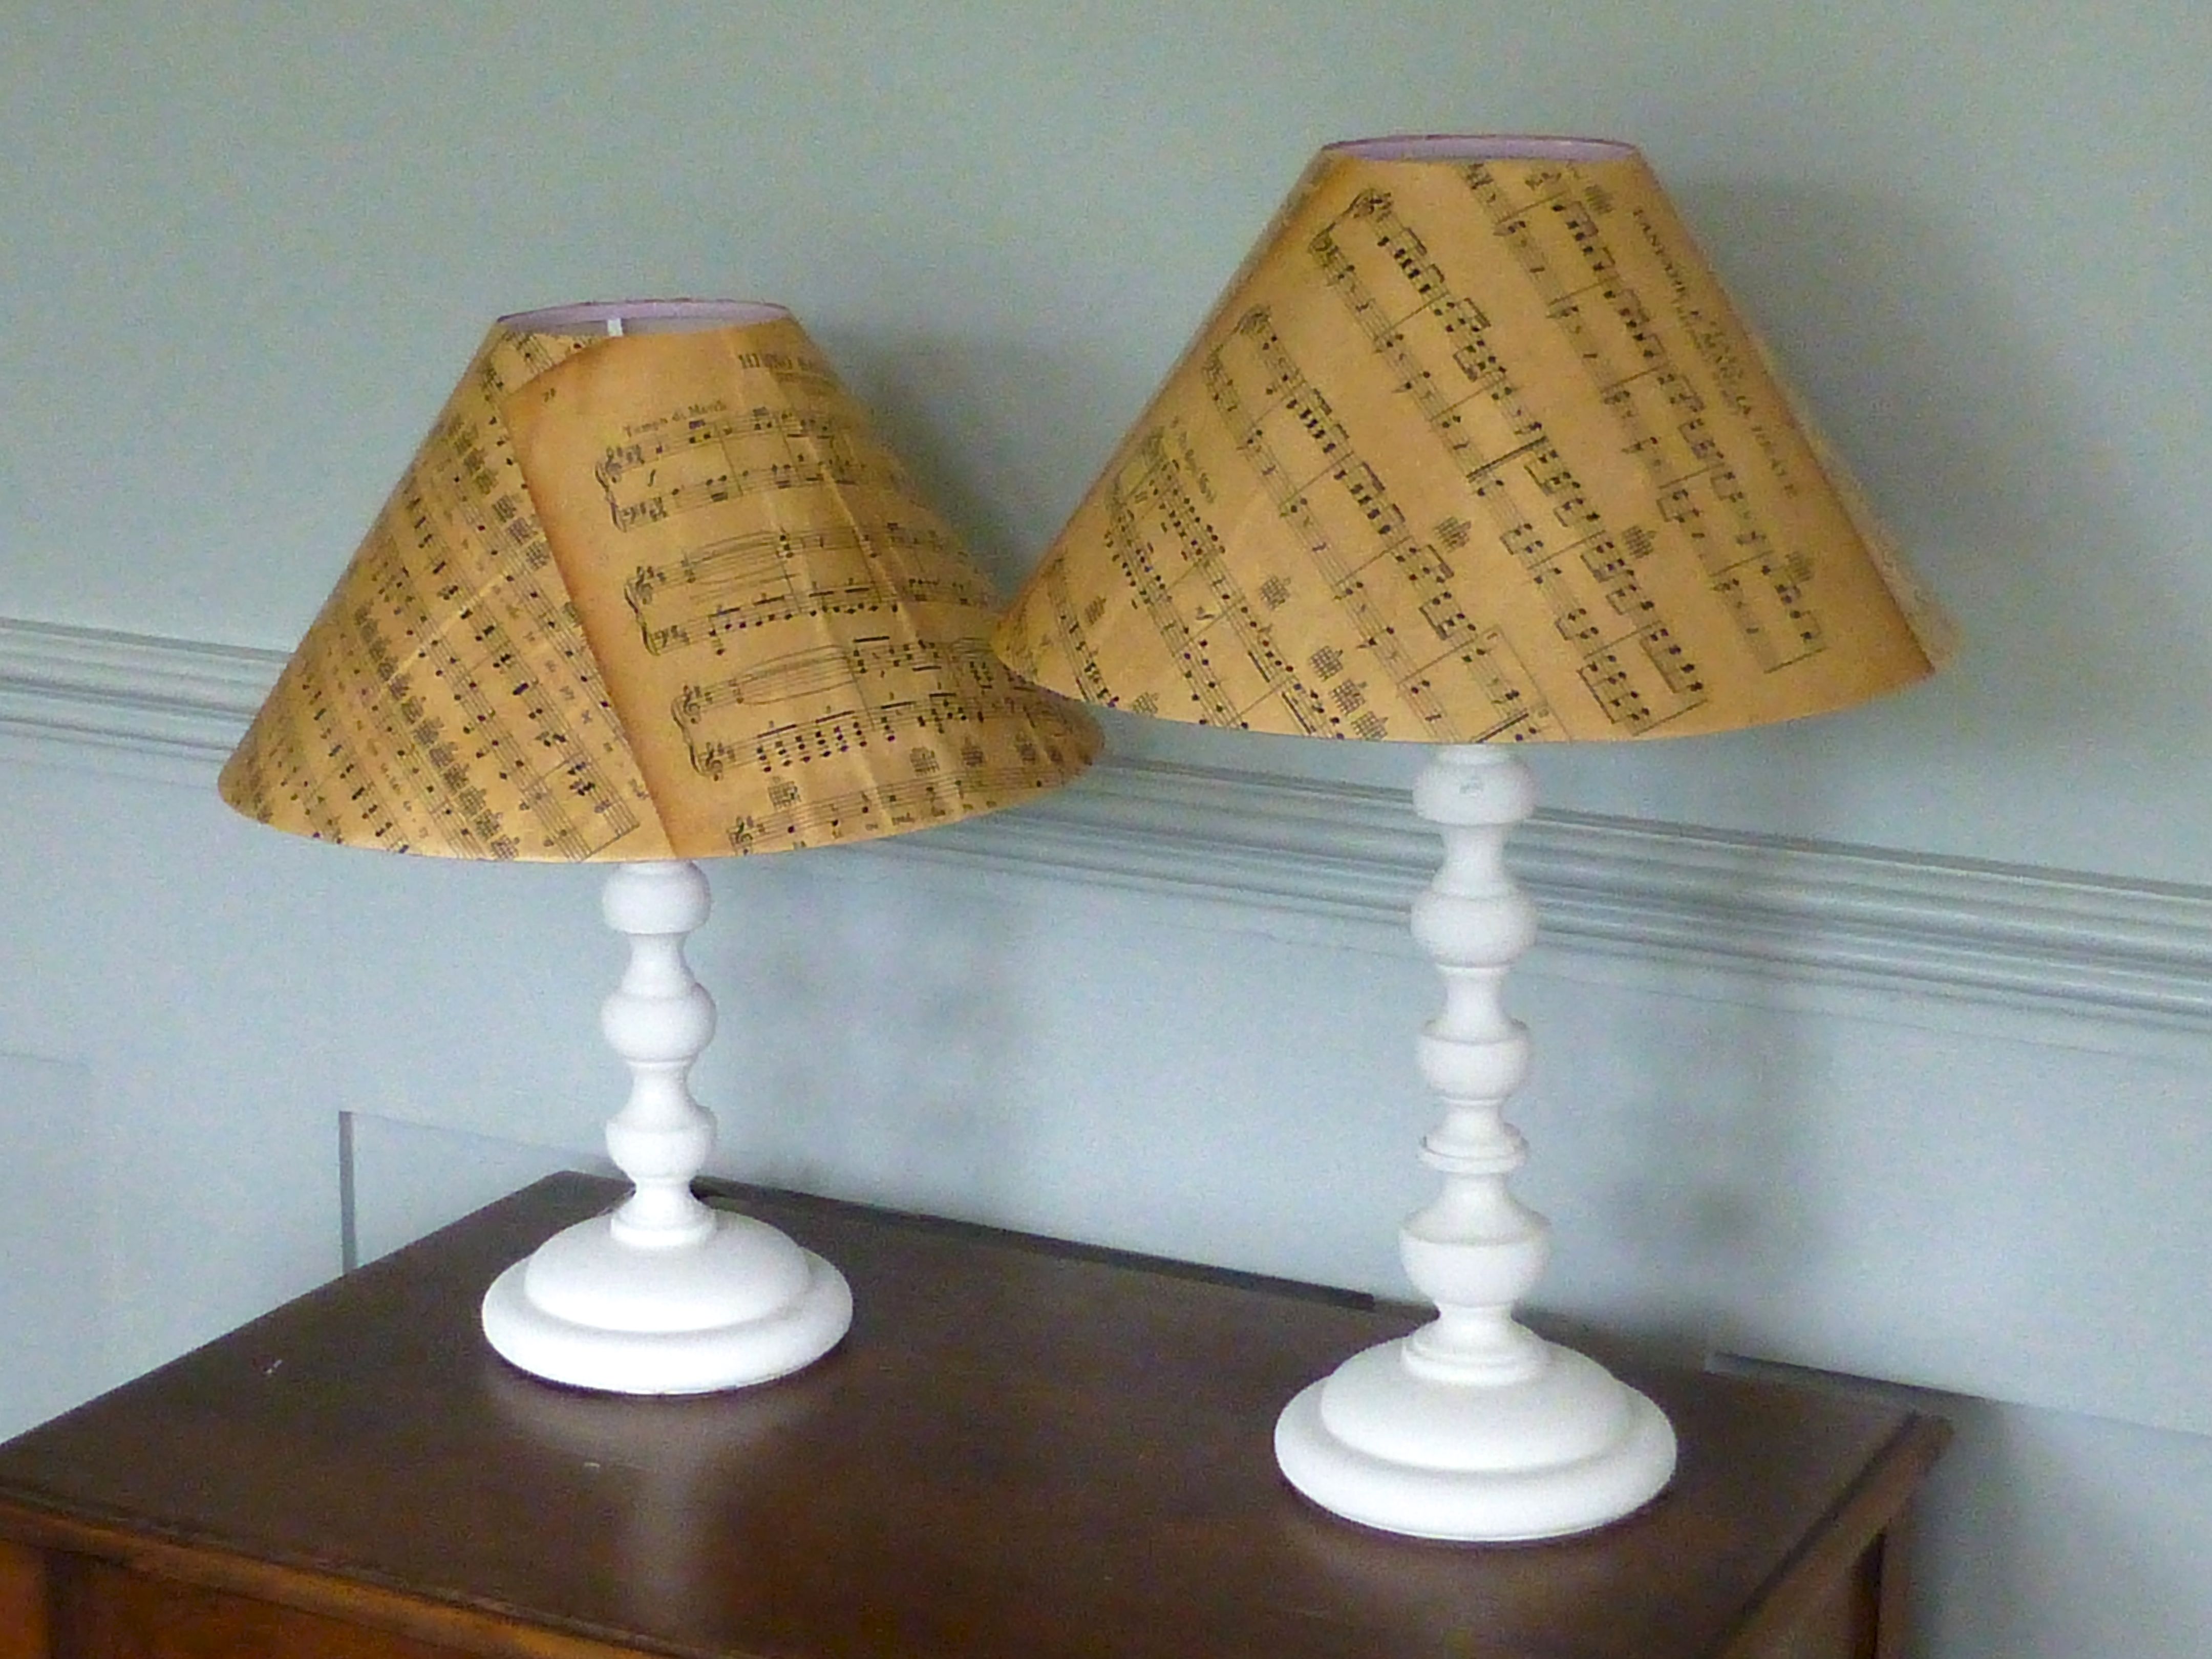
No.1 is understandably chuffed with our efforts and I think they will add a cosy touch to his Uni digs. They look especially lovely at night time.
It’s amazing what you can do with very little cash and lots of imagination, isn’t it?

September 19, 2014 at 7:12 pm
Well done!
LikeLike
September 19, 2014 at 7:20 pm
Thank you:)
LikeLike
September 19, 2014 at 8:43 pm
Wonderful transformation:-)
LikeLike
September 19, 2014 at 8:47 pm
Thank you! Much more befitting a young man’s room than lilac methinks:)
LikeLike
September 19, 2014 at 9:14 pm
I’m sure your Son was in dire straits wondering ‘… what the heck…???Arghghghg’ , when you first bought them! Now, I bet he ends up with the coolest room at uni after all your makeovers 🙂
LikeLike
September 19, 2014 at 9:17 pm
He’s far too polite to say that but I’m sure that’s what he was thinking. He trusts me to know what I’m doing luckily!
LikeLike
September 19, 2014 at 9:40 pm
My Son is much the same, and thankfully he trusts my creative moments too! .I made him a ‘Doorstop Dumpy’ Pig, he named ‘Hamish’ to take with him, a couple years back, for his start at Uni, it made him loads of friends before he arrived, as he posted it on Facebook ! 🙂
LikeLike
September 19, 2014 at 9:41 pm
Brilliant!
LikeLiked by 1 person
September 19, 2014 at 10:05 pm
These are fantastic, what a makeover! I recently updated a lampshade with a map which was great fun. Might have to try sheet music next 🙂
LikeLike
September 19, 2014 at 10:11 pm
Thanks! Yes, I recall seeing it; maps were my first thought until I remembered the music scores.
LikeLiked by 1 person
September 20, 2014 at 9:43 am
These are fantastic! They look so clean and modern. I think you can appreciate the shaping of the base more now, too.
LikeLike
September 20, 2014 at 1:11 pm
Thank you – I’ve just waved him off now:(
LikeLike
Pingback: Sunday Sevens #2 | Sewchet
September 22, 2014 at 8:58 am
Great up-cycle. And if they do get bashed a little, it’ll only add to their charm.
We saw a huge display of this paint in our new local vintage coffee/gift shop. There is not a lot that you couldn’t paint with this stuff!
LikeLike
September 22, 2014 at 10:07 am
I know, it’s great stuff – you can even paint fabric with it apparently!
LikeLike
September 22, 2014 at 8:03 pm
I love this! I’m a big reader so it would be fun to do this with some excerpts from my favorite books! 🙂
LikeLike
September 22, 2014 at 8:15 pm
What a great idea!
LikeLike
Pingback: 2014 Creative Round Up | Sewchet