Sewchet

Sewing, crochet, crafts, accessories, baking, tutorials,


5 Comments

Refashion: Onesie To Slipper Boots

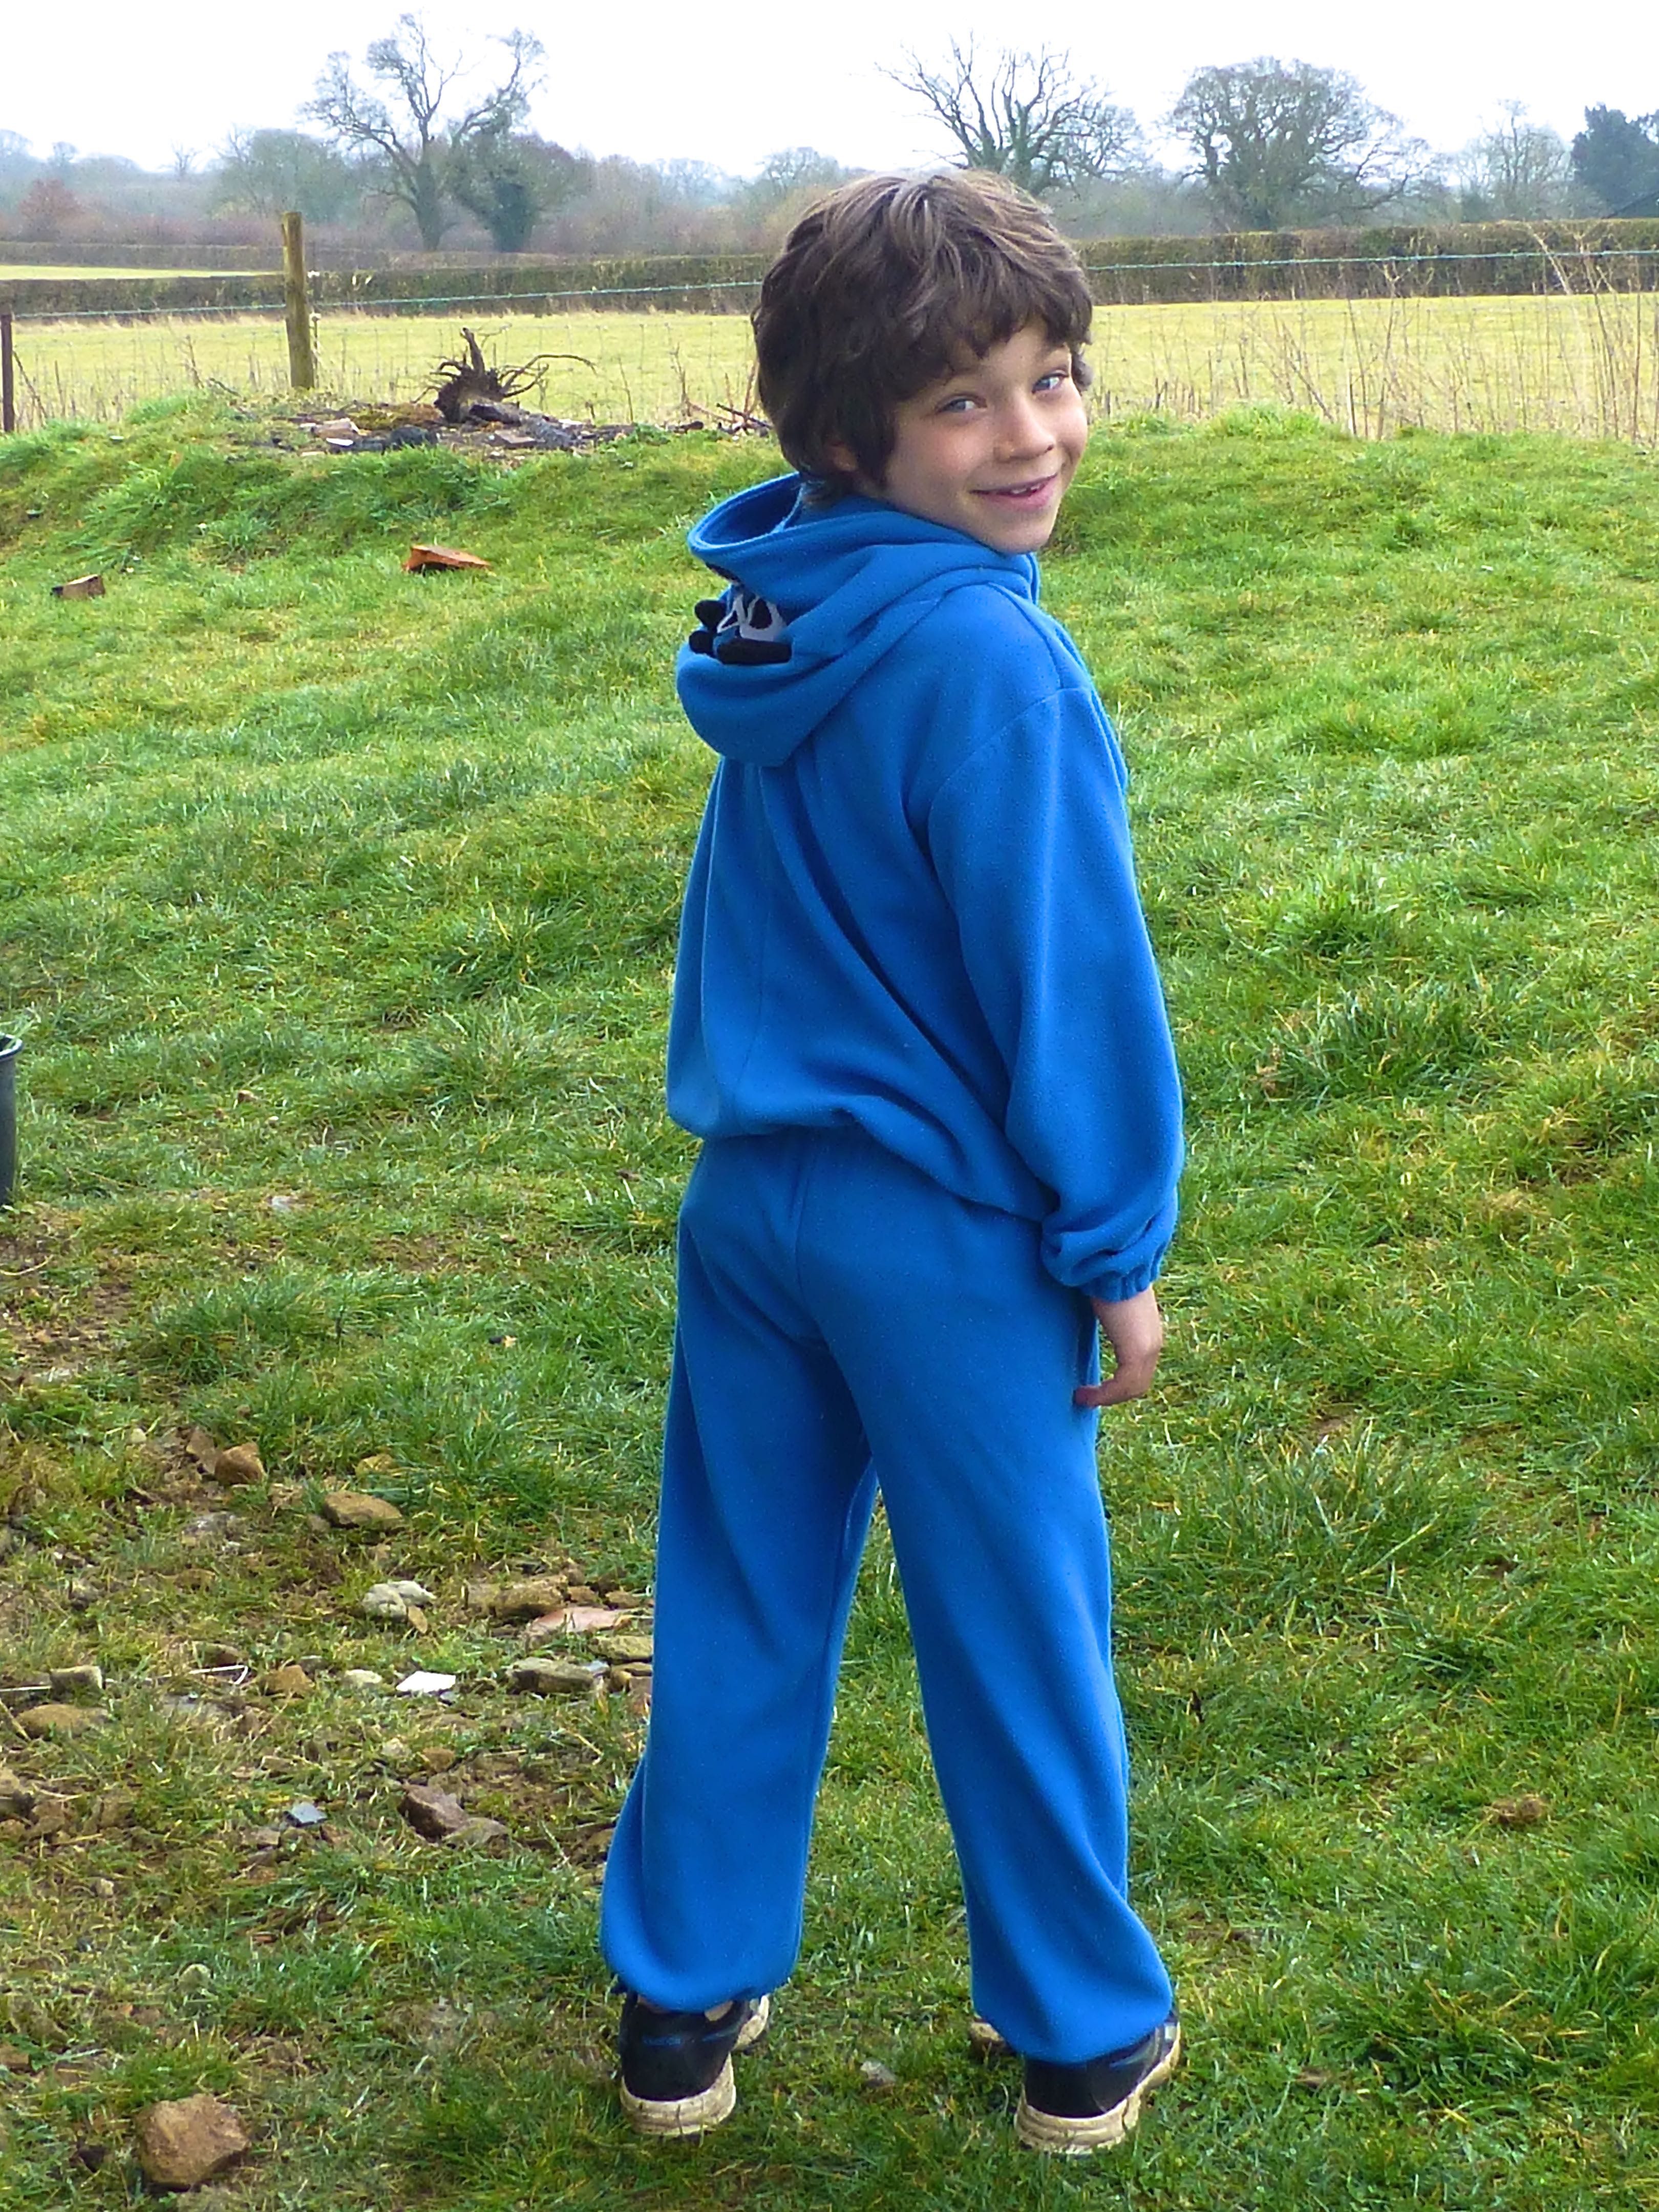
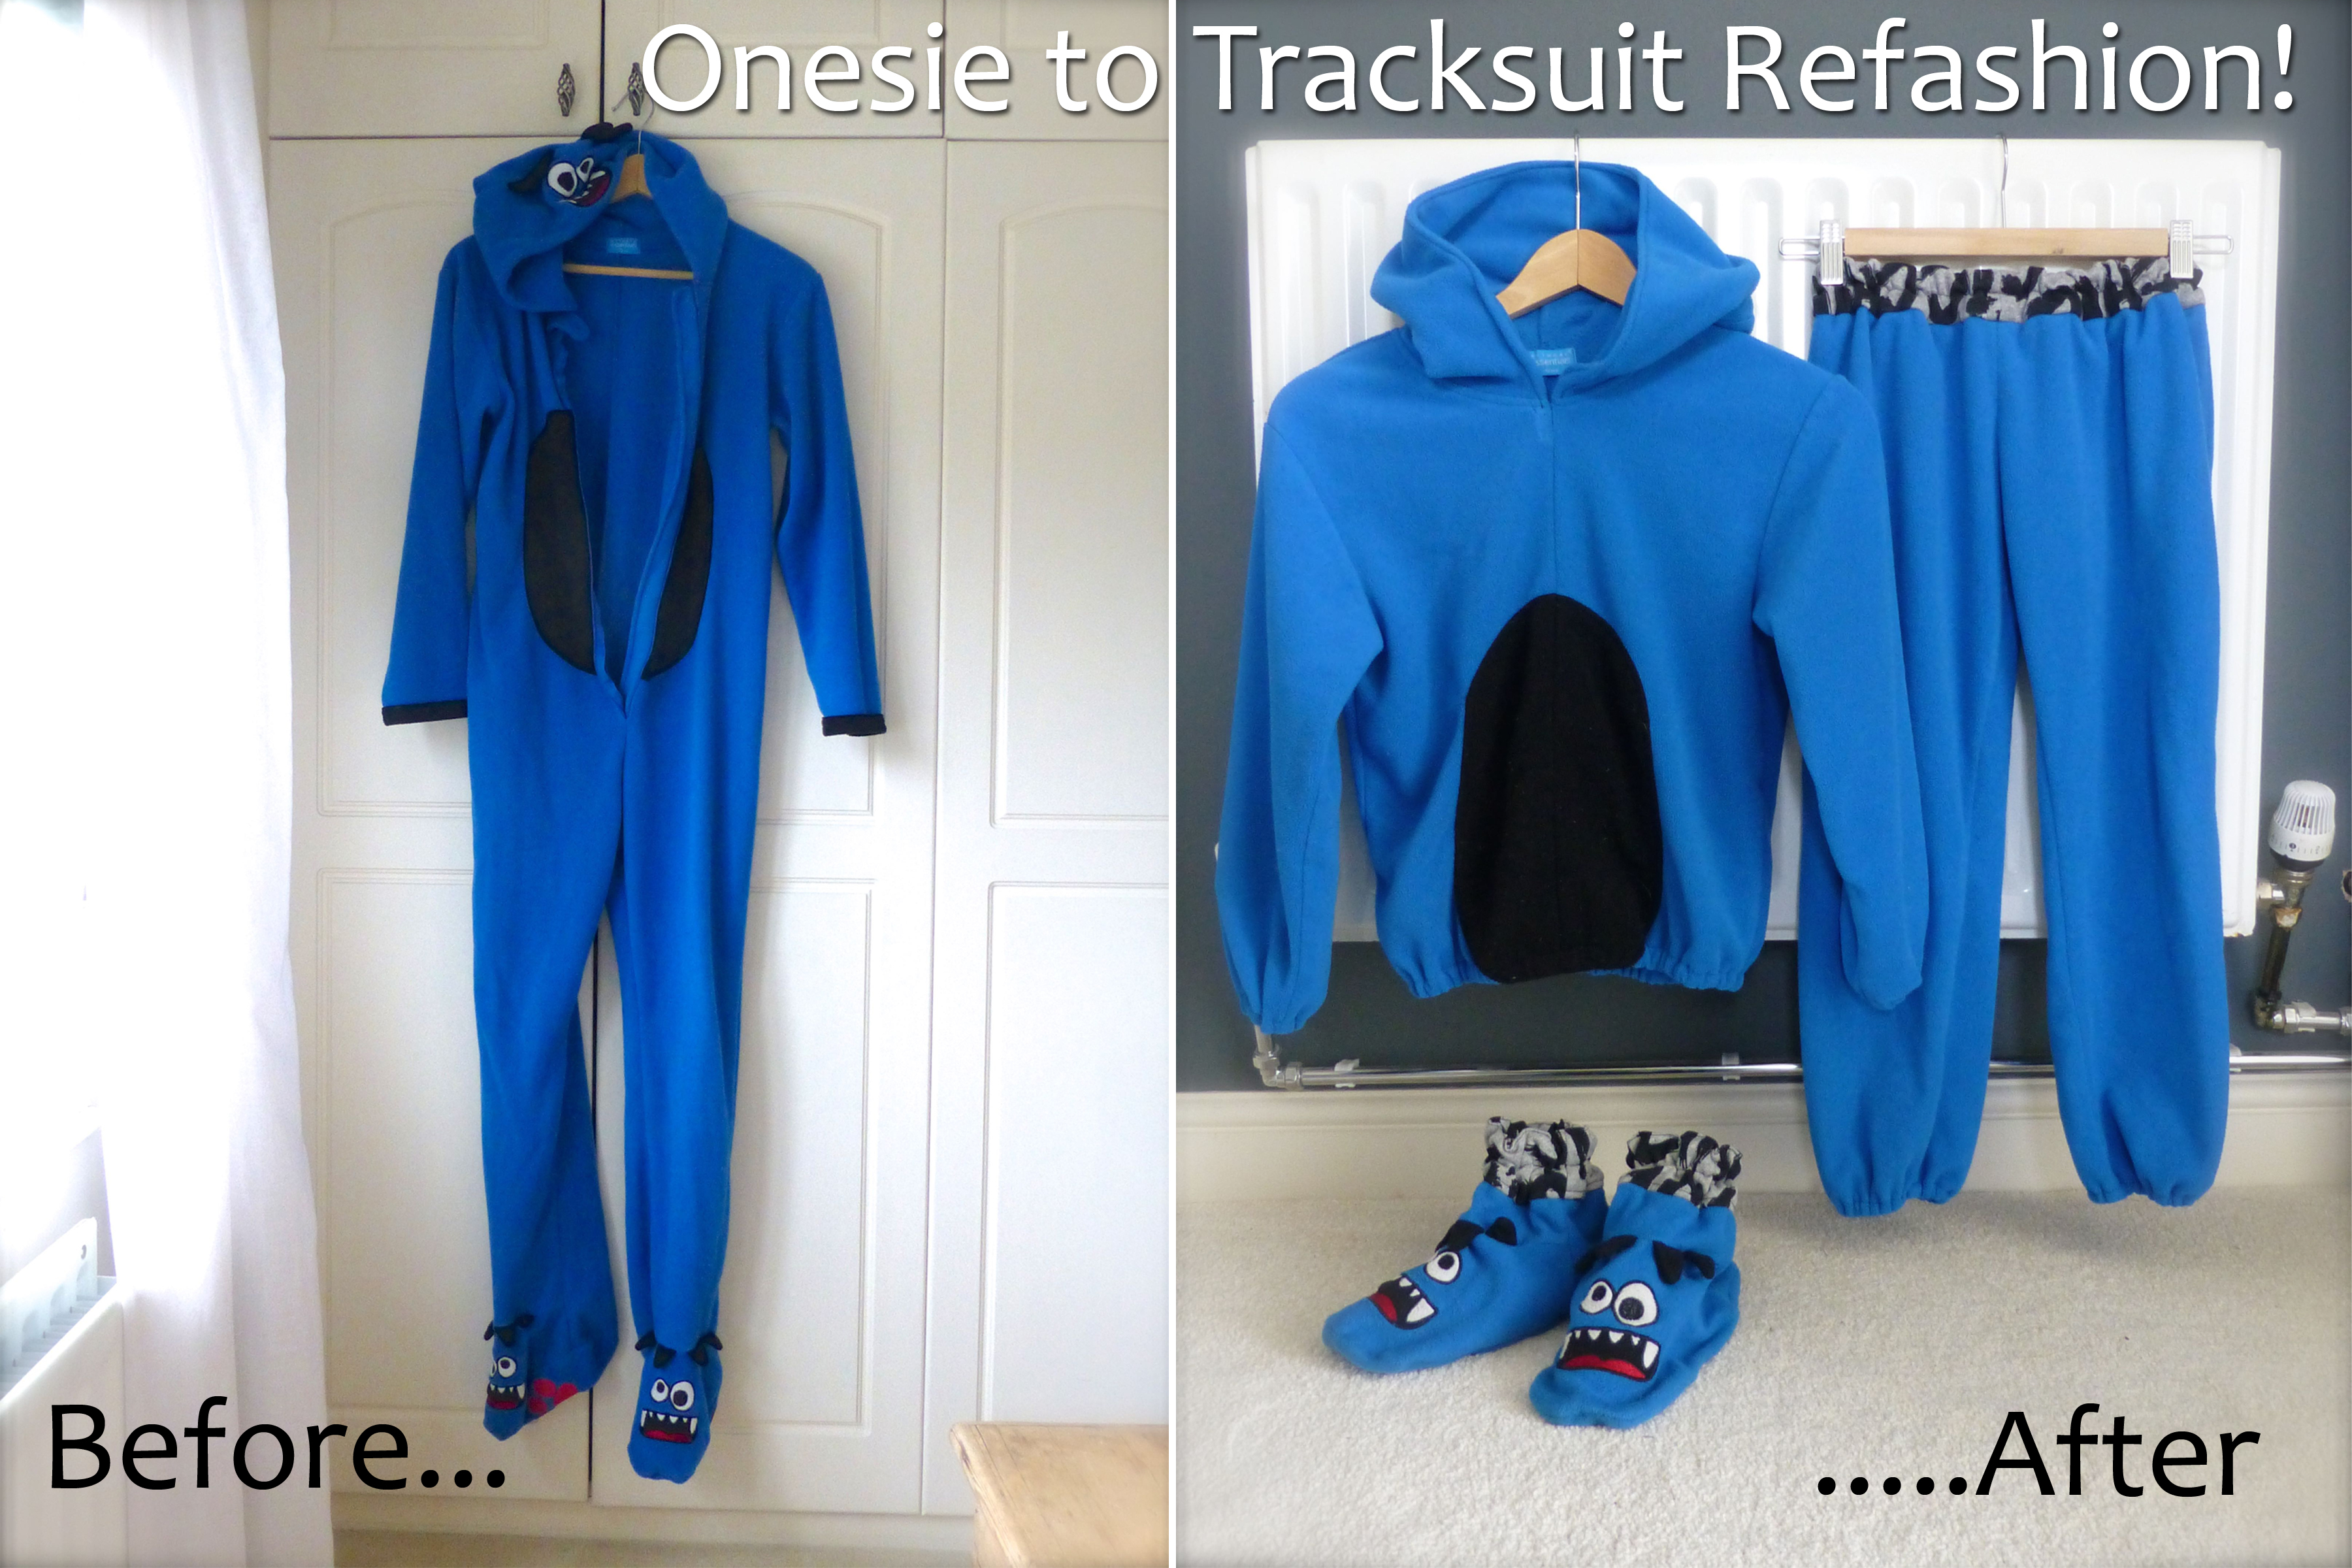
This the last in a three part series showing how I upcycled an old Onesie into three new garments.

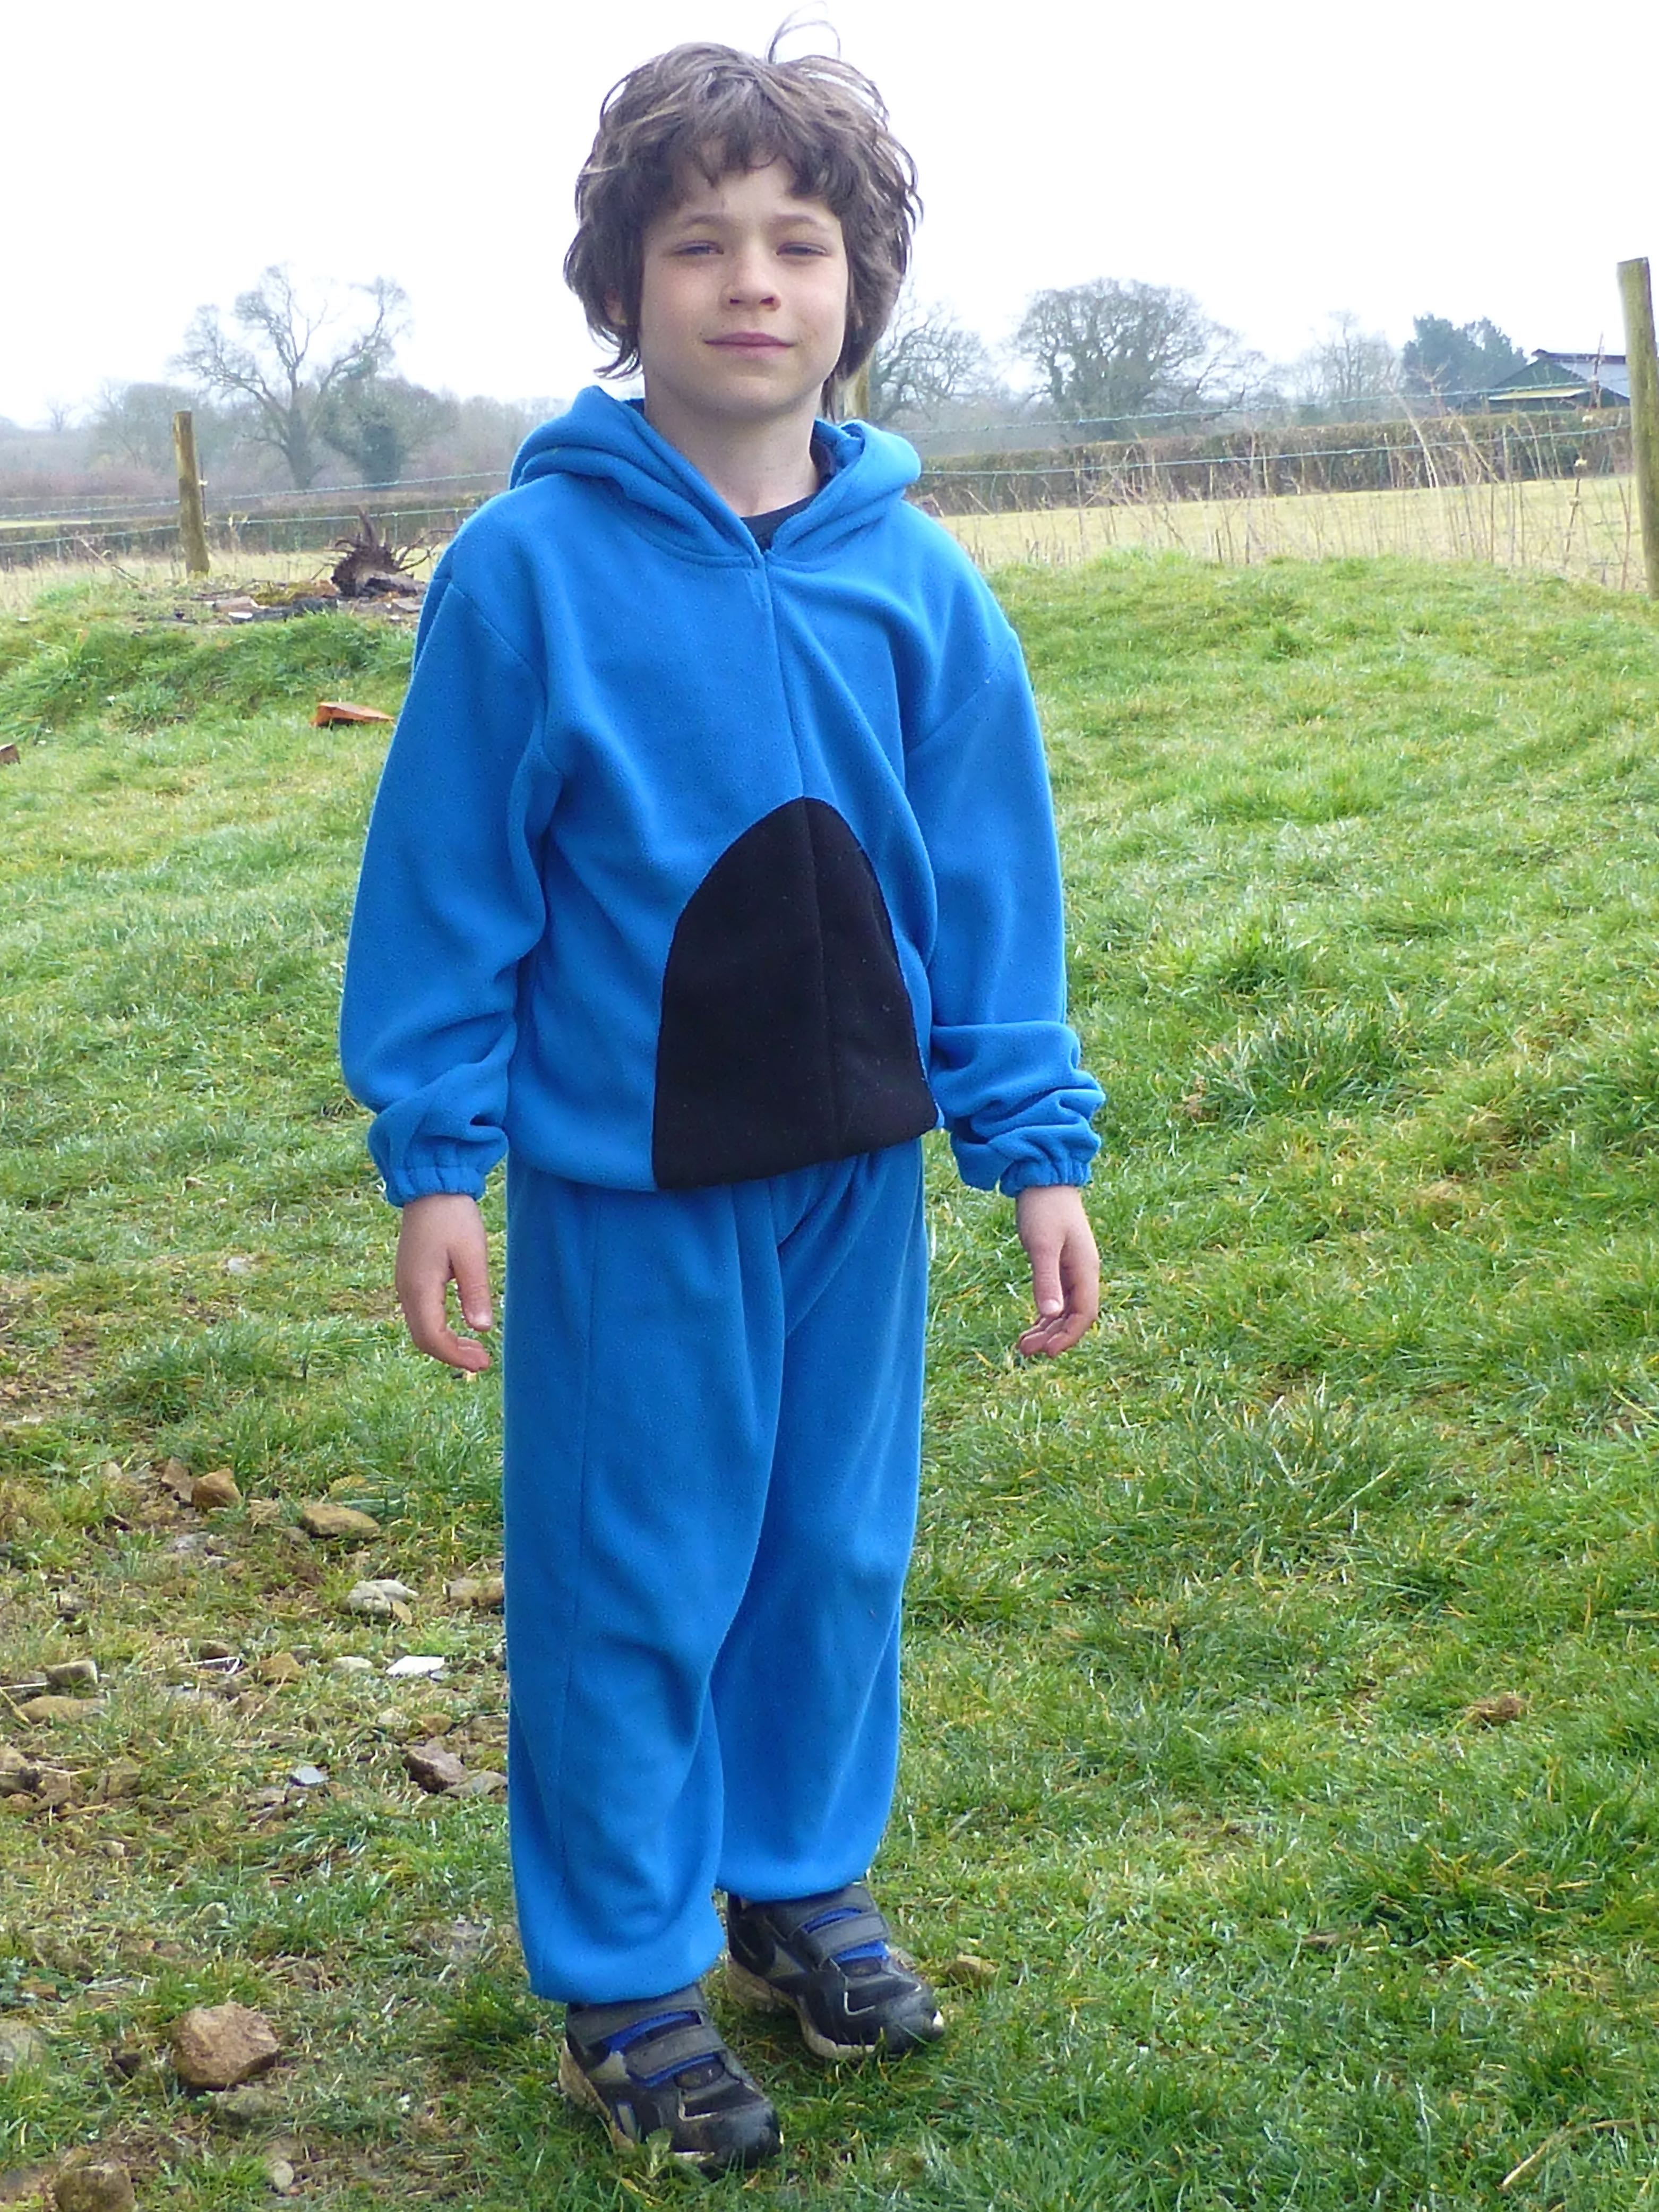
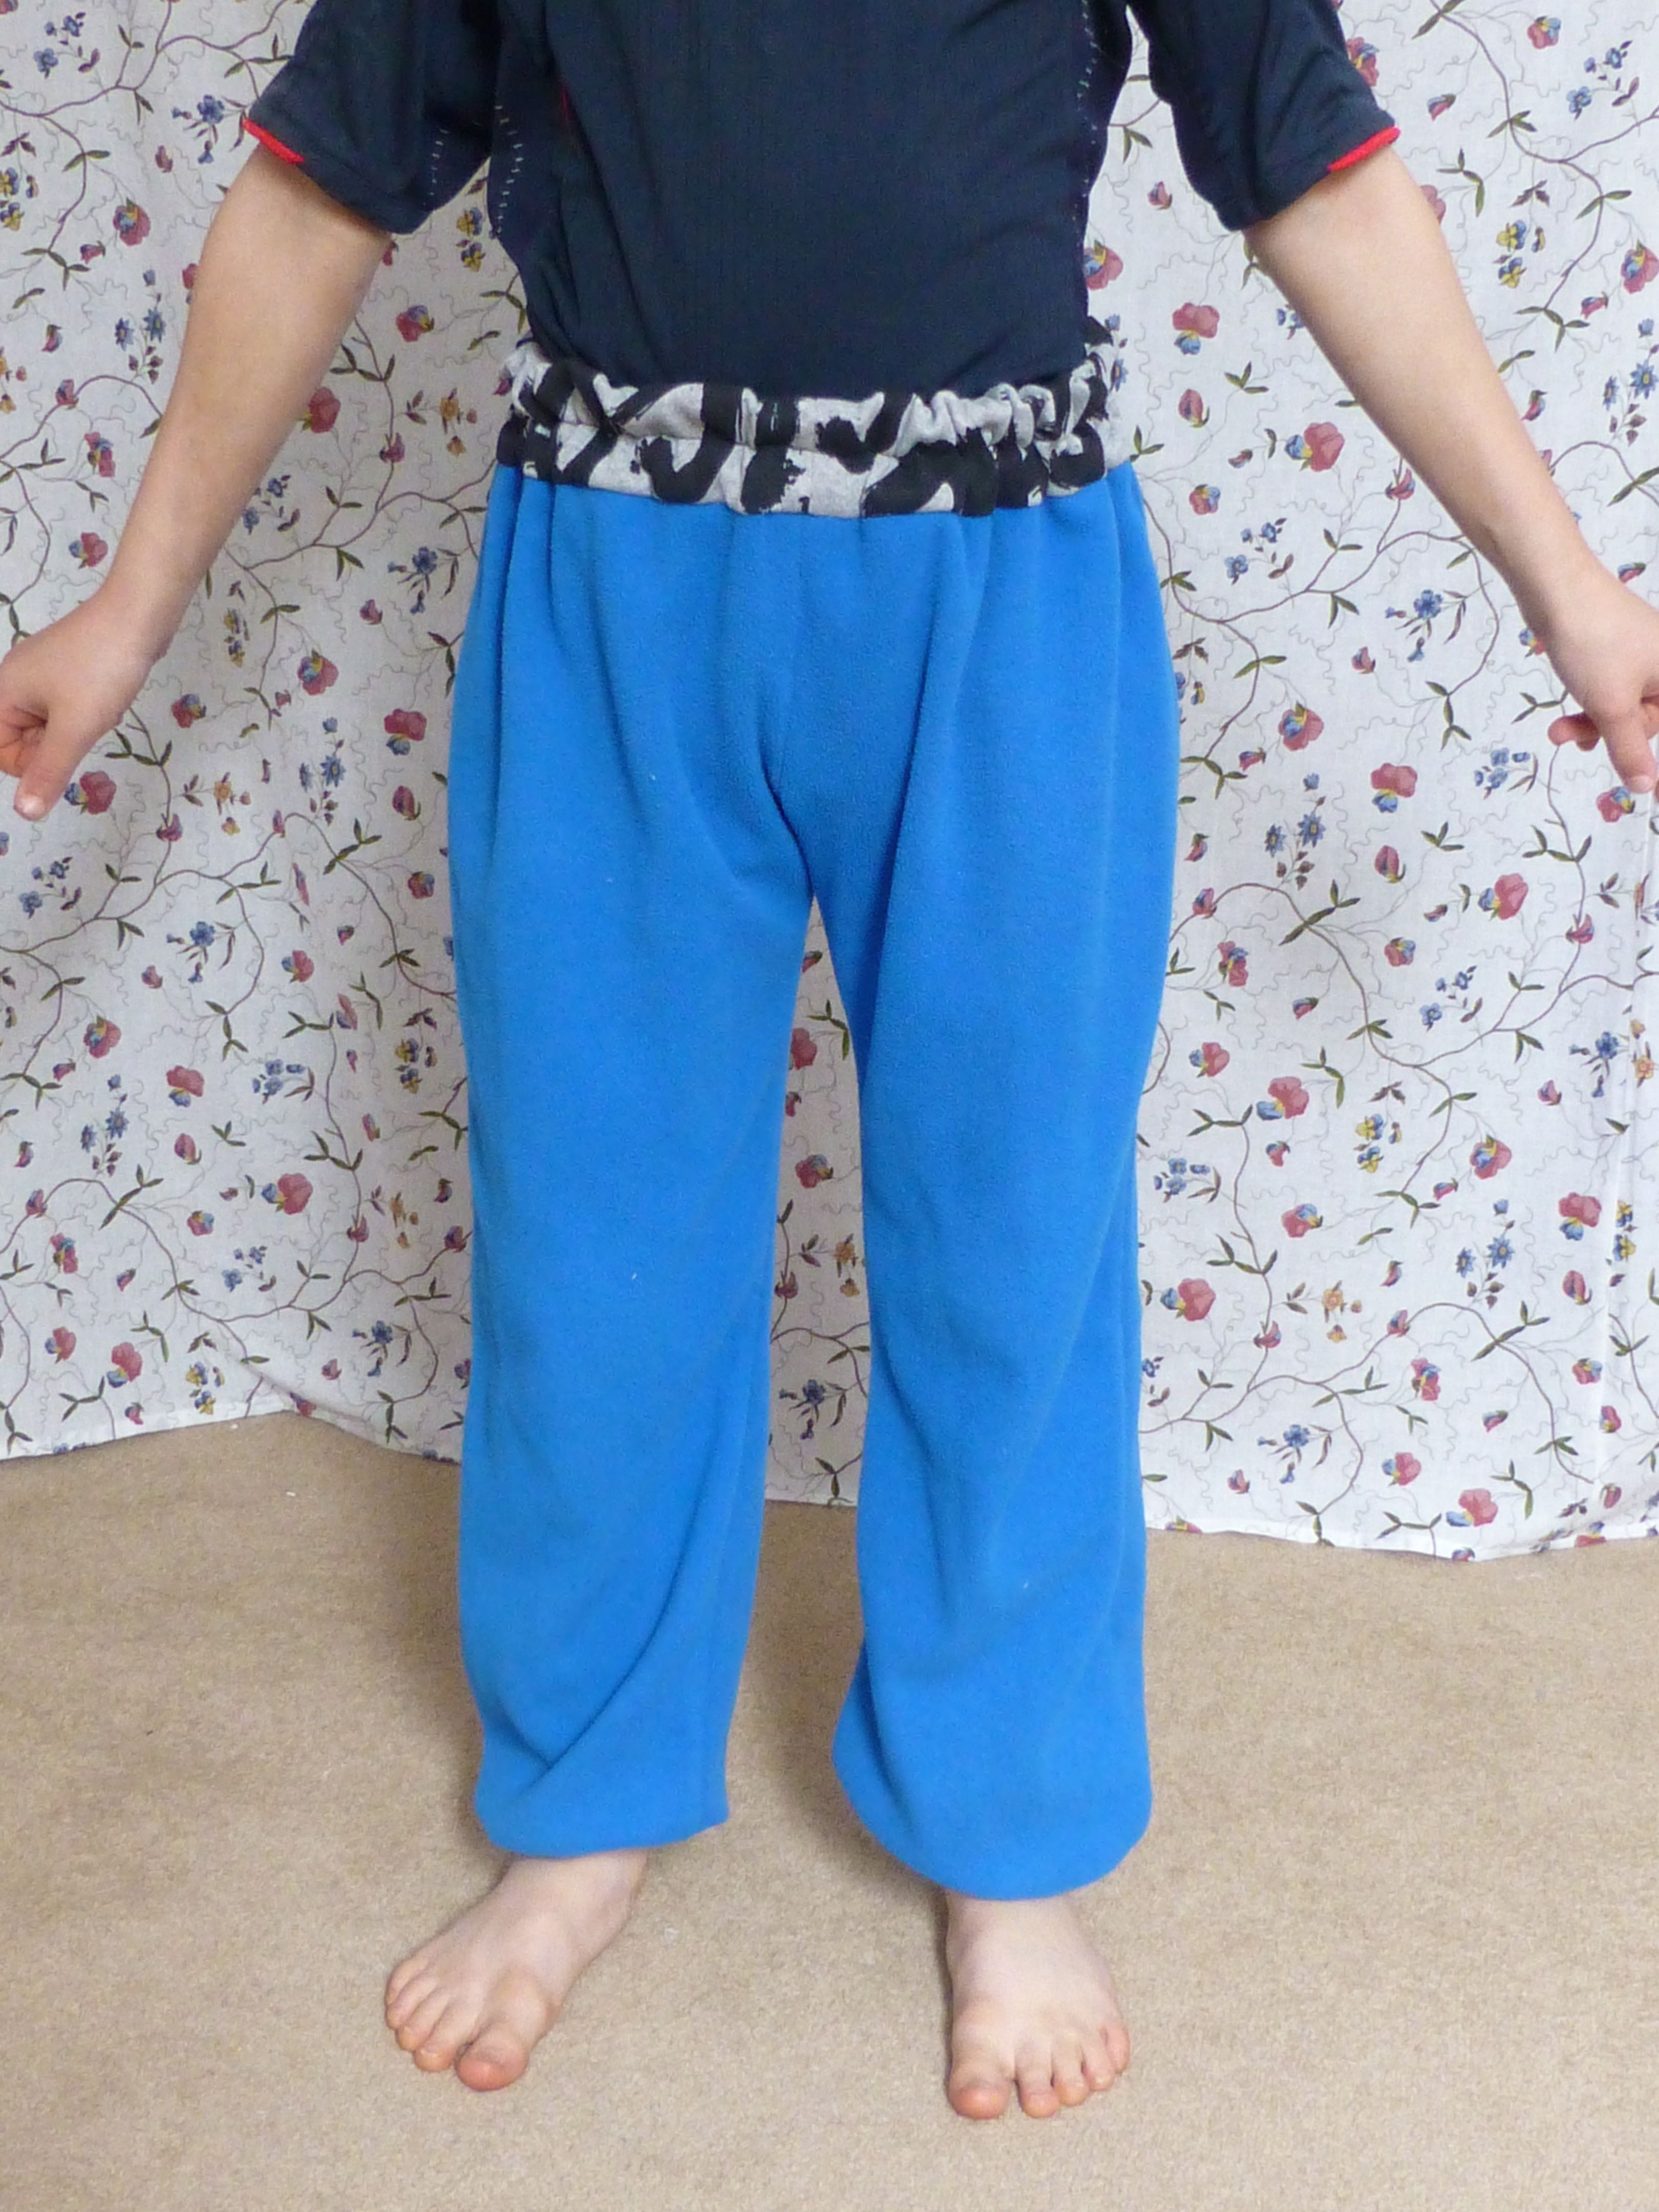
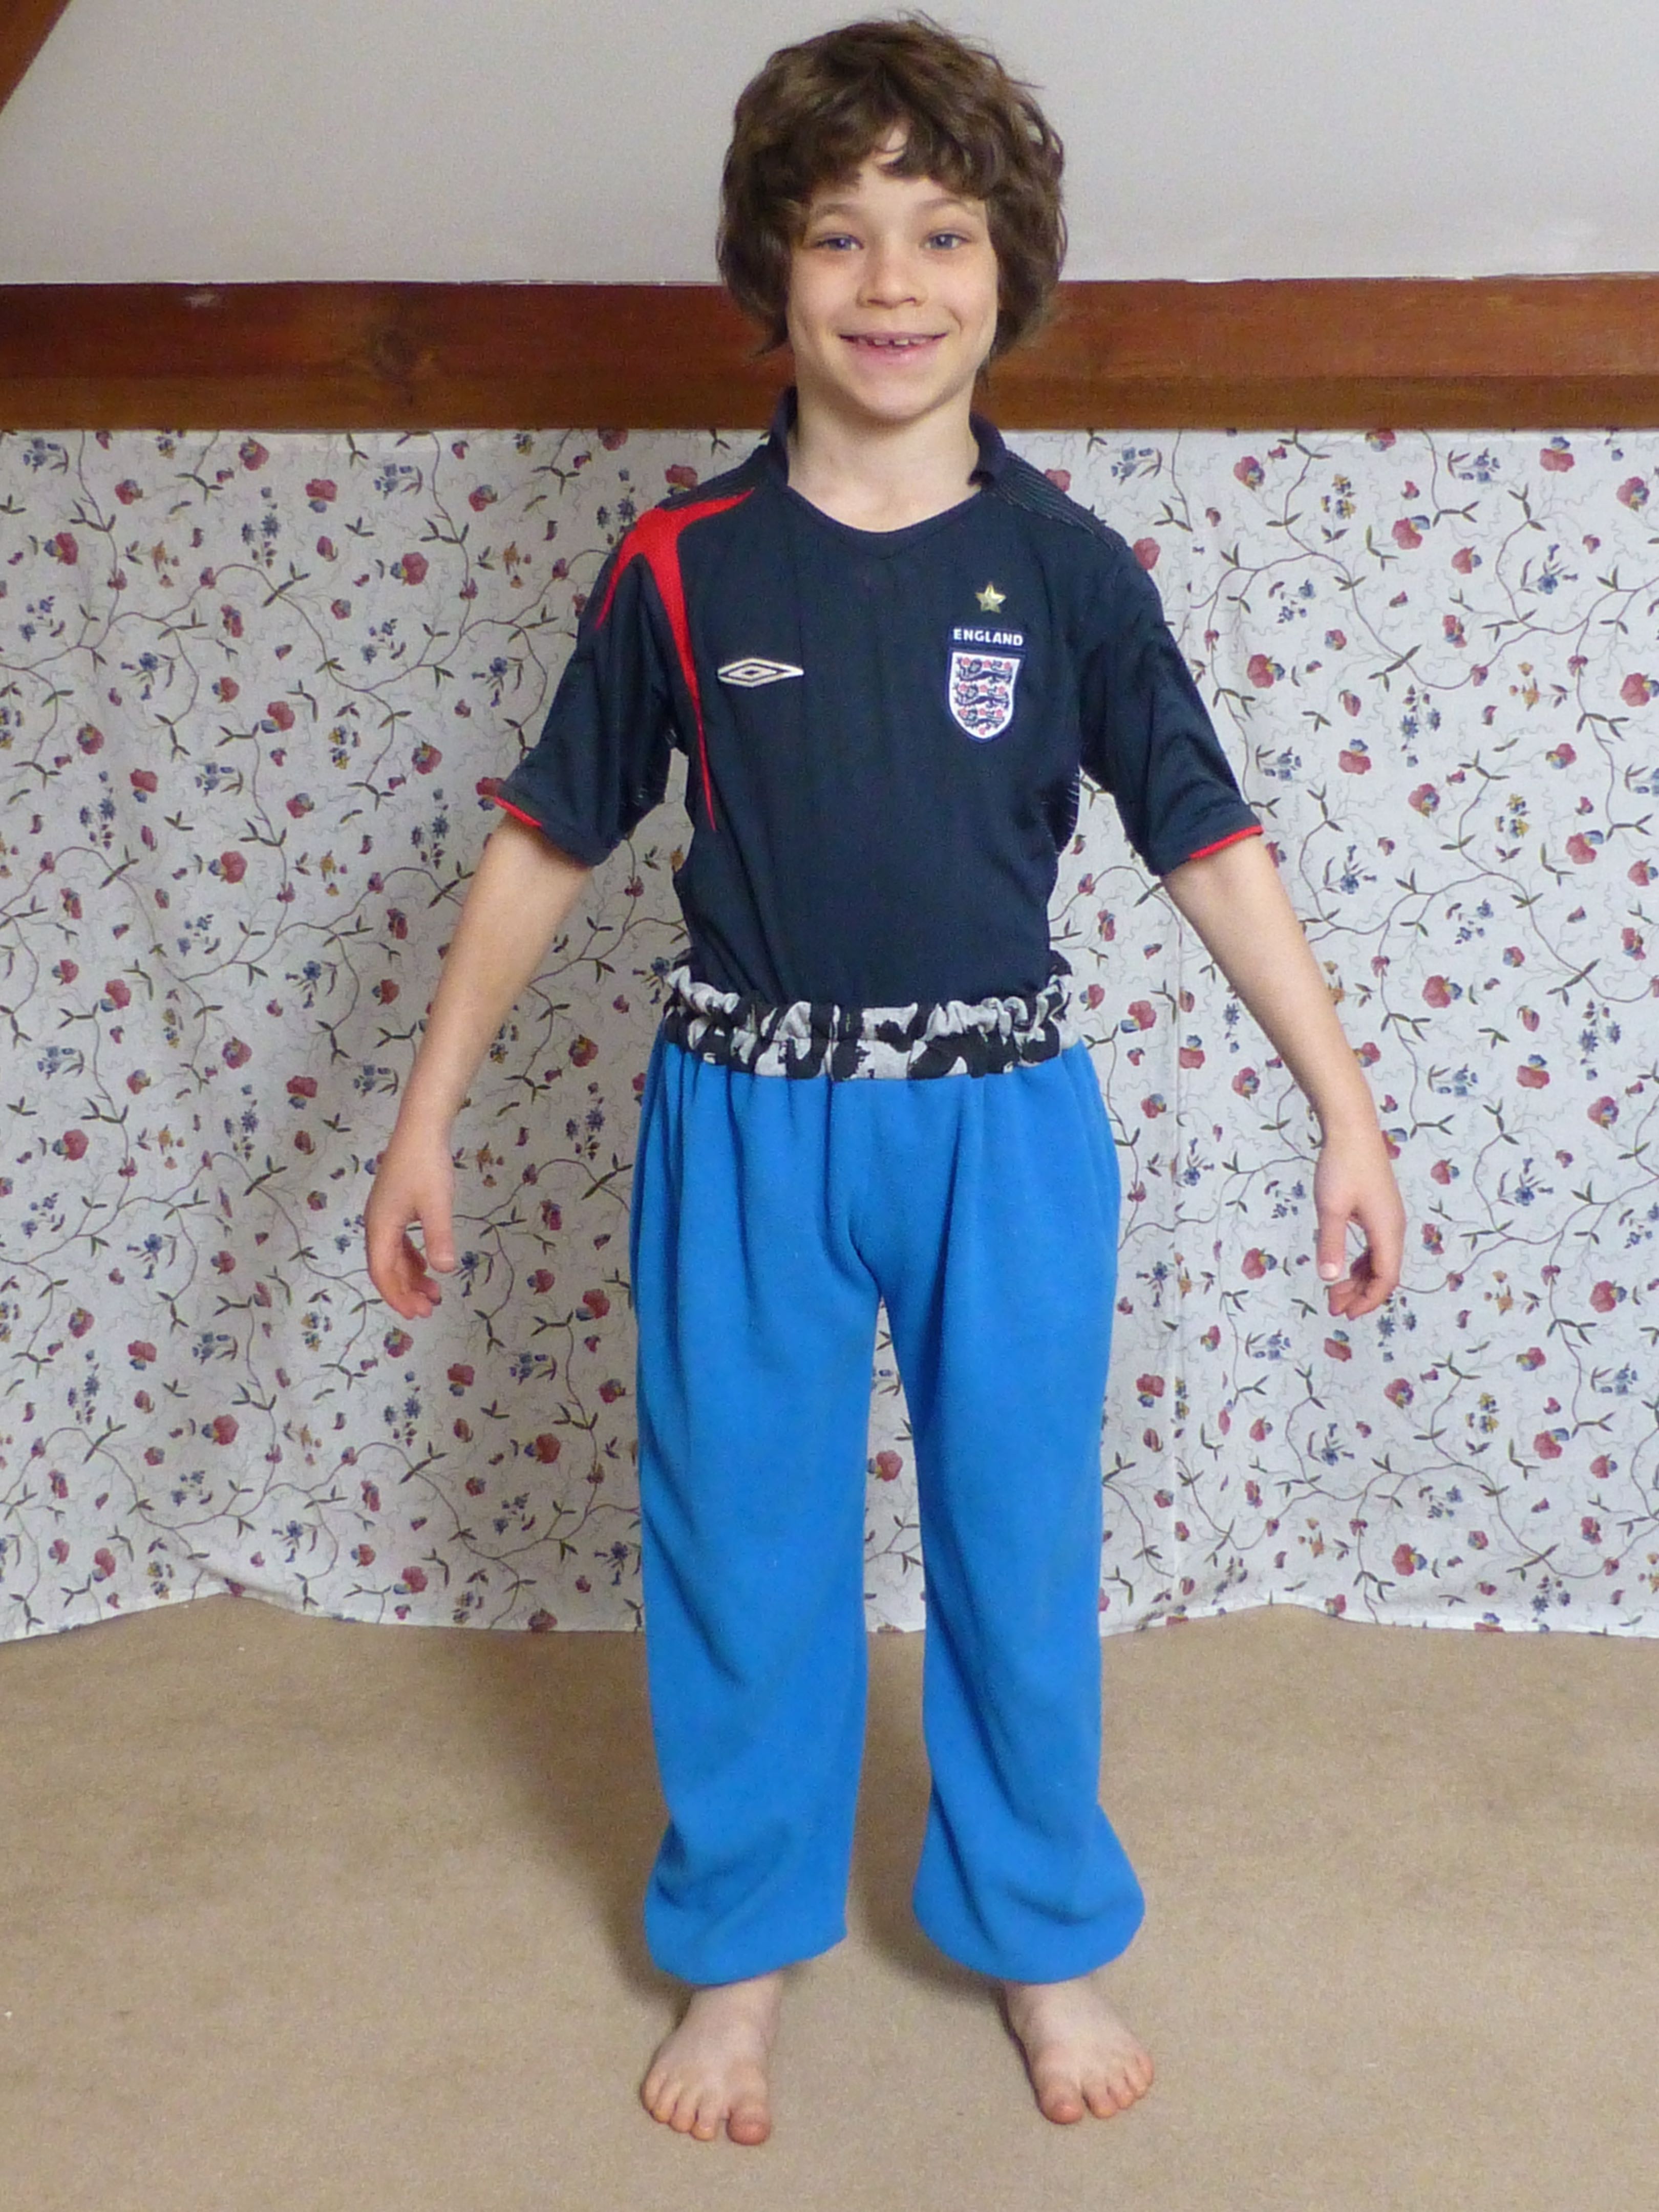
First part: TRACKSUIT BOTTOMS
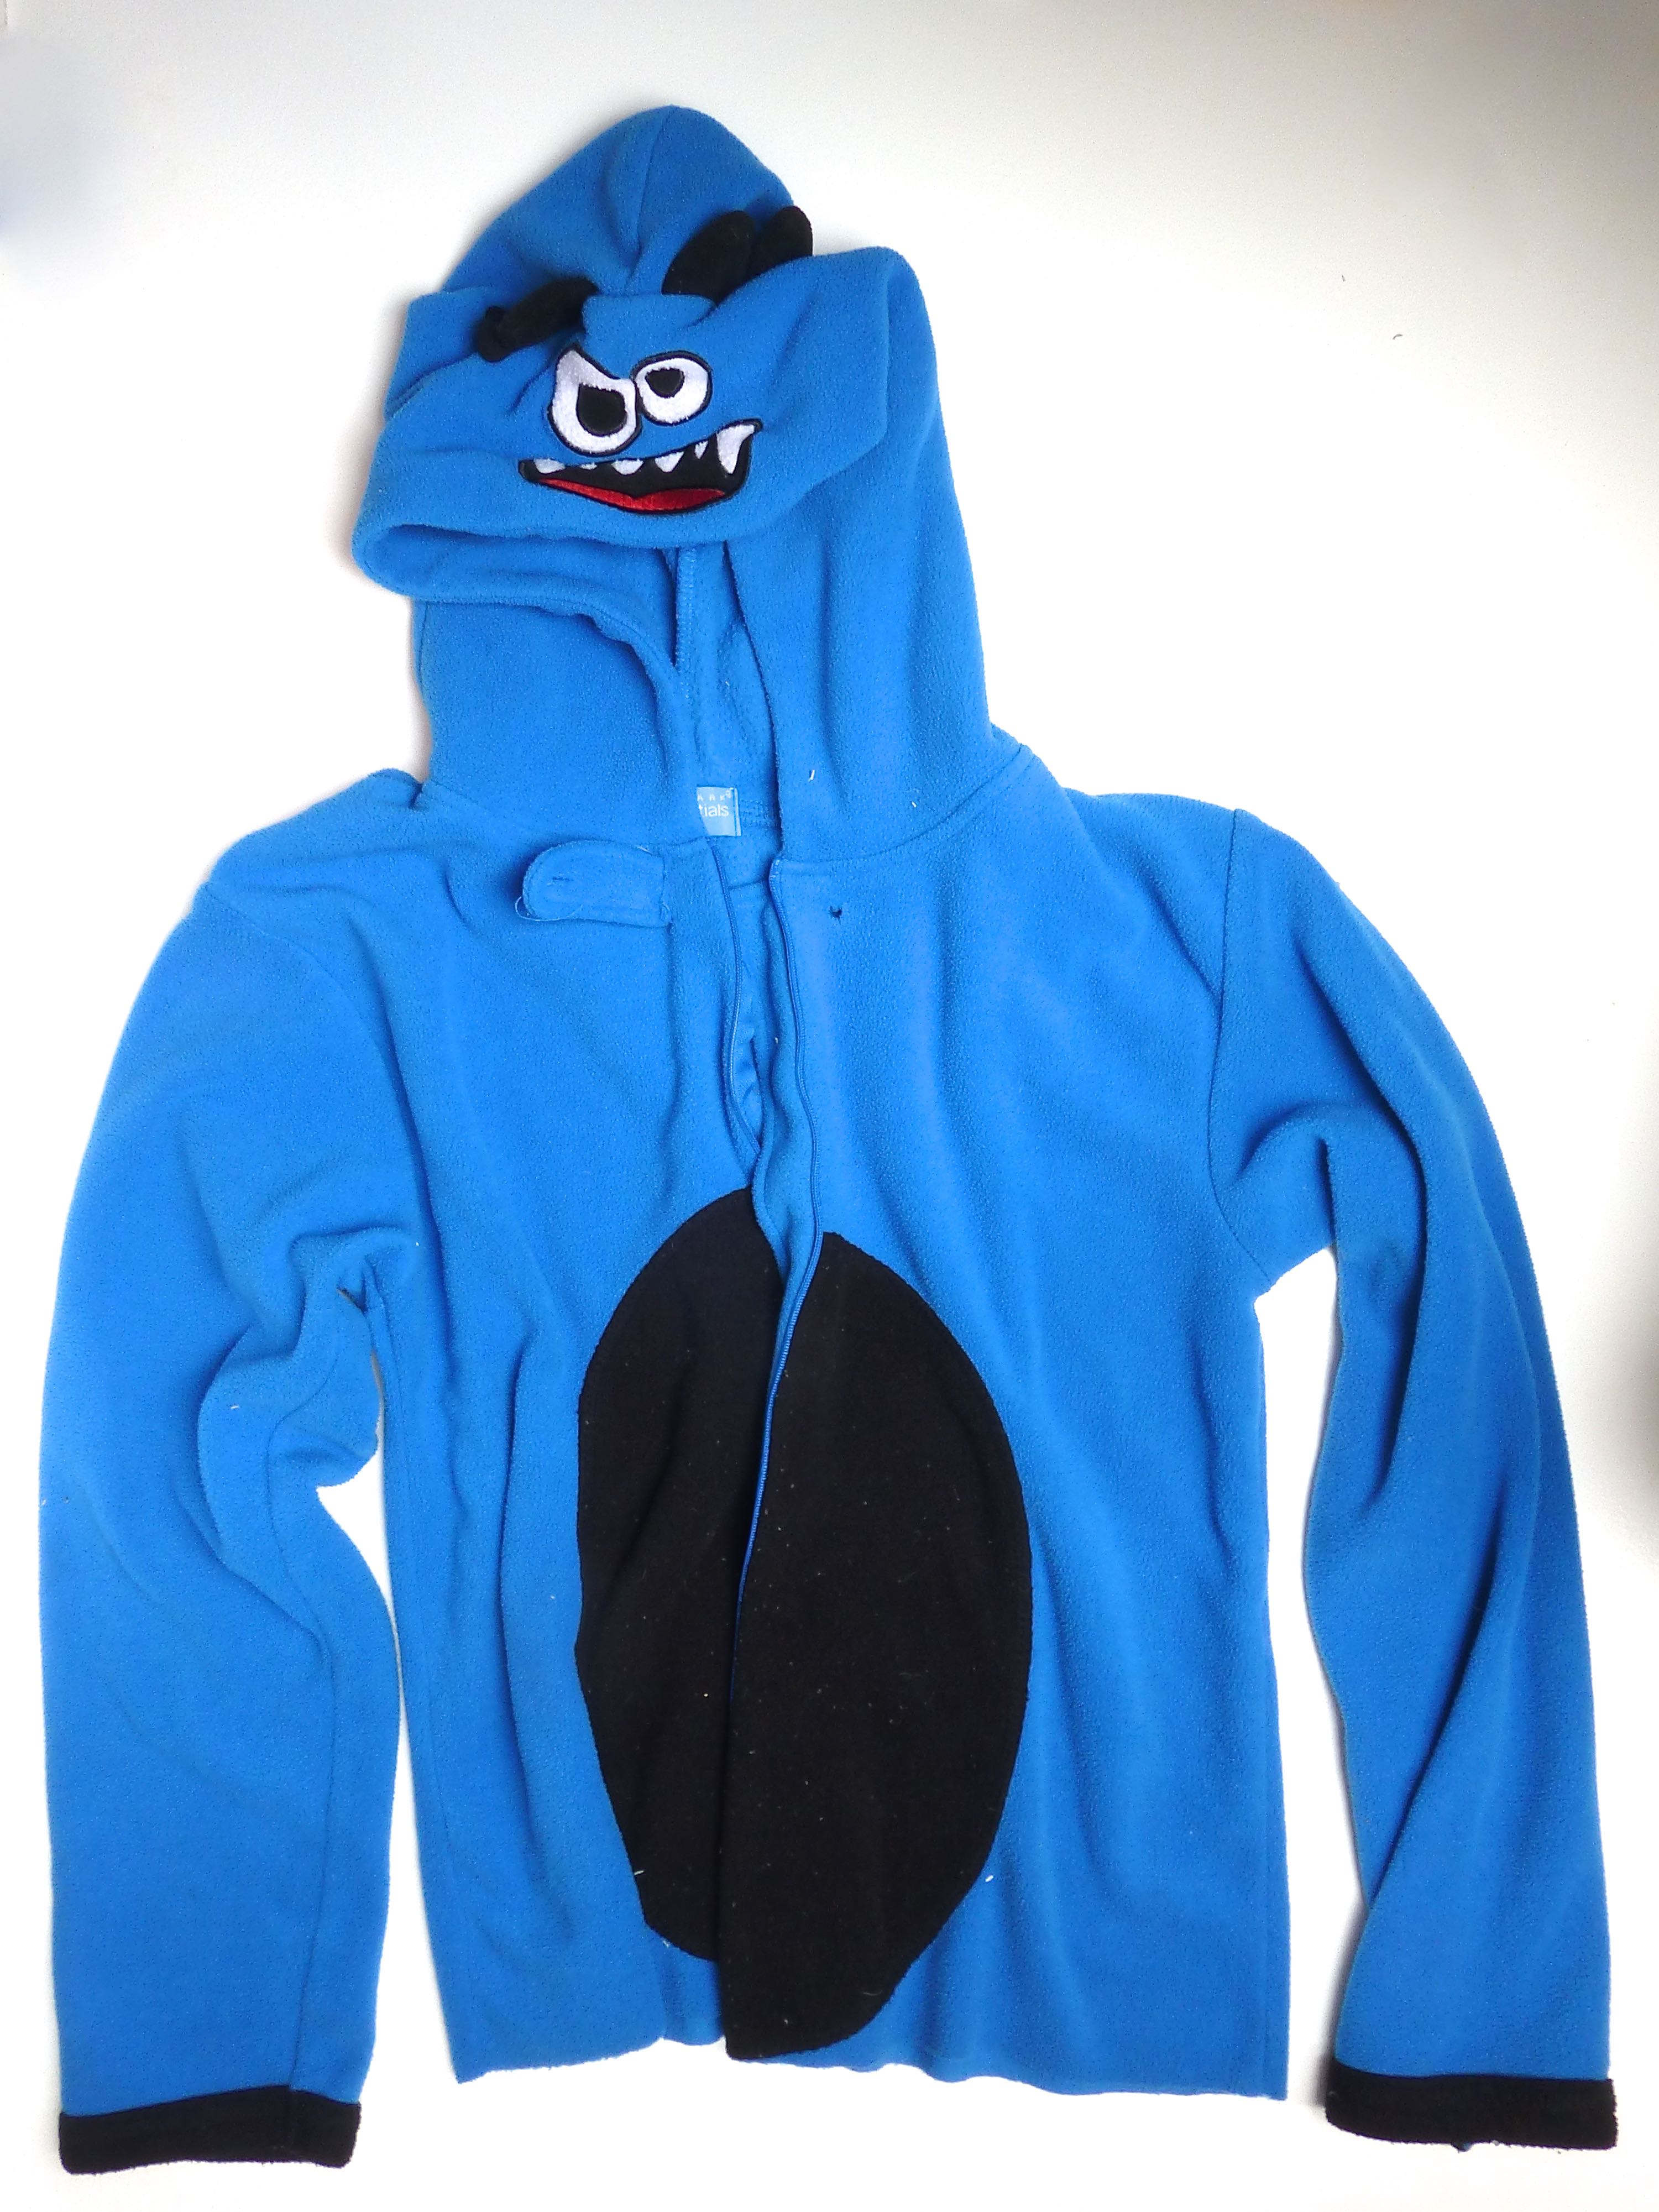
Second part: HOODIE

This third and final part shows how to make a pair of slipper boots!

before  and after

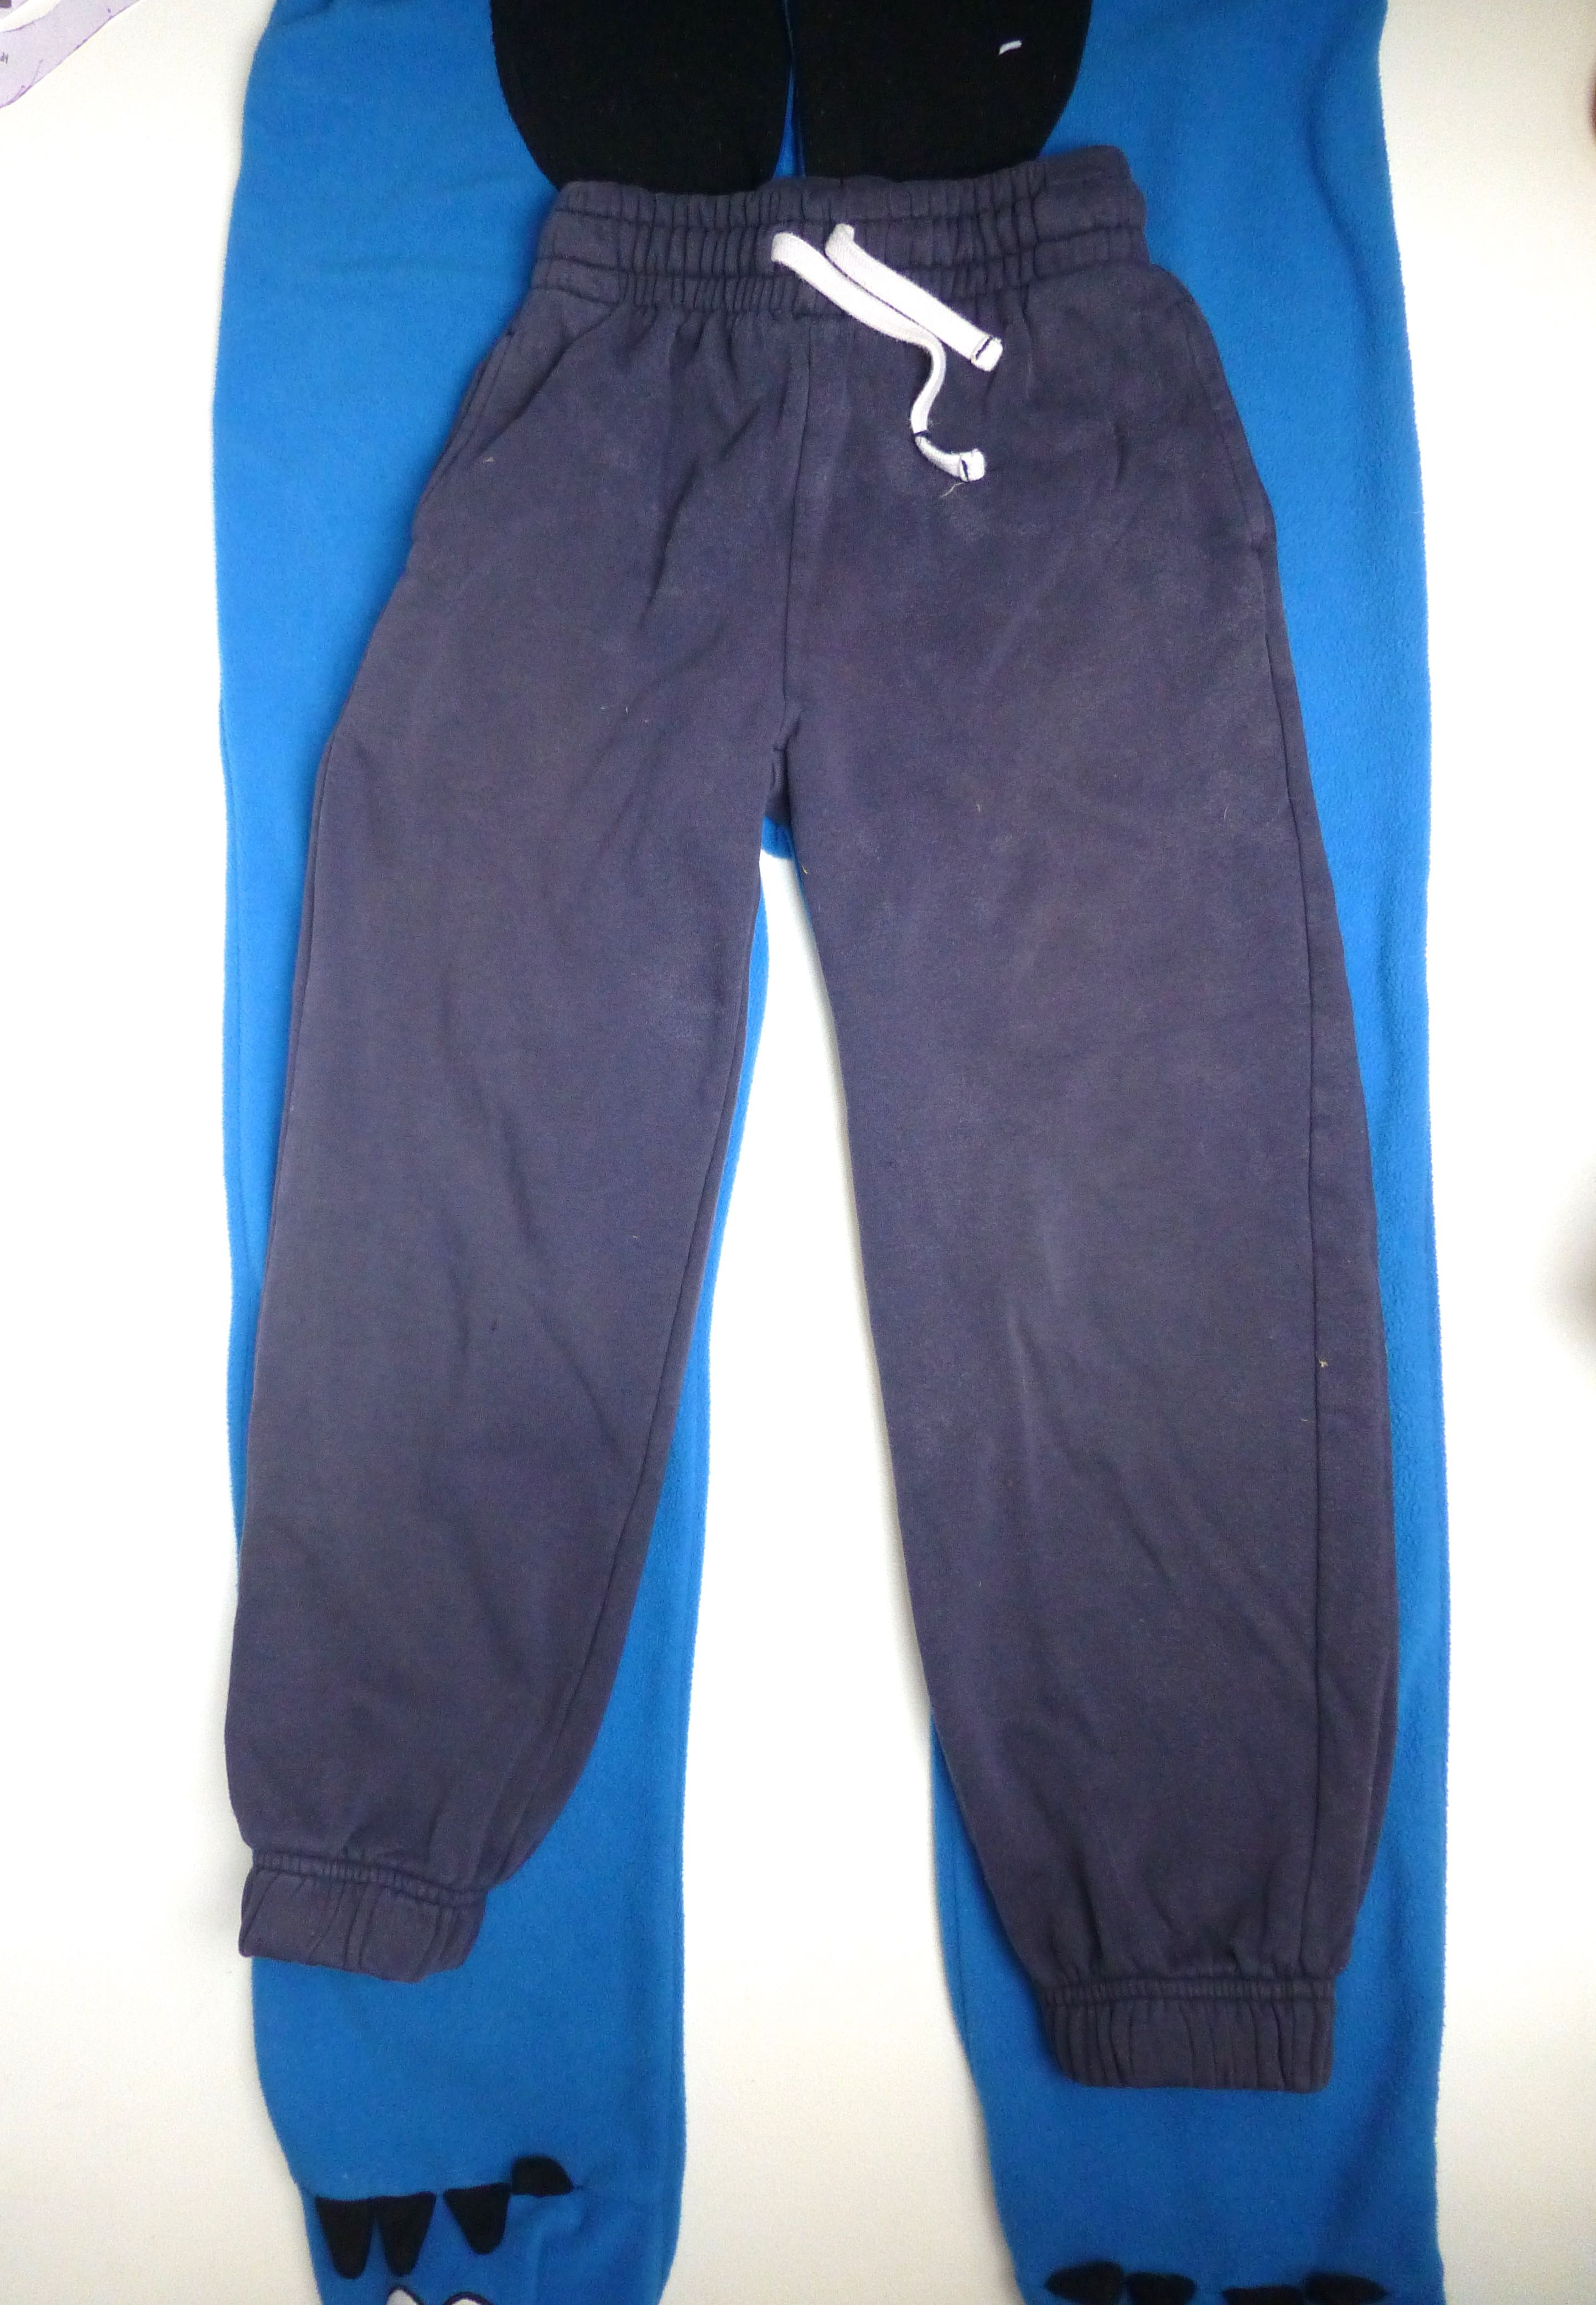
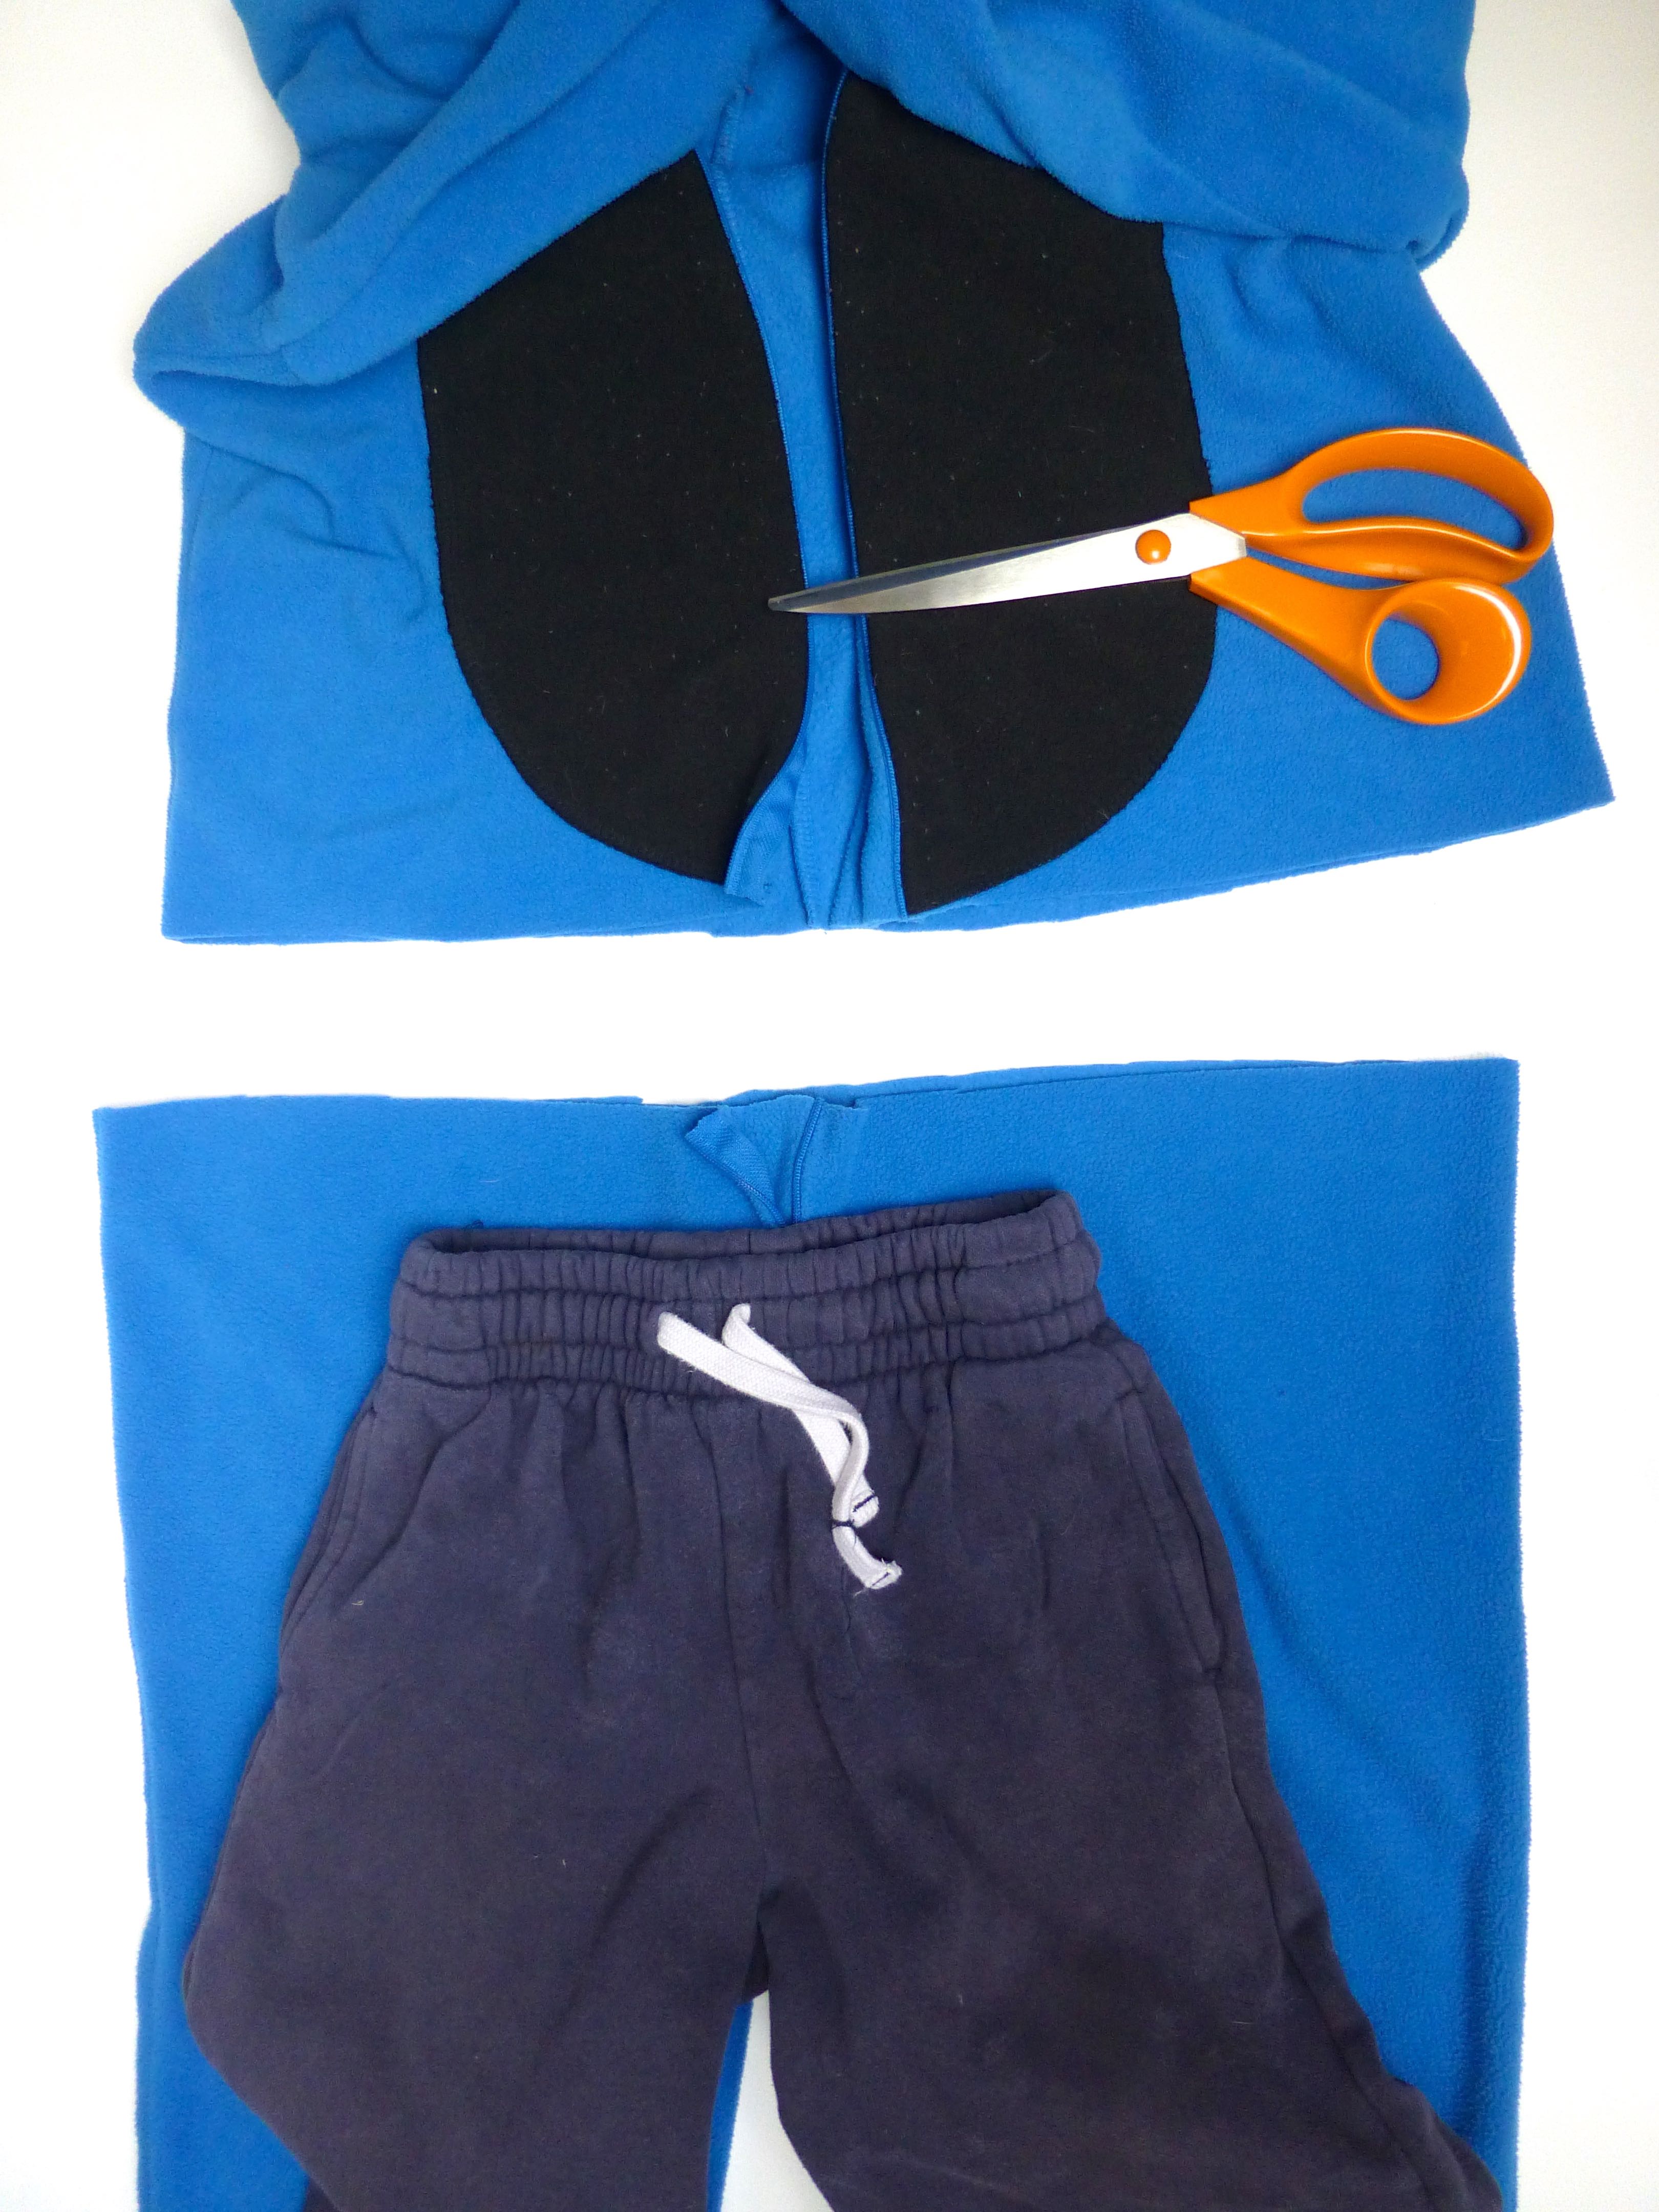
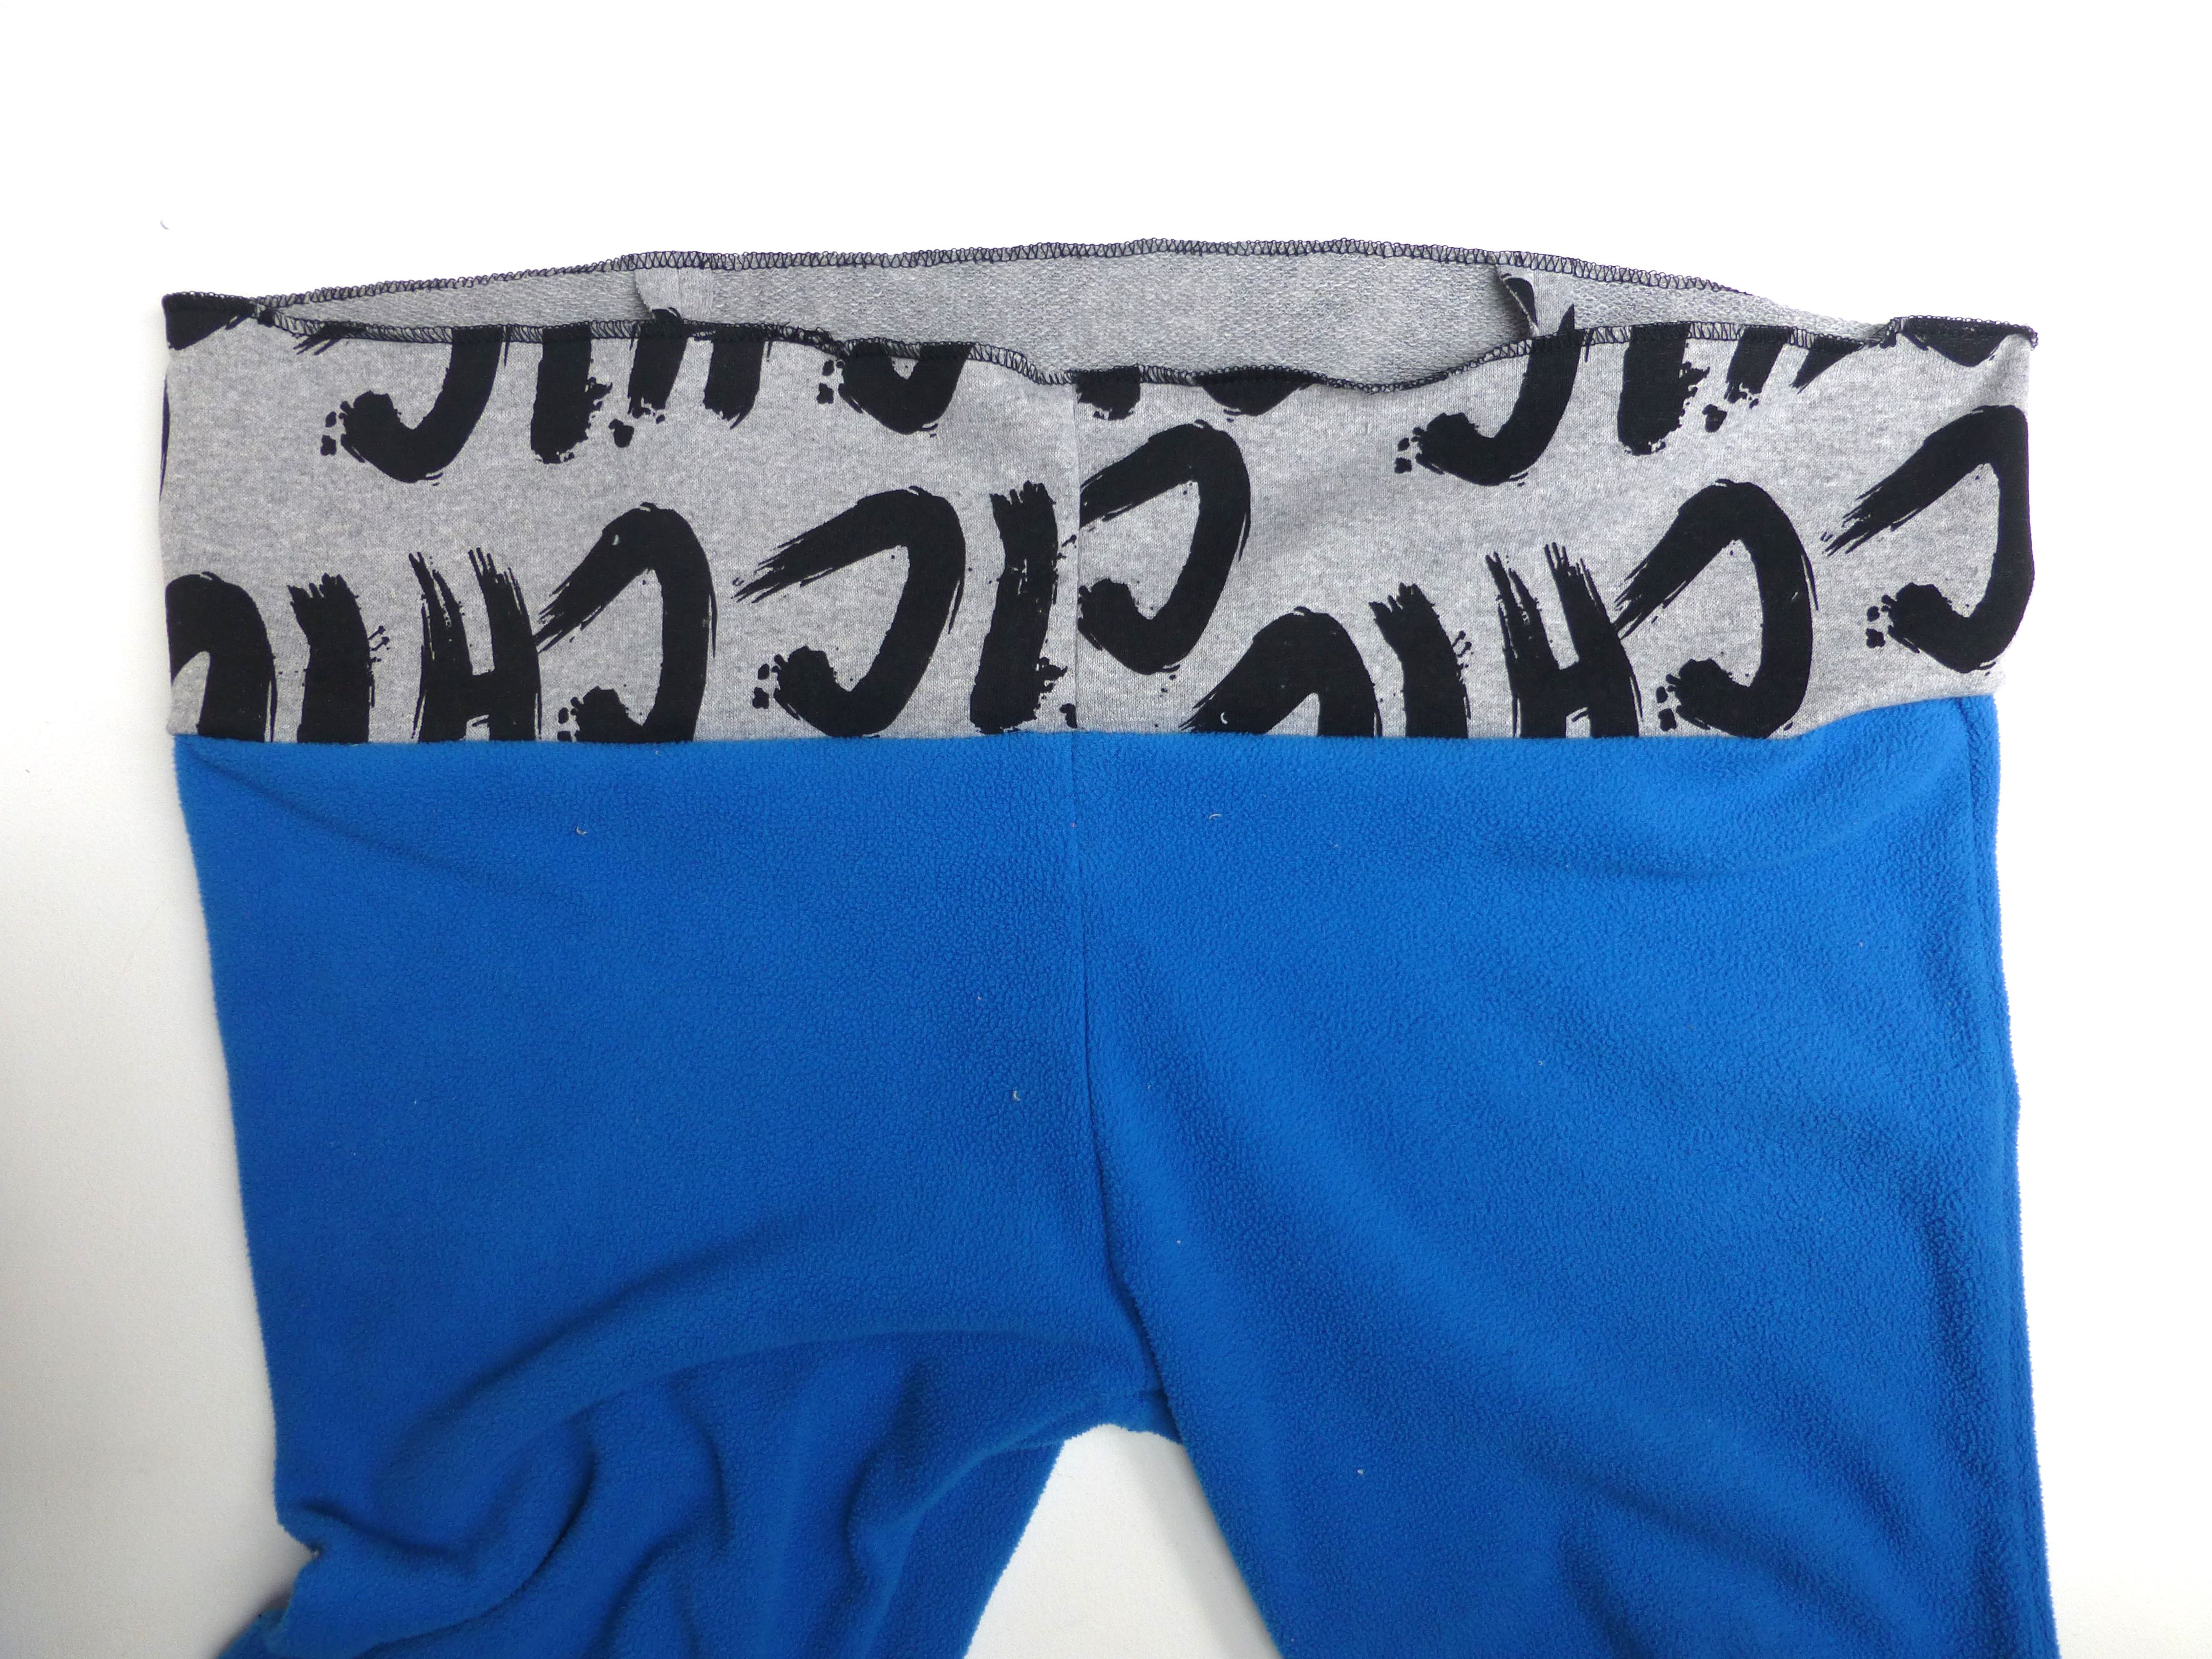
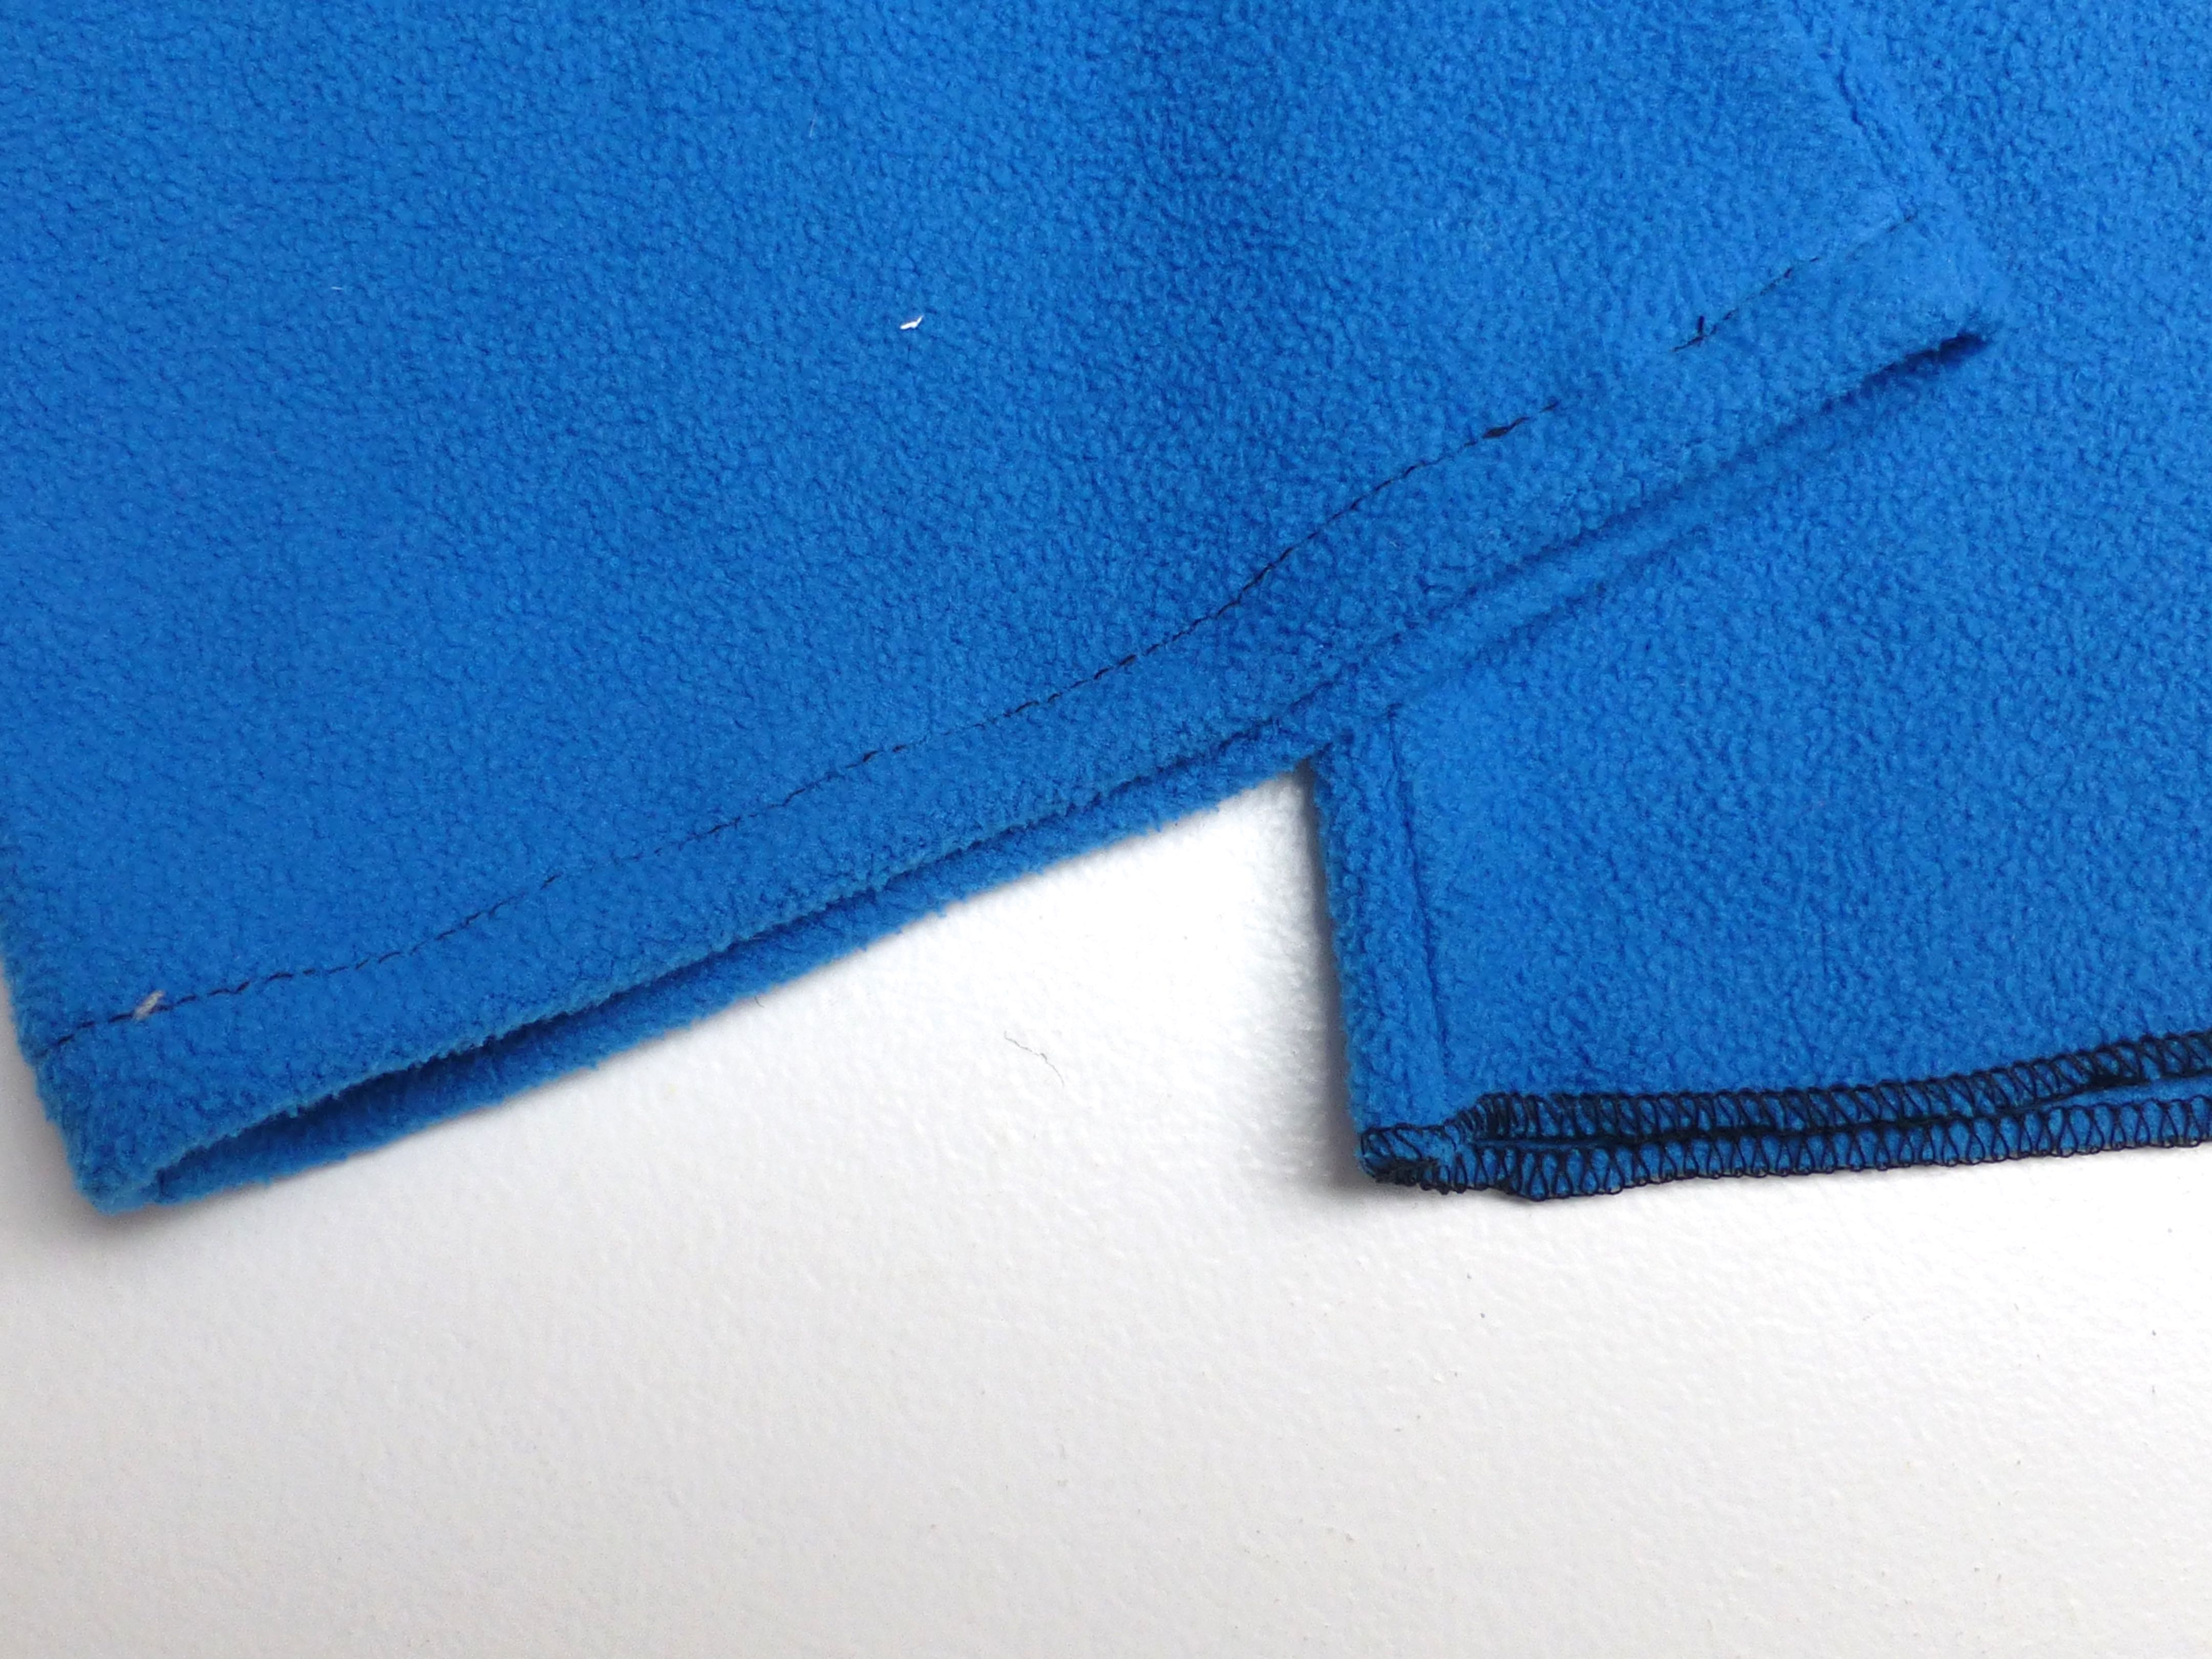
These are the feet of the onesie that were remaining after the rest had been remade into other garments.

P1040759

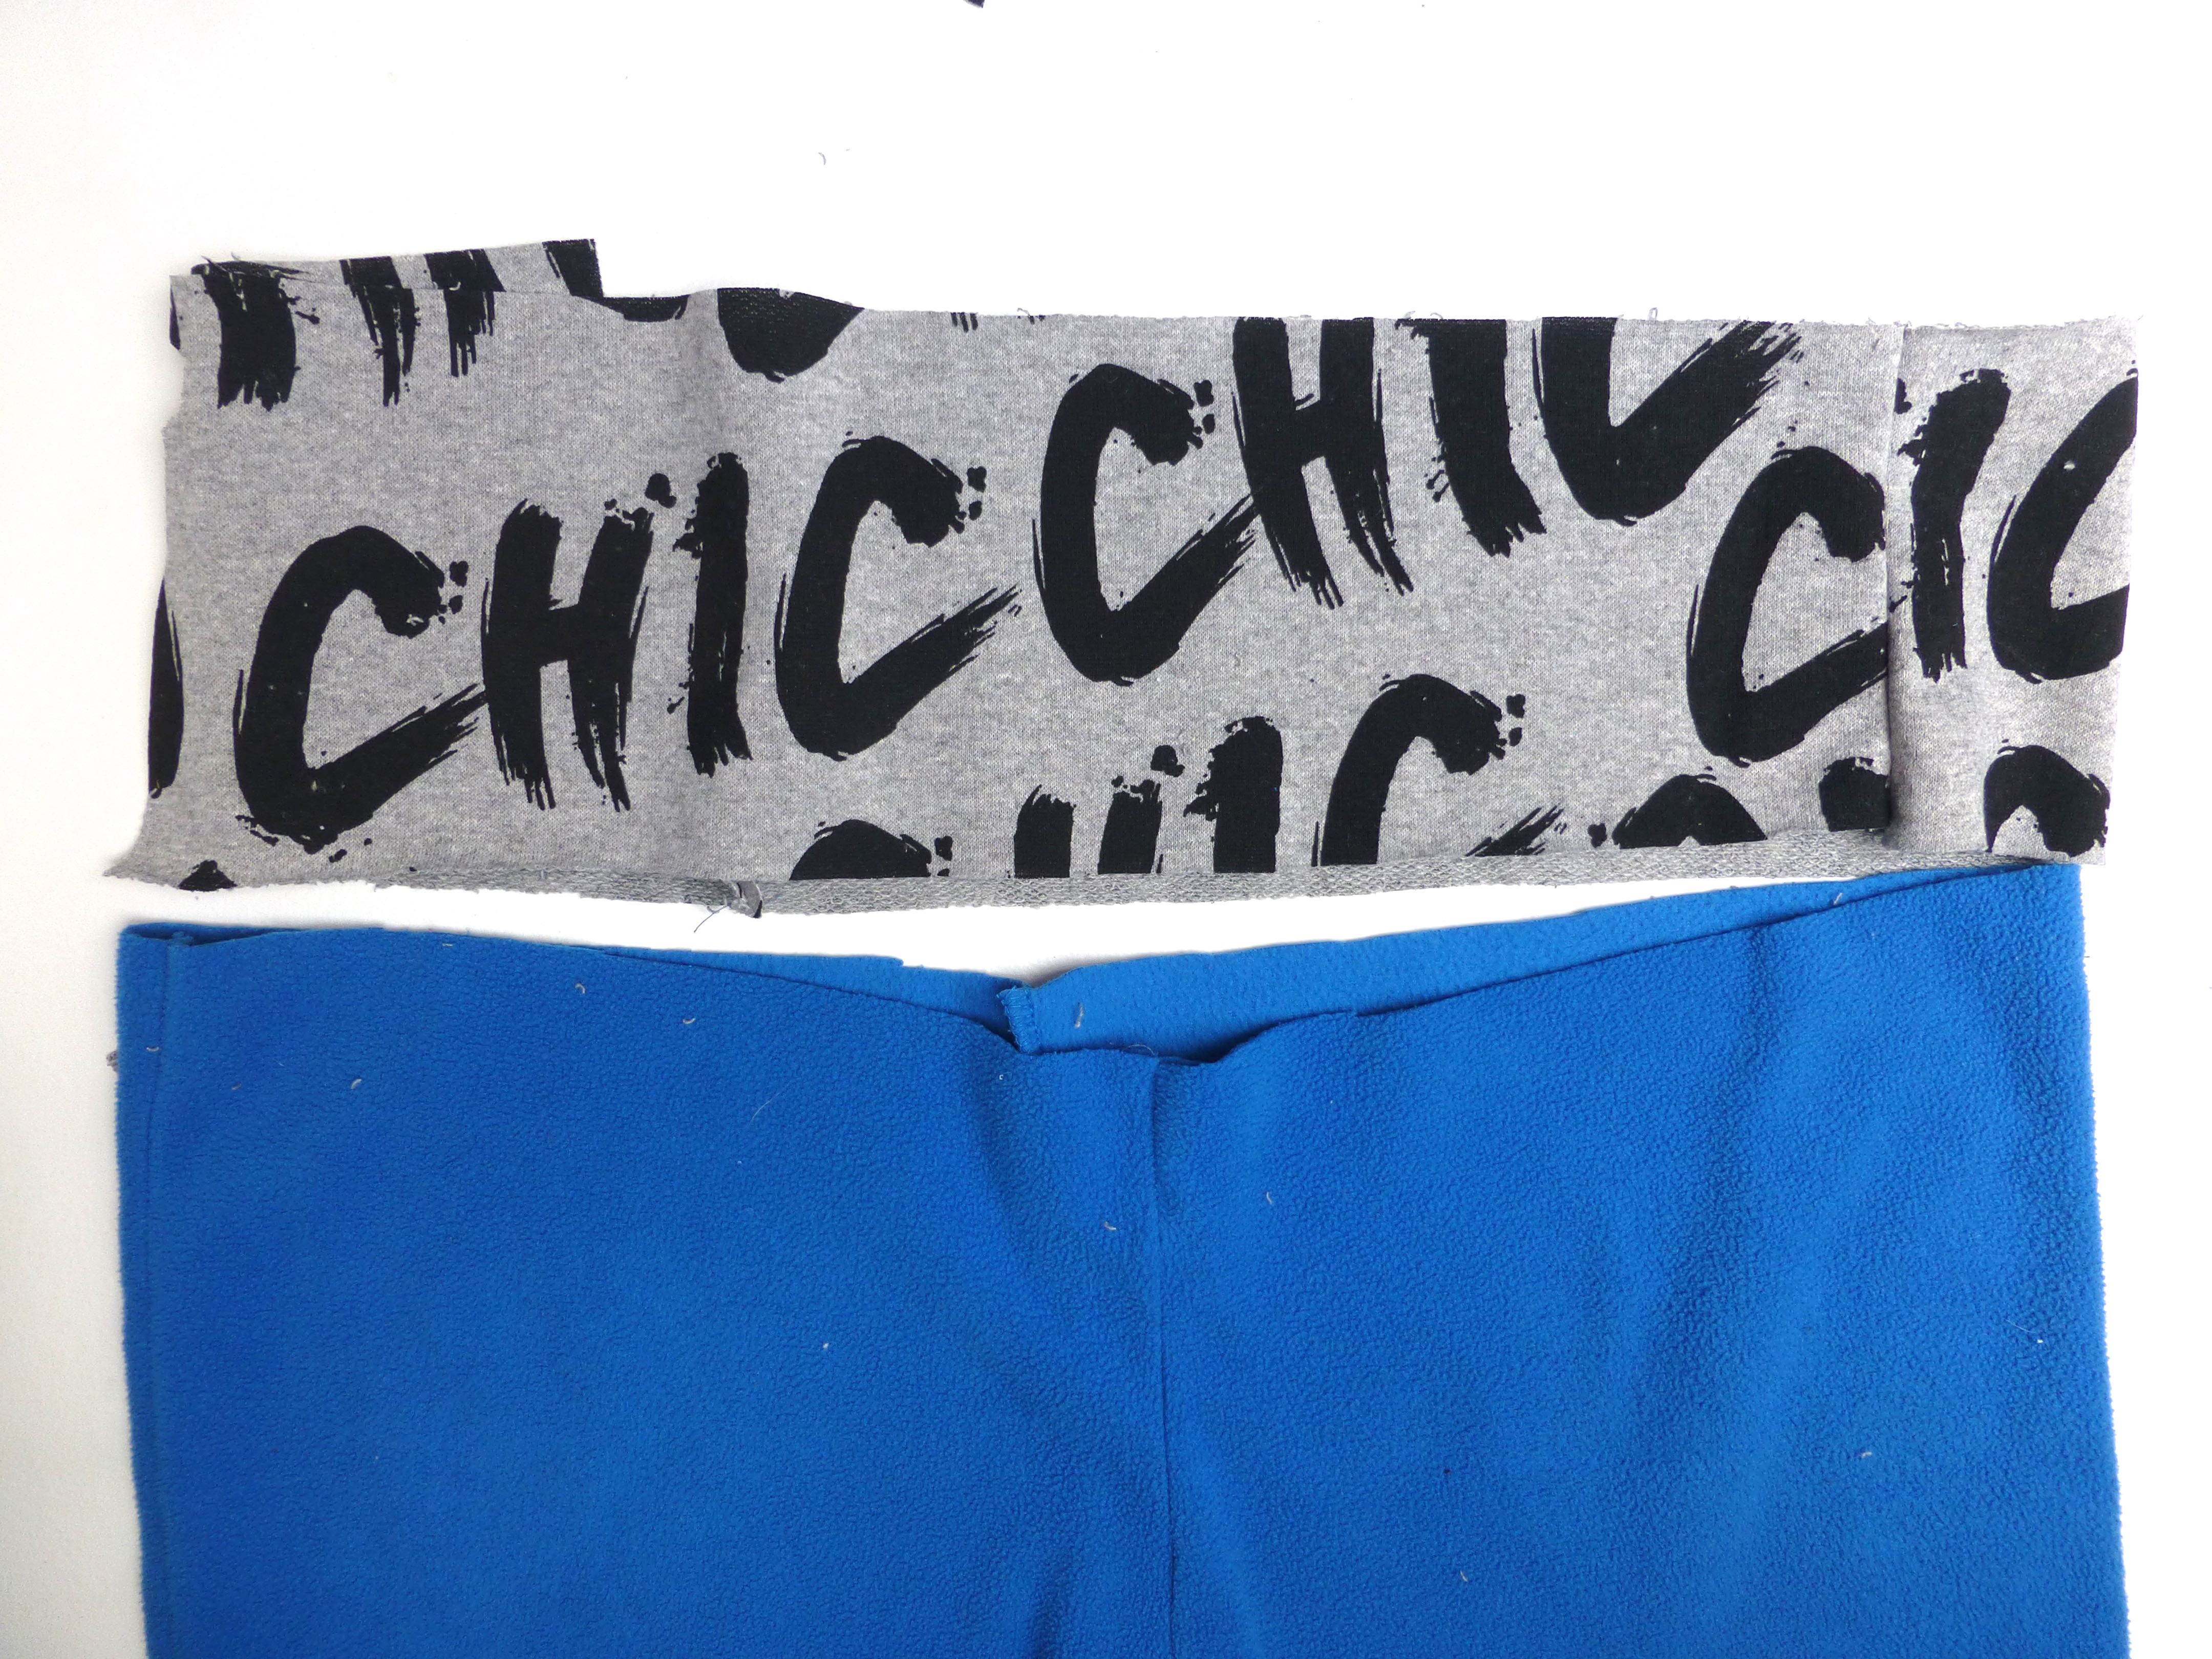
Some more leftover knit fabric was cut into a 5″ strip twice the width of the flat boot top, plus a seam allowance.

P1040760

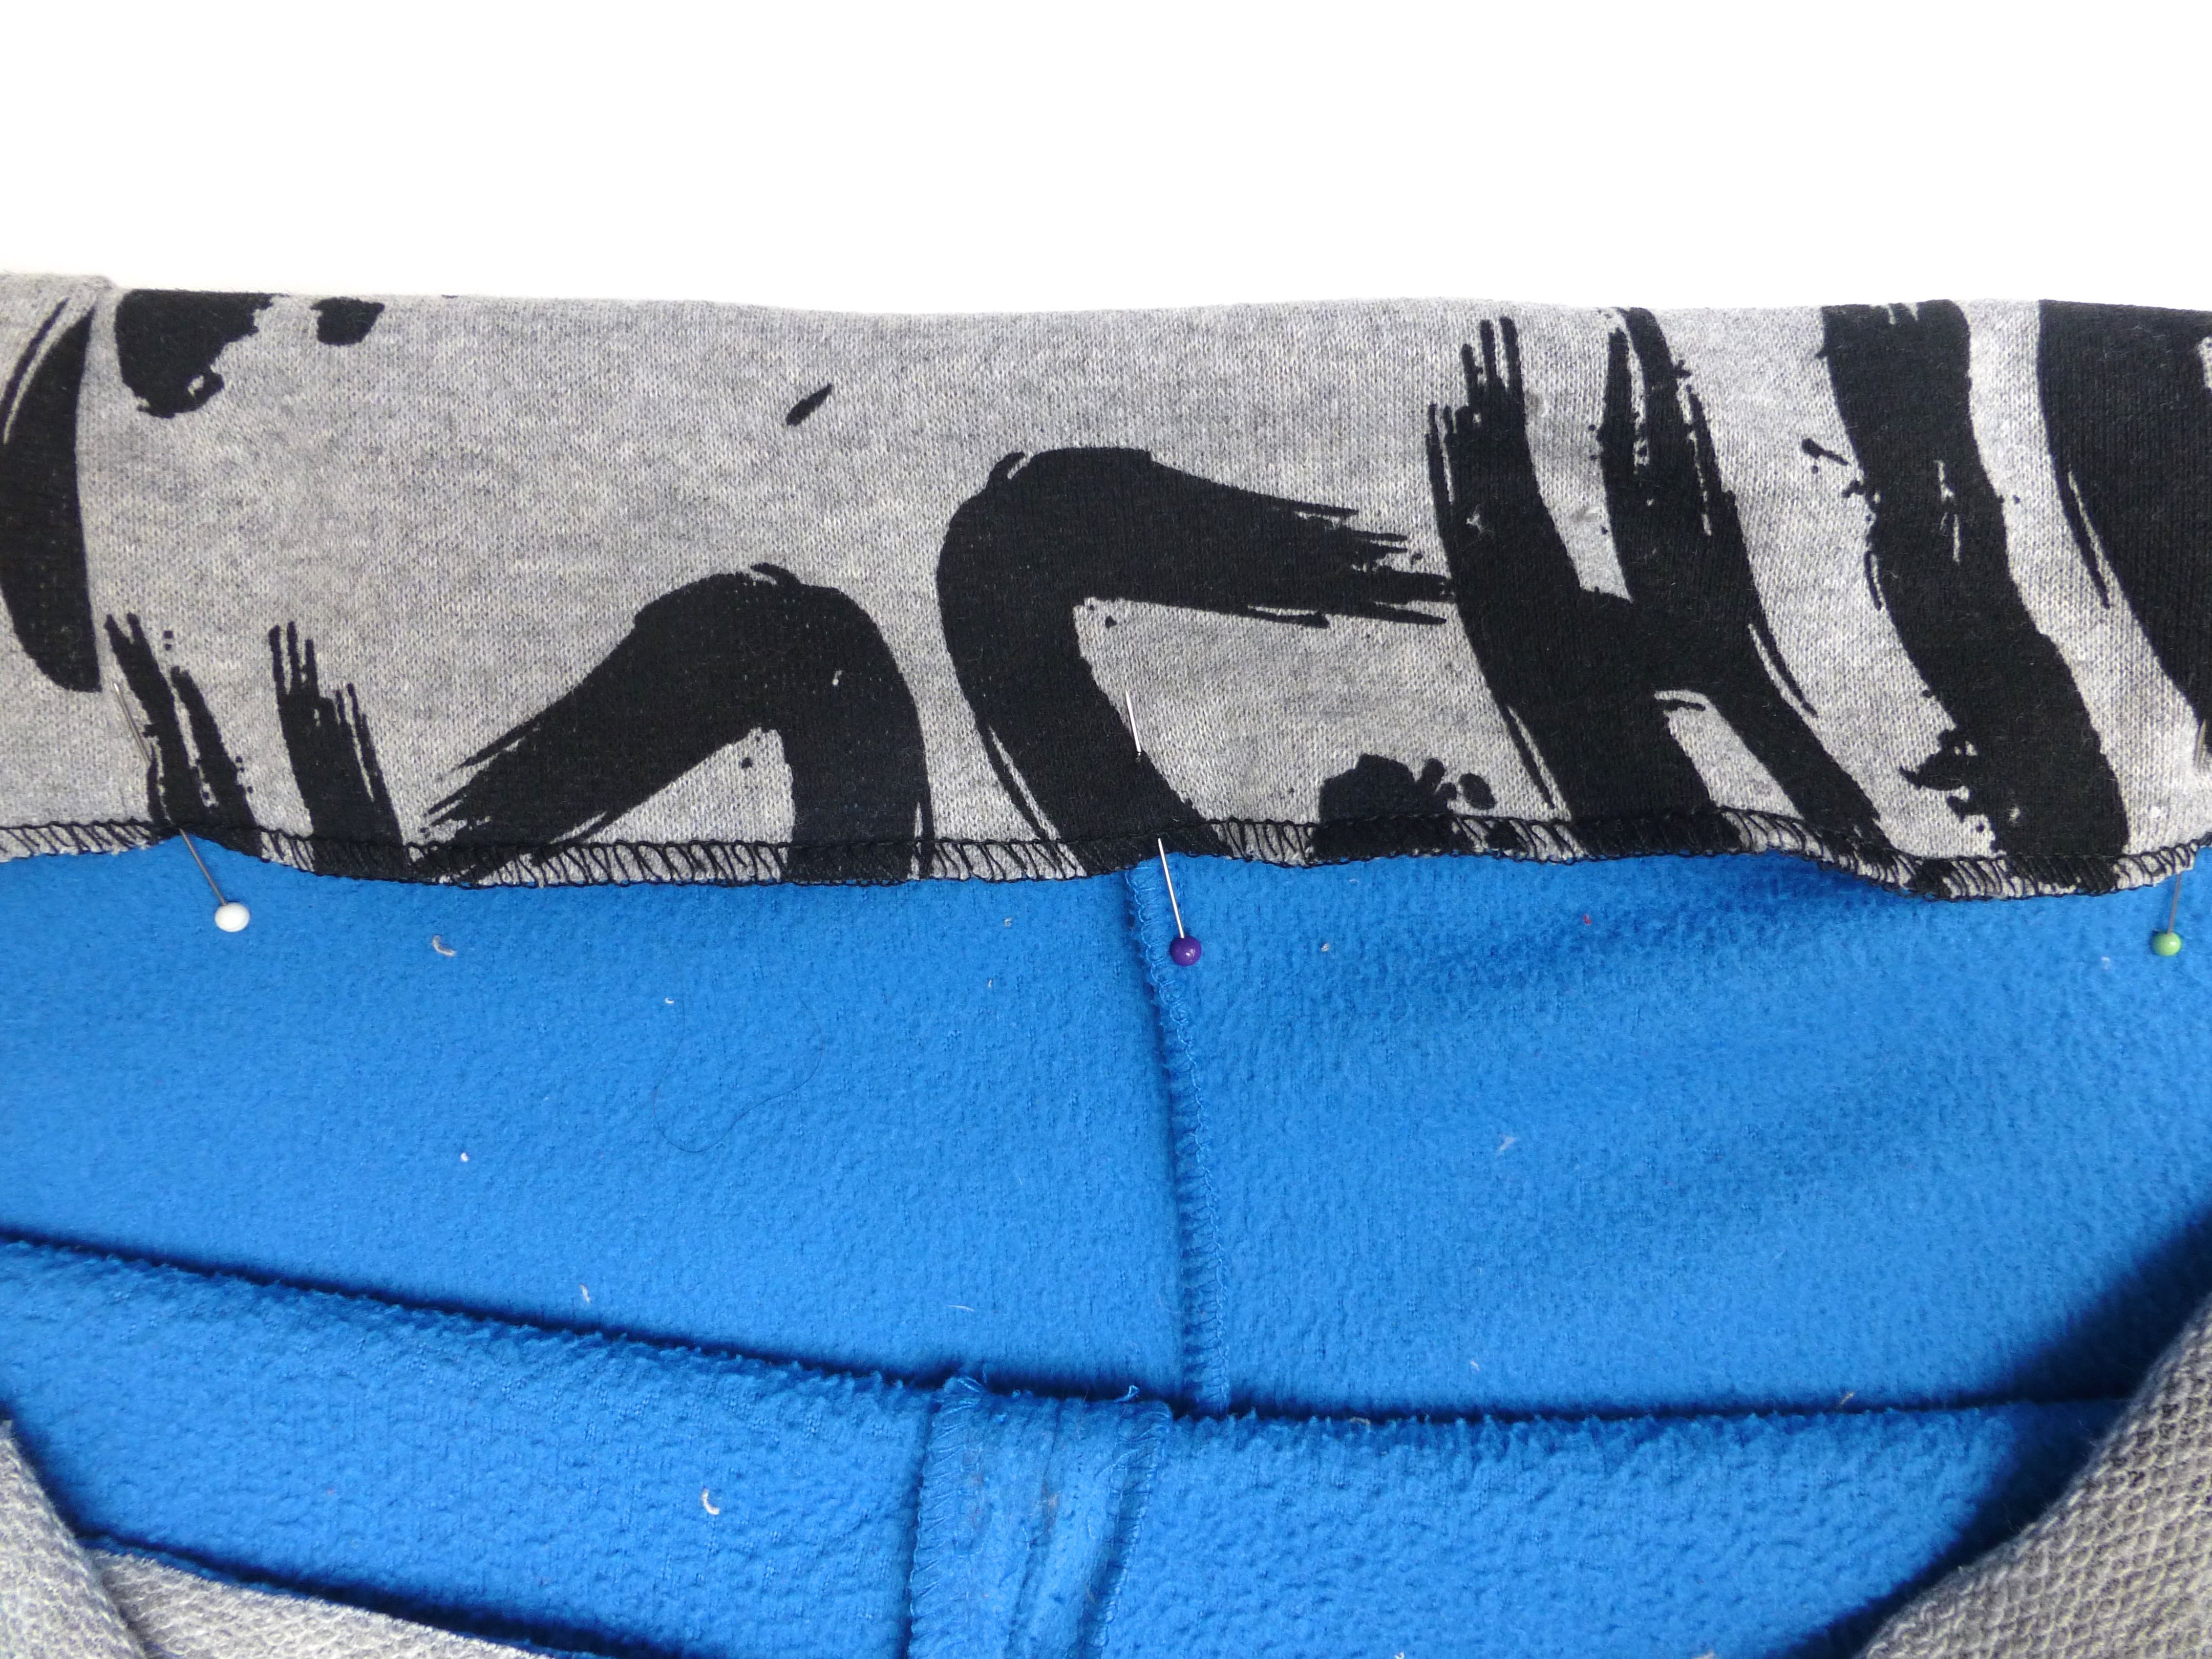
After sewing the short edges together to form a circle, pin to the boot top, right sides together and matching seams. Stitch in place.

P1040762

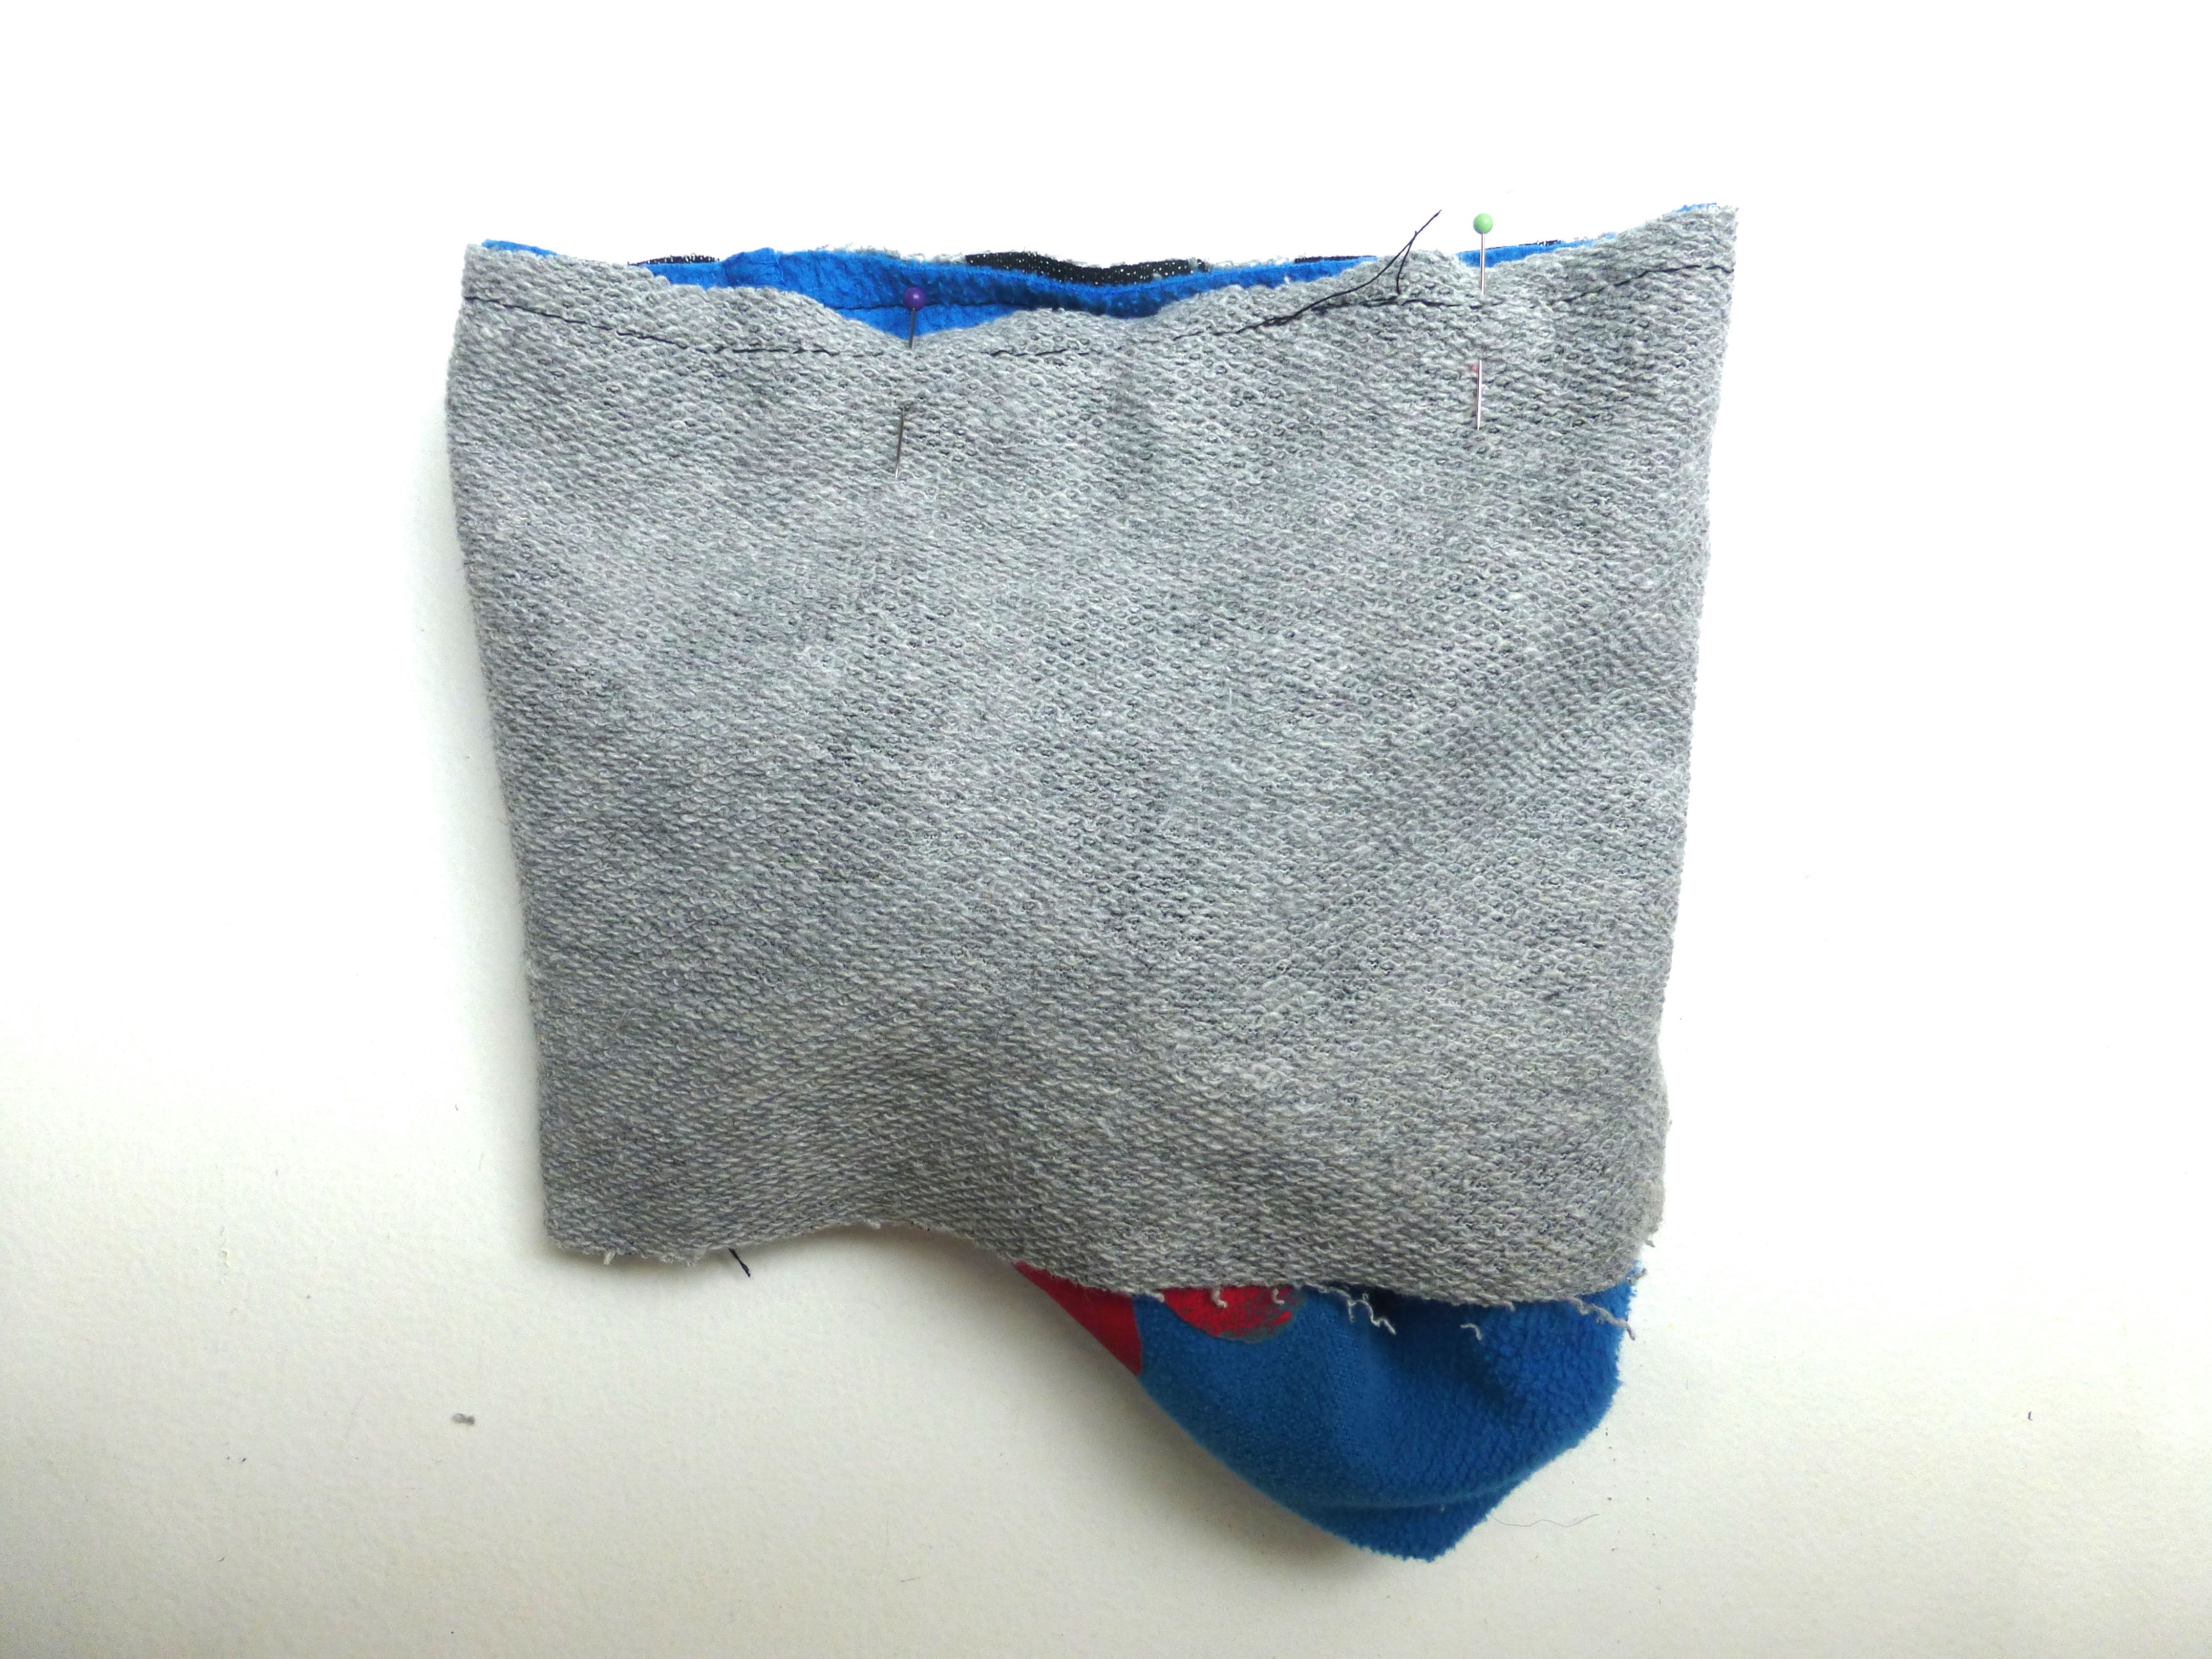
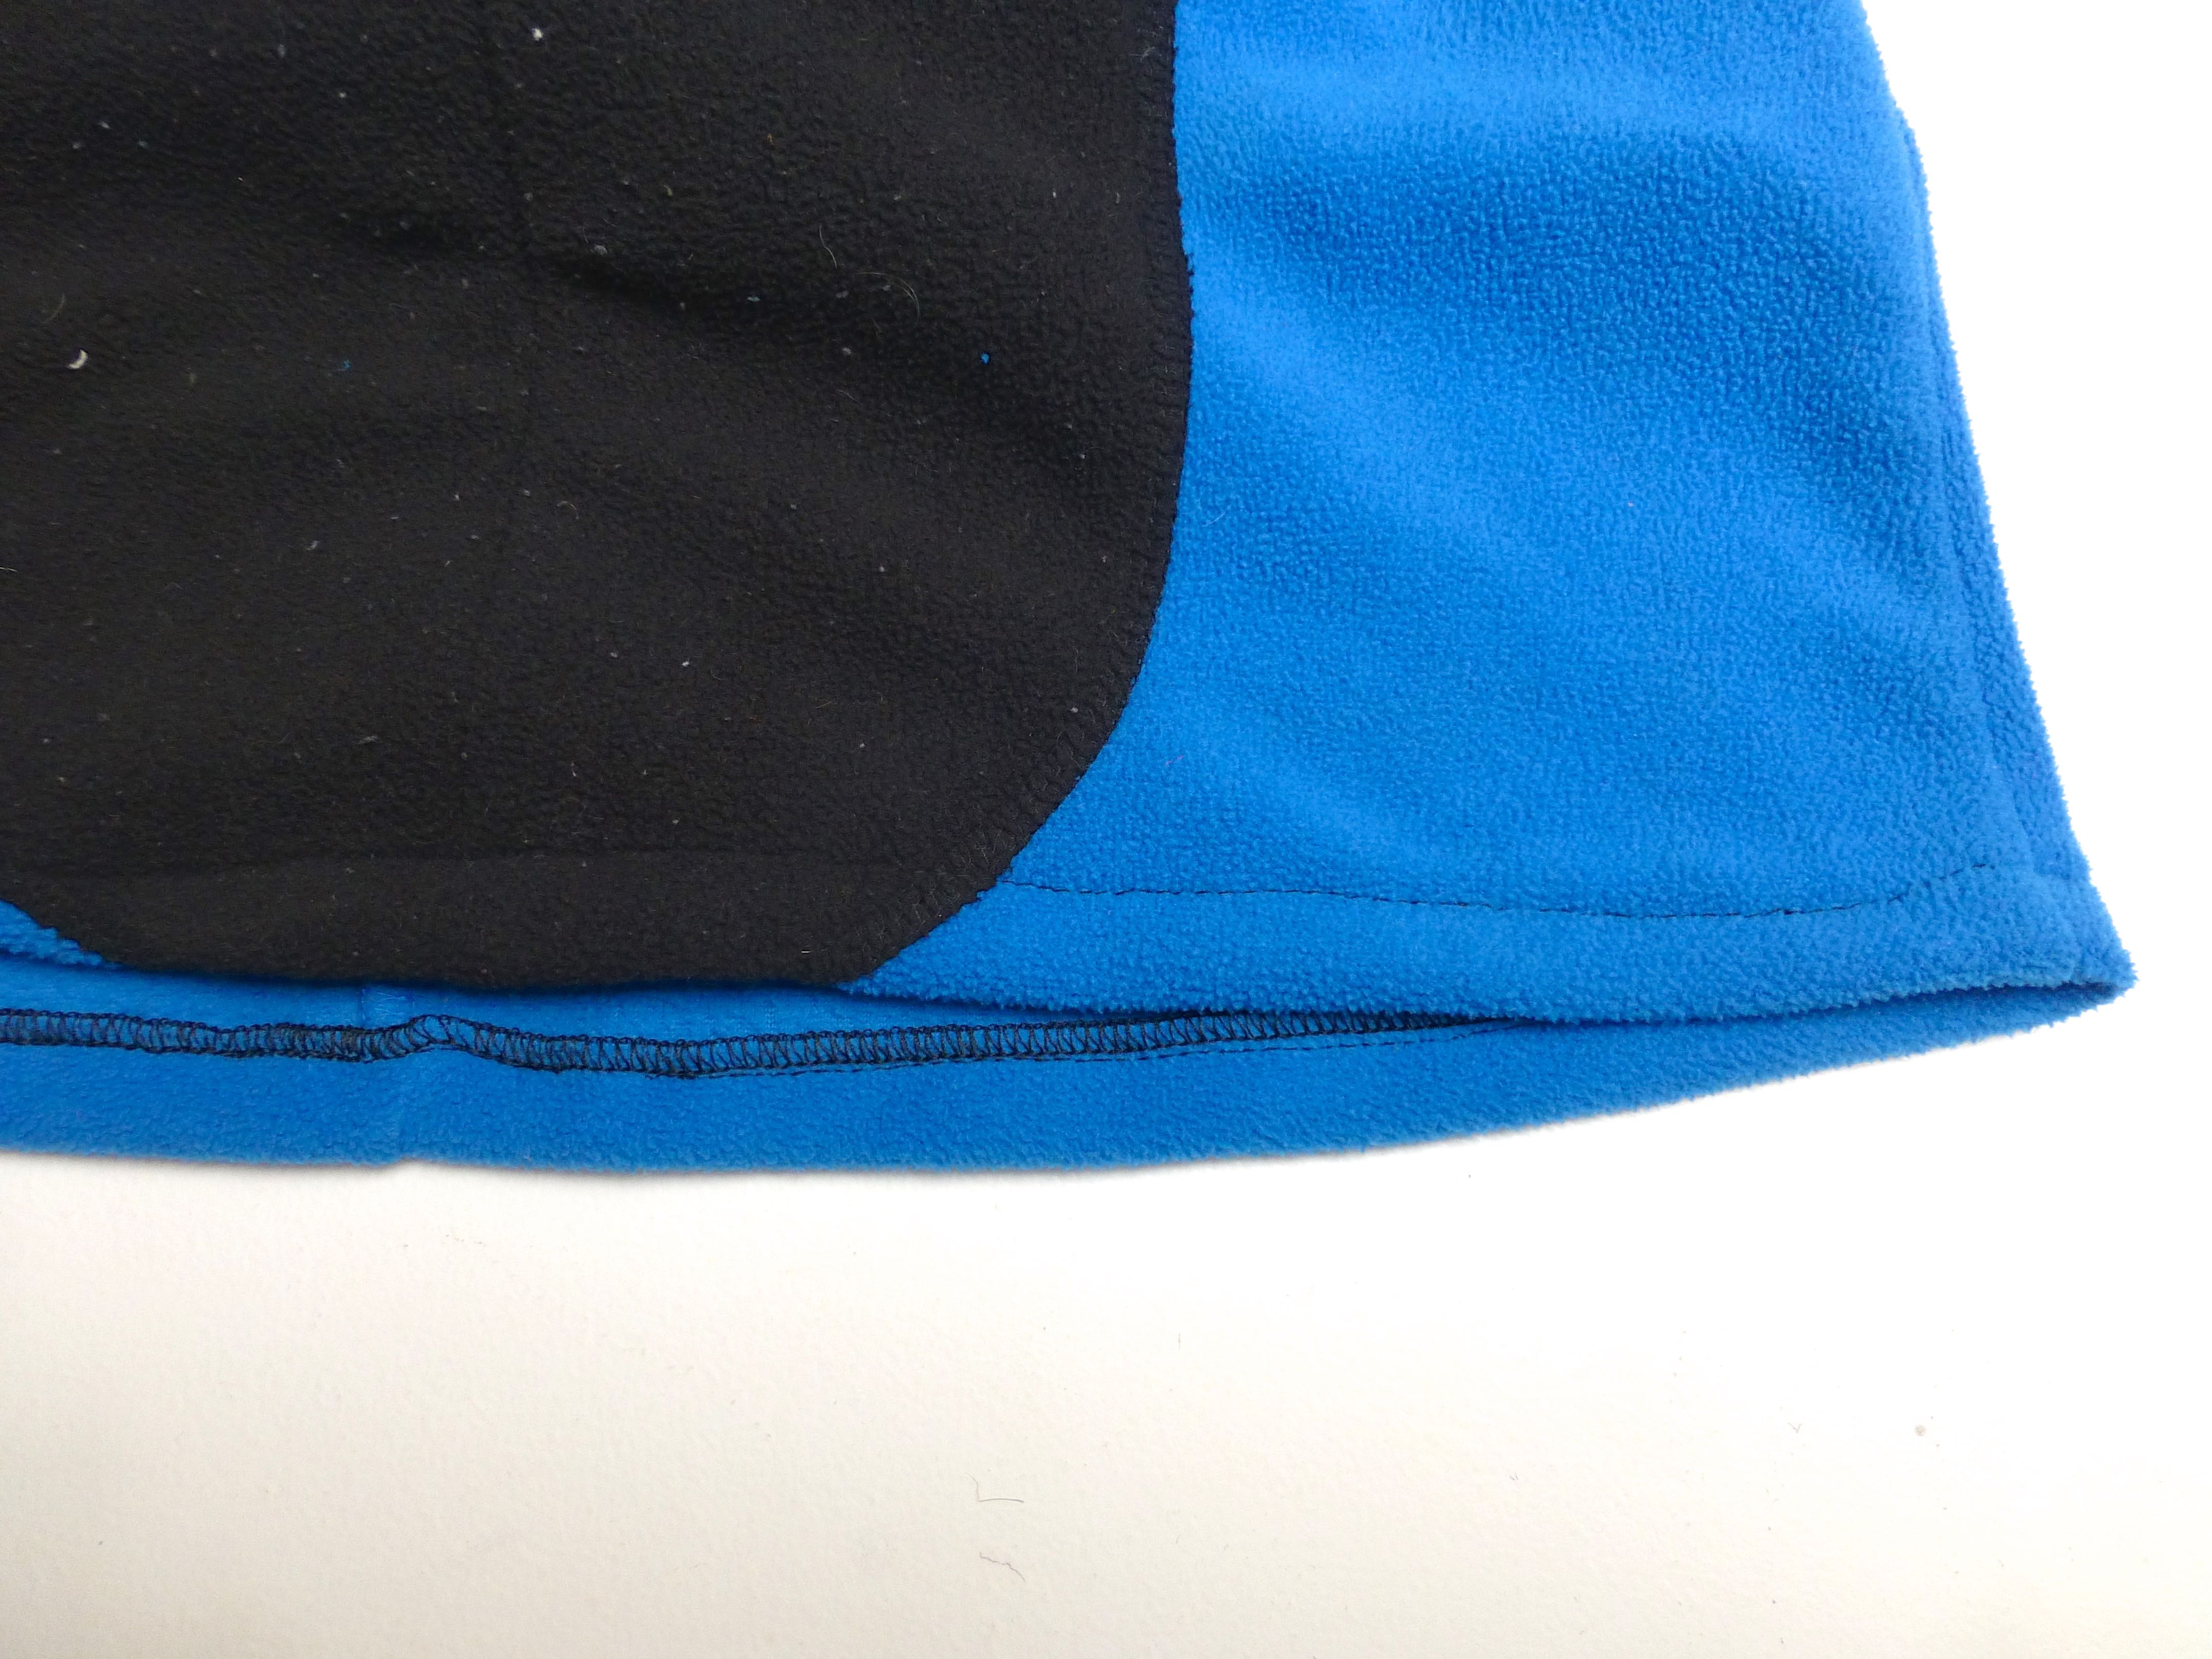
Press seam up towards the cuff and overlock the raw edge.

P1040761

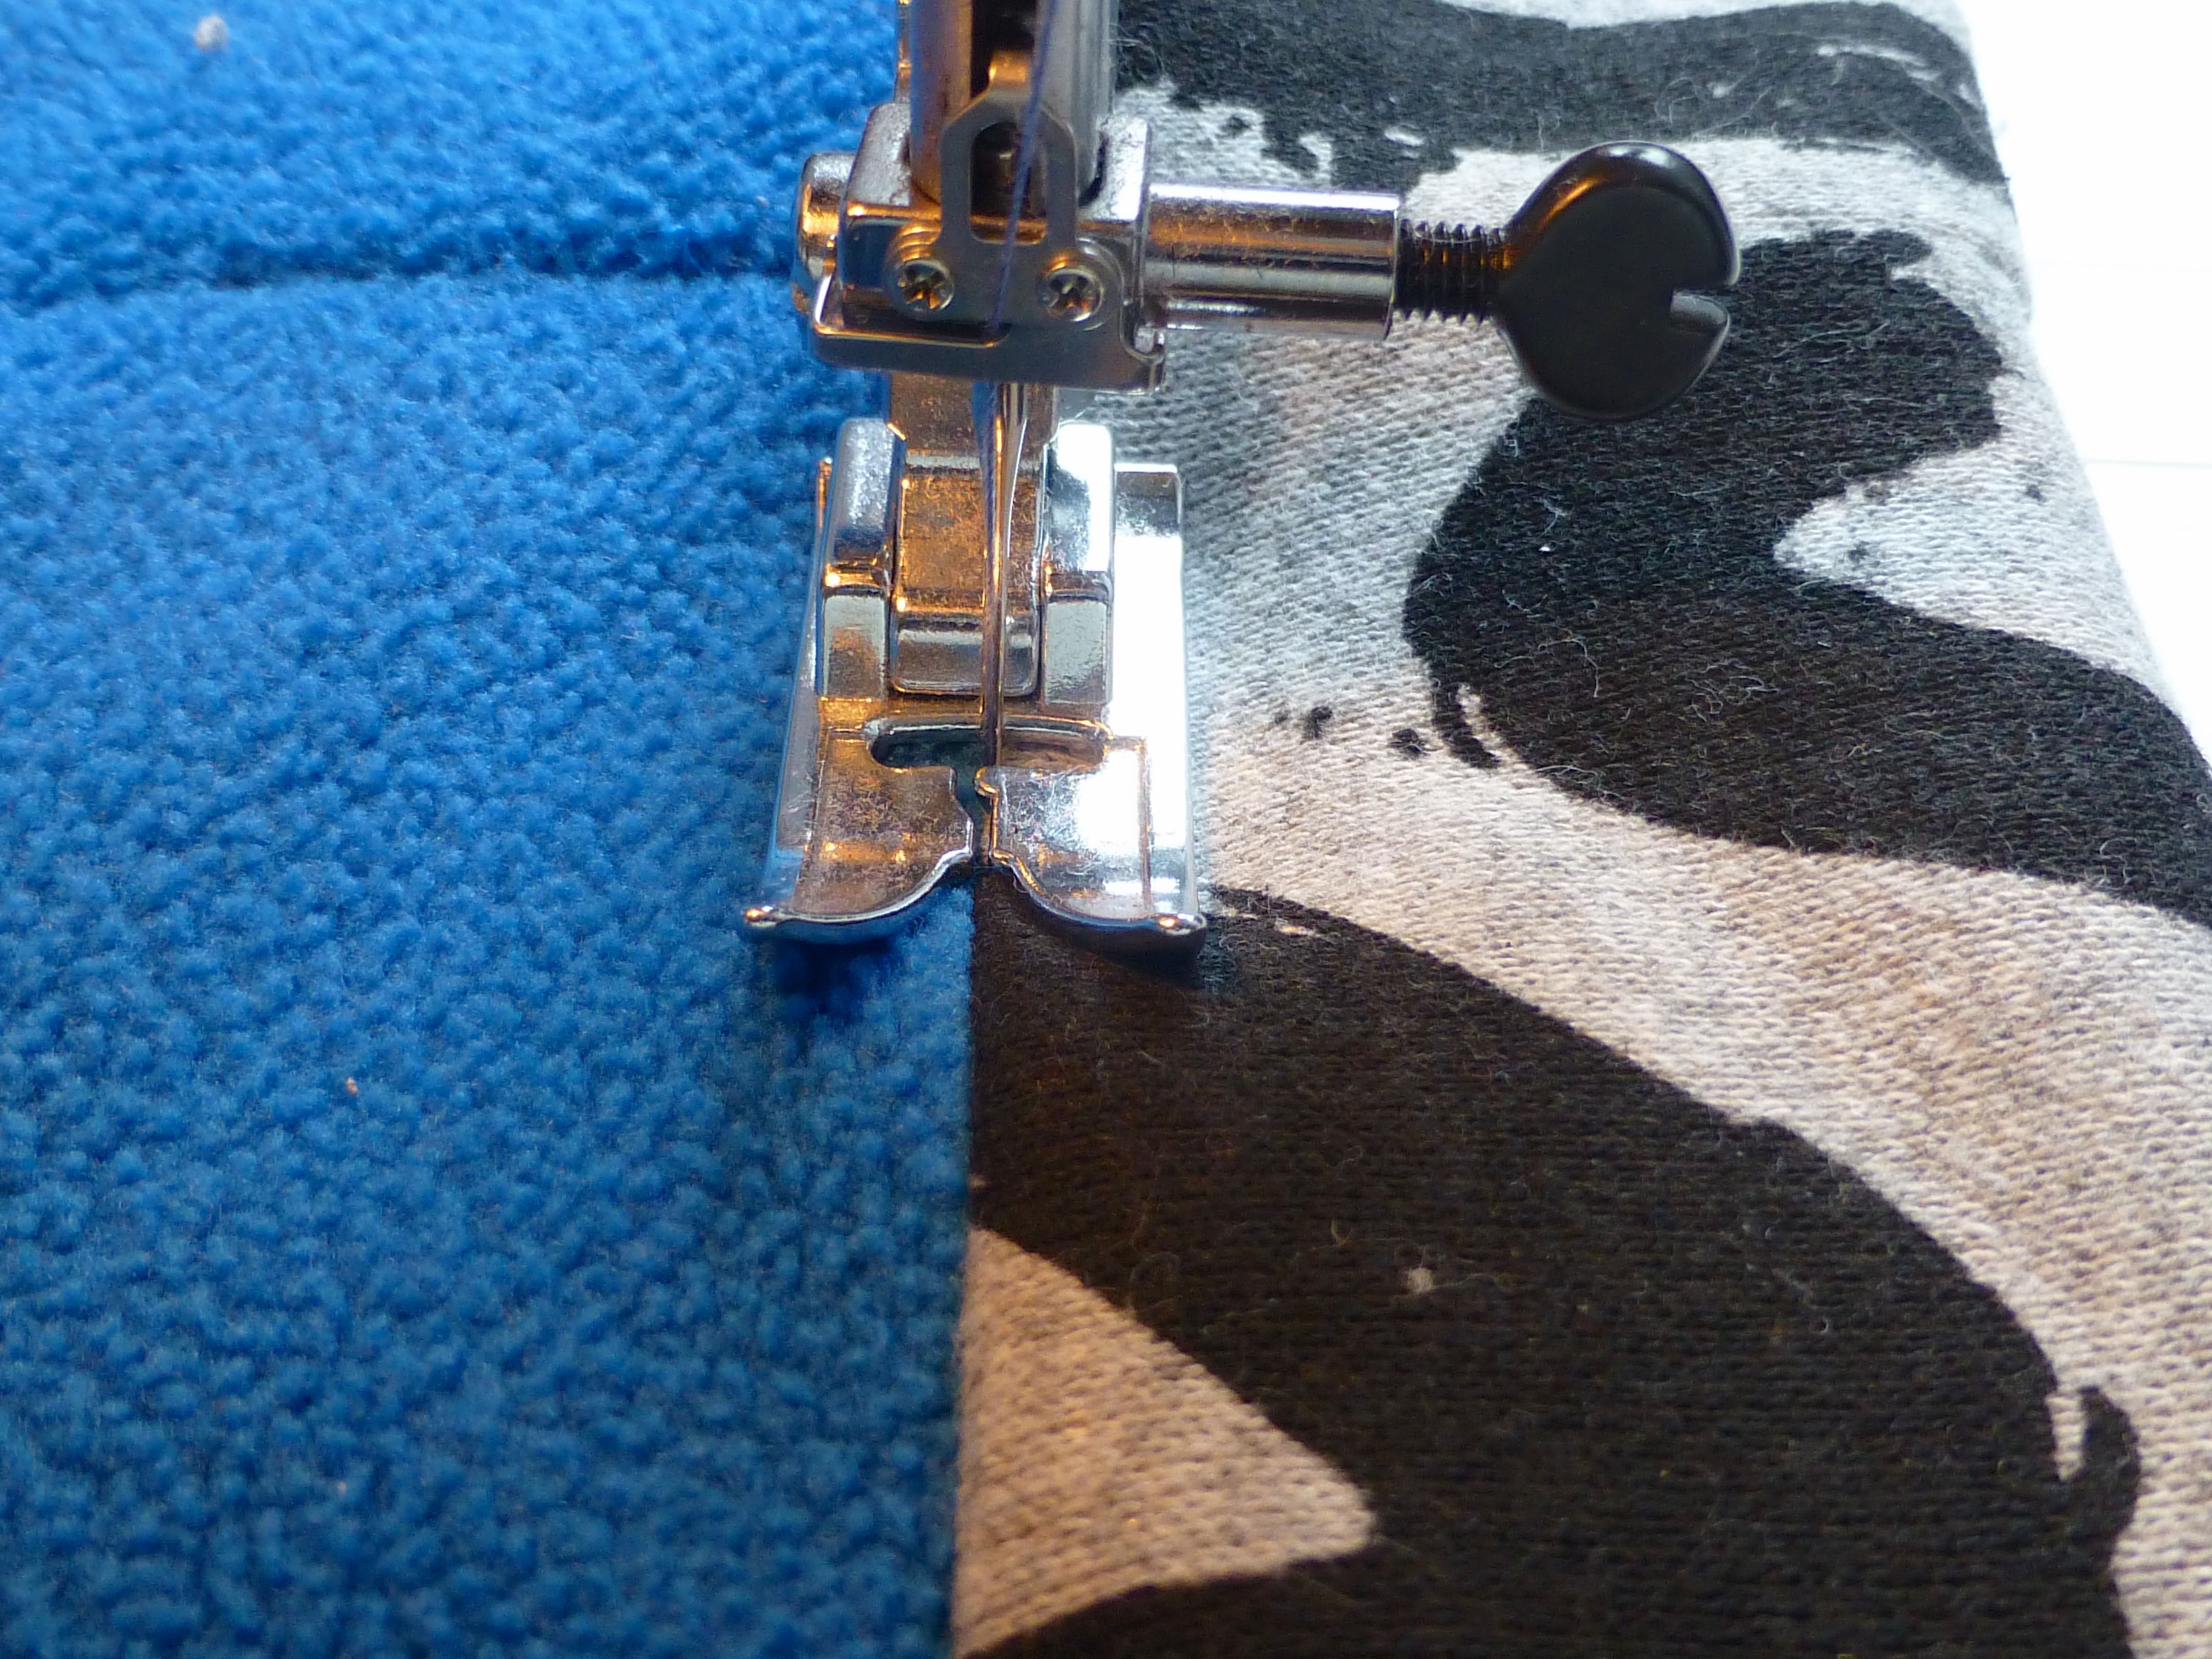
Top stitch about 1cm up the cuff, catching the seam allowance as you go.

P1040763

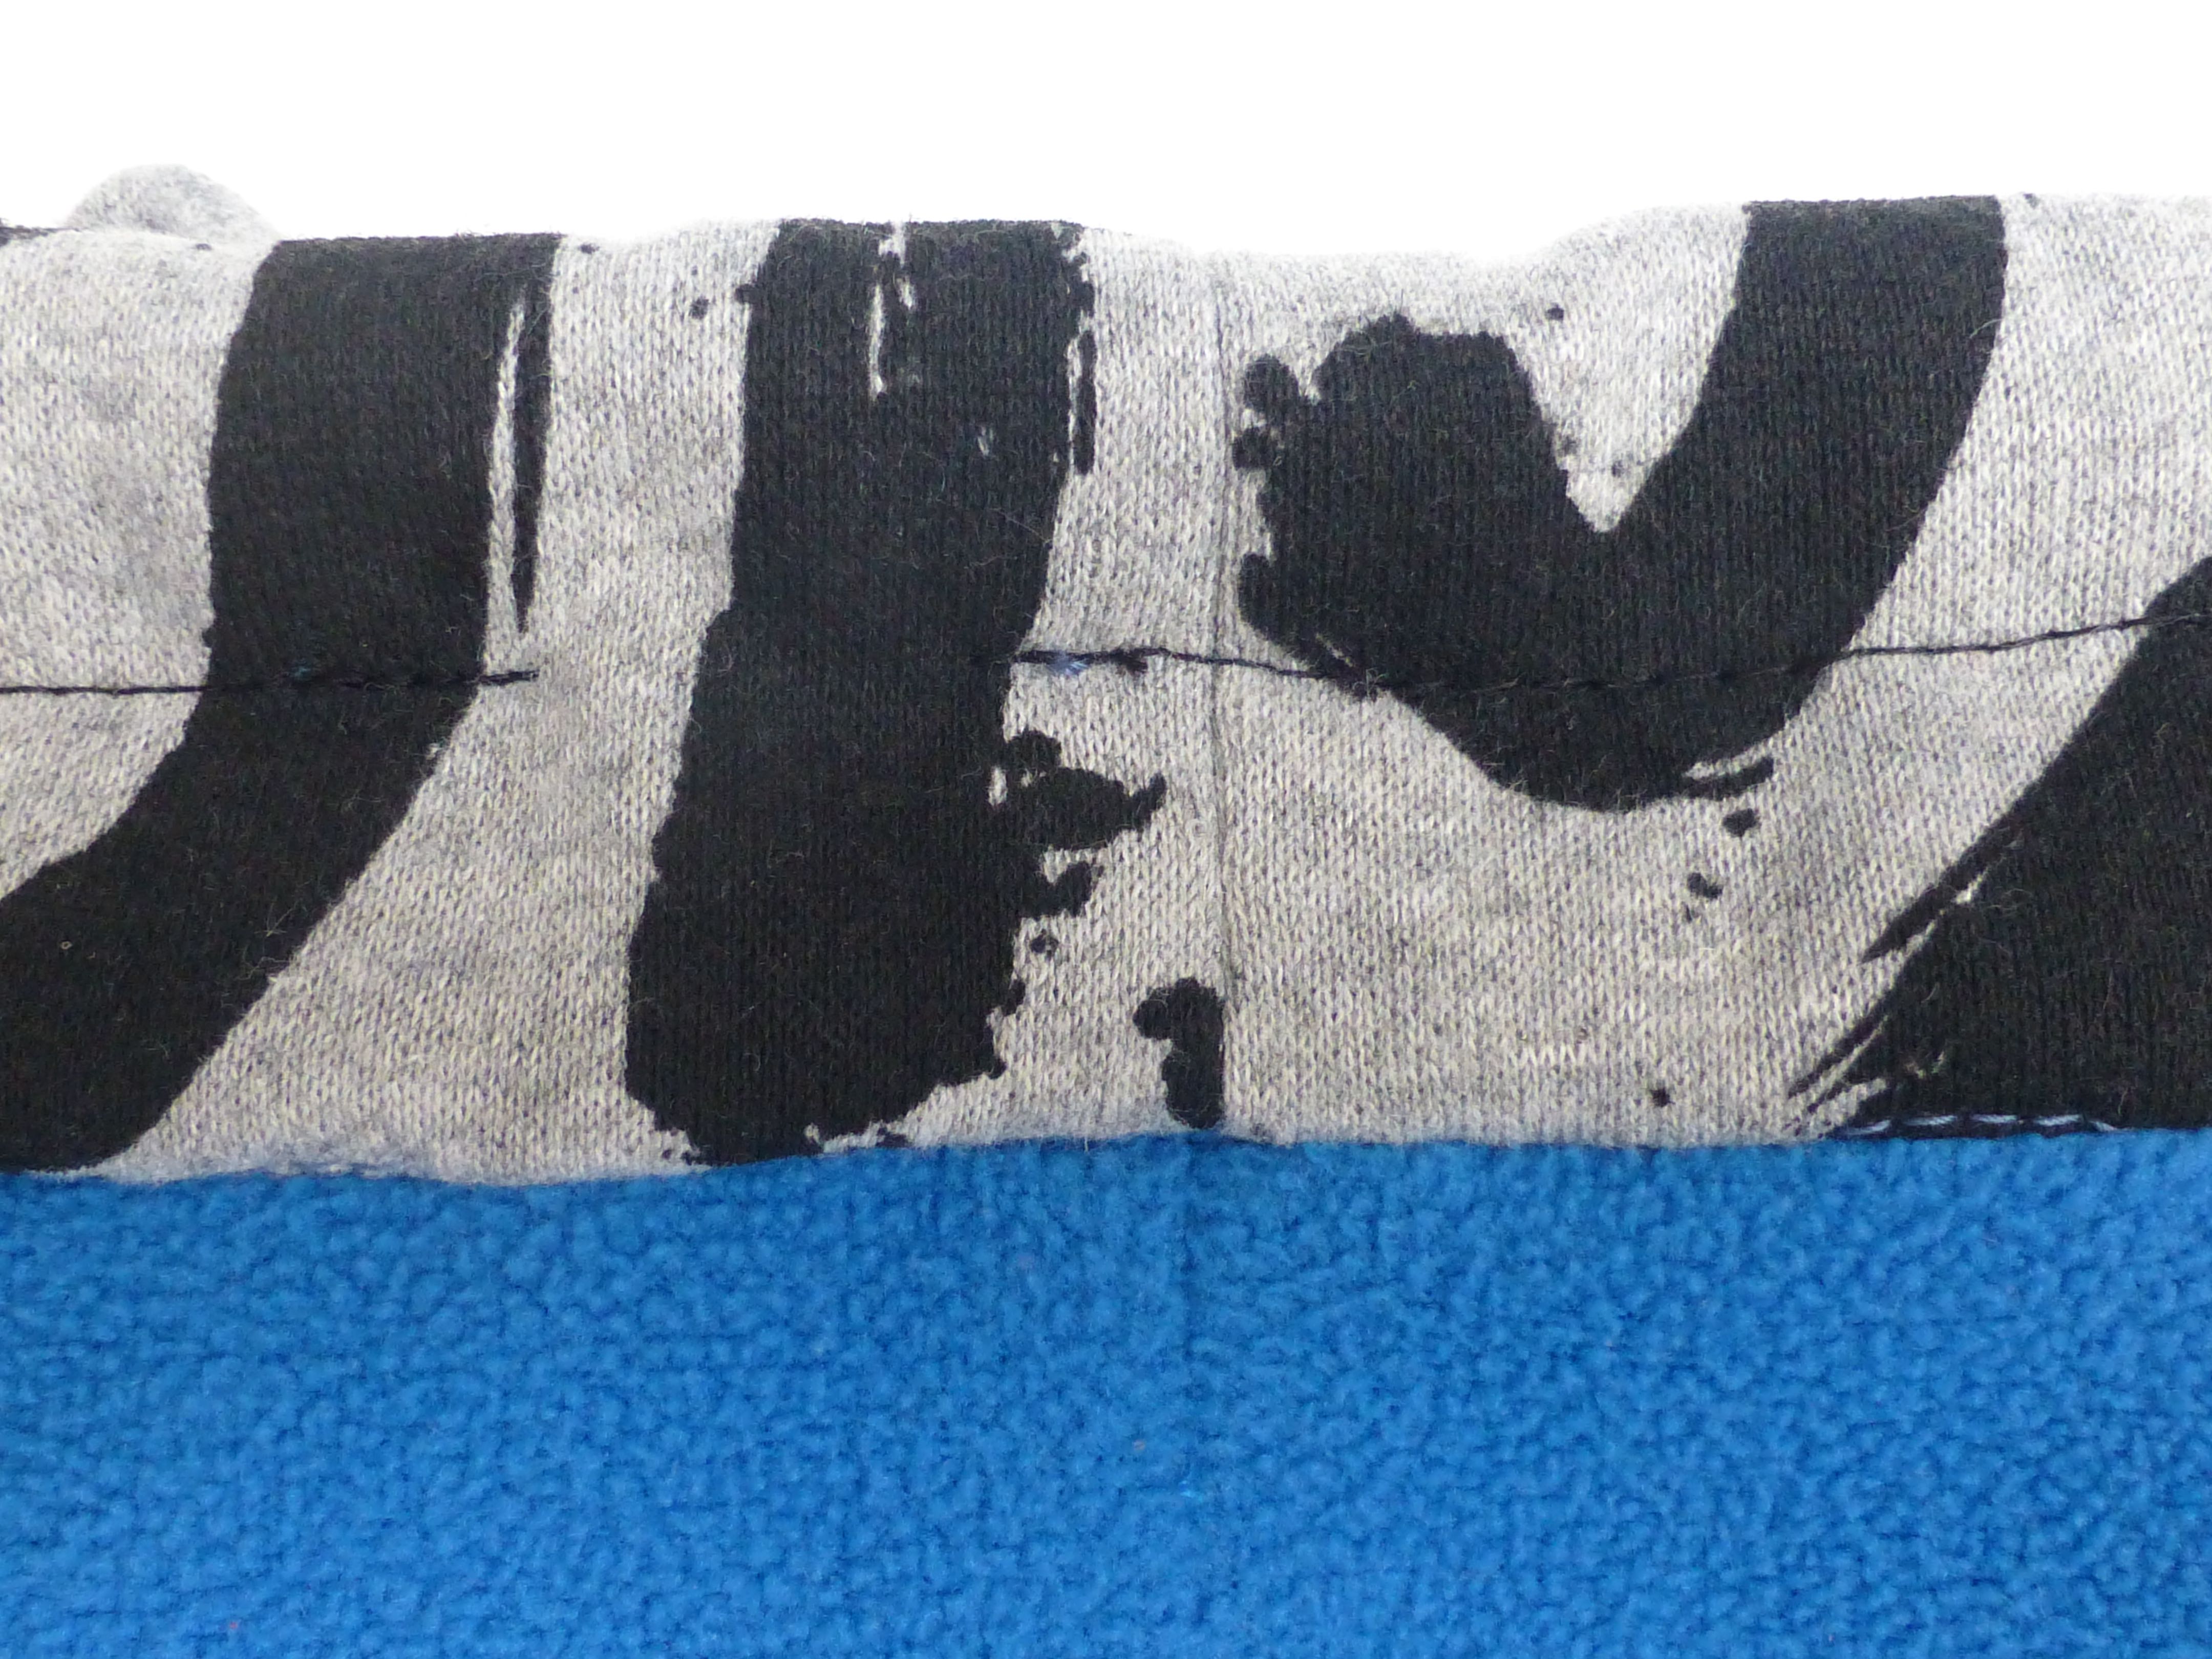
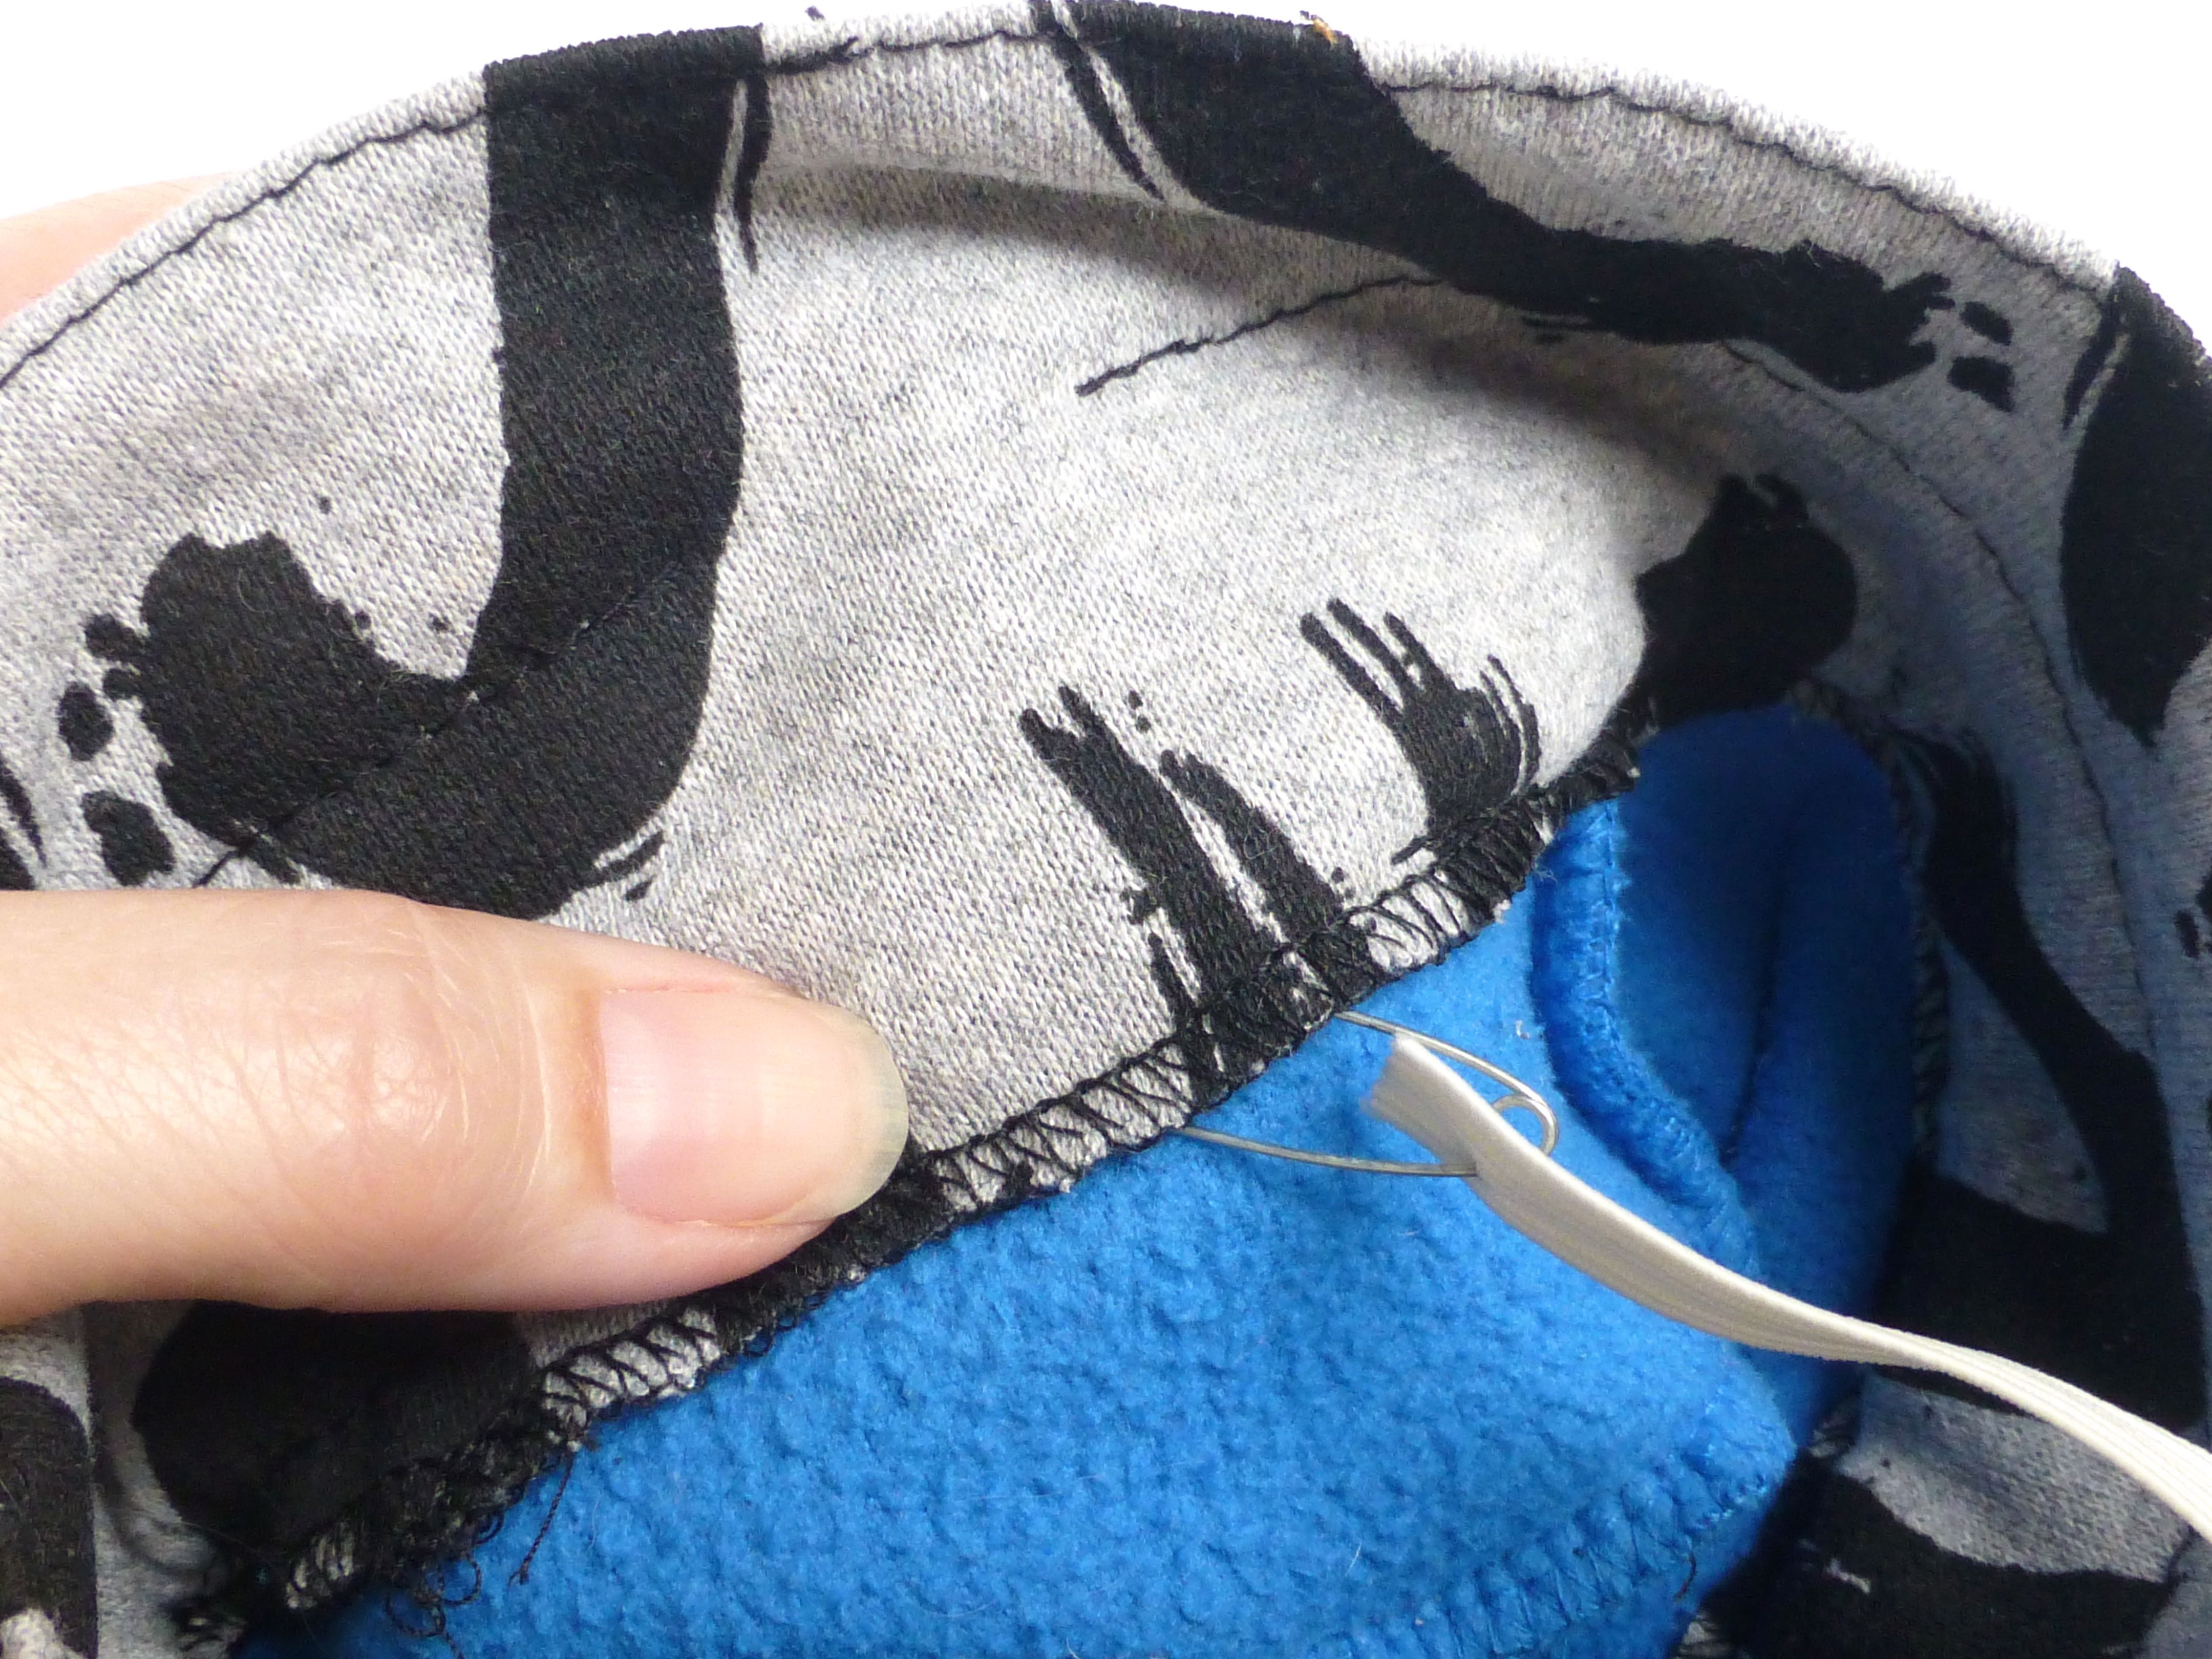
Turn cuff to the inside having the overlocked edge protrude over the seam by about 1cm. Pin in place.

P1040765

Working from the right side, stitch in the ‘ditch’ of the seam, leaving a gap for threading the elastic.

P1040766

Stitch again in the middle of the cuff, leaving a gap for the elastic as before.

****

Top stitch close to the top edge all the way around the cuff.

P1040770

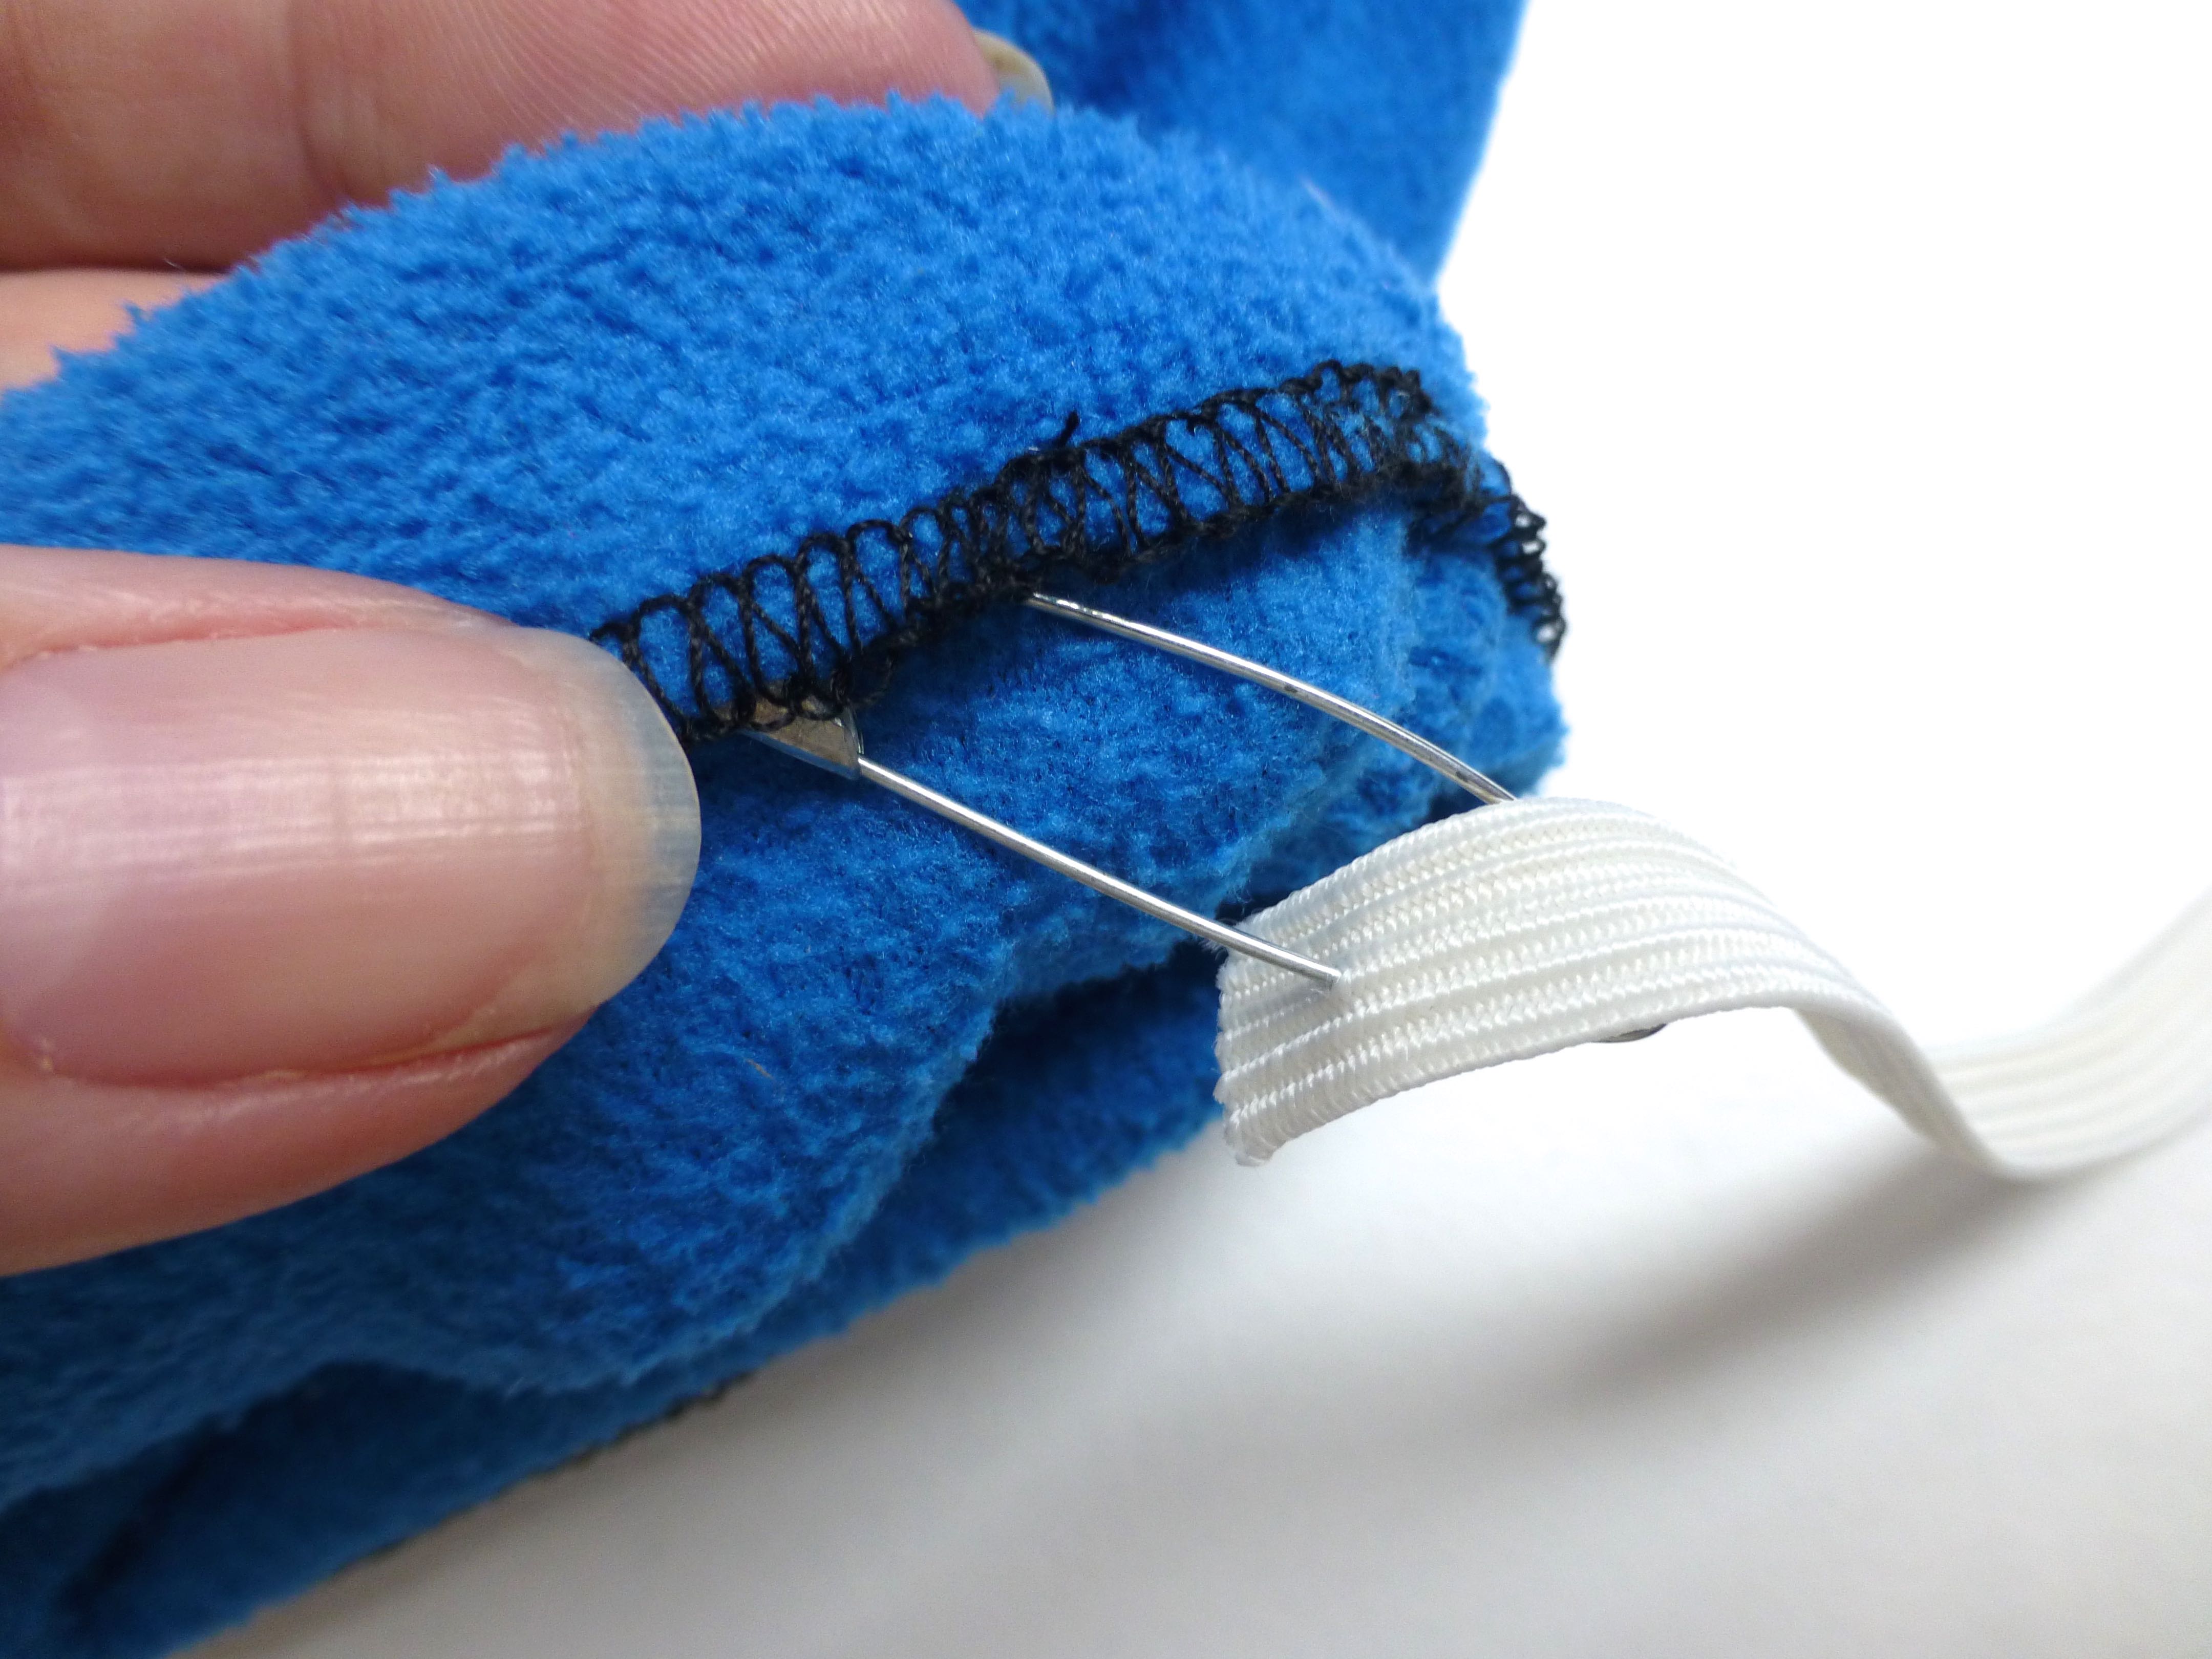
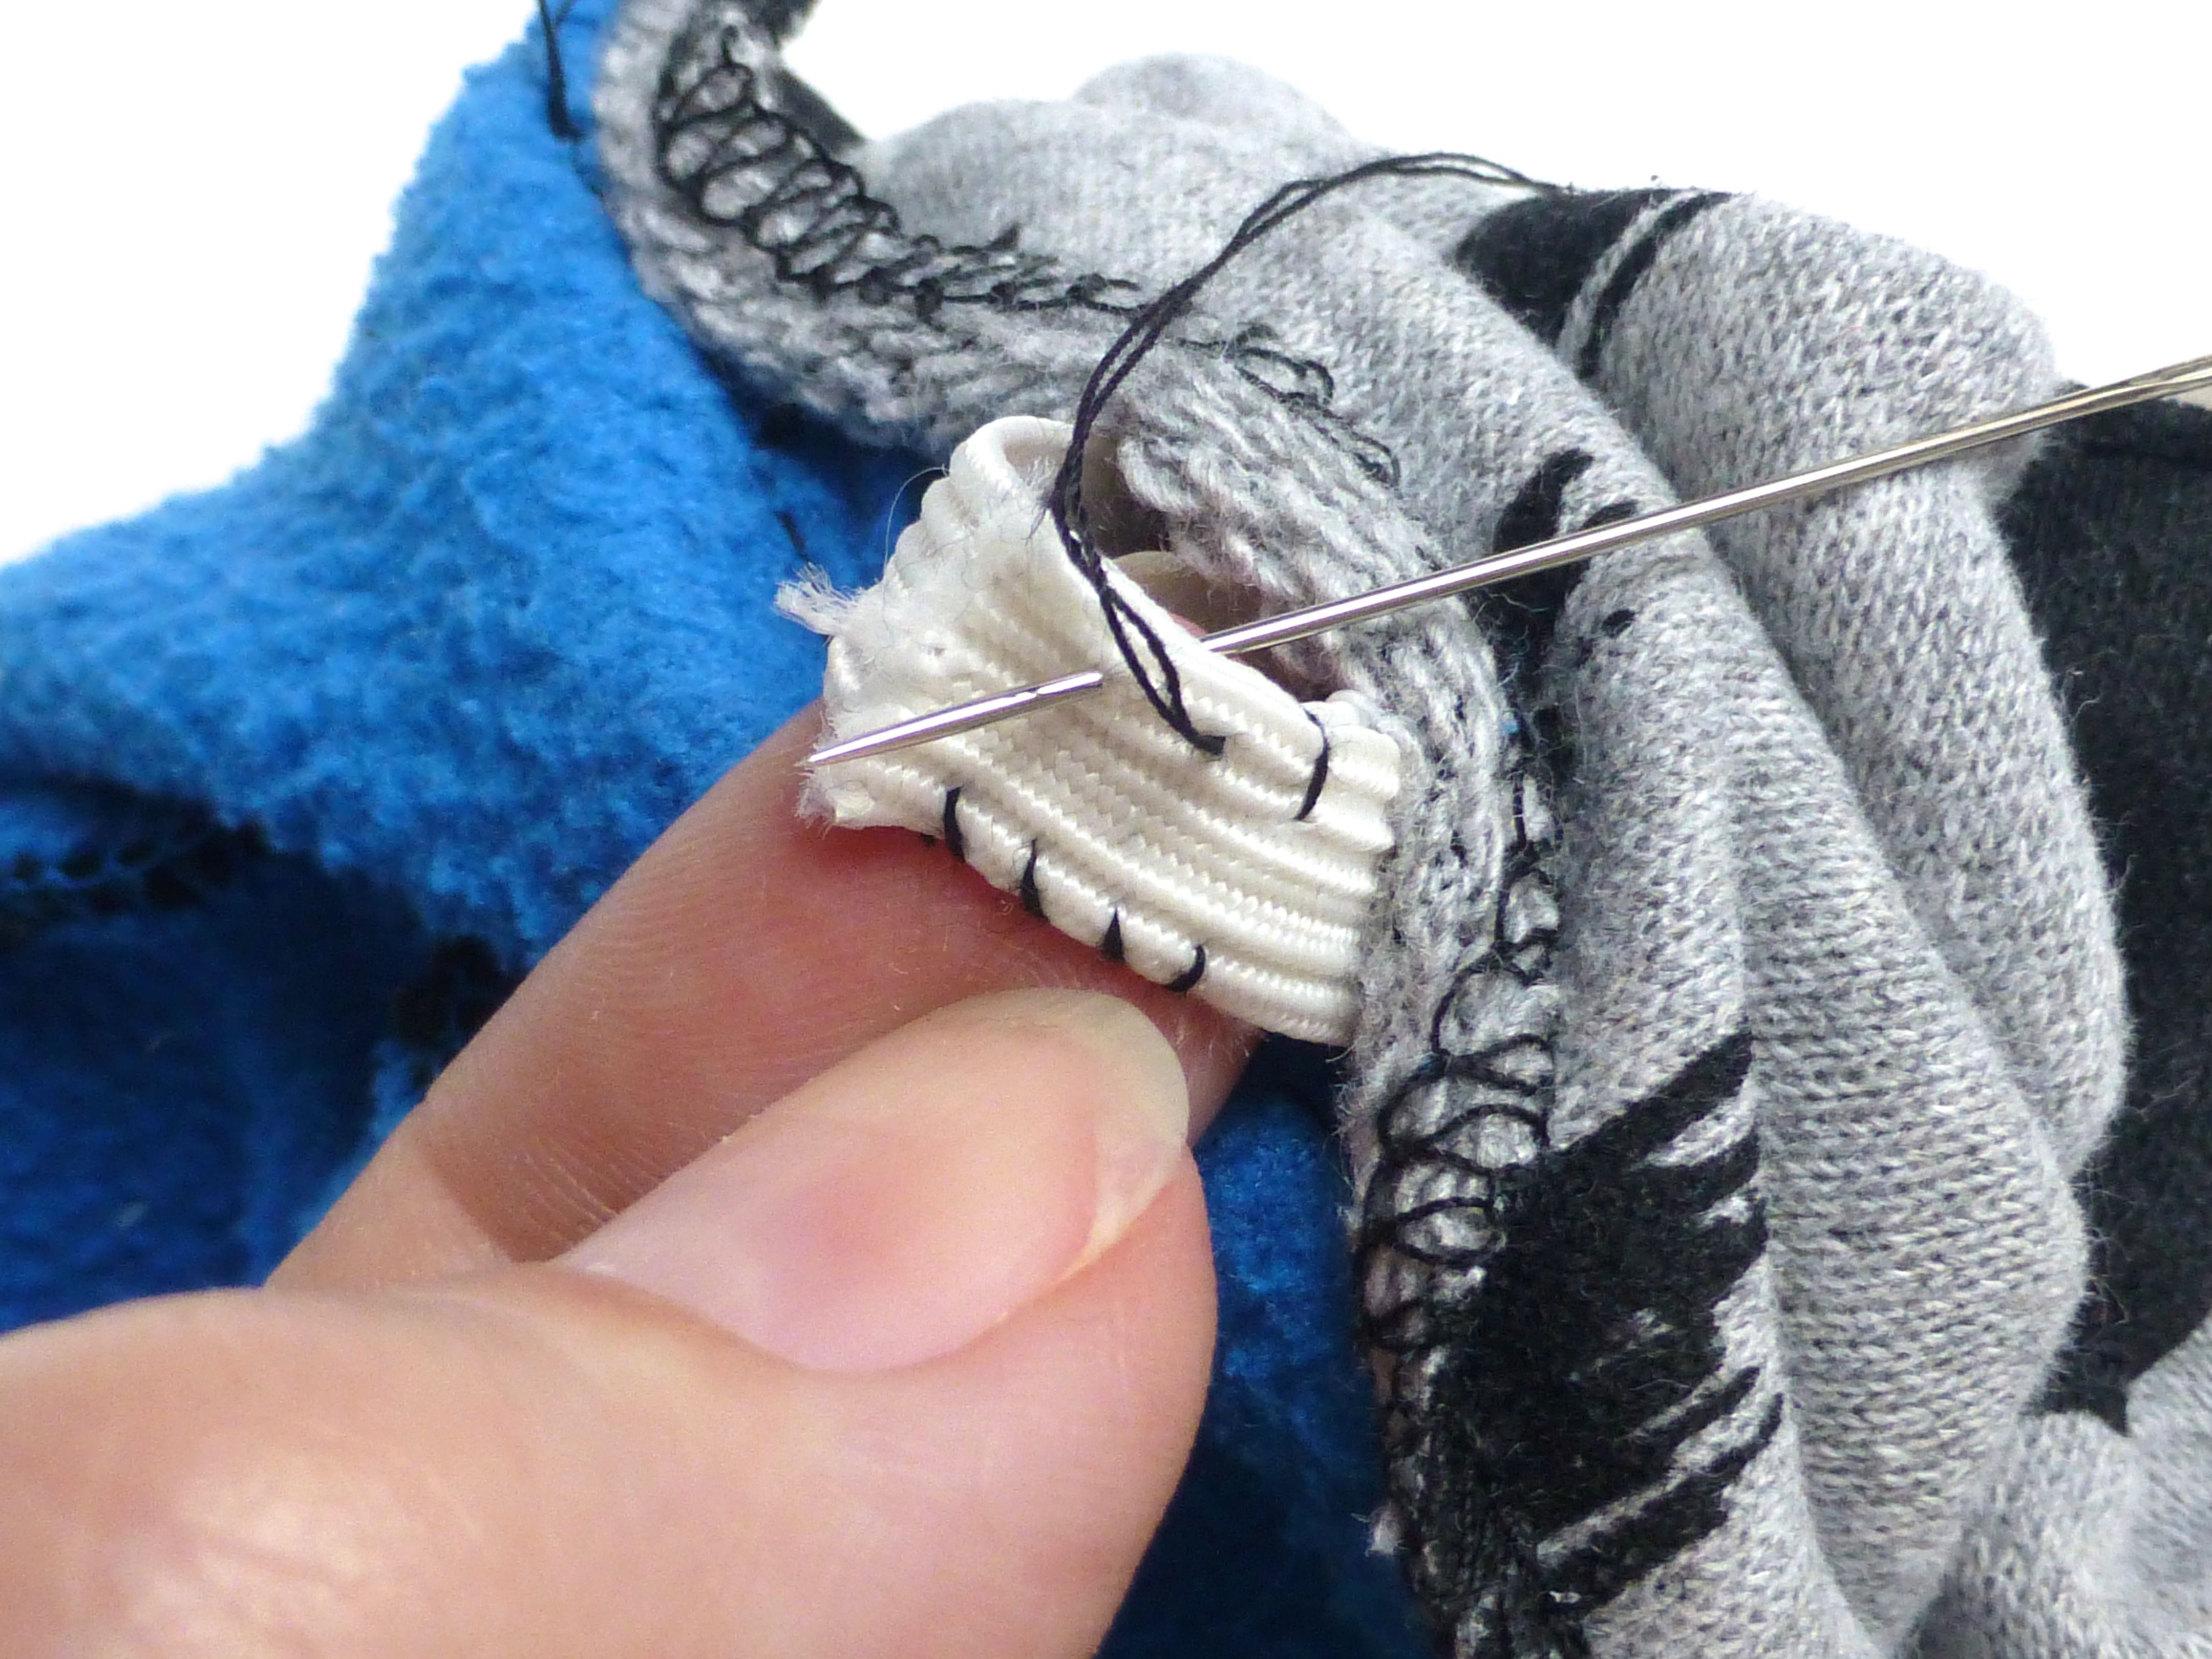
Cut four pieces of 1/2″ elastic to loosely fit the ankle…

P1040771

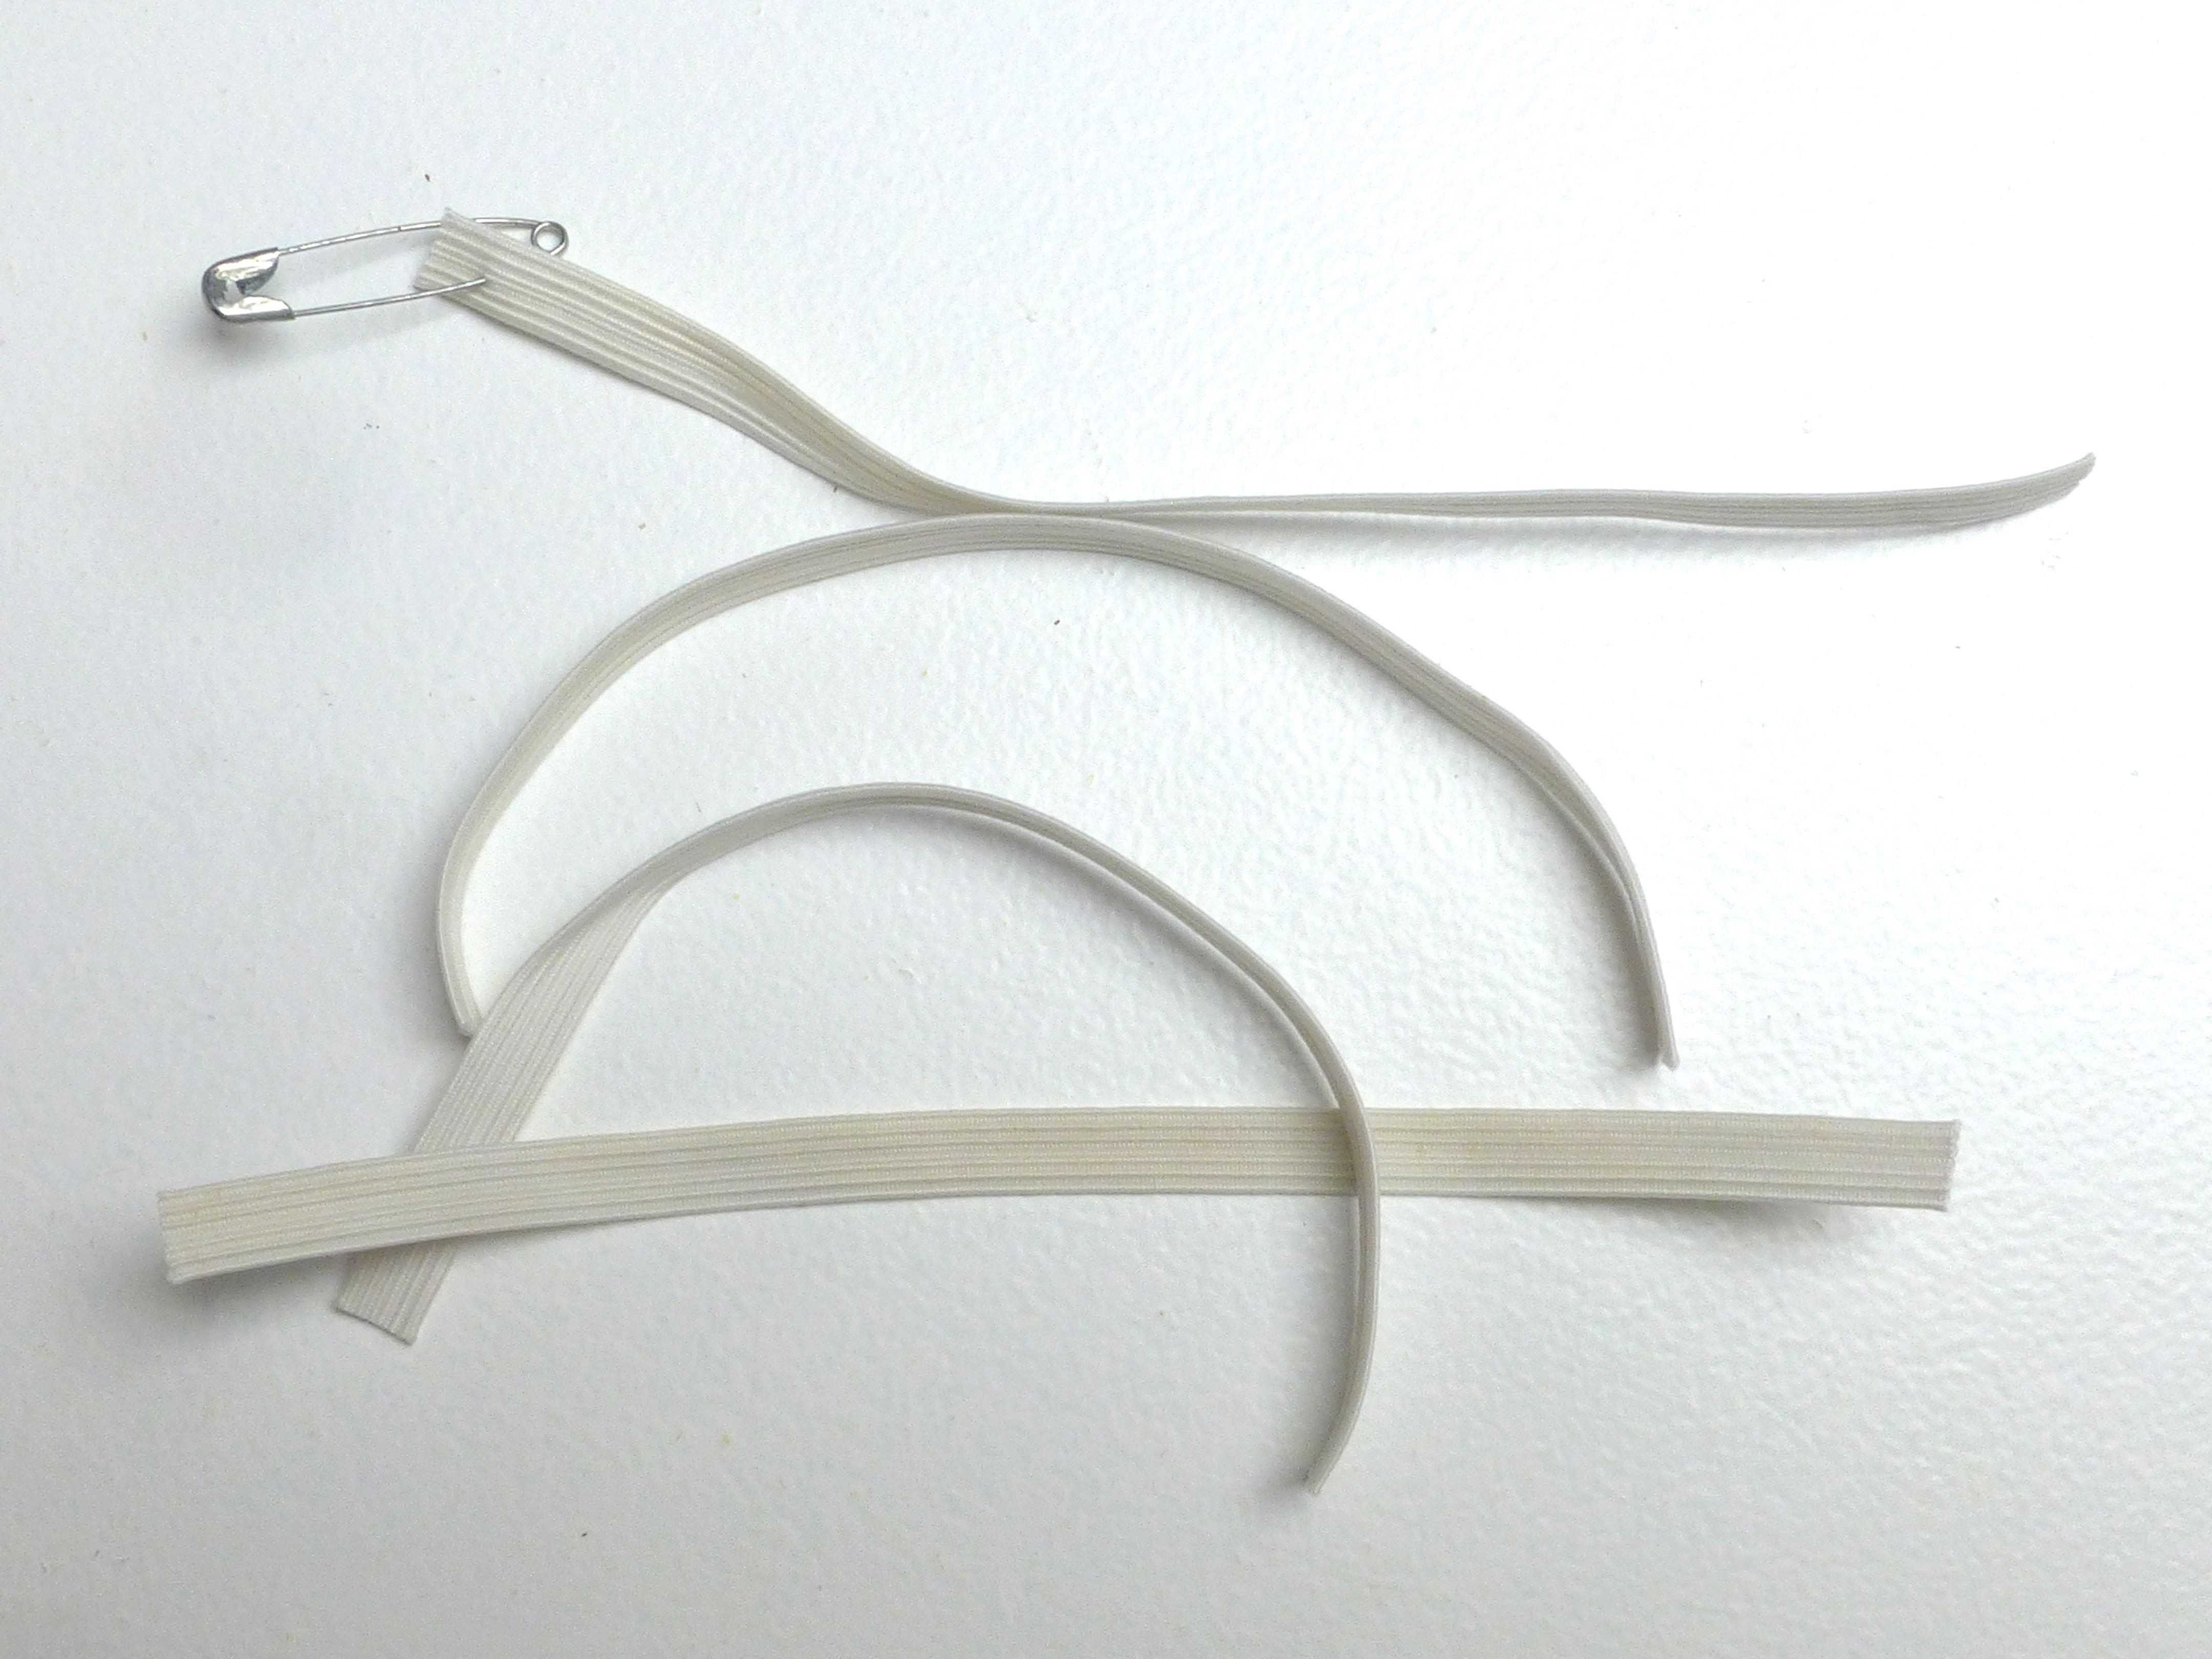
…and thread them through each channel on both boots with a safety pin.

P1040772

The ends of the elastic are hand sewn together.
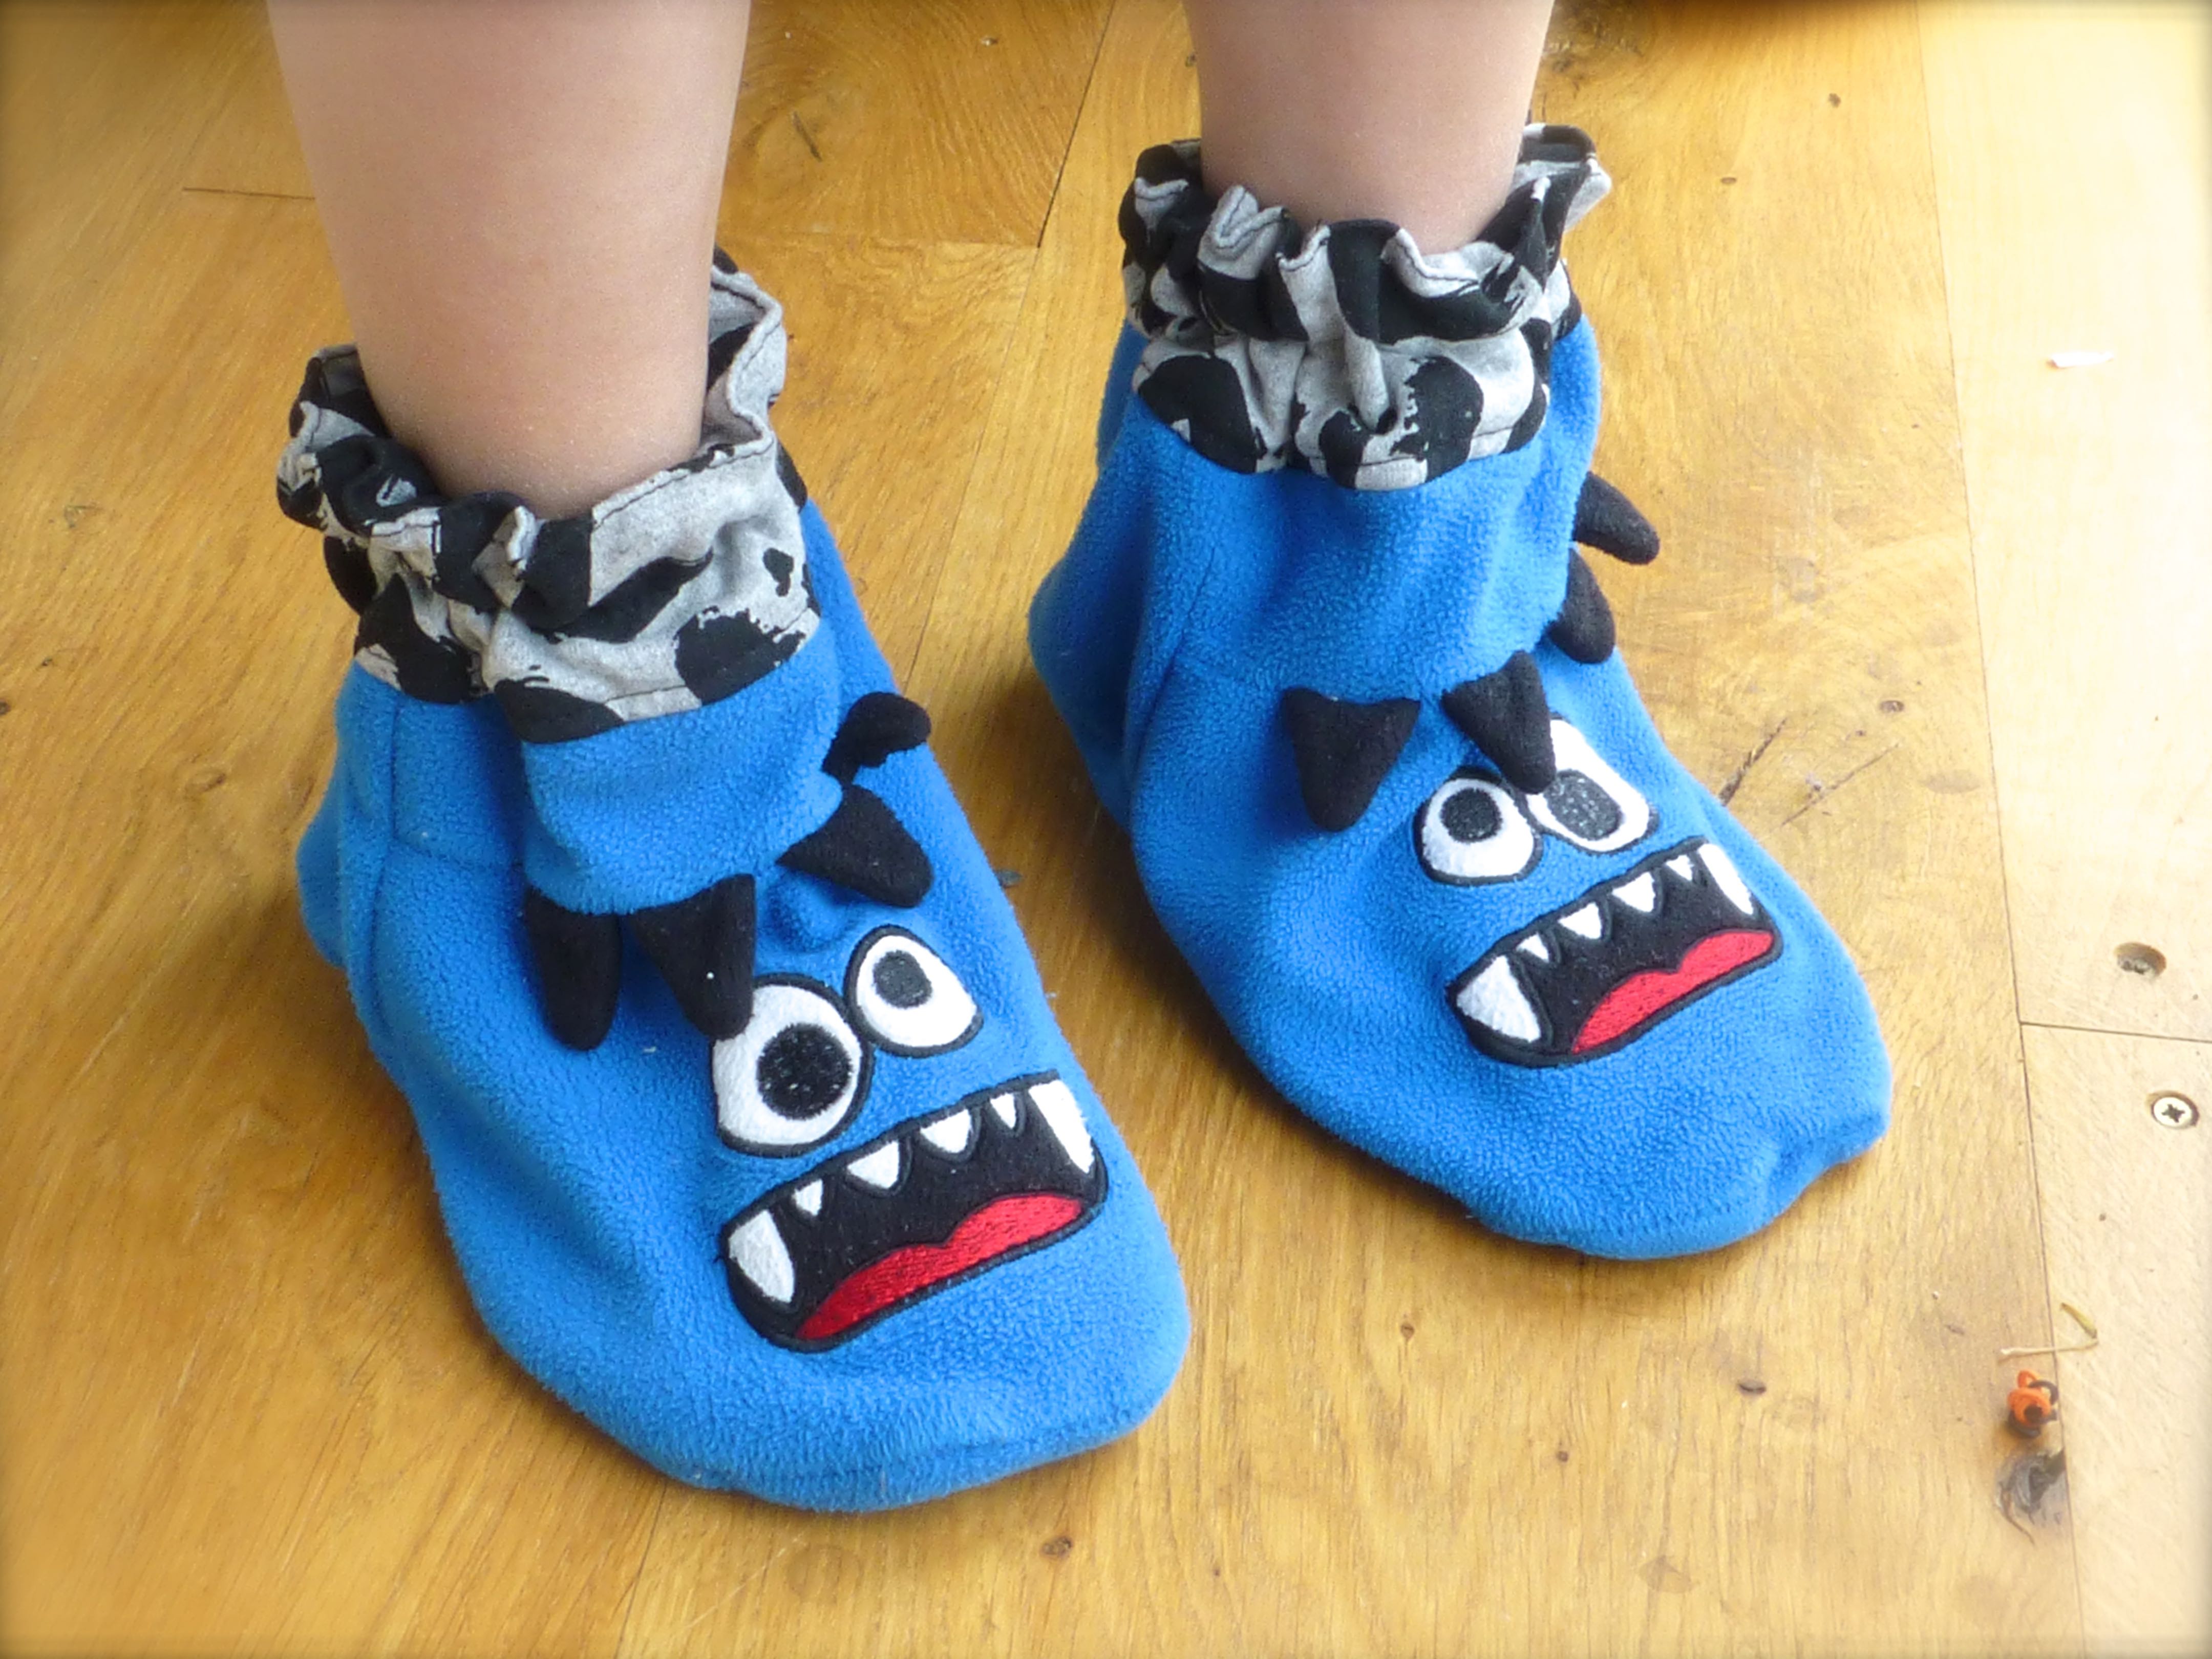
P1040773

Tadah!

A sweet pair of slipper boots.

P1040776

These turned out to be the favourite part of the recycled outfit and are great for sliding across oak floors.

Hmmm, that reminds me of a ‘game’ we used to play when we were kids. Mum used to put wax polish on rags, tie them to our feet and ‘let’ us slide on the linoleum floor in the dining room.

Wonder if I could use that ruse on my boys?

P1040777

Hope you enjoyed this post, how to make slipper boots from an old onesie – if you’d like to see more;

You can find the first post here: TRACKSUIT BOTTOMS

and the second post here: HOODIE


6 Comments

Refashion: Onesie To Hoodie

This the second in a three part series showing how I upcycled an old Onesie into three new garments.

The first post showed how to make a pair of tracksuit (jogging) bottoms and this one shows how to make the matching Hoodie.

before  and after

I had previously emancipated the top part of the onesie from its lower body and was left with this: –

P1040781

The centre front zip was cut out next…..

P1040782

….and a new centre front seam was made by sewing right sides together and overlocking the raw edges.

P1040783

Both sleeves were shortened by a couple of inches, overlocked and then hemmed leaving a small gap through which to thread the elastic.

P1040784

The bottom of the hoodie was overlocked and hemmed in the same way, leaving a gap for the elastic.

P1040785

Having measured loosely around wrists and hips, pieces of elastic were threaded through each of the channels and secured together by hand.

P1040786

Finished!

A cute hoodie to match the tracksuit bottoms.

P1040793

Not the most appreciative smile in the world….

P1040794

That’s better!

P1040797

So, that’s how to make a great little hoodie from an old onesie.

Previous post: TRACKSUIT BOTTOMS

Next Post: SLIPPER BOOTS


15 Comments

Refashion: Onesie To Tracksuit Bottoms

Have your kids (or you!) got one too many of those novelty Onesies that continue to be so popular?

We were given a couple of hand-me-downs from my nephew which would take my boys four or five years to grow into, so I had the idea to re-make one of them into something more wearable – Tracksuit Bottoms, Hoodie and the added bonus of a pair of Slipper Boots!

before  and after

It’s not a complicated refashion, but I seemed to take quite a lot of photos so I’ll split this upcycle into three posts, this being the first.

TRACKSUIT BOTTOMS

First up, I took an existing pair of well-fitting tracksuit bottoms and roughly cut the bottom half of the onesie to size.

P1040741

I left plenty of space to turn up a hem and put the feet to one side for later.

P1040742

A couple of inches was left at the top to add a little growing room and the top was also put to one side for later.

P1040743

I started by unpicking and removing the remainder of the zip, then sewed the centre front seam closed.

P1040744

There was just enough knit fabric leftover from a previous project to make a new waistband. I cut 4″ wide strips and pieced them together to measure the same as the onesie and added a seam allowance. The short ends were sewn right sides together to make a circle.

P1040745

The new waistband was sewn right sides together with the onesie and the raw edge was overlocked.

P1040746

The seam was pressed up towards the waistband.

P1040747

The waistband was folded to the inside where the raw edge was pinned over the seam, enclosing the raw edges and extending over by about 1cm.

P1040748

I stitched in the ‘ditch’ from the right side, leaving a gap at the centre back to thread the elastic.

P1040749

I stitched again in the middle, leaving another gap for the elastic.

P1040752

A final row of top stitching finishes off the top edge neatly.

Two pieces of 1/2″ wide elastic were cut to my son’s waist measurement and threaded through the channels using a safety pin.

P1040772

The ends of the elastic were sewn together by hand and the gaps in the top stitching were sewn closed by machine.

P1040773

P1040751

For the bottom hems, I just overlocked the raw edges and sewed a small hem leaving a gap to thread through some 1/4″ wide elastic.

P1040753

P1040755

Et Voilá!

A perfectly good pair of tracksuit bottoms.

P1040757

Ok, so the T-shirt doesn’t go with them very well, but No.3 son doesn’t care!

P1040758

So there you go – how to refashion/upcycle an old onesie into a pair of tracksuit (jogging) bottoms:)

Next Post: HOODIE