A few weeks ago I mentioned that we were going to redecorate The Boys’ bedroom and I was so desperate to get started that I forgot to take any ‘before’ shots. After rooting through my old phone pics I came across this one, which is pretty poor quality but gives you an idea of how bland and boring it was for two young boys.
Resourceful as ever, I did actually originally make the curtains myself from a really heavy vintage sheet. I also made the roman blackout blind, the bunting and appliquéd cushion cover.
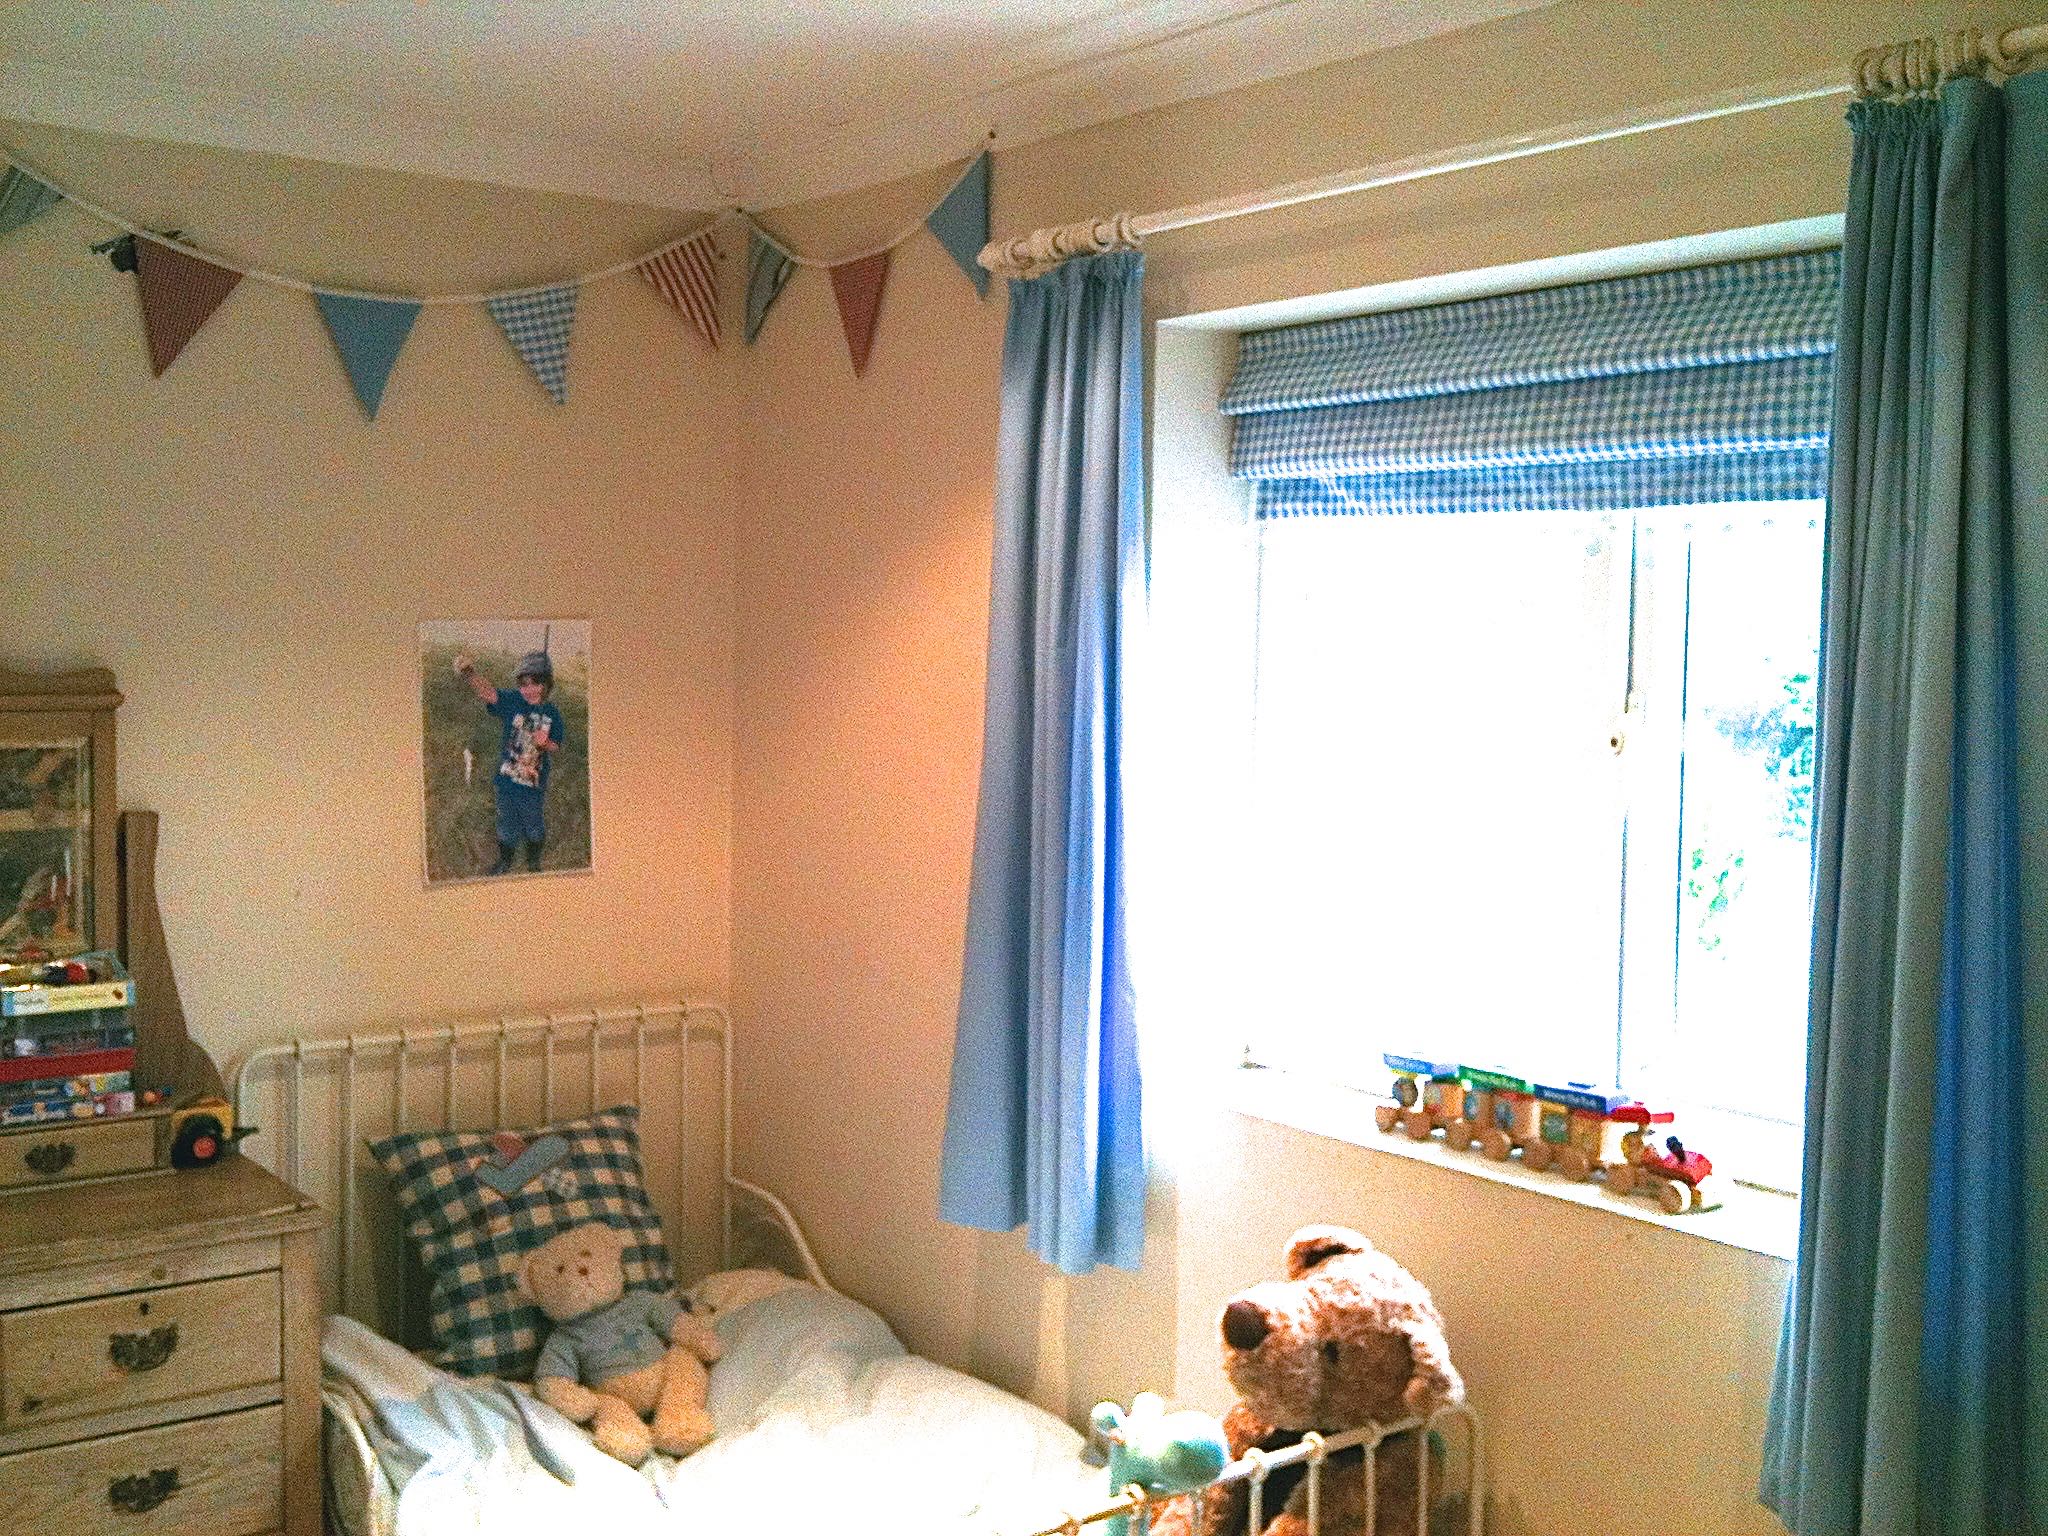
However, that was six years ago and we really wanted to bring the room up to date and add some bright, stimulating colours with a funky pattern. In short, something infinitely more appropriate for seven and nine year old boys sharing a room.
The starting point for the new design was this incredible wallpaper by Quentin Blake for Osborne & Little (£42-00 per roll) based on his “Cockatoo” illustrations for his children’s book of the same name.
A single roll was just enough if we papered one wall and was economical enough to enable us to choose designer wallpaper.

The room was also crying out for more storage and where better to go for storage solutions than Ikea?
Whilst I’m not a fan of flat pack furniture, in this case it made perfect sense – we measured up units to fit around two walls and it all came in at under £300 including delivery, which is less than half the price of a good quality single wardrobe!
You might remember that I showed you the mood board I put together – here it is again in case you missed it: –

And here is our interpretation of that design – very close to the vision and pretty successful, though I say so myself!

We didn’t have enough to paper the bit behind the units but they’re fixed to the wall so you can’t see!!
I made a roman blind out of 1.2m of matching fabric (also £42-00 per metre) and this is enough to tie the whole design together without being too matchy-matchy.

“Teresa’s Green” paint by Farrow & Ball in a washable finish was a good match to the wallpaper and was used on the remaining walls.

I already had this limited edition print by Quentin Blake (featuring the scene from Charlie and the Chocolate Factory where he finds a Golden Ticket), so I put it in a large square Ikea frame and it has the starring role on its own wall.

The lower height storage units had the potential to double up as a comfortable seating area, so a 2m length of 10cm thick upholstery foam makes the perfect bench seat cushion. I made a piped box cushion cover from cotton twill in a vibrant Pillar-Box Red, being sure to include a zip at one end to make it removable for washing.
With the addition of a plump feather, faux fur cushion, this is now a favourite place for The Boys to sit and read.

The Works were selling this huge poster of a map of the world at the bargain price of £4-99 back last year and The Boys begged me to buy it for their room.
I can’t tell you how brilliant it has been for teaching them Geography without them even knowing it – they have hours of fun matching up the countries with their respective flags at the bottom!

A couple of hooks on the back of the yet-to-be-painted door give them space to hang their dressing gowns.

Their Very Talented Father made the bunks from scratch to my design. I wanted them to stretch the entire width of the room and be high enough up off the floor to store a games table which they can pull out when they want to use it. It was the only way I could incorporate their request for a table tennis/table football/snooker/air hockey table into such a modestly sized room!
The space underneath holds more units for the hoards of dressing up clothes that are in daily use and also becomes a den when the games table is removed.
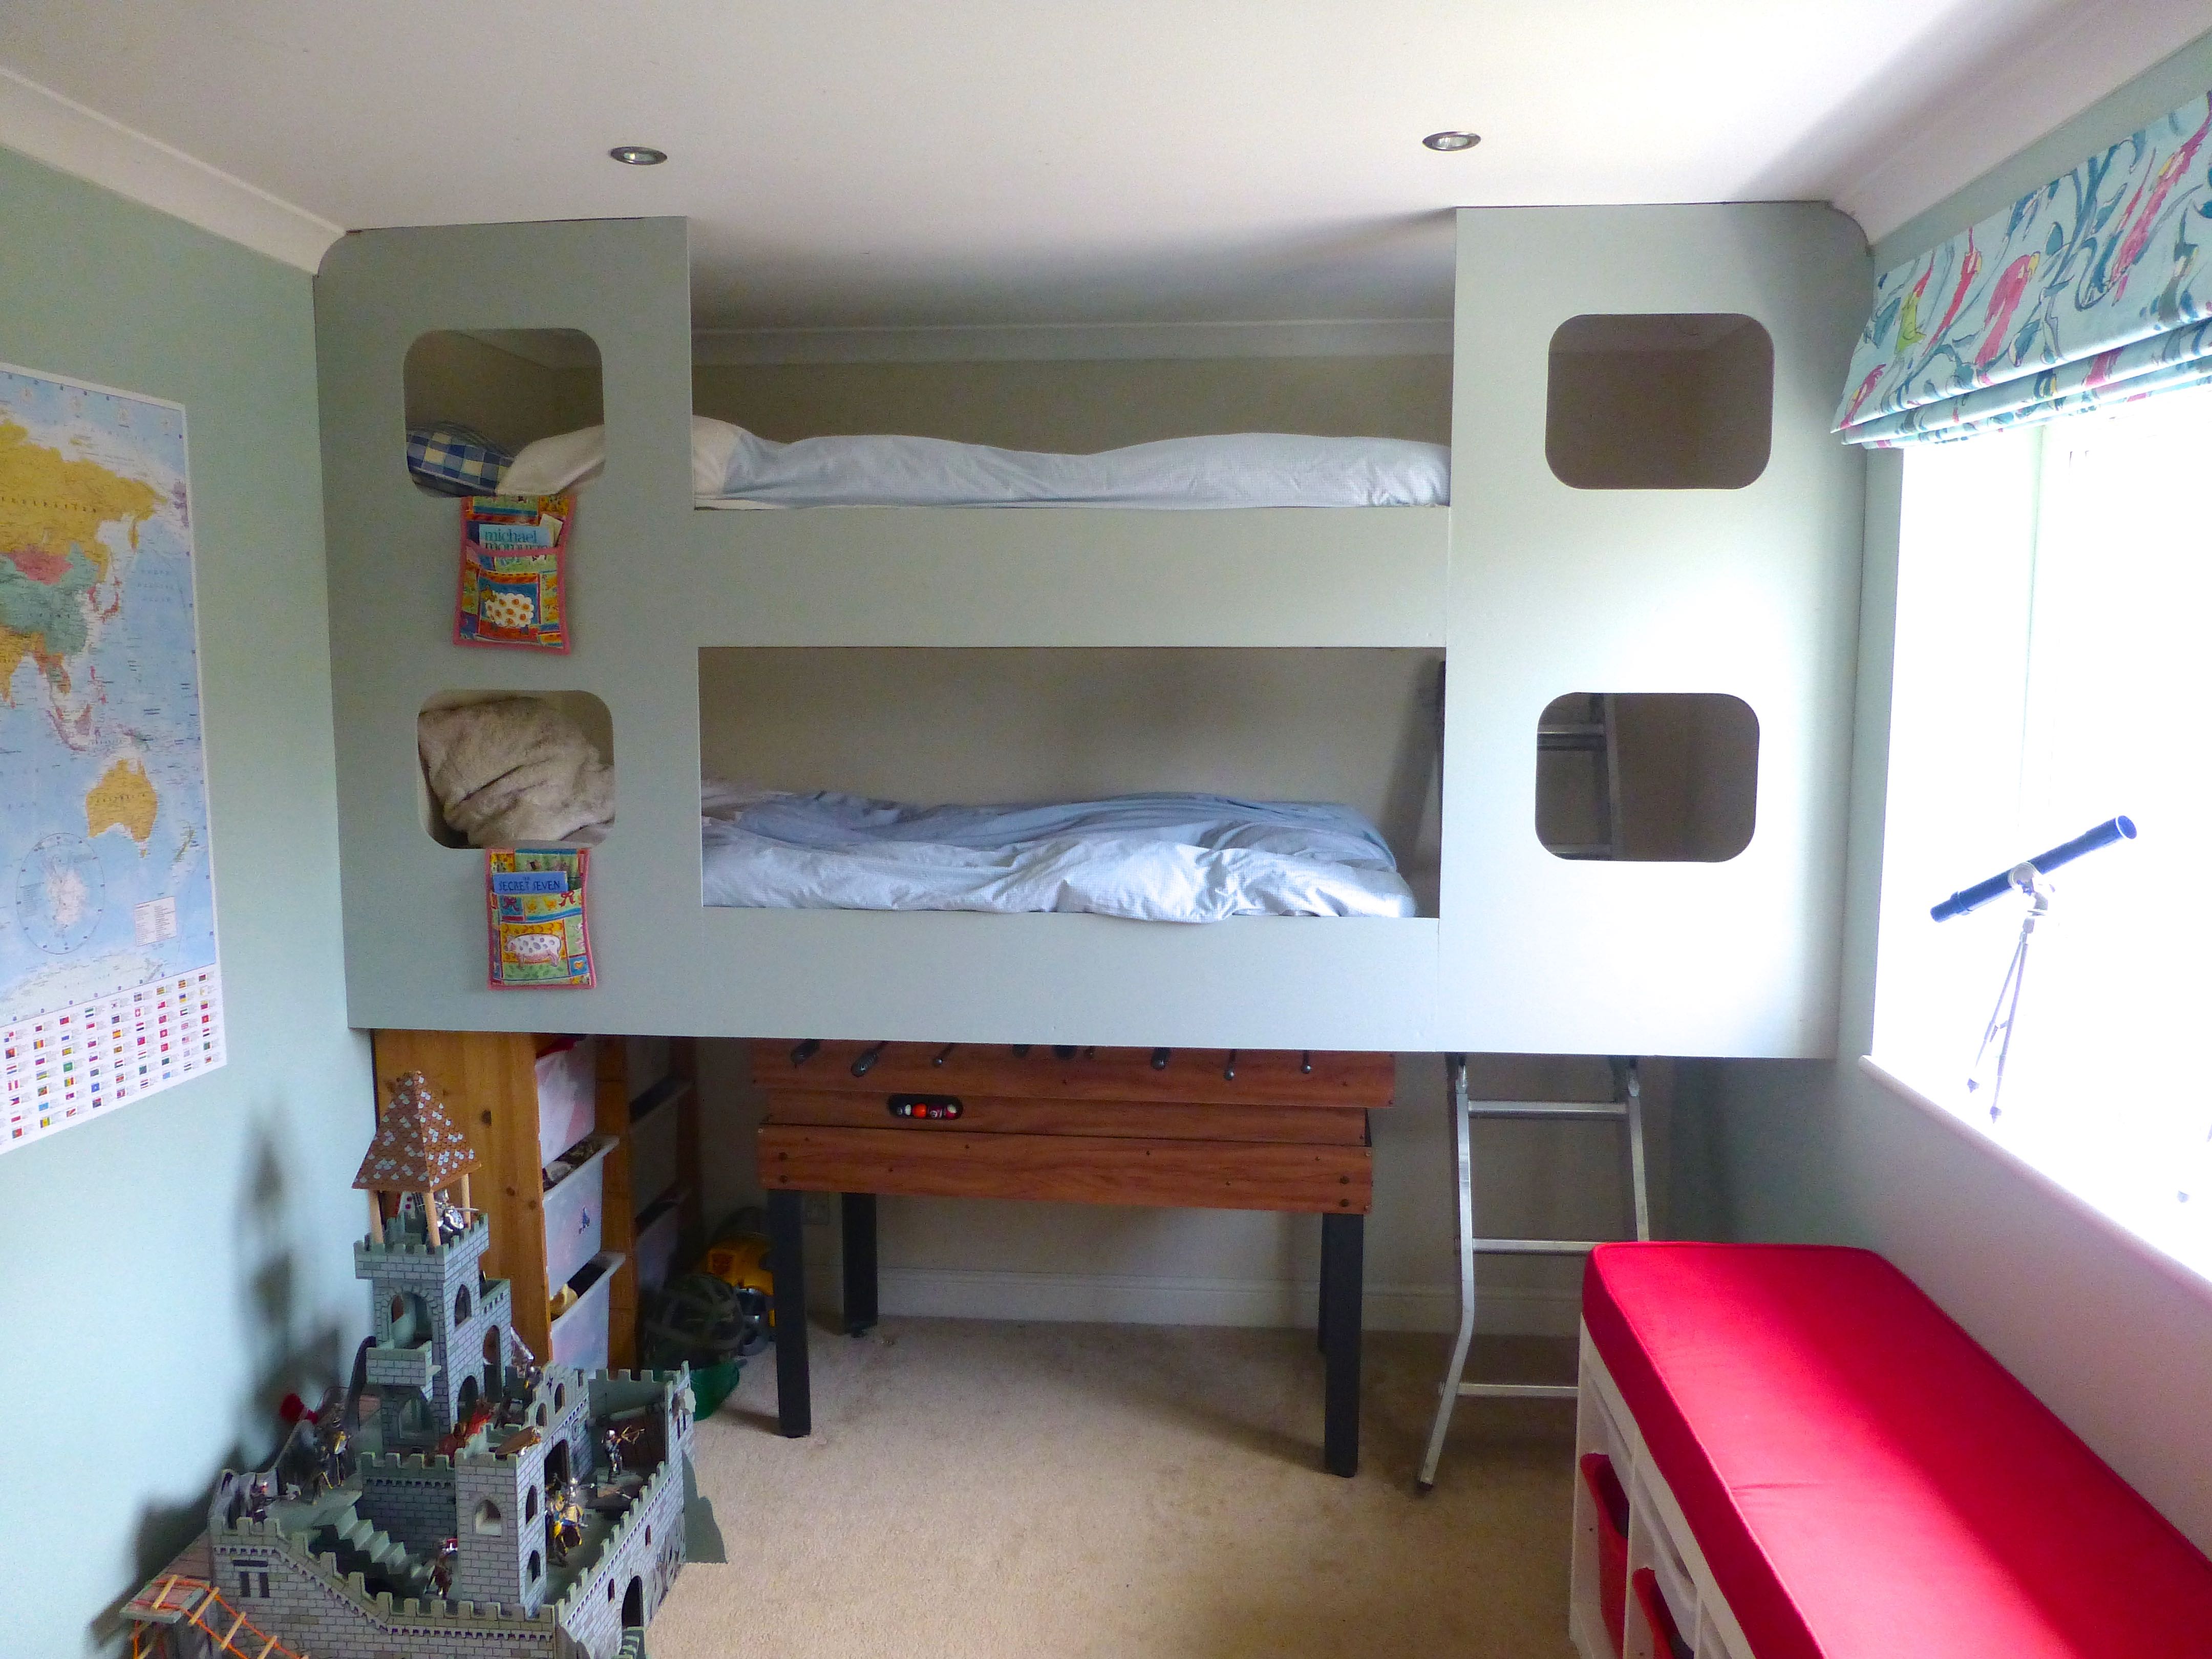
The best bit is yet to come though.
See the ladder in the corner? It’s going to be replaced with a climbing wall as the means of getting into bed, and a fireman’s pole to get out!
Needless to say they can’t wait for those, but that’s going to have to be another payday:)
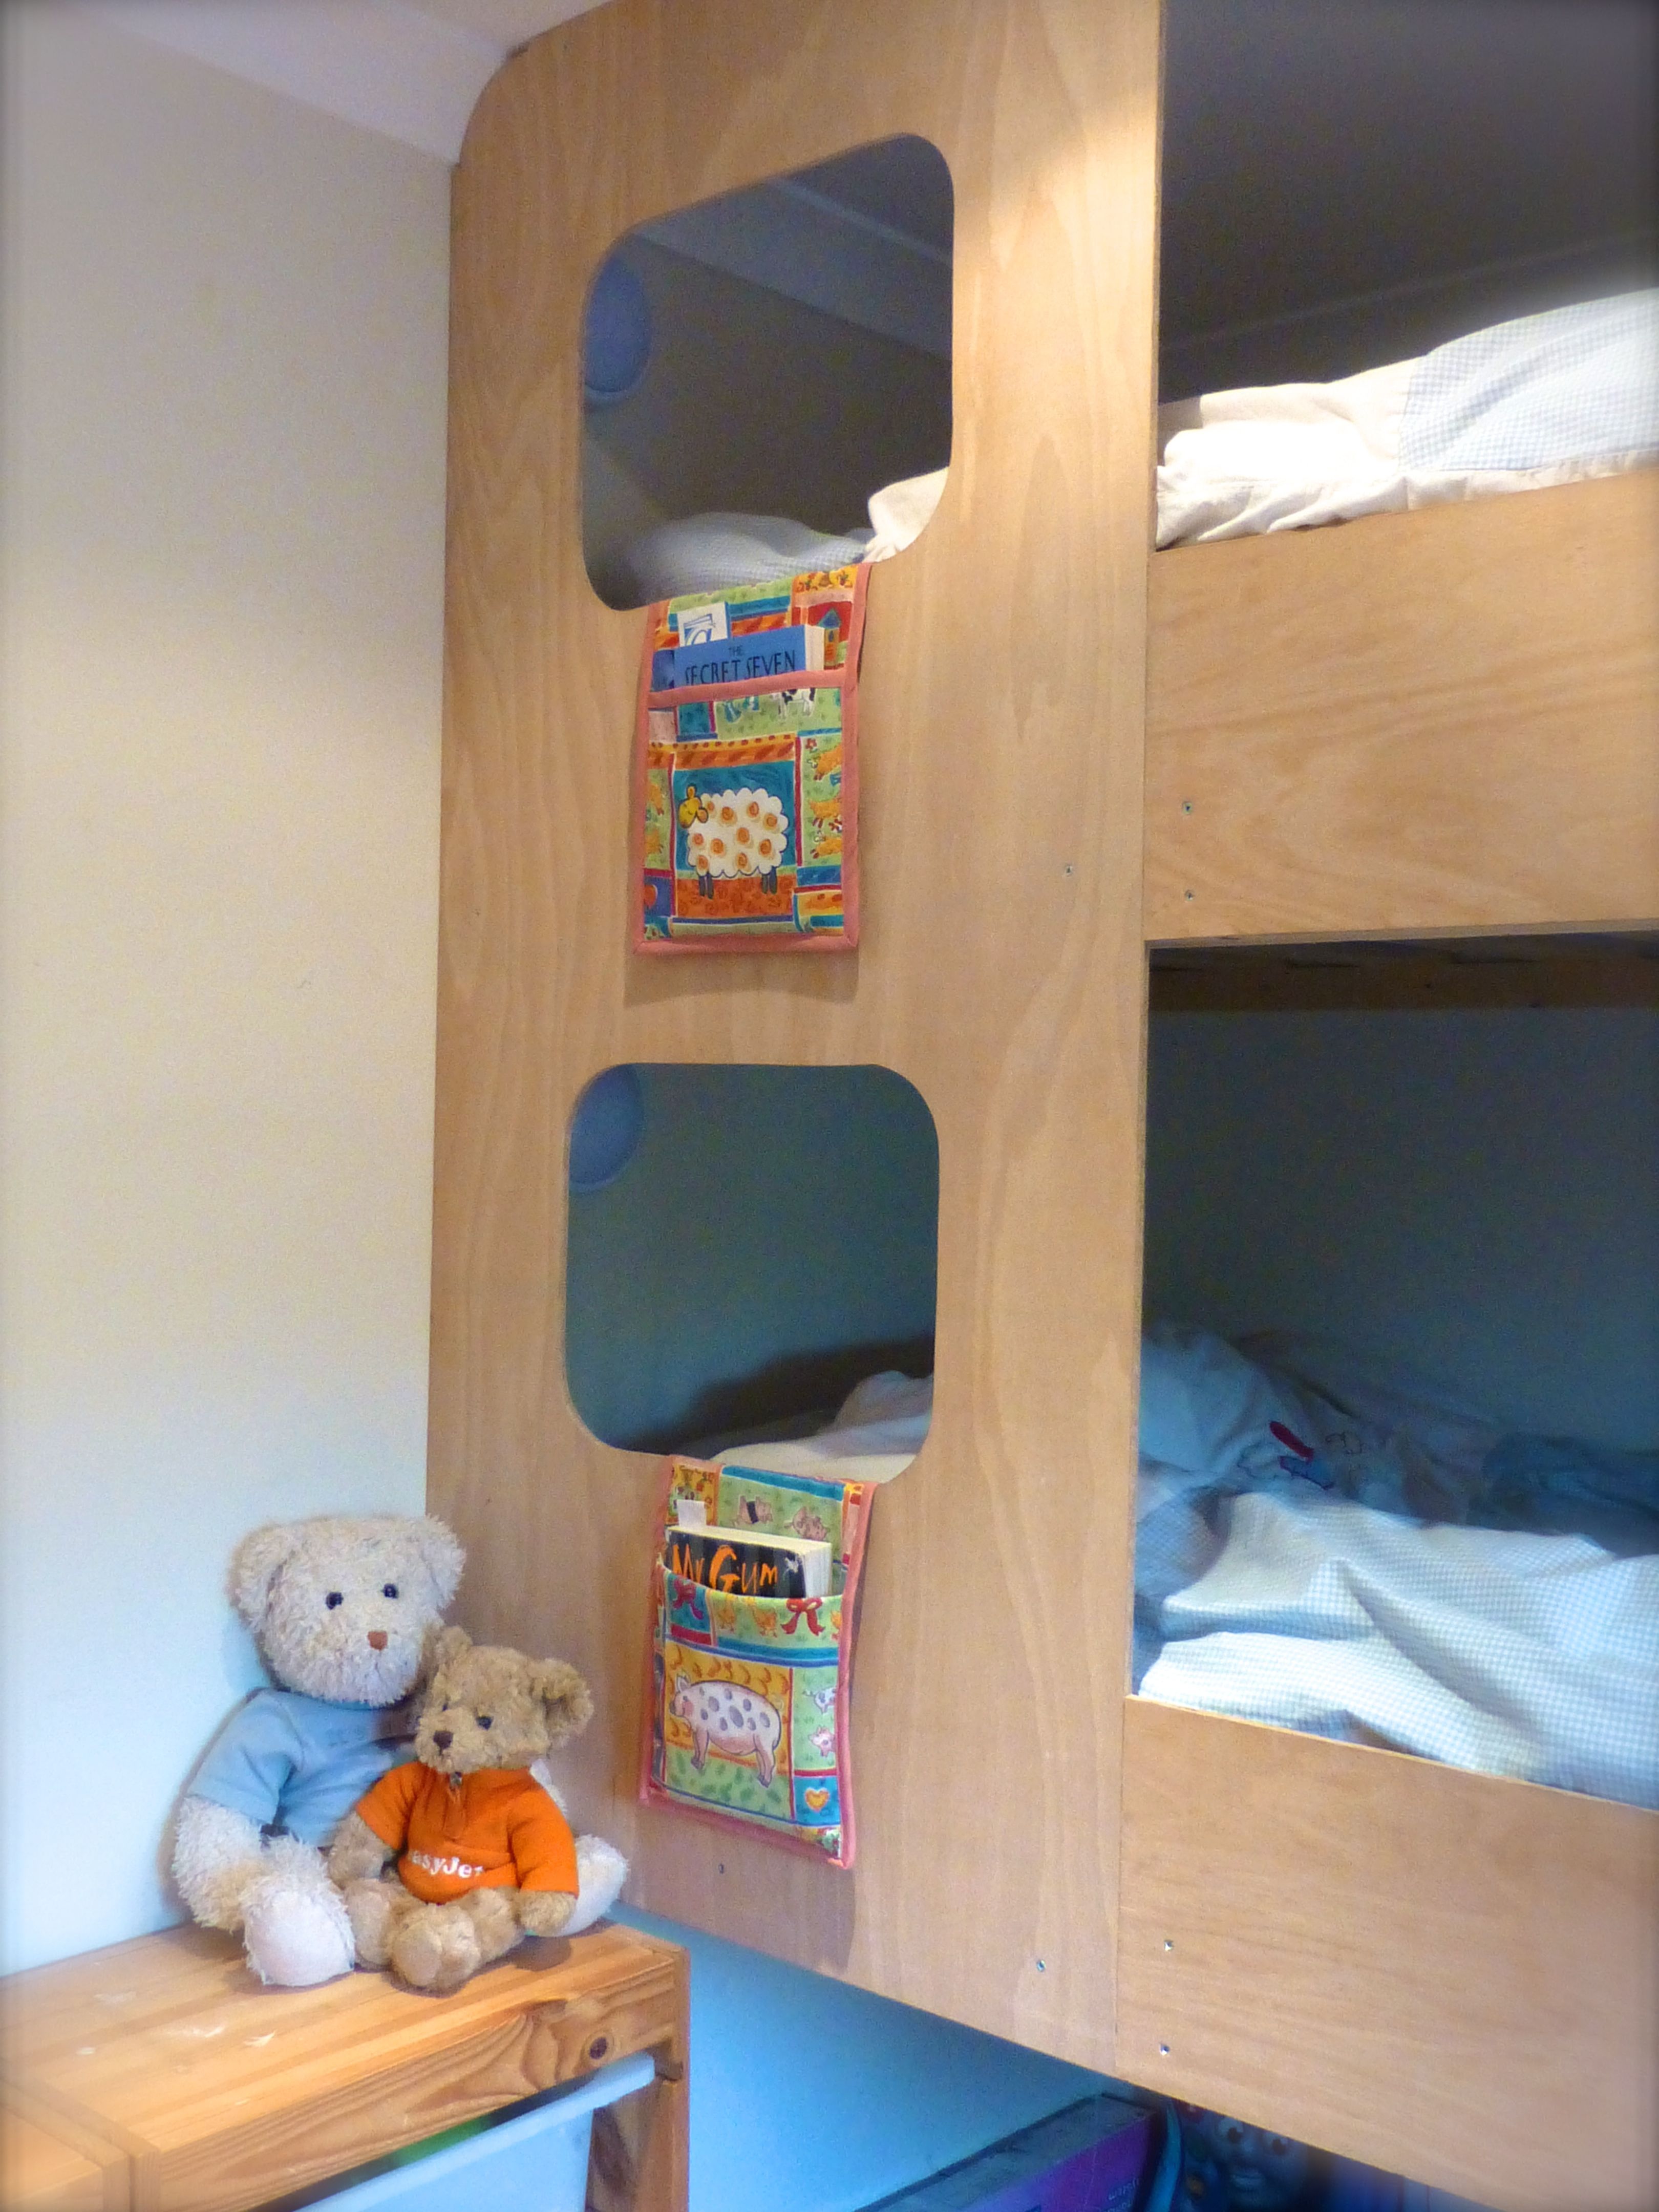
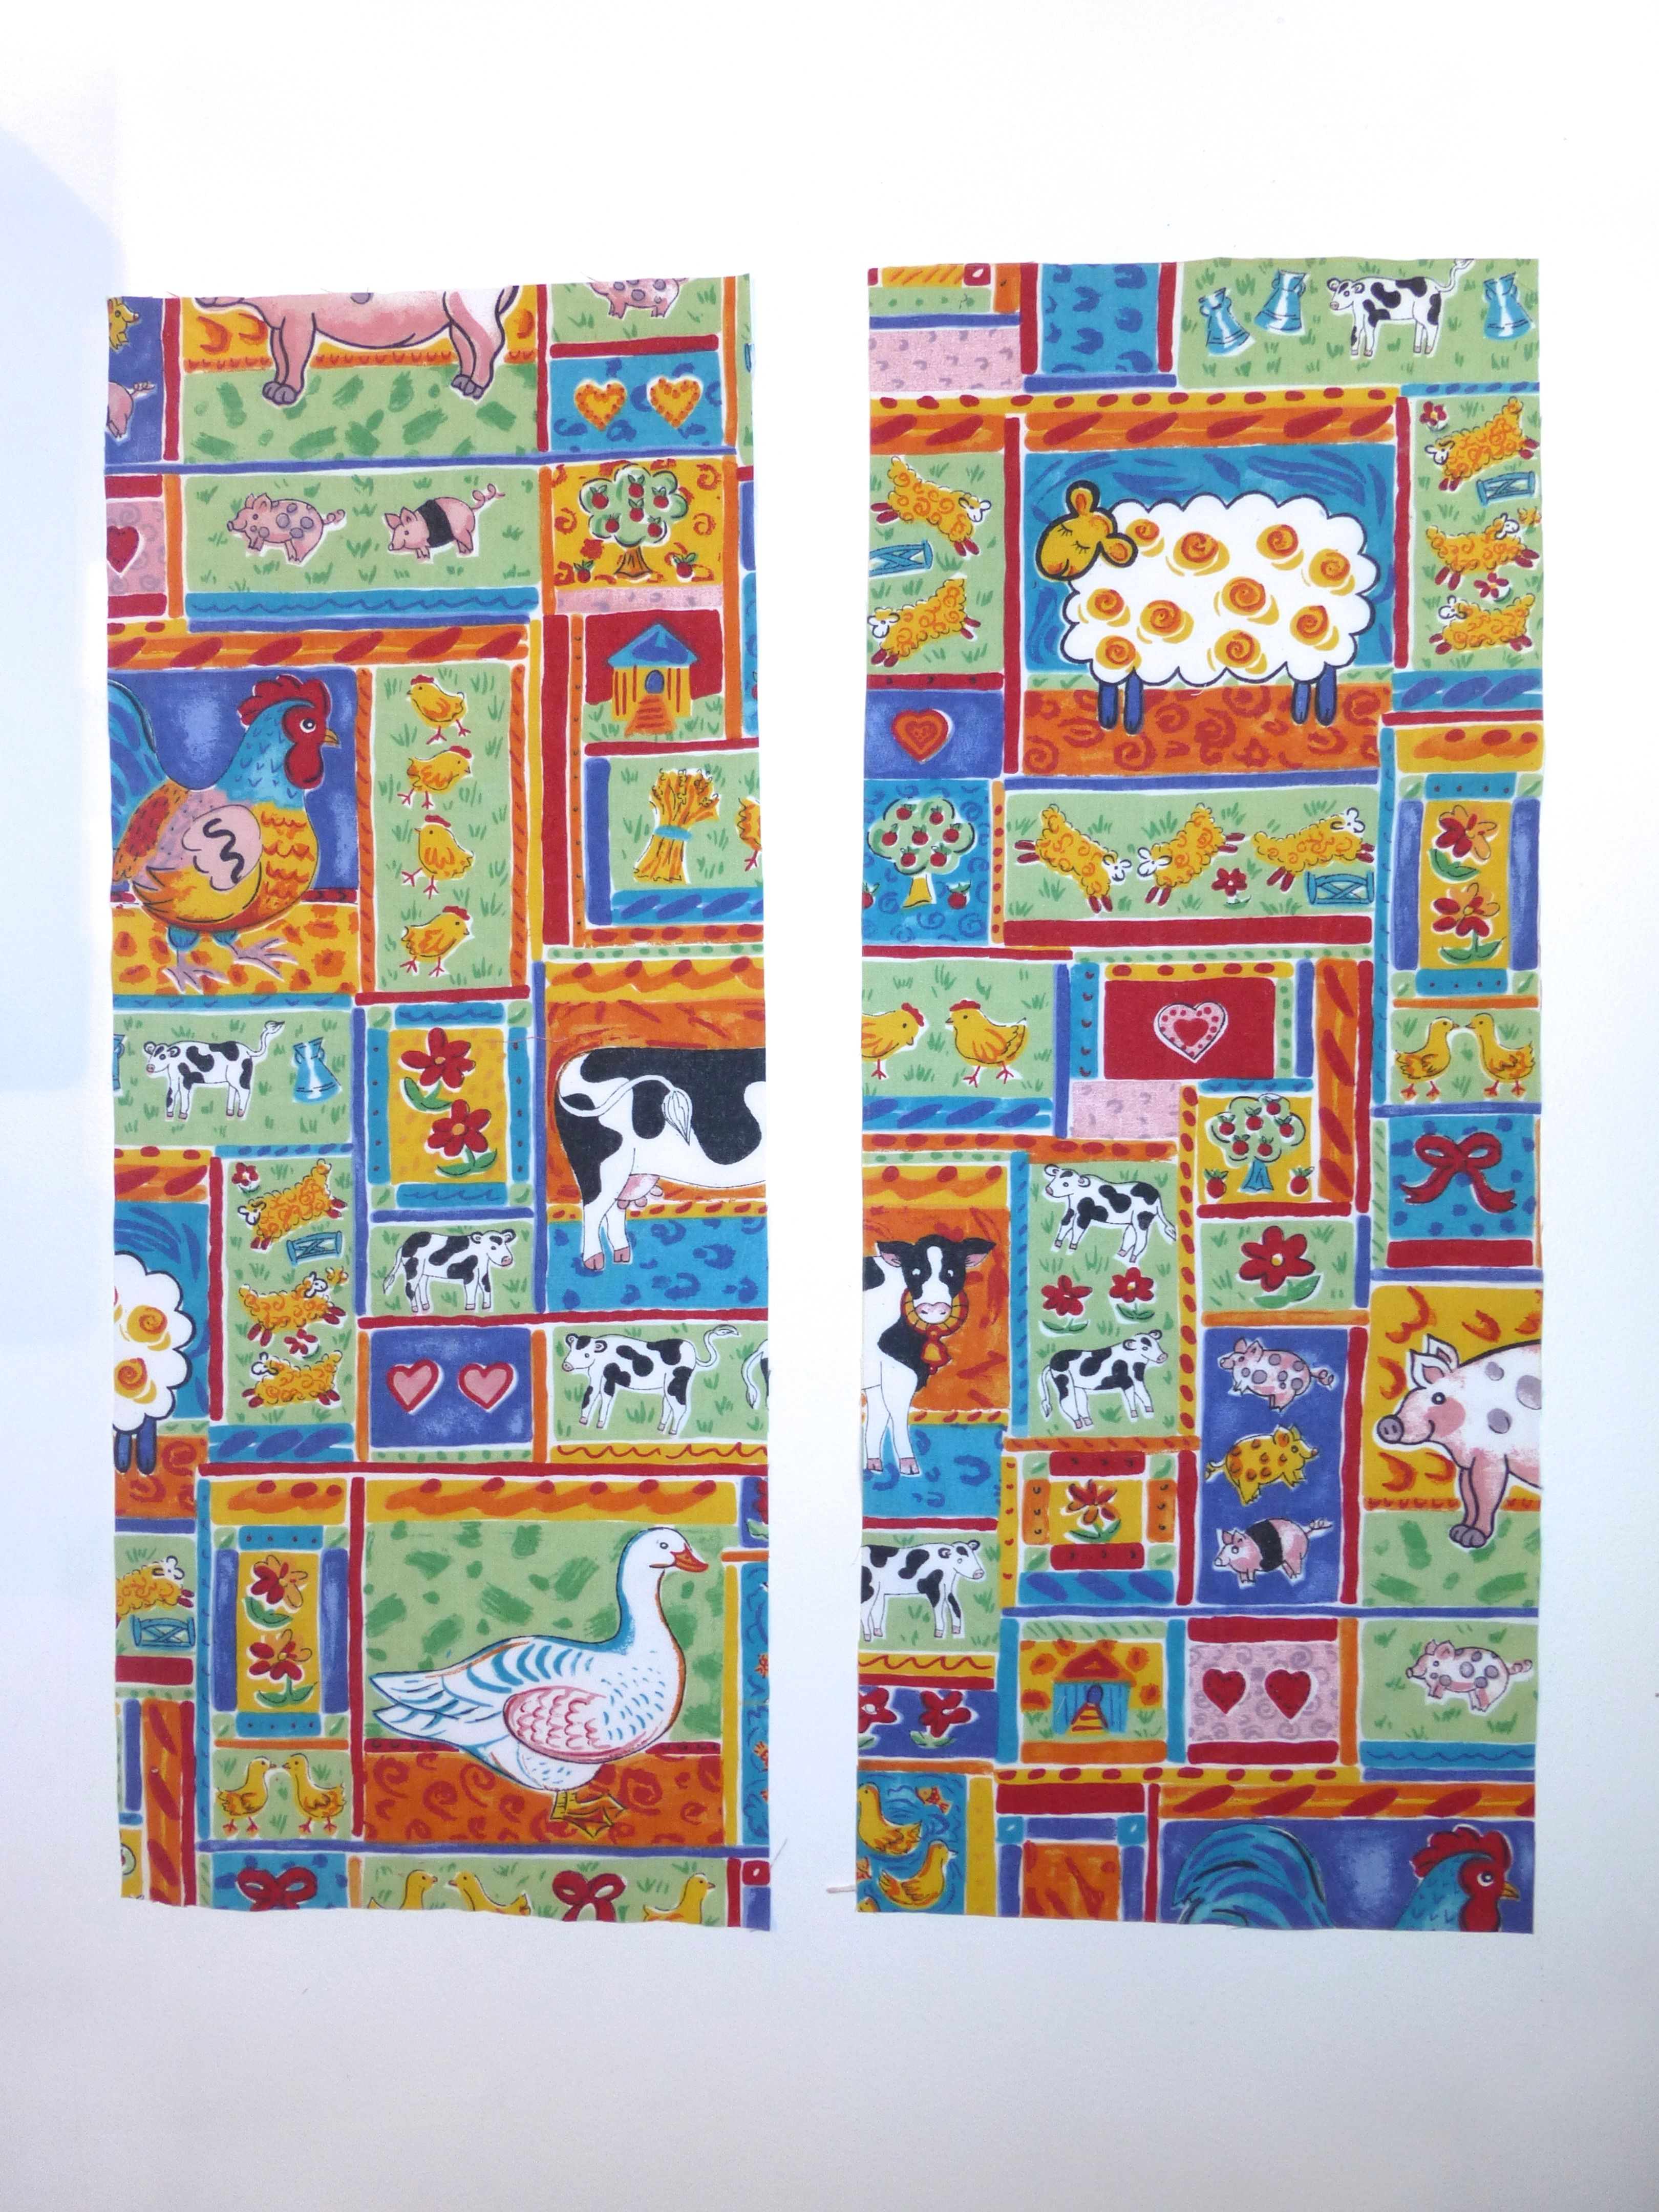
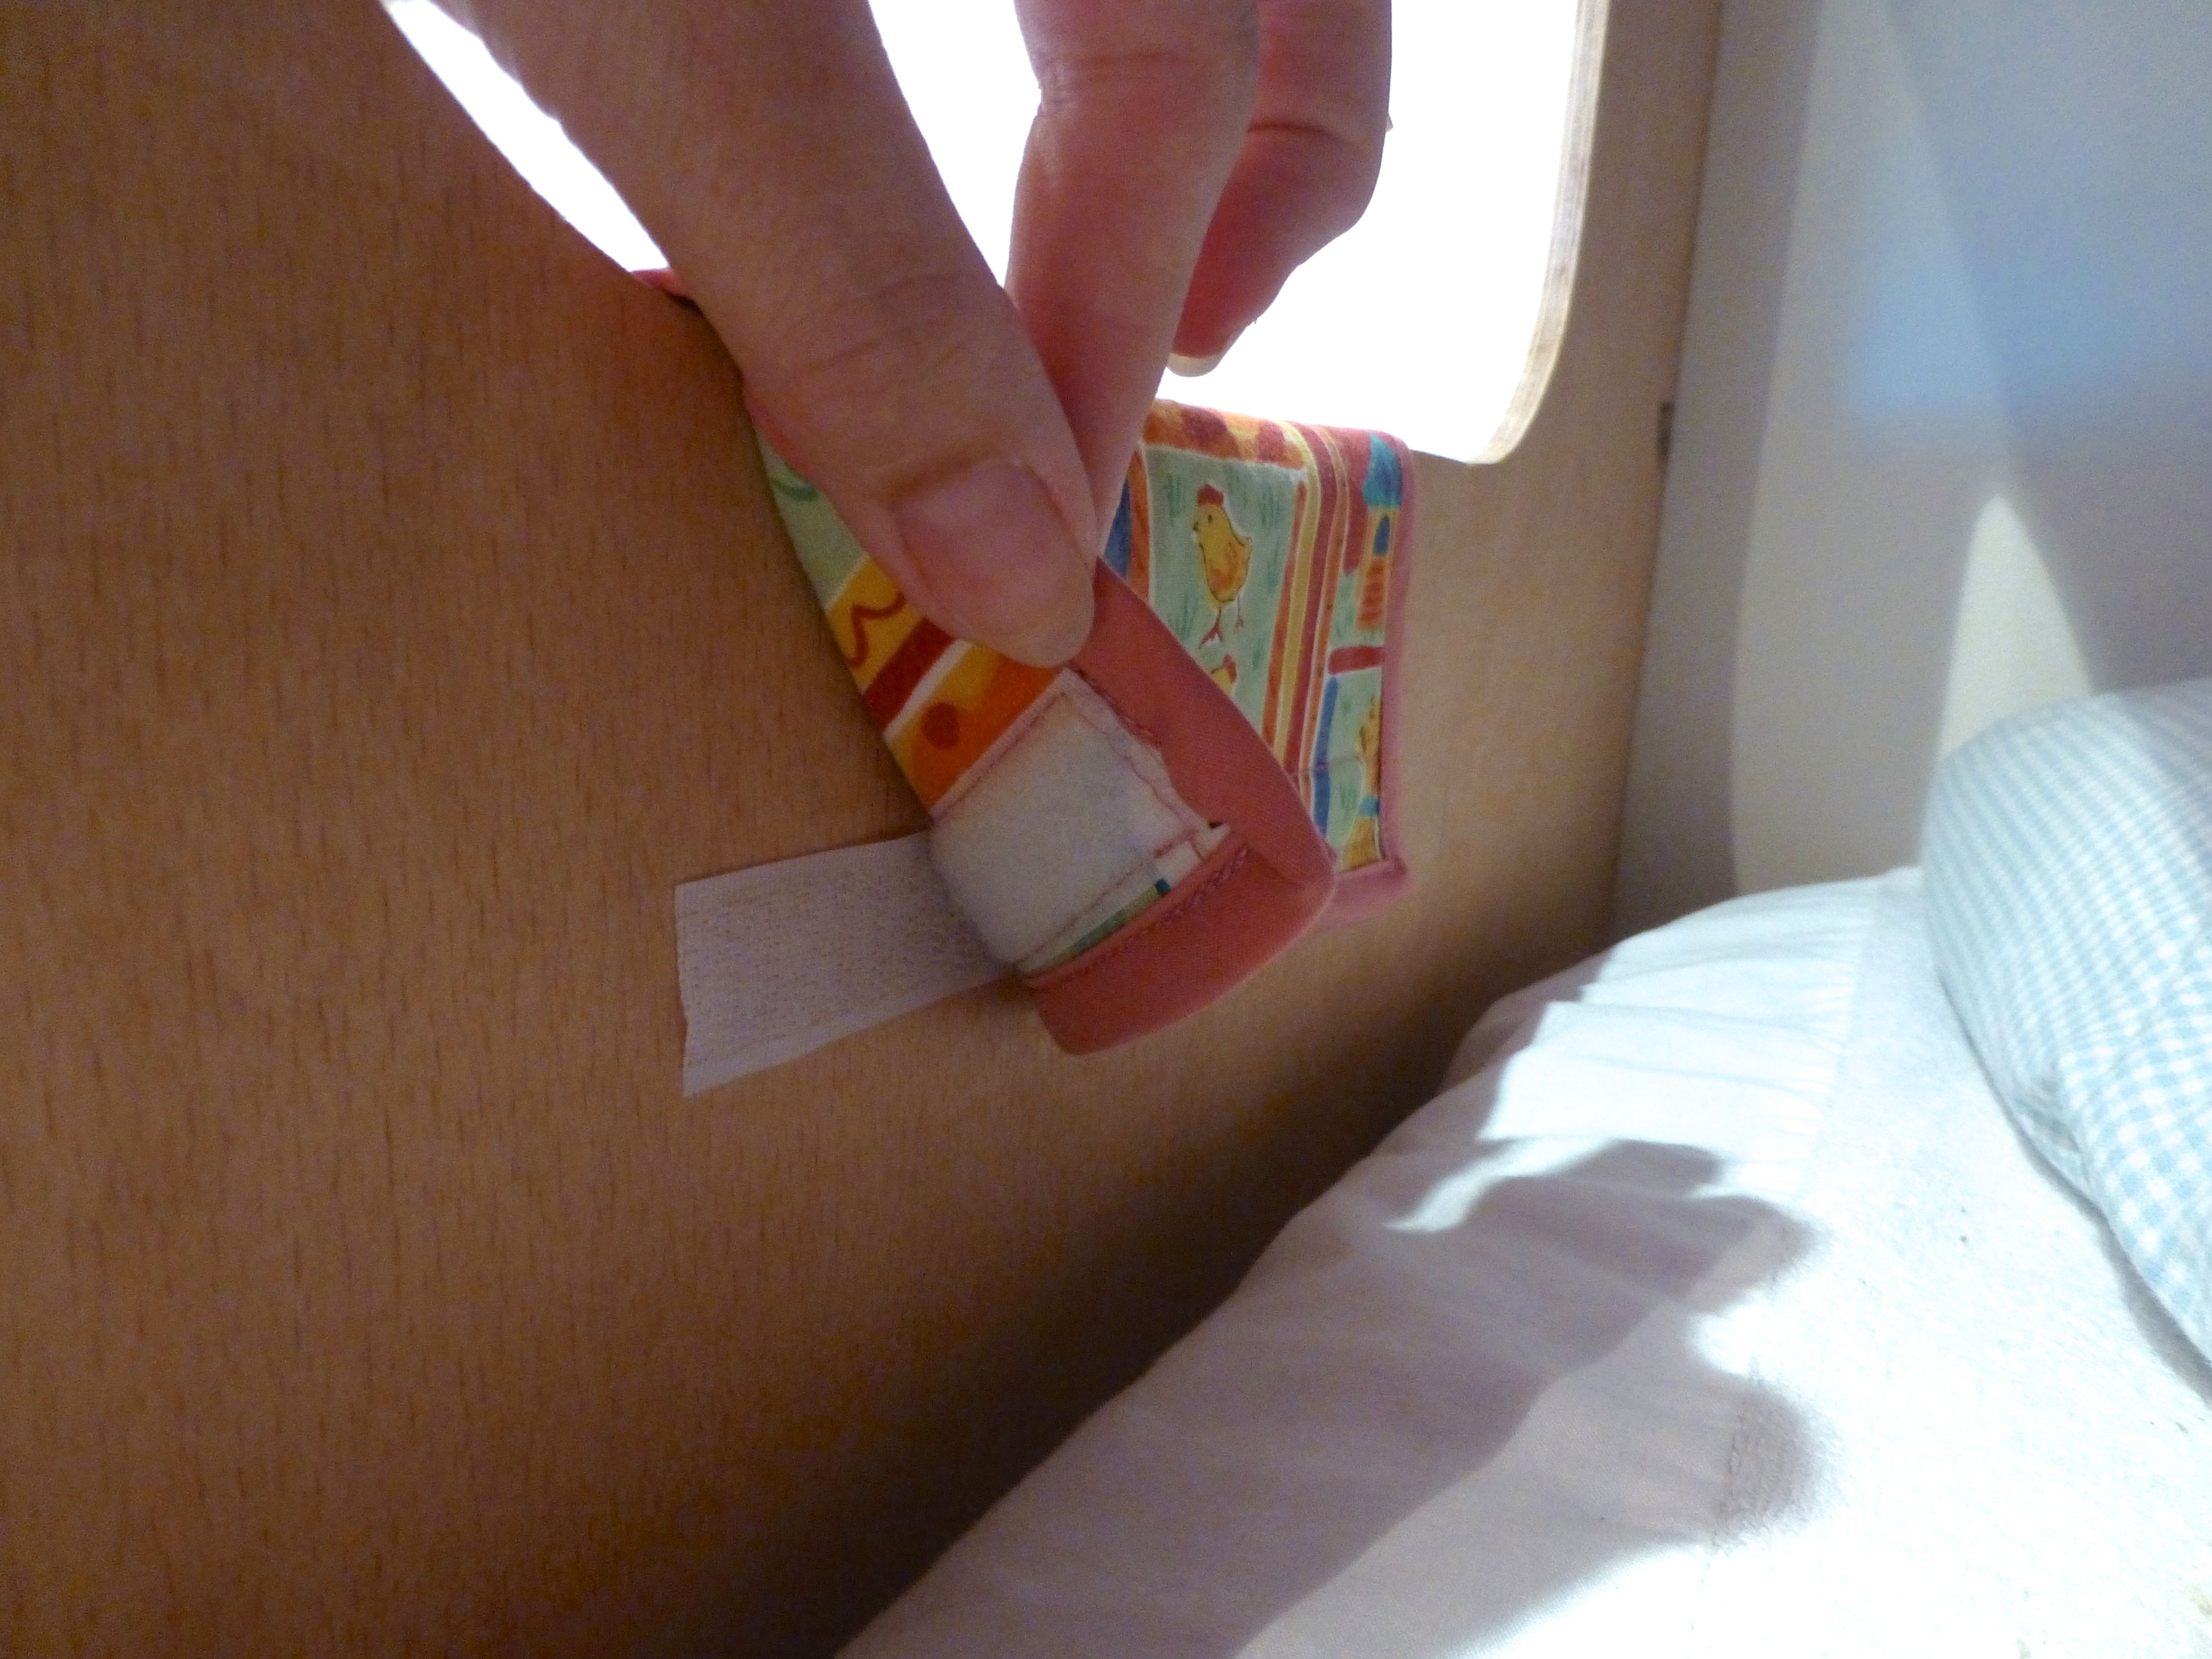
Remember the bedside book pockets I made last year? They’ve been a huge success so they went straight back onto the newly painted bed panels.
The battery operated lights were a fiver each from Homebase, I think, and are ideal for The Boys to enable one to carry on reading without keeping the other awake.


All in all we’re thrilled with the makeover and The Boys absolutely LOVE their new room – they even keep it tidy because it’s so easy now everything has its own place!
Have you come down with Spring Fever and feel the need to spruce up your home too? Come on, show us your decorating projects – everyone loves a “before” and “after”:)