Sewchet

Sewing, crochet, crafts, accessories, baking, tutorials,


34 Comments

Upcycled Needlepoint

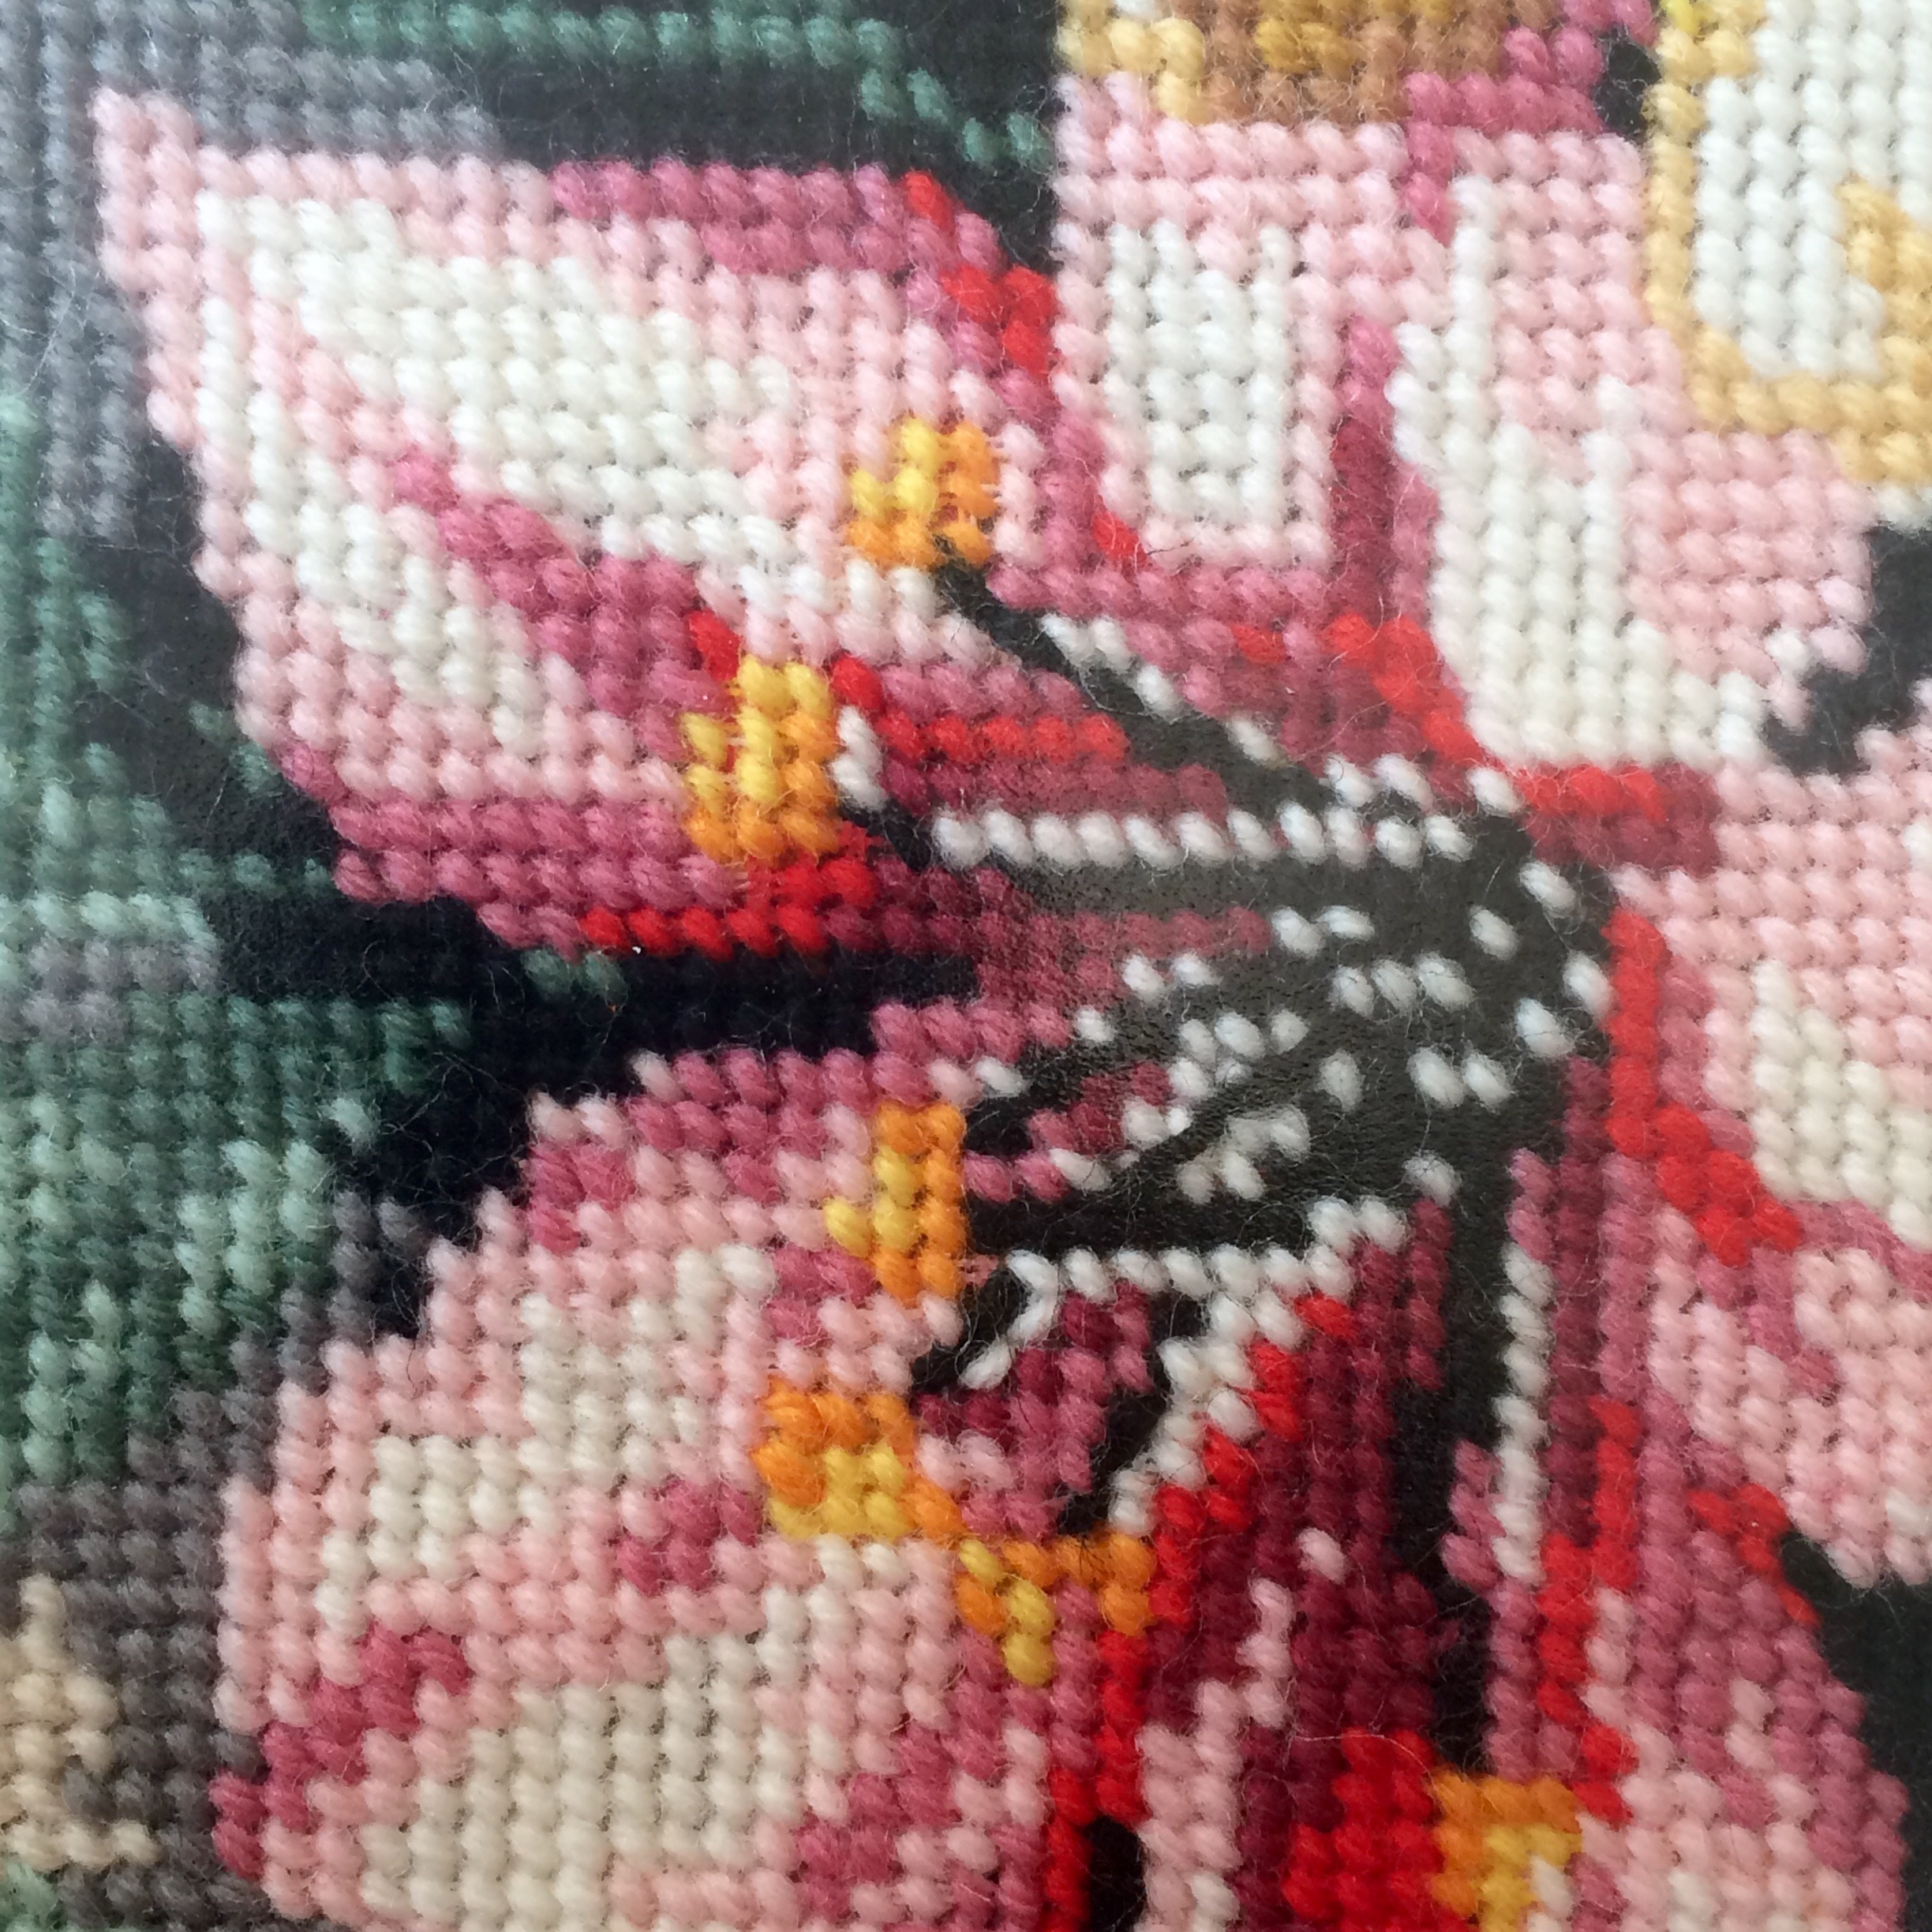
On one of our regular visits to our local charity shop, I spotted this framed needlepoint. It was wedged in a basket at the back of a stack of picture frames and would probably have been consigned to the bin had I not rescued it.


I was struck by the hours of work that had obviously gone into it and was disappointed, if not surprised, that the value that had been attributed to it was just ONE pound.


Unfortunately, as a picture, it just does not work.

It’s old-fashioned and the cheap gilded frame couldn’t be further removed from current interior trends, yet it totally misses the ‘vintage’ vibe, too.

Without really thinking it through, I knew I had to buy it and try to reinvent it as something I would be proud to have in my home – no small task!

A number of Instagrammars had the great suggestion to turn the needlepoint into a tray by adding handles to the frame, or a suitable alternative frame.


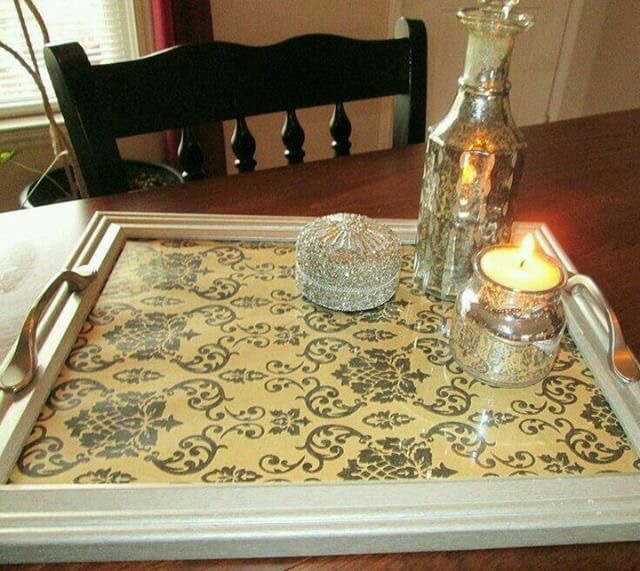
I love this idea and very nearly went for it until I was honest with myself and admitted that I have lots of trays and this one simply wouldn’t get used, which seemed such a shame.

Going with my initial idea, I decided to turn it into a cushion cover, after all, the colours would tie in seamlessly with the ones currently in our lounge.

I started by running a blade around the edge of the backing to remove the needlepoint from the frame.


The canvas had been criss crossed with thread to hold it in place, so I was careful not to cut through the canvas when removing the thread.


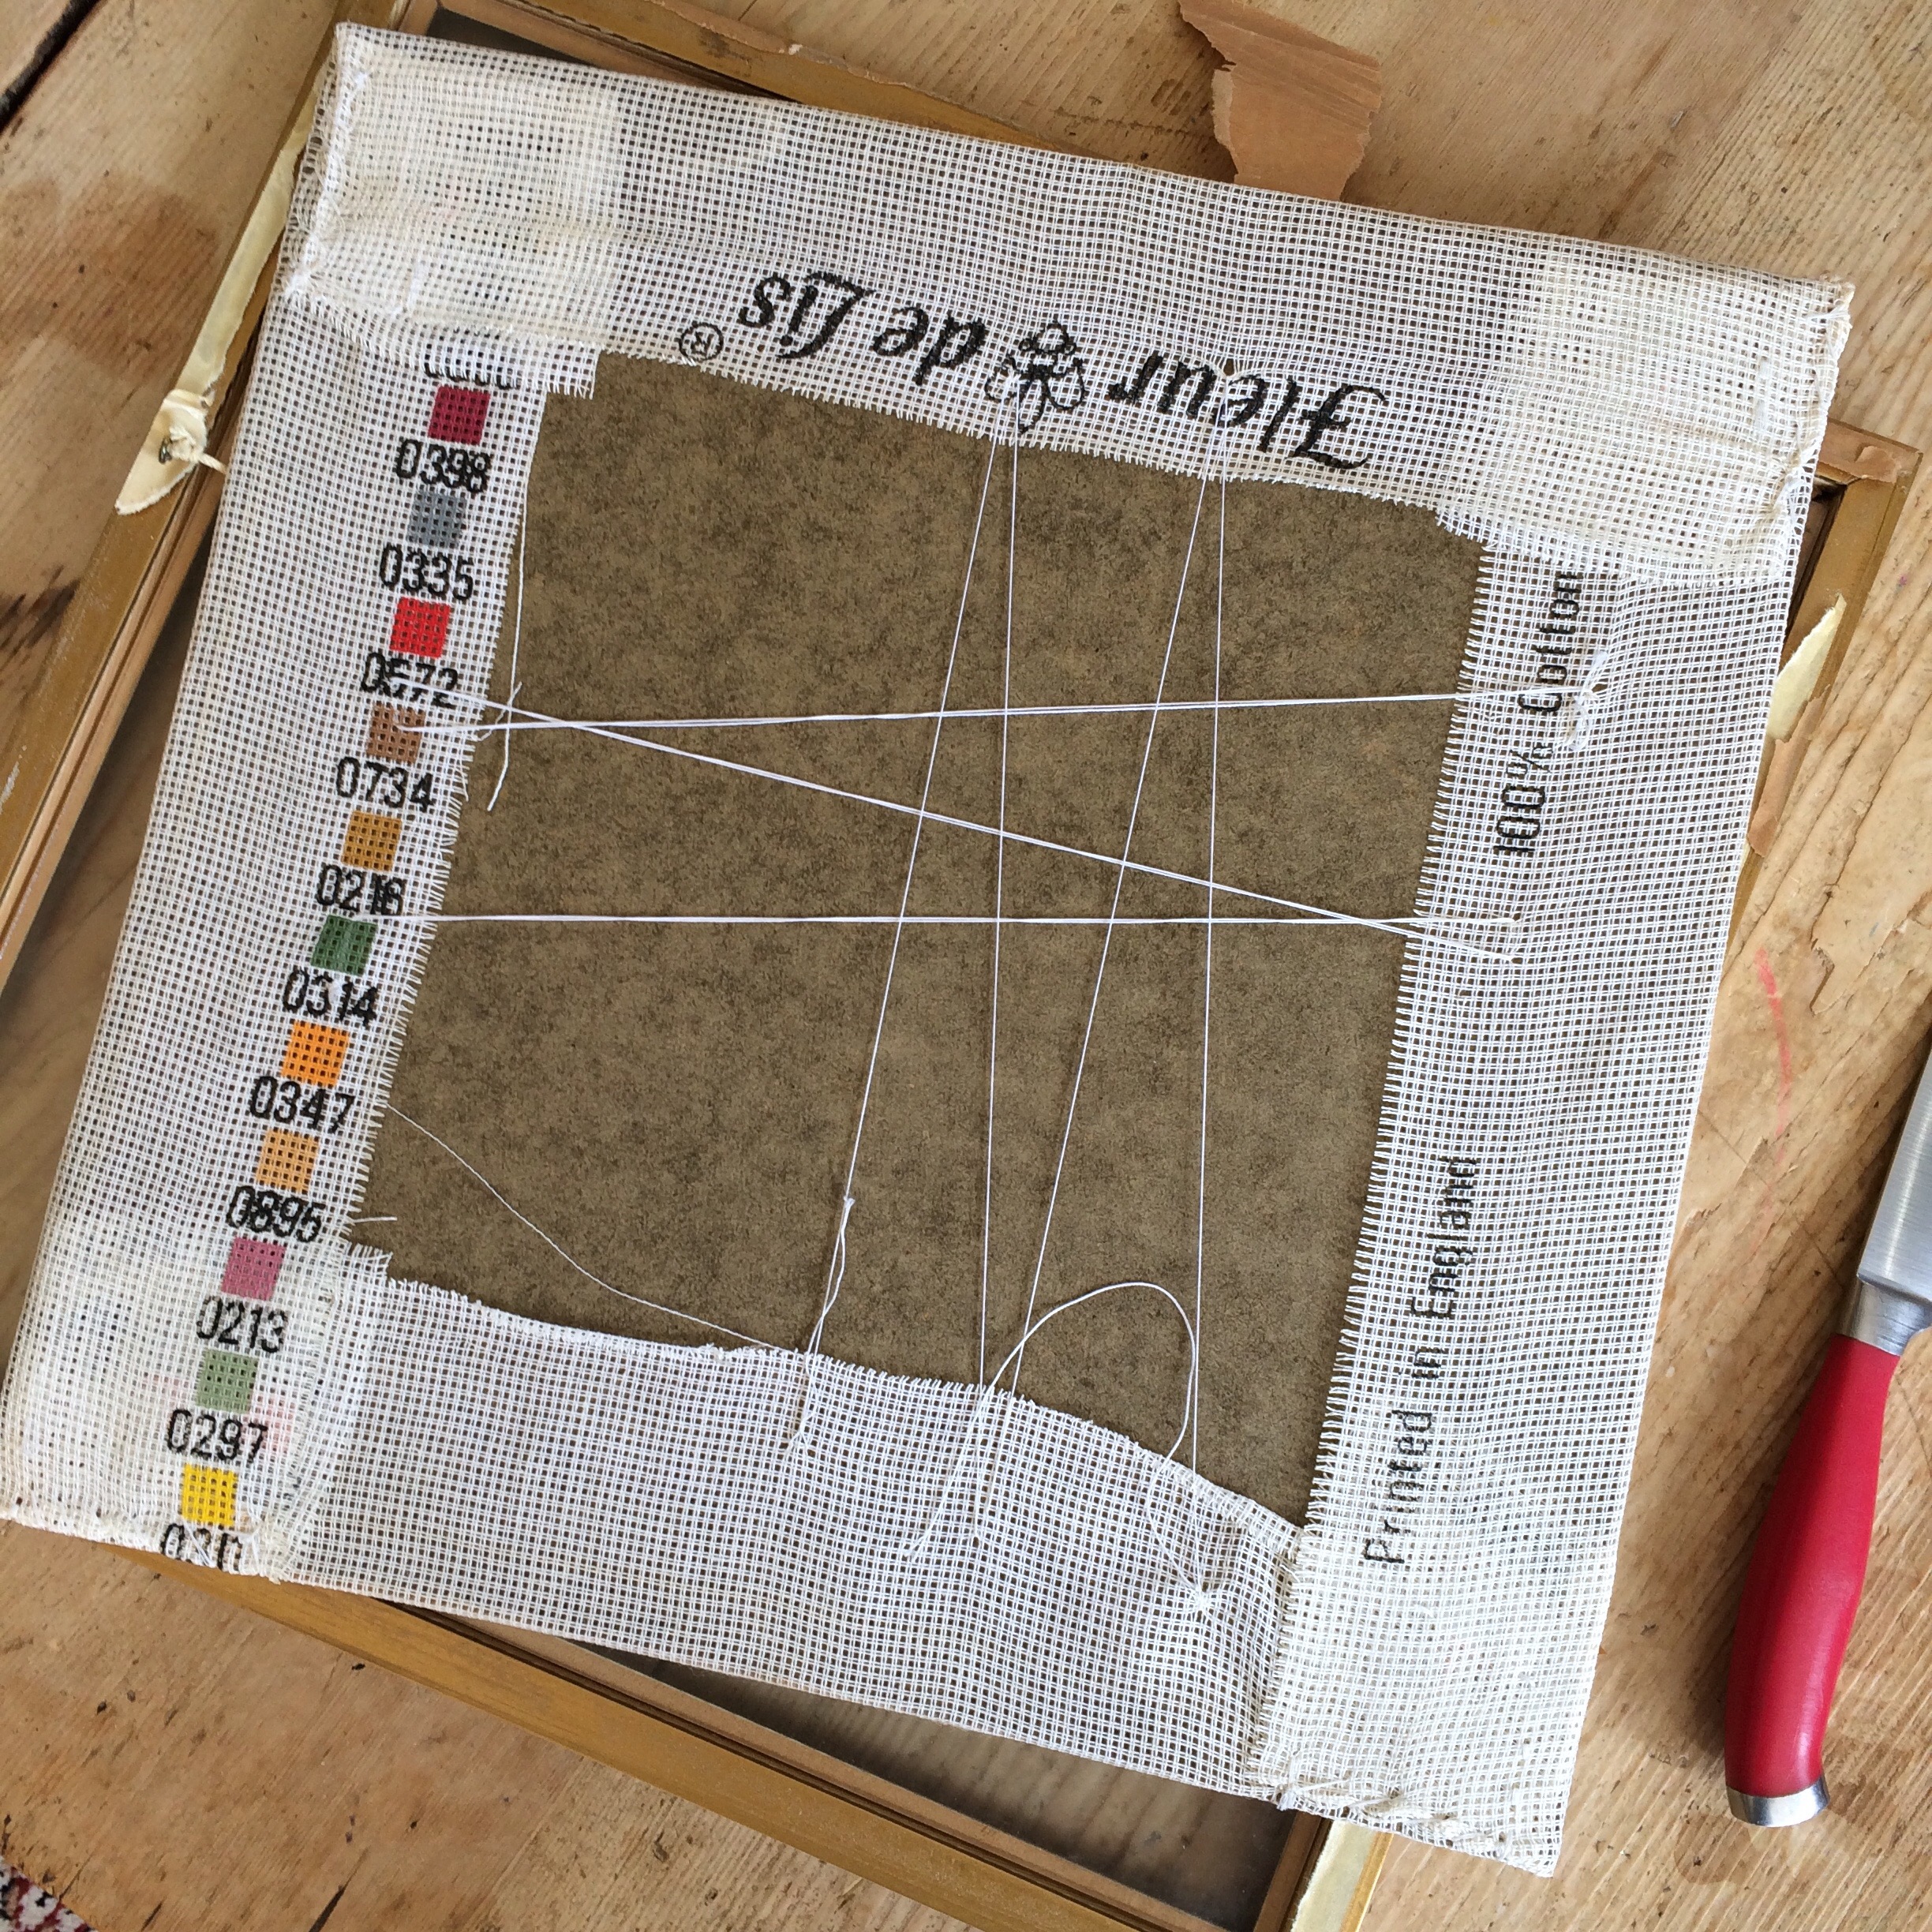
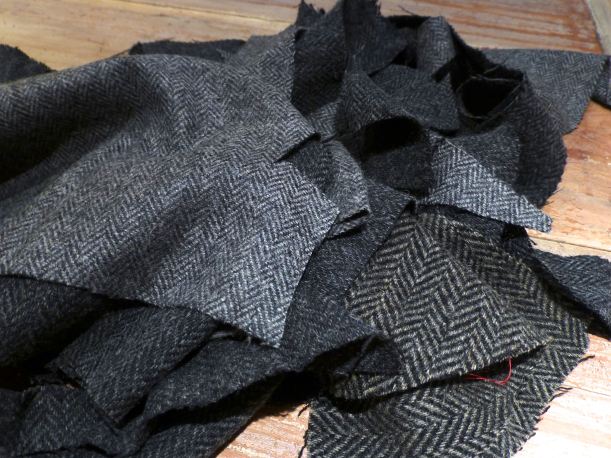
Having liberated the needlepoint from its frame, it was obvious that it had been a kit originally. I used the colour guides on the side of the panel to choose a fabric from my stash that would serve as the cushion back. 

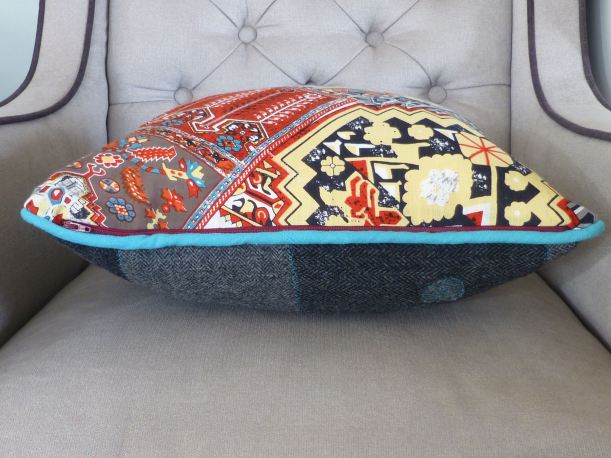
Luckily, this herringbone tweed matched the colours in the needlepoint exactly. There was just enough cord left on a roll to make some piping, too.

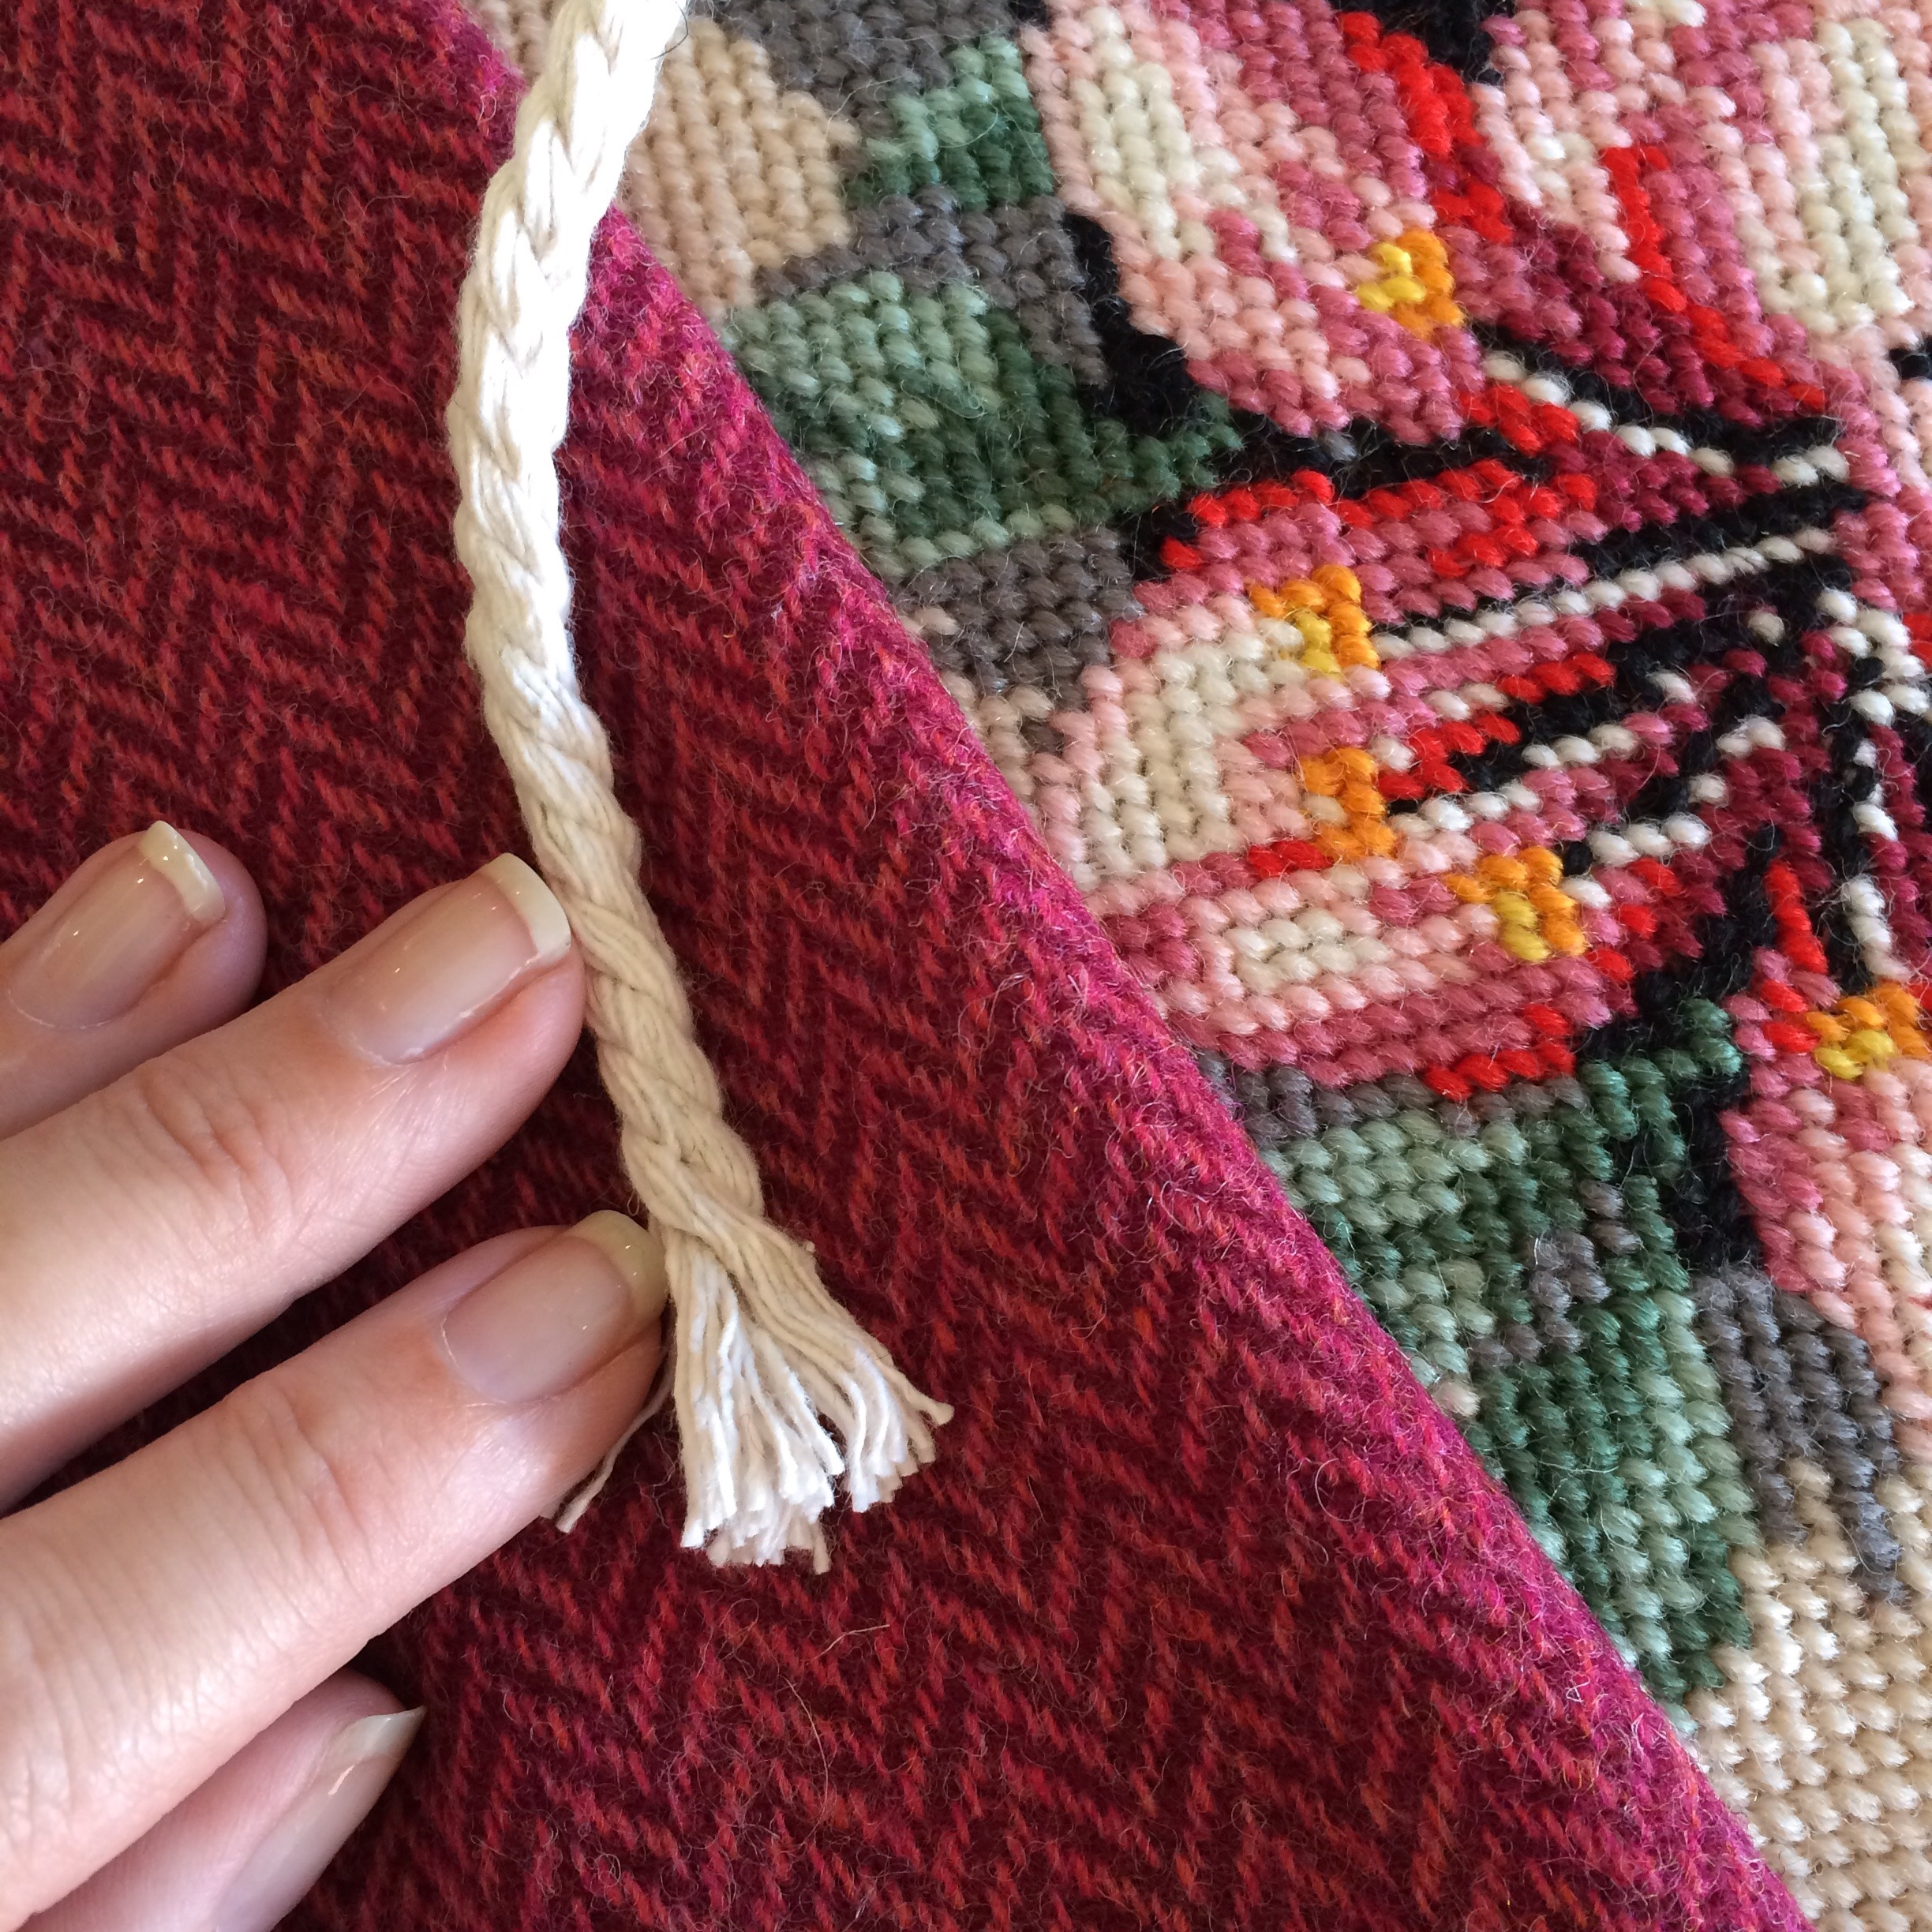
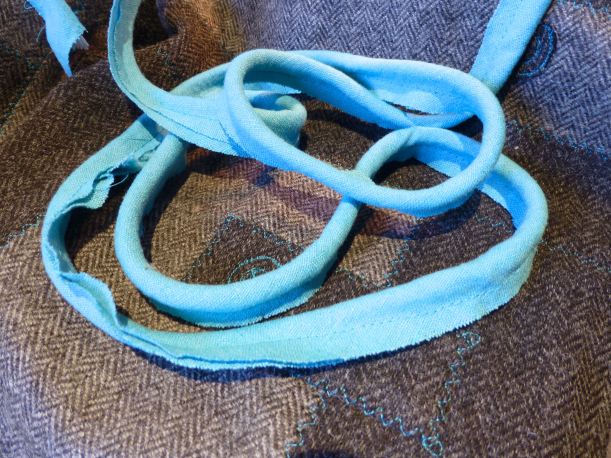
The piping cord was made first, by cutting strips of fabric on the bias and basting it around some cord.


I basted the piping as close as possible to the edge of the needlepoint, clipping up to the stitching to turn the corners.

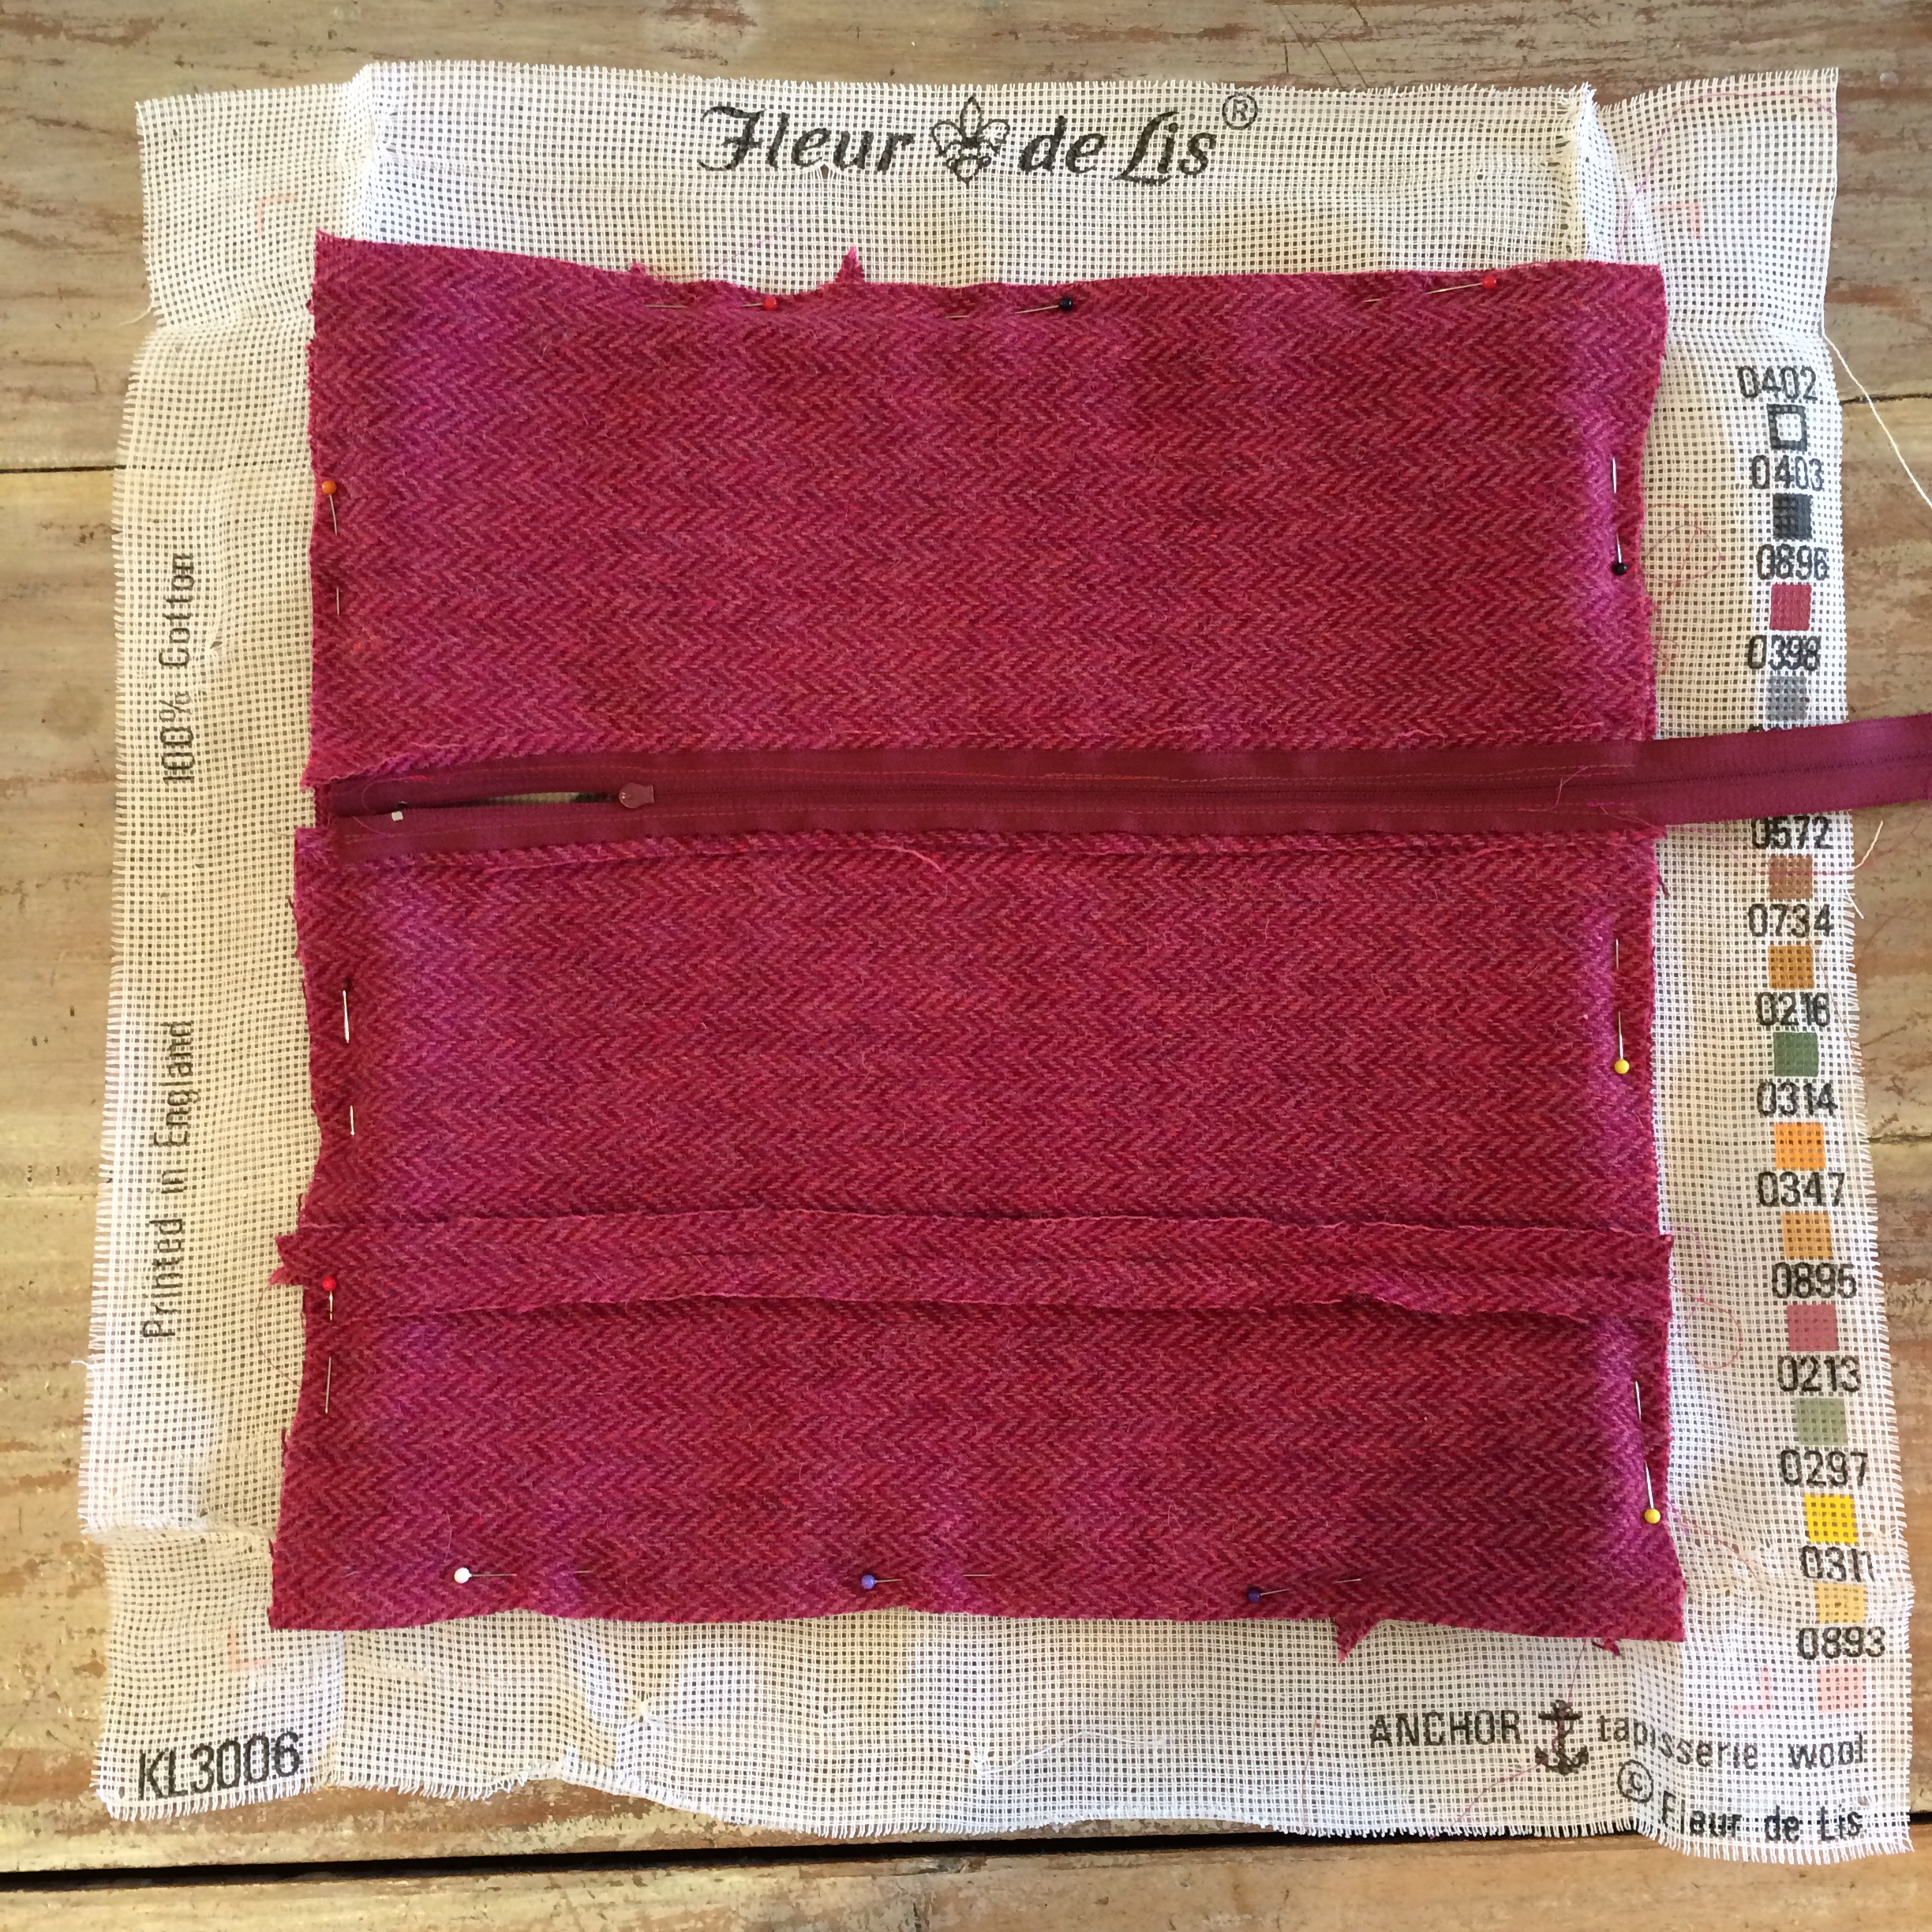
I had to piece the remnants together to make a 15″ square backing to match the size of the needlepoint front. 

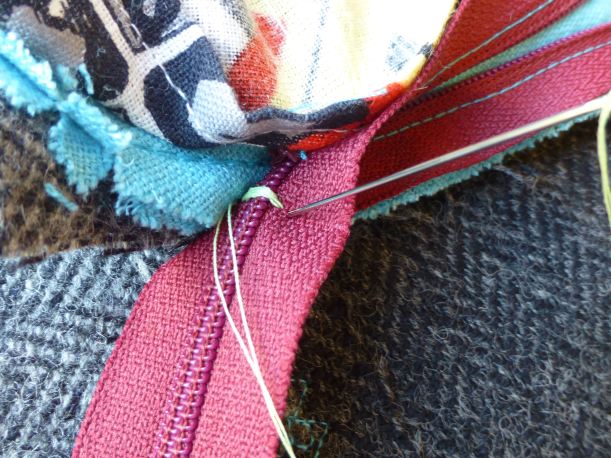
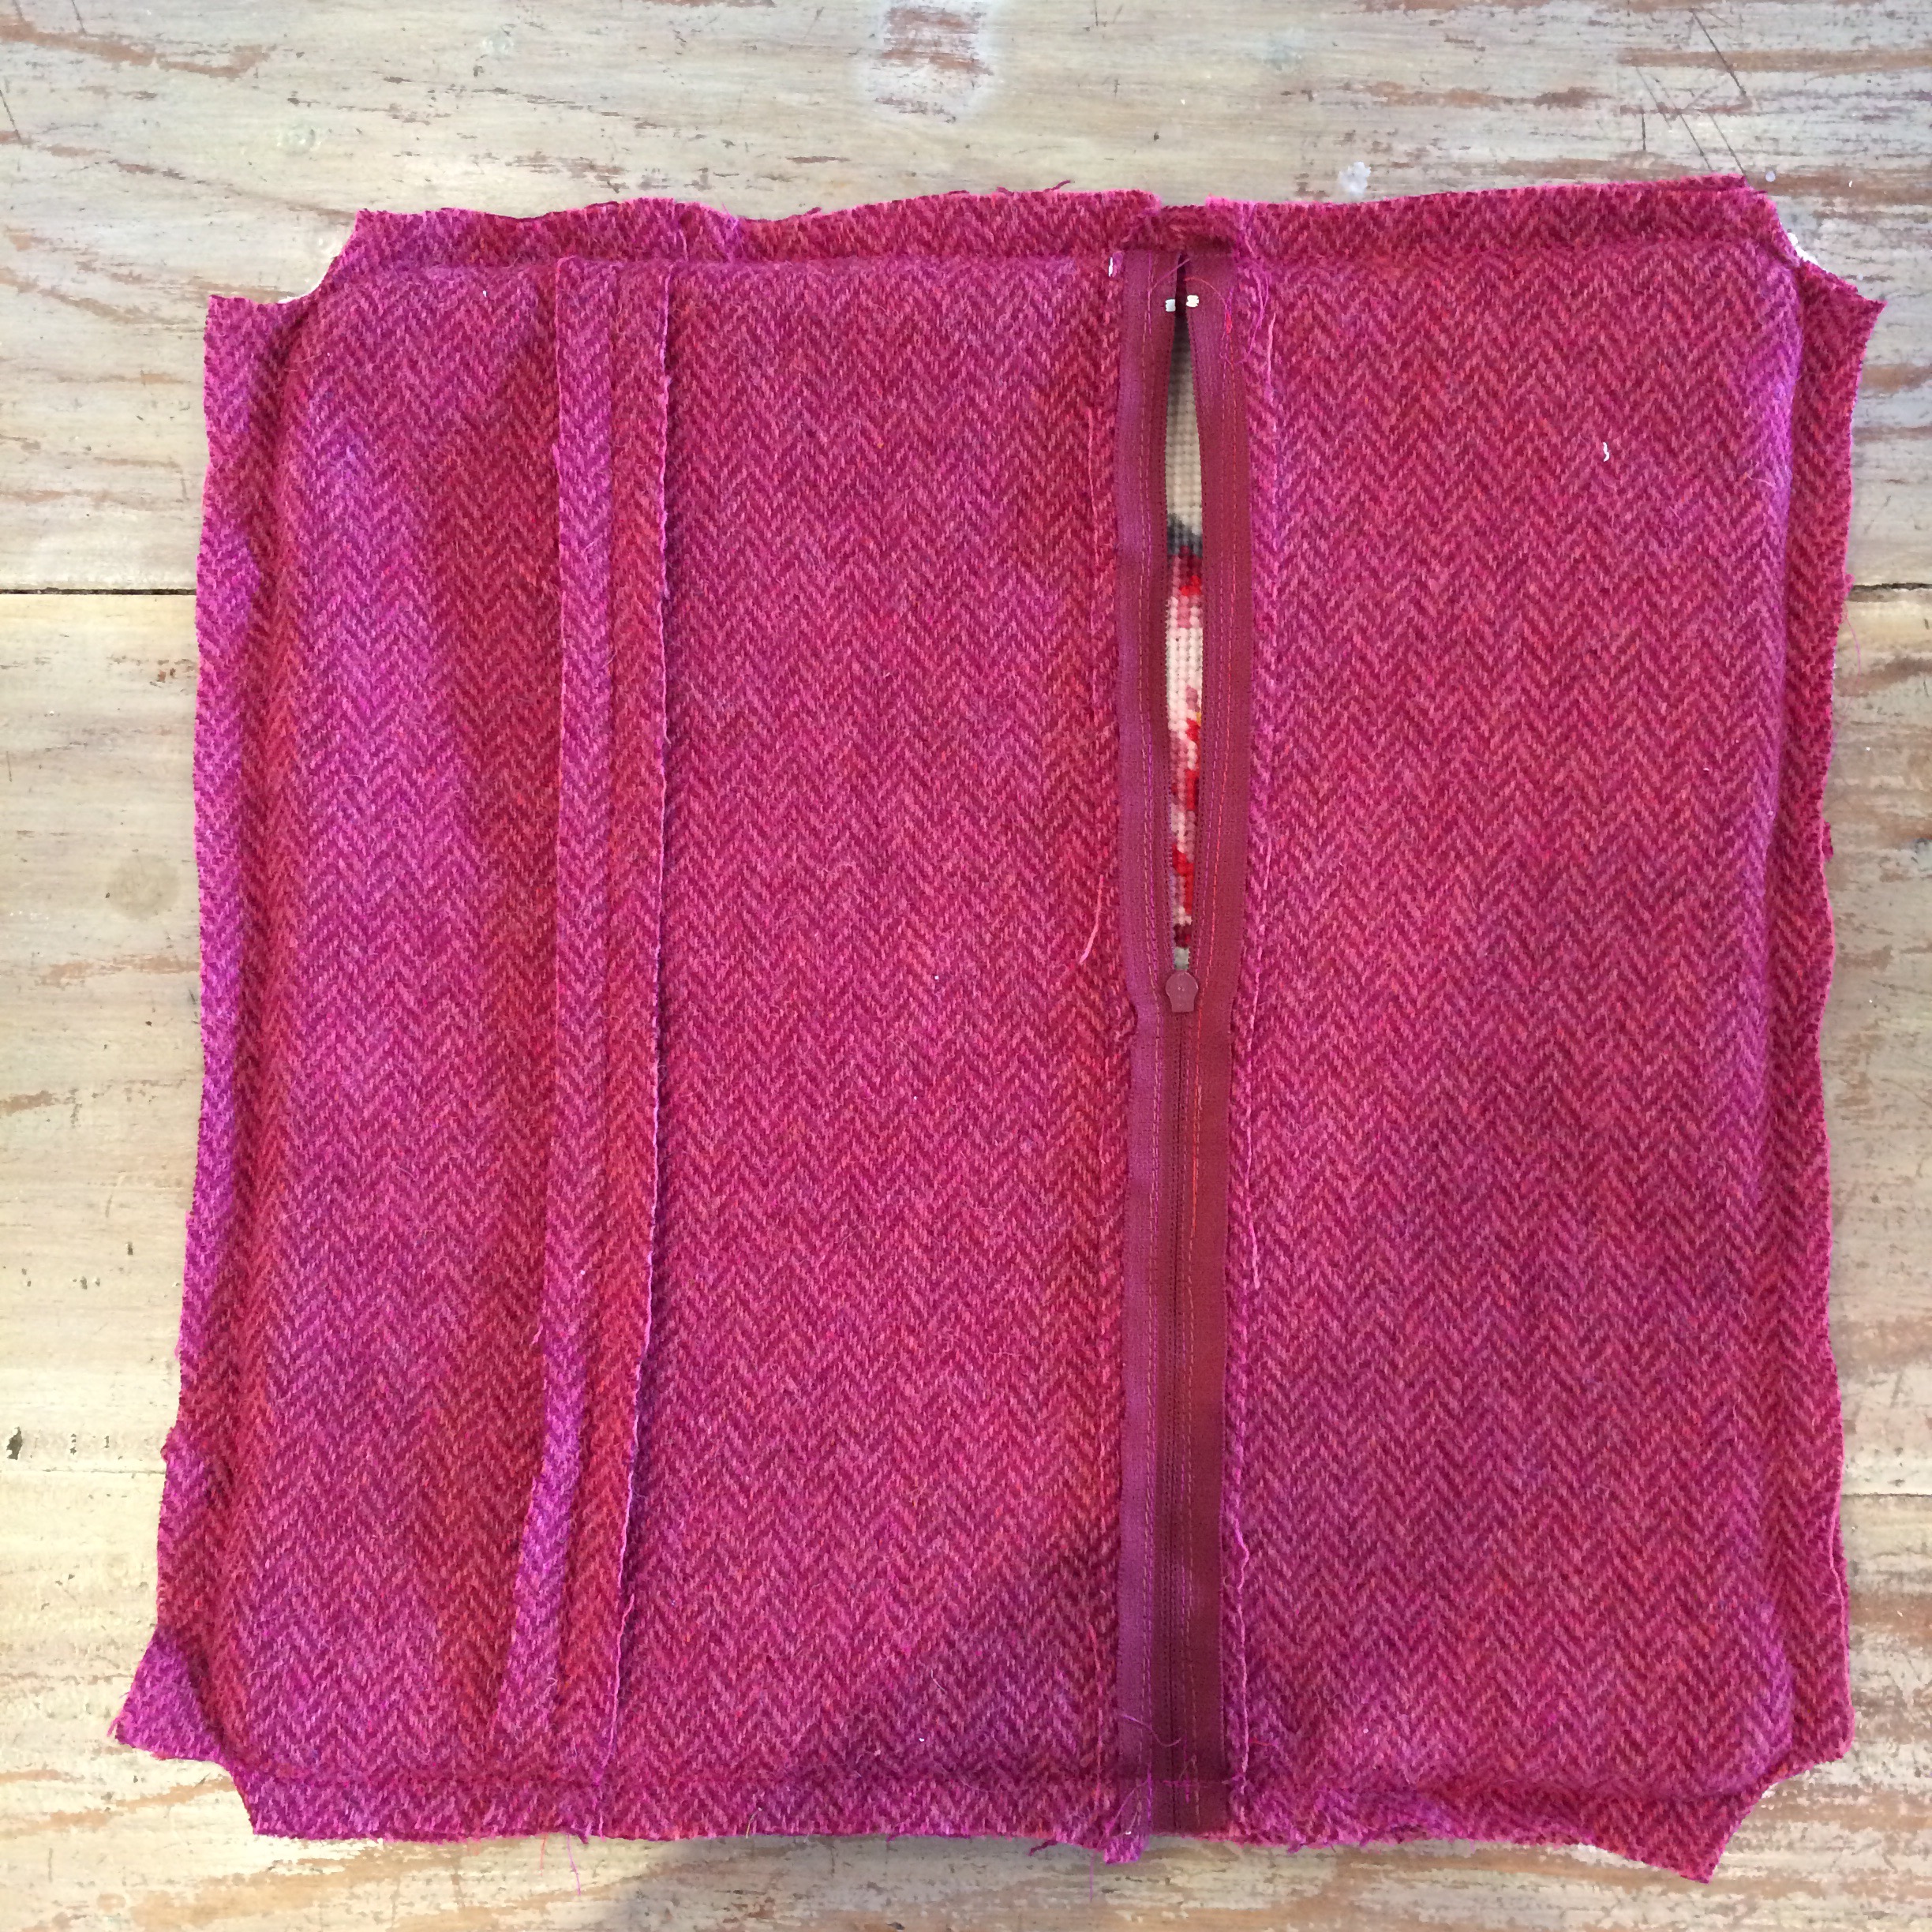
The zip was inserted into the back section rather than any one of the side seams to minimise bulk at the seams. I top stitched it down close to the zip to stop the fabric getting caught in the zip when removing the cover for cleaning.


With right sides facing, I pinned the backing to the front, remembering to open the zip for turning through later. 

As the zip was too long, I would just sew all the way around, in effect creating a new zip stop in the seam, so I didn’t cut it to length at this stage.


The excess canvas was trimmed and the corners were cut across.

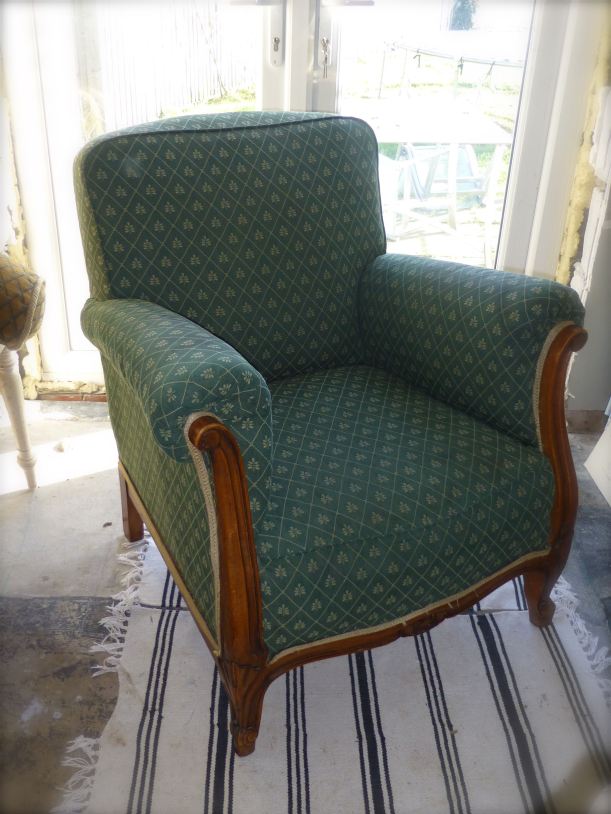
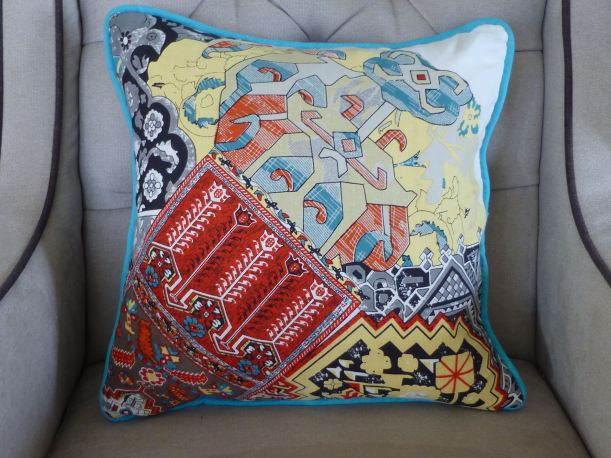
Turned through to the right side, this is the finished cushion, shown on a grey chair for contrast: –


I think it will actually live on this sofa.


When I said it coordinates with our existing colour scheme, here’s what I meant – it sits perfectly with the other cushions. I don’t know about you, but I don’t think it looks at all dated now, quite the reverse, in fact and I love it!


The total cost of the cushion was…….£1.00

Not bad when you consider that this kit is currently available for around £40.00, not including the backing fabric or insert!


Not so old fashioned now, is it?!


54 Comments

What to do with a bag of scraps?

We live in a lovely little village, not quite a hamlet because, by definition, a hamlet doesn’t have a church.

We have a church. And a village hall. Nothing else.

The pub is a twenty minute walk away in the next village which is great in the Summer. Not so on a cold, wet Winter’s evening when you fancy a pint.

I digress. The point is, being a small community of just 91 dwellings, people are friendly and generous and generally get on rather well. (Remember those flowers?)

A few weeks back, I had an email from an artist living in The Old Stables asking me if I would like first dibs on some textile-y things as she was having a clear out of her studio. Of course, I jumped at the chance and popped round that afternoon to have a look. I ended up coming home with a car load of stuff from fabric remnants a few yards long to tiny 4″ squares of silk oddments.

After being quite strict with myself, I kept only what I knew I would definitely use and, with her permission, bagged up the remainder for the charity shop.

There was also a bin liner stuffed to the brim with feather cushion pads which is where I made a start.

P1070143

No.1 Son is now twenty-three, has his first post-graduate job and is saving hard for a deposit for his own house. He is also amassing quite a ‘bottom drawer’ in readiness for his new home, the most recent being this cute little Edwardian armchair from eBay.

Chair

Anyway, amongst the things I found when rooting through the stash of goodies I had been given, was a square of fabric from Anthropologie. Possibly a (very large) napkin in its original incarnation, it was unused with the store tag still attached.

P1070145

A little bit too ethnic for my taste, I asked said son if he liked it and would he like me to make him a cushion cover from it. Having received a ‘yes’ on both counts, I set to.

There was a small carrier bag full of bits of top quality wool tweed in several shades of grey which were pretty useless on their own, but which I could see (!) would piece together to make a nice back to the cushion.

P1070146

See? They go together quite well.

P1070147

I patchworked some strips together until I had a square measuring 20″, the same as the front.

P1070148

Then, because it still looked exactly like what it was – scraps of fabric sewn together – I added some detail in the form of turquoise top stitching along all the seams.

P1070151

P1070150

It was still a bit ‘functional’ so I thought a few appliquéd swirls wouldn’t go amiss.

P1070154

P1070155

P1070156

And a few more….

P1070158

There, that’s enough. Now it looks more like a piece of textile art than leftovers!

P1070157

Using some turquoise linen (left over from this dress), I covered some piping cord in a shade that would pick out the blue in the Anthropologie napkin. See, there was a reason for choosing turquoise?!

P1070160

Piping was basted on first…

P1070159

…then a random zip from my collection was inserted.

P1070162

The zip was too long so I shortened it by sewing a new ‘stop’.

P1070163

P1070161

Sew round the remaining three sides, turn inside out and – TADAH!

P1070164

A tip is to make the cushion cover slightly smaller than the size of the feather insert, then it stays nice and plump like this.

P1070165

The turquoise piping ties the front in with the back.

P1070169

Actually, there’s not really a front or back as both sides are deserving of top spot!

P1070166

P1070168

I thought it looked quite at home in our lounge and said as much – at which point it was “Thanks, Mum” and whisked off to No.1 Son’s bedroom before I got too attached to it!


1 Comment

“Rosetta” Cushion and Make Up Bag

Just finished another cushion – my favourite ‘sew’ far (sorry!)

I can’t decide which side I prefer because, although “Rosetta” is just glorious, “Dotty” on the reverse is a classic. Two looks for the price of one – bargain:)

I will design some more coordinating accessories in the next few days – I think a white bedroom with these timeless colours would be almost too pretty for words.

Image

Image

Image

Any ideas? Laundry/Toy bag, lampshade maybe….


3 Comments

Shop Open!!

Crochet Edge Cushions are now available in my new shop!!

www.sewchet.folksy.com

What do you think? There are some really modern designs on their way – do you have any suggestions for designs you’d like to see?

Here are the latest ones: –

Image

I love the reverse – lavender blue with white spots.

They’re all double-sided so you can display whichever side the mood takes you. Great for changing the look without spending more!

Image

Another classic floral, this time with bold red gingham as a contrast.

Image

Sea-Green crochet makes an unexpected contrast; time-consuming, but sooo worth it.

Image

Looking pretty, stacked on a bed….

Image

Now to crack on finishing that tutorial:)


Leave a comment

Crochet Edged Cushions

Hello and welcome to “Sewchet”!

My two favourite crafts are sewing and crochet so, for my first post, I thought it would be appropriate to share with you my newest creation – cushions with a crocheted opening edge. And, yes, these are the ones featured in the banner above. They’re so pretty I can see them every time I log in!

Image

I just love pinks and blues and these cute fabrics were just crying out to have a pretty edging.

Image

This one’s for the boys; who says boys can’t enjoy crochet too?

Image

I love the change in texture both to look at and to touch, it makes it so much more interesting don’t you think?

Image

Here’s how they look on the day bed in my Craft Studio; they’re going in my new Folksy shop for sale (www.sewchet.folksy.com)…if I can actually bear to part with them:(

Image

I’m writing up a tutorial so, if you’re interested, look out for it in the next day or two. That is, of course, if I don’t get sidetracked making some more in the meantime ‘cos they’re REALLY addictive!