I’ve had a few birthday presents to make lately, luckily all of them for women, so it was just a case of browsing through one of my many books and choosing something appropriate to the individual.
I find that making a gift for someone you know is very different to making items to sell, in several ways: –
- For a start, I don’t have to consider how long it will take versus how much I can sell it for, I can put as much time and effort in as I want which usually means it can be more elaborately decorated.
- I can take the recipient’s personality into consideration and personalise the gift accordingly.
- I enjoy the process far more, knowing that the thought and effort that I have invested will be appreciated.
- It’s a one off – I get bored making more than one of things which is often what you have to do when stocking up for your online shop/craft fair etc.
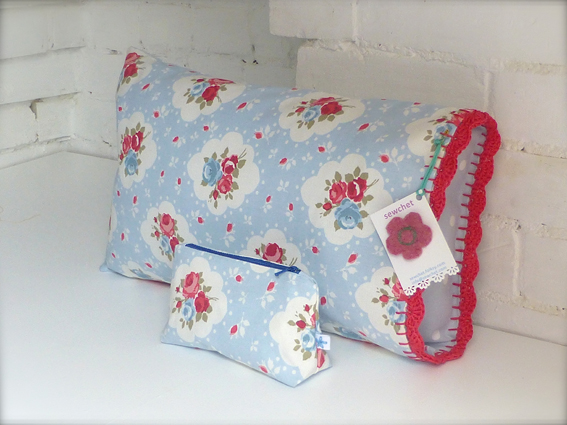
I found the perfect little gift in Tilda’s book, ‘Sew Pretty Homestyle’.

A cute little make up bag (cosmetic purse) with appliquéd detail on the front – the sort of added extra that can take hours and couldn’t possibly be done at a profit if making to sell.
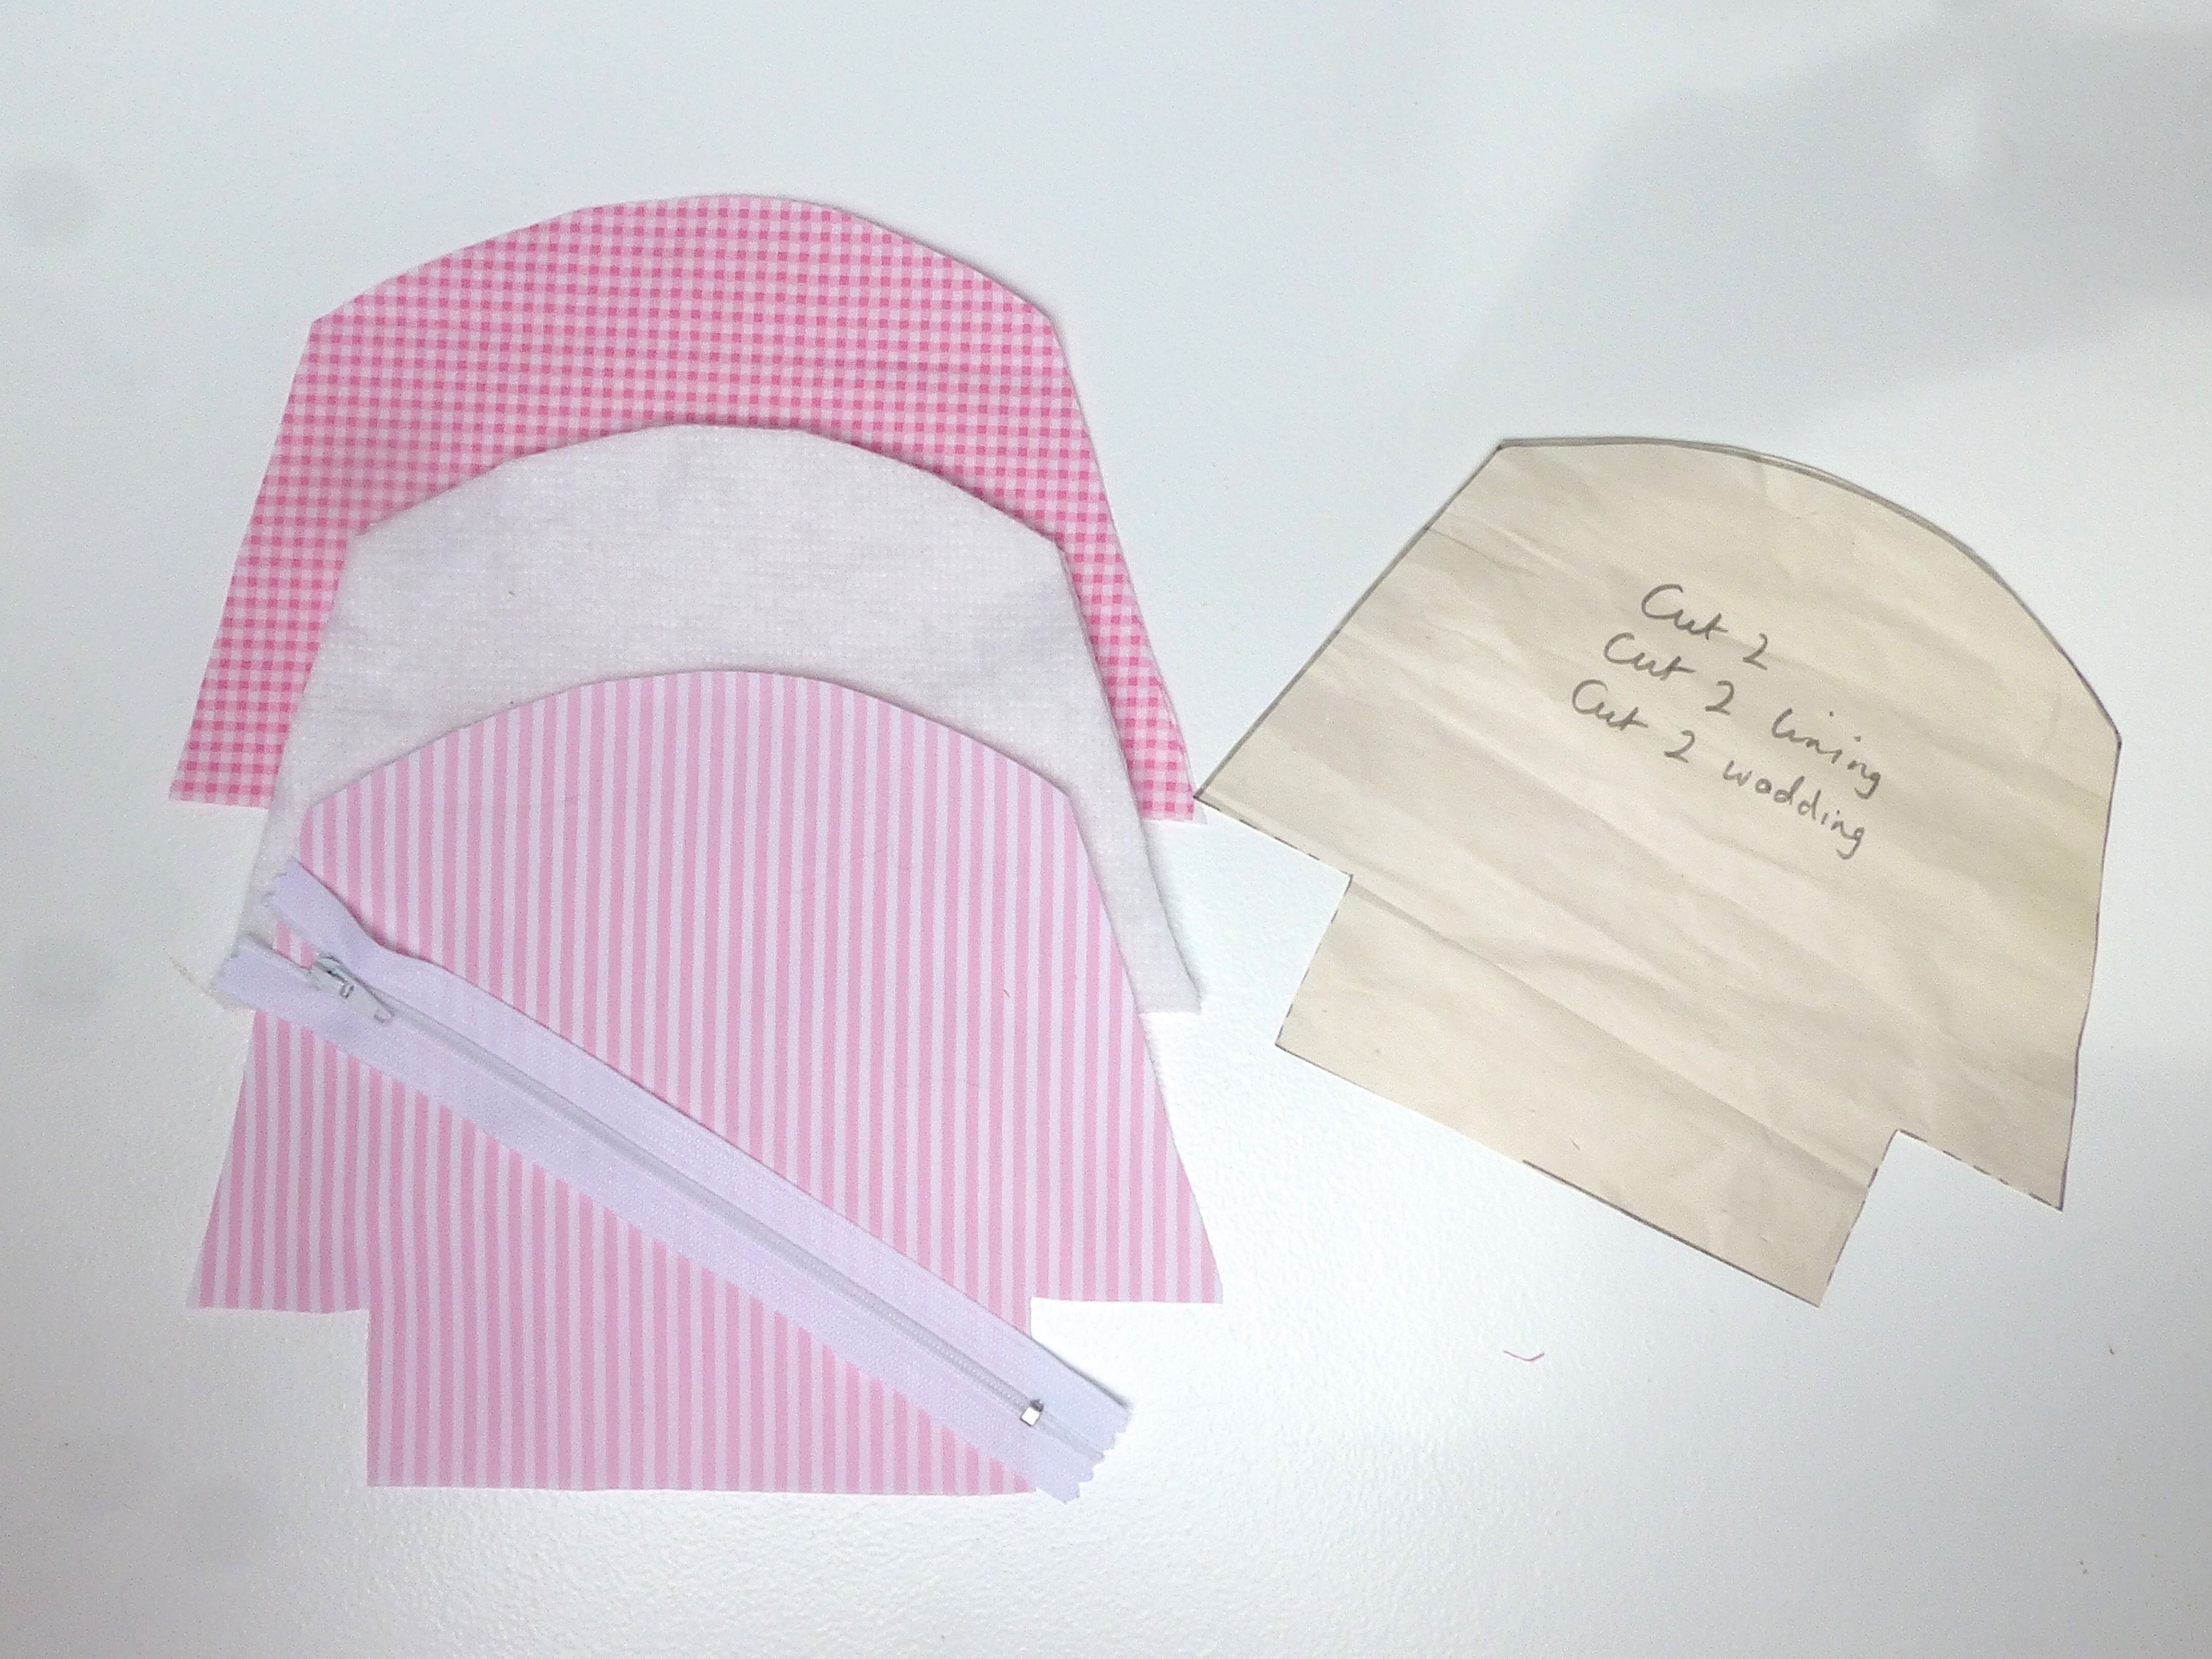
After tracing off the single pattern piece, I cut out candy-pink striped fabric for the outside, coordinating checked fabric for the lining and some batting to add structure.
This method for appliqué is a good one for tiny items where there’s not much fabric to put under the sewing machine foot.
You start by transferring your design (angel’s wings) onto a double thickness of fabric and stitching around, leaving an opening for turning.
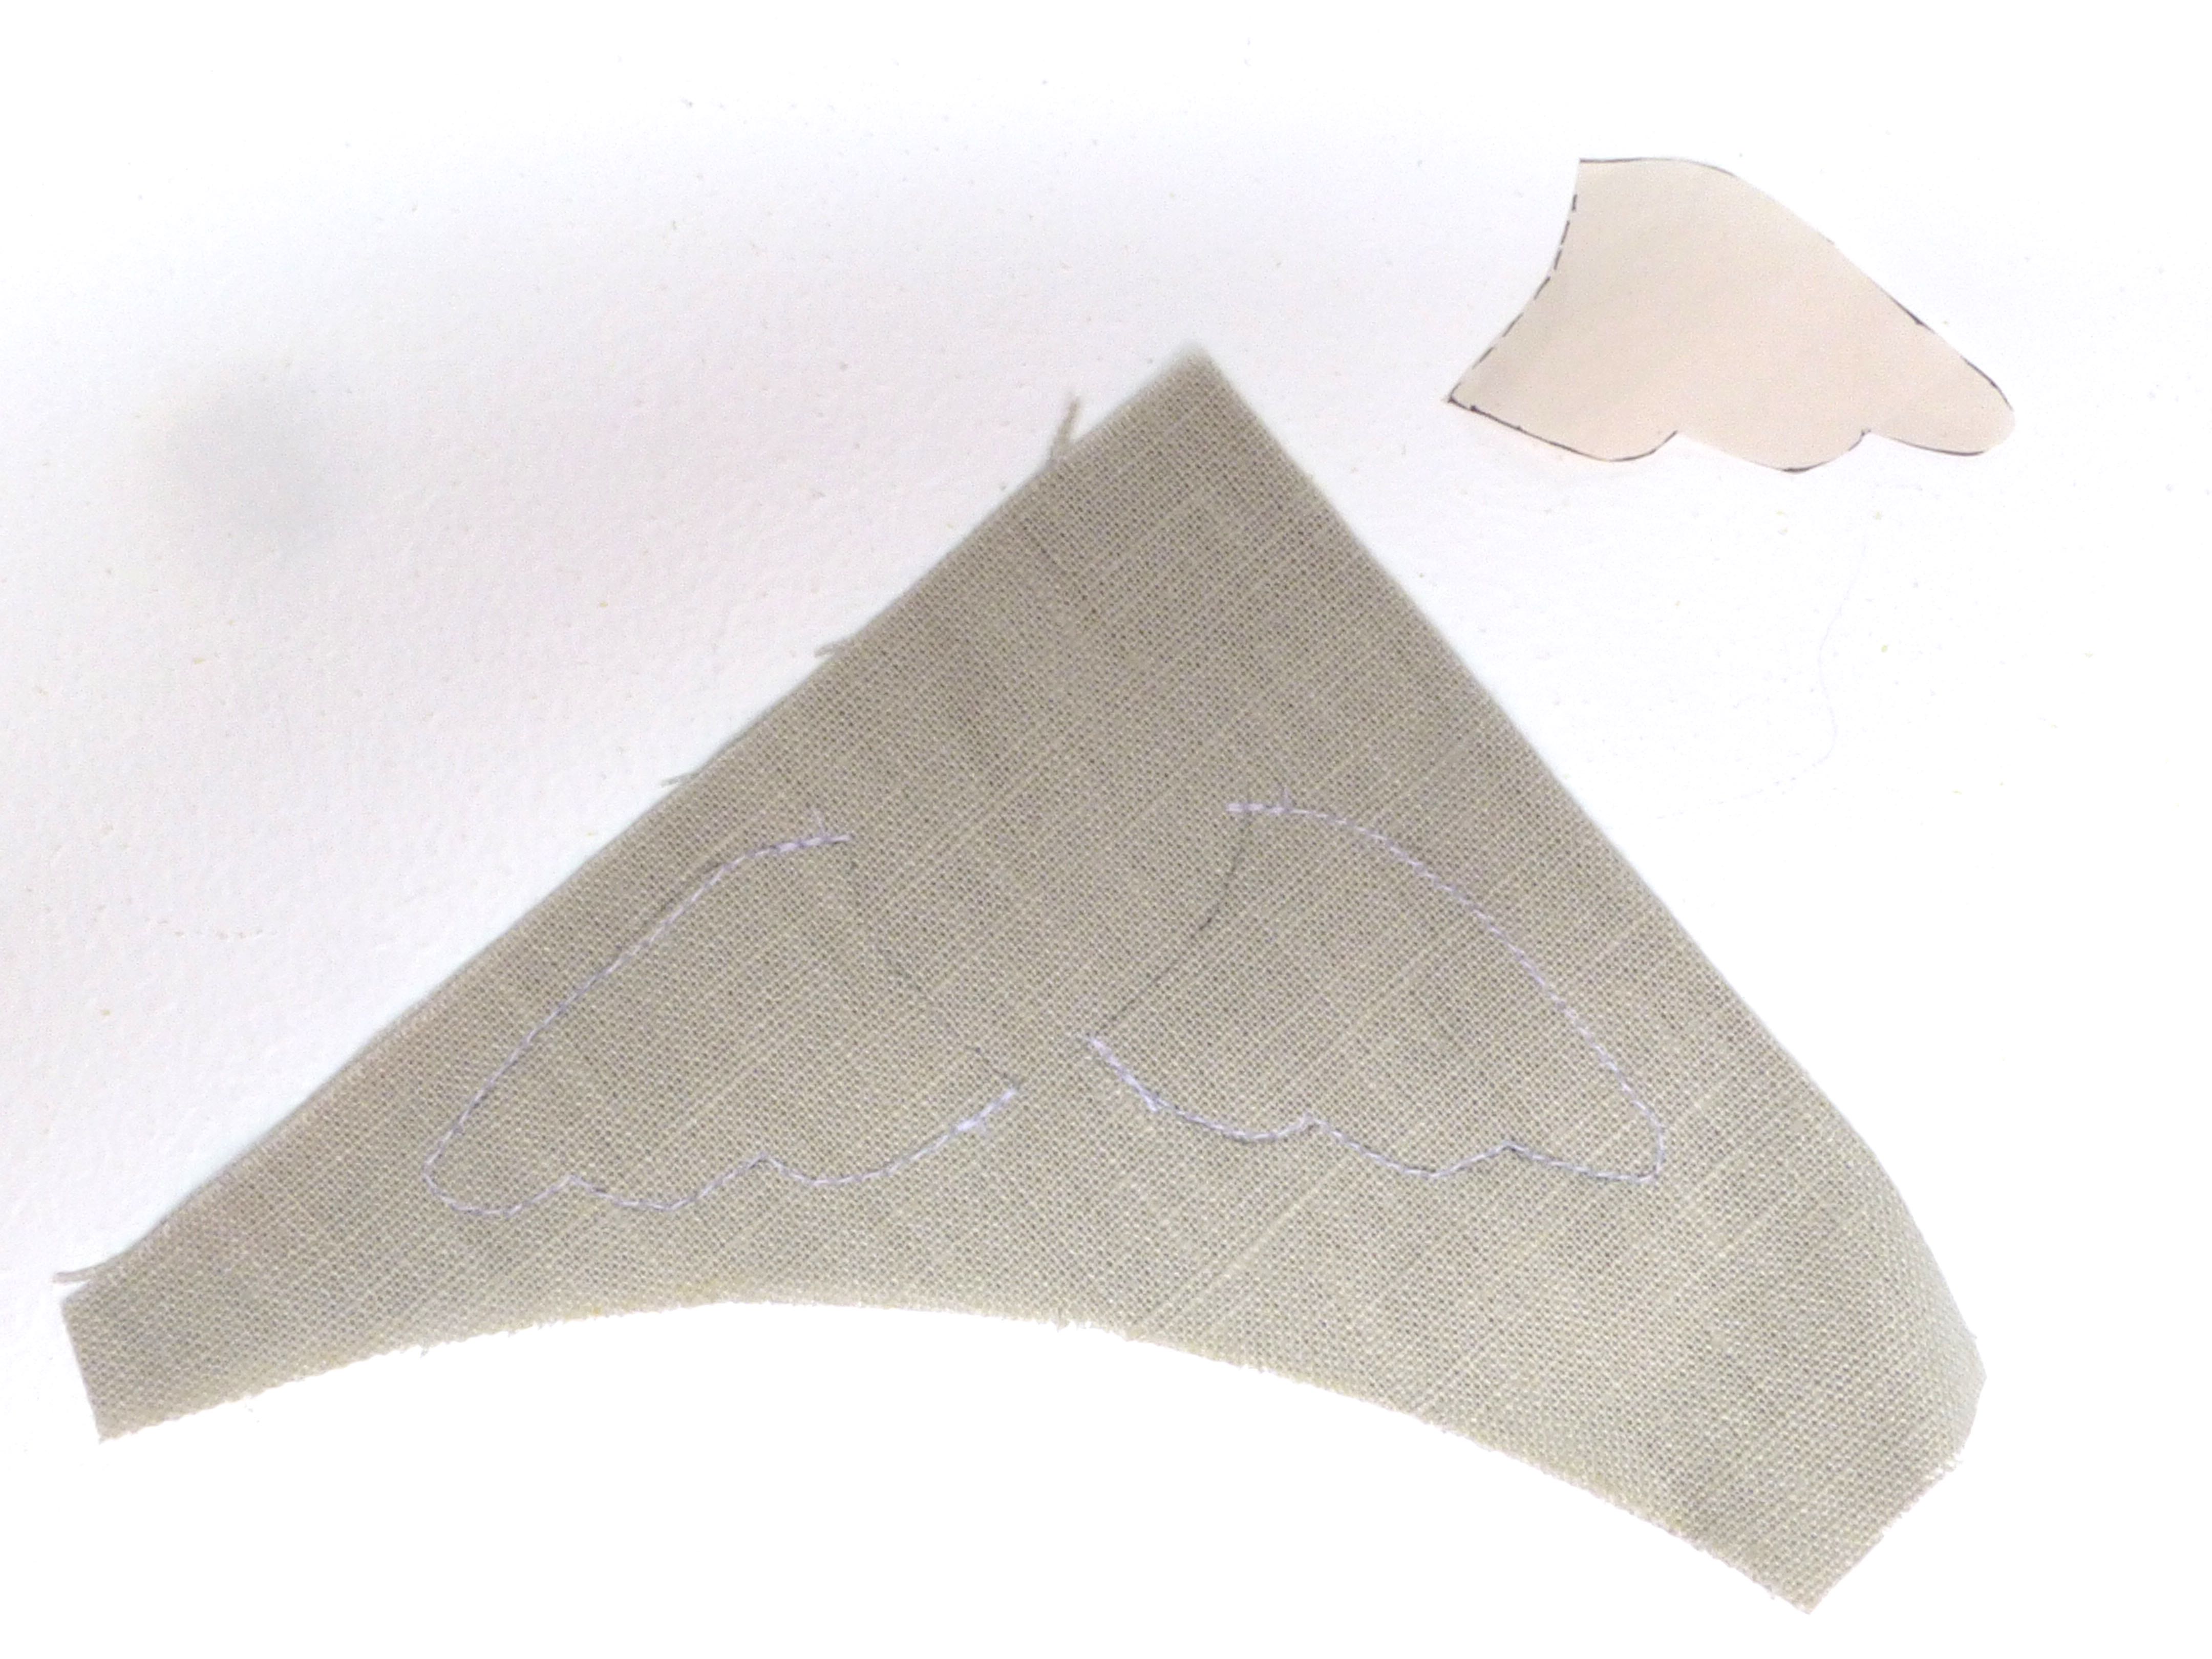
Trim close to the stitching.

Turn and press.

Repeat with all the appliquéd elements and pin to the front of the make up bag.

Sew all the motifs on, making sure your stitches are hidden.

This type of appliqué gives a raised finish when sewn on and the stitches are almost invisible rather than being a feature.

Little swirls adorn the wings, all done by hand with the tiniest of stitches.

Add some eyes and hair to the naive-style face together with an embroidered flower and the decoration is complete!

Construction was straightforward enough.

A row of rustic running stitches keeps the lining from getting caught in the zip as well as being a pretty detail.


Of course, the process could be sped up enormously if the motifs were stitched on by machine and free-machine embroidery used for the wing swirls and flower.
I chose to do it by the book, so to speak, as it gave a more homespun feel that I was looking for.


I love the coordinating lining – it makes the inside a nice surprise when you undo the zip.

This was the ideal project to use up scraps too, as it uses so little for the body and lining of the bag and the appliquéd motifs are literally tiny pieces you’d normally throw away!

Thankfully, the make up bag was very well received, so all that effort was worthwhile – I might even make some more for Christmas presents.