Just in case you hadn’t noticed, Christmas is fast approaching which, in my case, means any handmade gifts I have planned need to be either made by now or, at the very least, be quick and easy projects to be squeezed in on the odd evening.
This is a quick and easy project.
And cheap – which is a bonus at this time of year!
May I present to you the Van’s Style Crocheted Slippers by Shush Lander for Craftsy.
 I reckon these are as cool as it gets for the inherently un-cool footwear that is a slipper, so I thought I’d make a couple of pairs for The Boys for Christmas.
The digital pattern can be bought on Craftsy for the extremely reasonable price of £2.97 but it gets better – the three balls of yarn I bought from Minerva makes two pairs of slippers (with loads left over) at a cost of £1.79 per ball. Add it all together and divide by two (c’mon, keep up!) and it works out at a VERY cheap £4.08 per pair, a bargain by anyone’s standards, I would say!
This is the bundle that arrived from Minerva Crafts – three balls of Stylecraft acrylic yarn and a packet of round hat elastic.
 So, how did they work up?
Well, the pattern is extensive and pretty easy to follow, so no problems there, and the Stylecraft Special DK promises to wash like a dream as it’s good, hardwearing yarn, perfect for slippers.
There are instructions for eight different sizes from toddler through to adult. Hmmm, I wonder if all the difficult-to-buy-for males in the family would like a pair? Except my sixteen year old nephew – he asked his mother to tell me never to crochet anything for him again after the Bob Marley Rasta hat I made for him last Christmas!
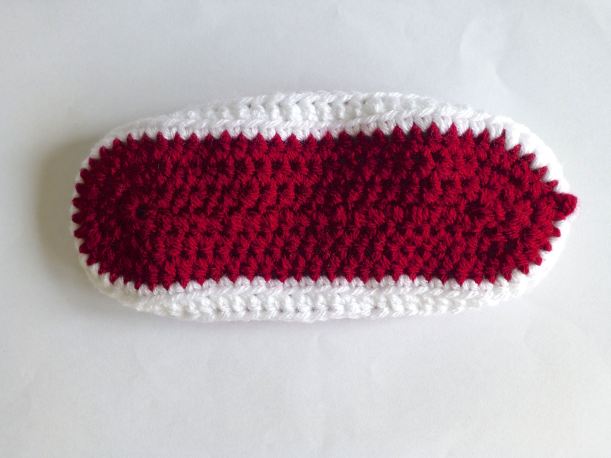
The soles are worked with two strands of yarn at a time to make a sturdy, cushioned base for the slipper.
 The body of the slipper is crocheted with just one strand of yarn into the back of each stitch which results in a rather lovely ribbed pattern.
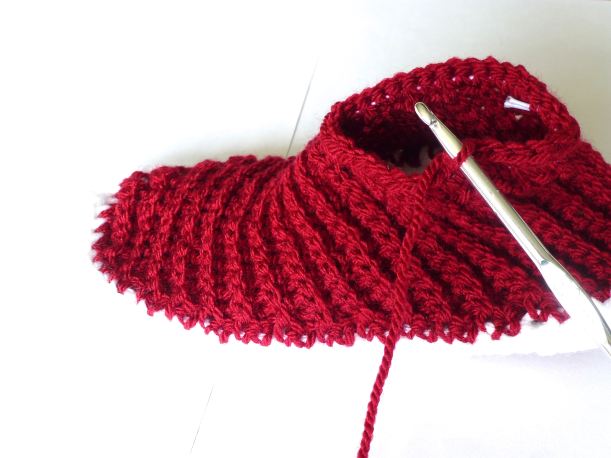 You crochet over a circle of hat elastic at the ankle edge to give a more snug and secure fit.
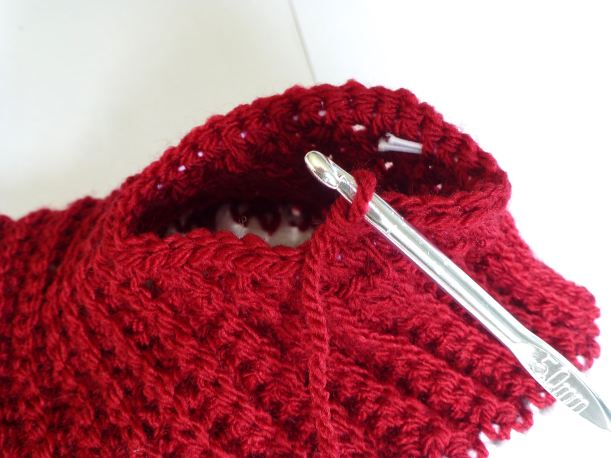 You can just see the elastic if I stretch the top edge open wide.
 Bottom edge before: –
 Bottom edge after: –
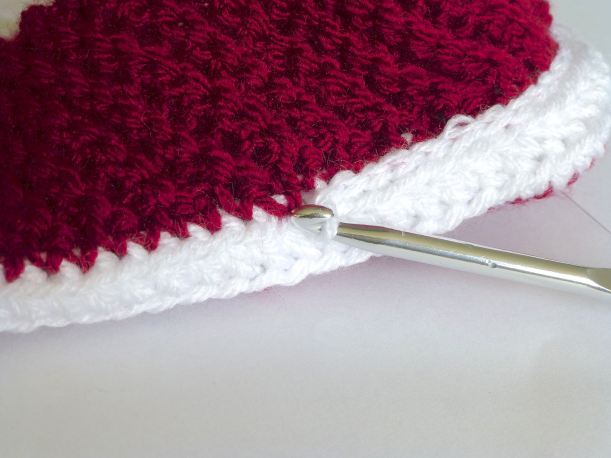
 A row of slip stitches cleverly cover up the change of yarn colour as demonstrated in this photo: –
 Next are the laces which are just for show – two very long rows of simple chain stitches.
 I made 150 chains instead of the stated 110 as I didn’t feel they were long enough.
 The ‘laces’ are just threaded through with a darning needle and tied in a bow to give the trainer look.
 And there you are – a pair of Van’s style slippers whipped up in an evening!
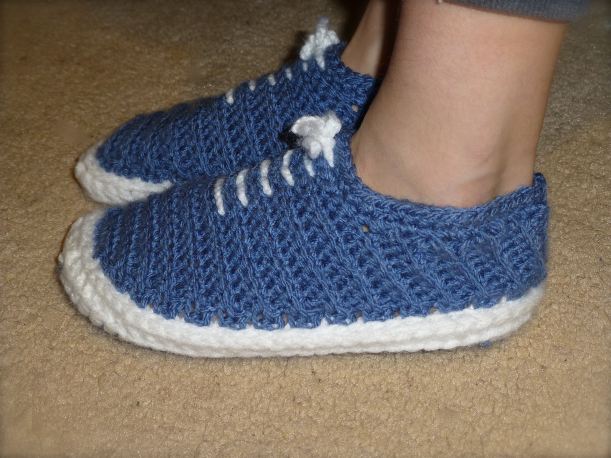
 The following evening I made a second pair in blue.
They look a bit like babies’ booties lined up like this!
 Size wise, I found that they crocheted up small so would suggest going up a size, but they are stretchy so will still be fine for The Boys.


 I ended up giving these to The Boys after they were finished because the photos look better while they are being worn and a little bit odd without a foot inside.
 No.3 Son in particular is chuffed with them, but No.2 Son says they’re a bit tight…..guess what I’ll be making out of the leftover yarn tonight?