
Another day, another birthday present to make, only this time it is something a bit unusual – a pair of handmade espadrilles!
I’ve made slippers and things along those lines before, but never a bonafide pair of shoes.

The soles were by Prym and purchased online from The Makery in Bath.

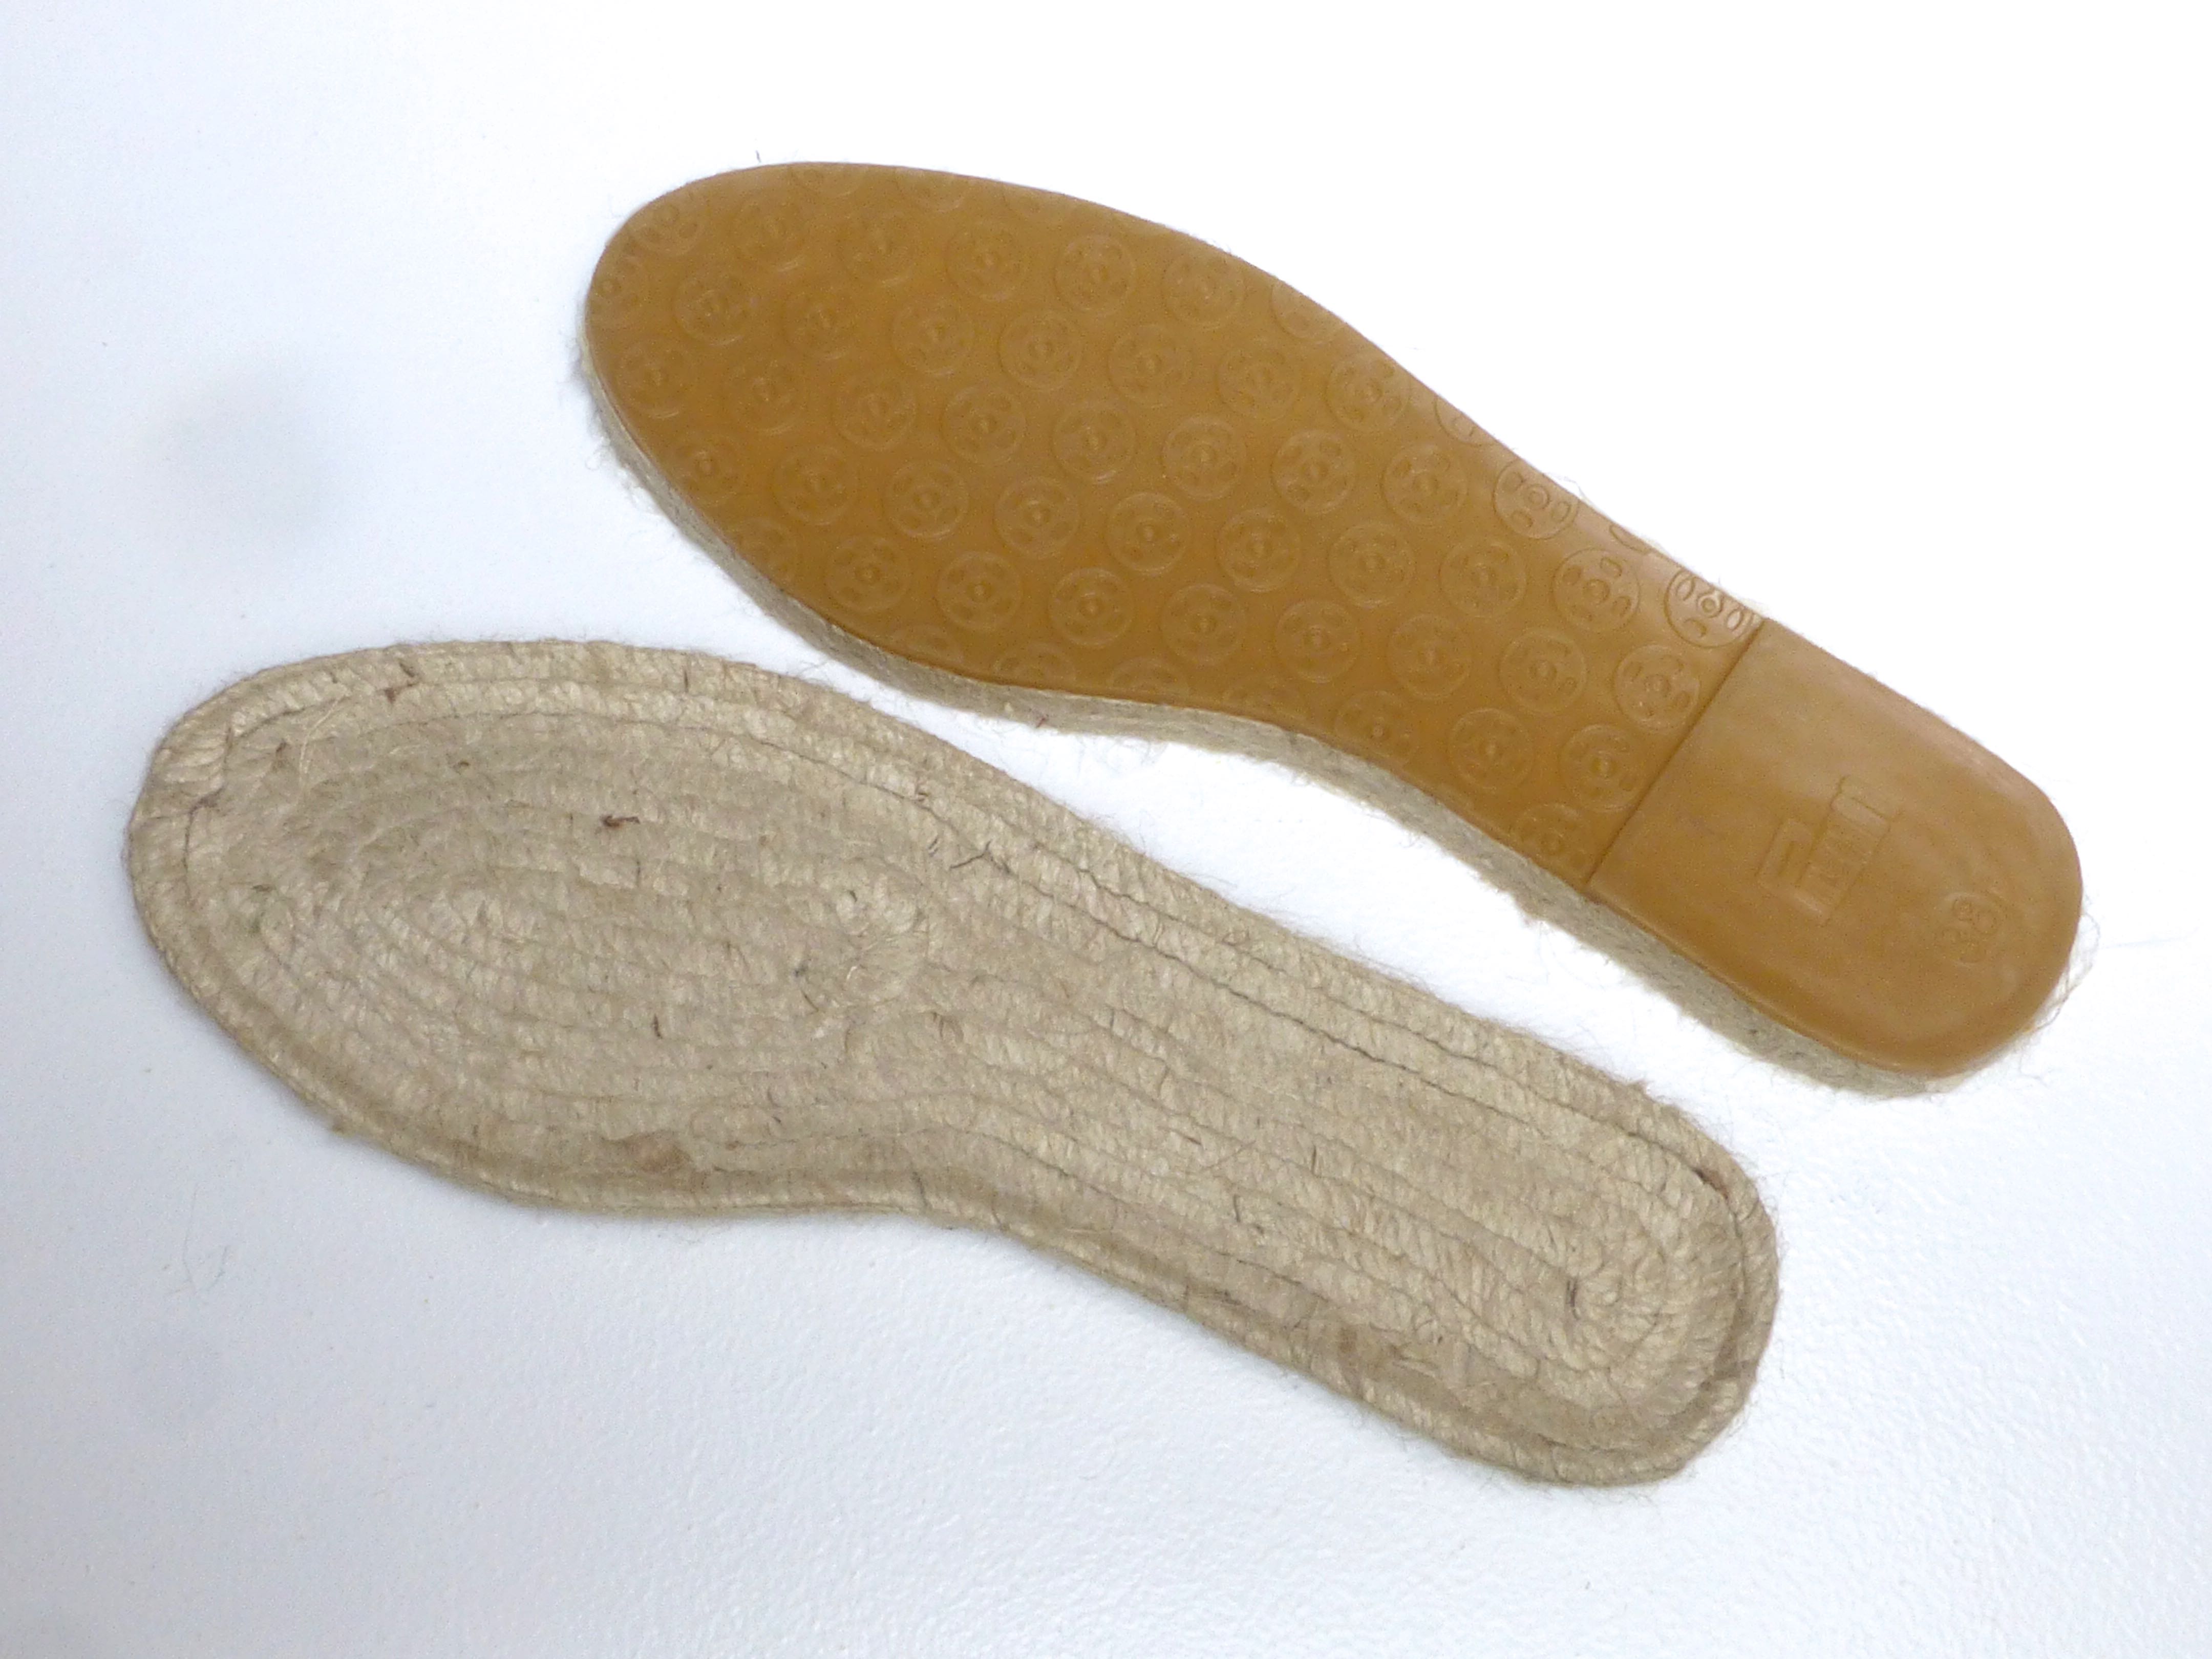
The box includes templates for the uppers in various adult sizes, but I heeded advice from others who have previously made them and went down a size when making them. I cut out a UK size 5 for the recipient who has size 6 feet, and they fitted perfectly without slipping off.
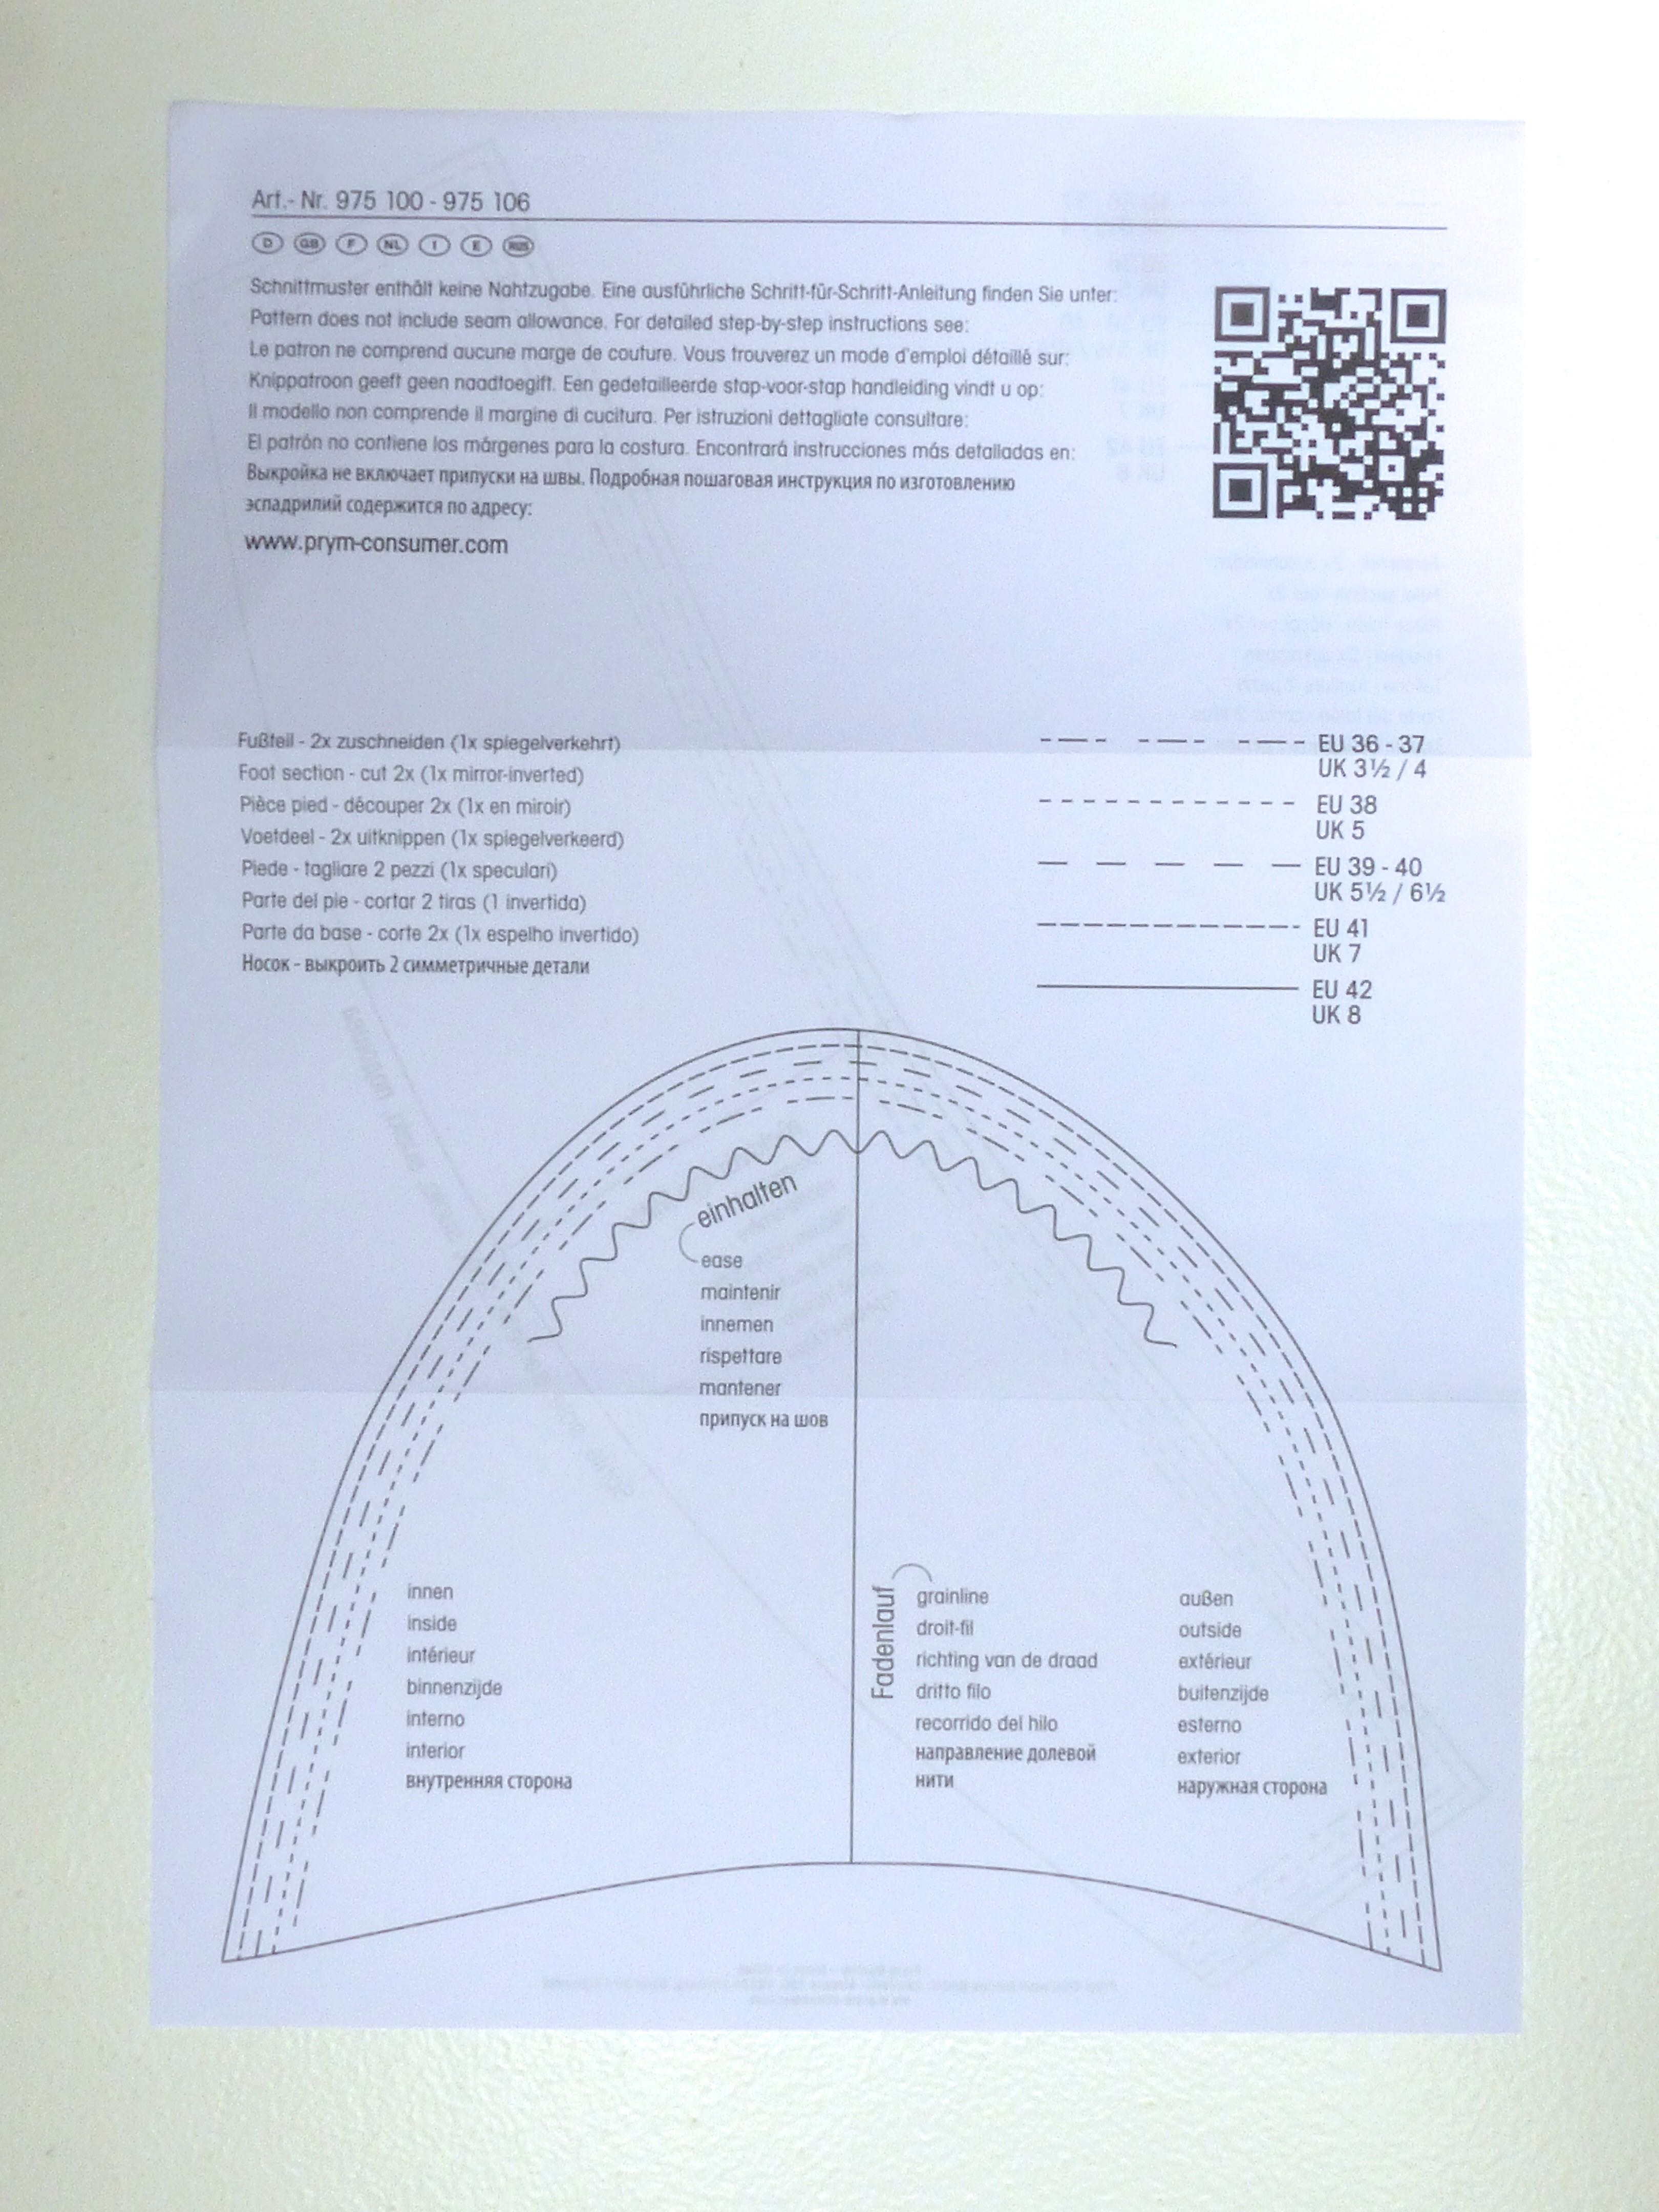
Although there were no instructions in the box, full step-by-step photographs can be found on the Prym website and it was those I followed.
If you are tempted to have a go at these be aware that seam allowances are NOT included – you have to add your own before cutting out!

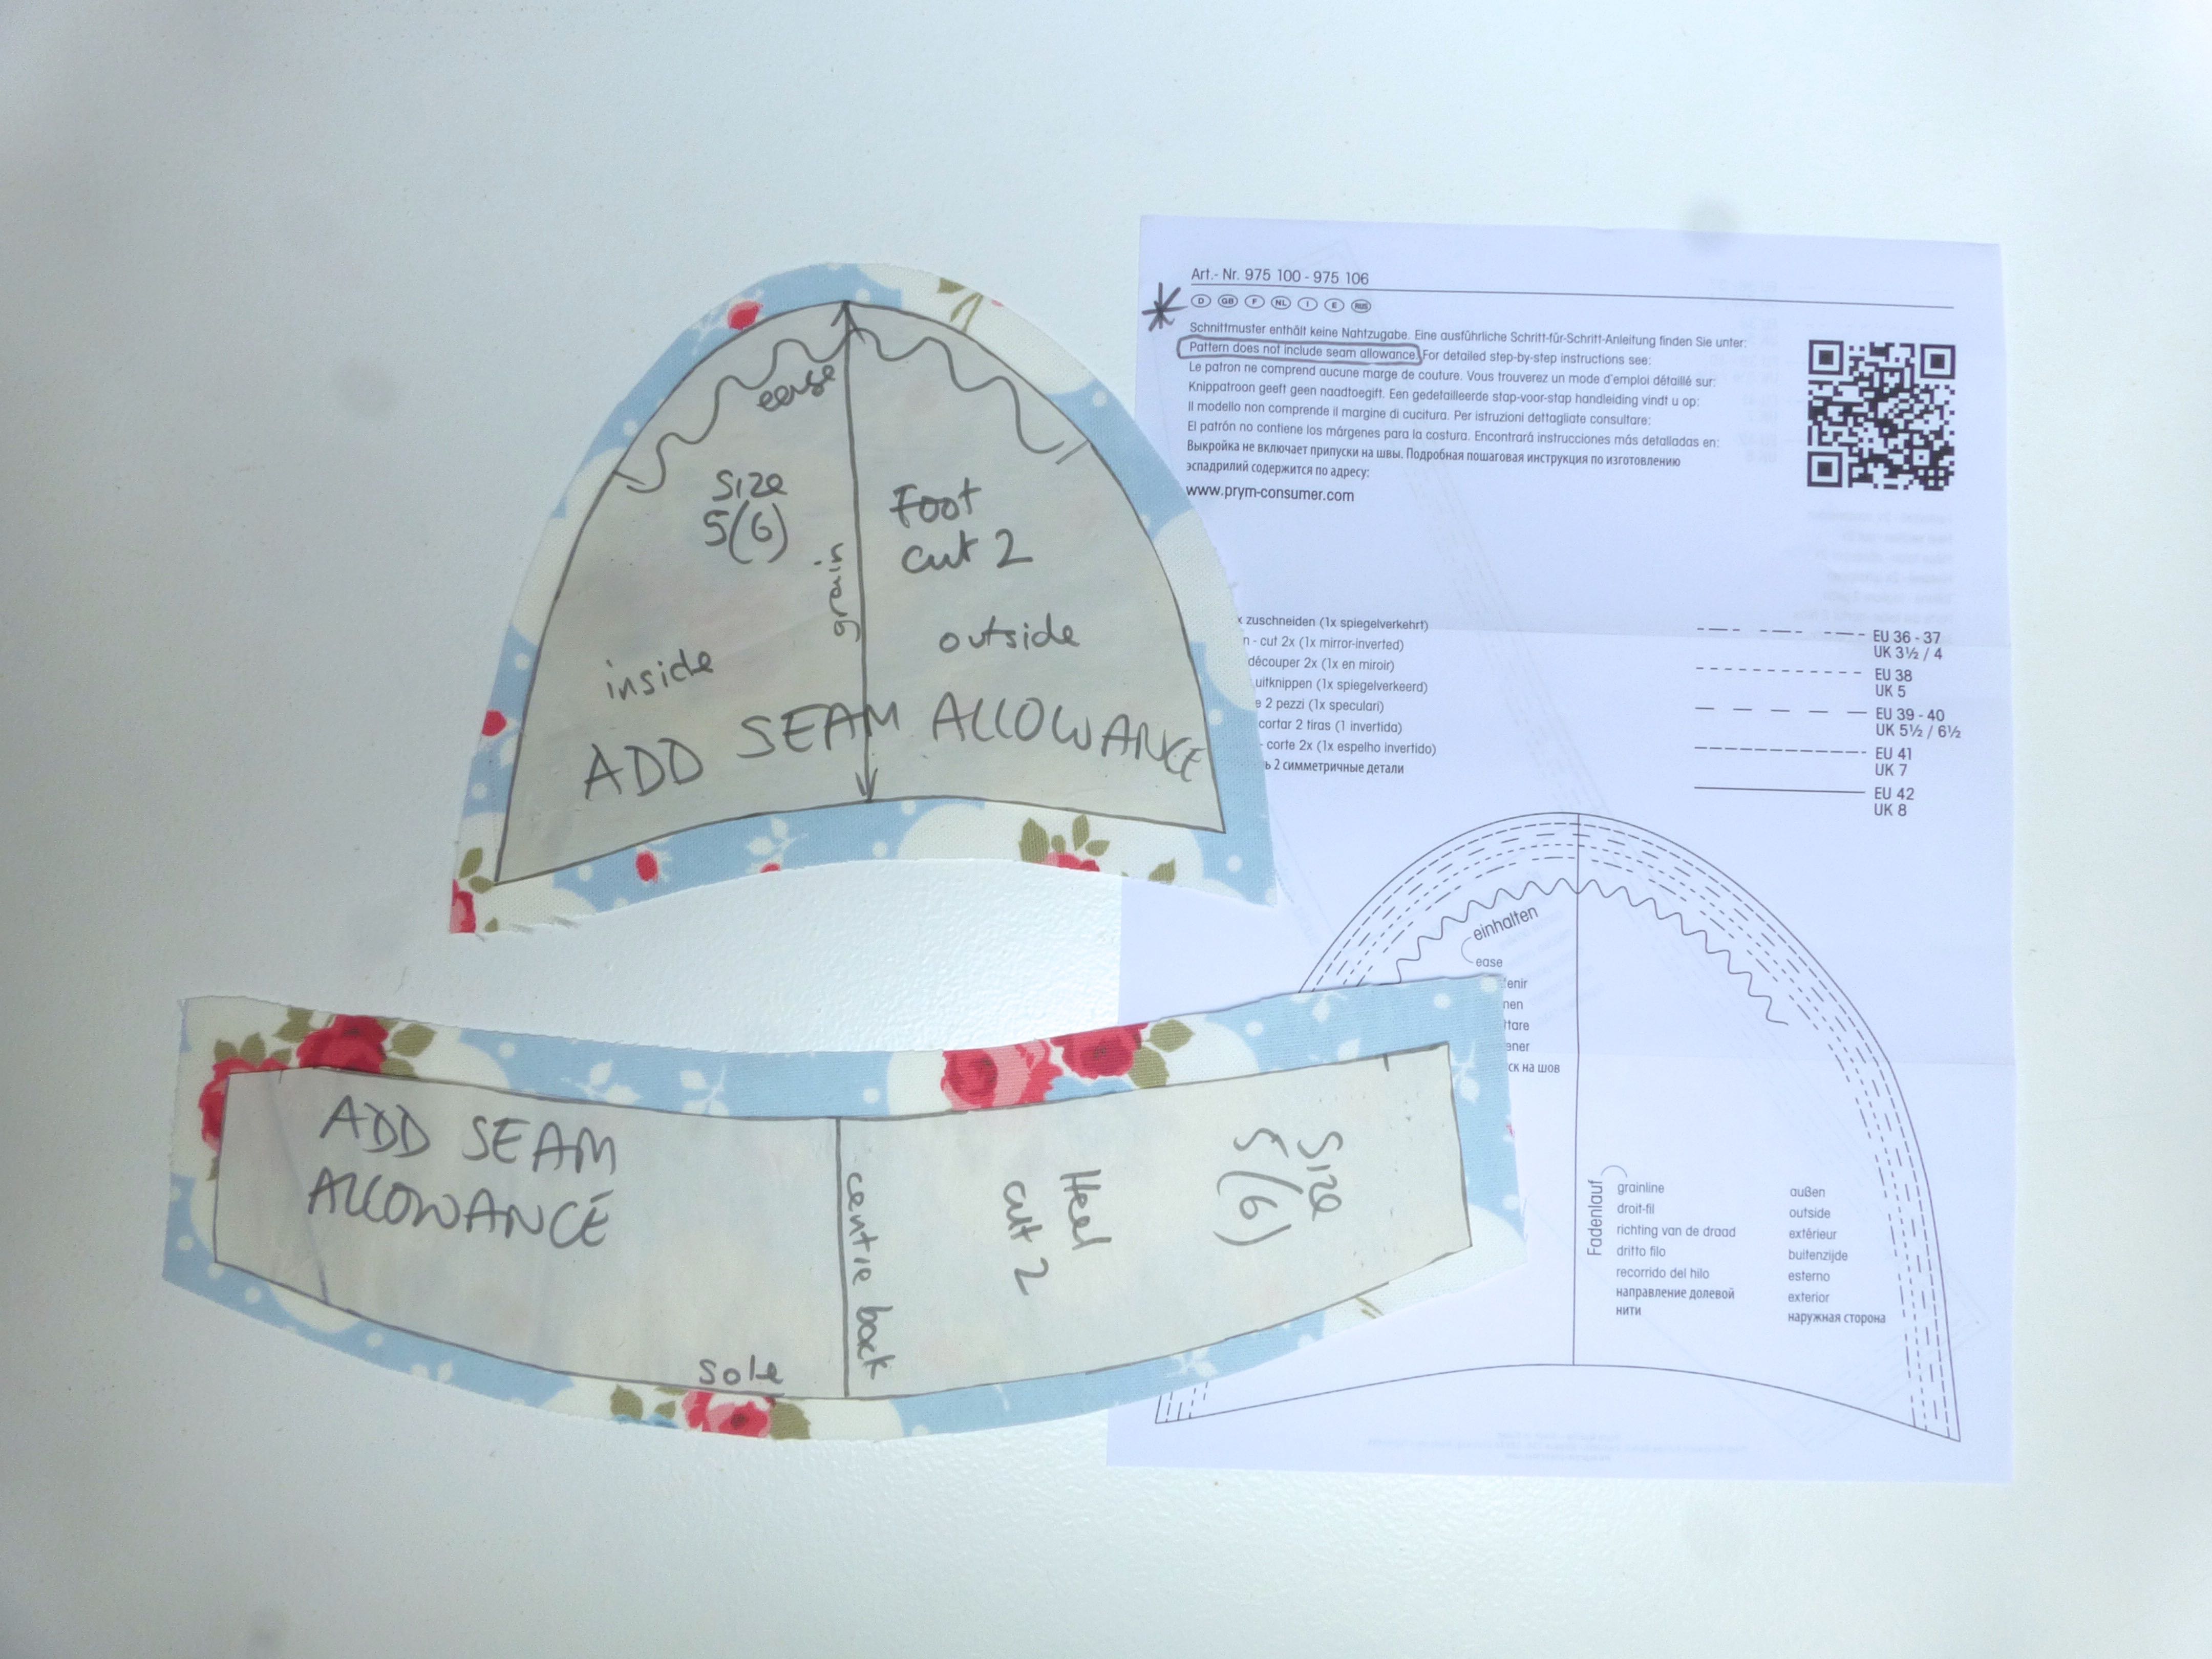
I had a small amount of “Rosetta” fabric left over from making this cushion and make up bag, and decided to team it with a deep pink spotty lining.
The pattern consists of just two pieces – one for across the front and one for the heel.

I added some fusible interfacing to the outside sections just to give the shoe some extra strength and stability.

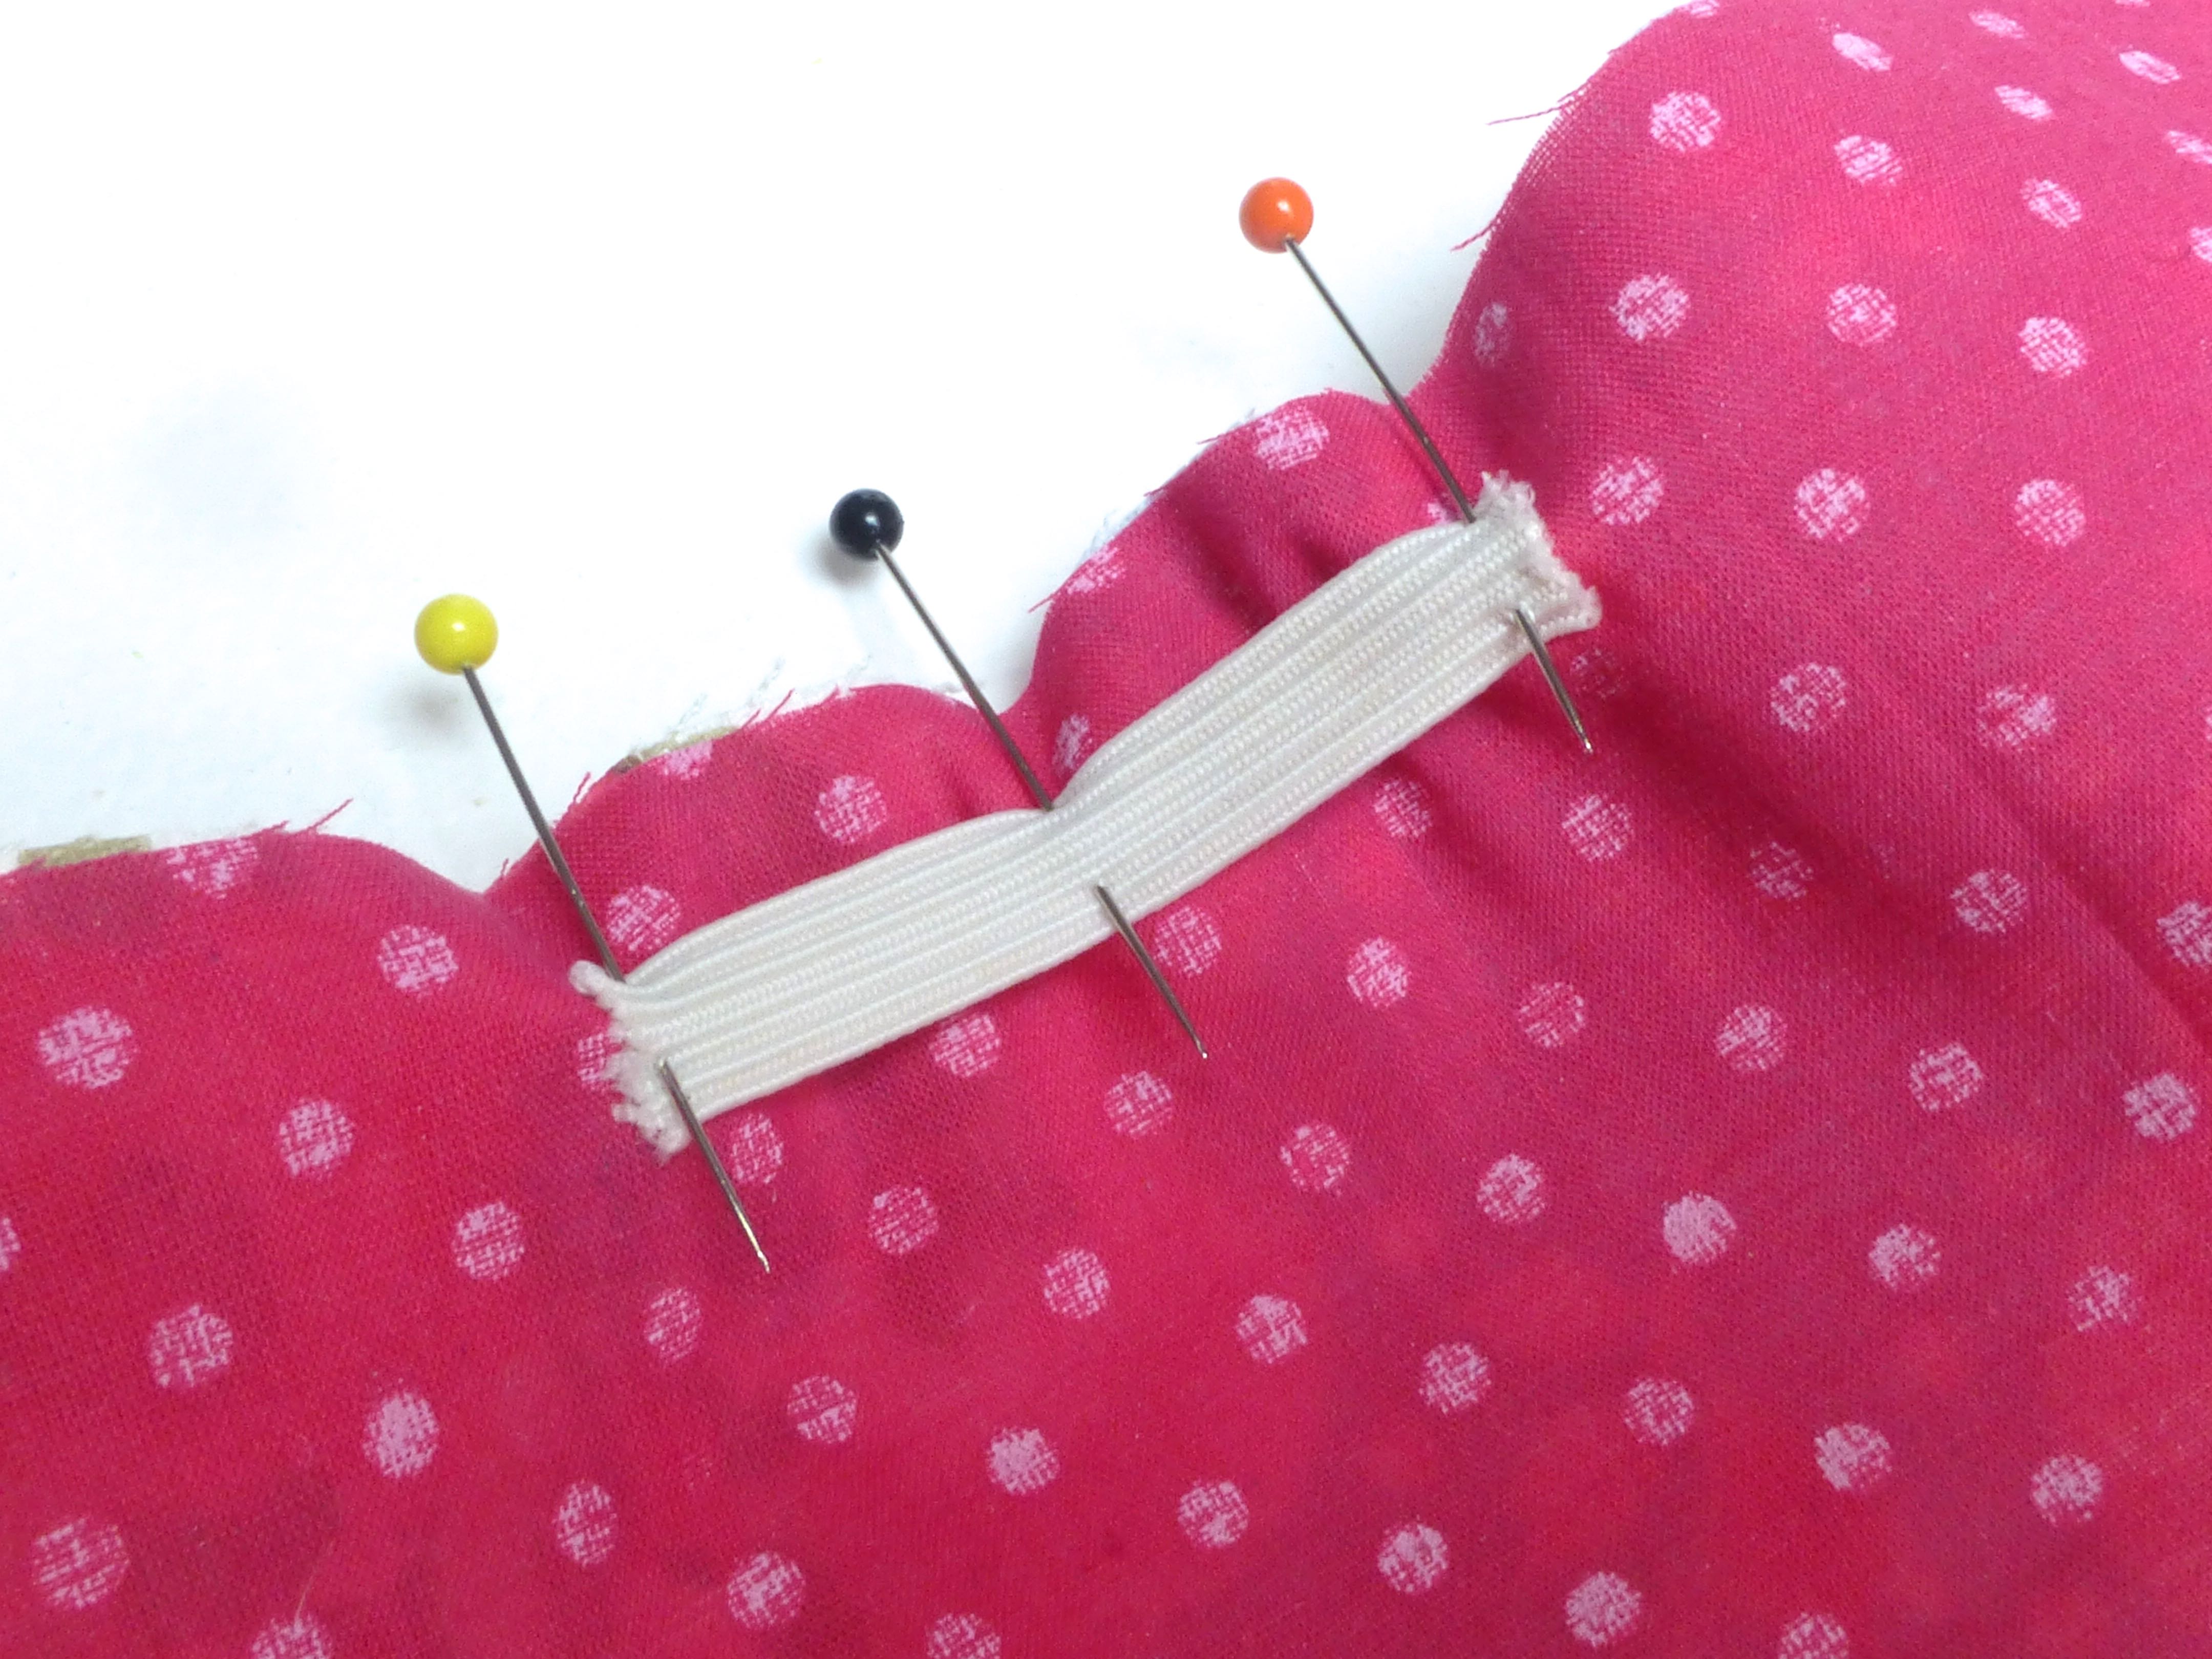
I also stretched a two-inch length of narrow elastic at the ankle edge just to make sure the shoes would stay on.
The main fabric is sewn to the lining right sides together, then turned through a gap left in the stitching.

I top stitched the elastic through all the layers for a strong and neat finish.


The toe section is sewn and turned in exactly the same way, cutting across the corners and notching around the curves as necessary.

Next comes the fun bit!
You will need a leather needle to sew through the soles as the wedged point makes light work of it where a standard needle would hurt your finger after a while.

The heel section is pinned to the sole…..
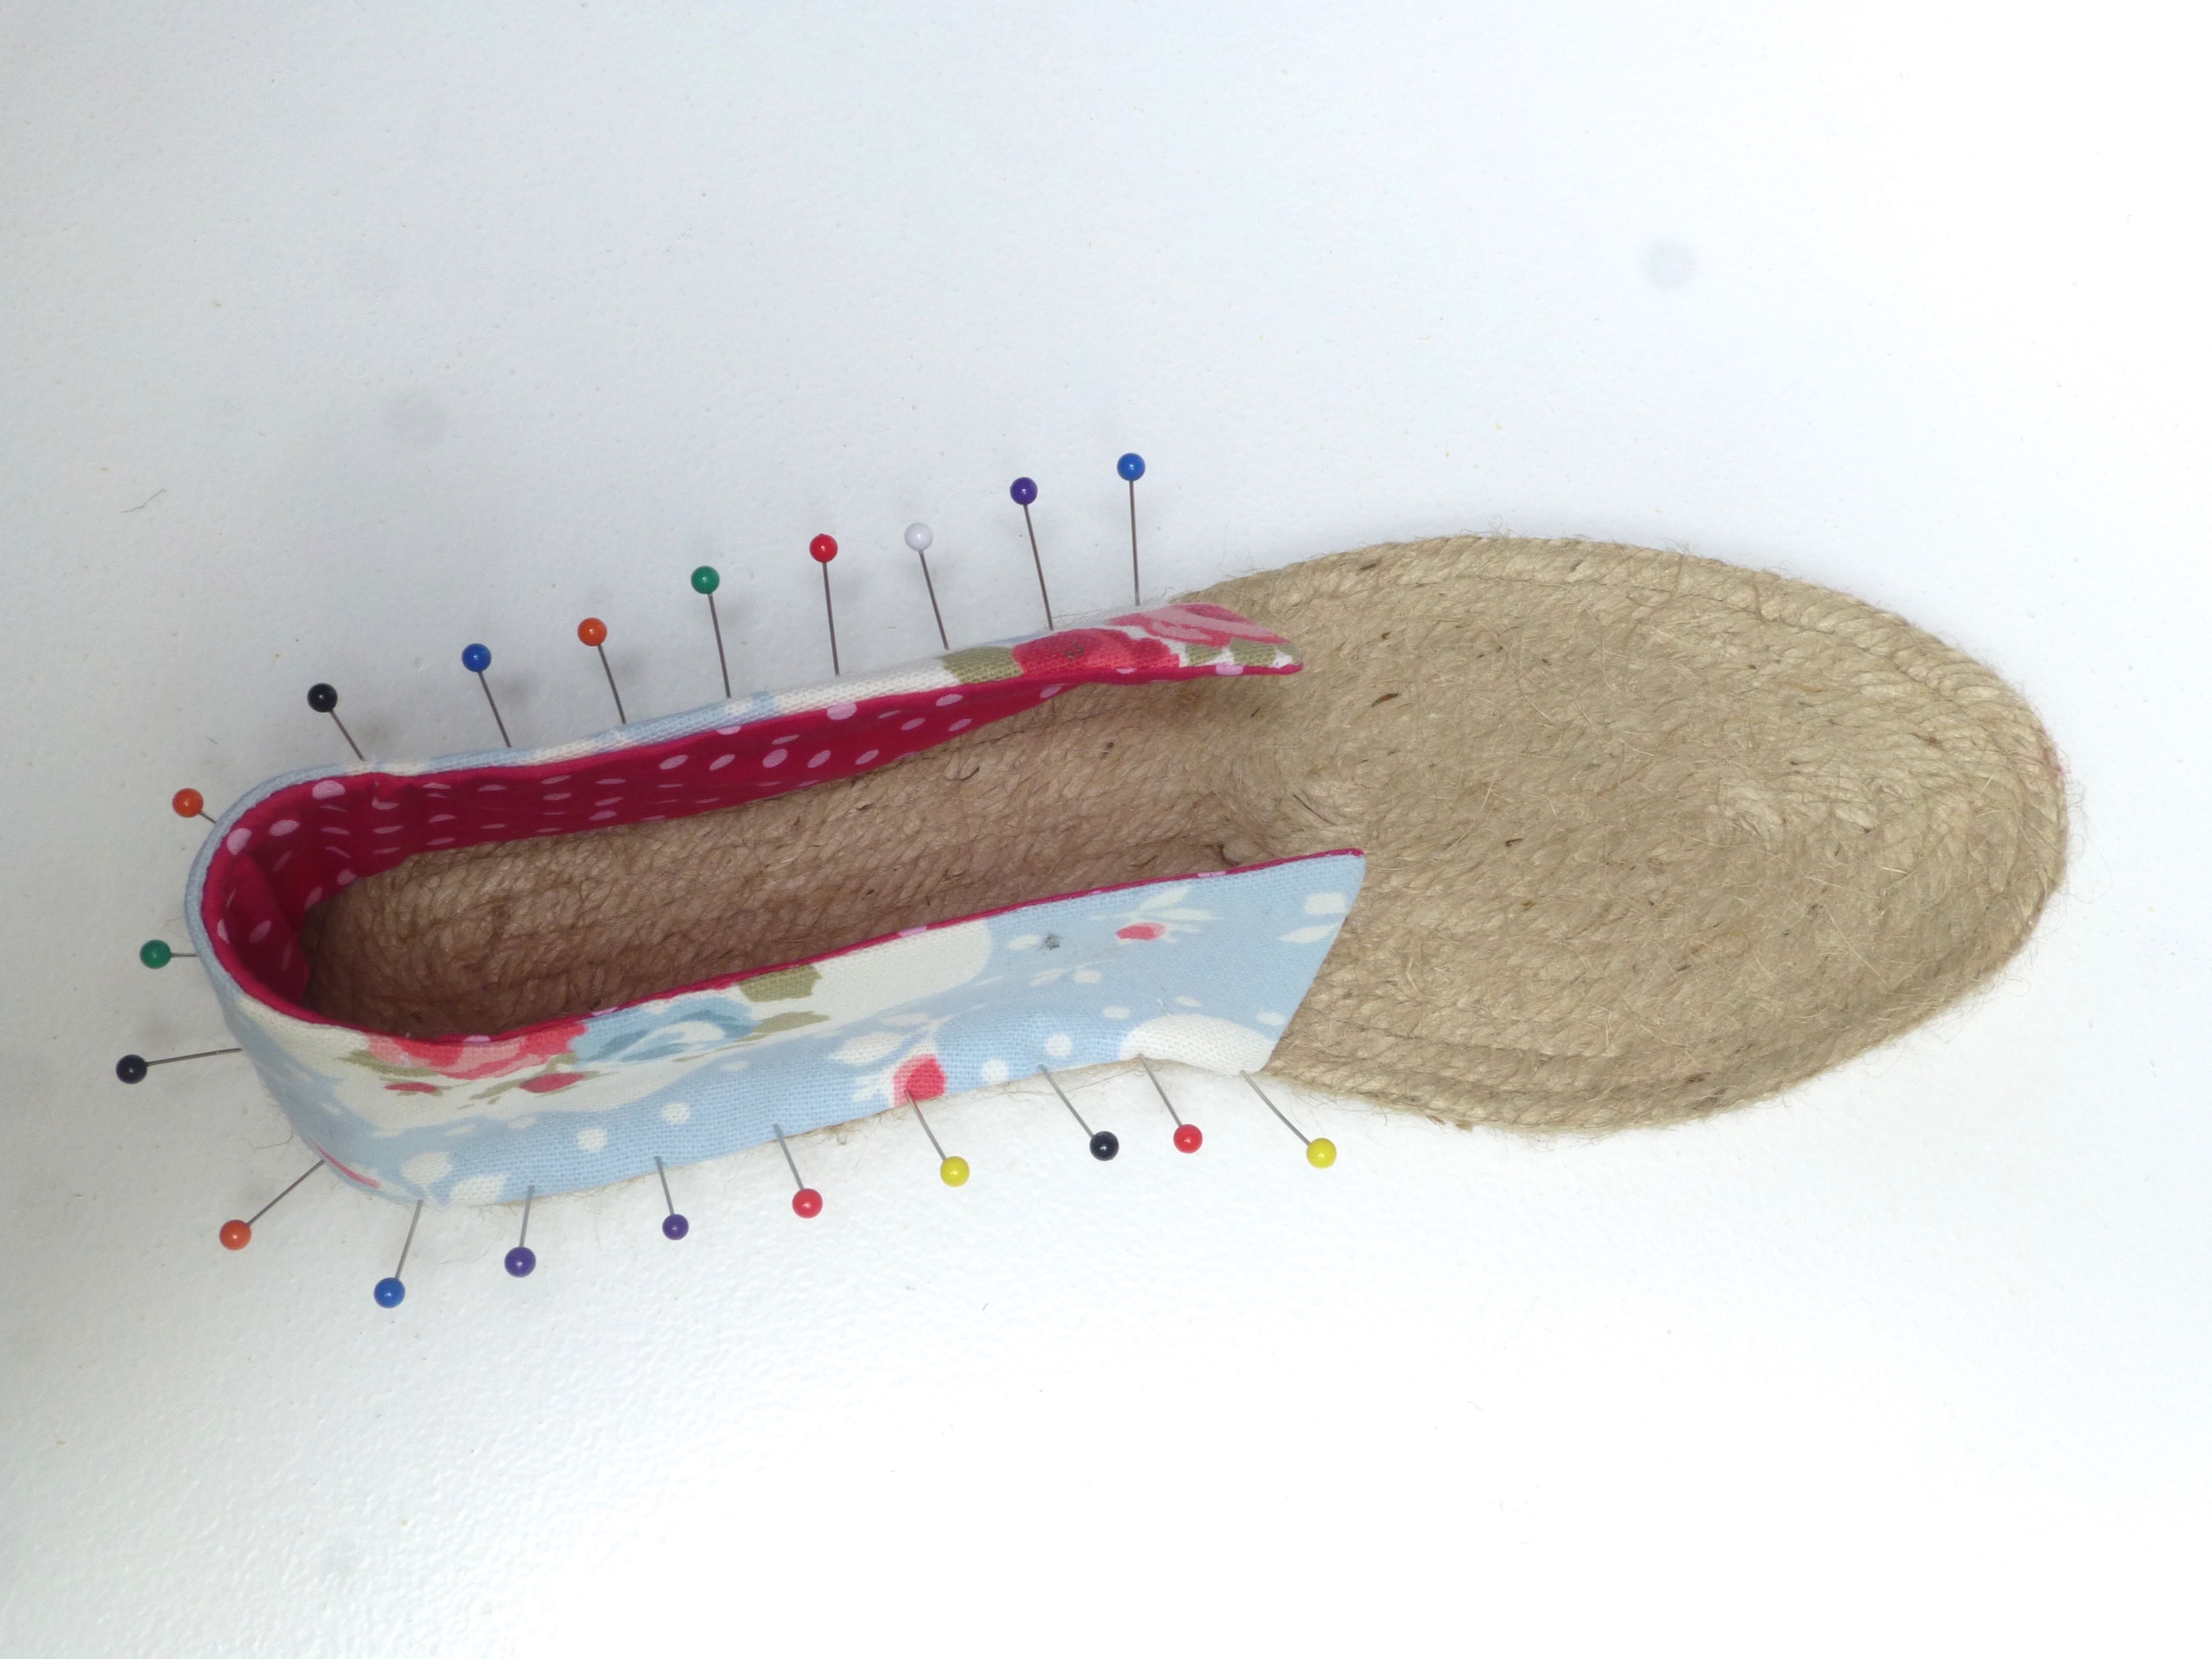
….inserting the pins at an angle as shown below.

I used three strands of embroidery floss to secure the fabric to the sole, using a blanket stitch.
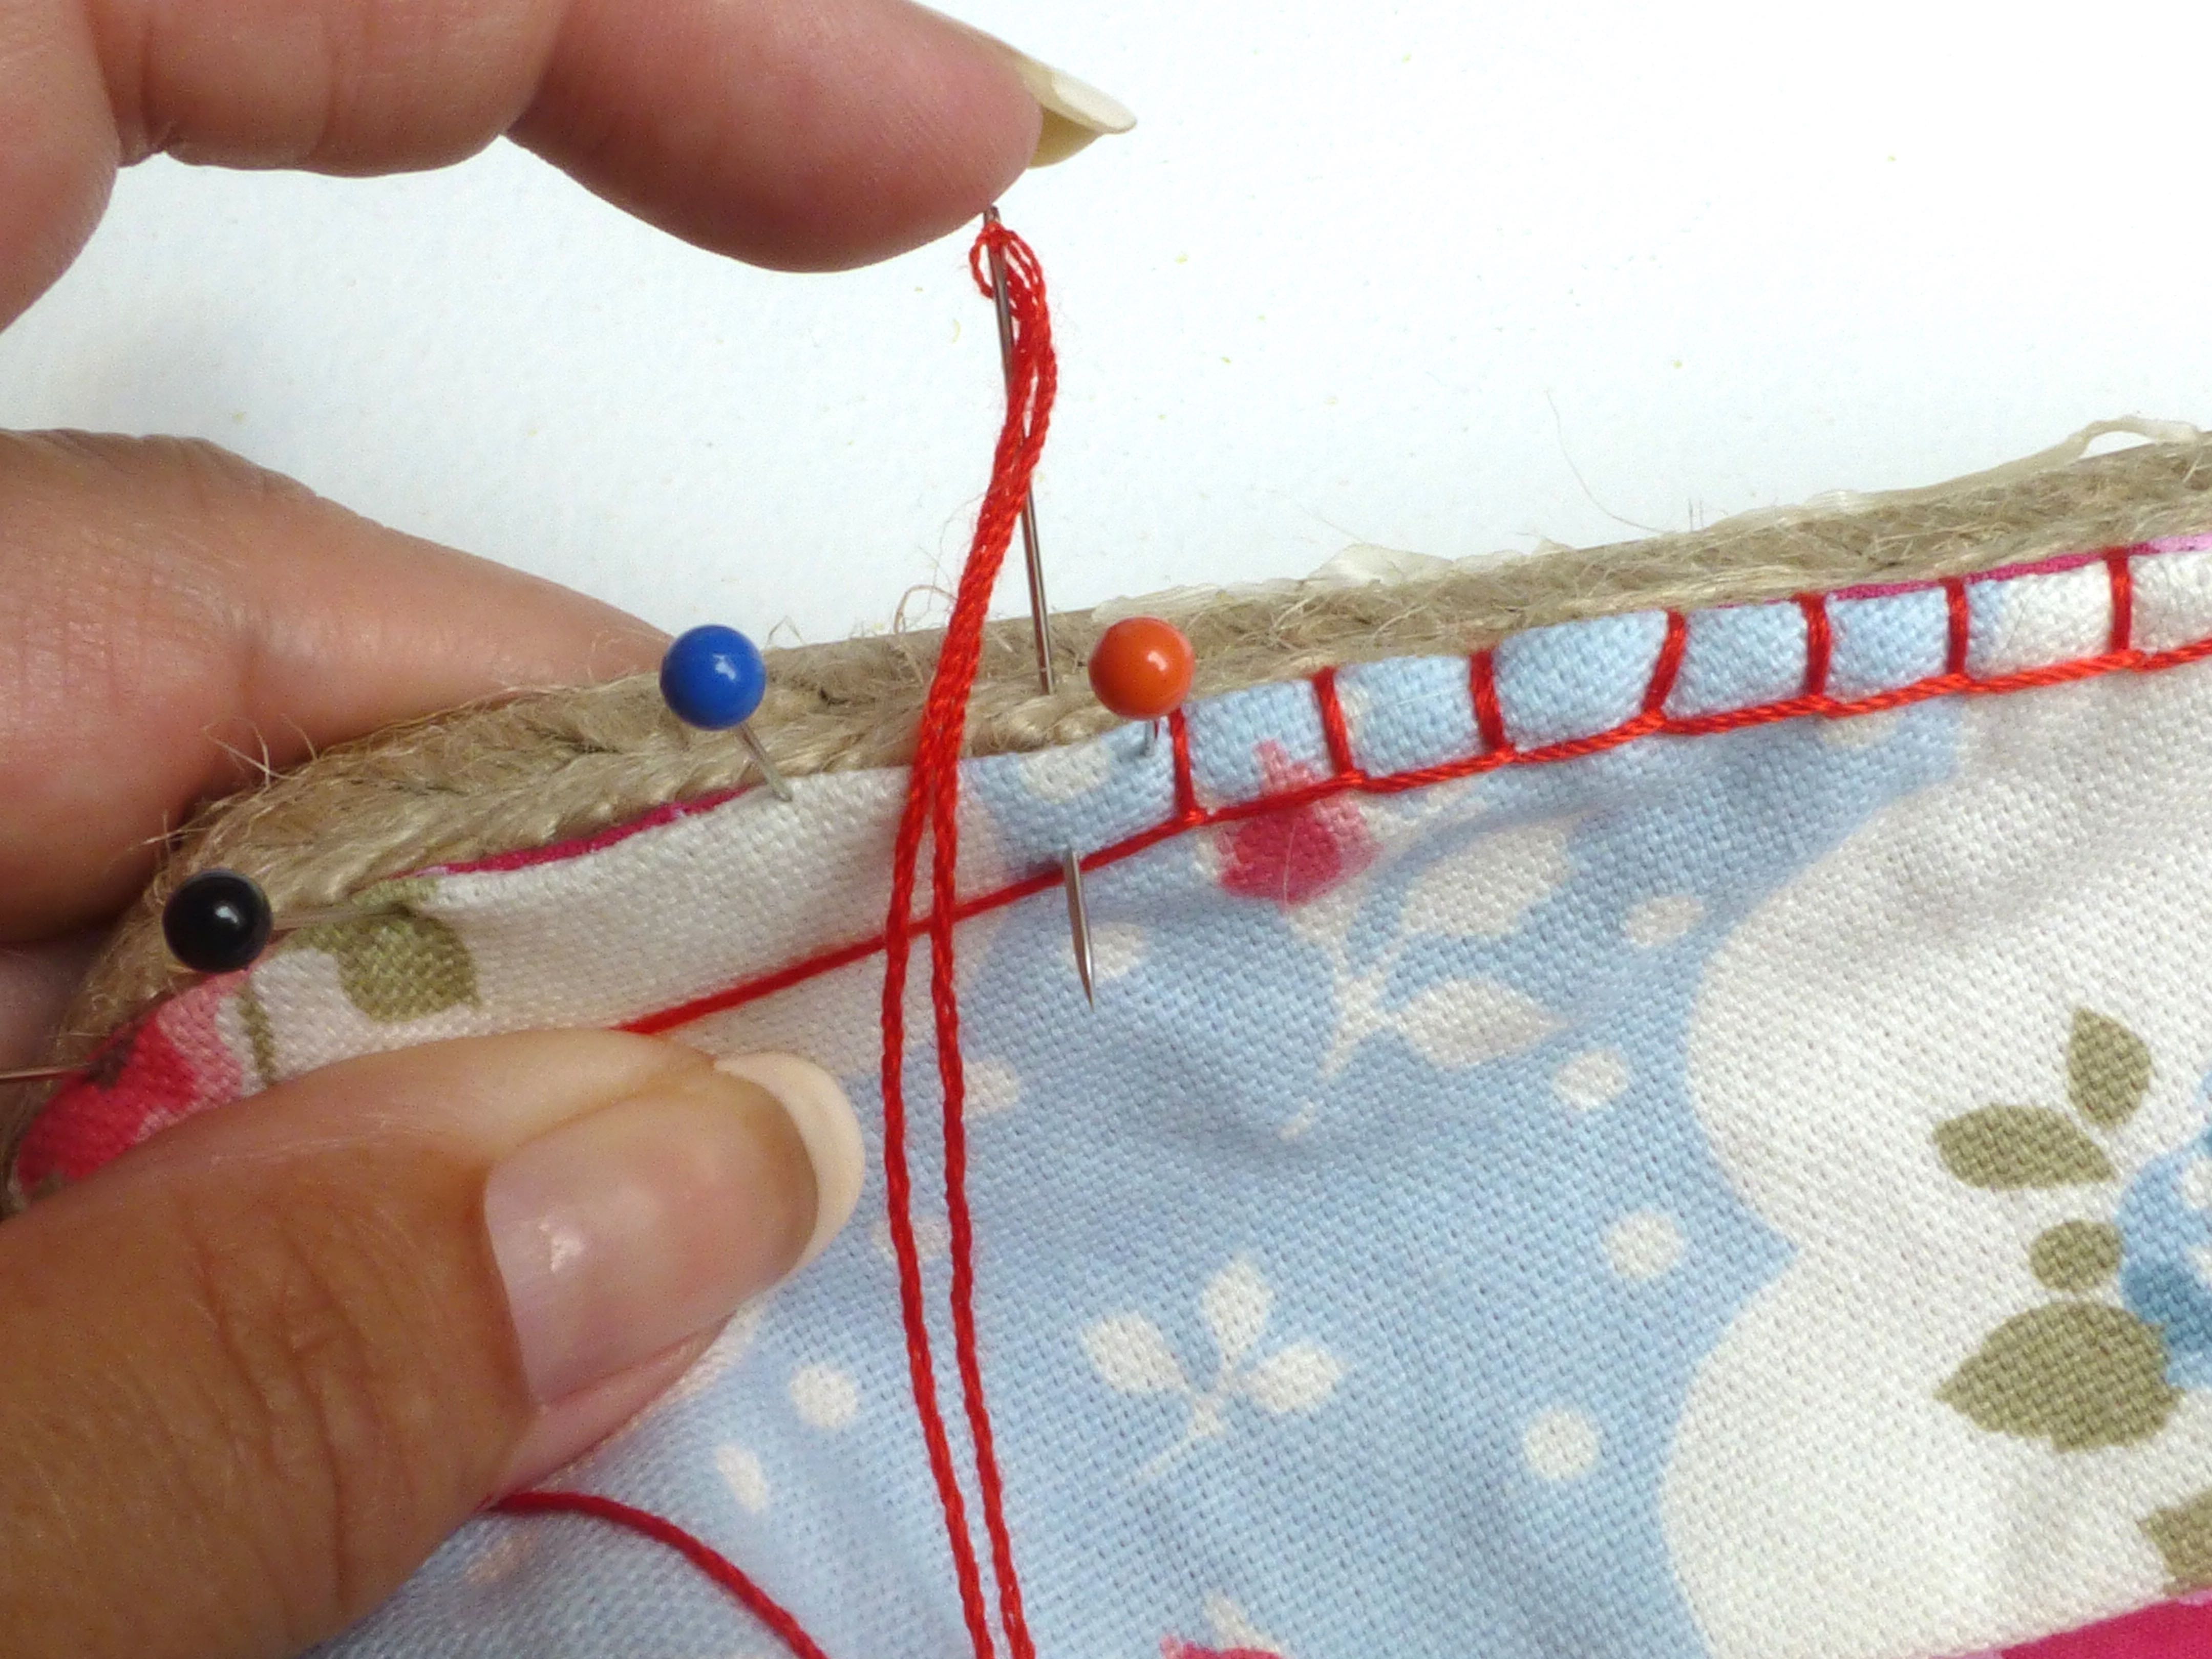
When the heel section is stitched on it should look like this: –

Next, the front is pinned on in a similar fashion, overlapping the heel section.

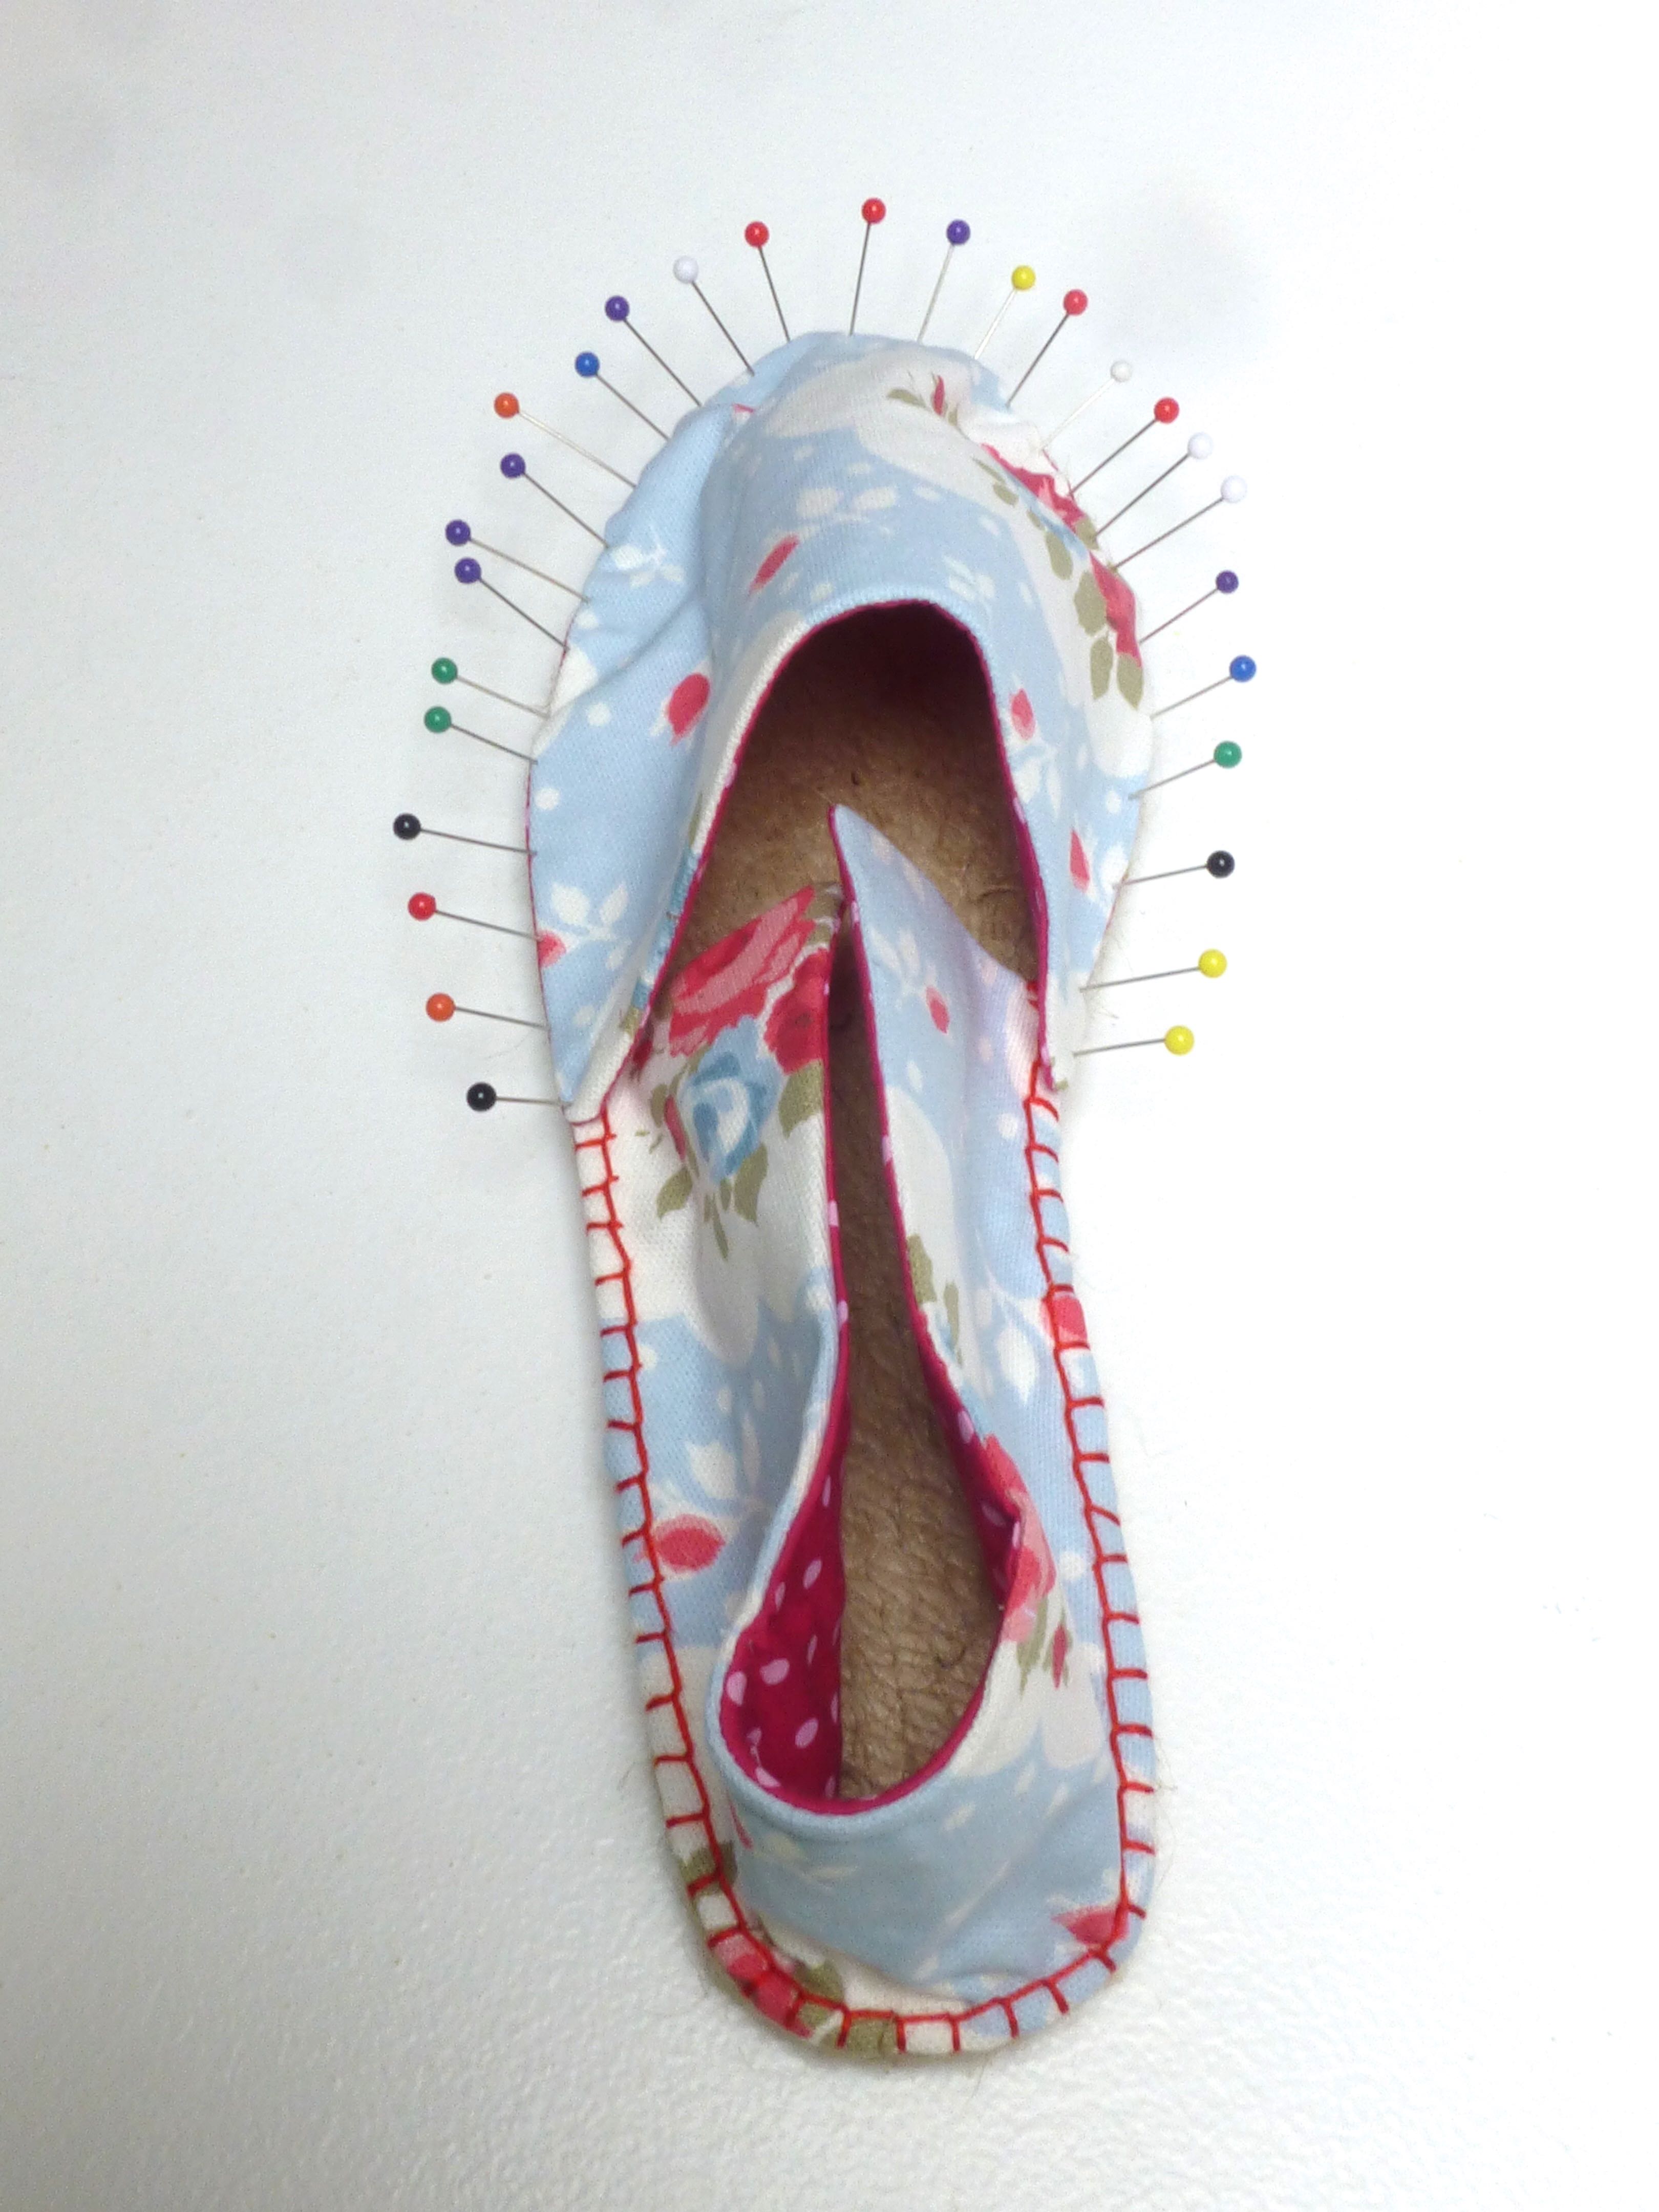
Blanket stitch is used all the way around the front and also to join the sides together.

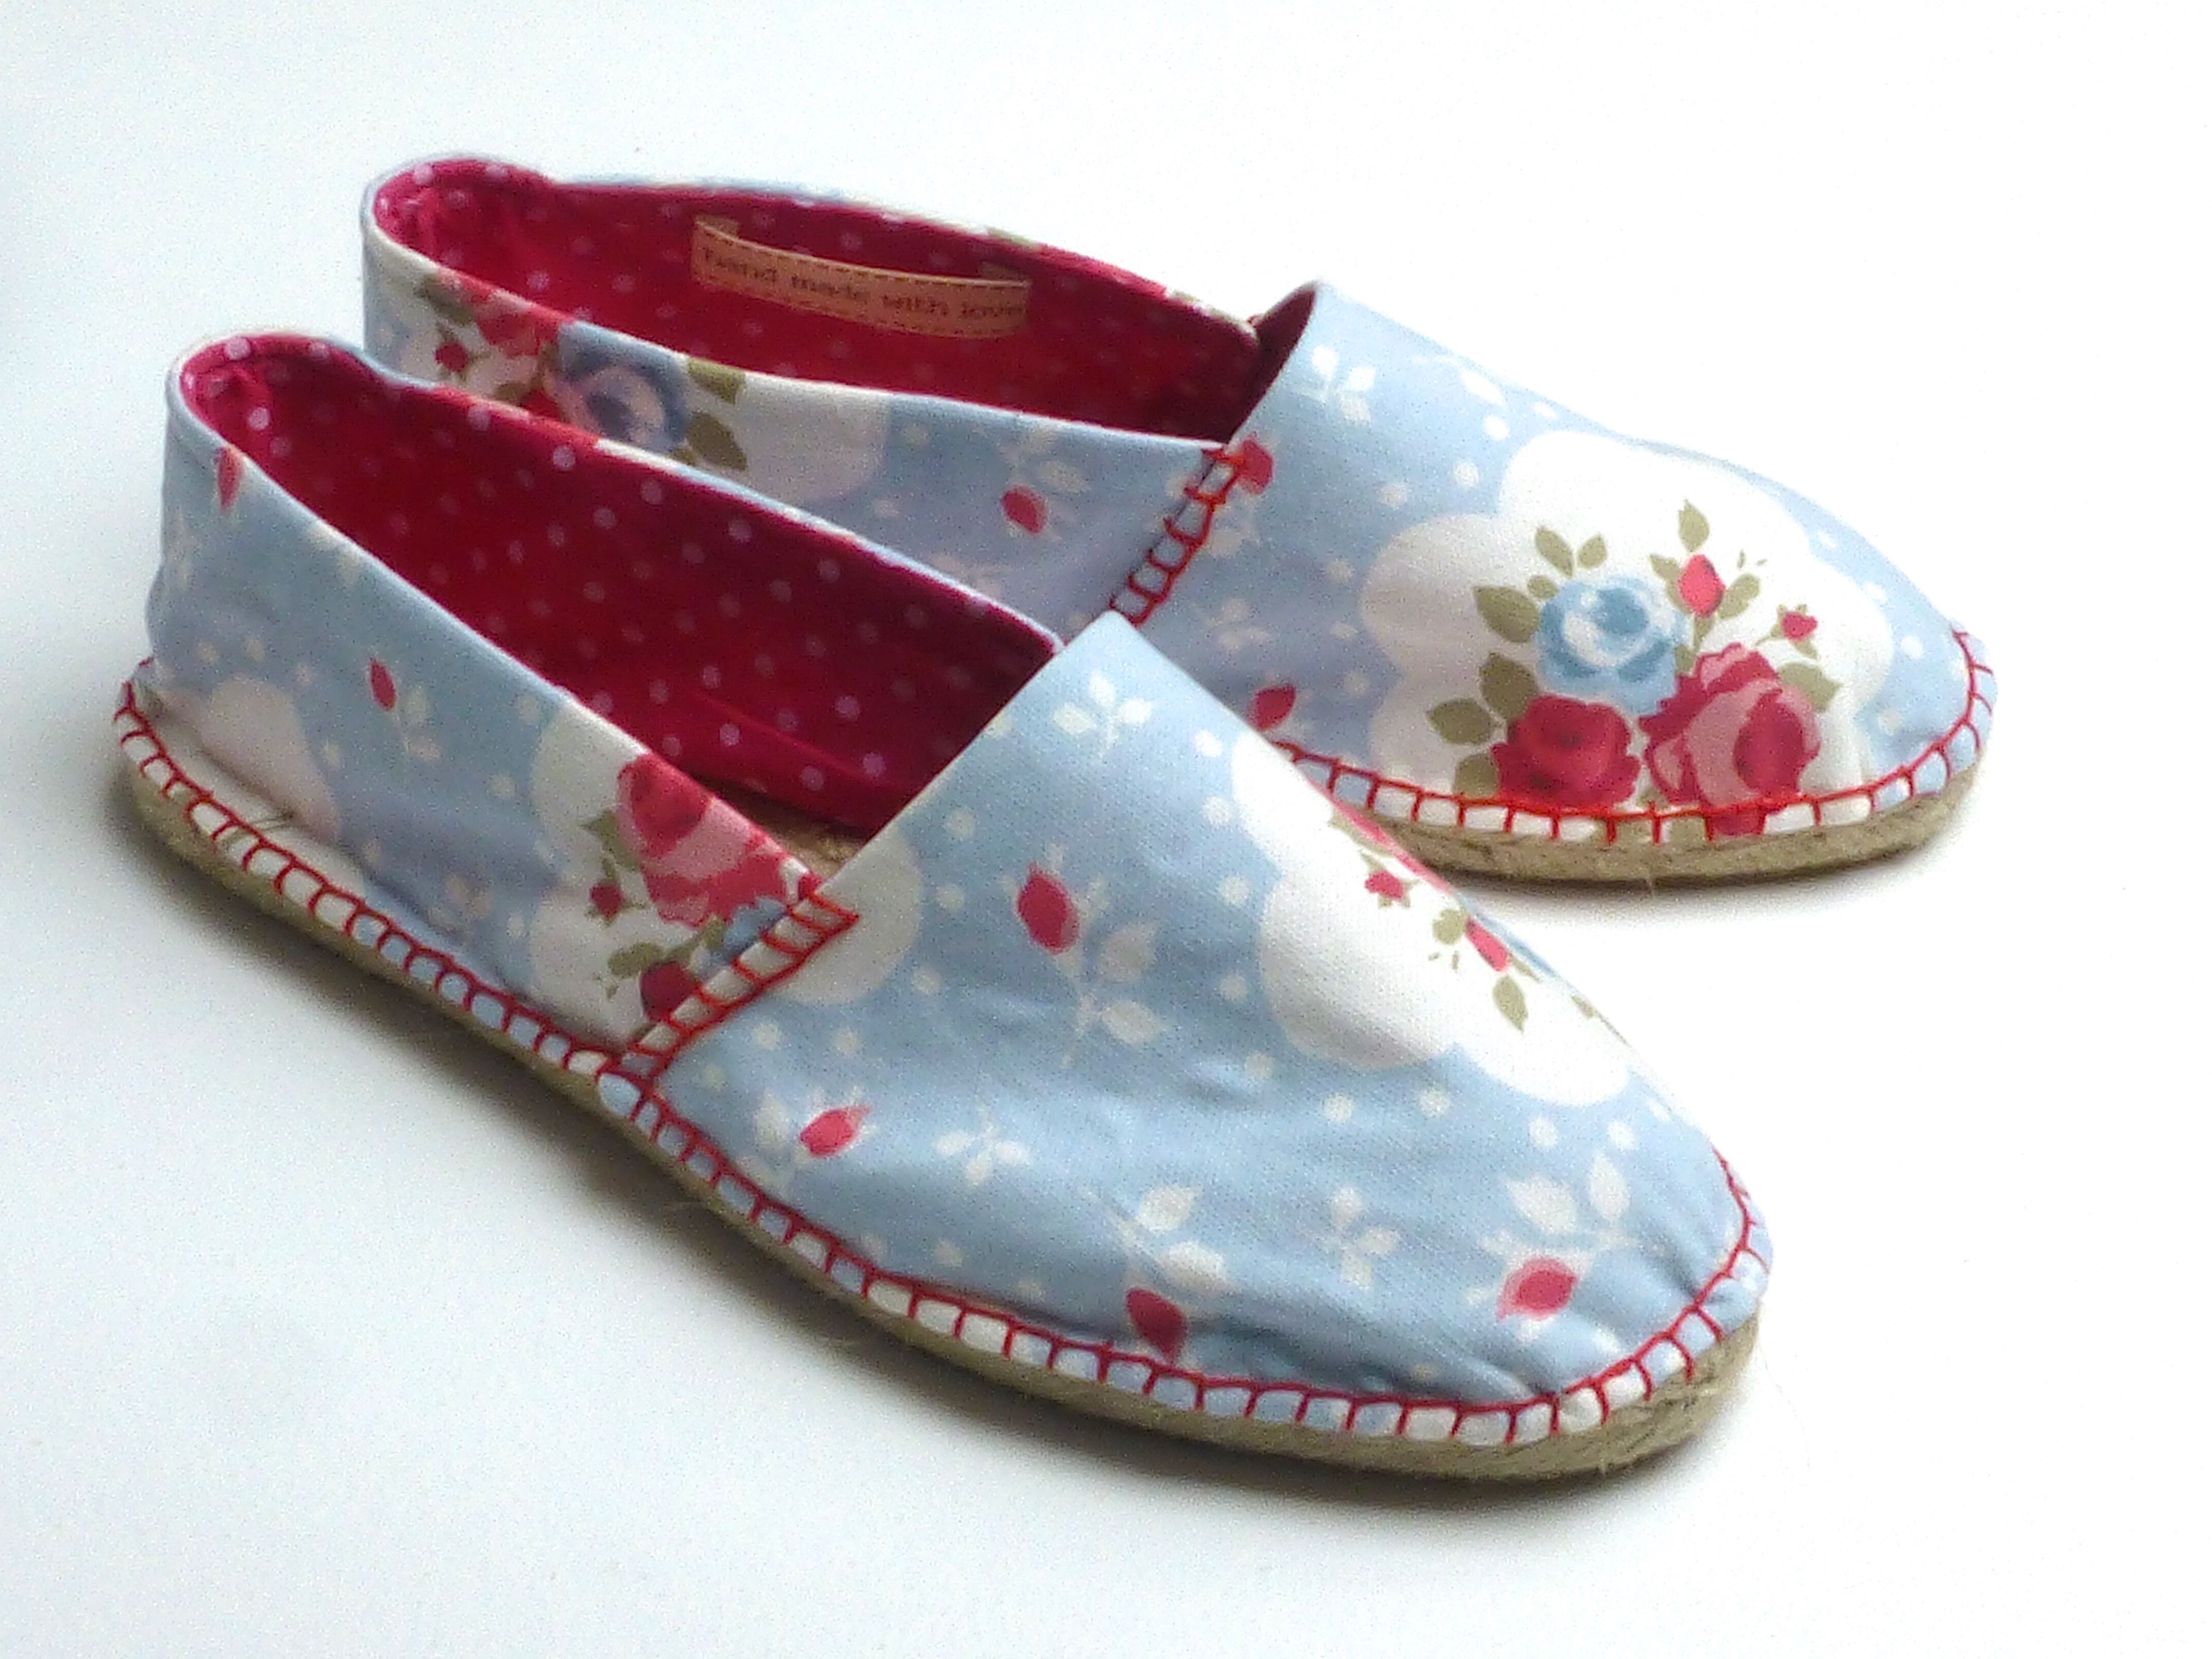
A “hand made with love” label adds a personal touch.

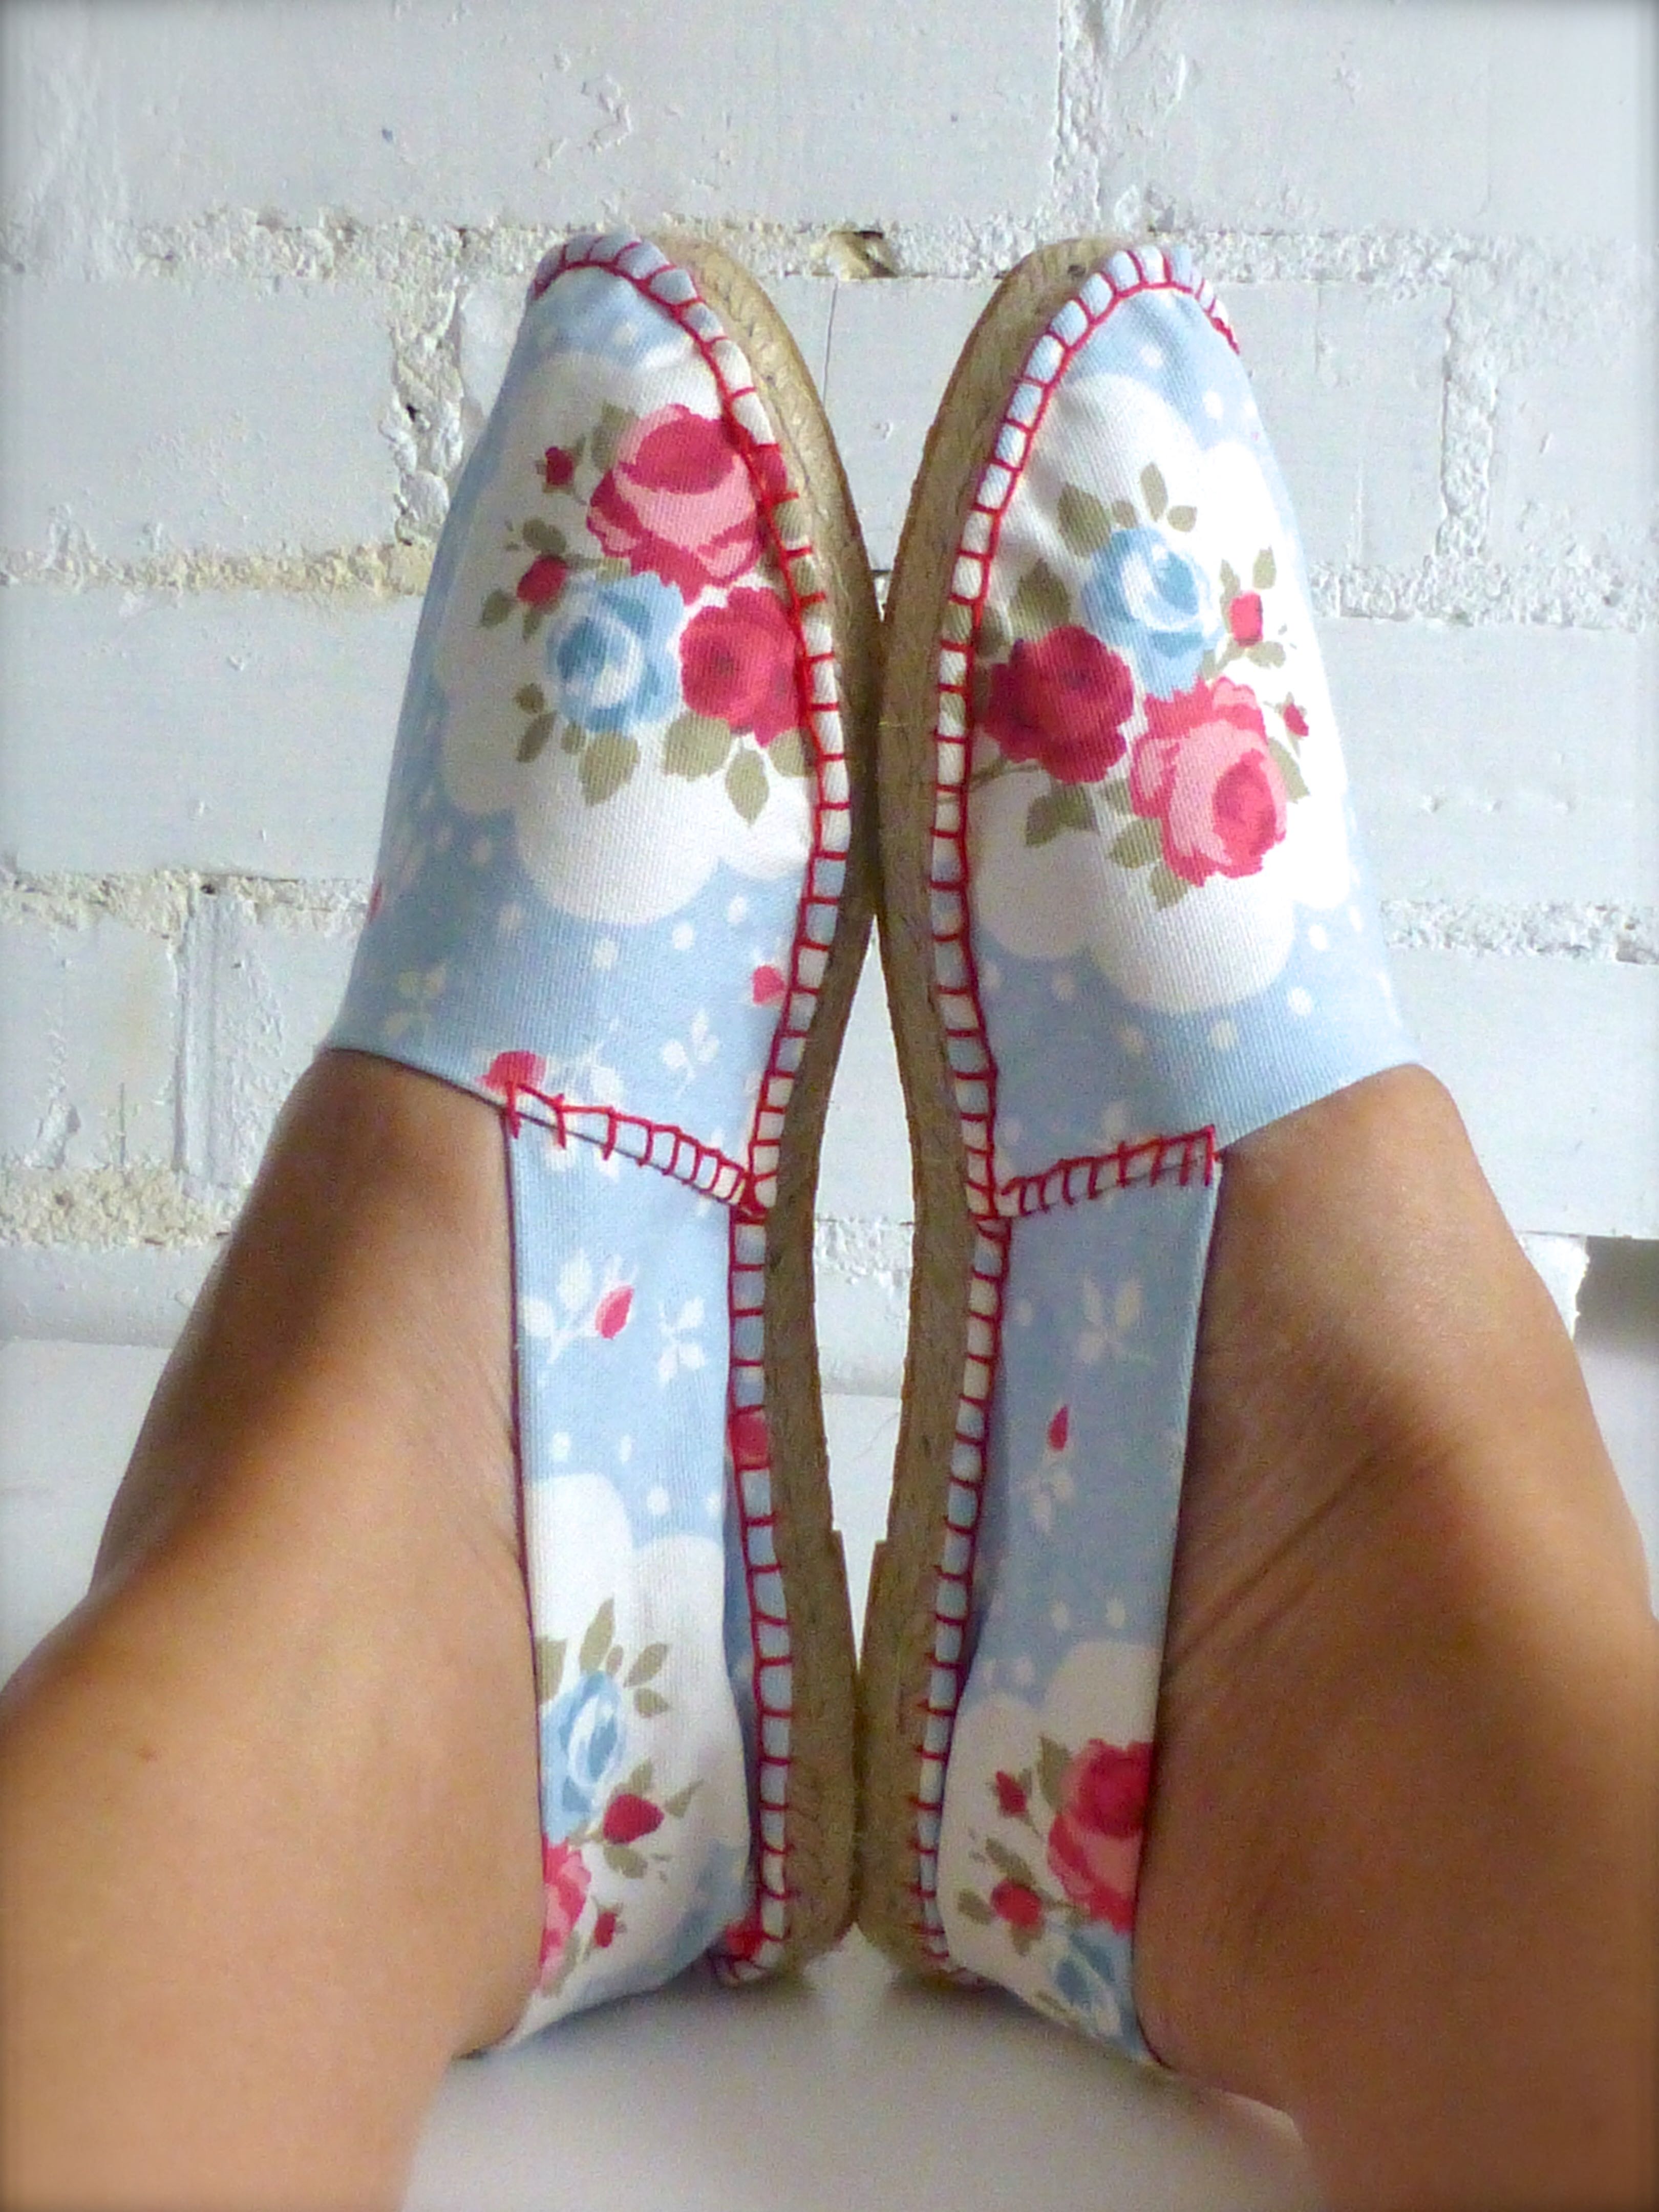
That’s it – finished!


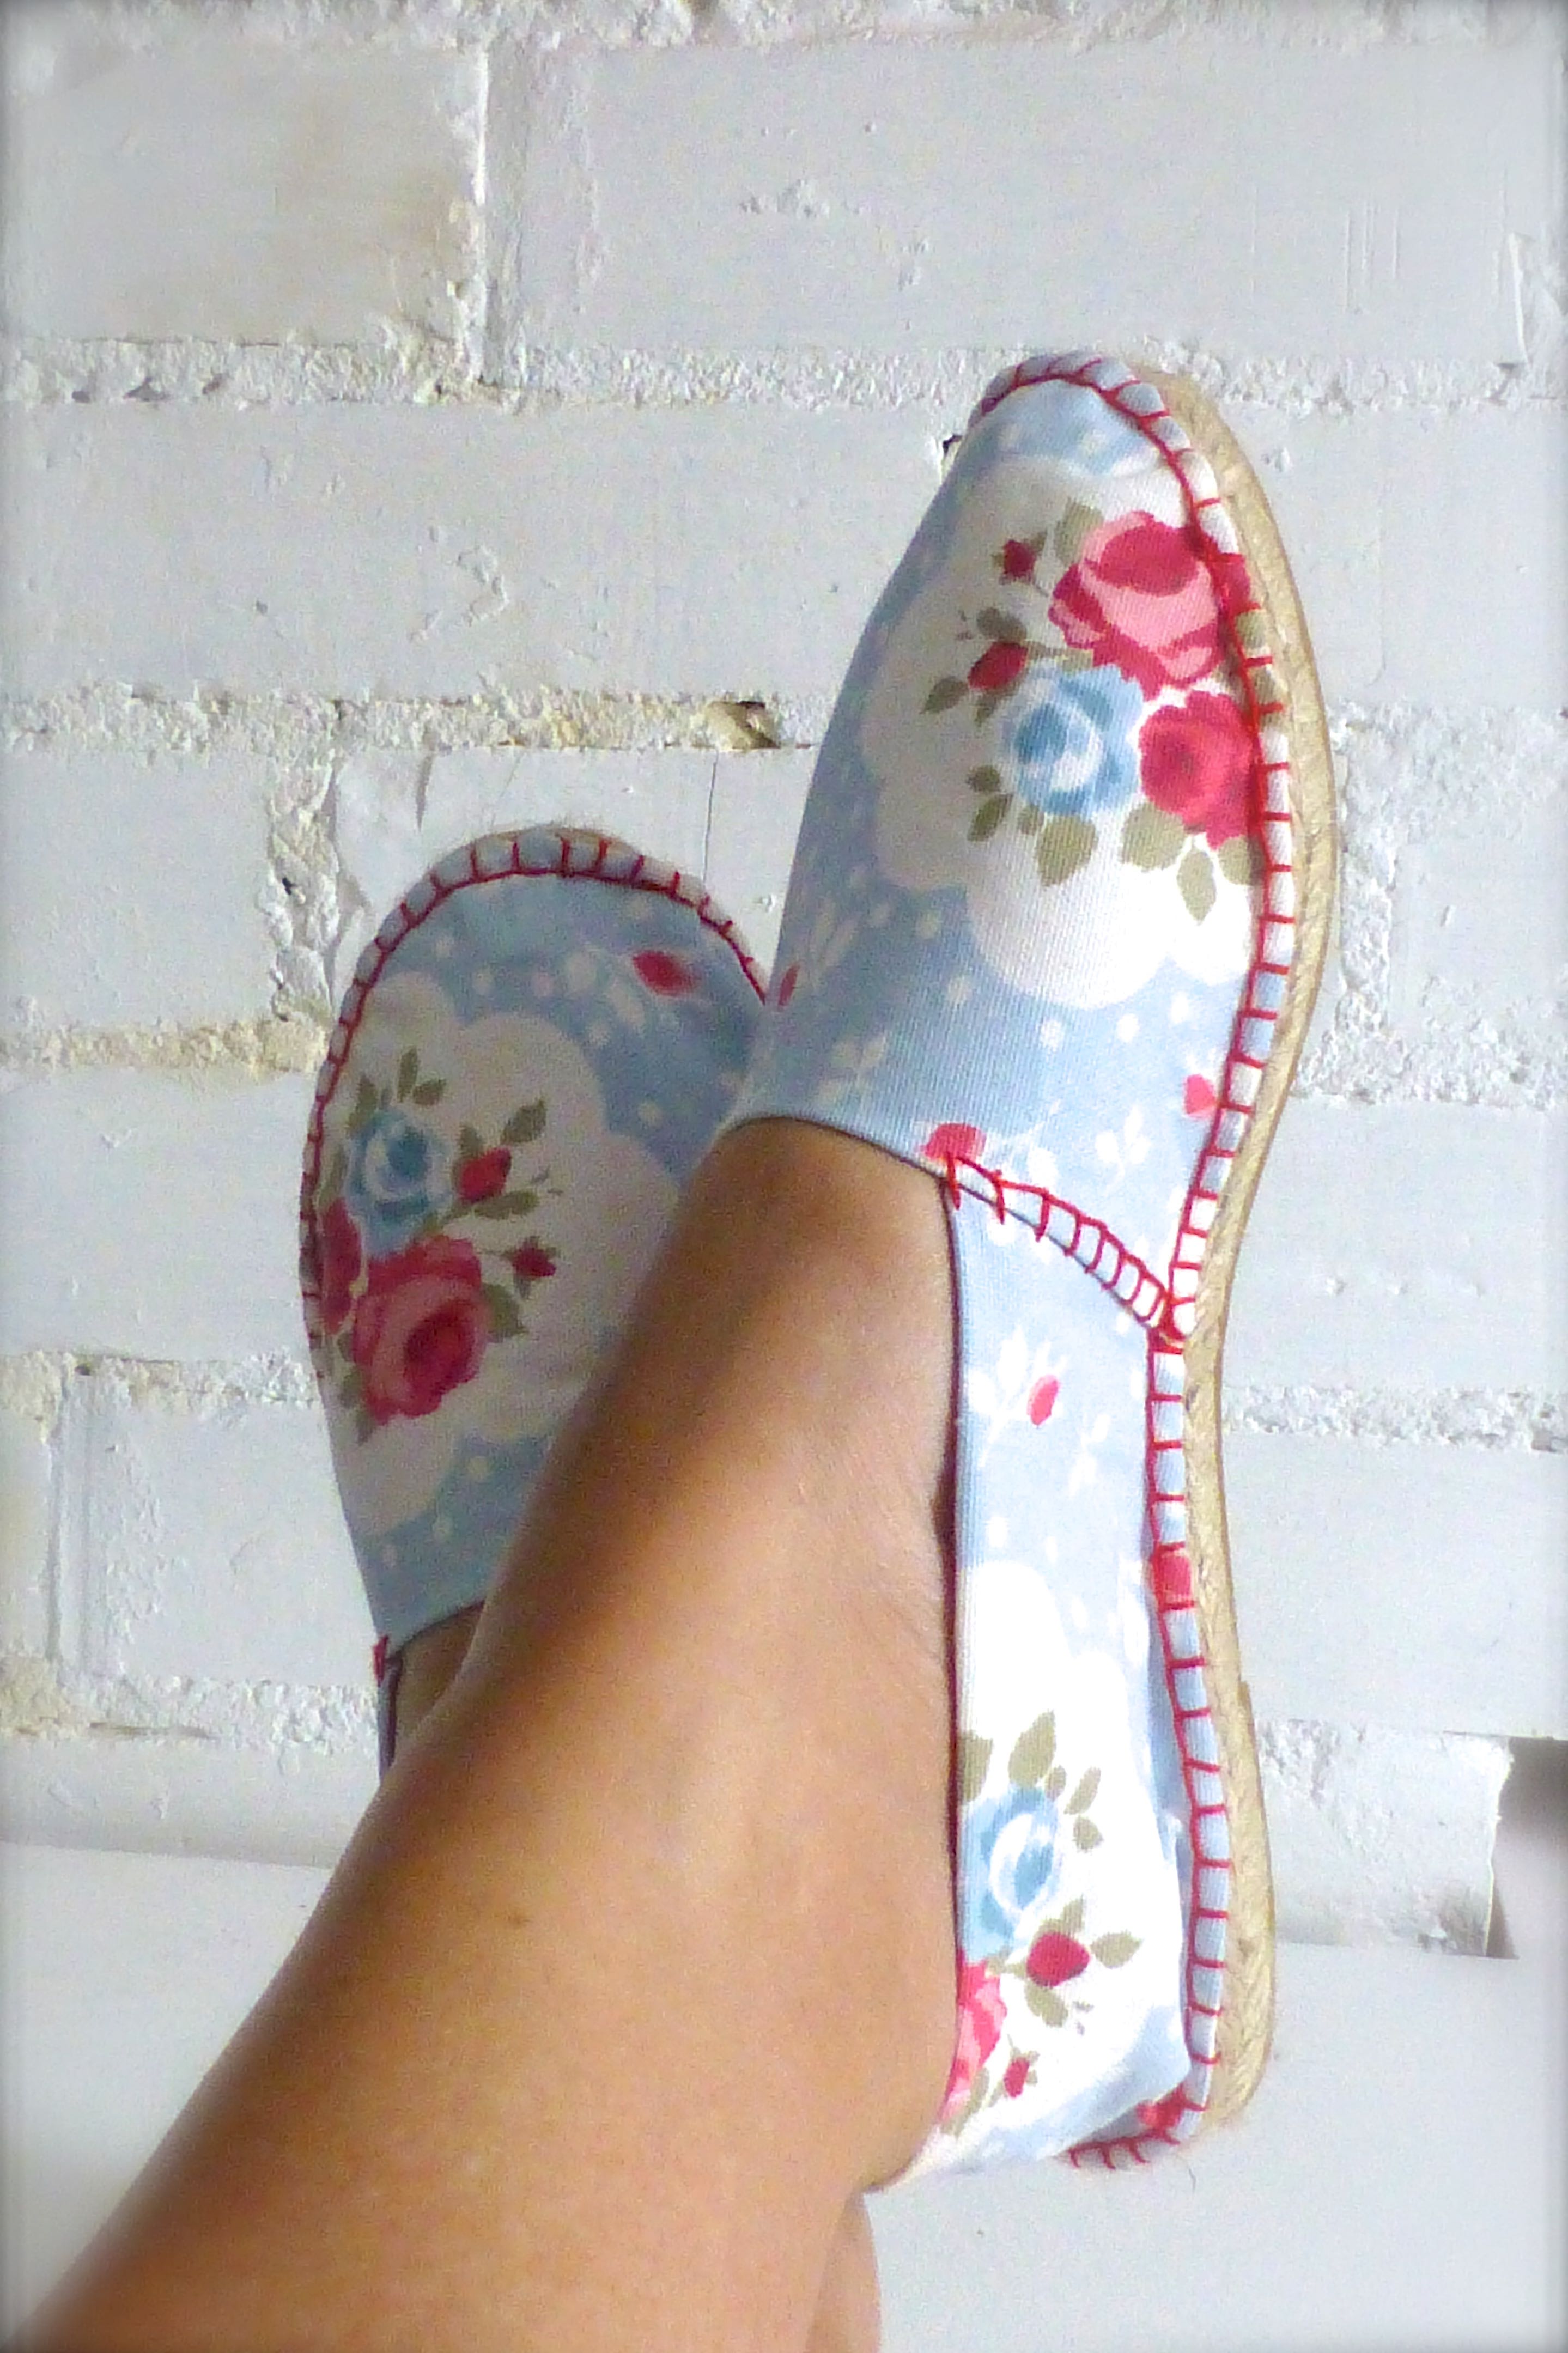
I thought I’d better show you what they look like on – have you any idea how difficult it is to take photographs of yourself wearing shoes?!
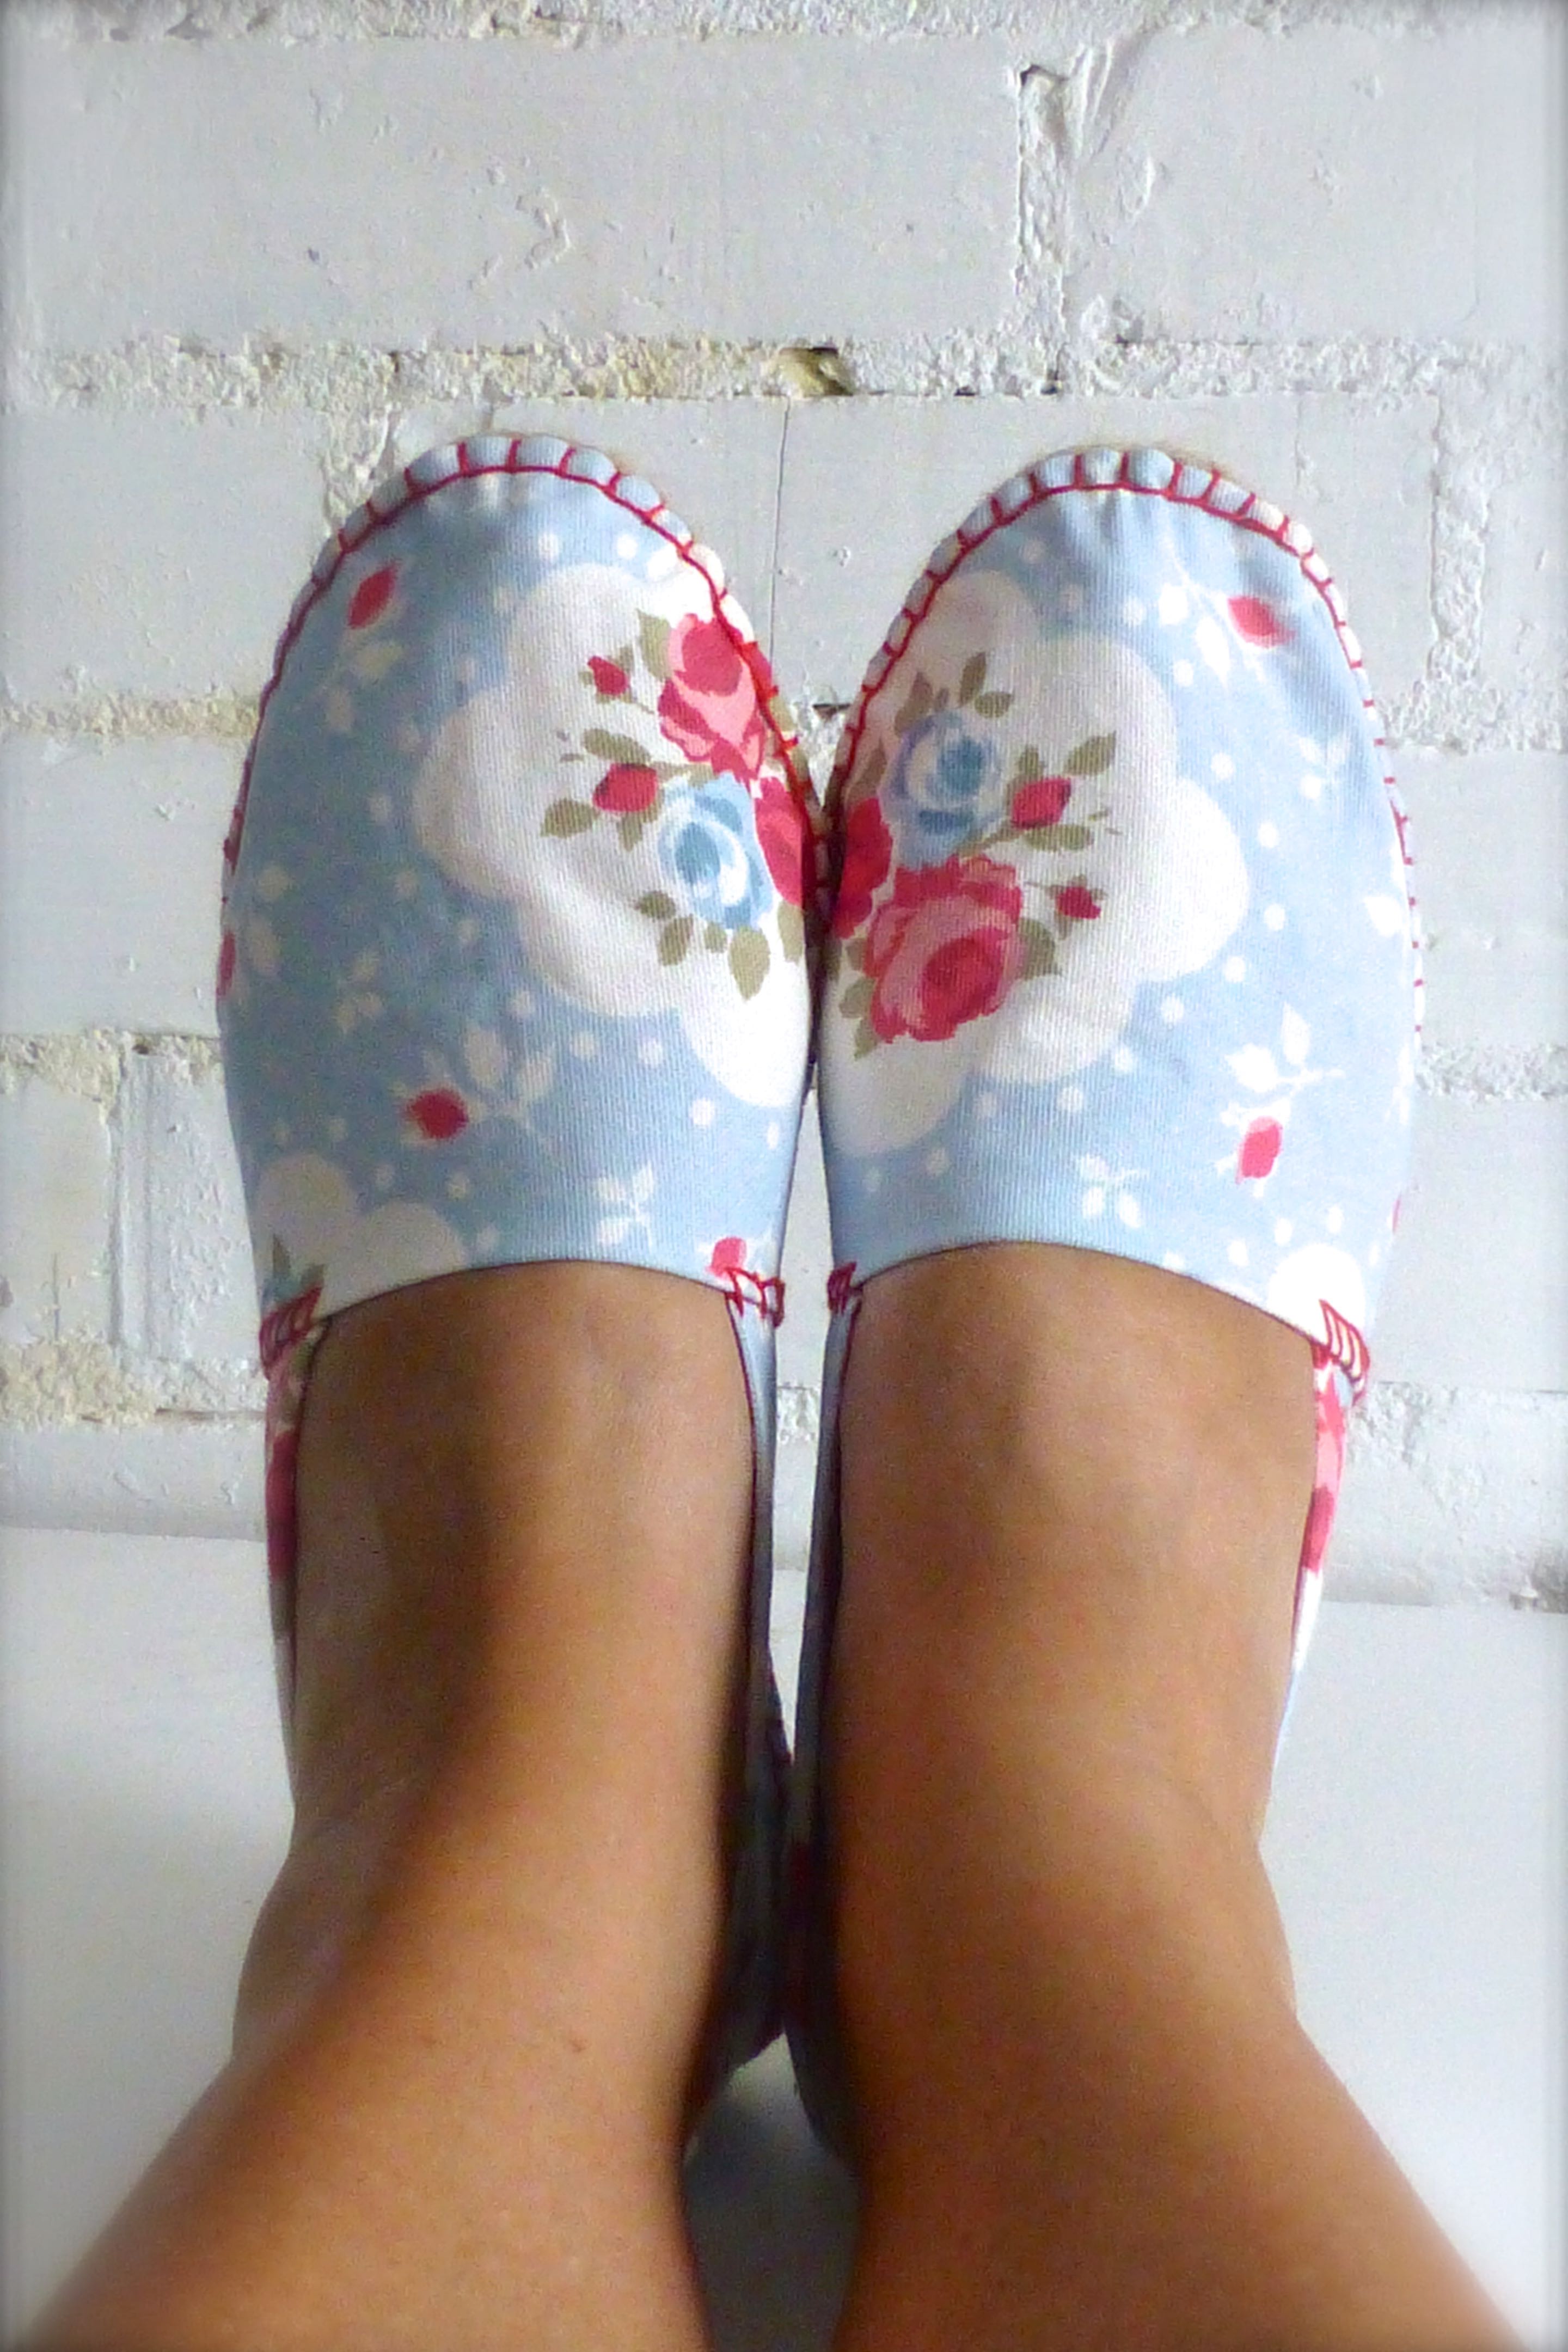
In the end I put my feet up on the table in my studio……
I’m pleased to report that the recipient was very pleased with her bespoke shoes and put them on immediately – they fit perfectly!
Has anyone else handmade their own espadrilles before?
