Sewchet

Sewing, crochet, crafts, accessories, baking, tutorials,


56 Comments

DIY Alternative To The “Cone of Shame”!

Back last Summer, Fifi had some mammary tumours removed and had to wear the Cone Of Shame for ten days. She hated it for the first few days, then gradually adapted to moving and sleeping with an unwieldy plastic funnel clipped to her neck.


This week, another trip to the Vet meant either another plastic cone, bandaging or some other method to prevent her from literally licking her wounds.

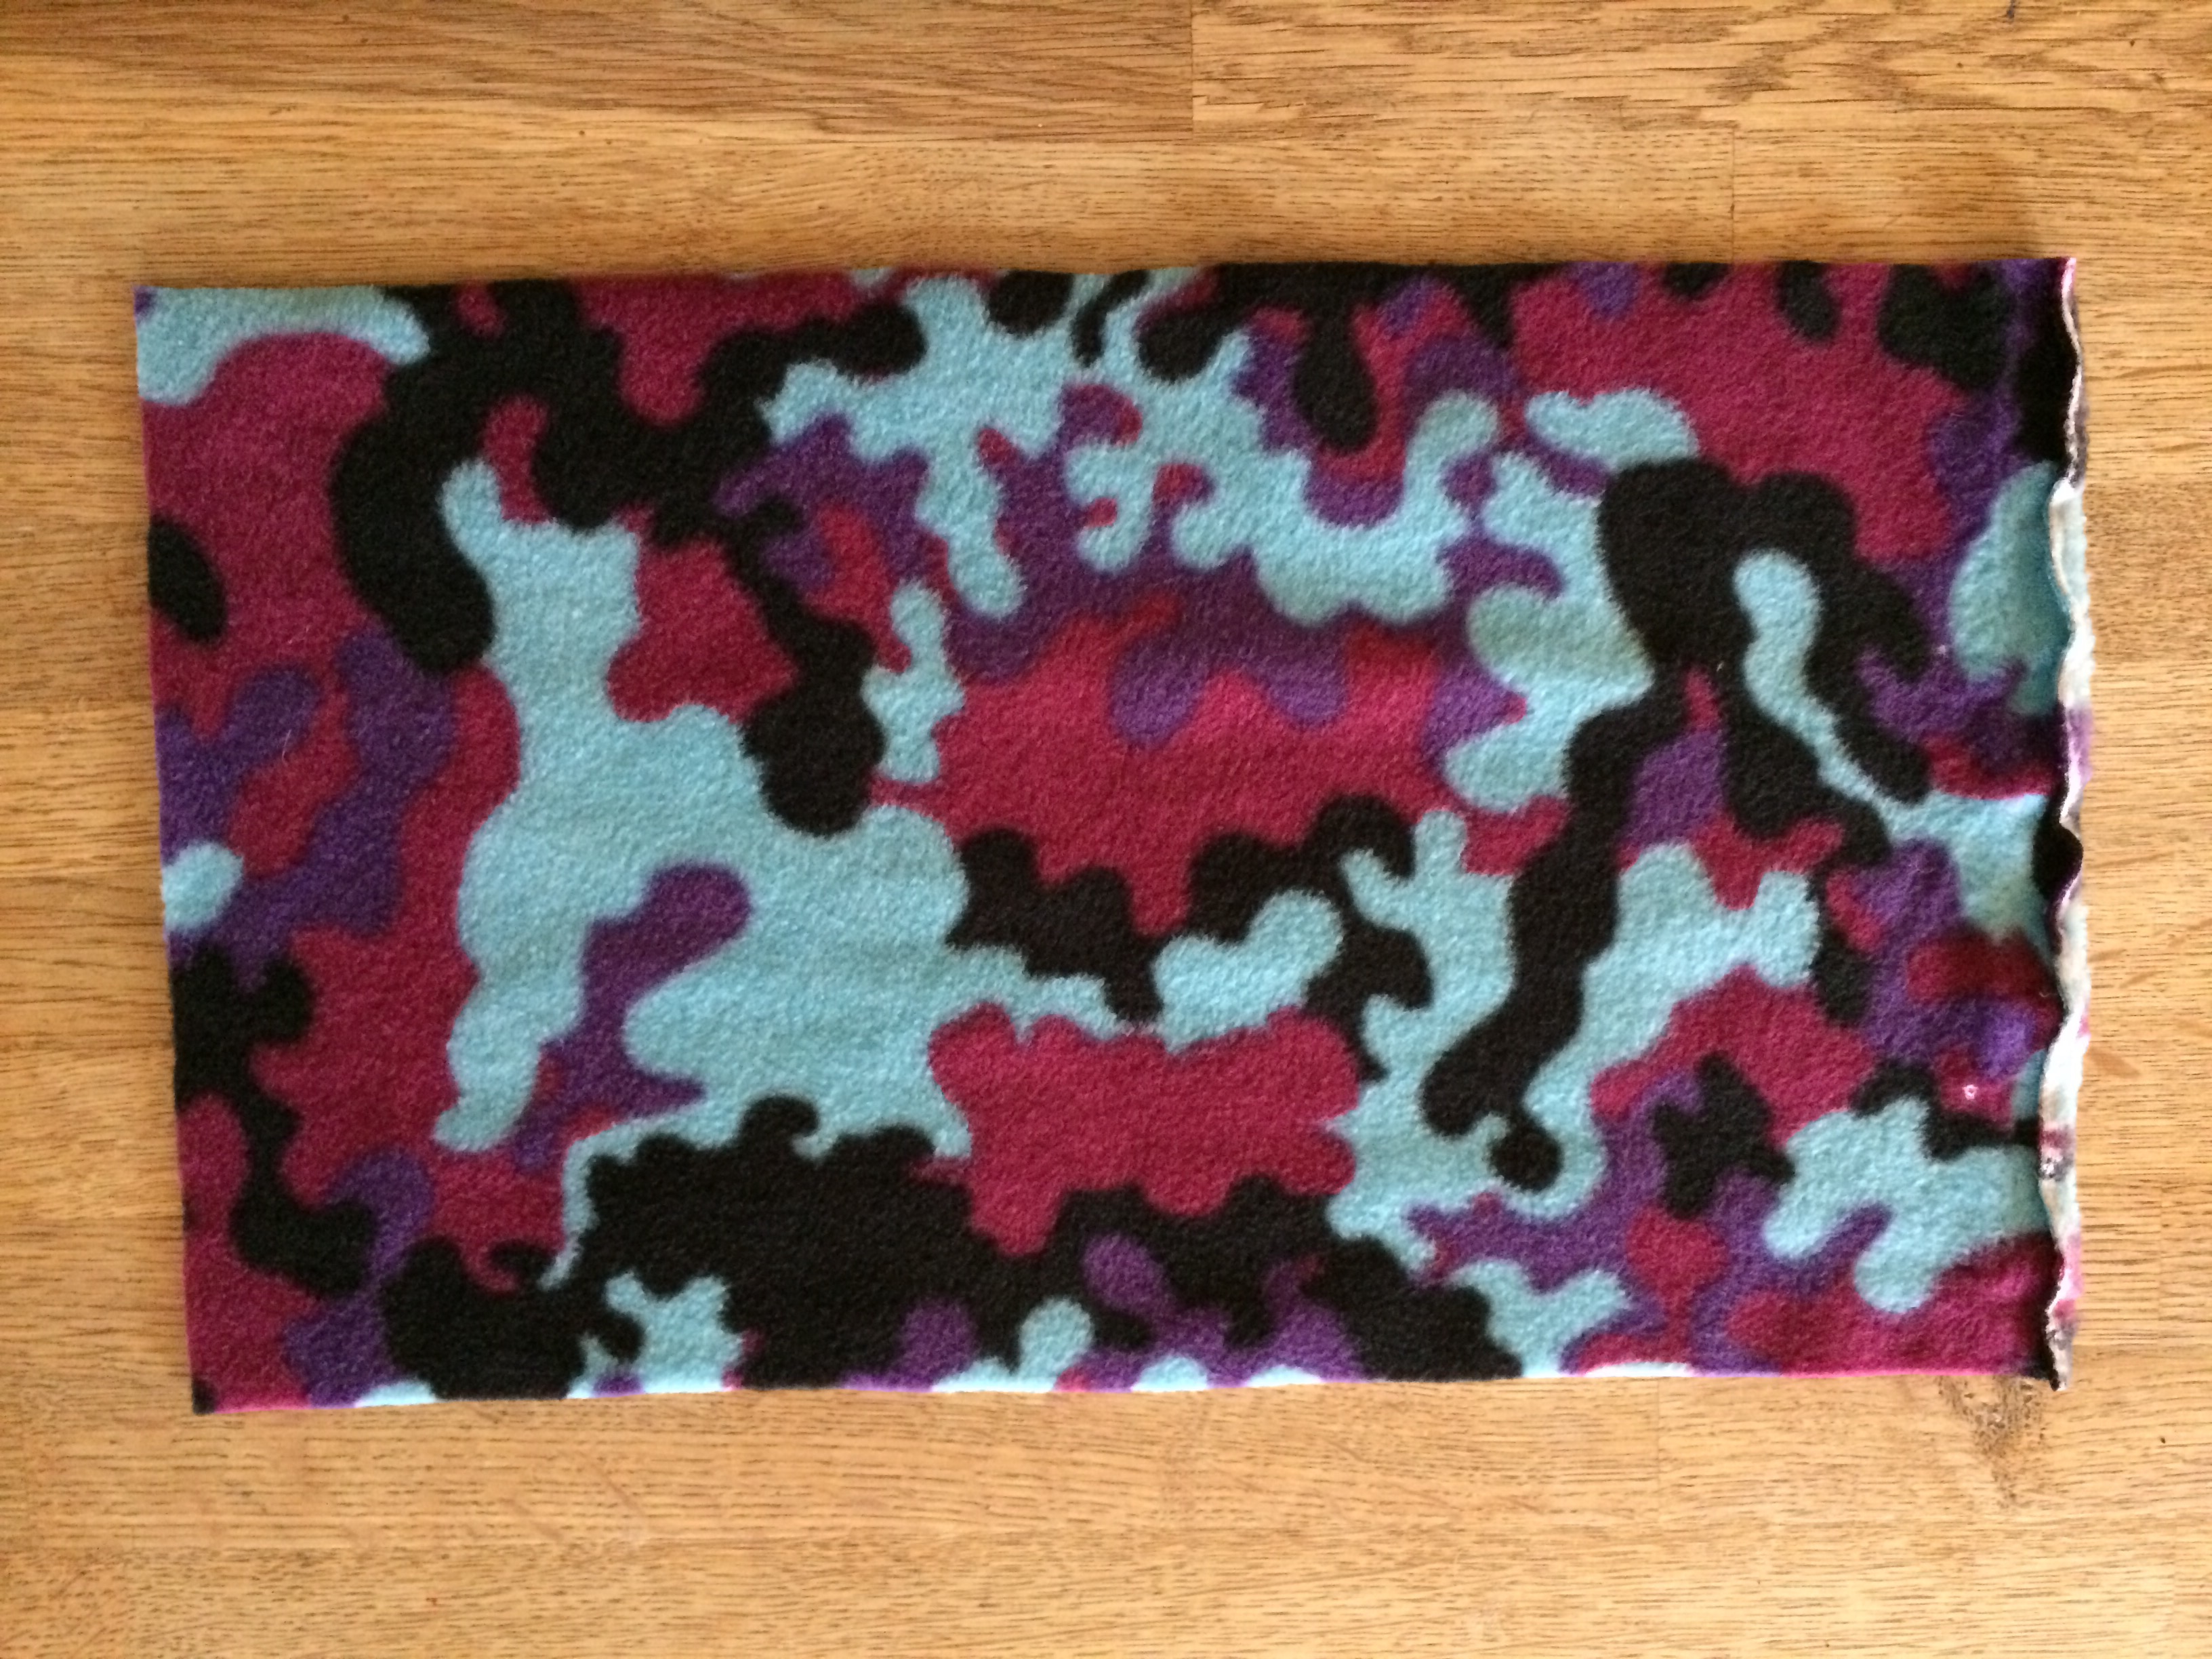
I found some leftover fleecy fabric from a nightshirt that No.3 Son made, and decided to make her a comfy coat instead. Whilst she already has several coats, none of them were long enough underbelly to cover the affected area.

So, for those of you who would rather not put your own dog through the trauma of The Cone, here’s a quick way to make a lick-prevention jacket.

 Measure your dog around the widest part of her ribs, just behind the front legs, then add an inch for seam allowances.

Measure from the back of her neck towards the tail, at a point just in front of the back legs (so he/she can still wee easily!).

Cut a rectangle of fabric to these measurements.


With right sides facing, sew the short ends together with a half inch seam.


I pressed open the seam and top stitched it flat so there would be no irritation next to the skin.


Measure the distance between the front legs and cut two leg holes on the underside. The distance from the neck to the legs will determine how far back these openings are placed.


Done.

How long did that take? Five minutes at the most, but your dog will thank you for your efforts, trust me!


See? She can’t get to her wound because the coat is completely covering it.


She soon gave up trying and settled down happily. 


And we’re happy because: –

a) she won’t keep us awake with her licky sounds all night long – you’d be surprised how loud (and annoying) licking can be in the middle of the night.

b) no oozing on the (very white) duvet cover. Yes, she sleeps on our bed. She’s 14, what the hell.

c) she can actually get comfortable and sleep, which is virtually impossible when wearing a plastic cone to bed.

Failing the ability to actually sew a seam, just grab one of hubby’s old long sleeve T-shirts, cut it to the right length and make two leg holes in the appropriate place. No sewing needed:)


53 Comments

Make-Your-Own Espadrilles

Another day, another birthday present to make, only this time it is something a bit unusual – a pair of handmade espadrilles!

I’ve made slippers and things along those lines before, but never a bonafide pair of shoes.

P1050948

The soles were by Prym and purchased online from The Makery in Bath.

P1050918

P1050919

The box includes templates for the uppers in various adult sizes, but I heeded advice from others who have previously made them and went down a size when making them. I cut out a UK size 5 for the recipient who has size 6 feet, and they fitted perfectly without slipping off.

P1050920

Although there were no instructions in the box, full step-by-step photographs can be found on the Prym website and it was those I followed.

If you are tempted to have a go at these be aware that seam allowances are NOT included – you have to add your own before cutting out!

P1050922

P1050923

I had a small amount of “Rosetta” fabric left over from making this cushion and make up bag, and decided to team it with a deep pink spotty lining.

The pattern consists of just two pieces – one for across the front and one for the heel.

P1050921

I added some fusible interfacing to the outside sections just to give the shoe some extra strength and stability.

P1050924

I also stretched a two-inch length of narrow elastic at the ankle edge just to make sure the shoes would stay on.

P1050926

The main fabric is sewn to the lining right sides together, then turned through a gap left in the stitching.

P1050929

I top stitched the elastic through all the layers for a strong and neat finish.

P1050931

P1050932

The toe section is sewn and turned in exactly the same way, cutting across the corners and notching around the curves as necessary.

P1050934

Next comes the fun bit!

You will need a leather needle to sew through the soles as the wedged point makes light work of it where a standard needle would hurt your finger after a while.

P1050938

The heel section is pinned to the sole…..

P1050935

….inserting the pins at an angle as shown below.

P1050936

I used three strands of embroidery floss to secure the fabric to the sole, using a blanket stitch.

P1050939

When the heel section is stitched on it should look like this: –

P1050940

Next, the front is pinned on in a similar fashion, overlapping the heel section.

P1050941

P1050942

Blanket stitch is used all the way around the front and also to join the sides together.

P1050952

A “hand made with love” label adds a personal touch.

P1050943

That’s it – finished!

P1050950

P1050949

P1050951

I thought I’d better show you what they look like on – have you any idea how difficult it is to take photographs of yourself wearing shoes?!

P1050946

In the end I put my feet up on the table in my studio……

P1050945

P1050947

I’m pleased to report that the recipient was very pleased with her bespoke shoes and put them on immediately – they fit perfectly!

Has anyone else handmade their own espadrilles before?