When I posted this photo on Instagram, of the “Best In Show” book of knitted dogs that I bought nearly-new for a bargain on Amazon, it had a mixed reception.
Some people thought I’d lost my marbles while others clearly saw the attraction of knitting such pointless-but-cute objects.
So, when the other one in the series one popped up at a knock-down price, obviously I snapped it up!
Almost instantly, a lovely Instagrammer from Australia contacted me and asked if I’d consider a commission for her of a West Highland Terrier, a “Westie”.
Of course, I jumped at the chance to have a bonafide excuse to actually go ahead and make one, so agreed straight away.
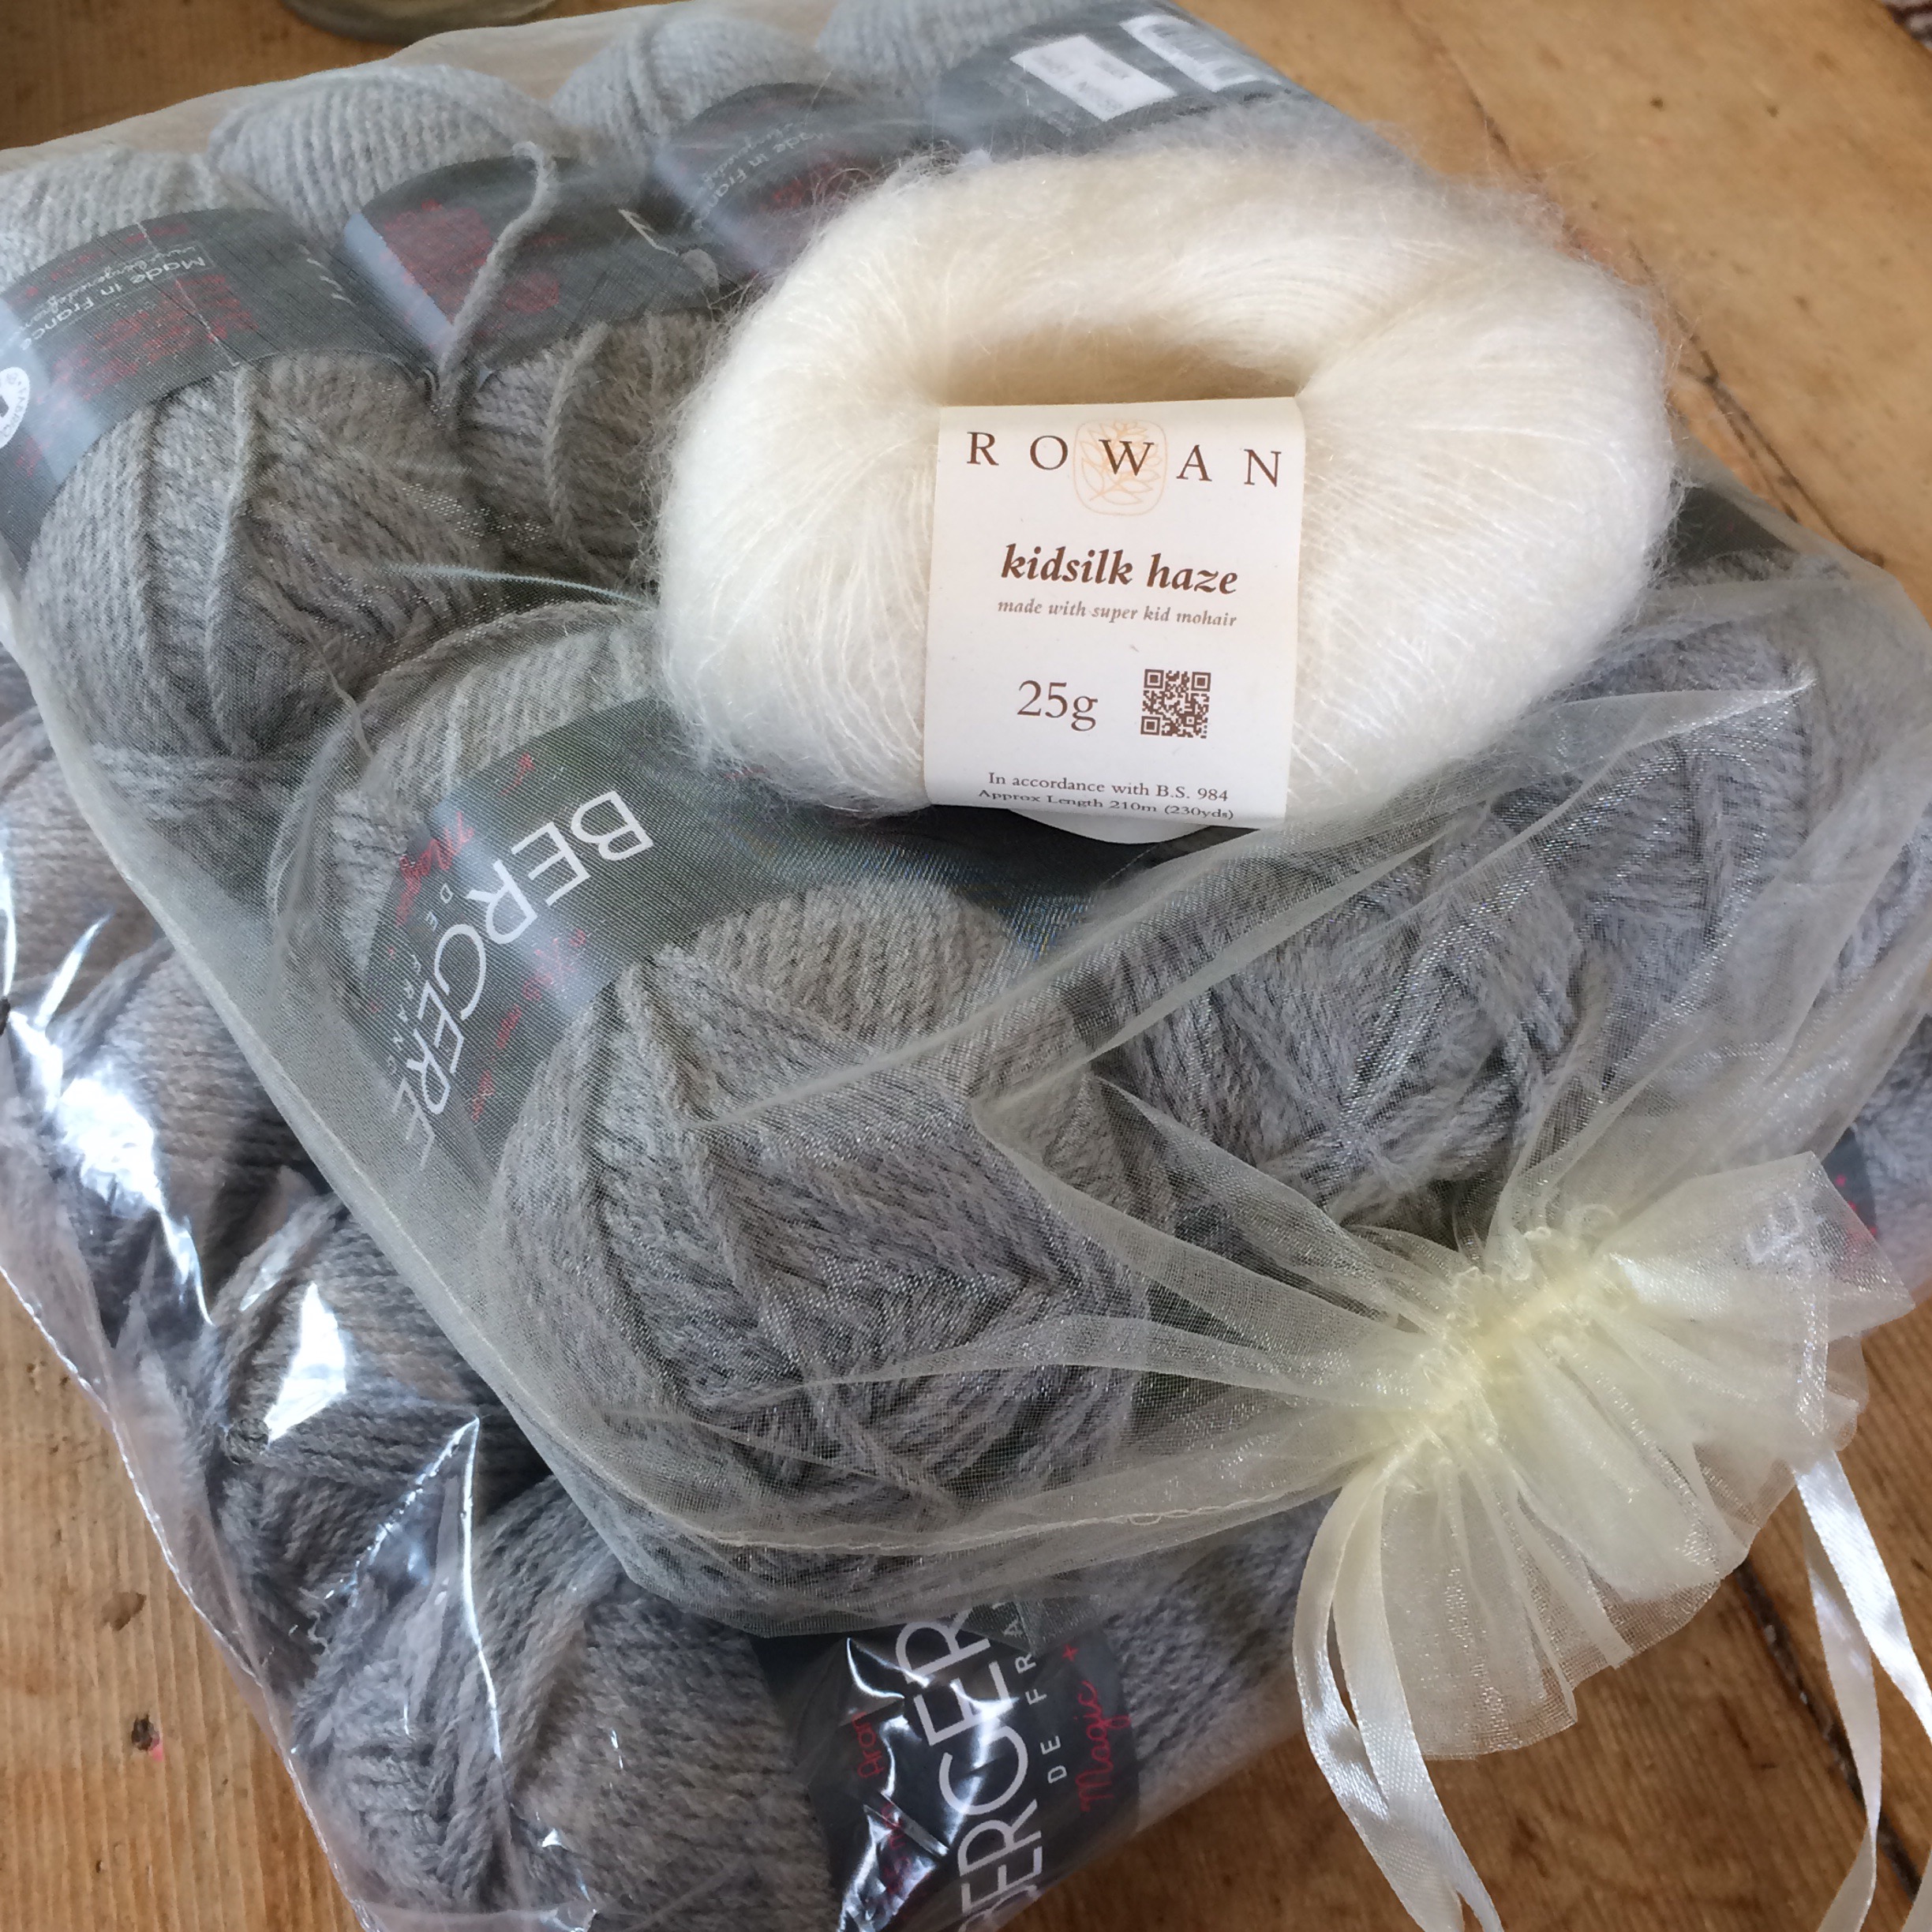
Unfortunately, there is no local stockist of Rowland Kidsilk Haze, so I had the ideal opportunity to put together a larger order with an online stockist to include yarn for a poncho that I’d admired for a long time.
Armed with everything I needed, I couldn’t wait to cast on.
The fuzzy nature of the mohair would be perfect to imitate the fur of a Westie. Two strands of yarn are held together throughout.
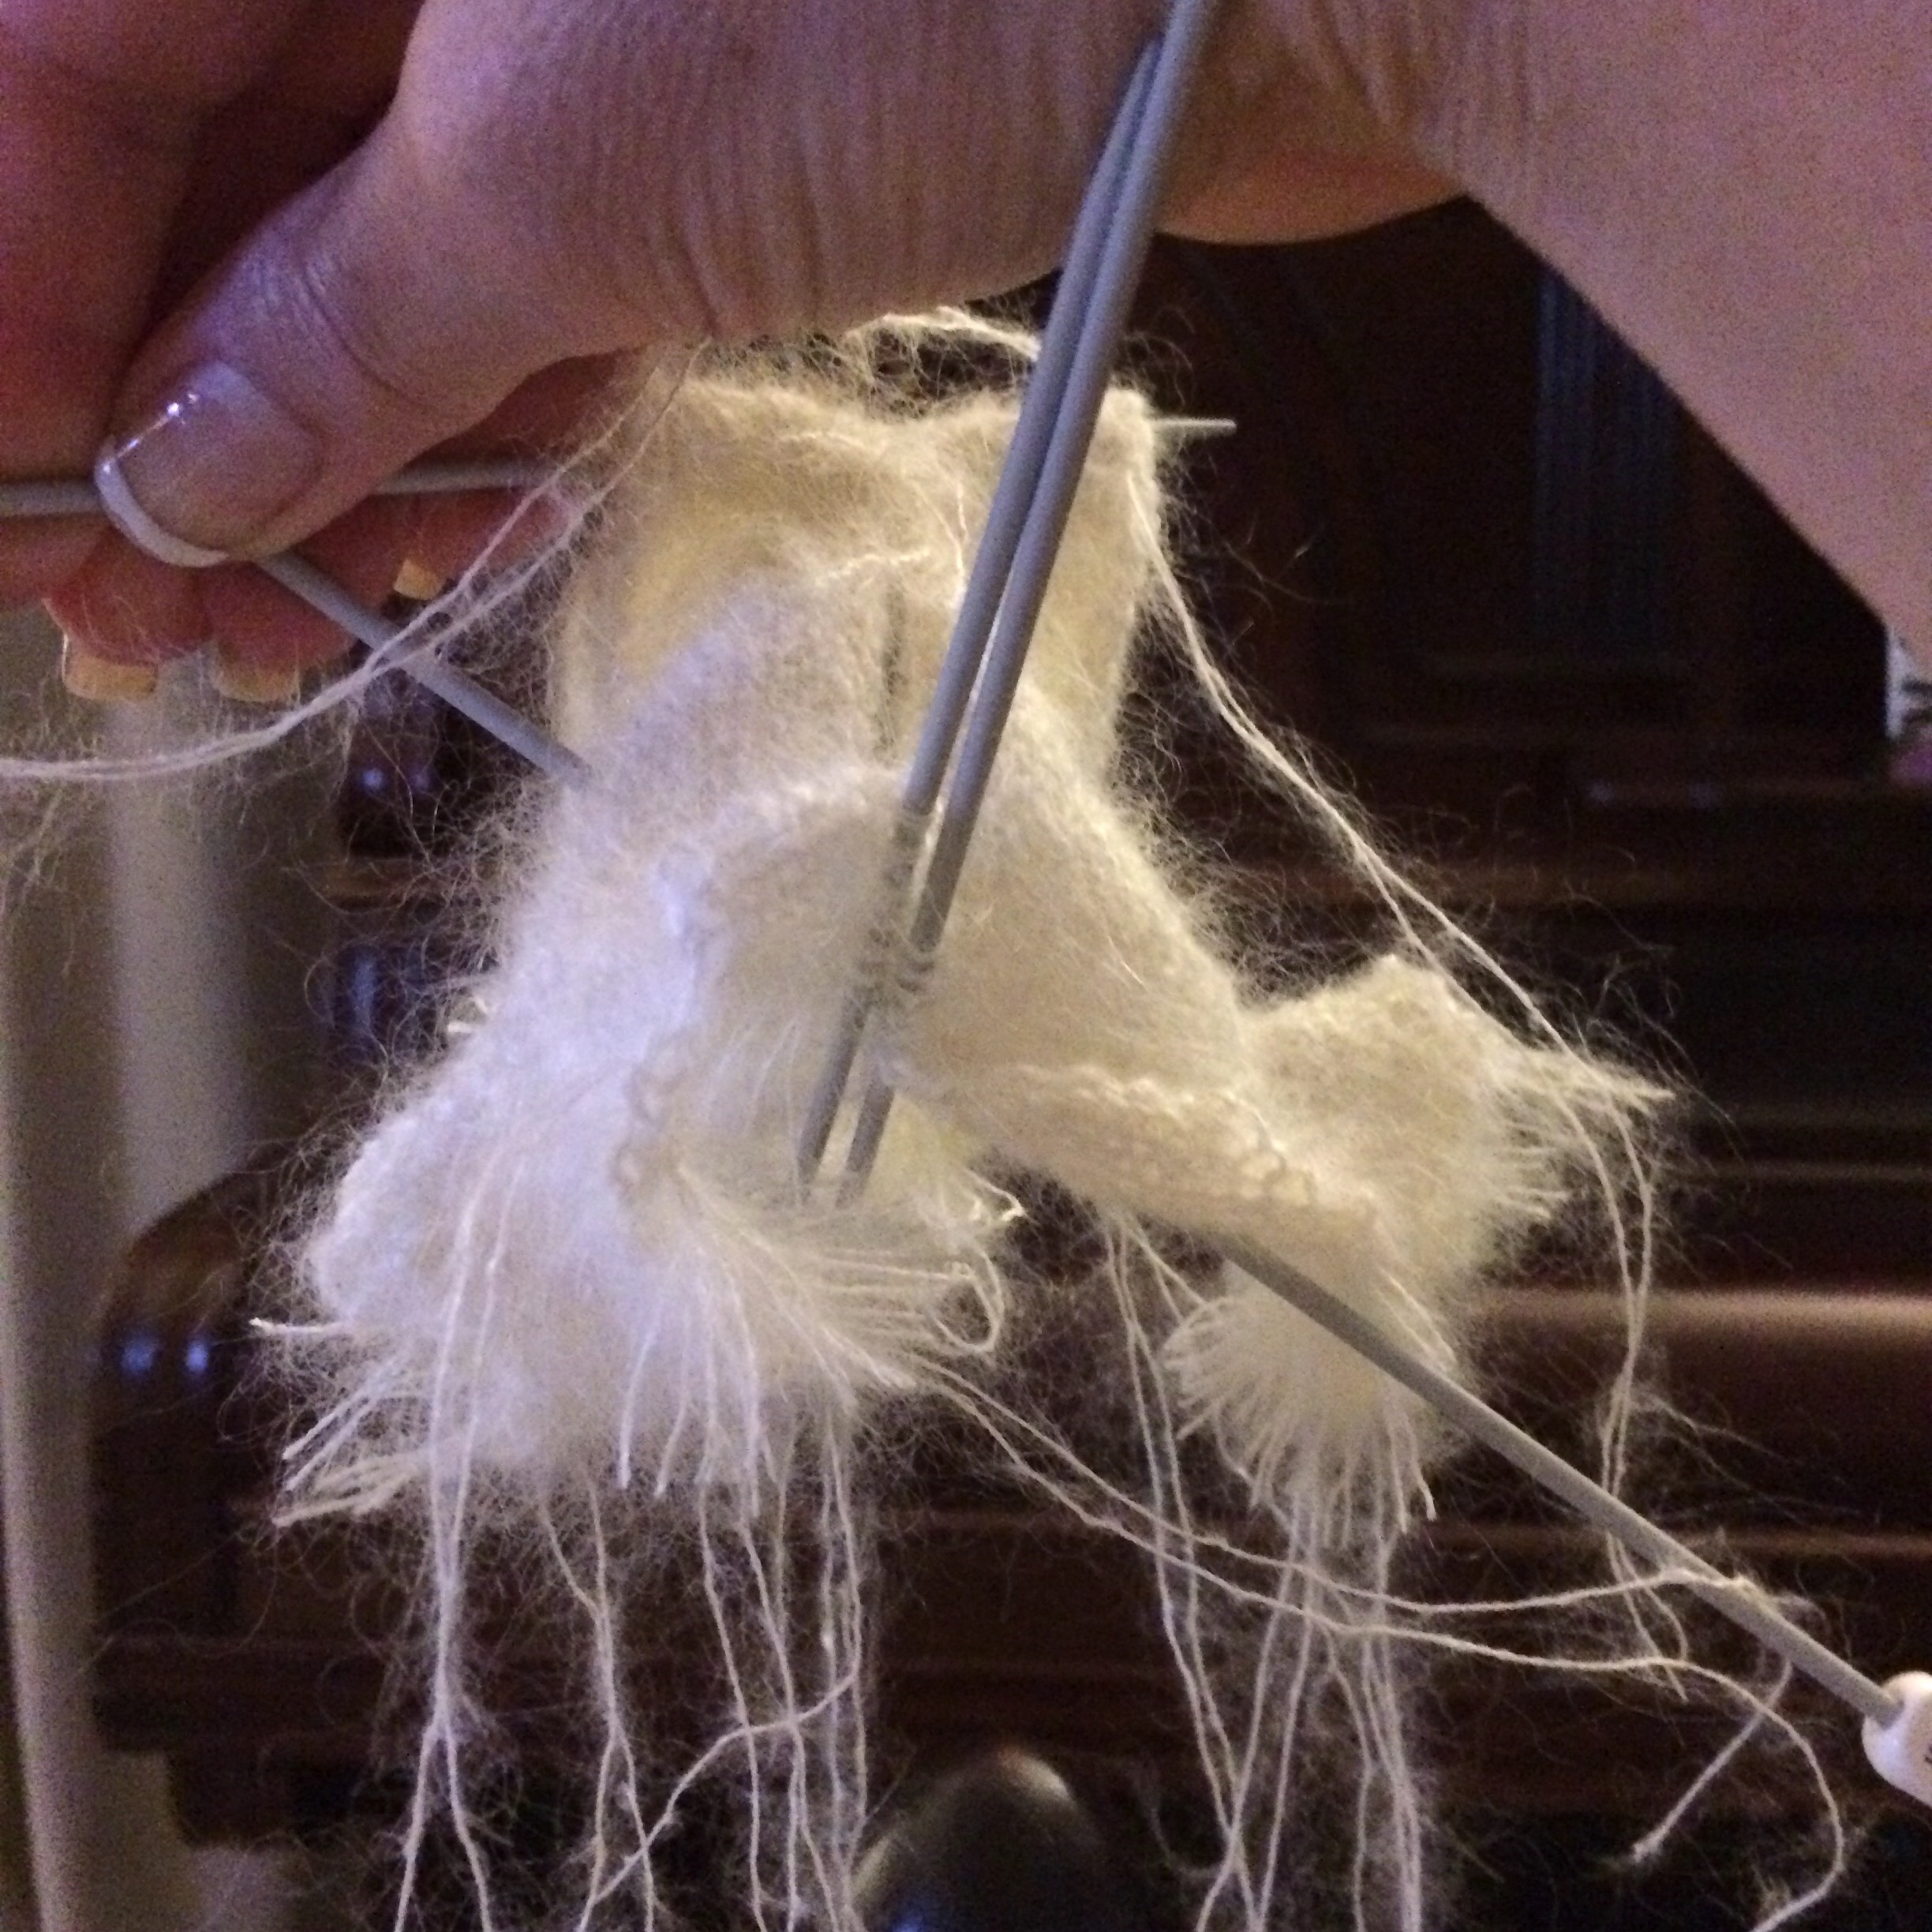
Believe it or not, this is a finished leg!!
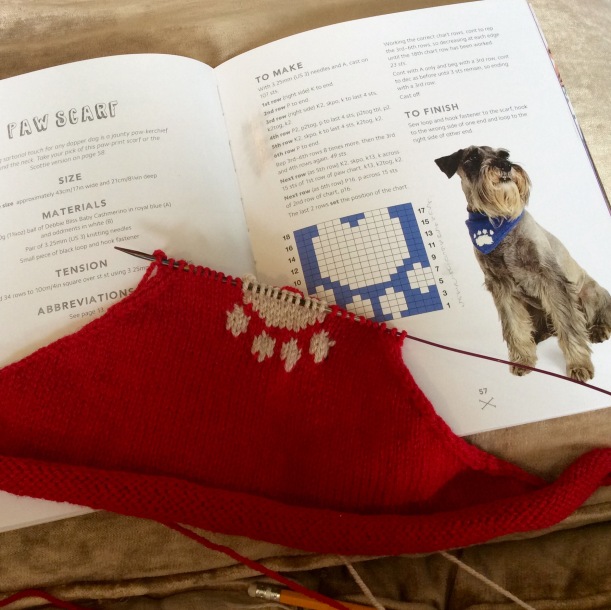
Whilst not complicated, you need to concentrate on the instructions especially as this one asks you to “follow instructions as for Scottish Terrier” for certain elements of the knit.
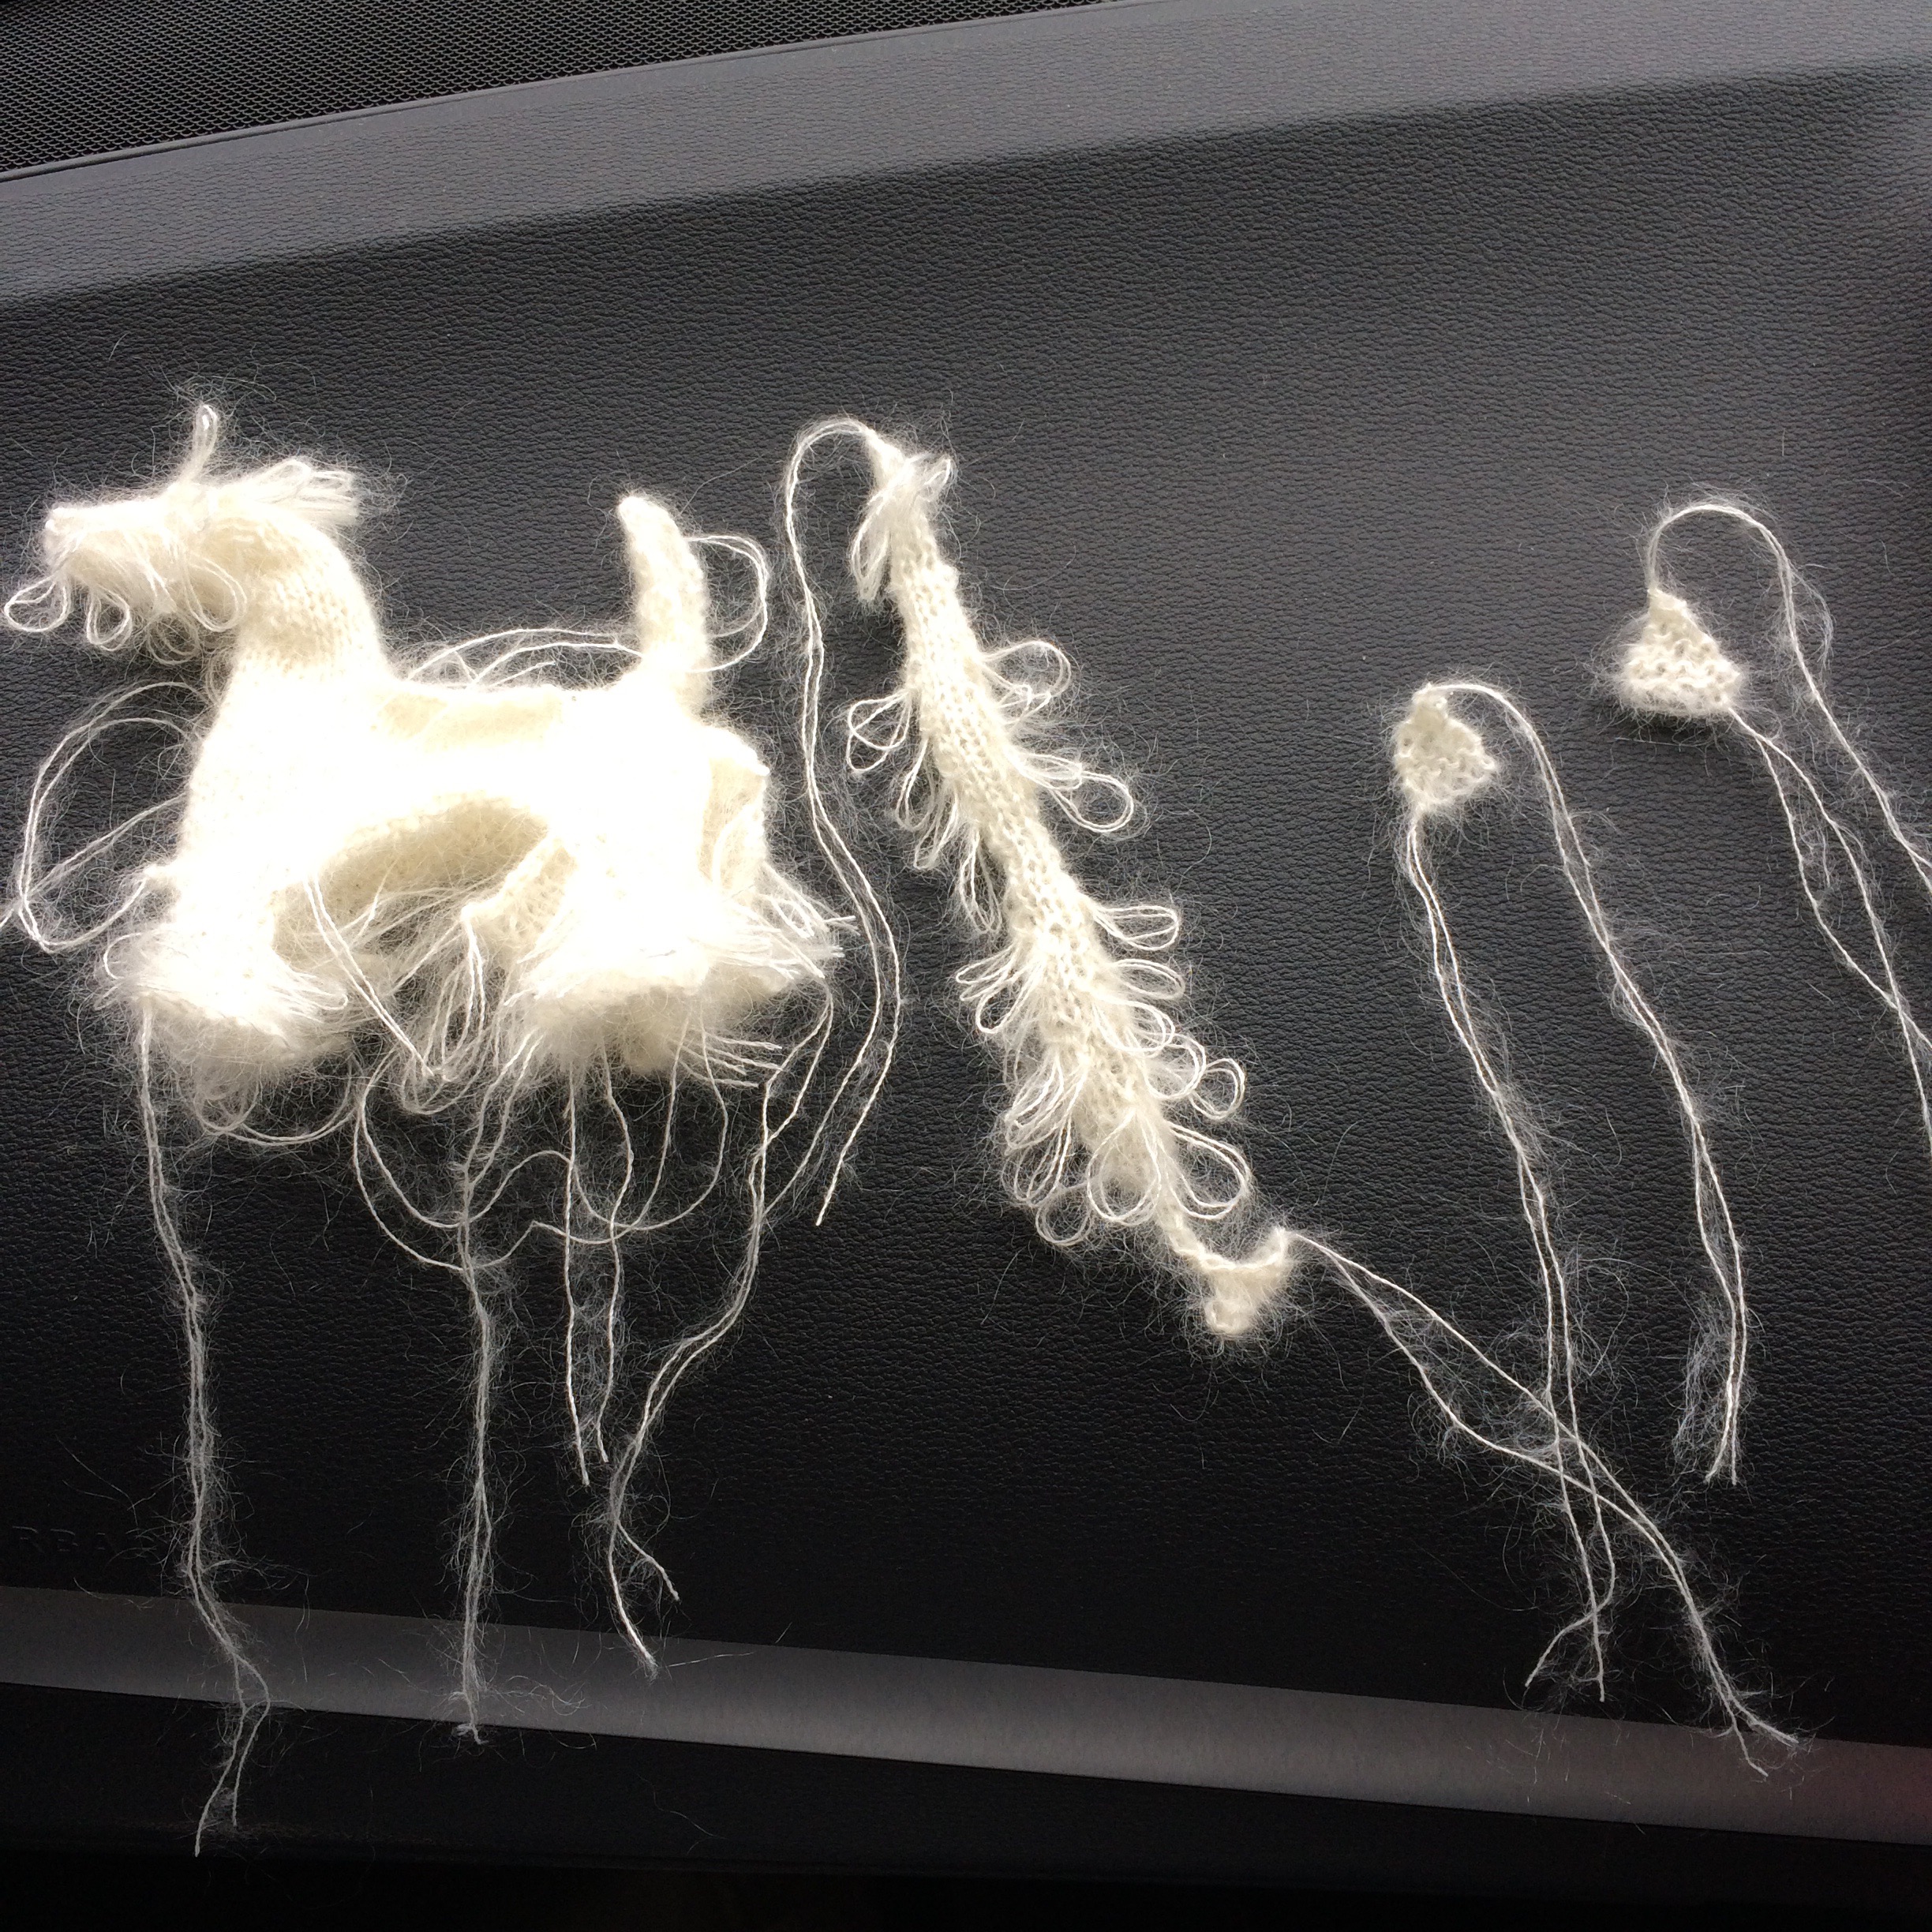
At this point, the knitting was almost completely finished but still looked absolutely nothing like a dog, let alone a Westie!
The extra bits were finished in the car whilst at a football match – they’re laid out on the dashboard.
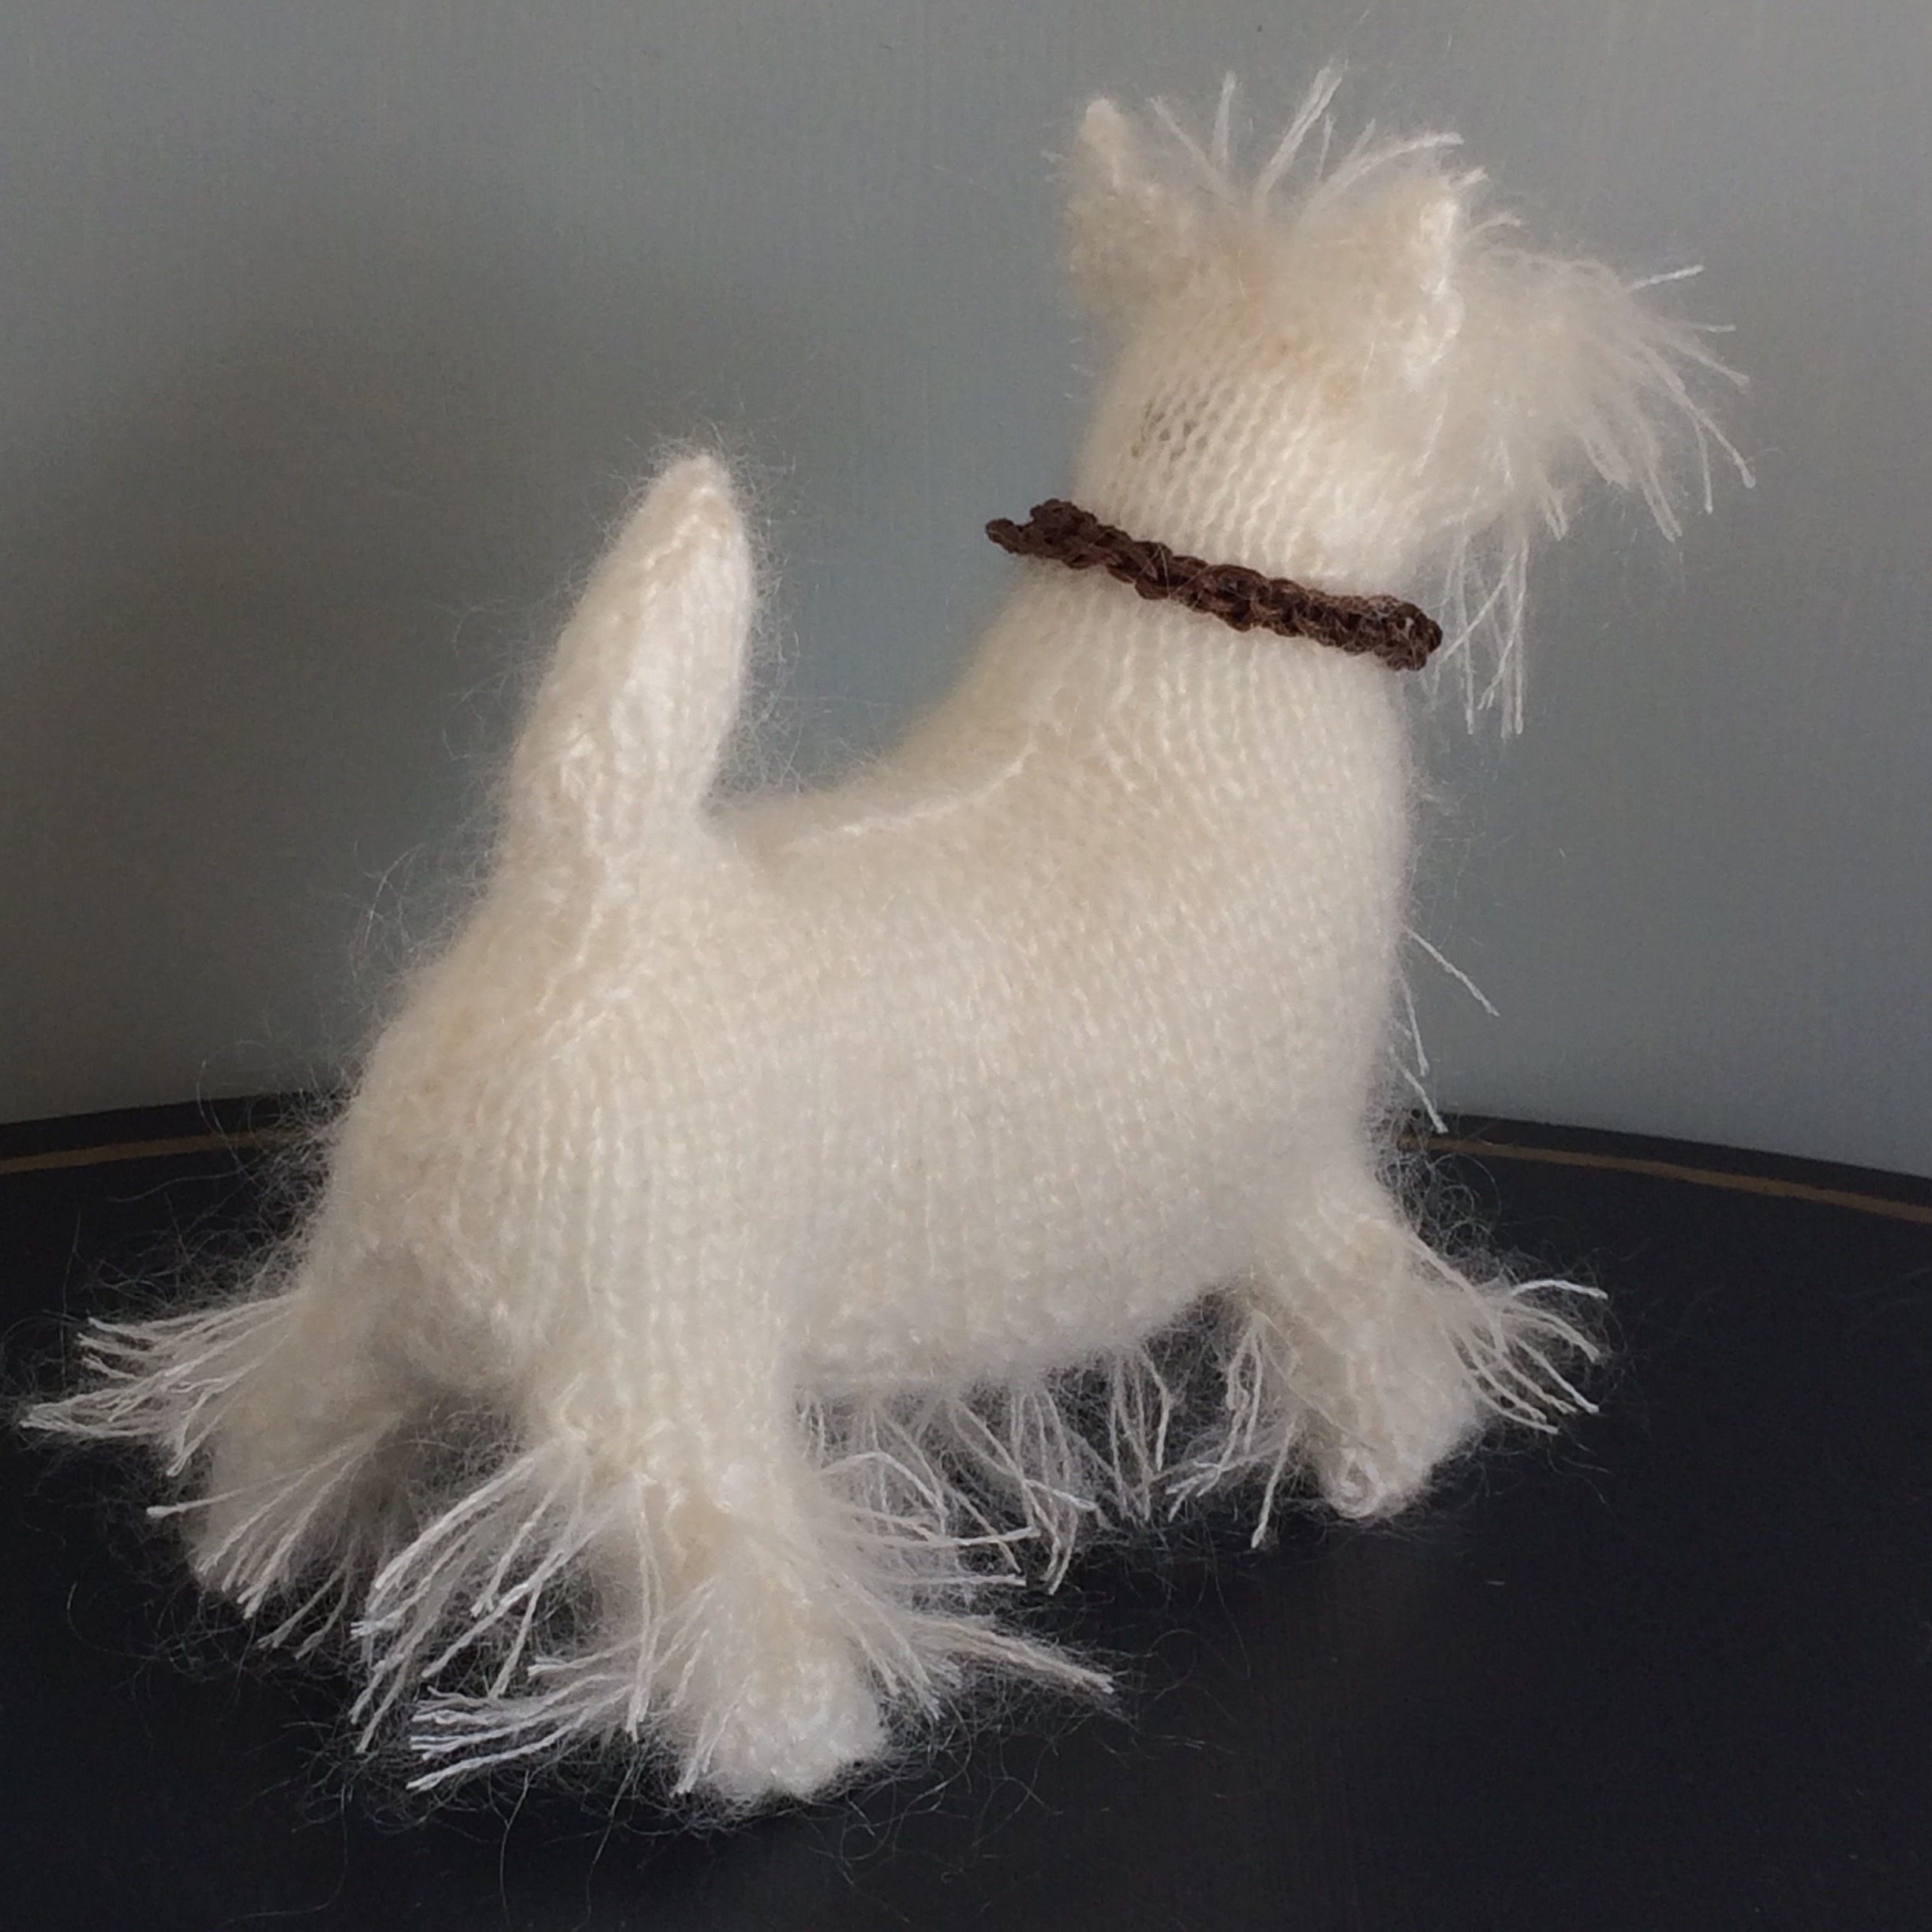
Now to sew it all together.
A satin stitched nose, French knot eyes and collar, all made using embroidery silks, are the final touches.
And here he is!
For scale, here he is sat in the palm of my hand.
He is about 6 inches long and 4 inches high.
Not only that, but I have enough yarn left to make another one……anyone else want to commission a Westie?!!
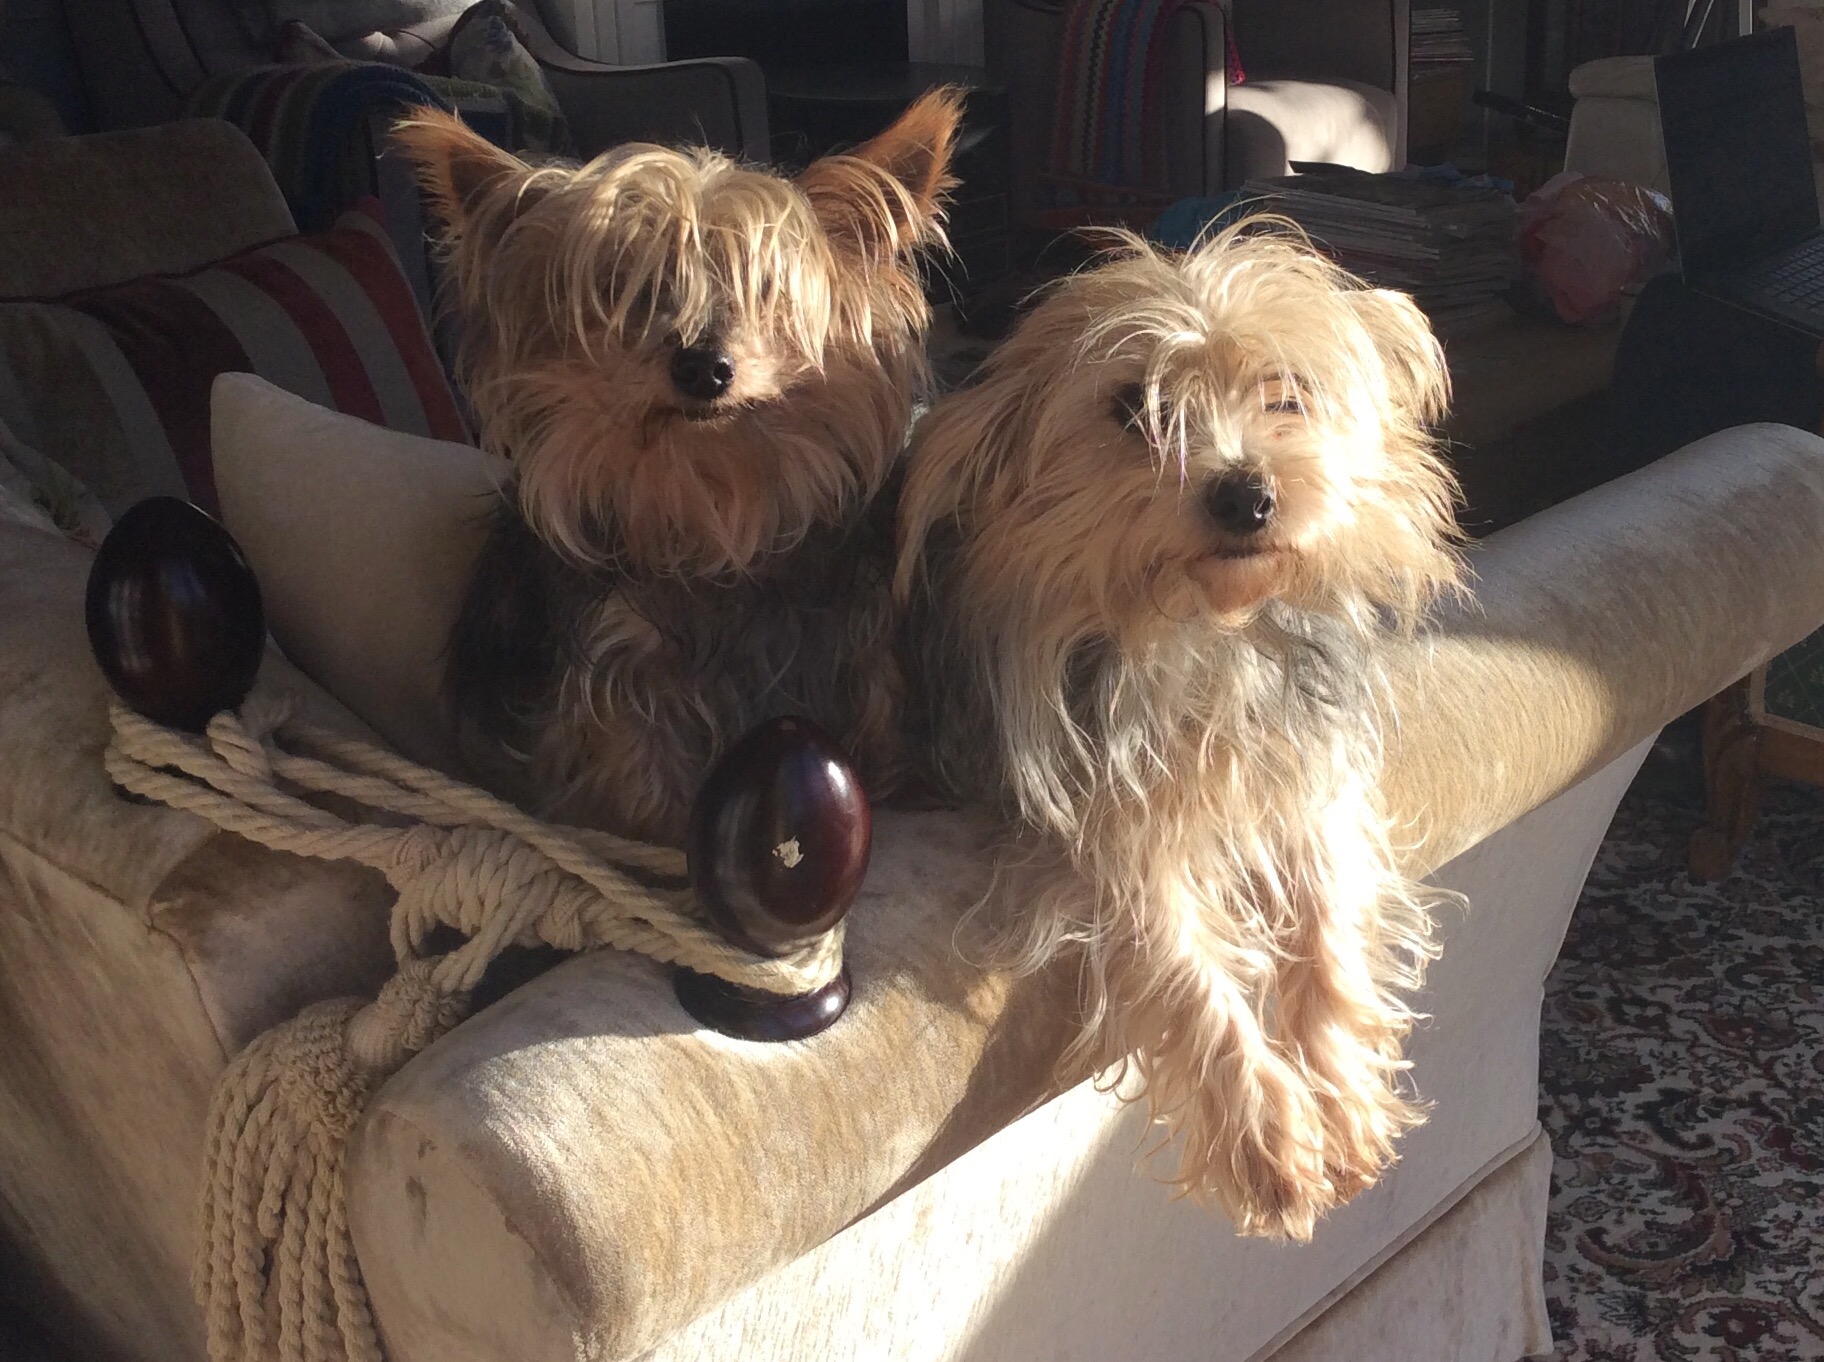
Regular readers of the blog will recognise Fifi and Tess, a 14 year old Yorkie and 3 year old Chorkie, respectively.
Here they are in their Winter coats, all long, shaggy and warm.
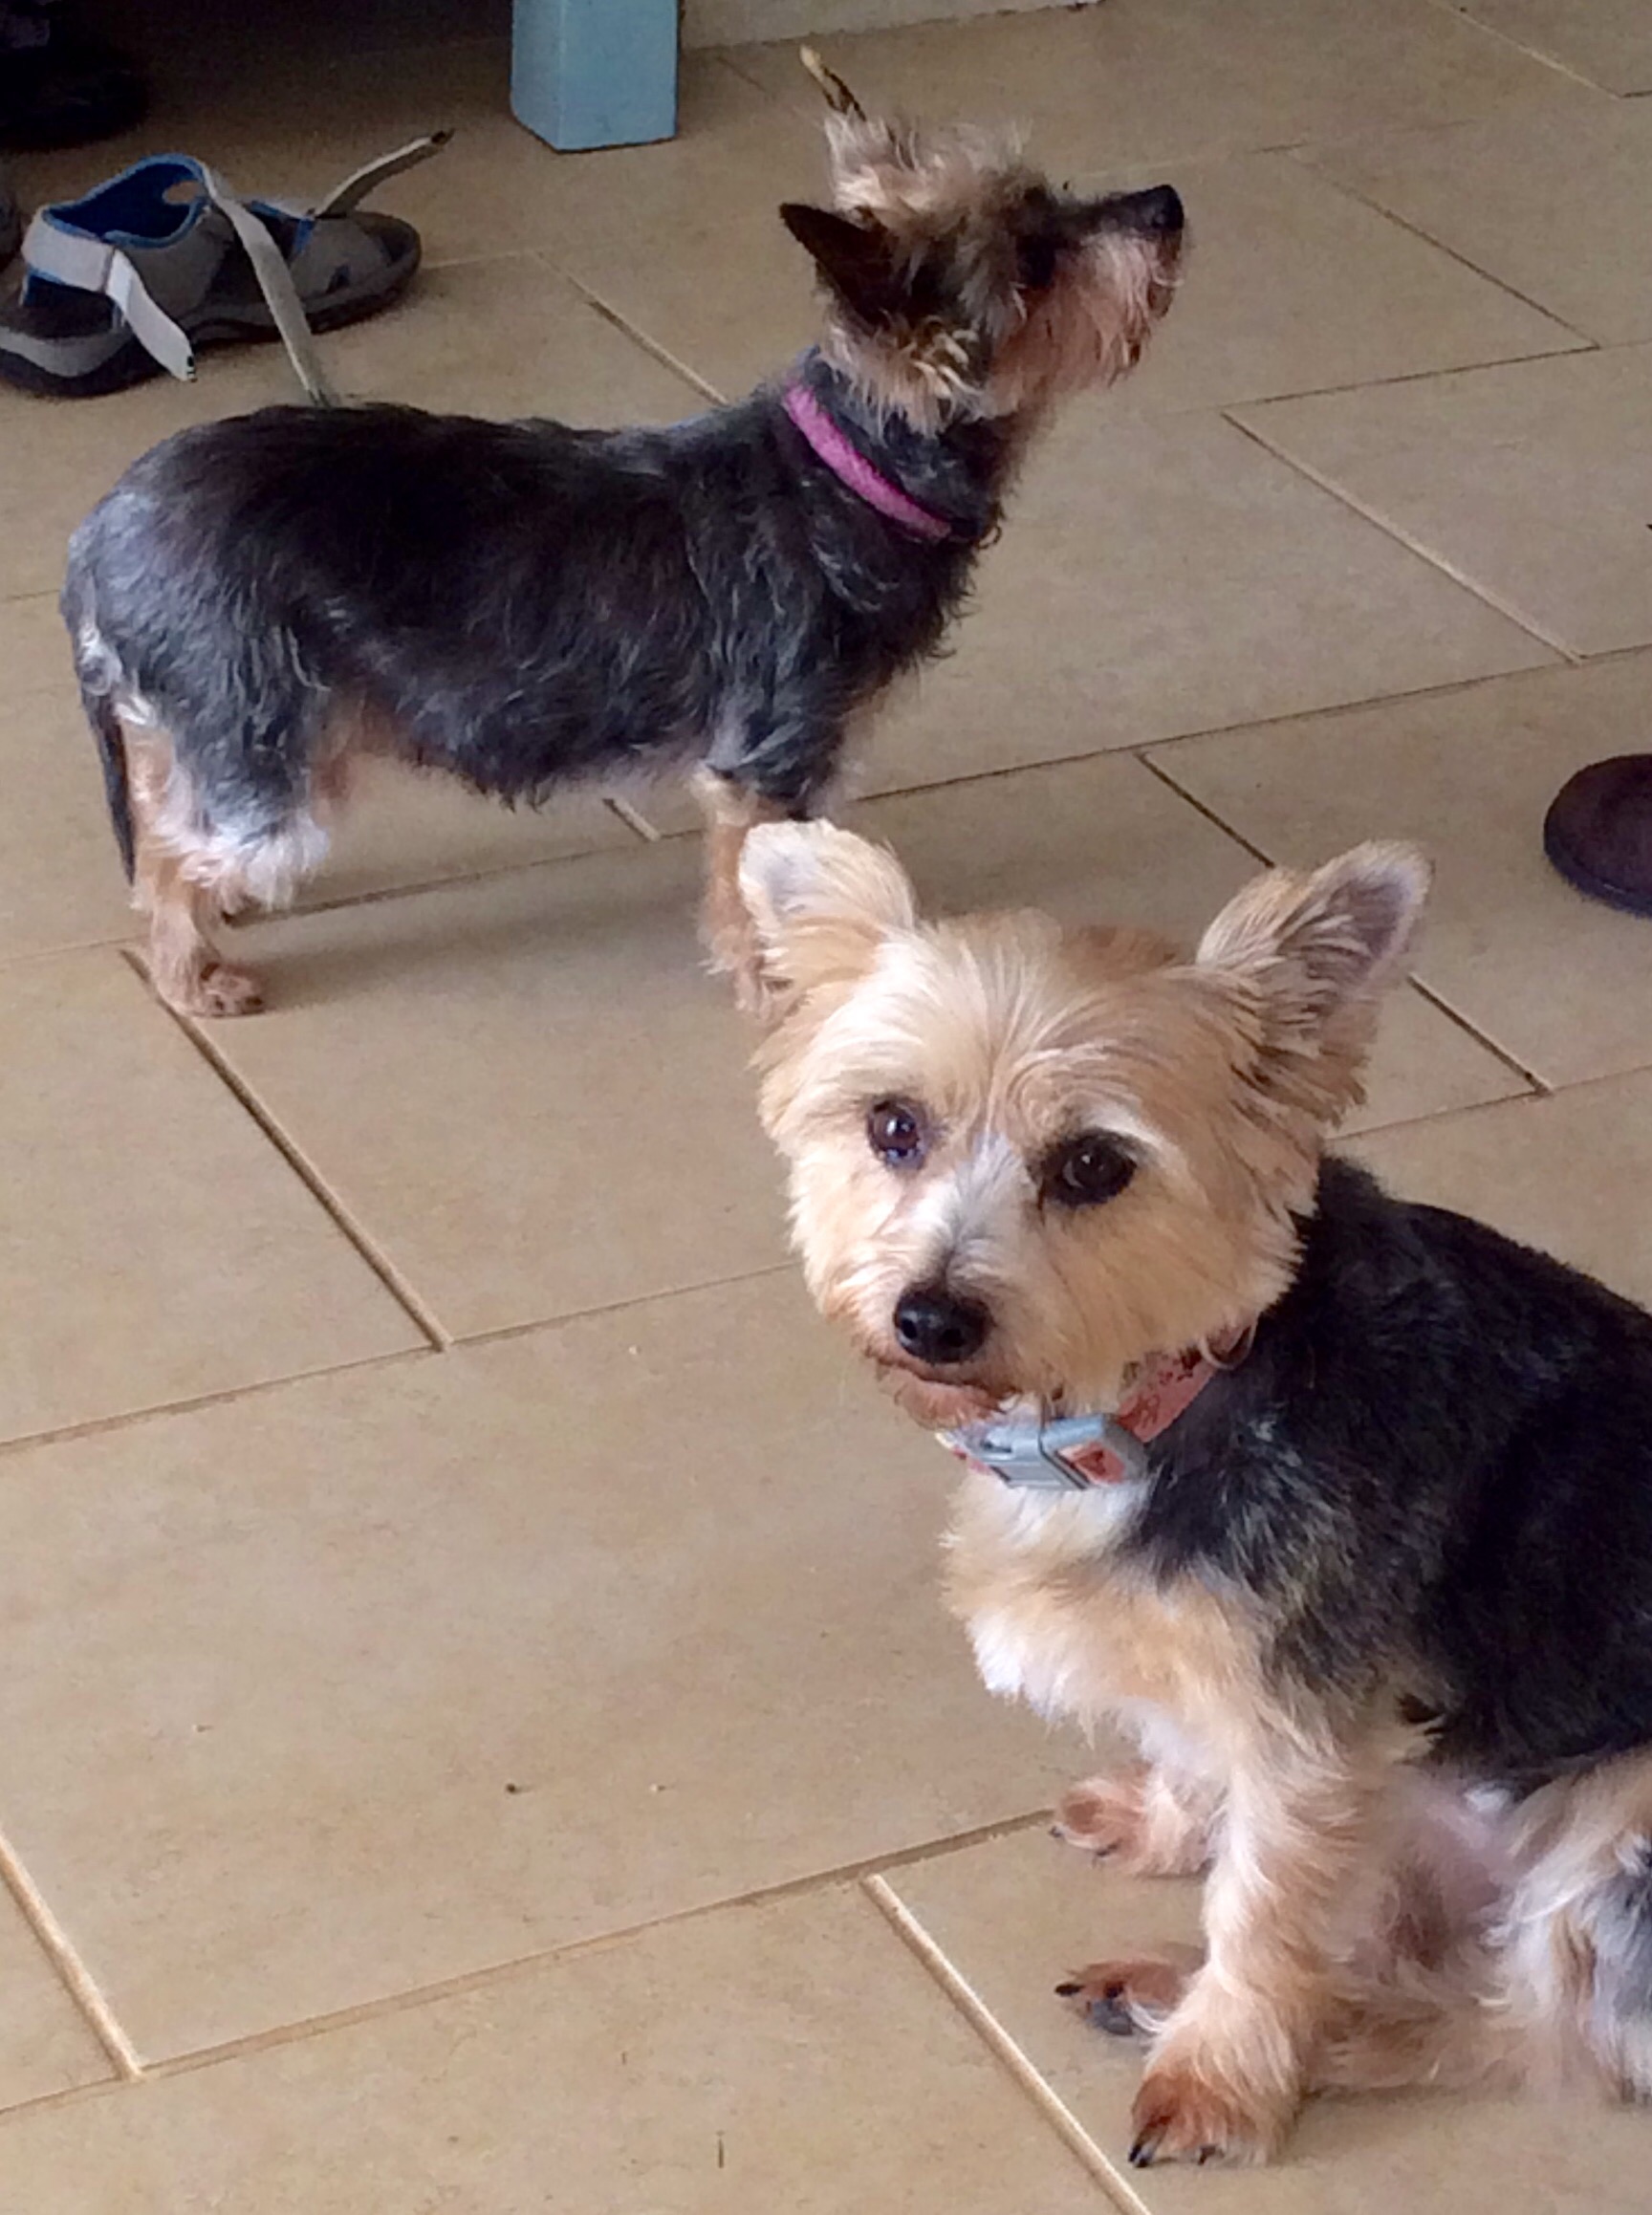
Whilst we were in Spain, my mother looked after both dogs and took them for their annual haircut, and they now look just a tad different!
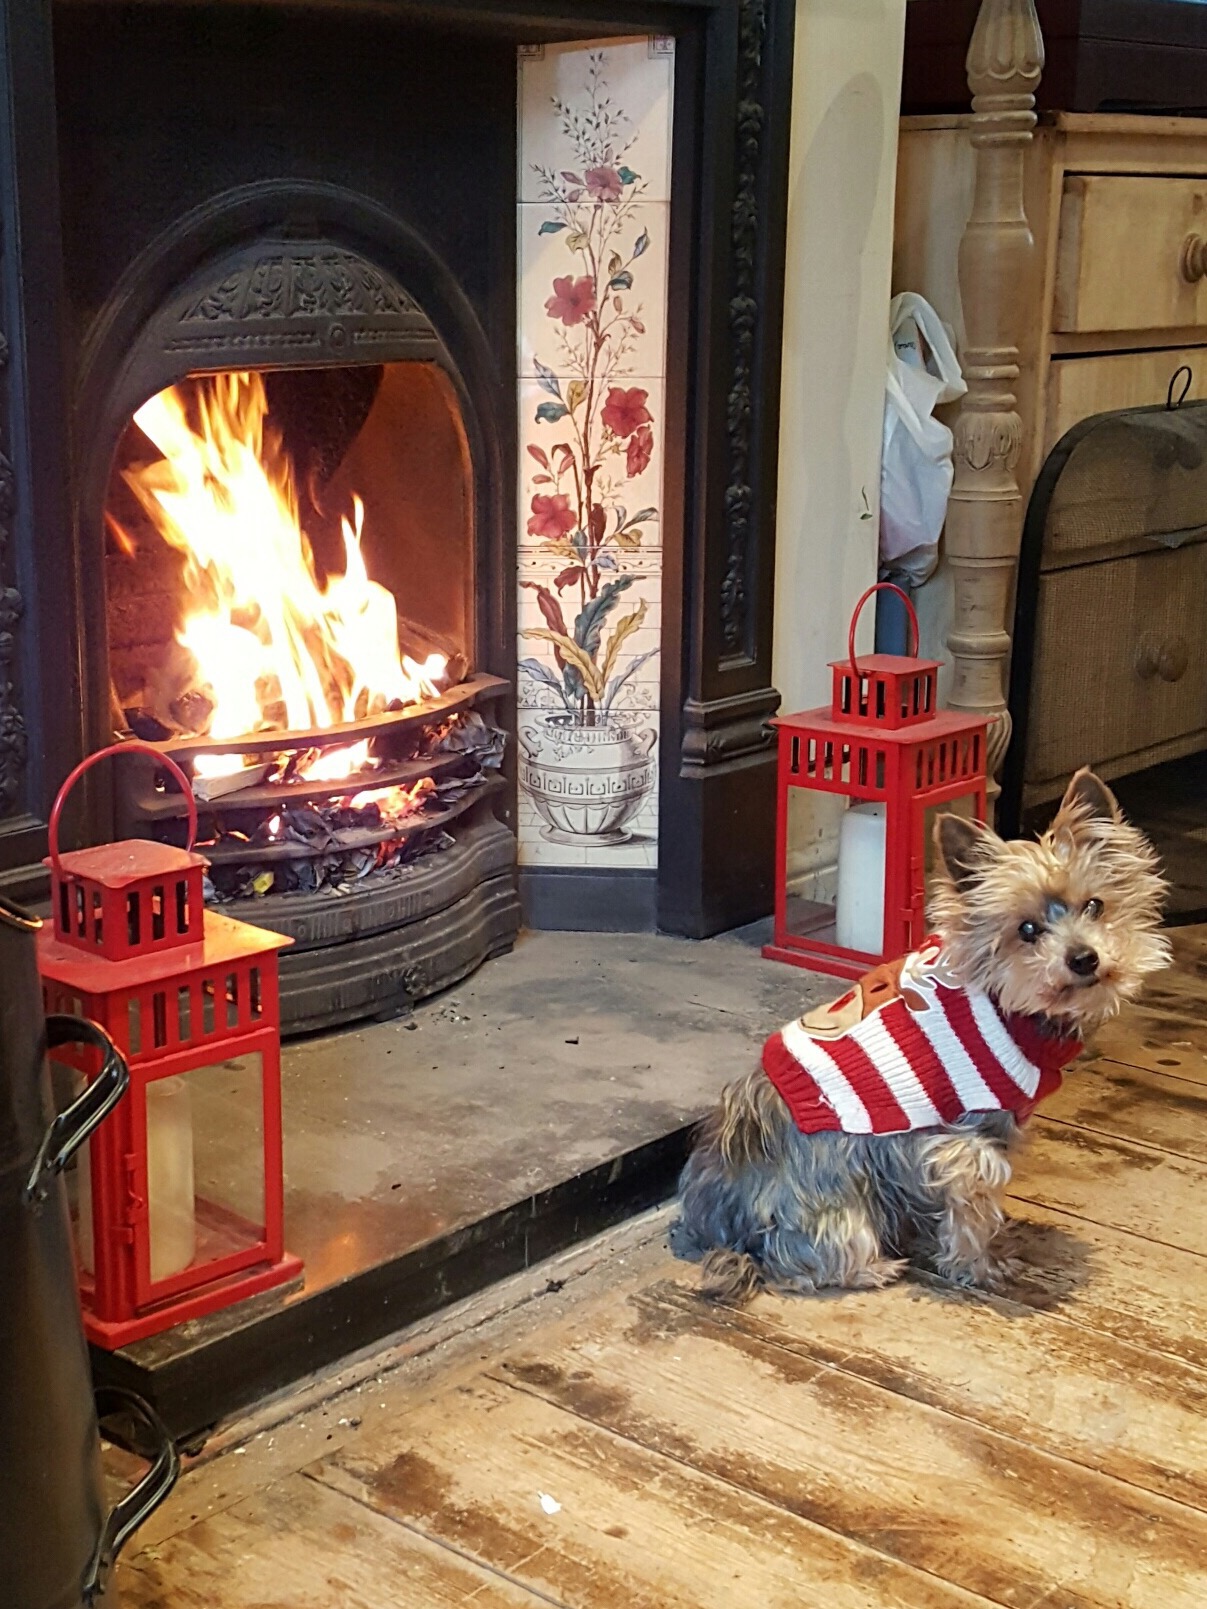
Trouble is, Fifi feels the cold and can always be found sat as close to the fire as possible whenever it is lit.
She has a variety of coats; here is her Winter one.
This one was a non-stretch fleecy number, made specifically to stop her licking her wound after an operation.
And who can forget this disastrous effort made in rather too much of a rush and was miles too big?
Point is that, no sooner had they had their Summer trim, the weather turned – 14 degrees and rain. For two weeks.
Poor little Fifi spent most of her time curled up in a ball in an effort to keep warm, shivering pitifully.
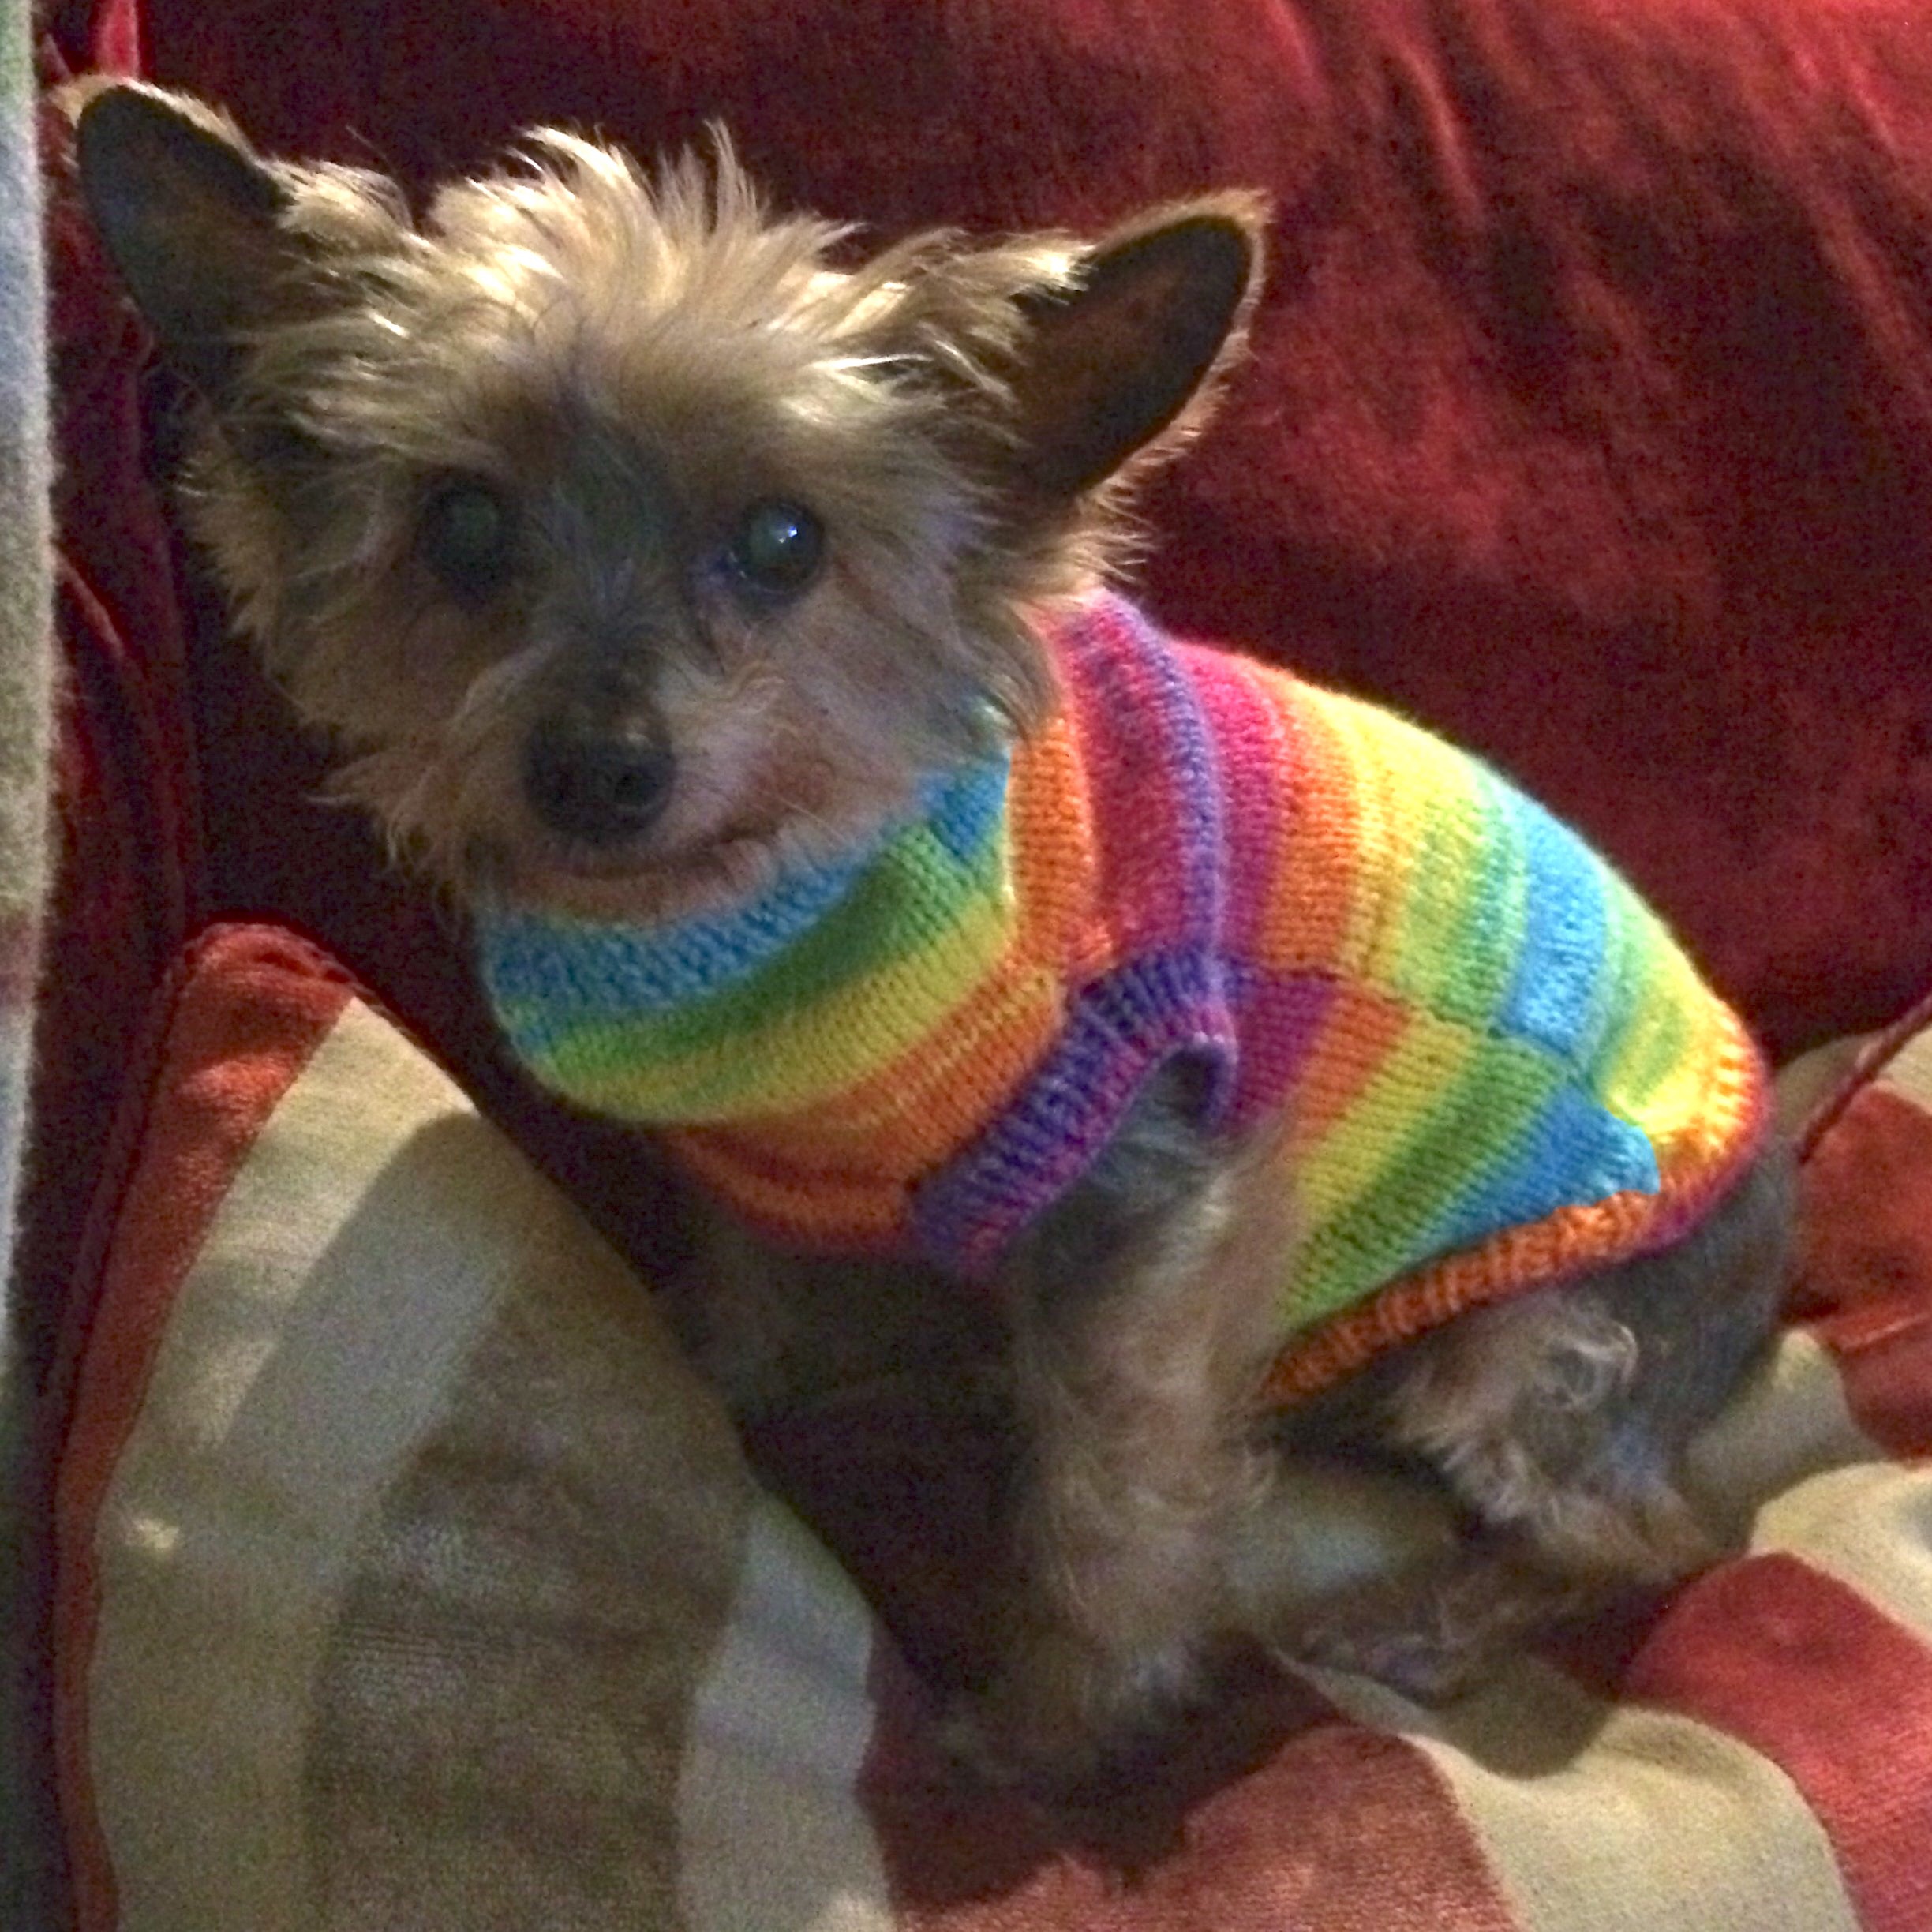
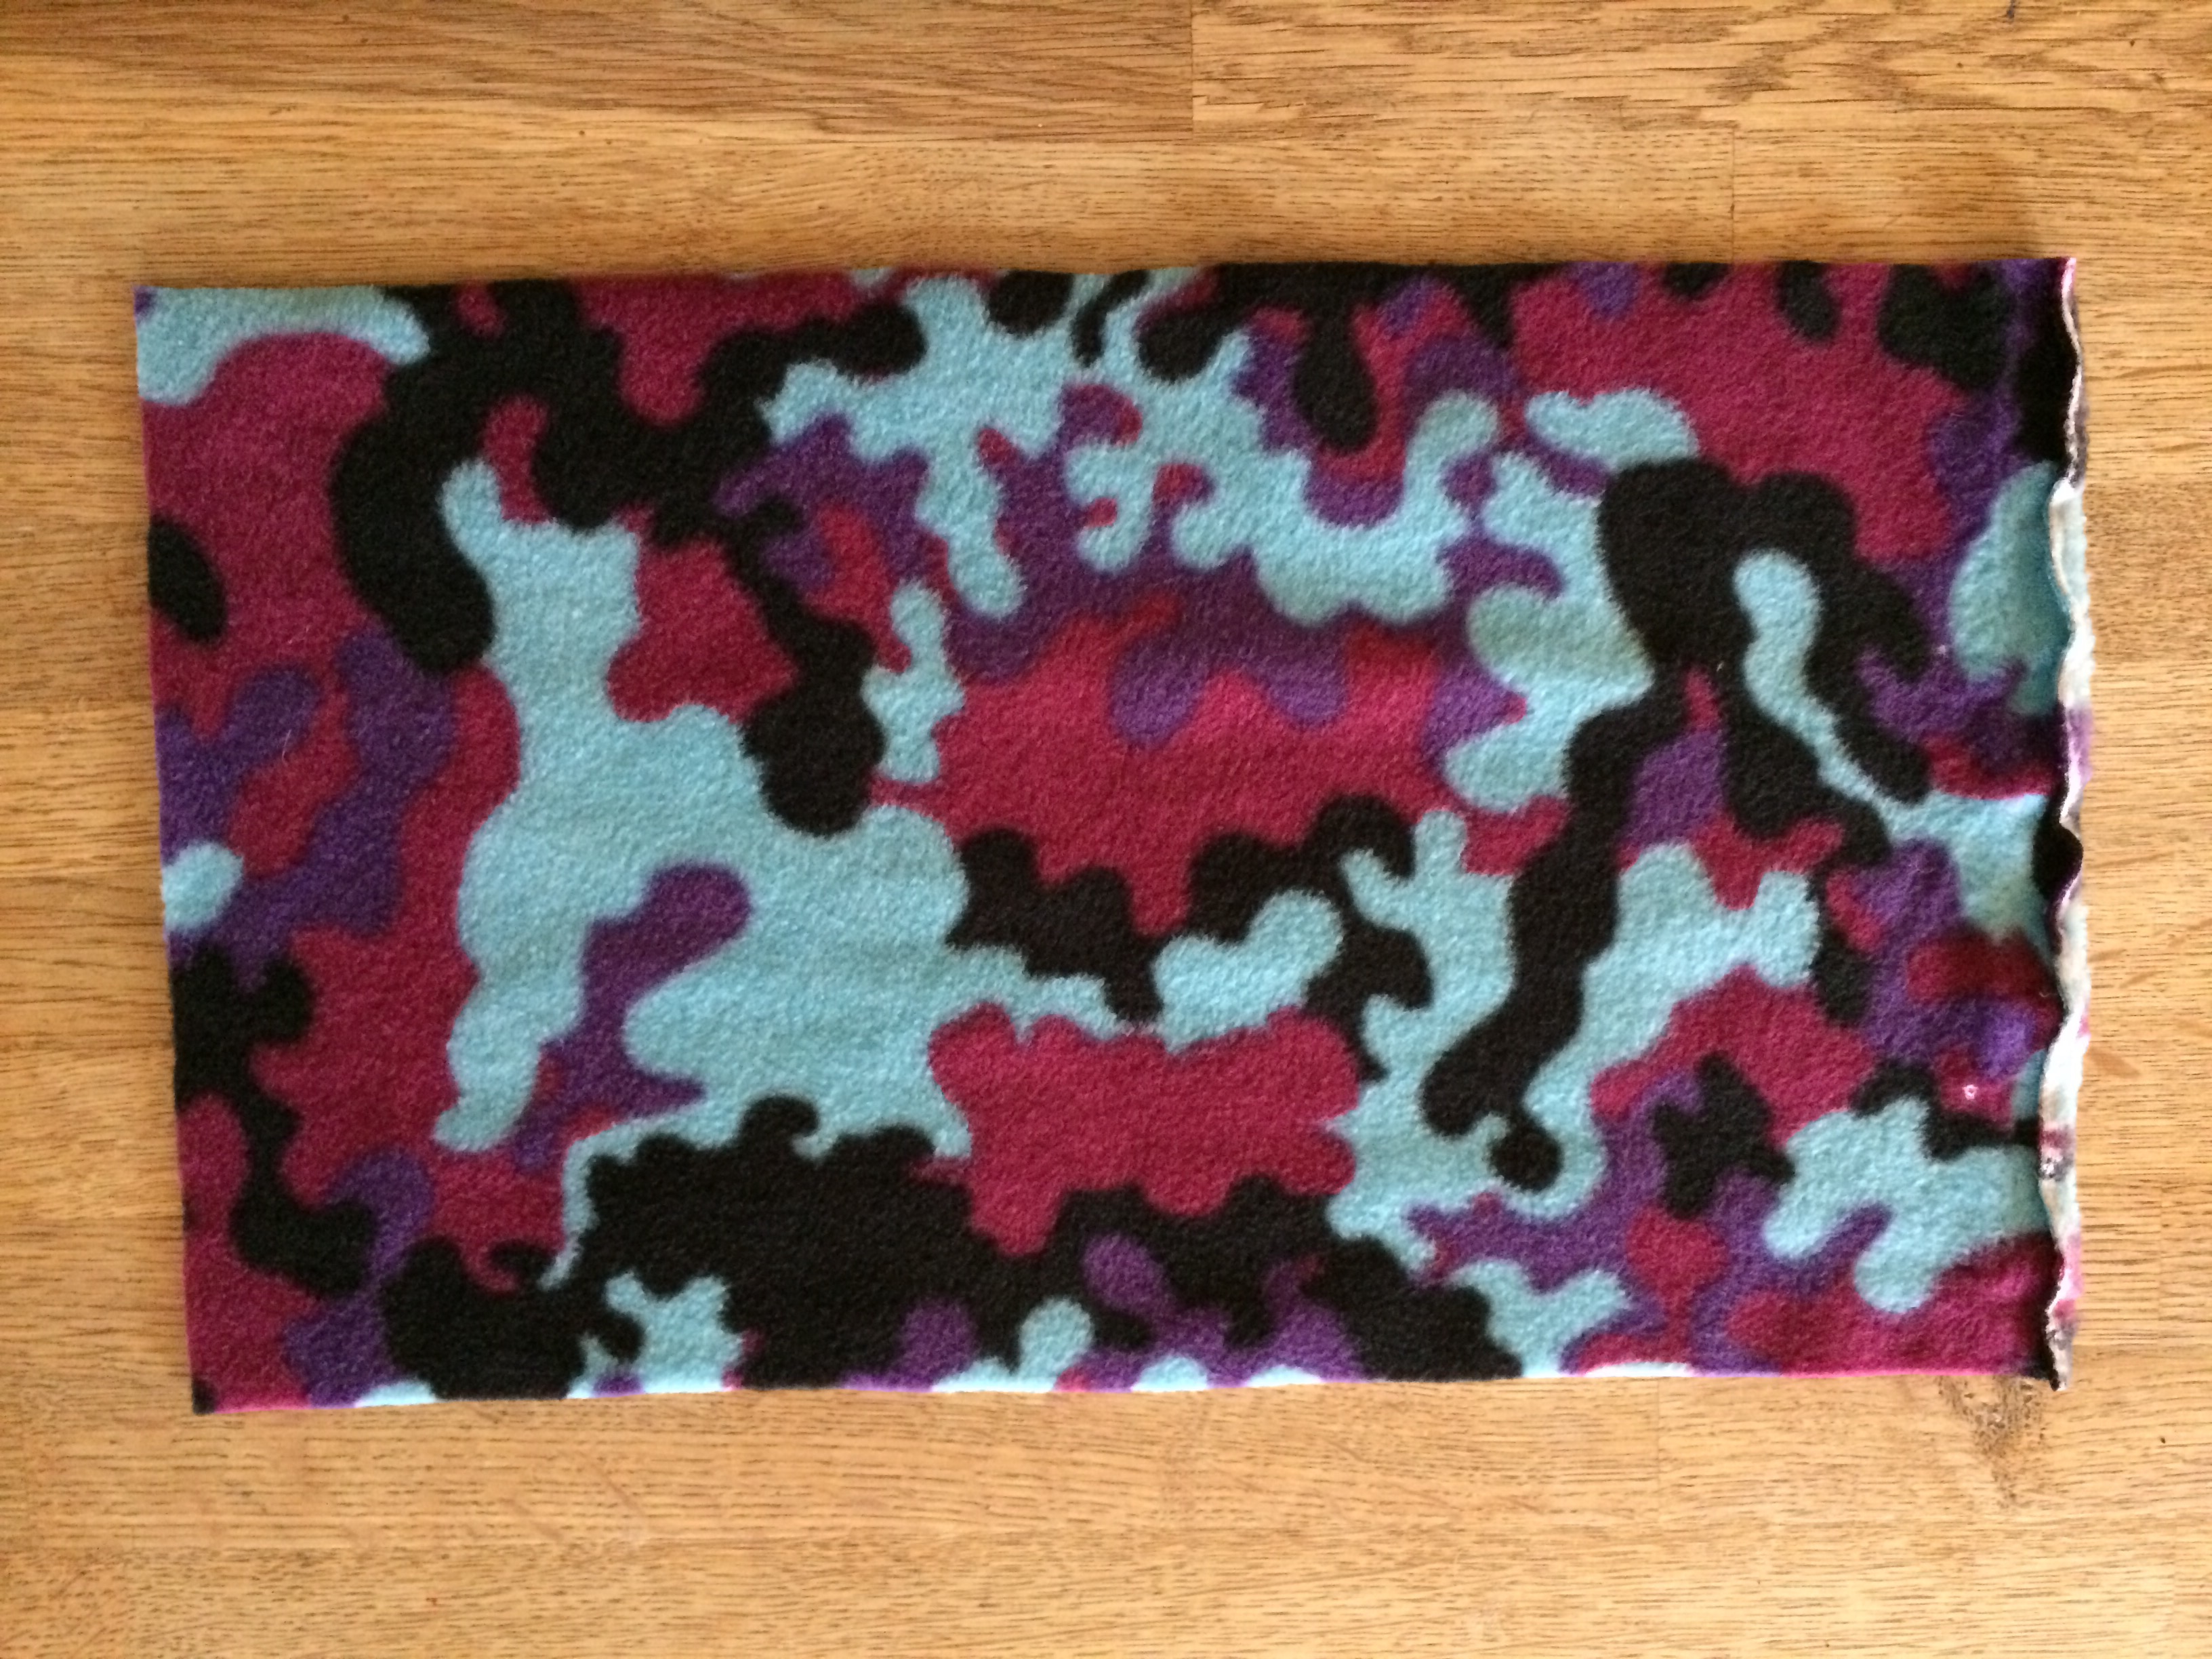
Of course, technically, her Rudolph coat would do the job perfectly well but, quite frankly the excuse to knit up another cute little number from Debbie Bliss’ “Woolly Woofers” in summery colours was too good an opportunity to miss.
After scrutinising the descriptions and measurements of various patterns, I settled on a ‘tube’ style coat, which would be close fitting and comfortable.
It’s called “Mod Dog” for obvious reasons, but it was the tube style that I wanted, not the Mod design.
Don’t you just love the illustrations?
I had the best part of a ball of “Rainbow” double knitting yarn left over from some project or other which would be plenty for this little coat.
I started straight away. Well, it was howling a gale and pouring down outside, so why not?
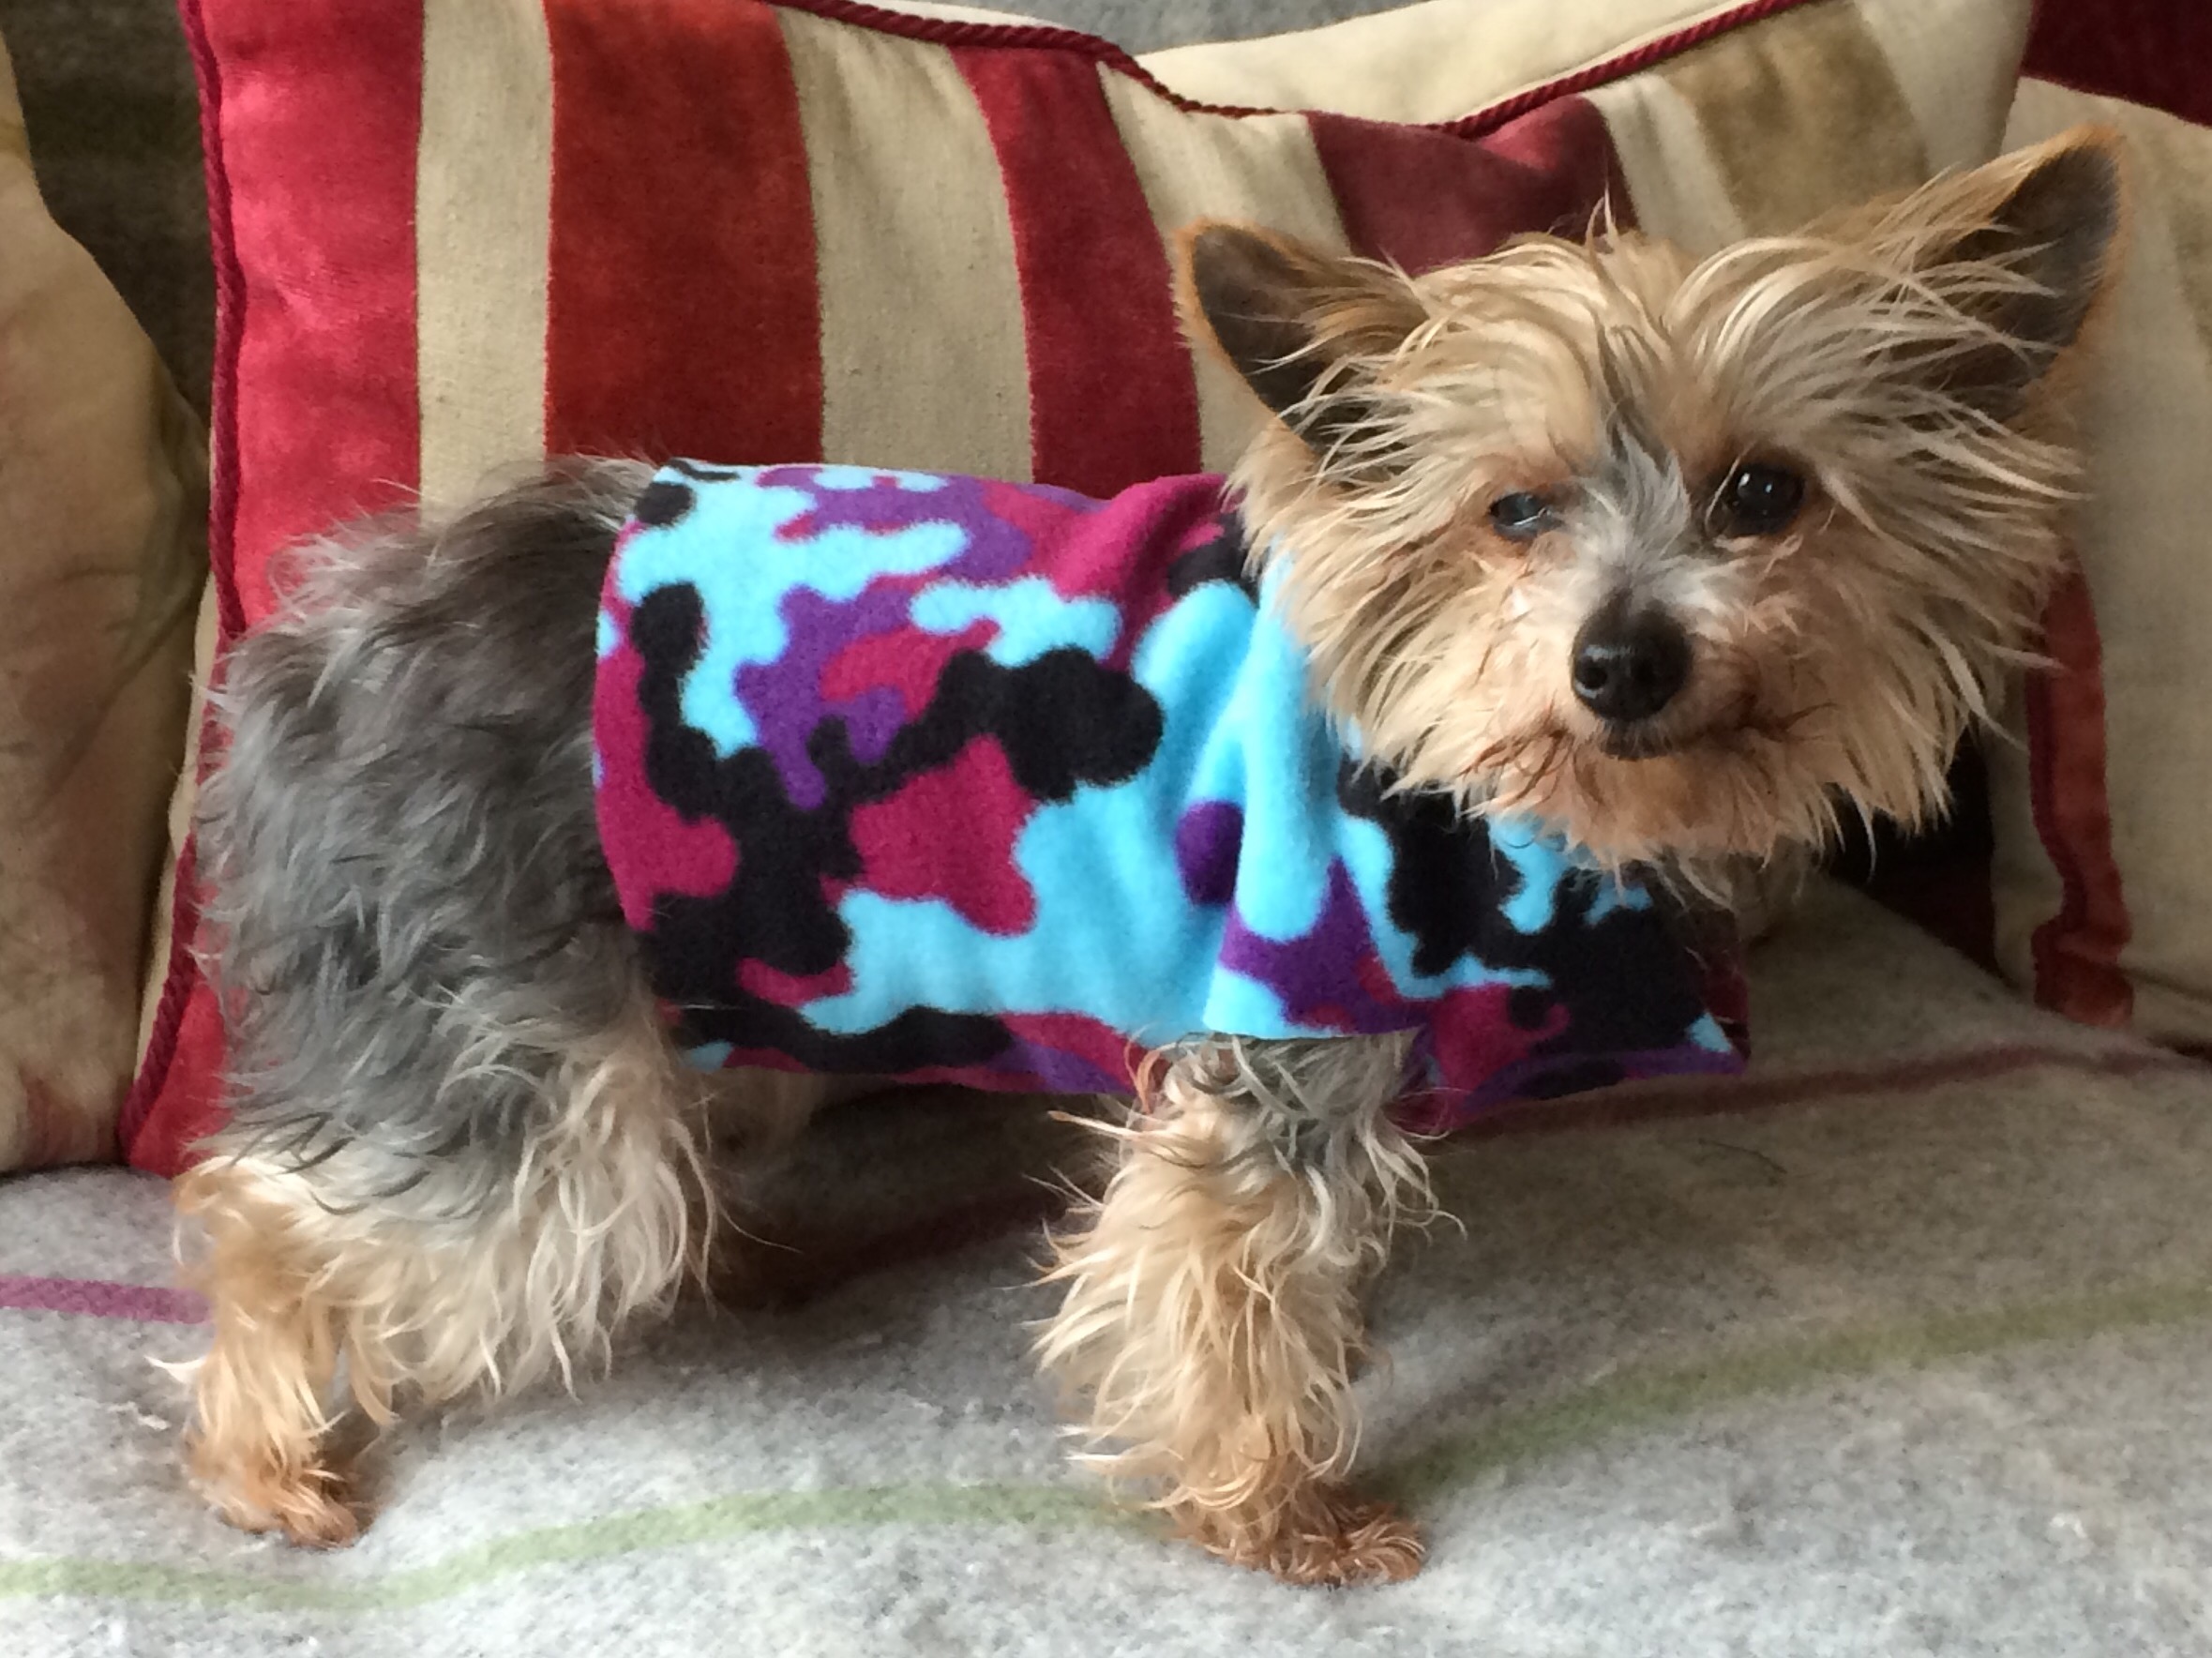
By the next day, I had finished both the front and back pieces.
A quick trip to the garden centre later, and I had a set of 3.75mm circular needles to finish the cuffs.
How’s that for a season-appropriate colourway?
I put the coat on Fifi as soon as it was off the needles and she wore it all night without the need to be wrapped up in a blanket. (For “blanket” read “one of Mr H-L’s jumpers”, because he’s so soft).
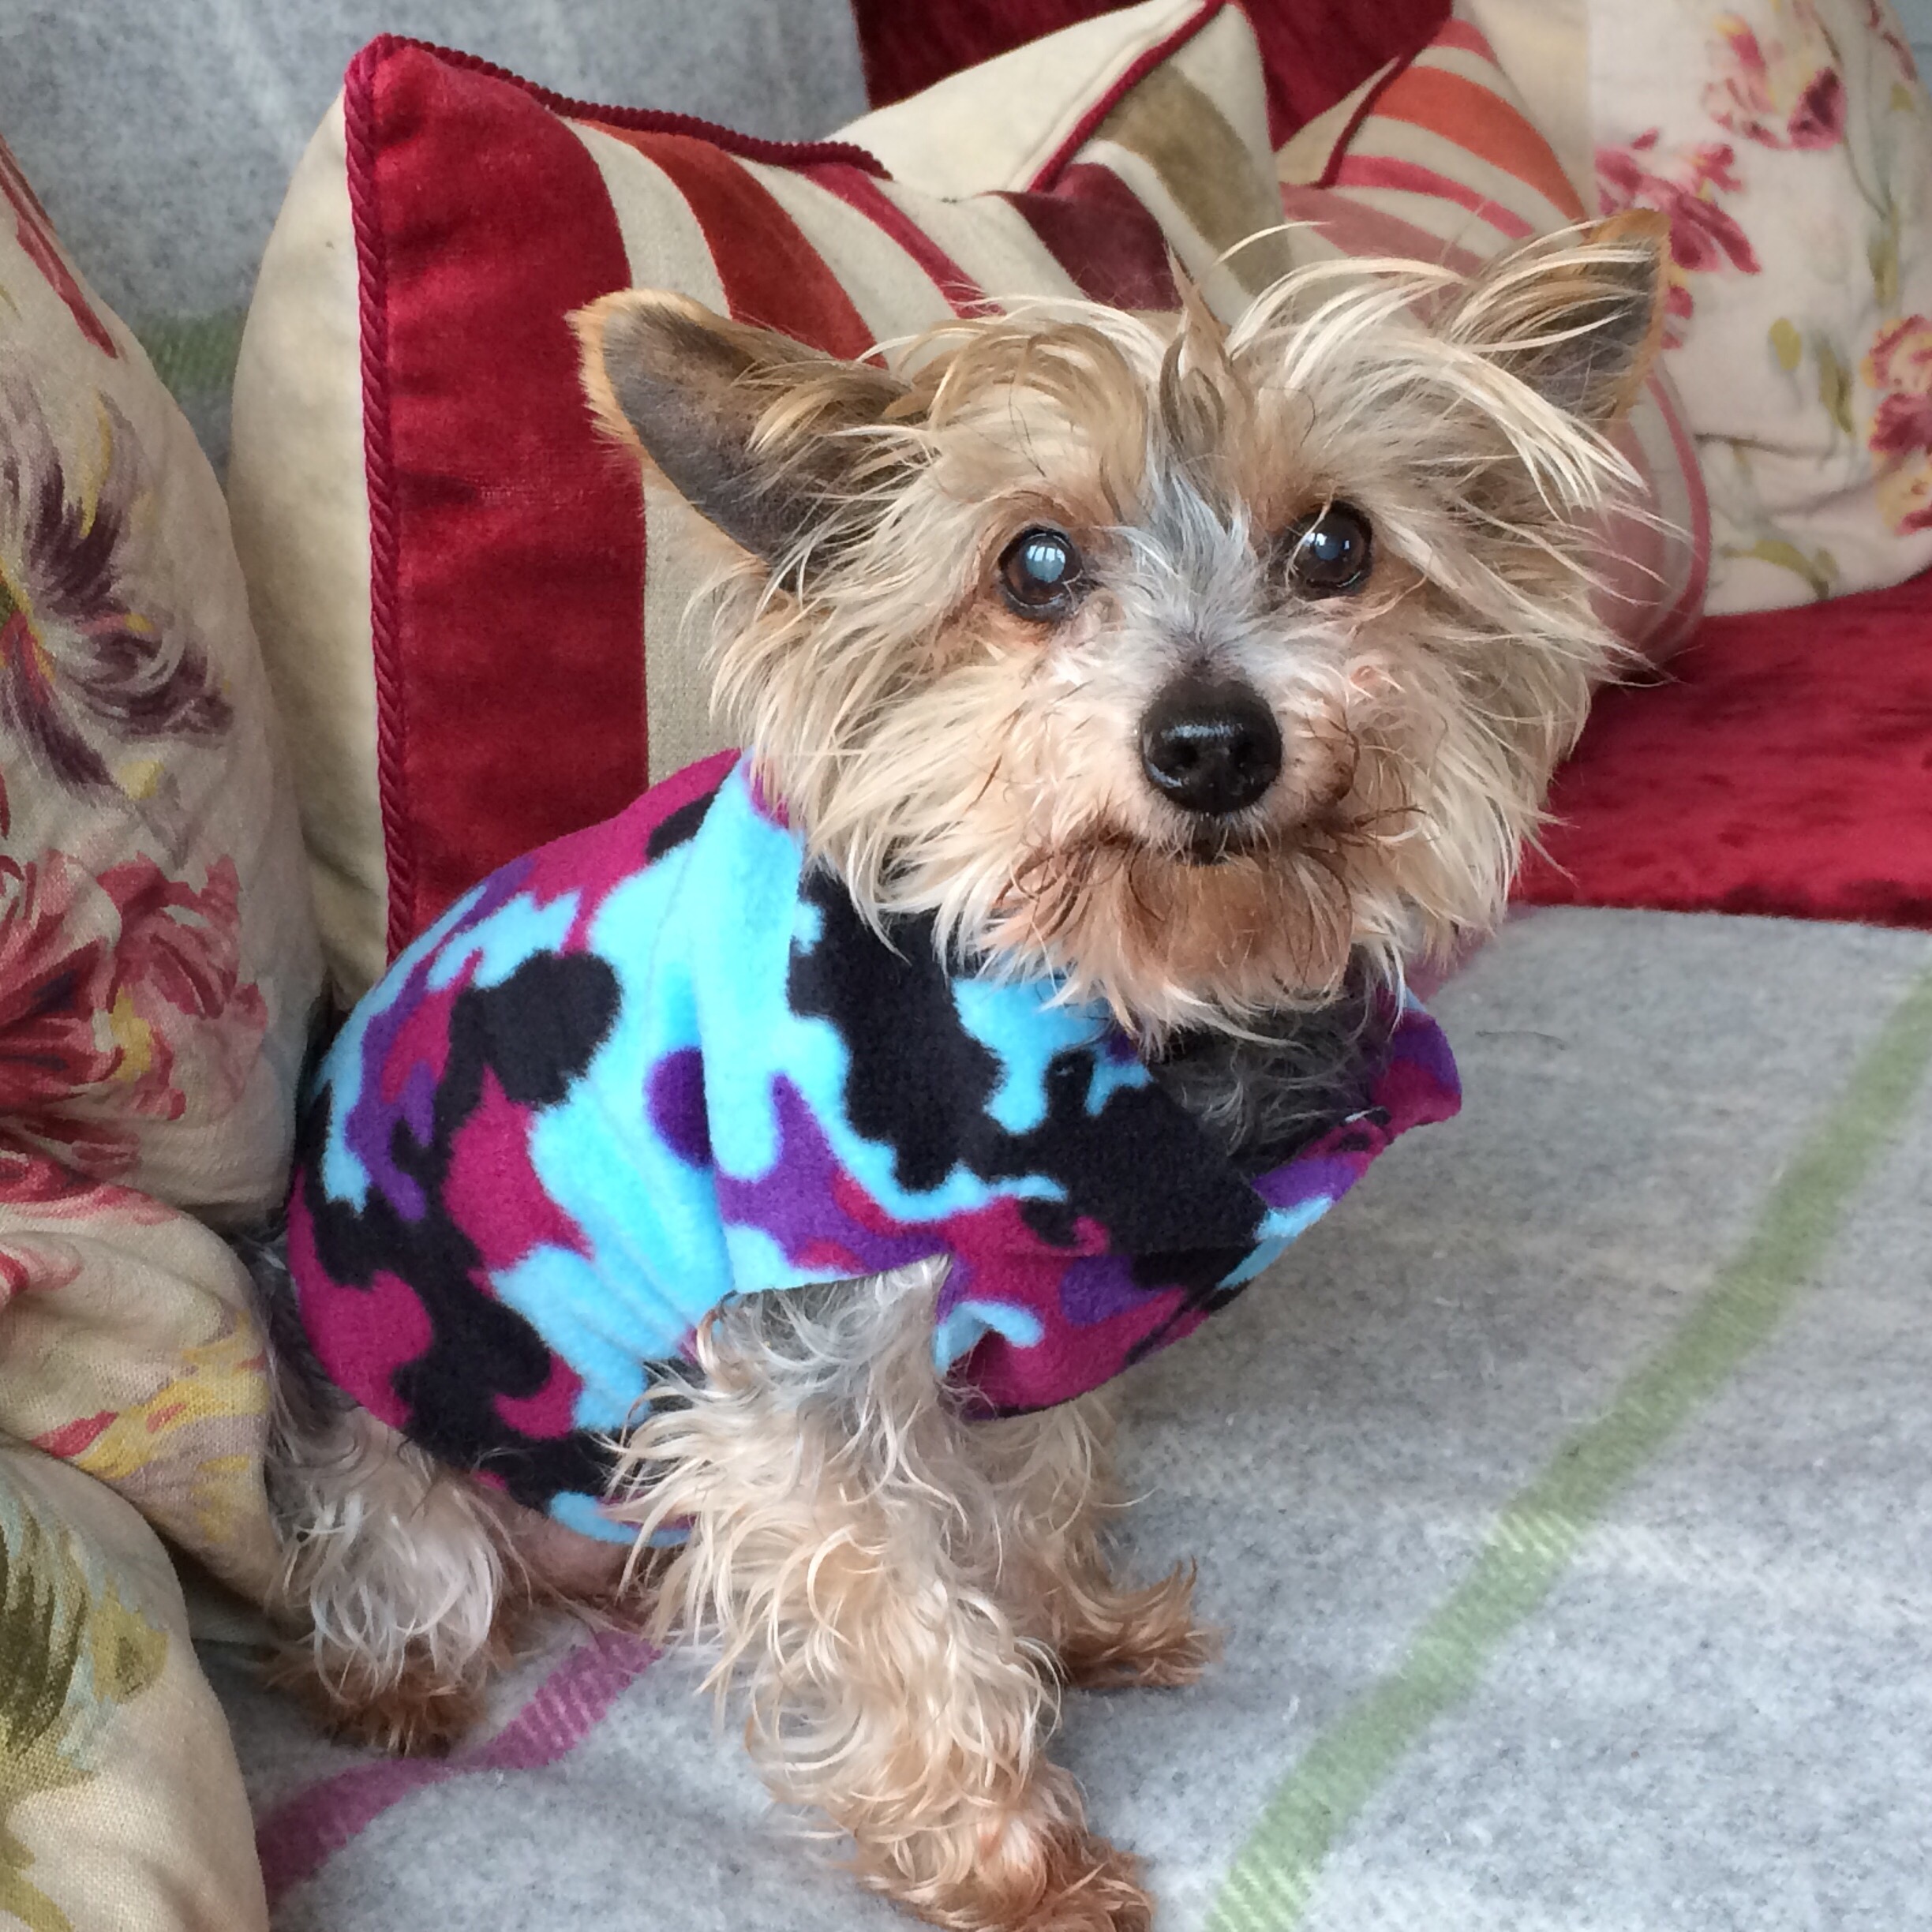
This morning I took some more pictures in daylight to show you.
Now she won’t look daft if we go out for a walk, whereas the Christmassy coat might draw a few questioning glances down the pub.
Isn’t it sweet? Although I’m hoping Summer will show it’s face at some point in August, at least Fifi won’t be shivering if it doesn’t.
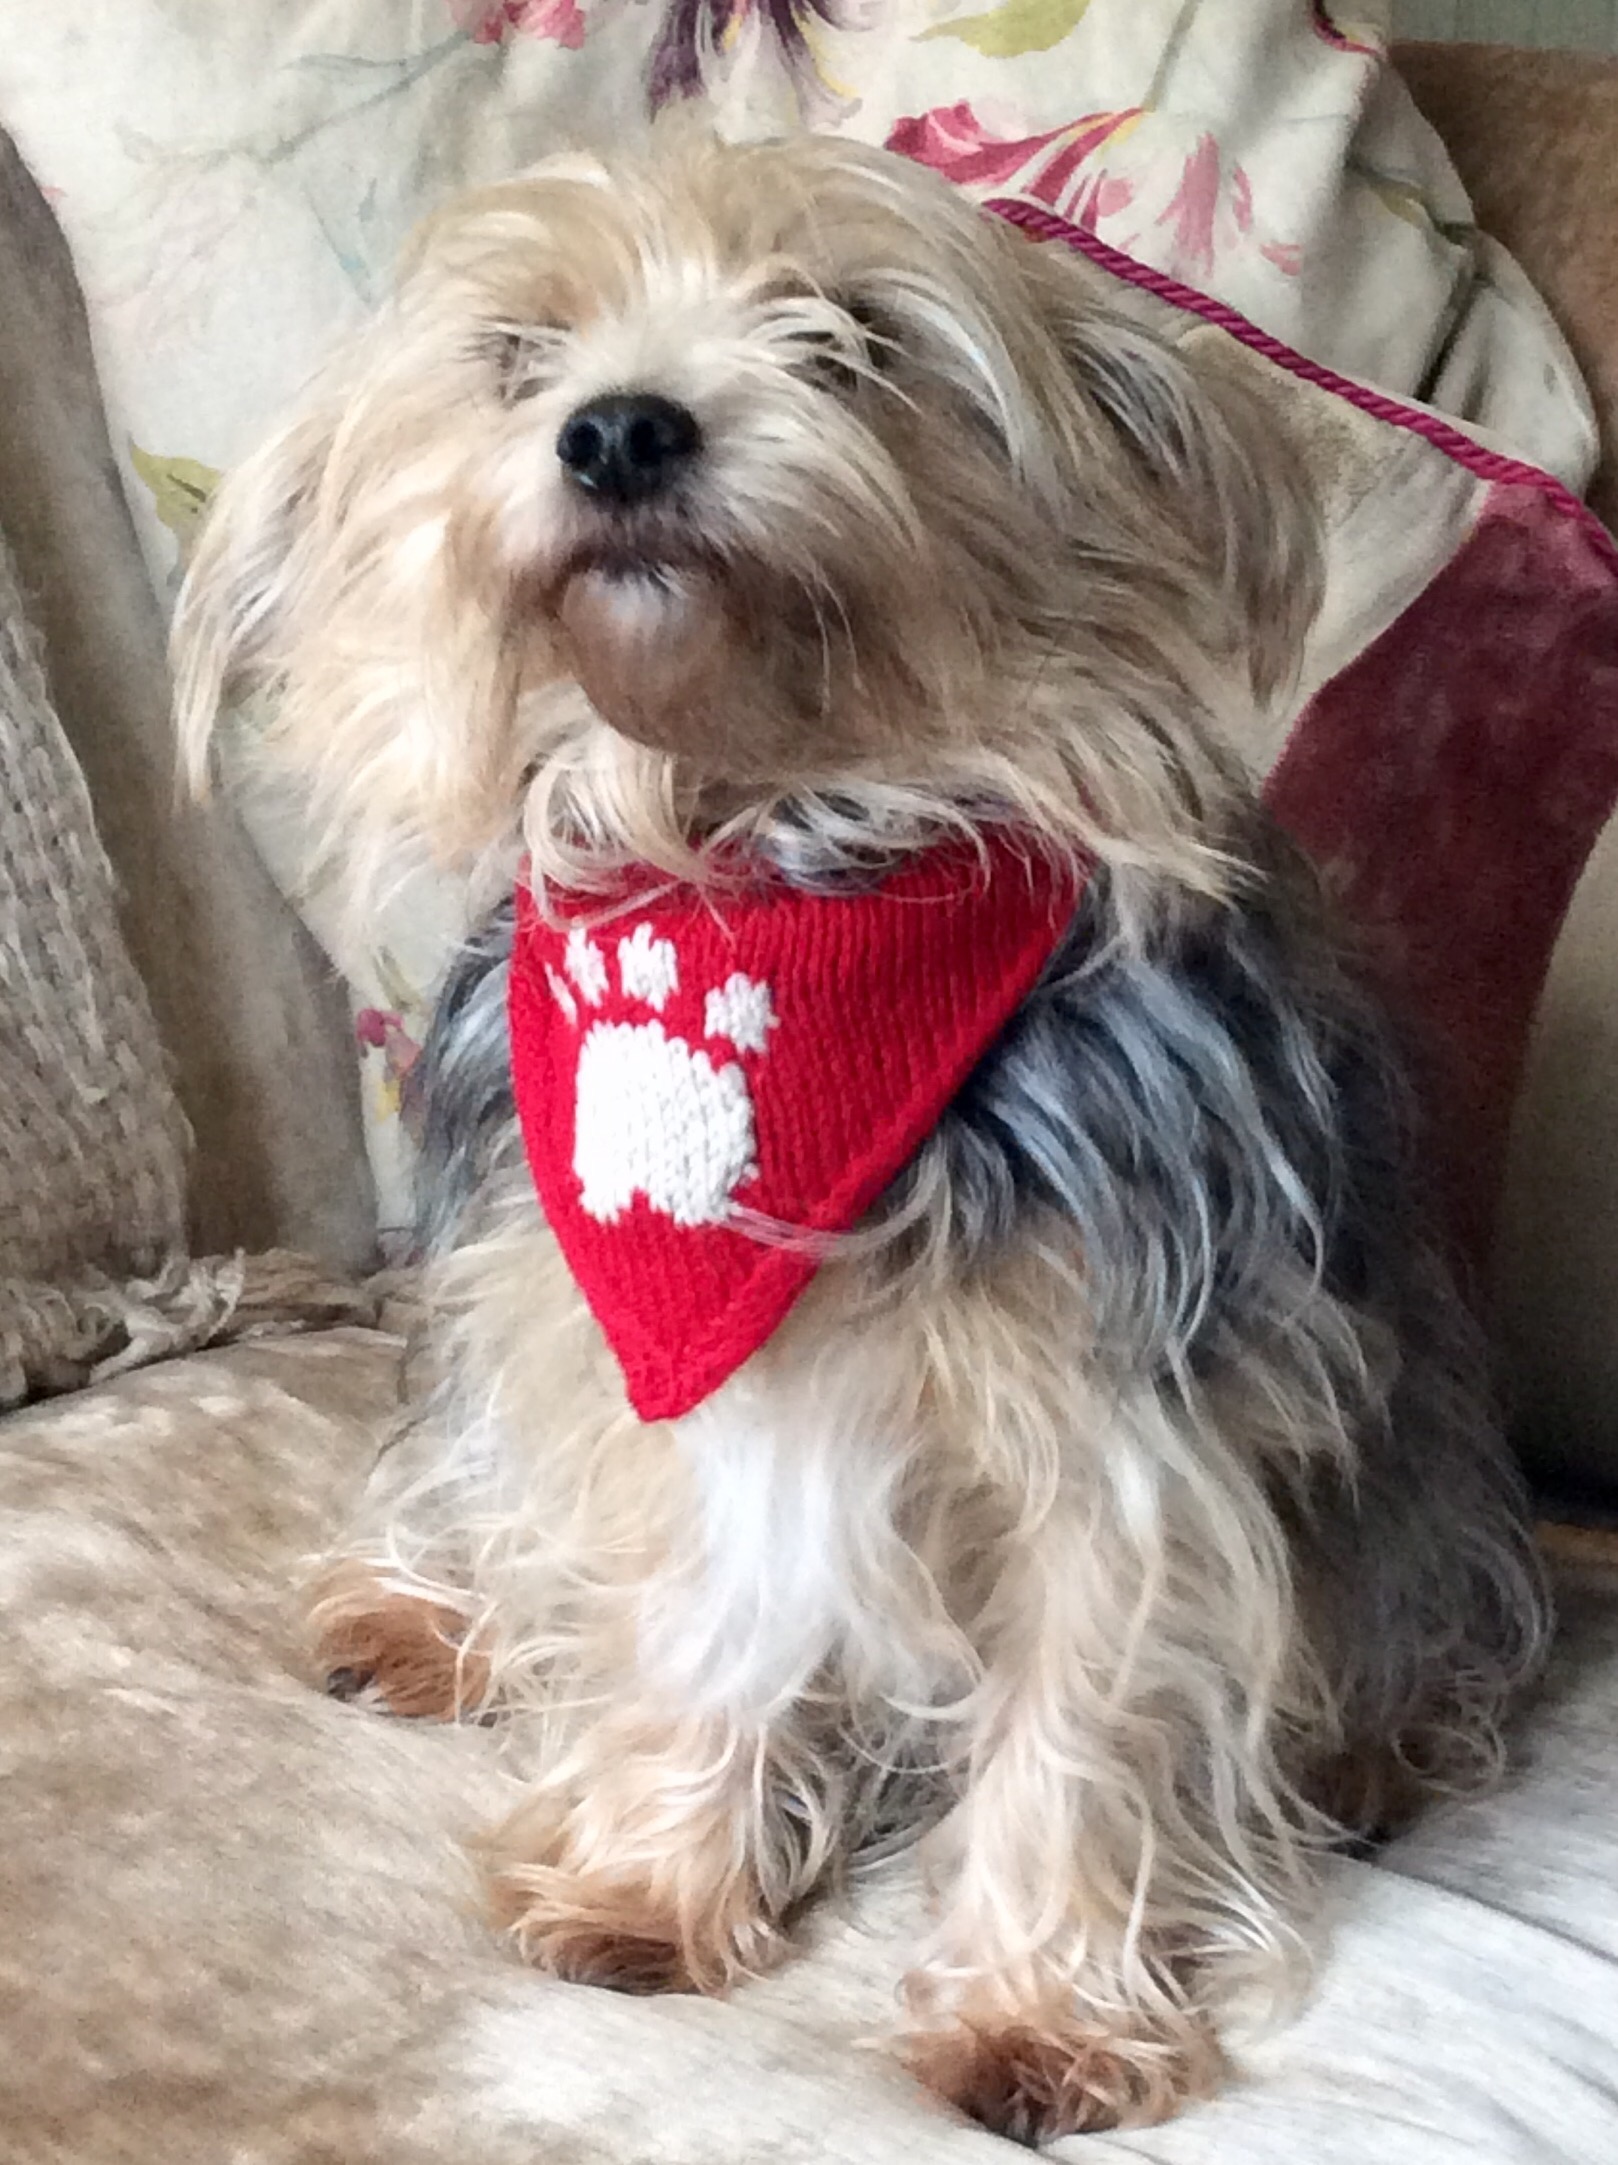
Remember the doggy bandana I knitted for Miekie (seen here modelled by Tess) as part of last year’s Stitching Santa?
It was from the book Woolly Woofers by Debbie Bliss.
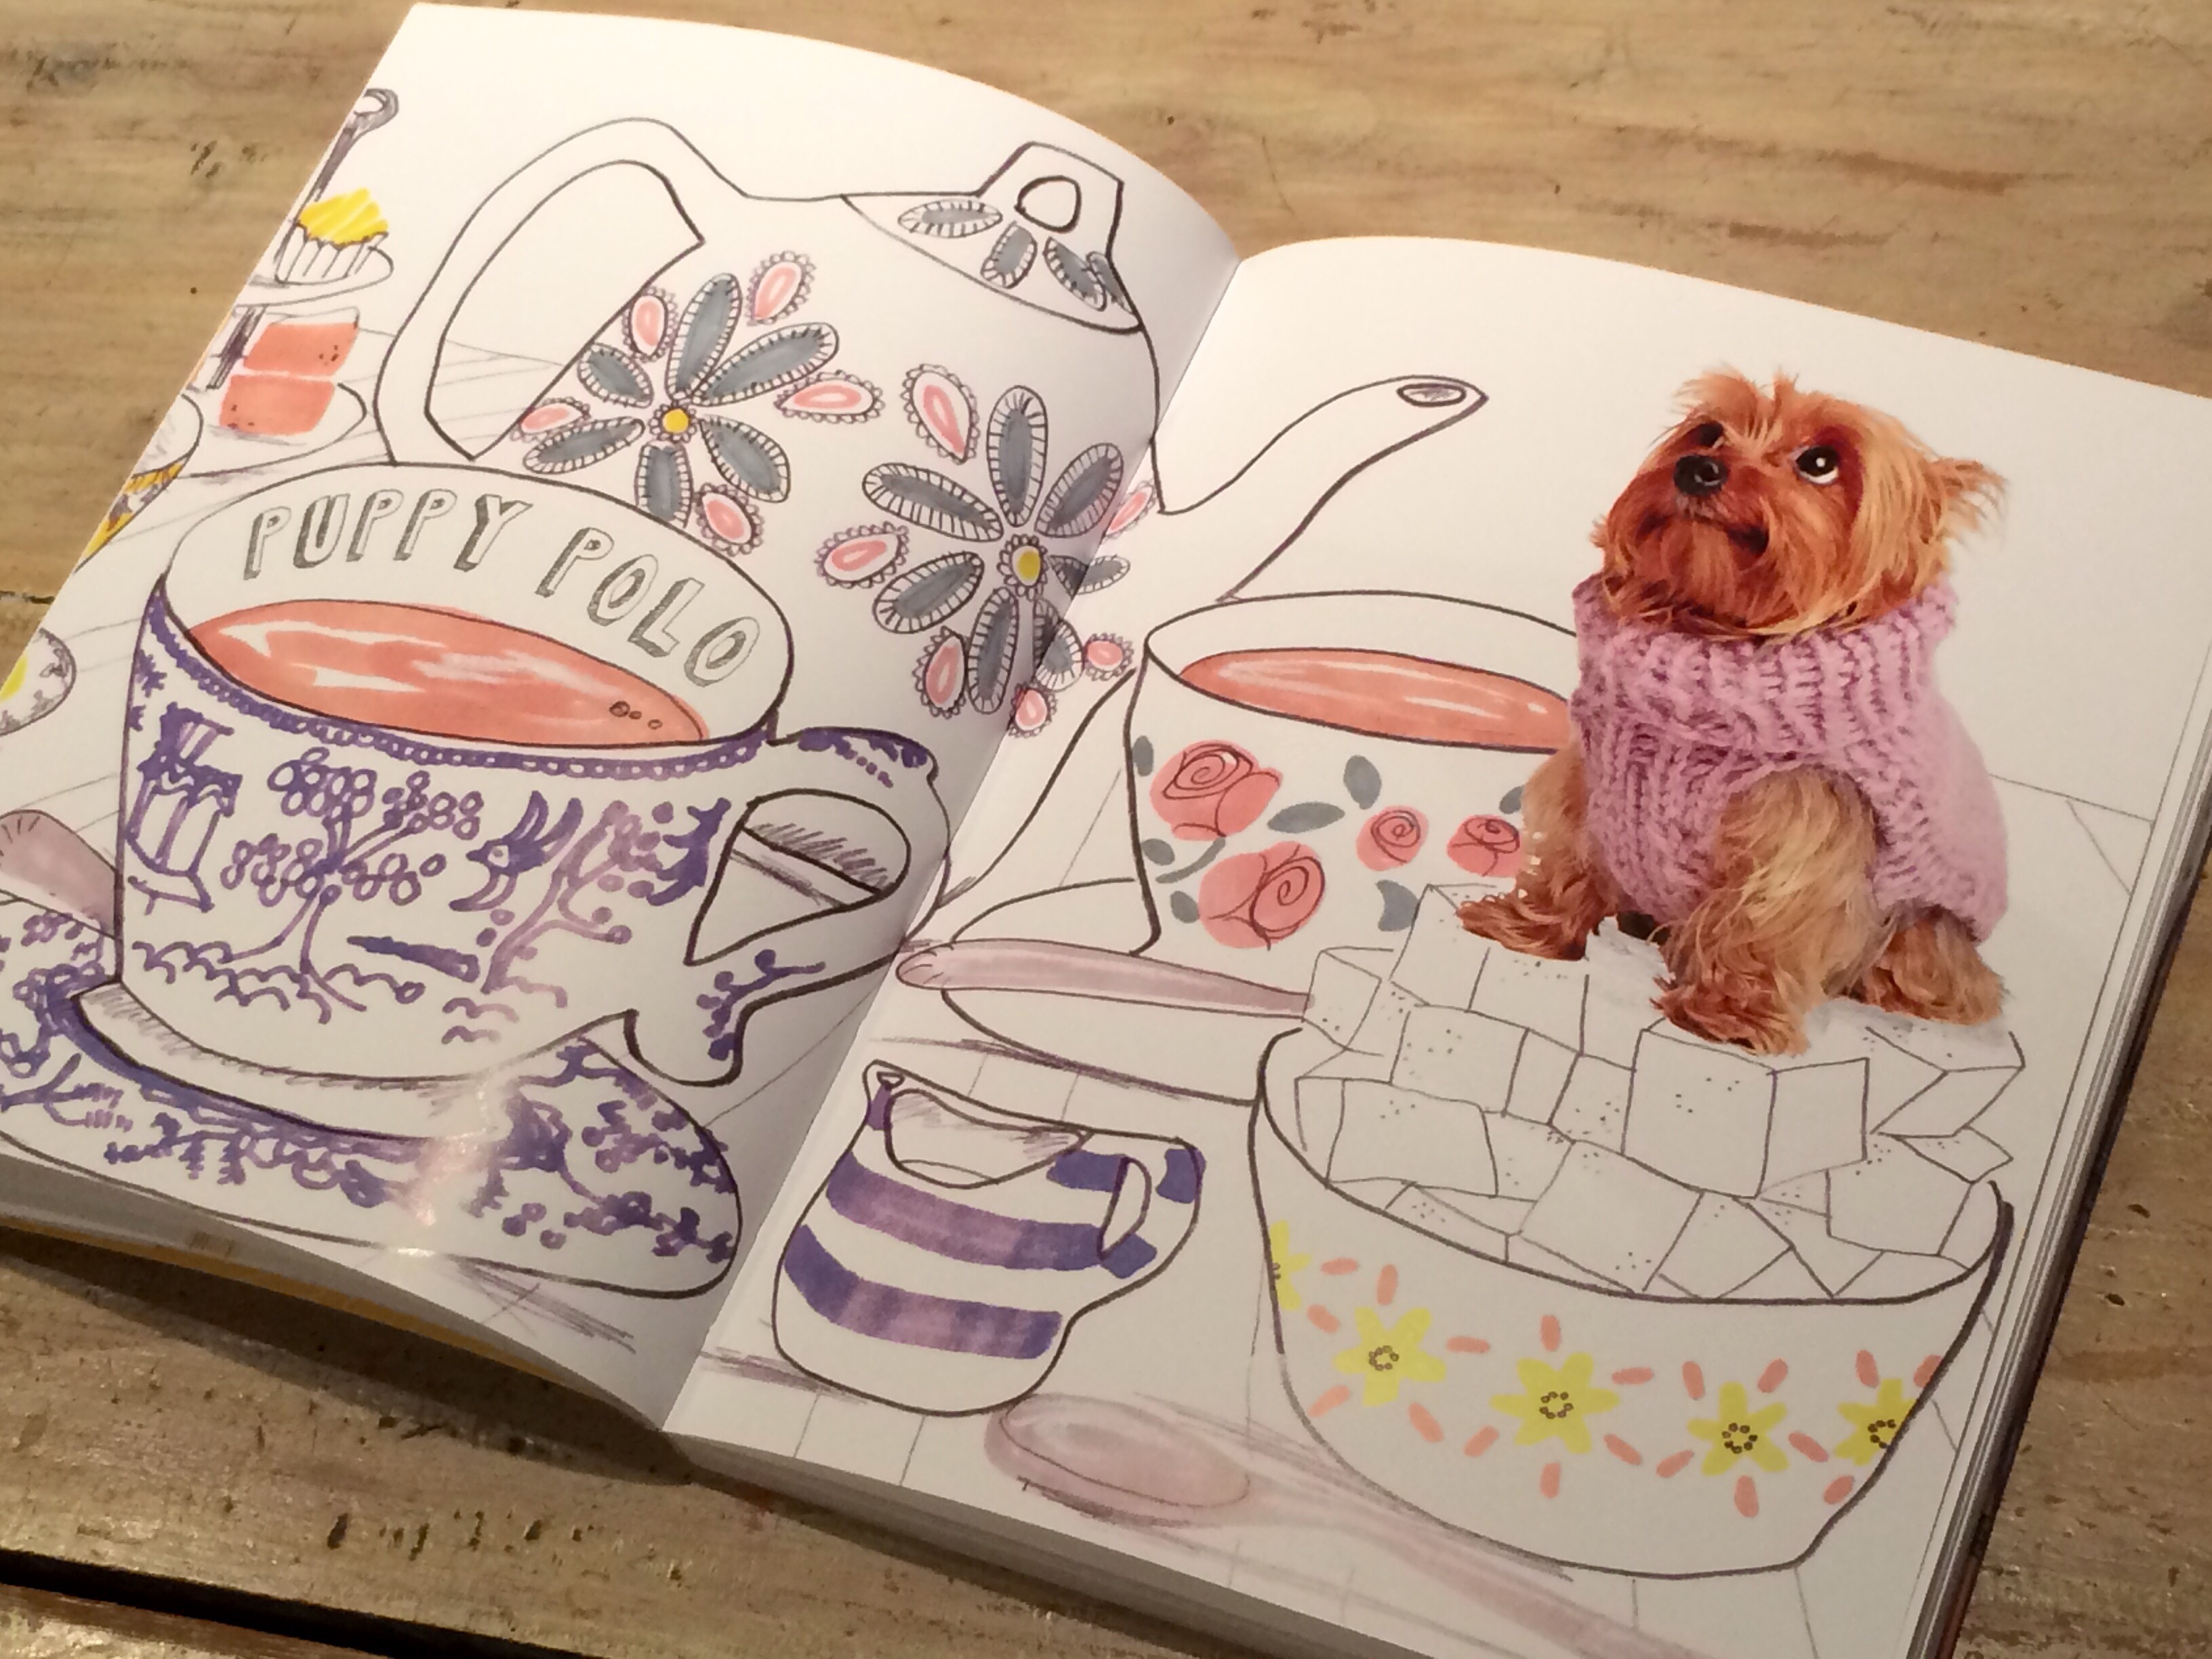
I bought it as much for the quirky illustrations as for the actual content – just look at this backdrop for the so-called Teacup Yorkie!
Well, our other Yorkie, Fifi, has been to the Vet’s a lot recently as she’s an old dog that needs a bit more regular attention. She is much happier wearing a dog coat than those awful cones, but she doesn’t really have enough. I thought this little coat would be a quick and simple knit to go with the fleecy coat I made the other week.
Most of the coats in the book are in there sizes; small,medium and large, but this particular design was specifically for Toy breeds and only available as ‘one size fits all’.
I should have been wary at that statement as both Tess and Fifi are a Toy Yorkshire Terrier, yet Tess is literally twice the size of Fifi.
Undeterred, I cast on using a super chunky yarn in two colours which were dictated by the two half-balls of Lion Brand that had been languishing at the bottom of my ‘leftovers’ bin for months now. There should just about be enough to make a tiny coat.
The gauge was only slightly bigger than the tension gauge suggested in the pattern so I carried on to the end, playing yarn chicken (again!) and winning with just 6″ to spare.
I tried the finished coat on Fifi and….
…..it was HUGE!
It could probably have gone around her twice and the end flopped well past her tail. She even looked the other way in an effort to communicate her humiliation.
So I tried it on Tess…..and it fit perfectly.
It looks just like it does in the book – nice and snug around the chest and not too long in the body.
She was even happy to pose for the camera.
There’s only one tiny issue, and that’s the fact that she has thick hair (and lots of it) and never really gets cold enough to warrant wearing a coat, so if anyone has a little dog that would wear it, let me know and I’ll send it to you.
Back last Summer, Fifi had some mammary tumours removed and had to wear the Cone Of Shame for ten days. She hated it for the first few days, then gradually adapted to moving and sleeping with an unwieldy plastic funnel clipped to her neck.
This week, another trip to the Vet meant either another plastic cone, bandaging or some other method to prevent her from literally licking her wounds.
I found some leftover fleecy fabric from a nightshirt that No.3 Son made, and decided to make her a comfy coat instead. Whilst she already has several coats, none of them were long enough underbelly to cover the affected area.
So, for those of you who would rather not put your own dog through the trauma of The Cone, here’s a quick way to make a lick-prevention jacket.
Measure your dog around the widest part of her ribs, just behind the front legs, then add an inch for seam allowances.
Measure from the back of her neck towards the tail, at a point just in front of the back legs (so he/she can still wee easily!).
Cut a rectangle of fabric to these measurements.
With right sides facing, sew the short ends together with a half inch seam.
I pressed open the seam and top stitched it flat so there would be no irritation next to the skin.
Measure the distance between the front legs and cut two leg holes on the underside. The distance from the neck to the legs will determine how far back these openings are placed.
Done.
How long did that take? Five minutes at the most, but your dog will thank you for your efforts, trust me!
See? She can’t get to her wound because the coat is completely covering it.
She soon gave up trying and settled down happily.
And we’re happy because: –
a) she won’t keep us awake with her licky sounds all night long – you’d be surprised how loud (and annoying) licking can be in the middle of the night.
b) no oozing on the (very white) duvet cover. Yes, she sleeps on our bed. She’s 14, what the hell.
c) she can actually get comfortable and sleep, which is virtually impossible when wearing a plastic cone to bed.
Failing the ability to actually sew a seam, just grab one of hubby’s old long sleeve T-shirts, cut it to the right length and make two leg holes in the appropriate place. No sewing needed:)
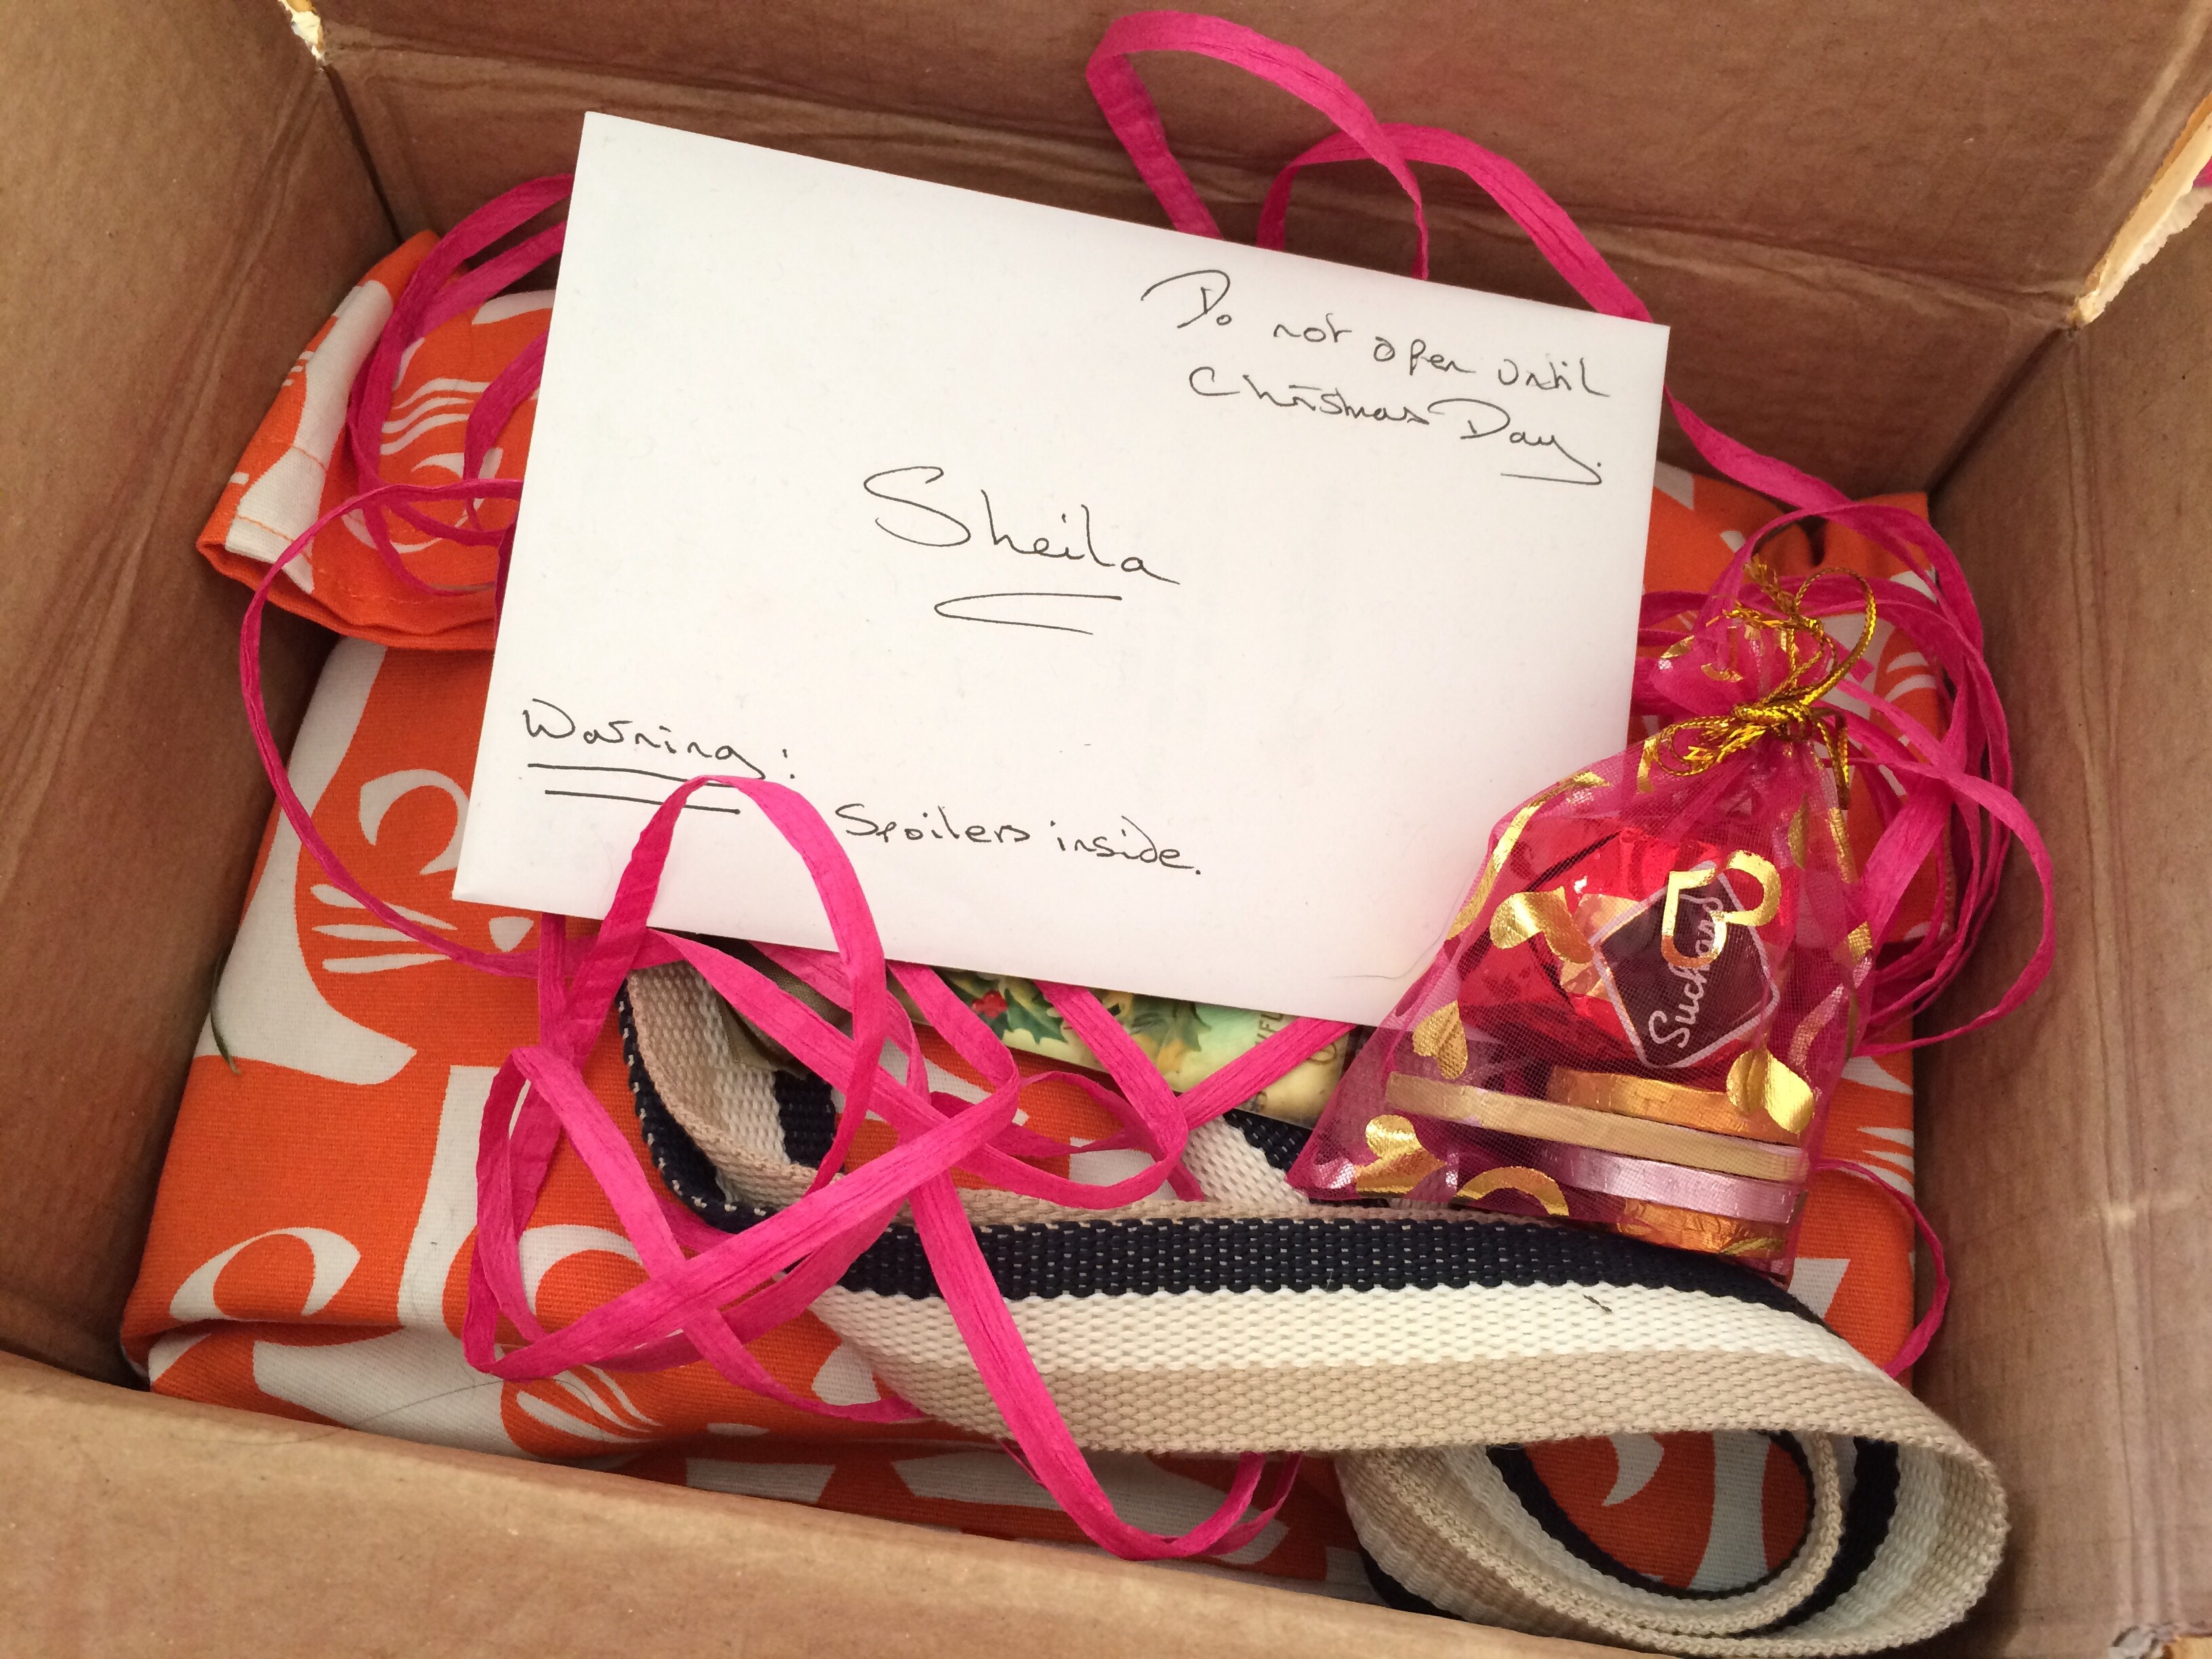
Having blogged about my knitting/crochet Stitching Santa parcel last week, I’ve locked myself away for half an hour to make sure I blog about my second parcel – the sewing swap.
This box of goodies arrived well in time for Christmas and came from Lynn who blogs at Tialys, with the strict instructions not to open the card in advance of Christmas Day as it contained spoilers.
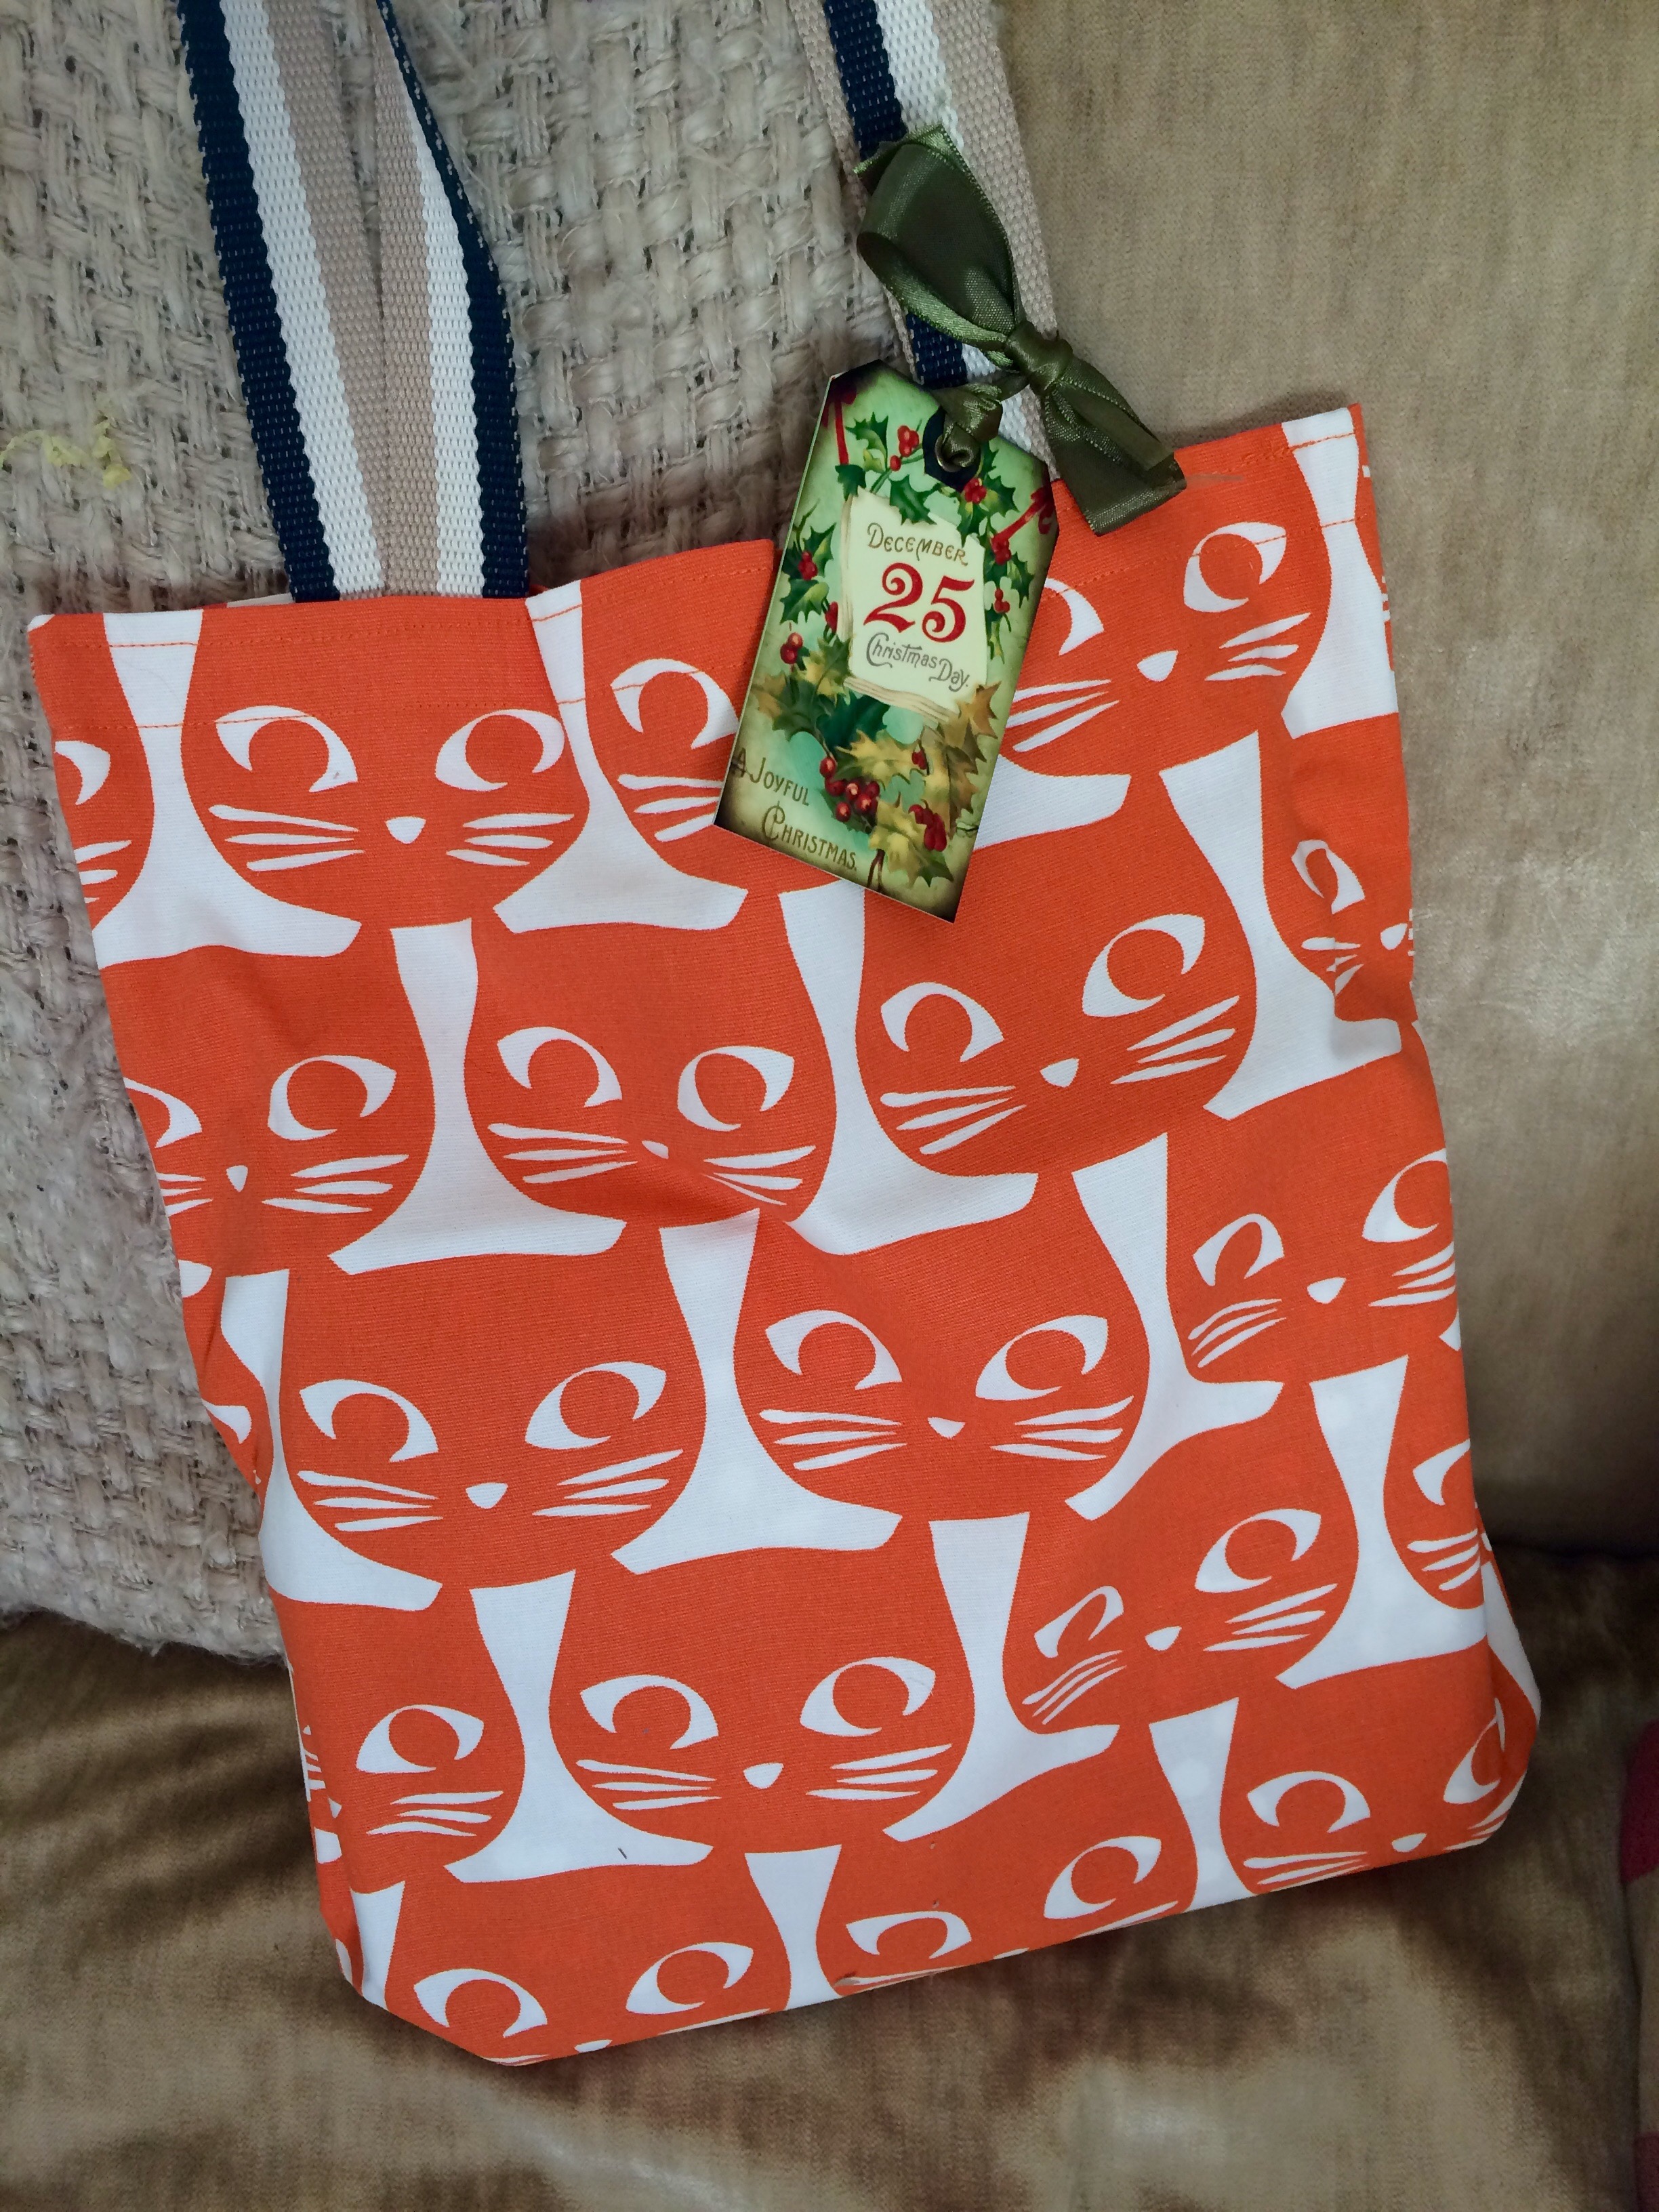
When I finally got around to opening Lynn’s parcel three days after Christmas, I was greeted with this stunning project bag made from a striking cat print fabric (utterly appropriate from this Cat Lady) and it was put into service immediately for a knitting project.
Contained within were a number of individually wrapped gifts which I was glad I had to photograph as it stopped me from ripping them all open at once in excitement, after all, it had been sitting under the tree teasing me for ten days!
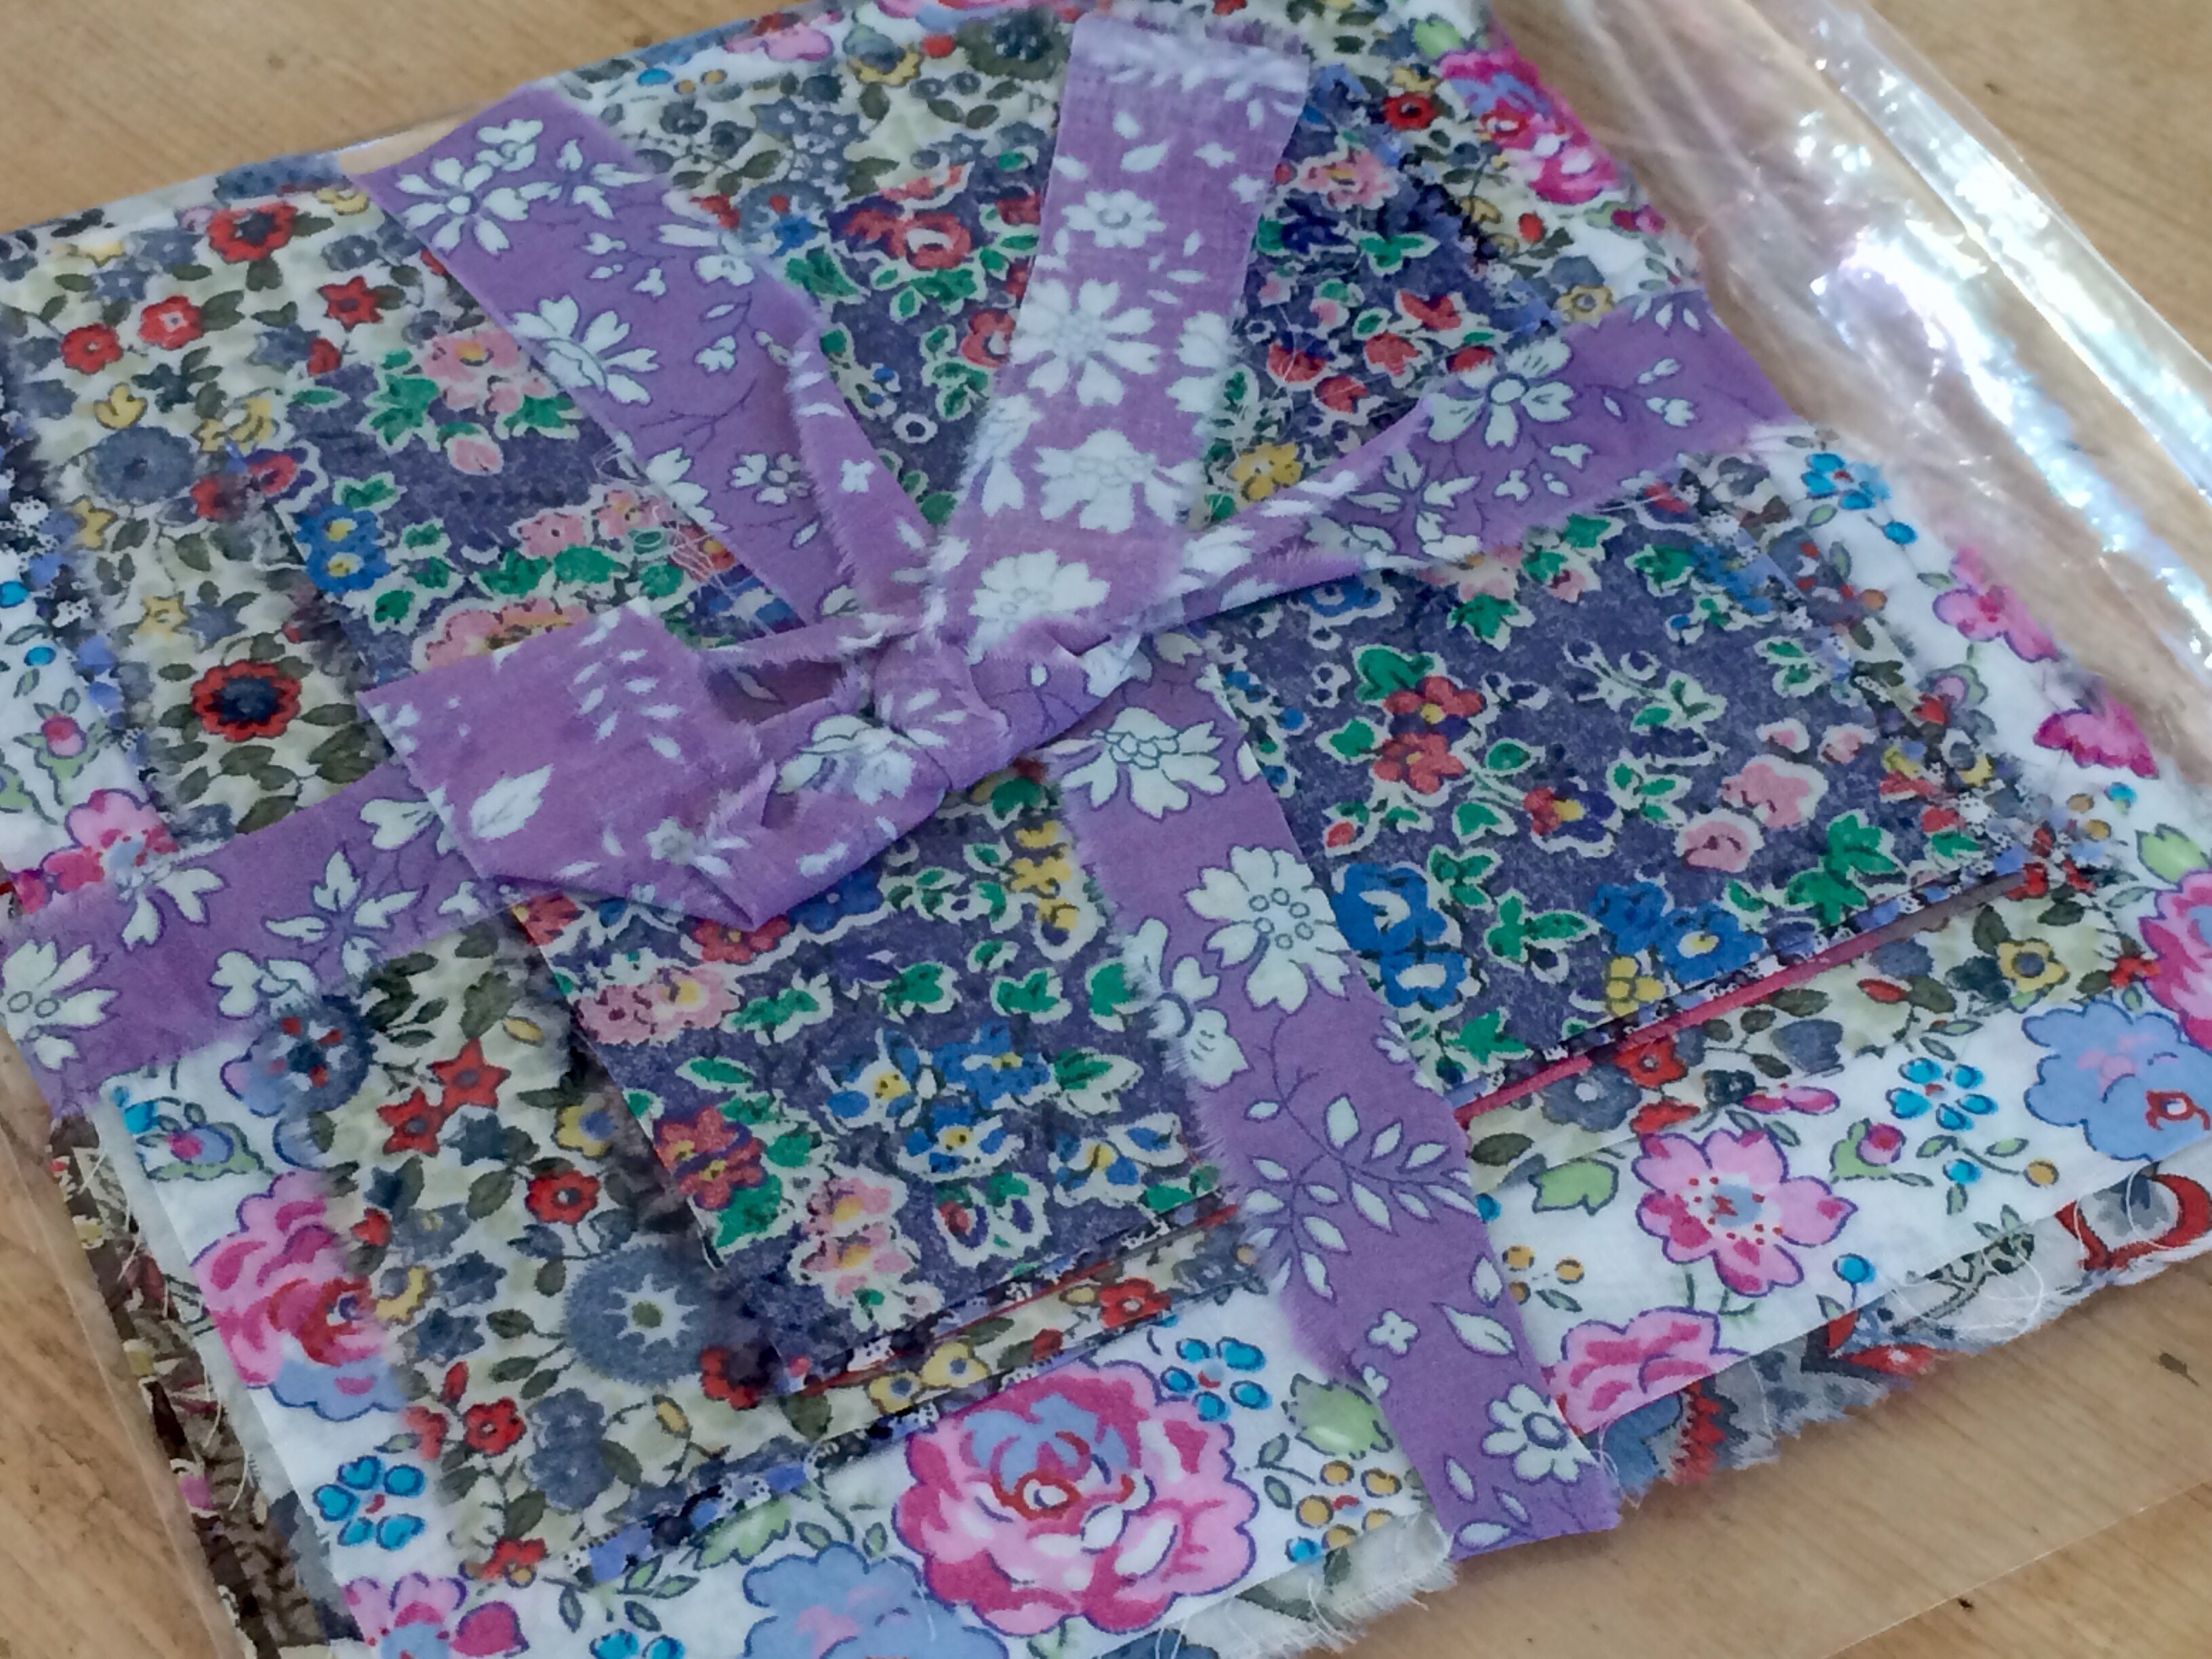
First up was this bundle of pretty floral cottons, so useful for the free motion embroidery that I like to do so much.
A Deer and Doe pattern was a real surprise, and a fab one at that as I’ve never sewn one of theirs.
I LOVE the Liberty print zipped pouch that Lynn made – so pretty and in all my favourite shades of pink. (It will be the make up bag that I keep in my new Mulberry handbag that Mr H-L bought me for Christmas:))
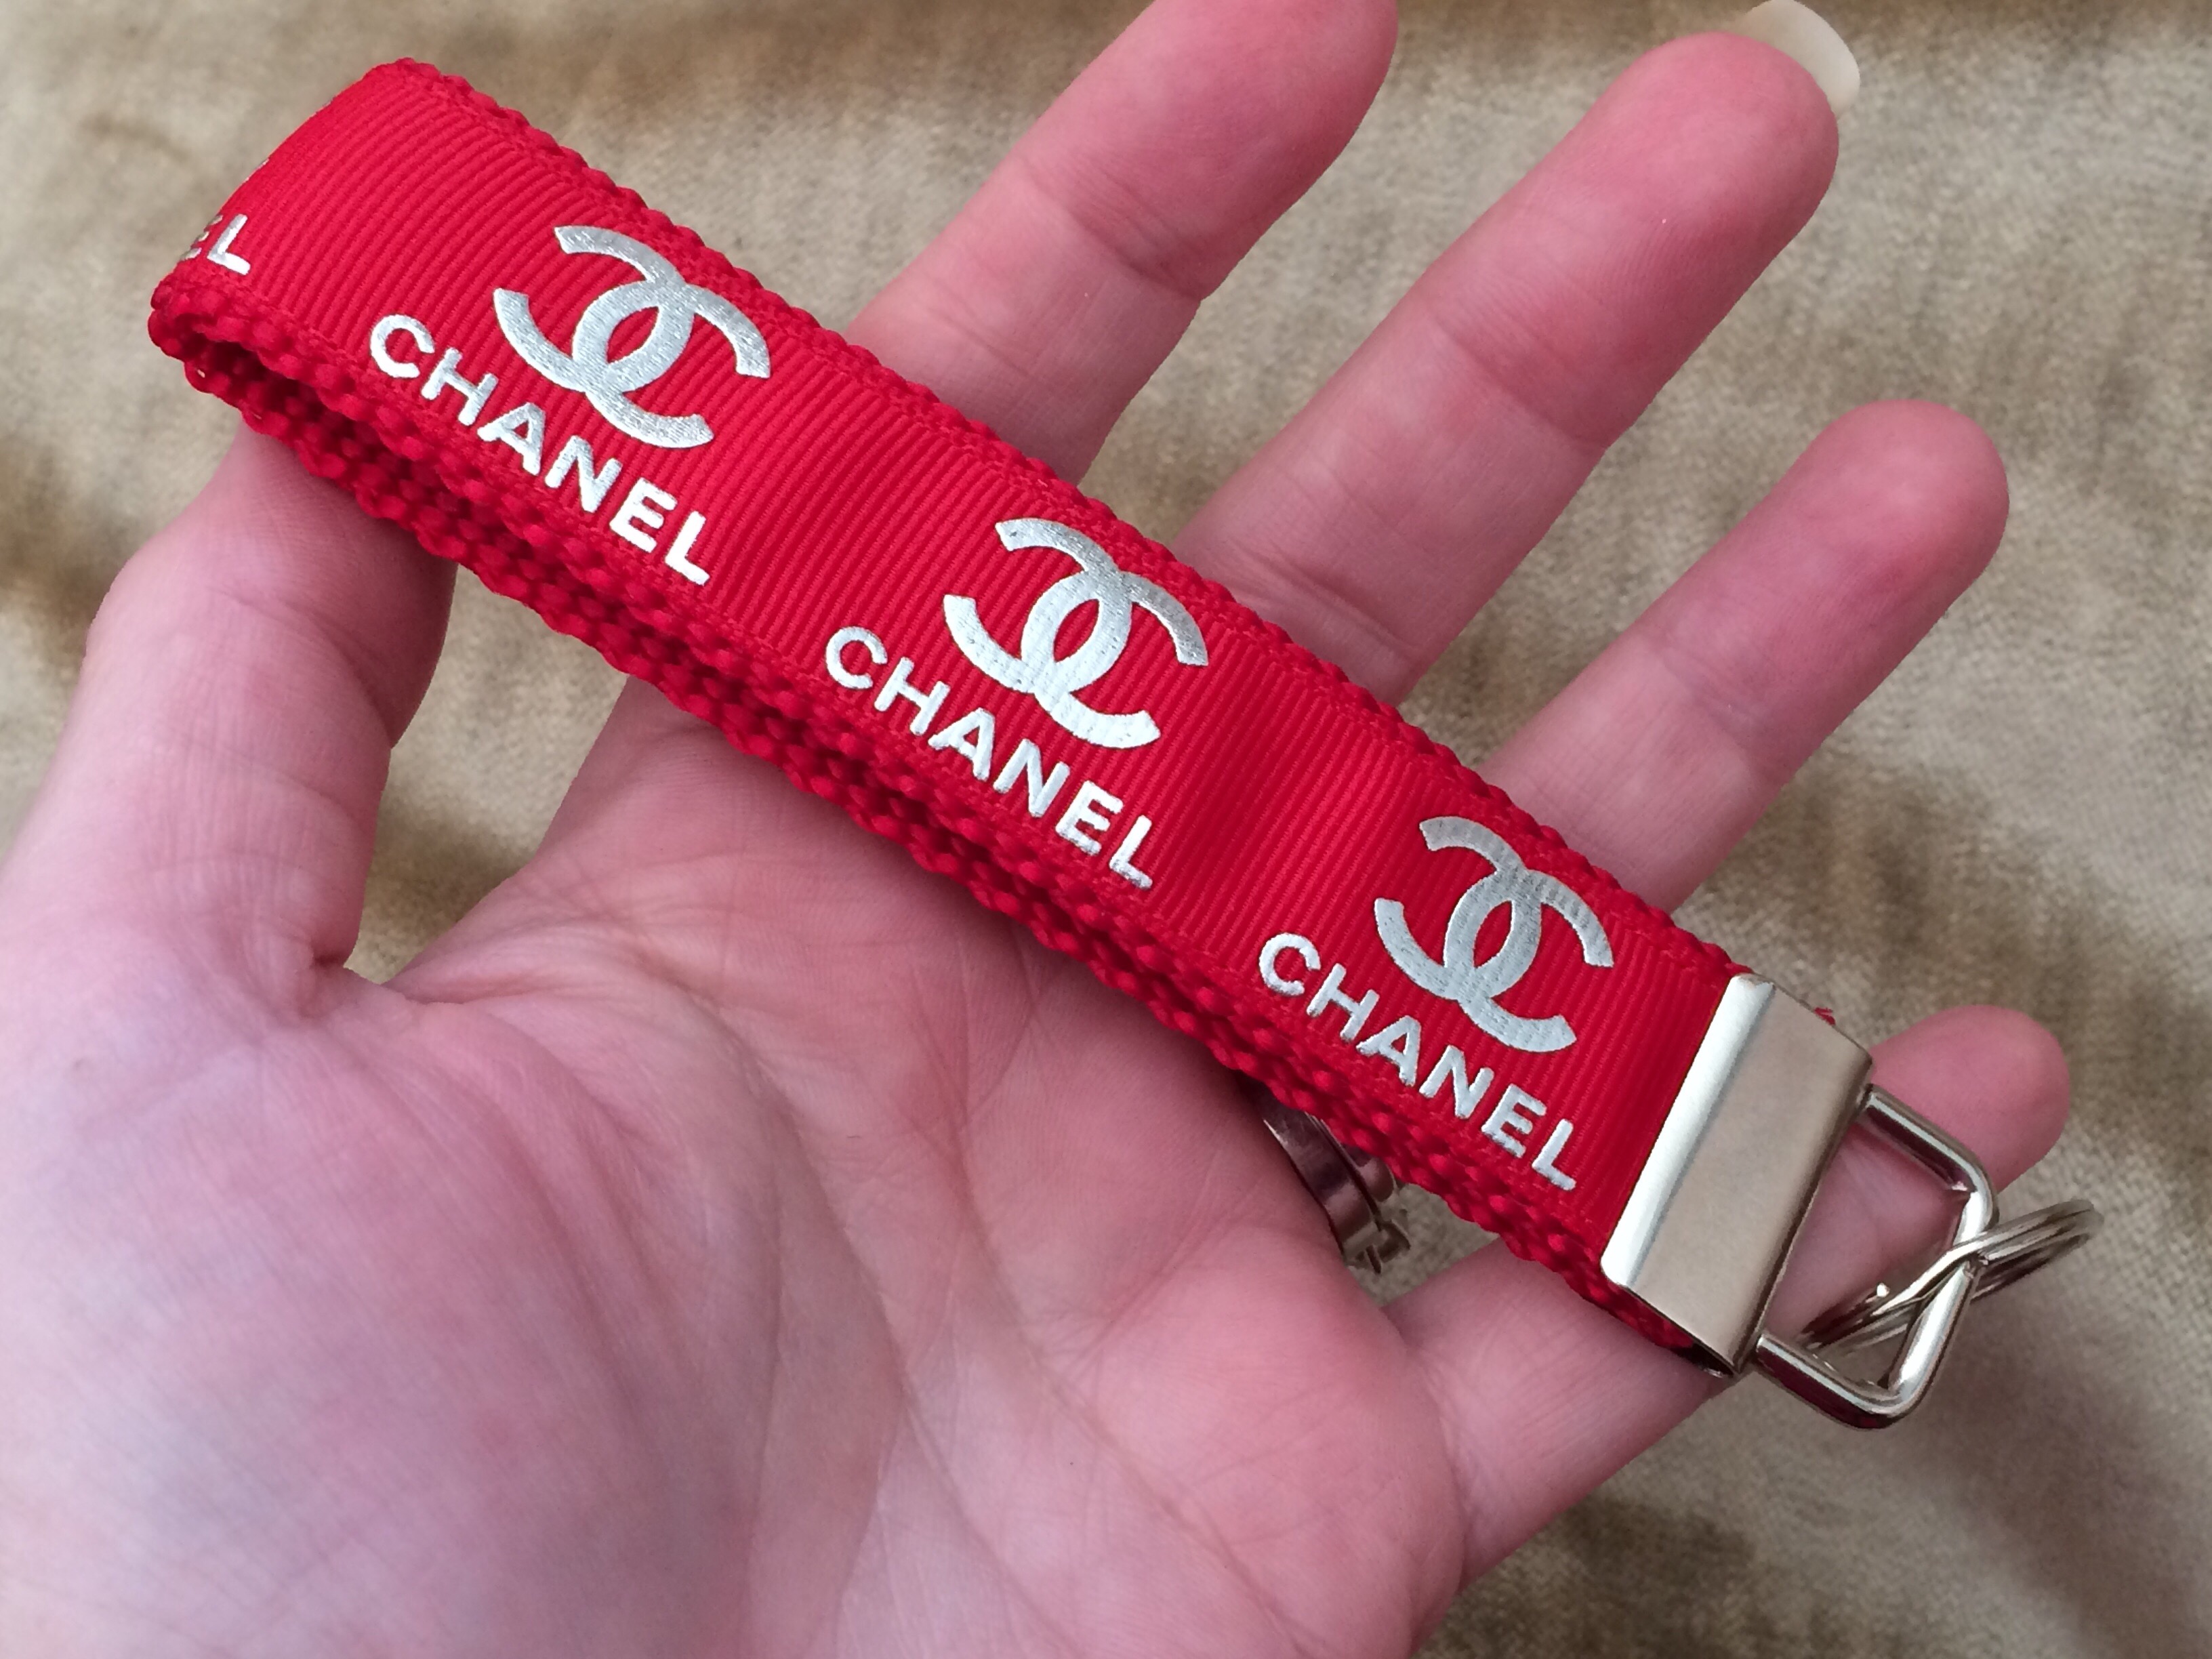
This now holds my car keys – no longer will they get lost in the depths of my handbag:)
The entrance to my studio is into the loft via a ladder so there is no doorway on which to display this – it will be nailed onto the beam at the top of the ladder instead, to welcome me very time I enter. ‘Embroidery Workshop’, Google translate informs me!
A mini photo sticker gave me a clue as to what was in the next two presents……
…….bandanas and a new collar each for Fifi and Tess!
Lynn makes and sells these in her Etsy shop, donating some of the profits to dog charities. Check out her shop if you haven’t already done so – there are some fab and funky designs in there and you’ll be helping homeless dogs at the same time!
Finally, there was a cute little drawstring pouch filled with chocolates which The Boys ‘helped’ me to eat.
I think you’ll agree that it was a very generous and thoughtful mix of gifts – thank you Lynn!
Sunday Sevens is a weekly blog series where you share some moments from outside your blog. You can find out more about how to join in at Threads & Bobbins.
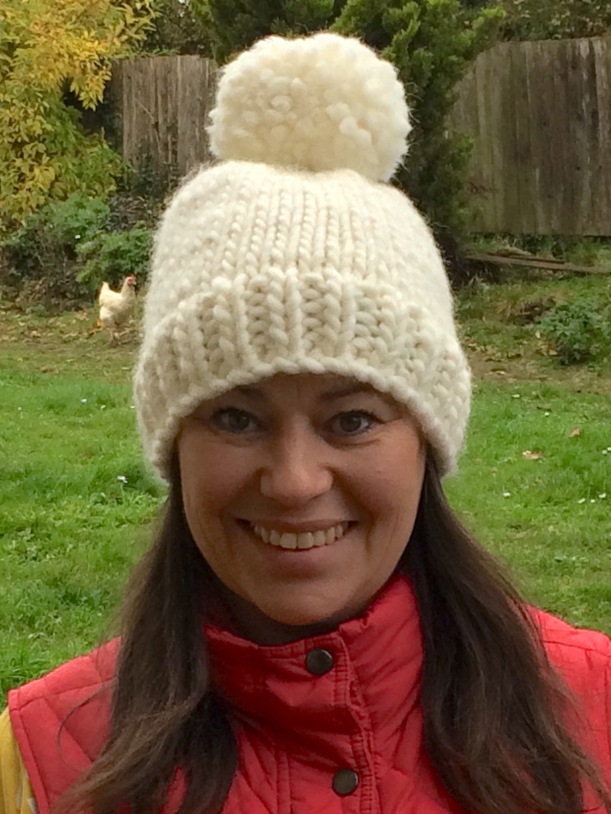
1. My niece is at University so I sent her some money for her birthday (seeing as she is now a poor student!). I wanted to give her an actual present to open as well, so I knitted this bobble hat.
2. I’ve been working on Christmas gifts this week and have started (and finished) quite a few. This will become a pointless-but-fun dog bandana. Because all dogs should have one.
3. A couple of hours were spent on a bit of fair isle knitting in Christmassy red and white.
4. This is the finished thing – a cute little stocking which will go into my #stitchingsanta parcel, the first thing I’ve made as yet. The pattern is a free one by Julie Williams on Ravelry and one I wanted to make last year but didn’t have time. Hopefully, I’ll have time to make some more because they are a joy to knit and quick, too.
5. Talking of #stitchingsanta, this skein of lace weight baby merino wool is also destined for my recipient. 470 yards should be enough to knit a shawl. I was drawn in by the lovely Autumnal colours and can’t wait to see it made up.
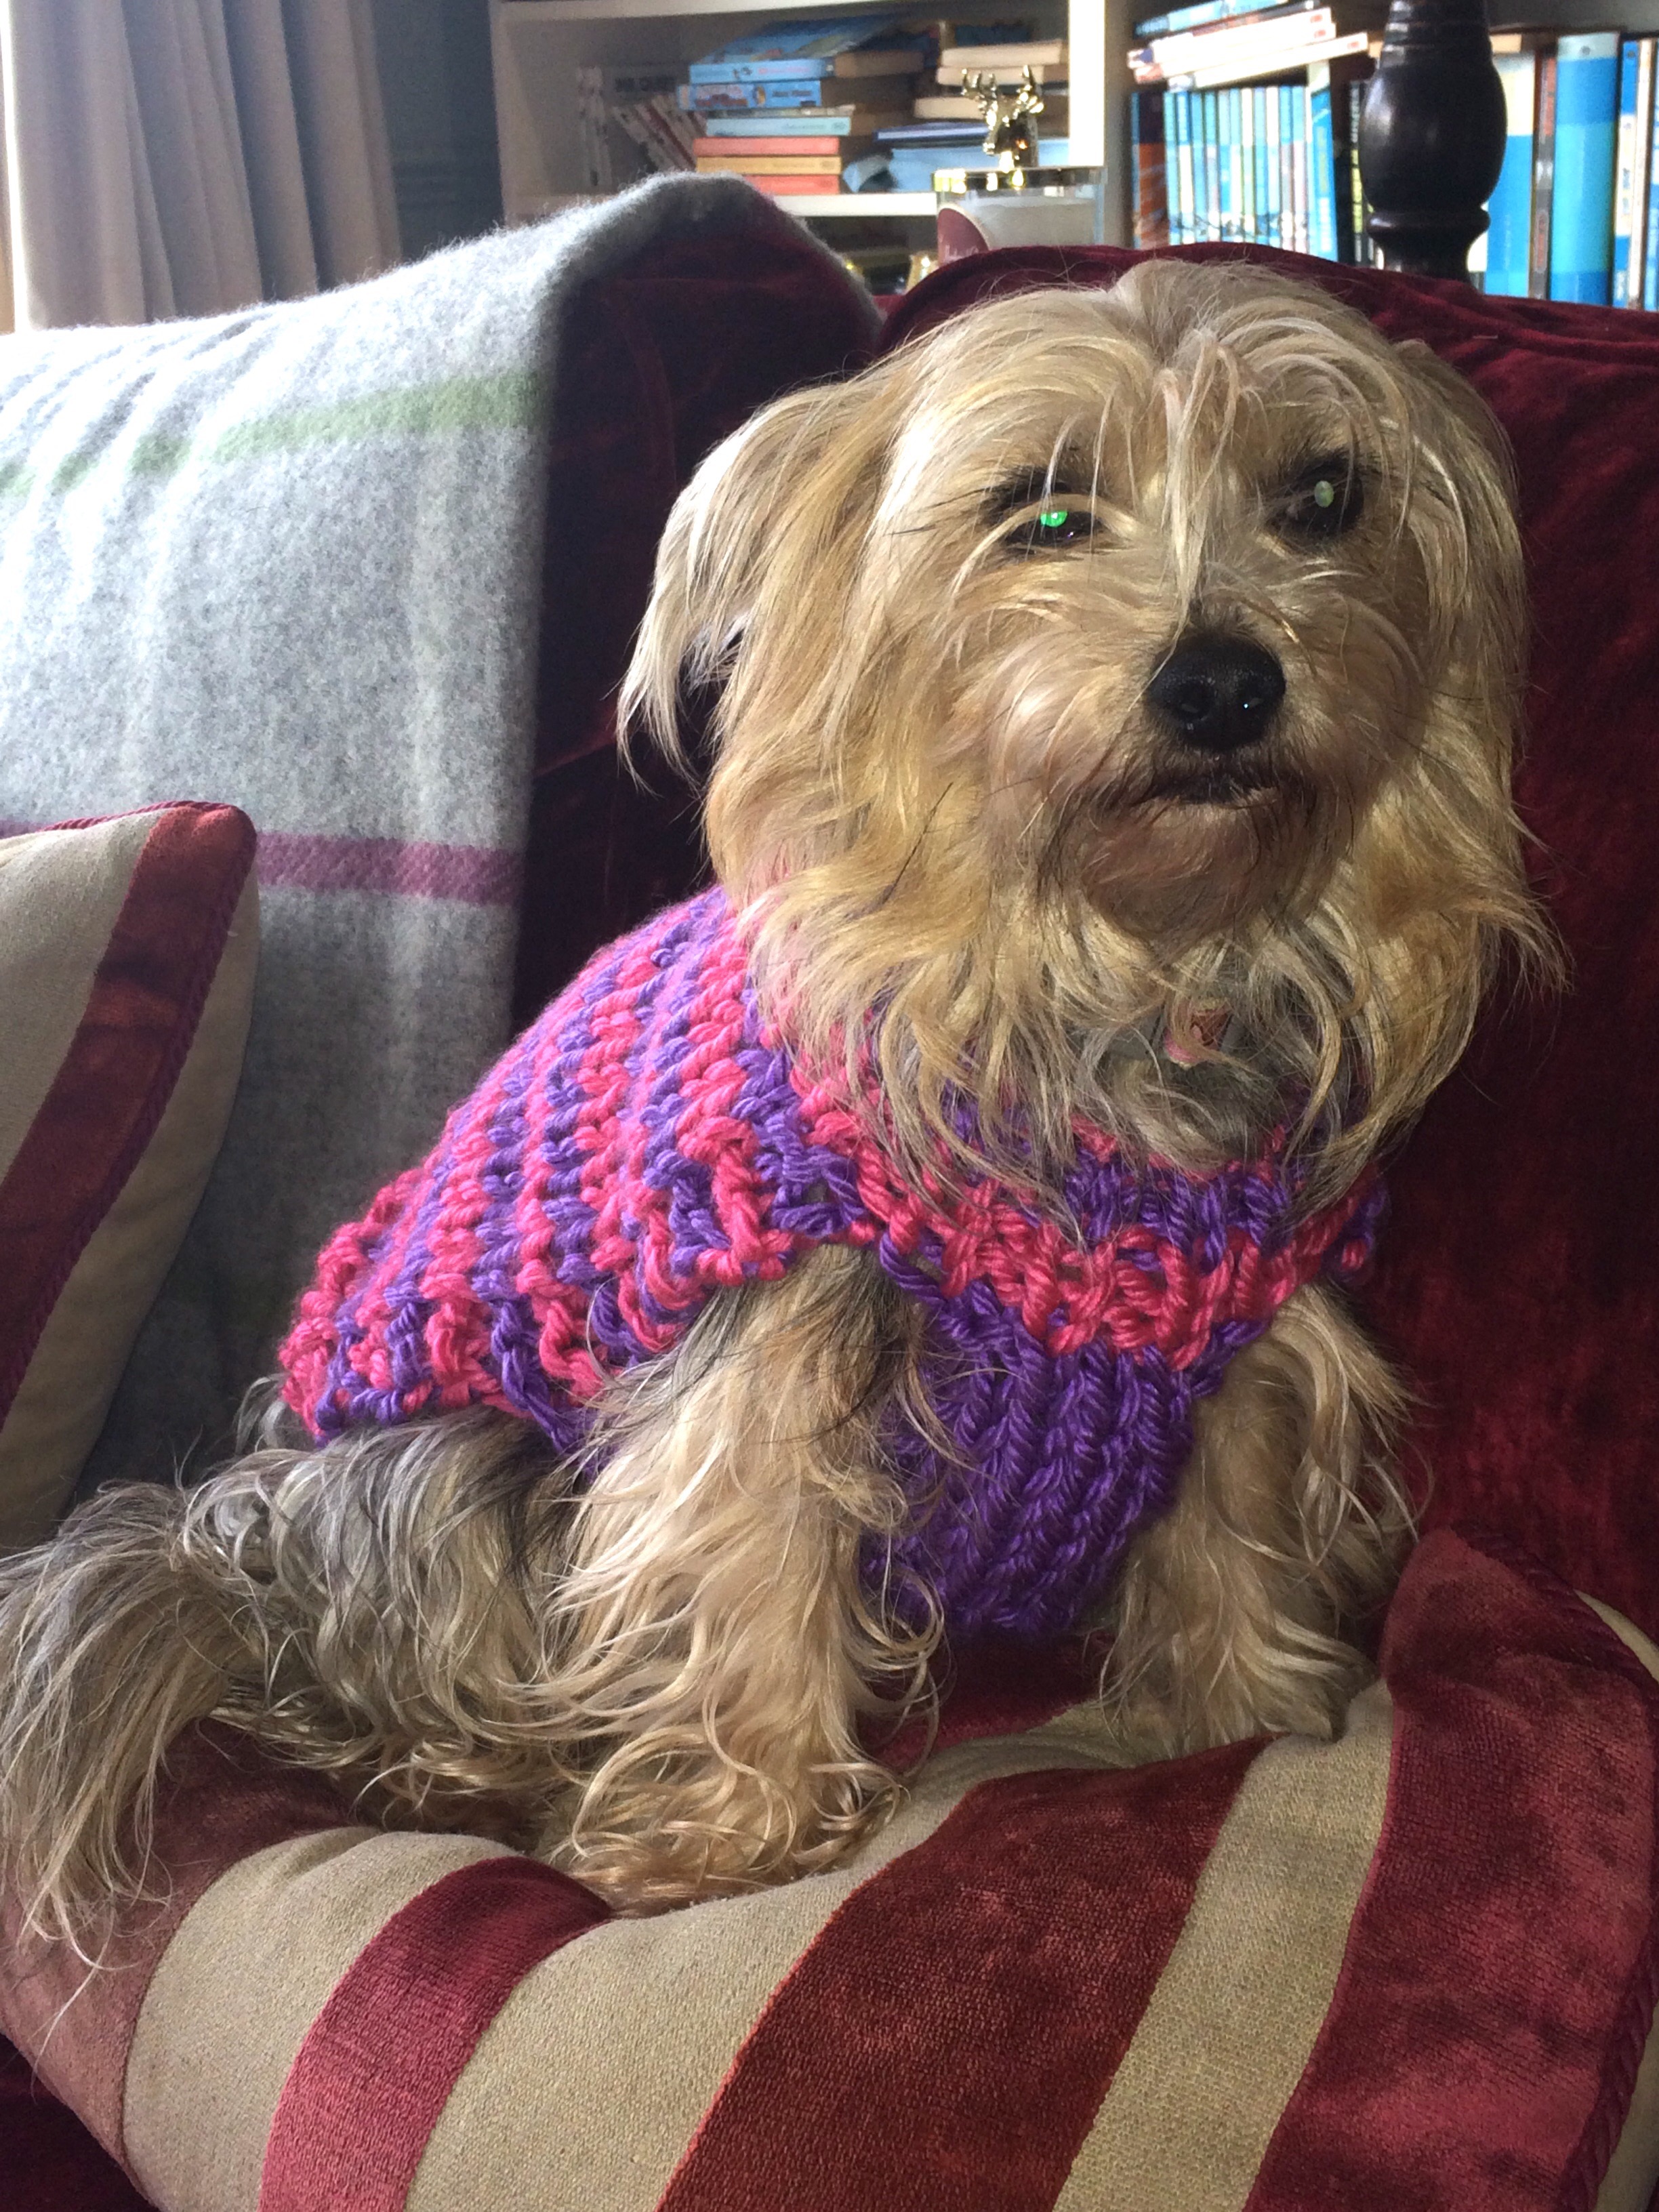
6. My Winter “selfish knitting” project – a Sunday jumper, for lazy days at home. (I’ve practically lived in my Stag’s head dress since I made it!)
7. I borrowed this pattern from my sister in law and am substituting with Drops Nepal, 65% wool, 35% alpaca for softness as the recommended Debbie Bliss Cashmerino was too expensive!
8. I waved goodbye to Mr H-L at 8am this morning, as he is off to London with a 7.5 tonne truck to clear his parent’s flat which has now sold. Sad times, but time to move on.
9. Ending on a cheerful note – Fifi turned 14 and had a birthday haircut. She didn’t stop shivering the first day, so I nipped out and bought her a festive jumper to keep her warm. She loves it and hasn’t shivered since. And looks totally adorable, to boot!
We Brits are a nation of animal lovers, particularly cats and dogs and, generally, we look after them well and love to pamper them just a little.
There inevitably comes a time when we have to say farewell to our loyal companions and, whilst I have lost many a pet over the years, it doesn’t get any easier.
They say the best way to mend a broken heart is to find a new love and certainly the arrival of a new puppy in the family does wonders to heal the gaping hole left by the loss of an old dog.
They also say that a puppy breathes new life into an elderly dog so, when our Yorkshire Terrier reached eleven years, we thought it would be a good time to introduce a puppy.
Yorkies have a life expectancy of 12-15 years so Fifi, who is now 12 1/2, is enjoying her old age with a new spring in her step with the companionship of a younger dog. Tess, who is now an 18 month Yorkie x Chihuahua, has benefited enormously from her older, wiser, calmer and well behaved mentor. When Fifi goes, we will have the comfort of having a dog in the family still. It’s a win-win-win.
Tess has the boundless energy found in one so young and they both enjoy long walks in the country, but recently Fifi has started showing her age. She often turns around and walks back home if we are in the fields behind the house and, if we are doing a lane walk, she plods along slowly unable to keep pace after a couple of miles.
I now get to the point of this story; I wanted to make a dog carrier to take with me on our walks so that Fifi could climb in and rest her weary bones as and when she feels like it and, yes, she does tell us when she wants a carry!
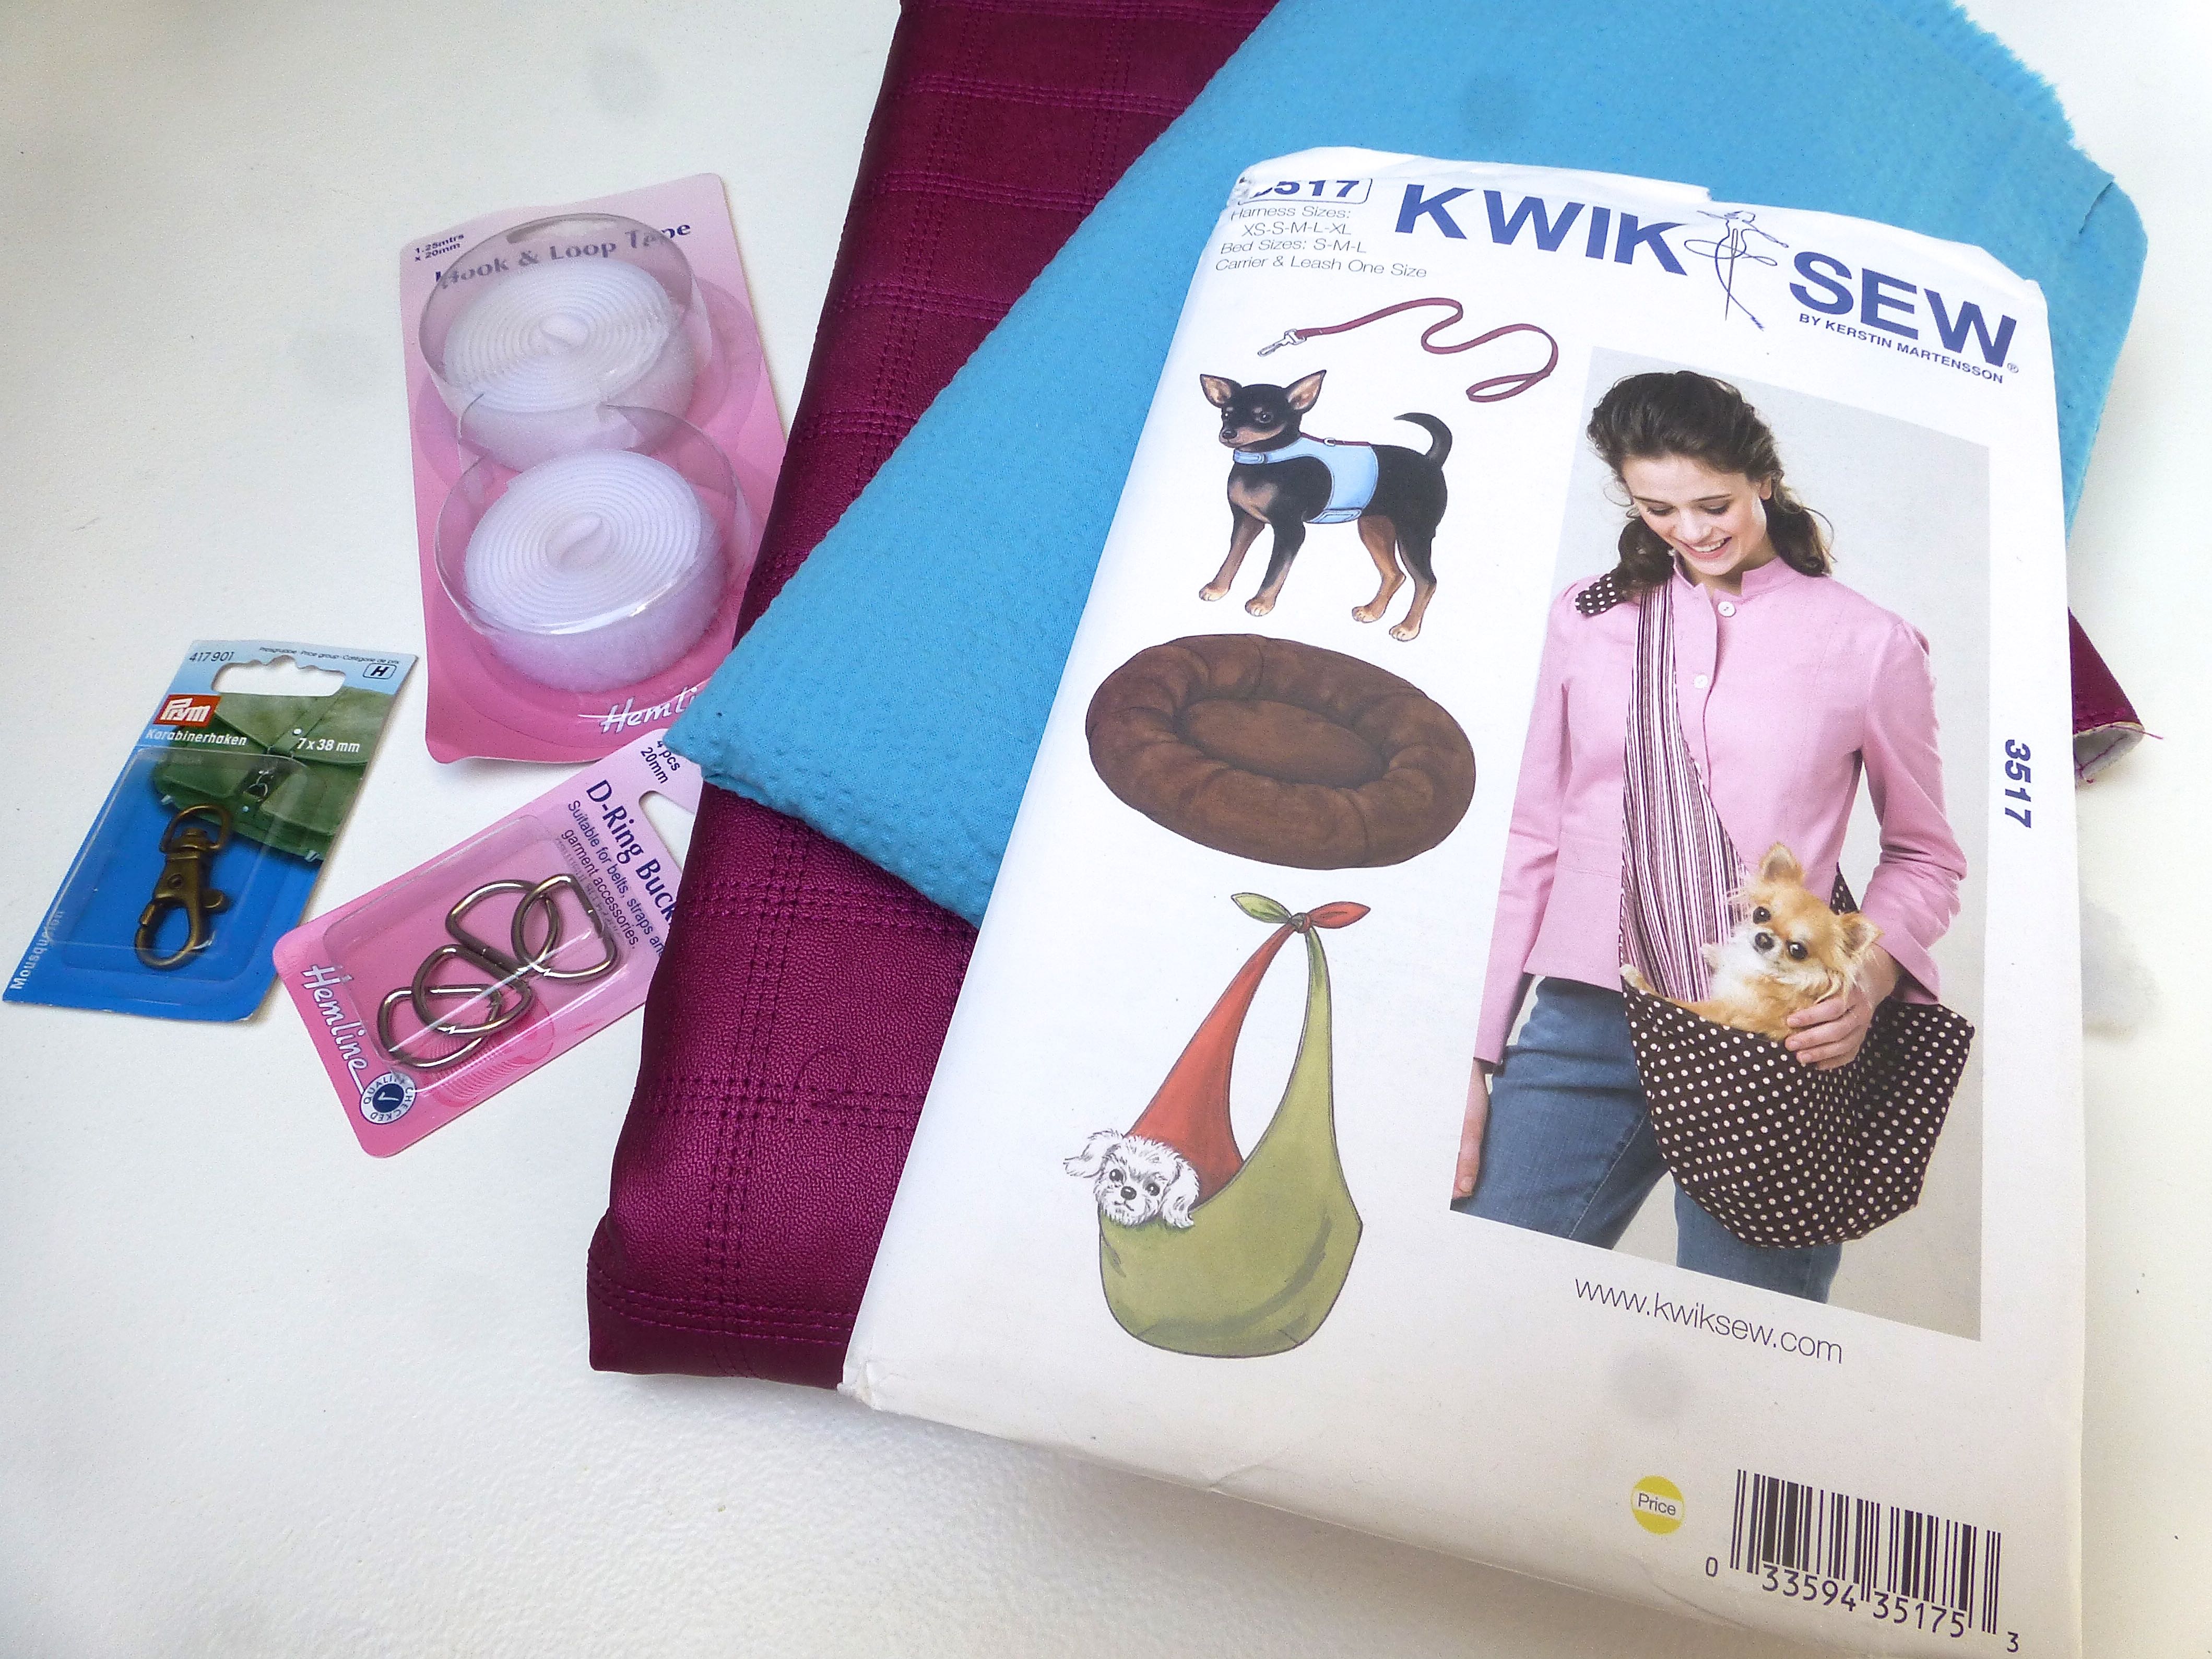
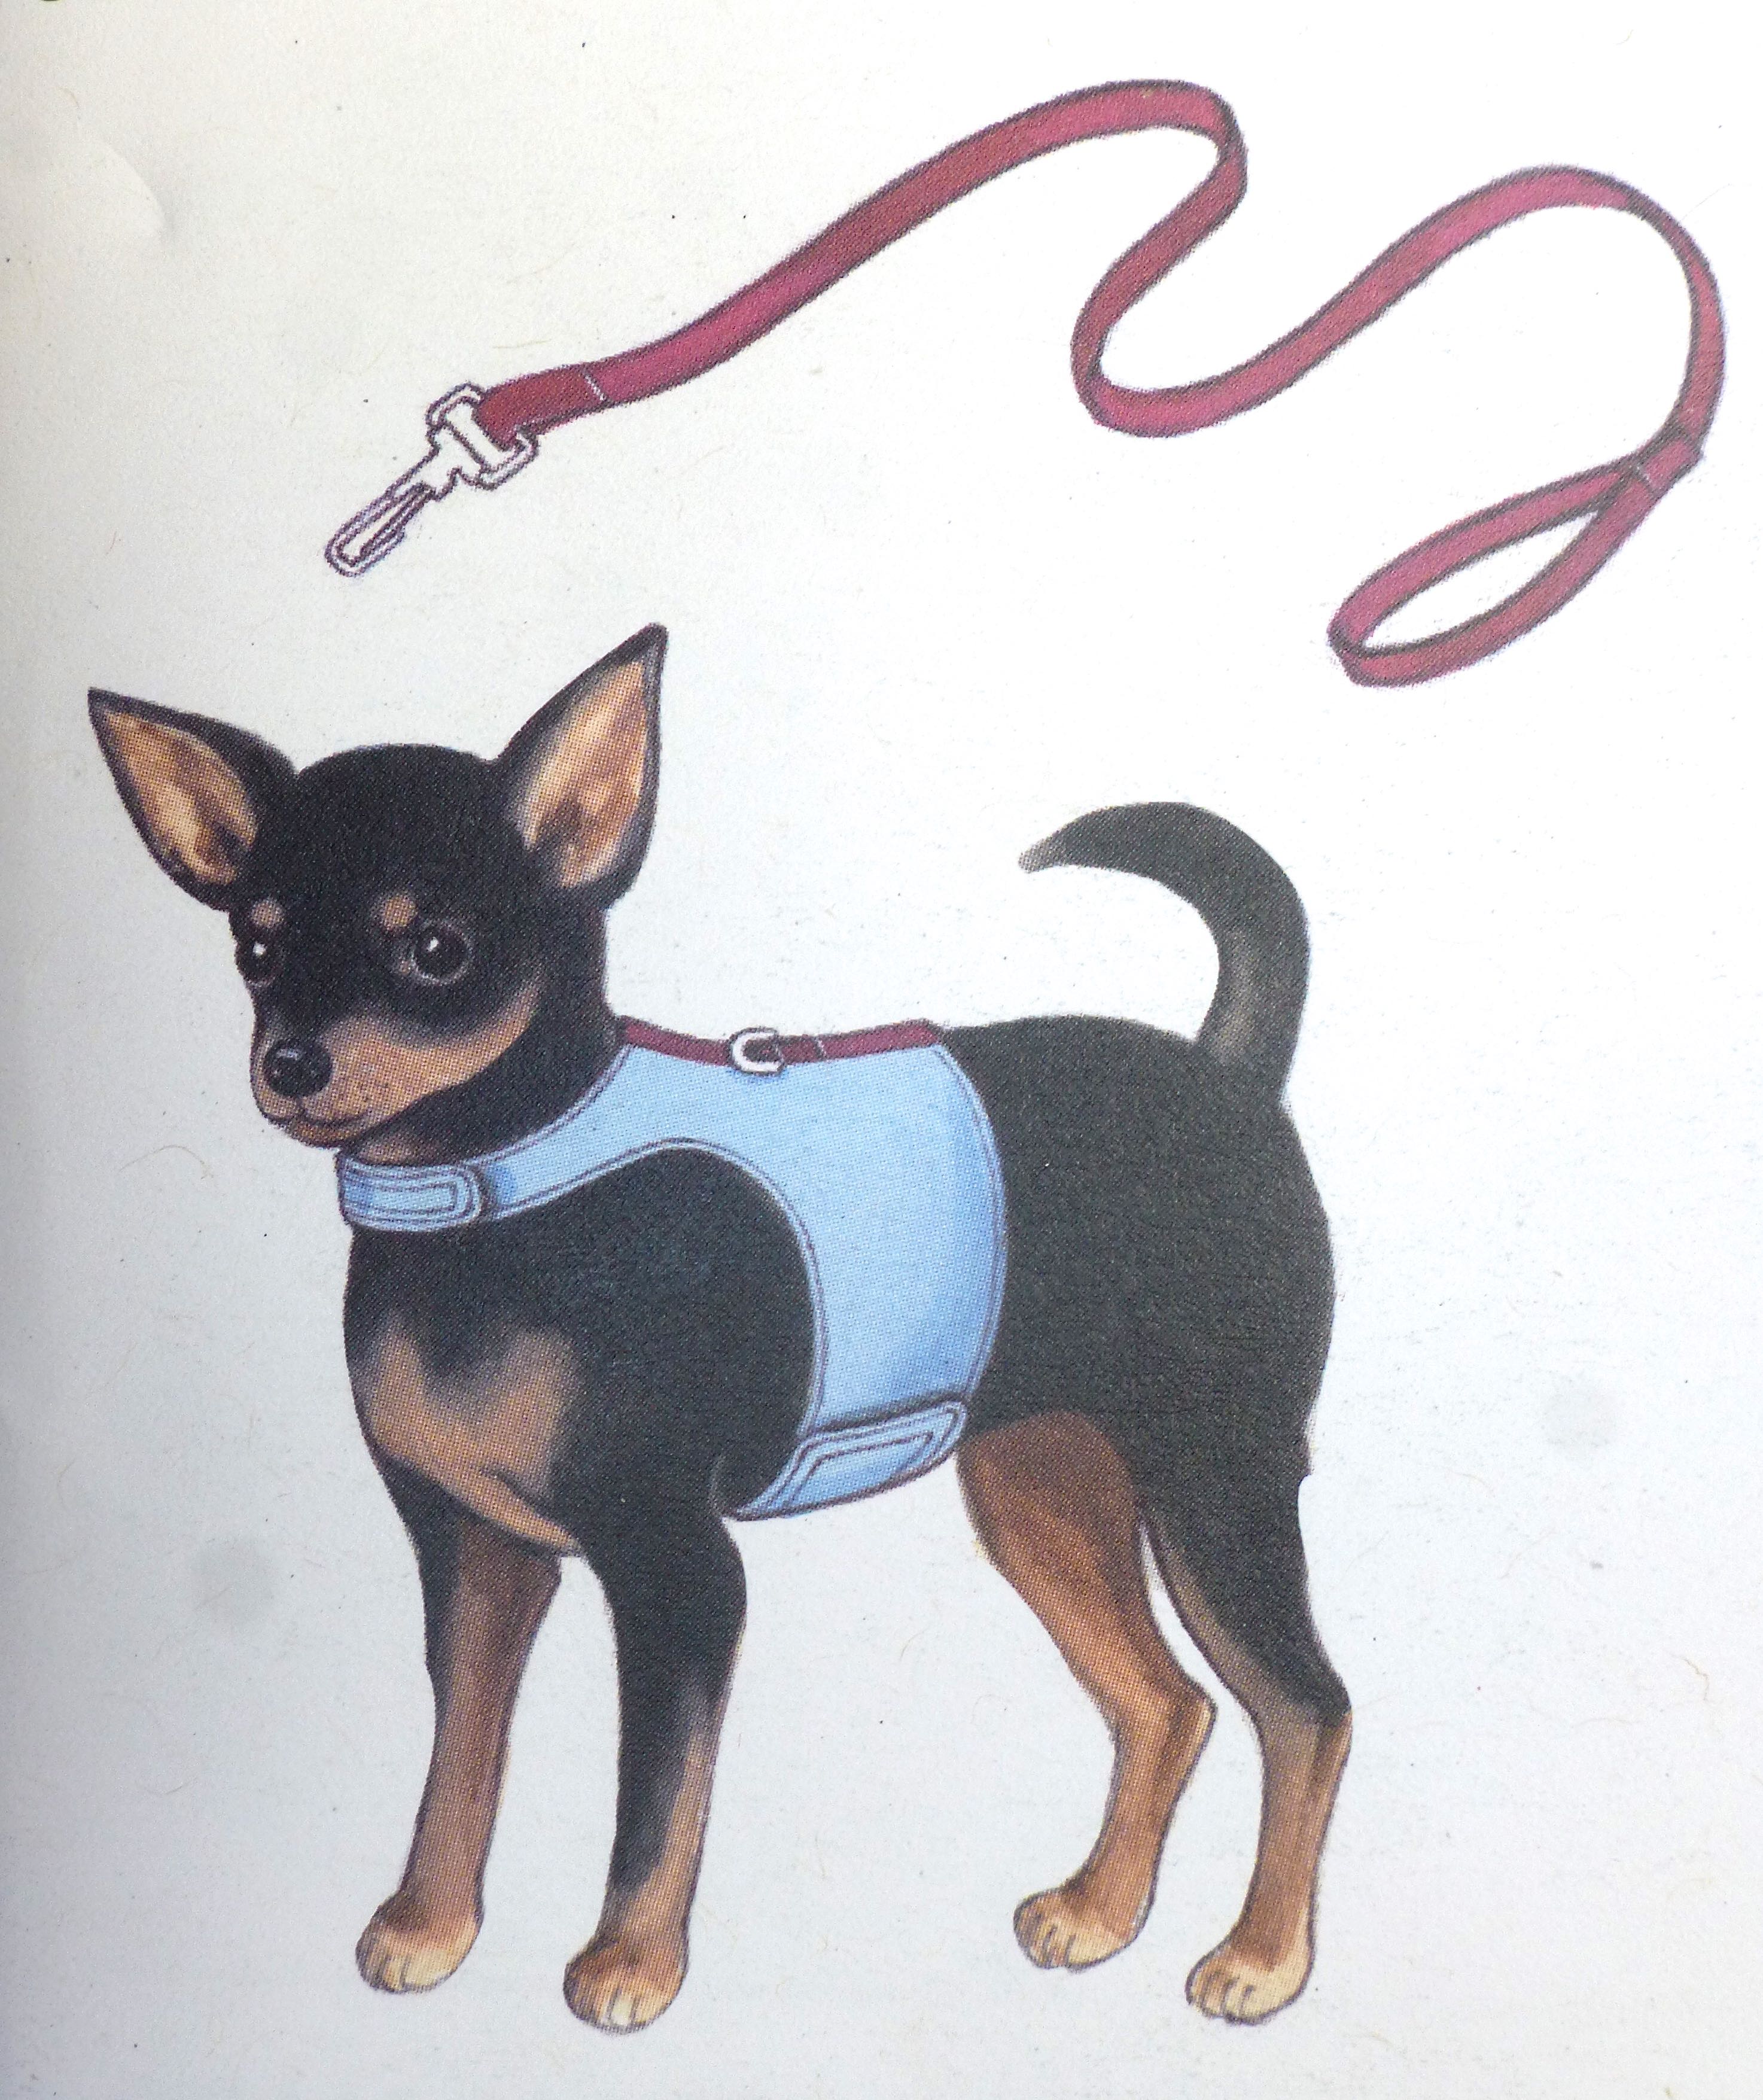
Minerva Crafts had the perfect pattern (Kwik Sew 3517) and fabrics for both a dog carrier and a harness and lead, so I got cracking and decided to make a matching set!
This is the parcel that arrived: –
The carrier is lined and padded so is both comfortable for the dog and for you to wear across the body.
It incorporates a swivel clip to secure the dog to the inside of the carrier, but I chose not to include this as Fifi is an old dog and wouldn’t even consider jumping out – being restrained would make her nervous.
I saw the matching accessories and just had to make those too! The swivel clip could be used on the lead instead.
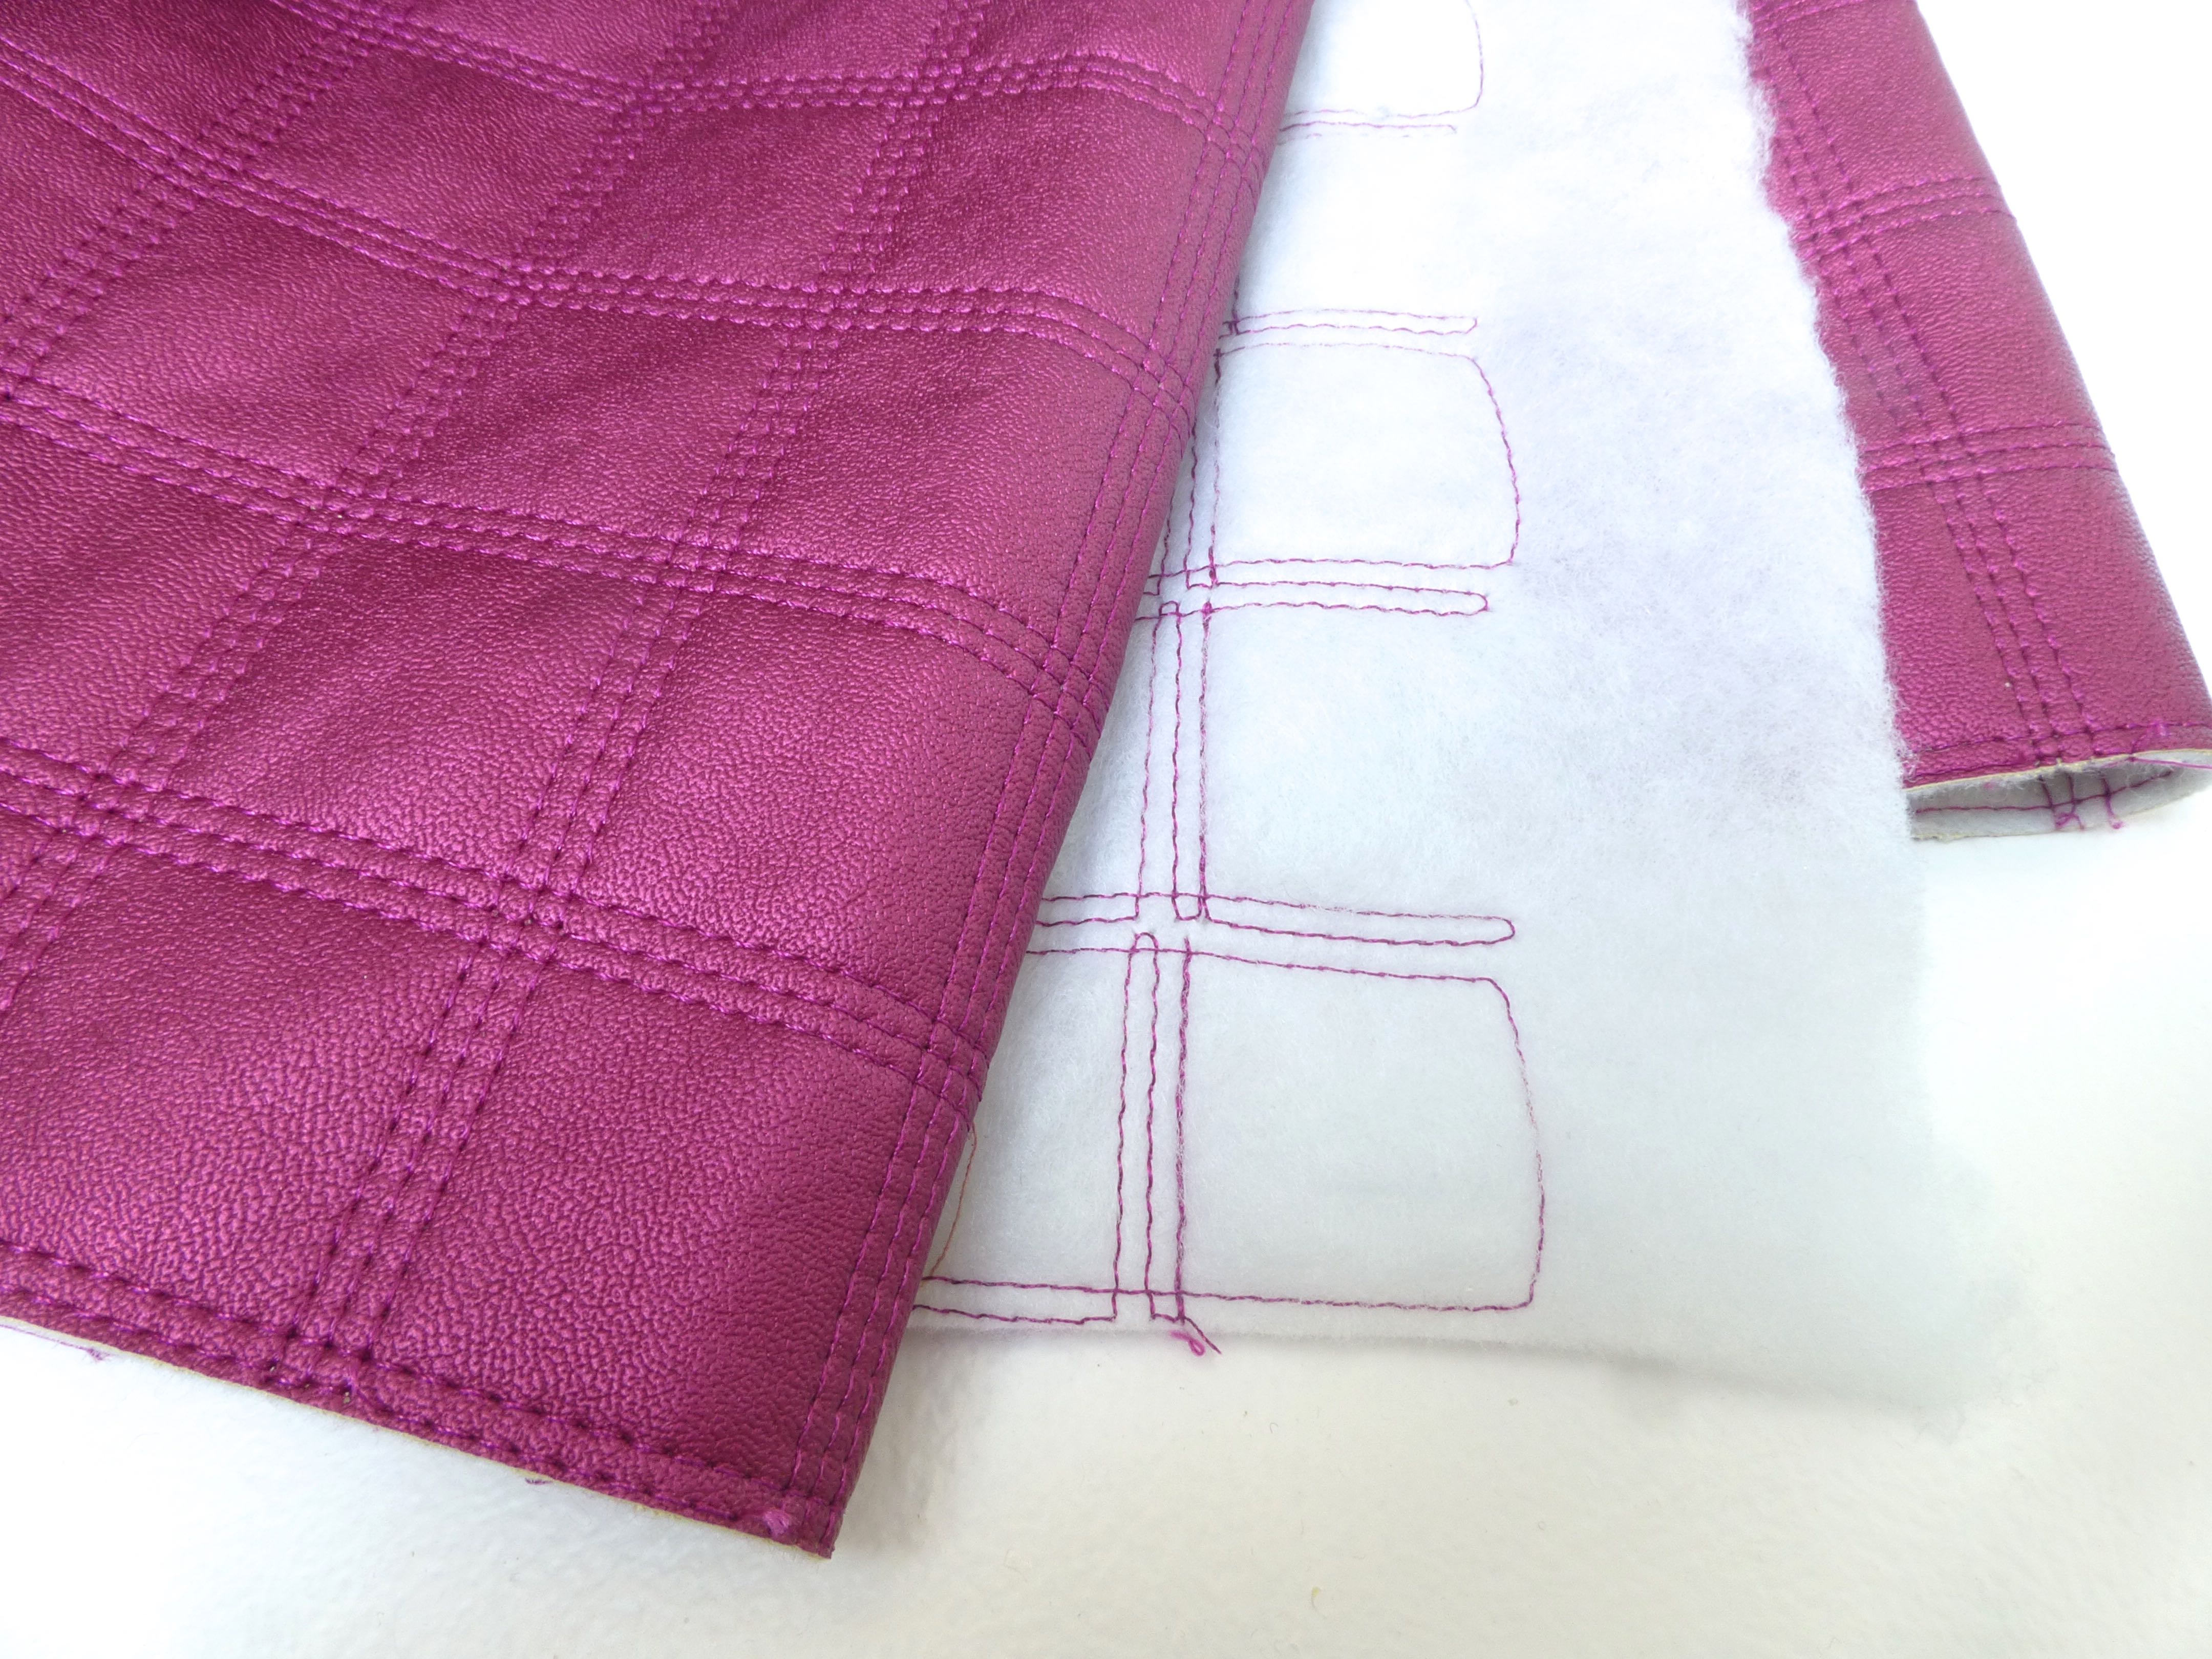
I chose a ready-quilted fabric in a raspberry coloured faux leather which incorporated a layer of wadding so would be the perfect choice, adding structure and warmth to the carrier and harness, yet is also wipeable for practicality.
It also meant that I didn’t need to add the layer of fleece that the pattern called for as the wadding was padding enough.
There was just one single pattern piece for the carrier which made it very simple to cut out.
I have to mention that I was extremely impressed with the quality of the paper used for the pattern – can you get an idea of how sturdy it is from this photo before I ironed it? It’s not transparent or flimsy and therefore doesn’t tear accidentally, unlike the usual brown tissue paper type.
Always iron your pattern pieces!
The carrier made up like a dream – the instructions were simple and easy to follow. You’re required to press at every stage which I couldn’t do with the faux leather in case it melted. When top stitching, it wasn’t a problem just rolling the faux leather out slightly over the cotton to get a crisp edge so being unable to iron it didn’t matter.
Here is the finished carrier….
….and here’s Fifi trying it for size!
She may look a little reticent in this photo, but she actually curled up happily and let me snap away until I got the pics I needed.
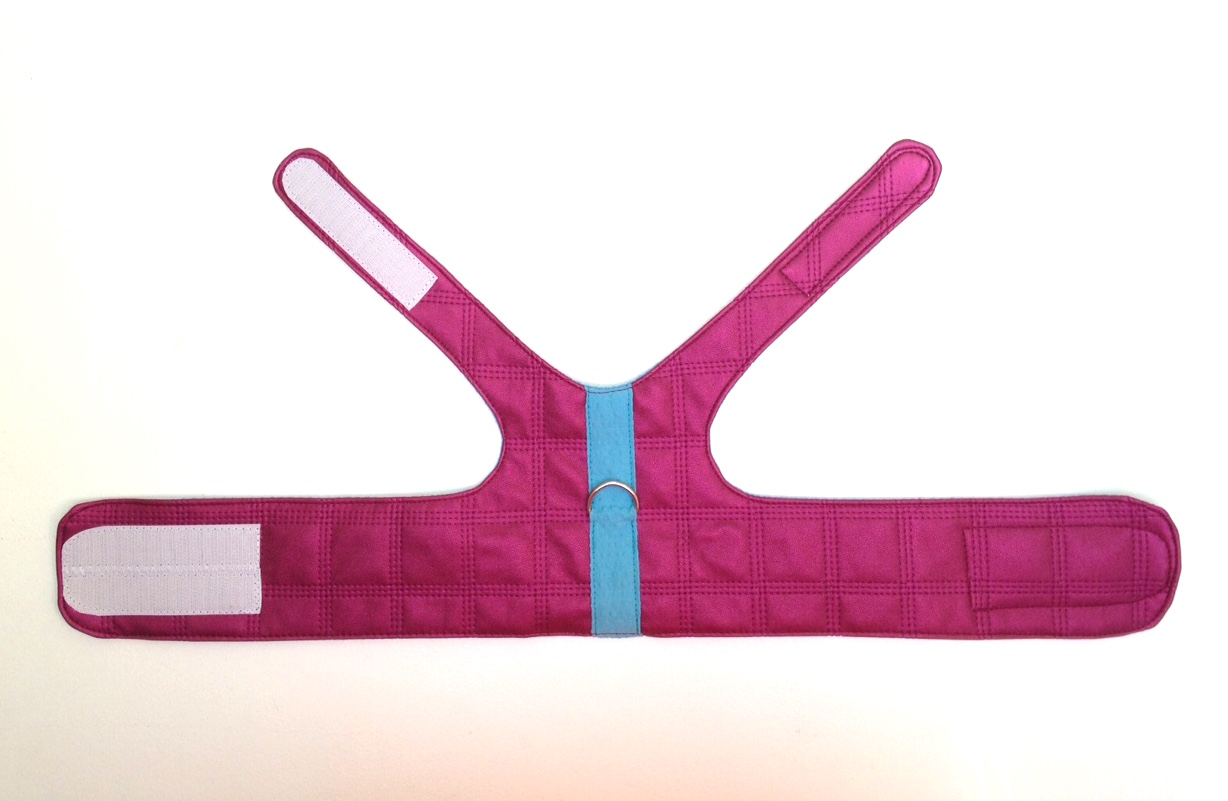
Then onto the harness.
Again, just one main pattern piece (plus a piece for a strap for the D-ring) so the lining and main fabric were simply sewn right sides together before being turned through a gap in the stitching.
Simples:)
Sew the scratchy side of the velcro to the outside….
…and the soft side to the inside lining. We don’t want friction causing any nasty sores, do we?
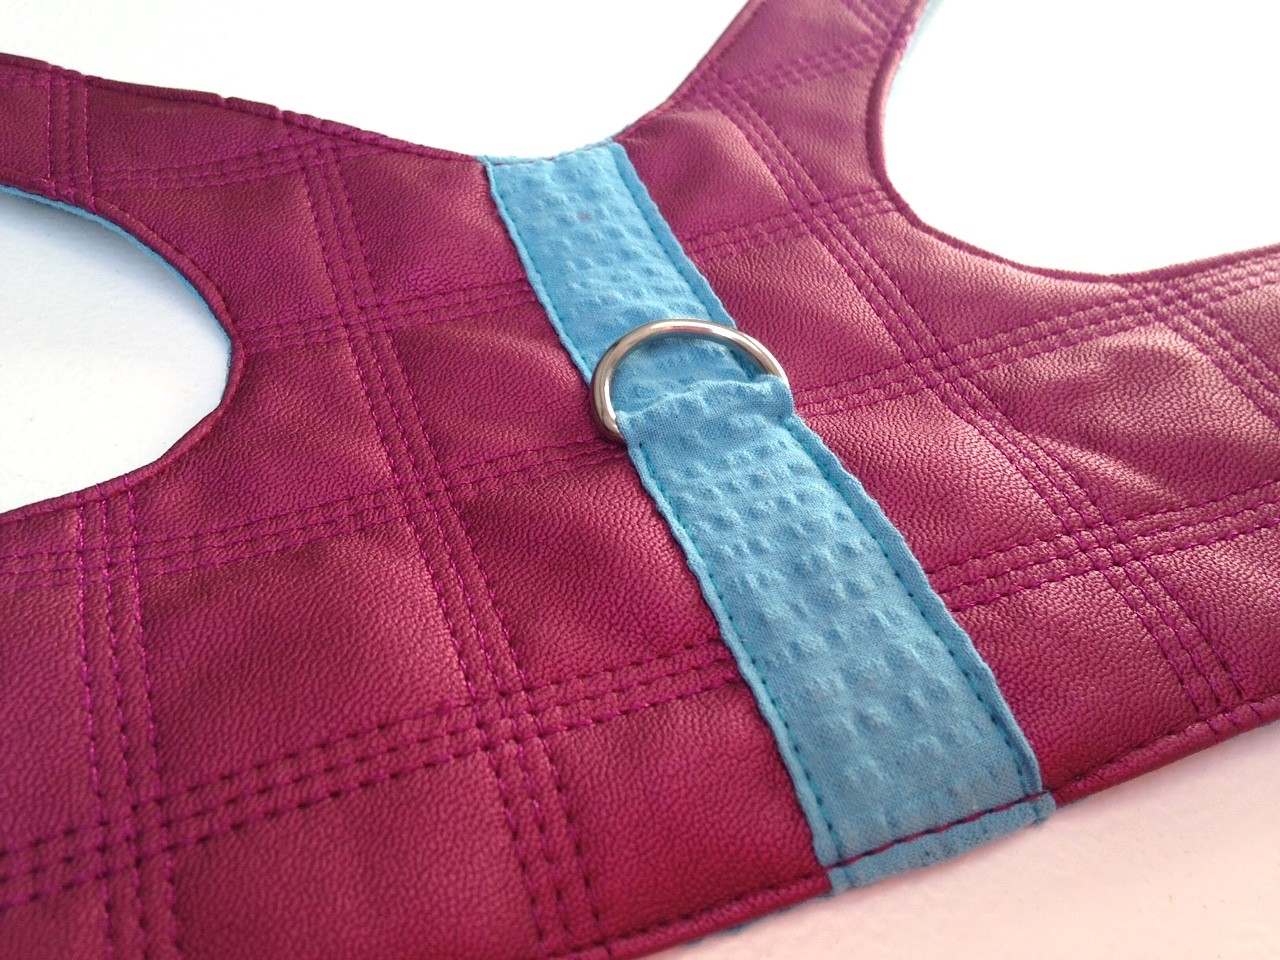
I used the lining fabric as a contrast for the D-ring strap which was top stitched on securely.
Different coloured thread was used for the bobbin for a ‘blend in’ effect but opposite colours would work equally well if you prefer a contrast – turquoise on the magenta and vice versa.
How ‘Designer’ does that look, eh?
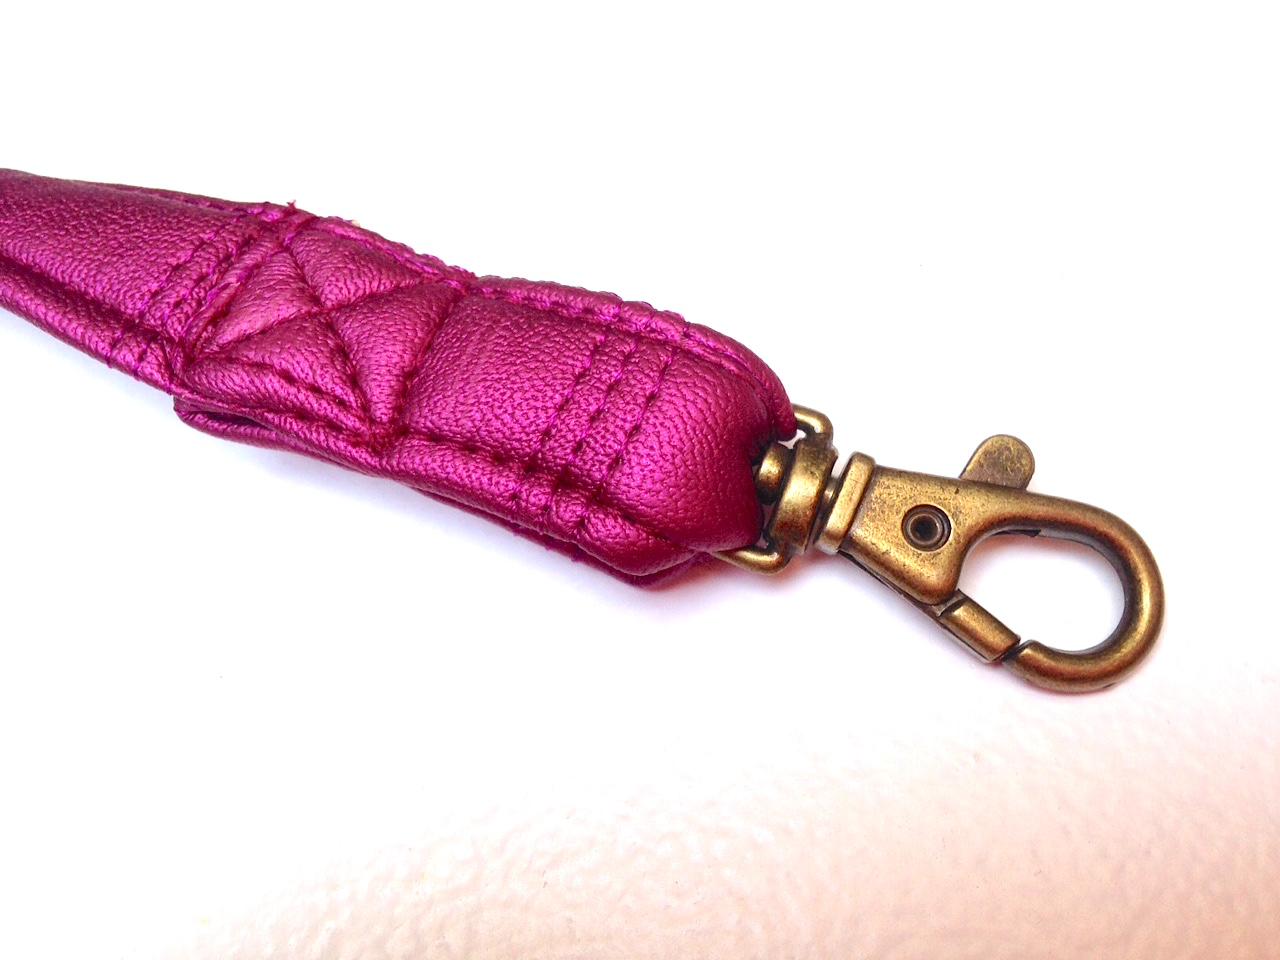
I almost plumped for the turquoise cotton to make the lead, but in the end thought the quilted fabric looked more luxurious.
It was a bit of a pig to fold and top stitch such a narrow, thick strip of fabric though, the cotton would have been a piece of cake to press and stitch but you can’t iron faux leather….
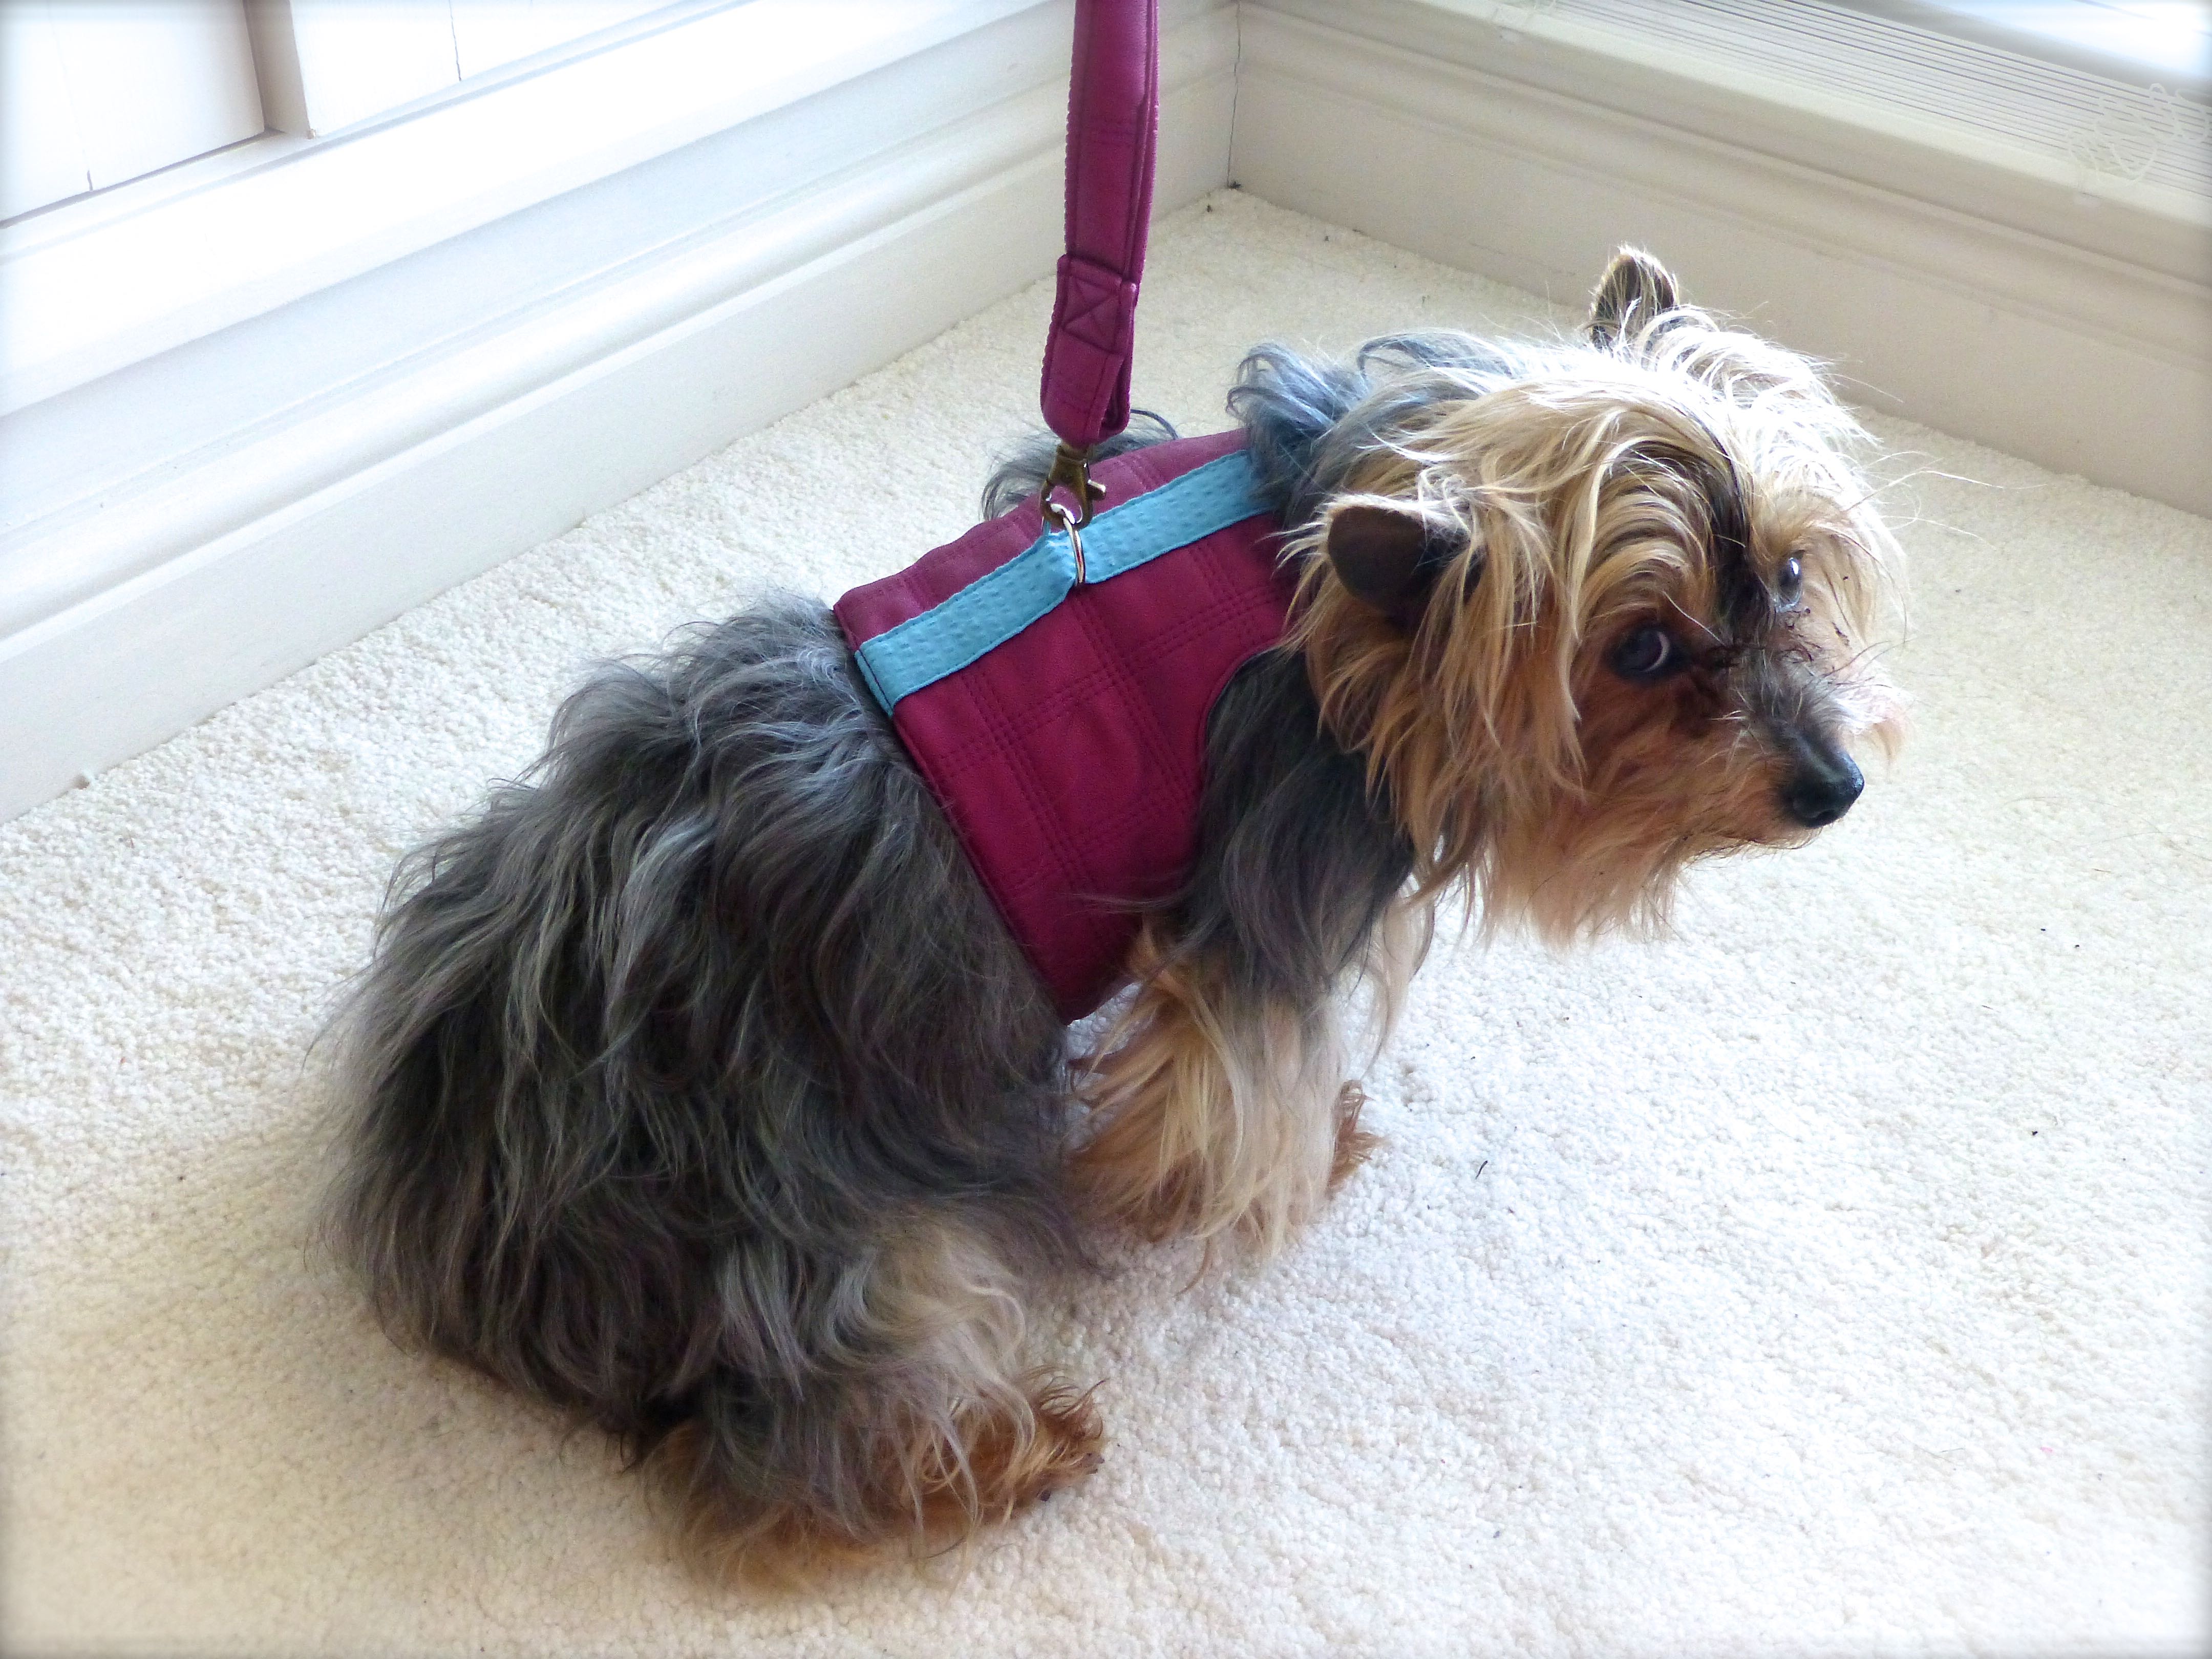
Just look at Fifi’s hang-dog expression! She was itching to come to me but I wanted a photo from the back to show off the harness to best effect, so this is her being patient with me.
I sewed the ‘Large’ size harness believe it or not (Fifi only weighs six pounds!), but there was one larger and three smaller sizes on this multi-sized pattern. I’m guessing the variation in sizes would probably fit from a Chihuahua to a Westie.
Here we all are, ready to go for a ‘walk’.
I think I’ll tie it up a bit higher as I usually carry her under my arm and this feels a little low.
Fifi loved it though – she was almost asleep by the time No.3 Son had finished taking photos!
Thanks go to Minerva Crafts for providing all the materials for these items – why not pop over to visit the others on the Blogger Network and see what they’ve been up to lately?
Previously Boys and Chickens, I have created a new blog to share my sewing adventure as 2018 is they year I plan to teach myself to sew! There will also be bits of crochet and cooking too.
My challenge: One year - I will not buy clothes - I will upcycle to make what I need - everything from underwear to evening wear! Join me for tips, exclusive BrawHem makes, and inevitably some hilarious disasters...