Sewchet

Sewing, crochet, crafts, accessories, baking, tutorials,


41 Comments

Liberty Print Blouse

Hmm, it’s 8pm, we have to be up at 3am to travel to the airport, and I’ve just finished sewing my last top for holiday! (This post was scheduled to go live whilst we were away)

Does that sound familiar to anyone, or is it just me?

Back in April I went to Liberty’s London store and bought a metre of this lovely fabric. P1050333

I chose McCall’s 2818, view ‘D’ which is bottom left on the envelope front. P1050330

The pattern called for 1.5m of fabric and I had the last 1.10m on the roll, so I knew it was going to be tight, even at 150cm wide. Reading through the instructions first (as you always should!) I reckoned I could get away with it if I used plain white cotton of the same weight to make the back facings.

P1050334

To ensure that the print matched at the hem, I lined all the pieces up so the bottom edges lay on the same line of flowers. I couldn’t match at the side seams as they were all Princess seams and curved.P1050328 P1050329

The instructions required full interfacing on all the facings but, as the cotton is very thin, I thought it would be too stiff so I just used a strip around the neck edges and the buttonhole edge. This worked perfectly. P1050335

The white cotton was fine as the back facing. P1050358

Not as pleasing on the inside as the Liberty print would have been, but it would have cost £12.50 just to buy half a metre to make the back facings – so I figured the plain white cotton would do.

P1050360

The inside front is better:)

P1050359

The hem at the side backs and side fronts have a cute little split detail. (Just spotted some thread that needs trimming…)

P1050362

The neckline with its sharp ‘V’ cutout makes a nice change.

P1050361

Top made, now into my wardrobe to see what it might go with.

Rolled up jeggings and navy wedge-heeled flip-flops?

P1050366

Yep, that’ll do nicely.

P1050344

P1050339

P1050343

Right, I really MUST start the packing….


26 Comments

Sunday Sevens #37

Sunday Sevens is a weekly blog series hosted by Nat at Threads & Bobbins (www.threadsandbobbins.com) – sorry Nat, but I couldn’t work out how to add a proper link on the mobile app:)

Here follows seven-ish photos of my week: –

1. Opened the barbecue to find a huge nest had been built.  Three Blue Tit chicks chirped loudly back at us!  2. Had a French manicure in preparation for our holiday.  3. Took The Boys out for an ice cream sundae before an early bedtime – we had to be up at 3am to catch our flight.  4. The Boys reading on the ‘plane – bye bye Blighty!  5. Auntie M’s villa, home for the next two weeks. View from the roof terrace.  6. Finishing the second sock relaxing by the pool. 6. Enjoying the Flamenco dancing in a local bar.  7. The Boys writing their daily diaries in lieu of homework with the promise of a morning in the pool. Hope you all had a great week too!


31 Comments

More Holiday Dressmaking

Ah, the wonders of technology – I’m probably sat around the pool in Andalucia, sunning myself with a cheeky G&T for company as you read this, as I planned ahead and scheduled this post in advance!

If you saw my post ‘Holiday Sewing’, you’ll know that I wanted to make a few new things to wear, so this is the second in the series, so to speak.

You may have noticed over the past year of my blogging journey, that colour is a recurring theme – and lots of it, preferably clashing.

The wackier the print, the more likely I am to want it and, as The High Street doesn’t often float my boat, I source fabrics online to conjure up my own creations.

As a member of the Minerva Crafts Blogging Network, I received this cheery package for this month’s make: –

IMG_1725

“Where have I seen that wacky animal print before?” I hear you all cry.

Well, unbeknown to me at the time, Lucie of Love,Lucie had also fallen for its charms and has since used it to make a stunning Summer dress (click here to see the Wow! dress).

It’s a supremely soft textured Stretch Cotton Sateen which has proved so popular that Minerva are having to restock!

fabric

The pattern is New Look 6983 and includes cropped trousers as well as variations on a tunic.

IMG_1726

Liking the look of a bold print tunic worn with a pair of Daz-white three-quarter lengths, I also ordered some of the same fabric in plain white.

white

So, onto the construction of the top which consisted of three basic pieces – a front, back (with facings) and sleeves. Shaping was in the form of two bust darts so, really, it couldn’t be simpler for even a beginner to do.

After putting together the basic shape, including the darts, I always try garments on inside out. This way you get a better idea of how well/badly it actually fits without being distracted by the pattern, and you can also pin any adjustments that need to be made.

Obviously a dressform would be ideal, but I outgrew my old one while I was pregnant ten years ago and have decided the two stone of baby weight is here to stay:)

IMG_1730

Again, being a UK size 14, I cut out the US equivalent of size 18.

This time, it really was too big by quite a long way and I ended up taking it in all the way by a whole dress size.

IMG_1728

The pattern is very straightforward but included nice details like understitching of the neck facing to create a neater, flatter finish.

IMG_1733

I’m really pleased with the way it turned out – it has already attracted many comments:)

P1050281v2

The cropped trousers (well, they weren’t until I shortened them by three inches at the “lengthen/shorthen here” mark!) were also too big initially, so I took them in by a whole dress size too.

There was no waistband for a change, just a facing of petersham ribbon-type tape which lends a clean, minimal look to the trousers and also makes them super comfortable to wear.

P1050273

The lapped zip is always a neat addition when inserting into a side seam.

P1050271

A tip is to reinforce at the bottom with several lines of stitching though, as I’ve done here.

P1050272

They fit well and the stretch in the cotton means that they will be a pleasure to wear – and somewhat smarter than the white leggings that I usually favour!

P1050298

So, how does the outfit look as a whole?

Just as I had hoped, actually and feels even better due to the stretch in both fabrics.

P1050300

The New Look pattern was easy to understand and the instructions simple to follow.

The cotton sateen is heavy enough to add structure and the stretch makes for incredible comfort.

P1050281

Sunnies on and I’m ready to go!

P1050293

Why not pop over to Minerva Crafts to find your own piece of fabric heaven?


30 Comments

Sunday Sevens #36

This weeks Sunday Sevens is the last one from England for a couple of weeks – I will test the ‘phone app out in Spain:)

You can head over to Nat at Threads & Bobbins to find out how to take part but, basically, it’s seven photos as a snapshot of your week to encourage you to keep blogging.

1. In a bid to avoid the dreaded “Second Sock Syndrome”, I cast on again as soon as the first one came off the needles.

Sunshine Yellow.

Well, they were never going to be subtle, were they?!

socks

2. Here follows three of the many reasons why May is my absolute favourite month: –

Wisteria

Wisteria

Bluebell hedgerow

Bluebells In The Hedgerows

Cow Parsley

Cow Parsley

3. A commission for monogrammed napkins was packed and sent off.

Napkins

4. New knickers! Good old M&S online.

Why do I always wait until my old ones are full of holes before I ‘treat’ myself to some new ones?

P1050264

5. Watched ‘Jamie’s 15 Minute Meals’ on TV and Mr H-L ordered the book before the end of the programme….

Jamies cookbook

6. 300 Swarovski Crystal Beads arrived at last, after a month of waiting. They’re going to be incorporated into some knitting for Christmas presents.

P1050265

7. My Matilda Tunic pops up in ‘Love Sewing’ this month.

Love Sewing photo

Hope you all had a good weekend and I look forward to reading all your Sunday Sevens too:)


39 Comments

Holiday Sewing

🎶 “Oh, this year I’m off to sunny Spain, Y Viva España” 🎶

We’re talking HOLIDAYS – a whole two weeks!!!

My Auntie lives in Spain and we hop on a plane as often as possible to visit her in the beautiful mountainous region of Andalucia.

That time has come around again and not a moment too soon considering the pretty grim weather we’ve endured recently. I mean, The Boots have made a reappearance after having been enthusiastically relegated to the back of the wardrobe for the “Summer” after the glorious Easter we enjoyed.

I know, a tad optimistic, I’ll grant you, but flip-flops make you feel summery, don’t they, and I kind of assume the sun would be duty bound to follow.

Not so. So, Spain, here we come.

(Burglars please take note: we have House Sitters for the duration. And dogs. And a feisty Cockerel. You have been warned.)

Anyhoo….

I took a quick look through my wardrobe and decided that, although I have plenty of summery clothes, I fancied making a few things.

I have acquired several pieces of fabric lately (as you do) and this one in particular caught my eye, glaring garishly back at me from the ever-growing stash.

P1050308

Not for the faint hearted, I’ll admit, but it’s so “me”.

A medium weight polyester jersey which is incredibly soft to the touch, I imagined it would drape perfectly on a cowl neck.

I chose Simplicity 1716 with view ‘D’ in mind, but with the pleating continuing to the hips as in view ‘F’.

P1050306

I’m a size 14 in UK stores which equates to a US size 18, so I cut the pattern pieces out accordingly and the fit was spot on without any adjustments.

I didn’t have any black cotton tape for stabilising the shoulder seams so used white but, as the fabric is opaque, it doesn’t show through so all is well.

P1050309

I like the neat method of attaching the facing to the back neck…..

P1050312

…and the armholes.

P1050311

The cowl neckline does indeed drape beautifully, falling into soft folds right down to the hips.

P1050326

P1050324

Excuse the scary expressions in the photos that follow – it’s a case of set up the self timer and run!

Hmmm, far too short to wear as a dress – note to self, allow another four inches for the hem if combining two pattern designs.

P1050322

A quick root through my wardrobe resulted in some coordinating items.

P1050327

That’s better, but what about the slightly saggy upper arms, after all, I can’t walk around with my hands on my hips all the time, can I?

P1050320

Sorted!

Although, in Spain it’s currently 40°C so a pair of bikini bottoms is probably going to be the most I’ll wear. (It’s a private villa, otherwise it would be a maxi dress).

P1050319Right, onto some tops using that gorgeous Liberty fabric I bought in April:)


33 Comments

Men’s T-shirt Refashion

Father-in-law needed some larger T-shirts, which meant a pile of too-small ones were destined for the charity shop – until I saw several holes in them.

P1050246

I don’t know about you, but anything which is slightly damaged goes in the clothes recycle bin rather than the charity shop as I know lots of people are unable to make small repairs.

As the holes could either be cut around or patched, I decided to have a go at refashioning them into T-shirts for The Boys.

They were all polo-style shirts and the piqué fabric was good quality with plenty of wear in it yet.

P1050245

Using a well-fitting T-shirt from No.3 Son’s drawer, I cut around the basic outline from the body of the shirt, cutting the sleeves from the original sleeves.

P1050248

After sewing the shoulder seams, the sleeves were set in and the raw edges overlocked, then I sewed the side seams (right sides together) in one continuous seam from the sleeve hem to the bottom edge.

The raw edges of the seams and the hems were overlocked, then the hems were top stitched in place.

The side seams were reinforced at the bottom with some decorative stitching.

P1050254

For the collar, I cut off a strip from the original polo collar, sewed the short edges to make a circle…..

P1050249

….and stitched it to the neckline right sides together, finishing with some more top stitching.

P1050252

P1050253

Then to deal with the hole in the middle of the back….

P1050256

I cut a square of left over fabric (about an inch larger than the hole all around) and pinned it to the inside over the hole.

P1050257

Working from the right side, I used this stitch on my sewing machine (combined with a stitch length of less than one) to completely fill in the hole.

Untitled

P1050258

The repair is virtually invisible on the outside.

P1050259

The inside looks like this: –

P1050260

Trim close to the stitching for a neat finish.

P1050261

No.3 Son was excited with his ‘new’ T-shirt!

P1050250

P1050251

I was just pleased to be able to make another wearable item from something which would otherwise have been discarded.

Now, onto the other two….


51 Comments

Anniversary in Amsterdam

Two years ago on May 3rd I married Mr H-L, on the tenth anniversary of our first date.

After twelve years, I still get butterflies in my tummy when I see him:)

Wedding

We decided there and then that we would celebrate every wedding anniversary in style and go away on our own – life after The Big C is very precious and each anniversary is a bonus.

Larm301a

Life before The Boys included the odd city break to Barcelona, Venice, Bruges and the like so, for our first anniversary we went to Geneva – this year we chose Amsterdam.

Amsterdam is the capital of The Netherlands, often mistakenly referred to as Holland. Watch this brilliantly amusing clip to find out why https://www.youtube.com/watch?v=eE_IUPInEuc

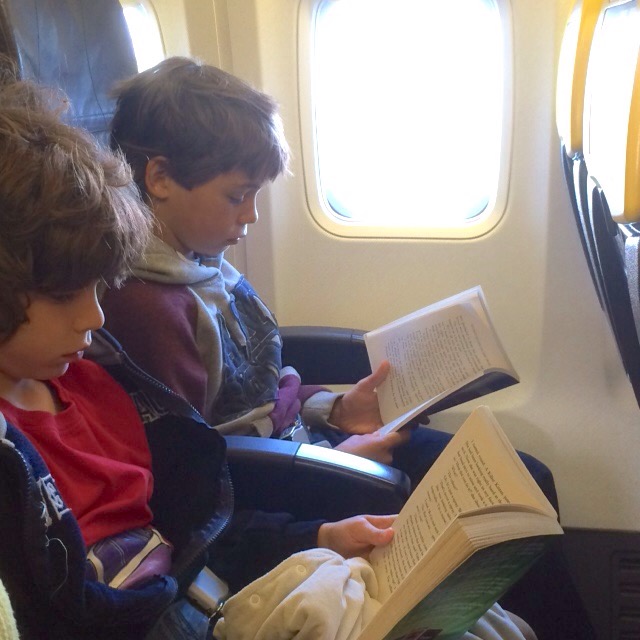
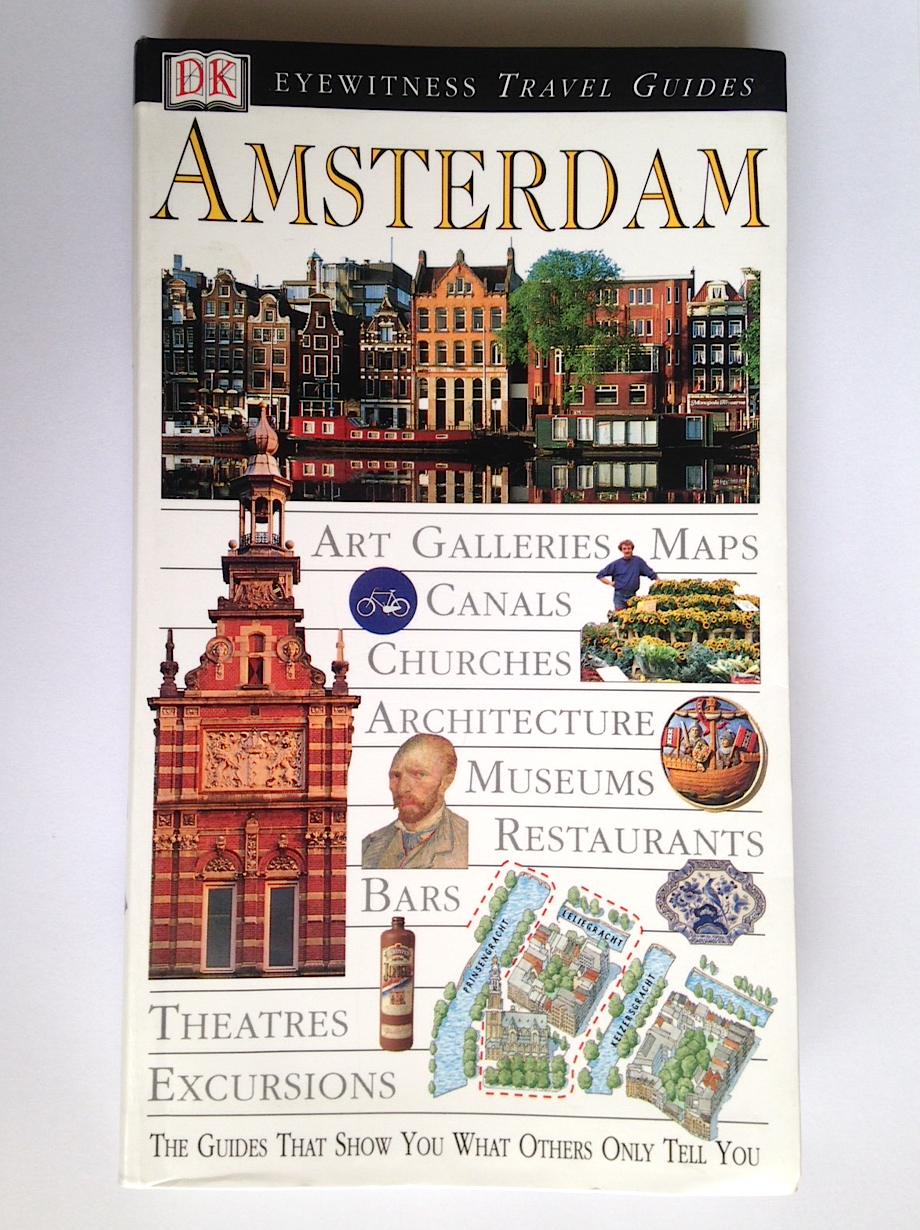
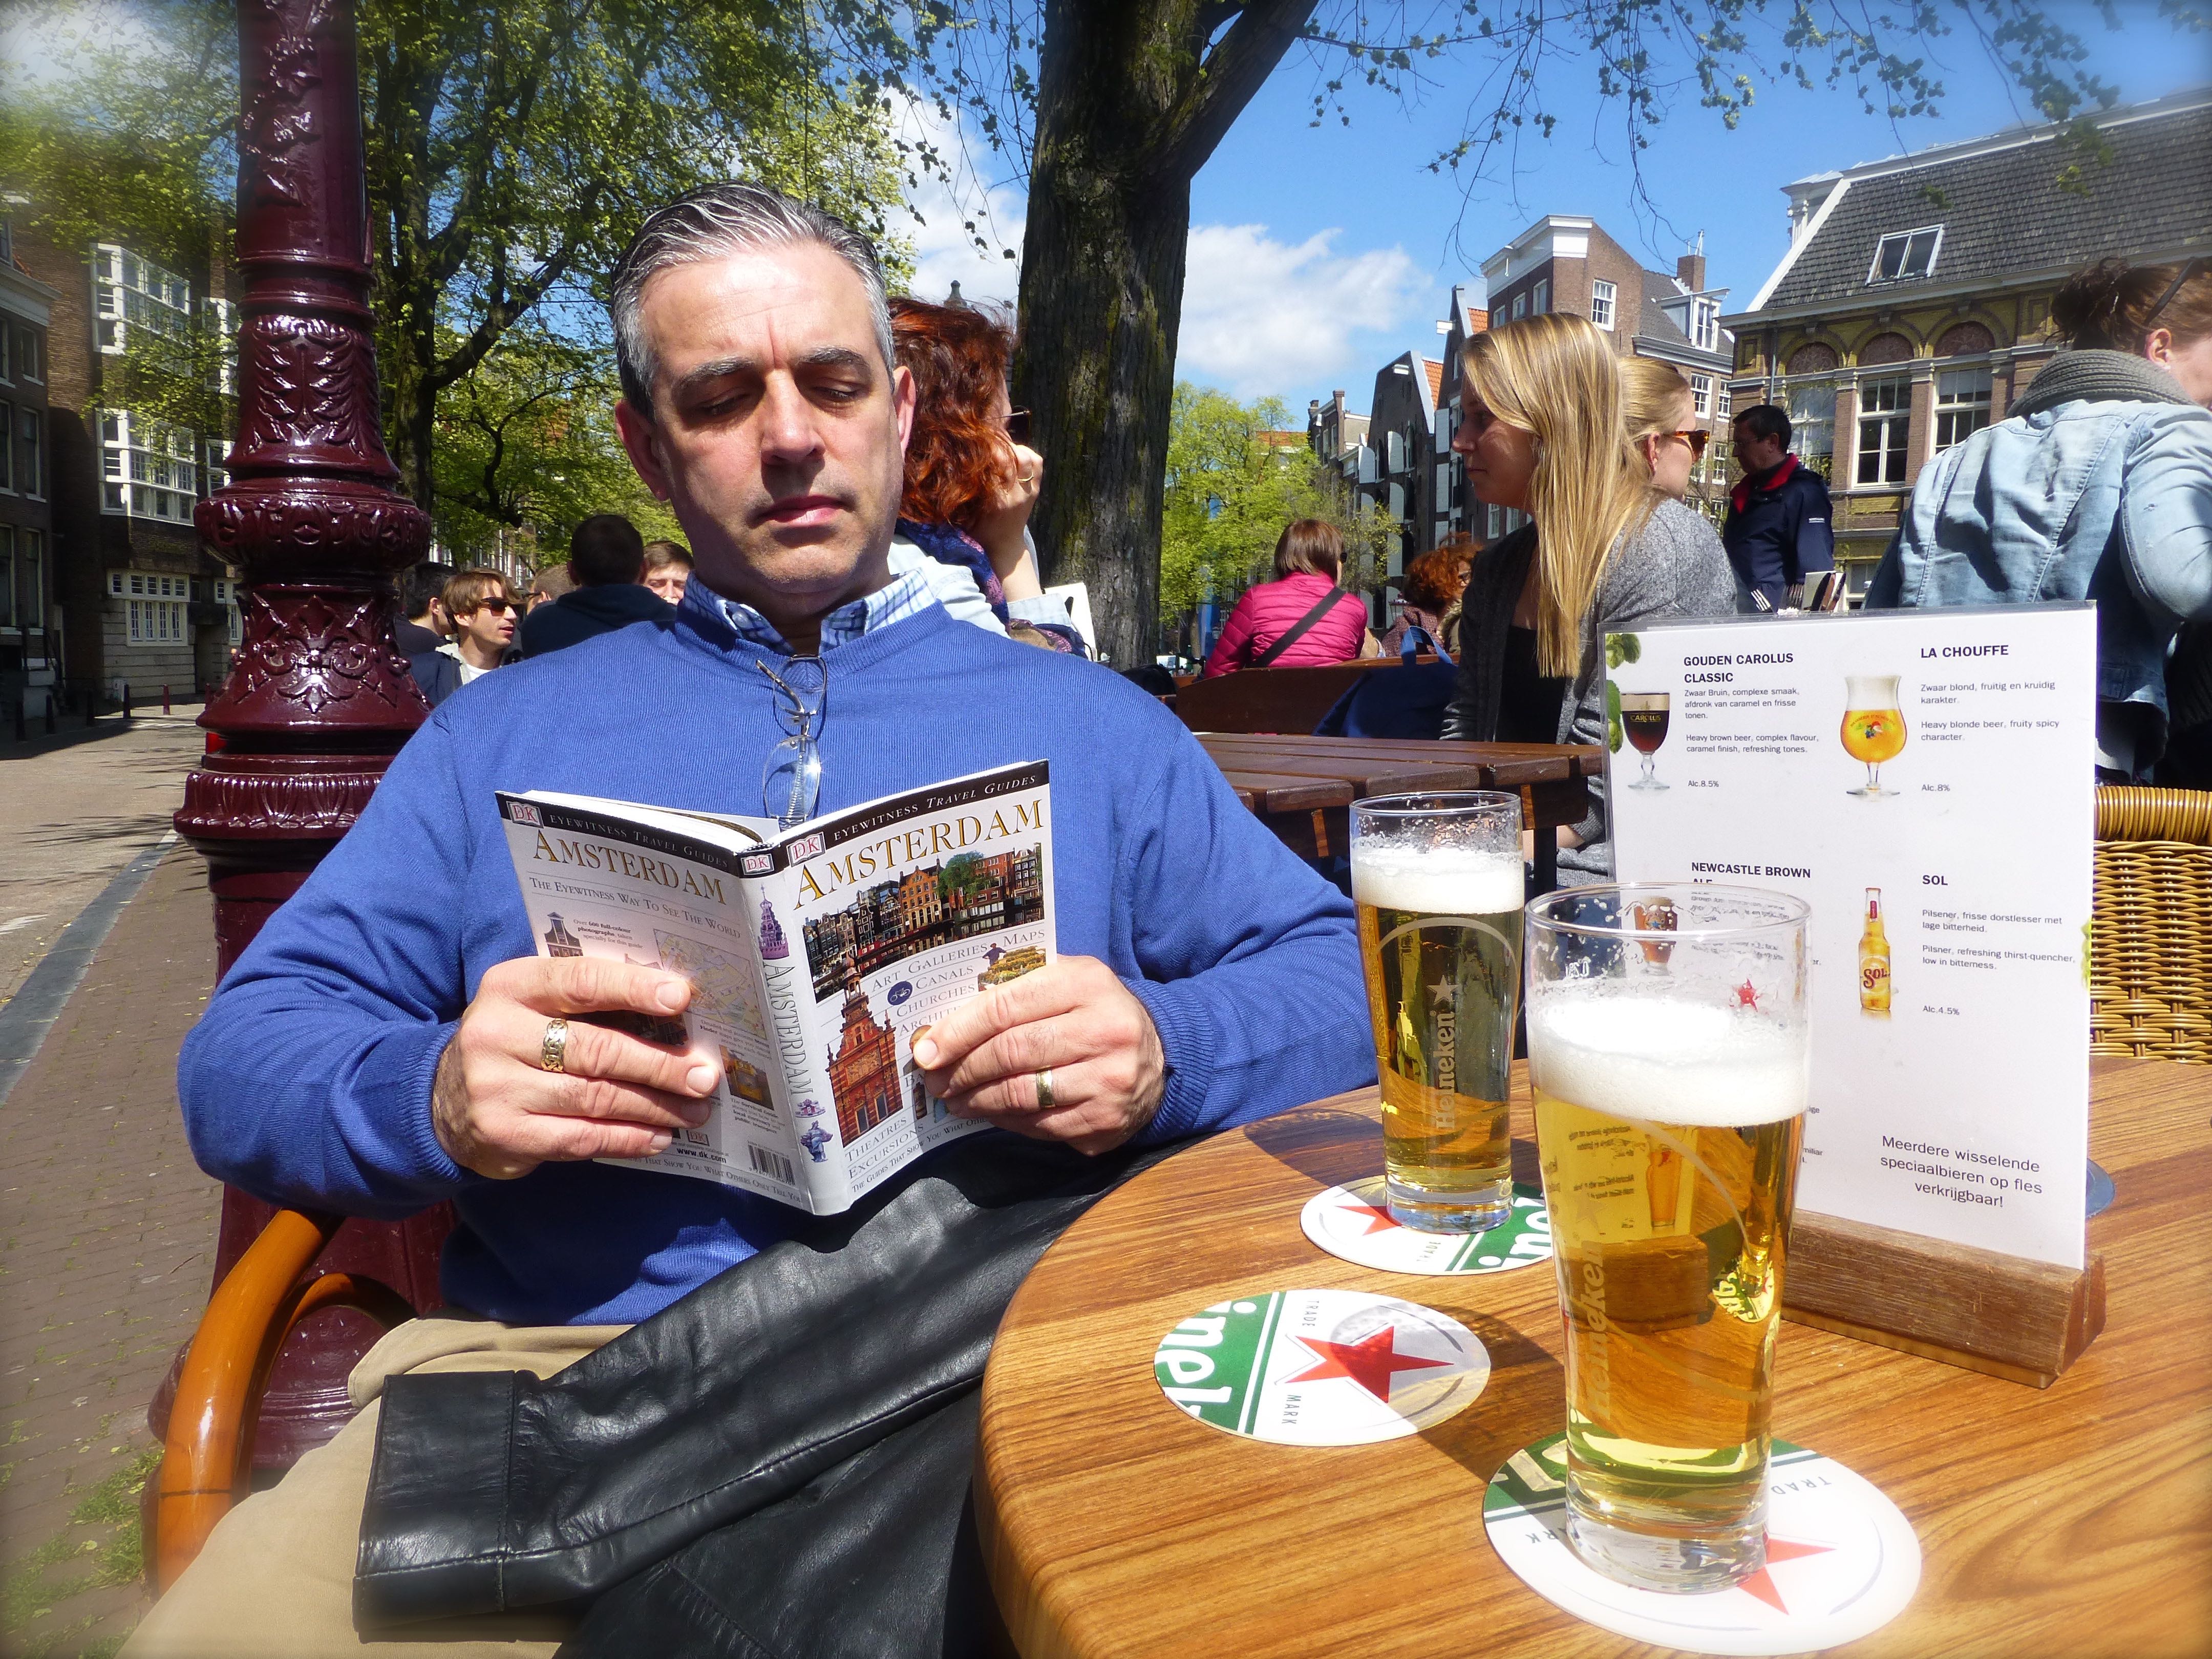
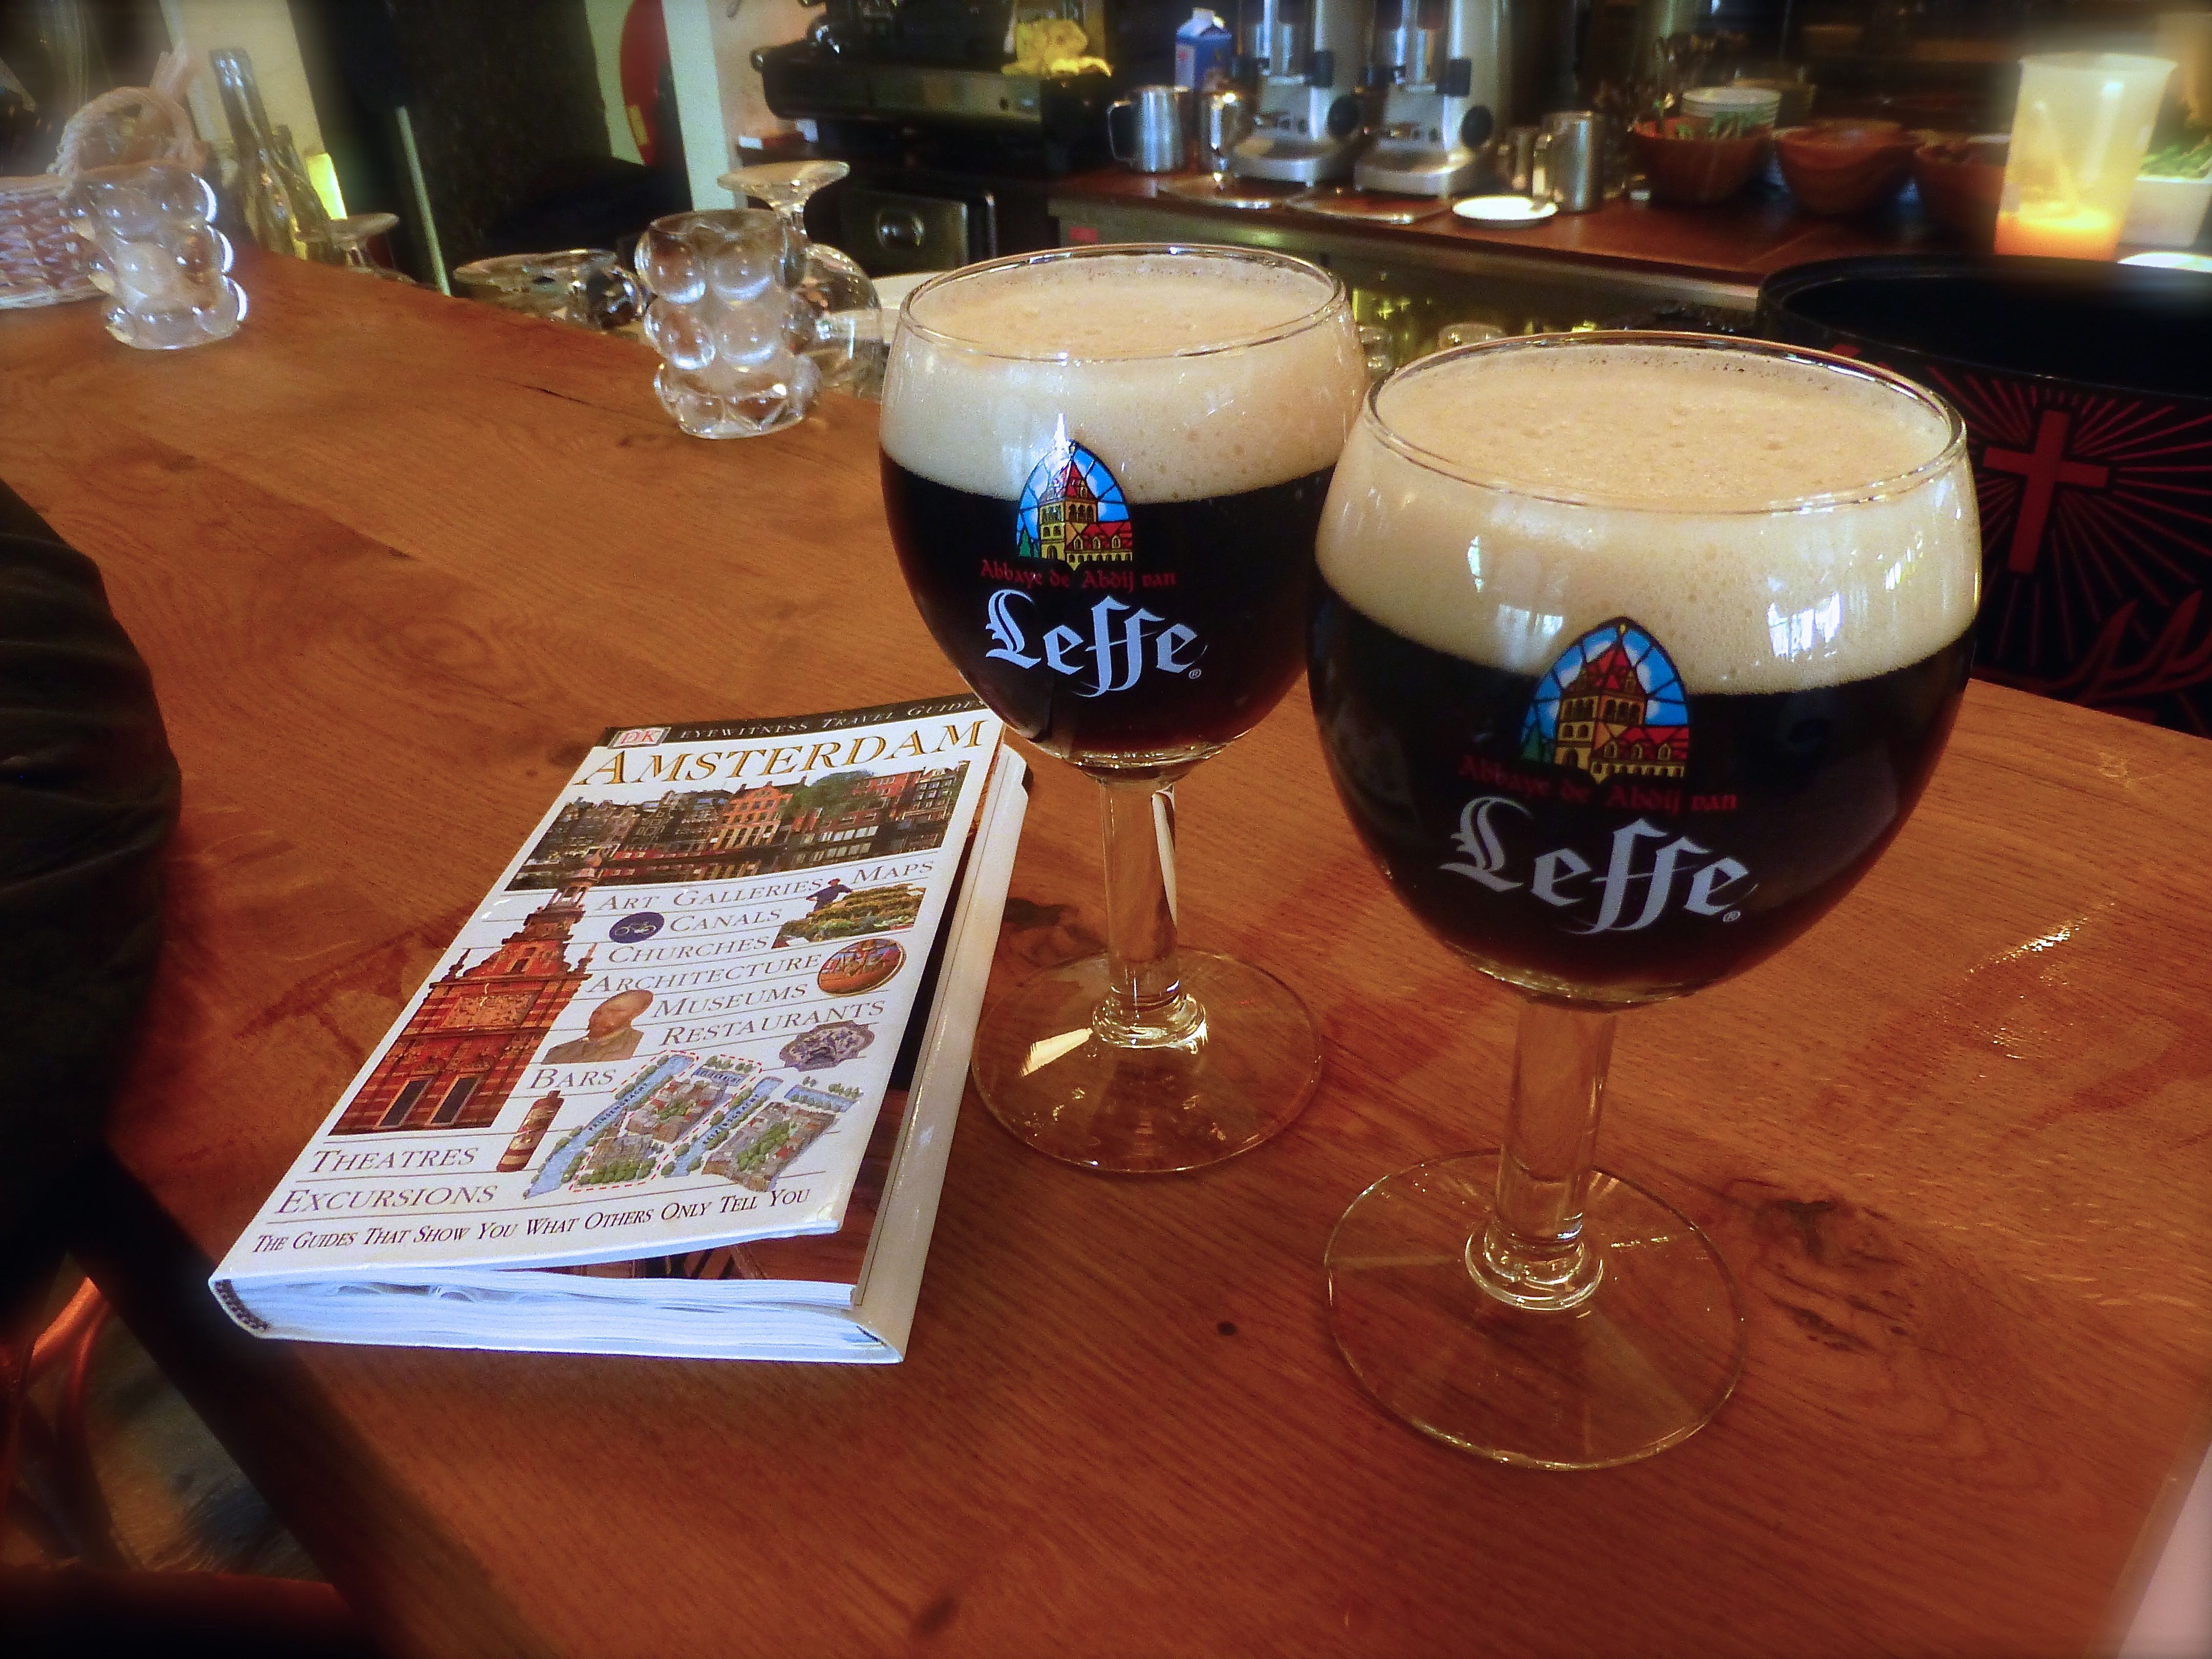
We swear by the DK ‘Eyewitness’ Travel Guides – they’re perfect for us as we want to pack in as much culture as is humanly possible in three days!

DK book

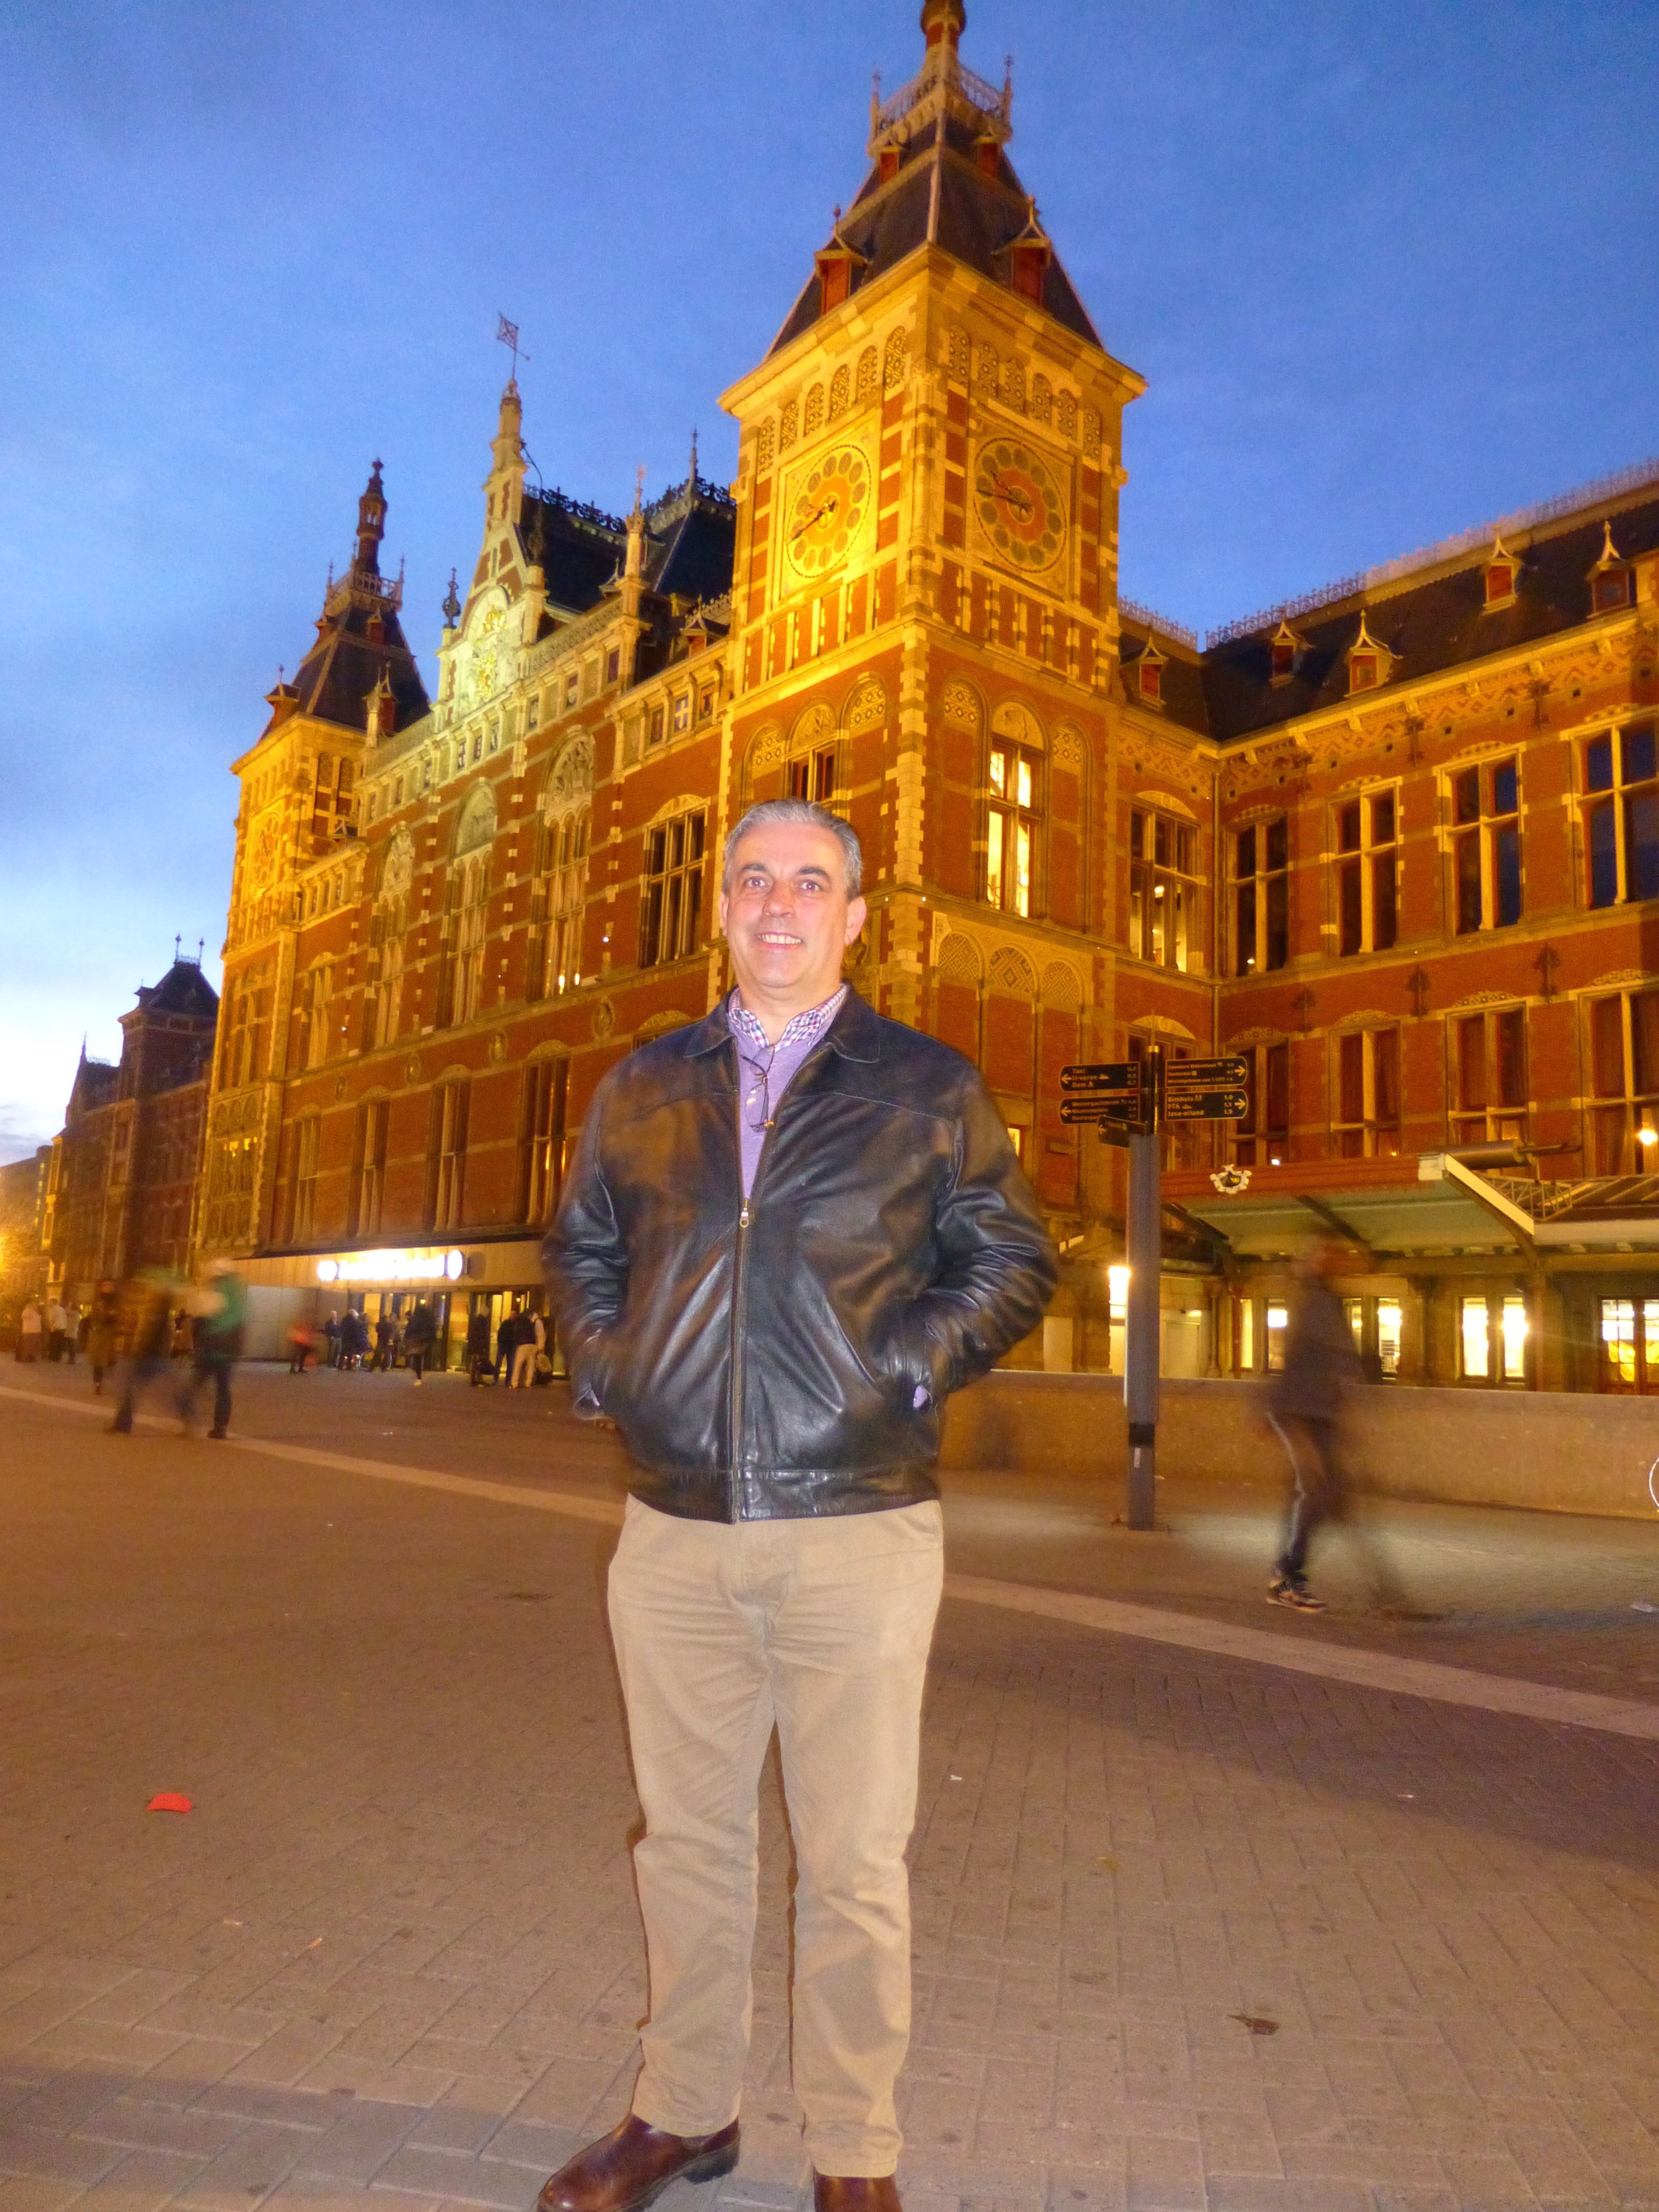
Getting there couldn’t be simpler – trains leave from Schiphol airport and go direct to the centre of Amsterdam from where our hotel was just a short walk.

Amsterdam Centraal Station is a pretty fine piece of architecture itself and looks especially lovely lit up at night.

station

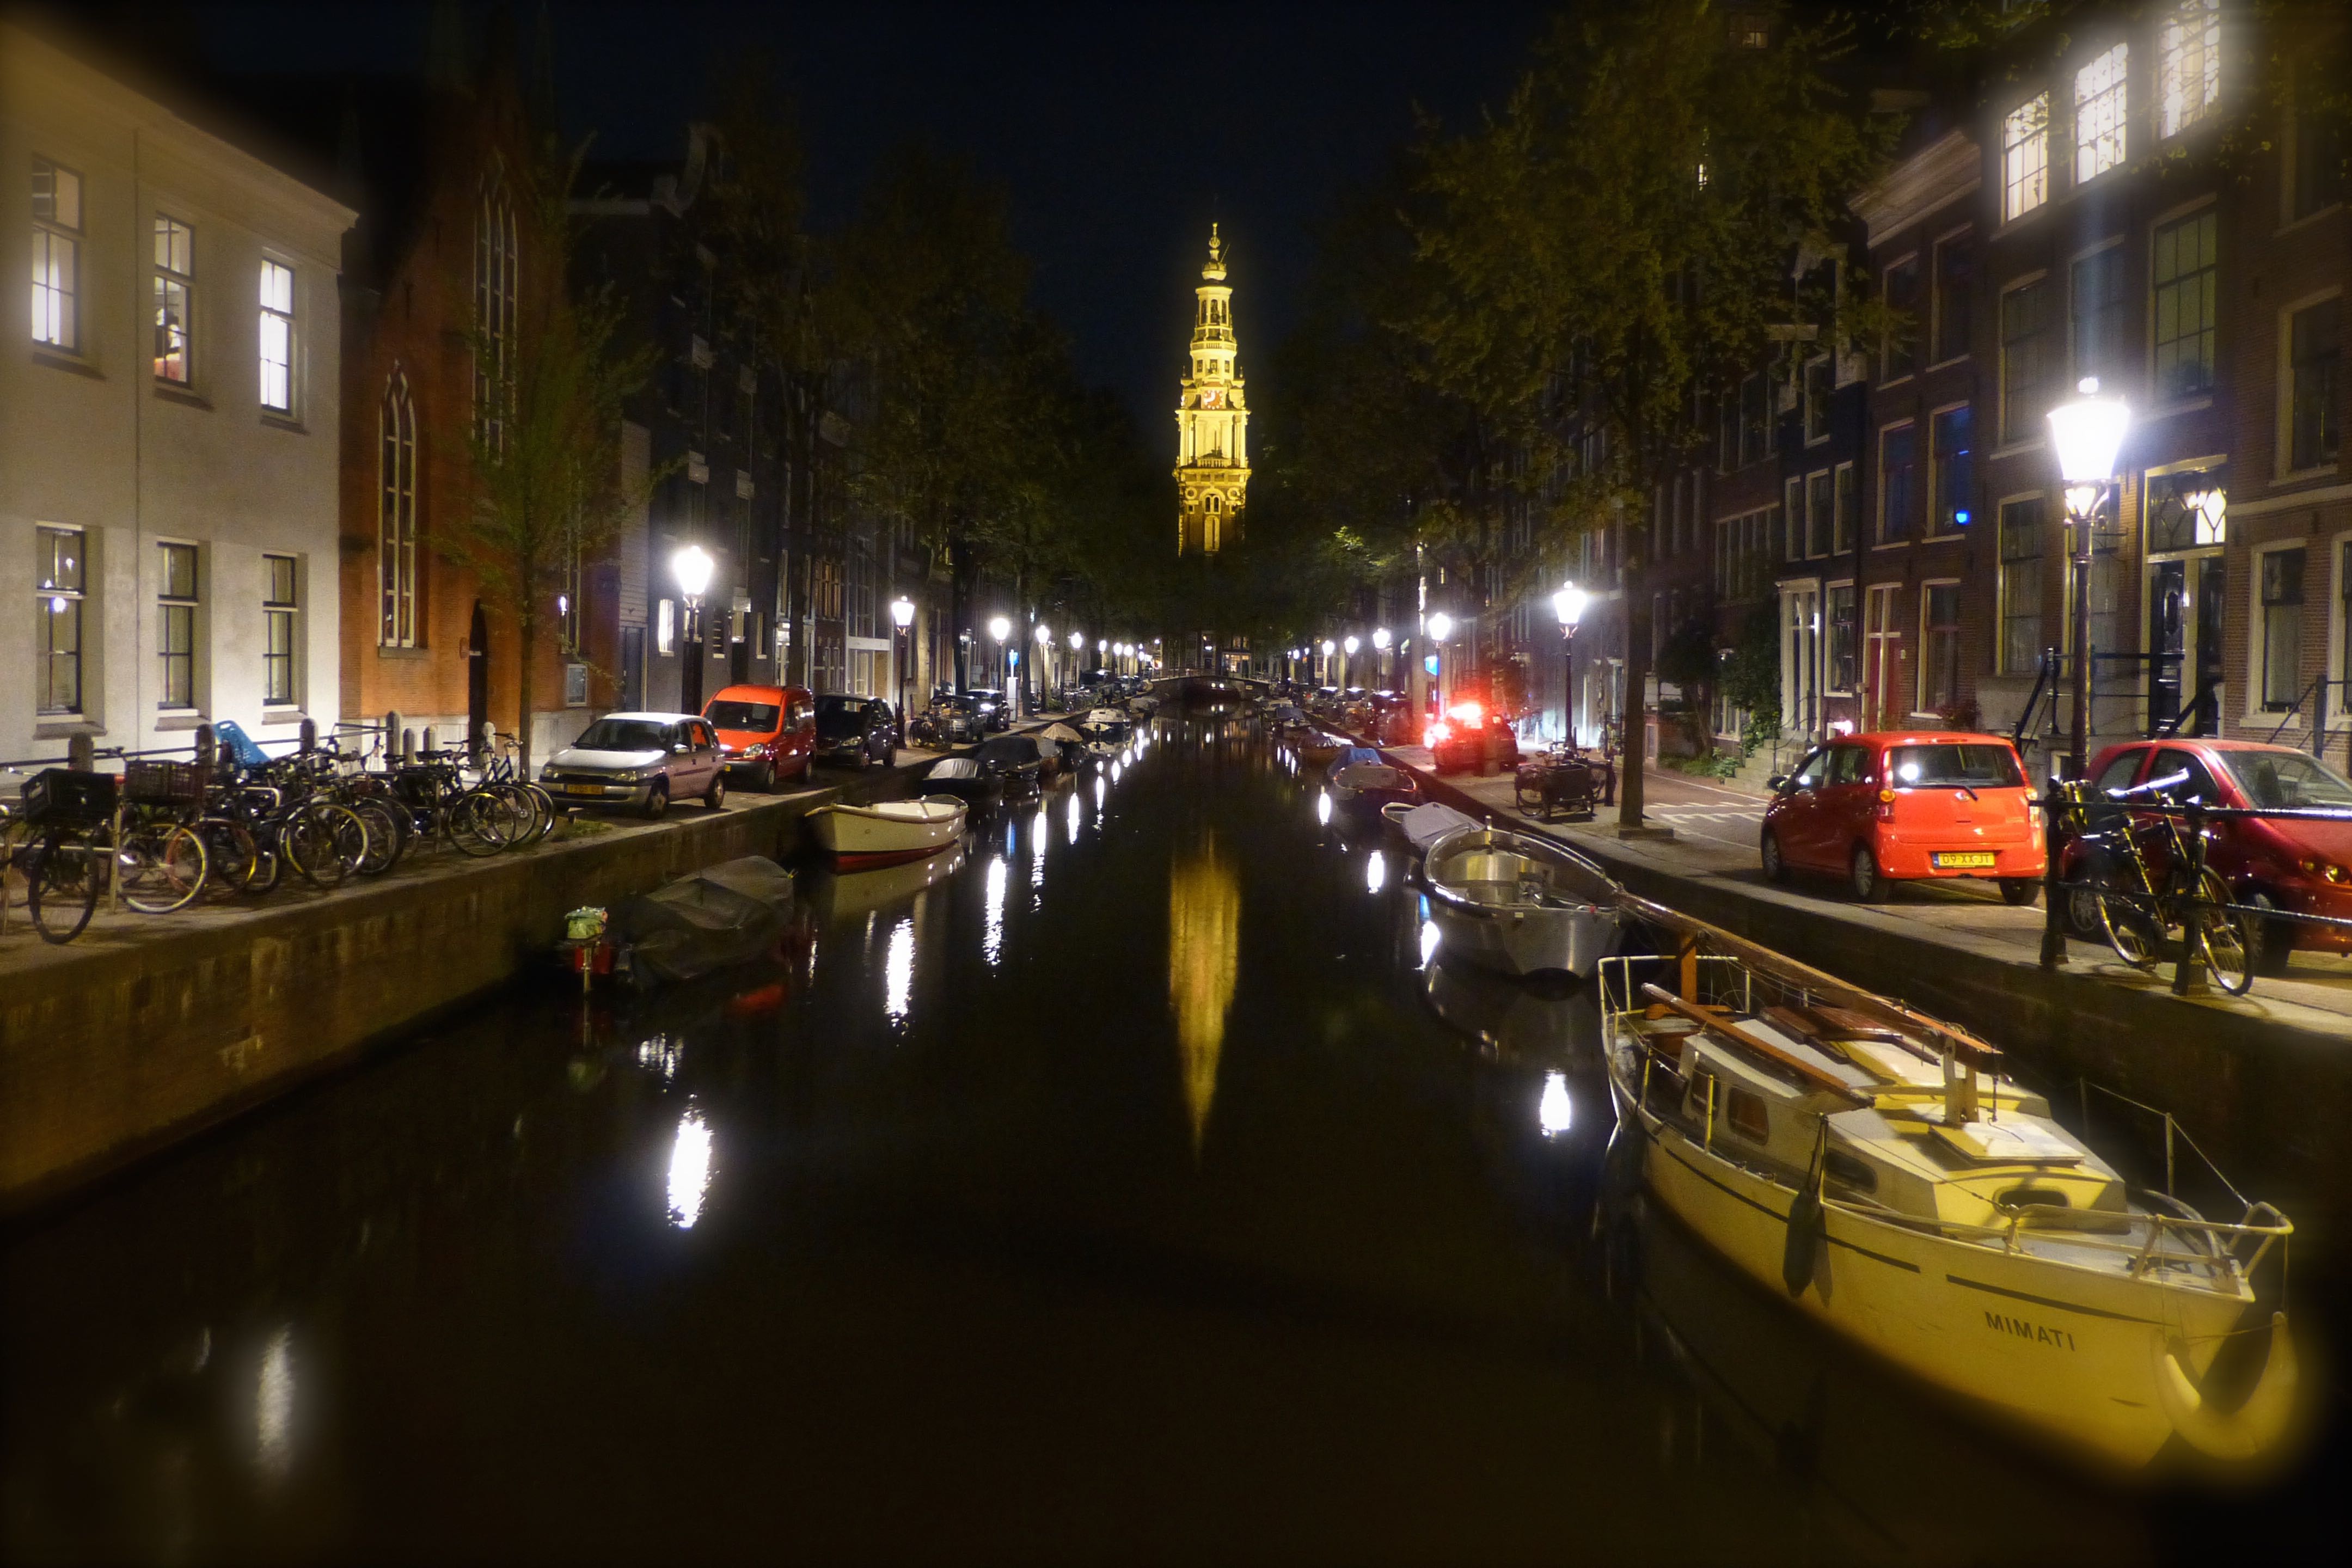
After checking in at 10pm, we went exploring…..

canal by night

….and sat outside a bar overlooking a canal with a pint of the local beer.

P1050029

Saturday was spent doing the sights.

Anne Frank's Huis

canal view

Another beer and a spot of lunch in between sightseeing.

bar

No prizes for guessing where we are in this photo – the completely wonderful Van Gogh museum in which we immersed ourselves for the entire afternoon.

Van Gogh

We discovered an amazing Tapas Bar down a side street, met a lovely Dutch couple and ended up staying until nearly midnight eating, drinking and chatting.

Tapas

Sunday saw a turn in the weather, but it didn’t stop us walking the suggested canal route in the DK book, the pages of which were soaked through by the end.

The walk took us past many notable buildings and we also took a slight detour to a museum that the guide recommended.

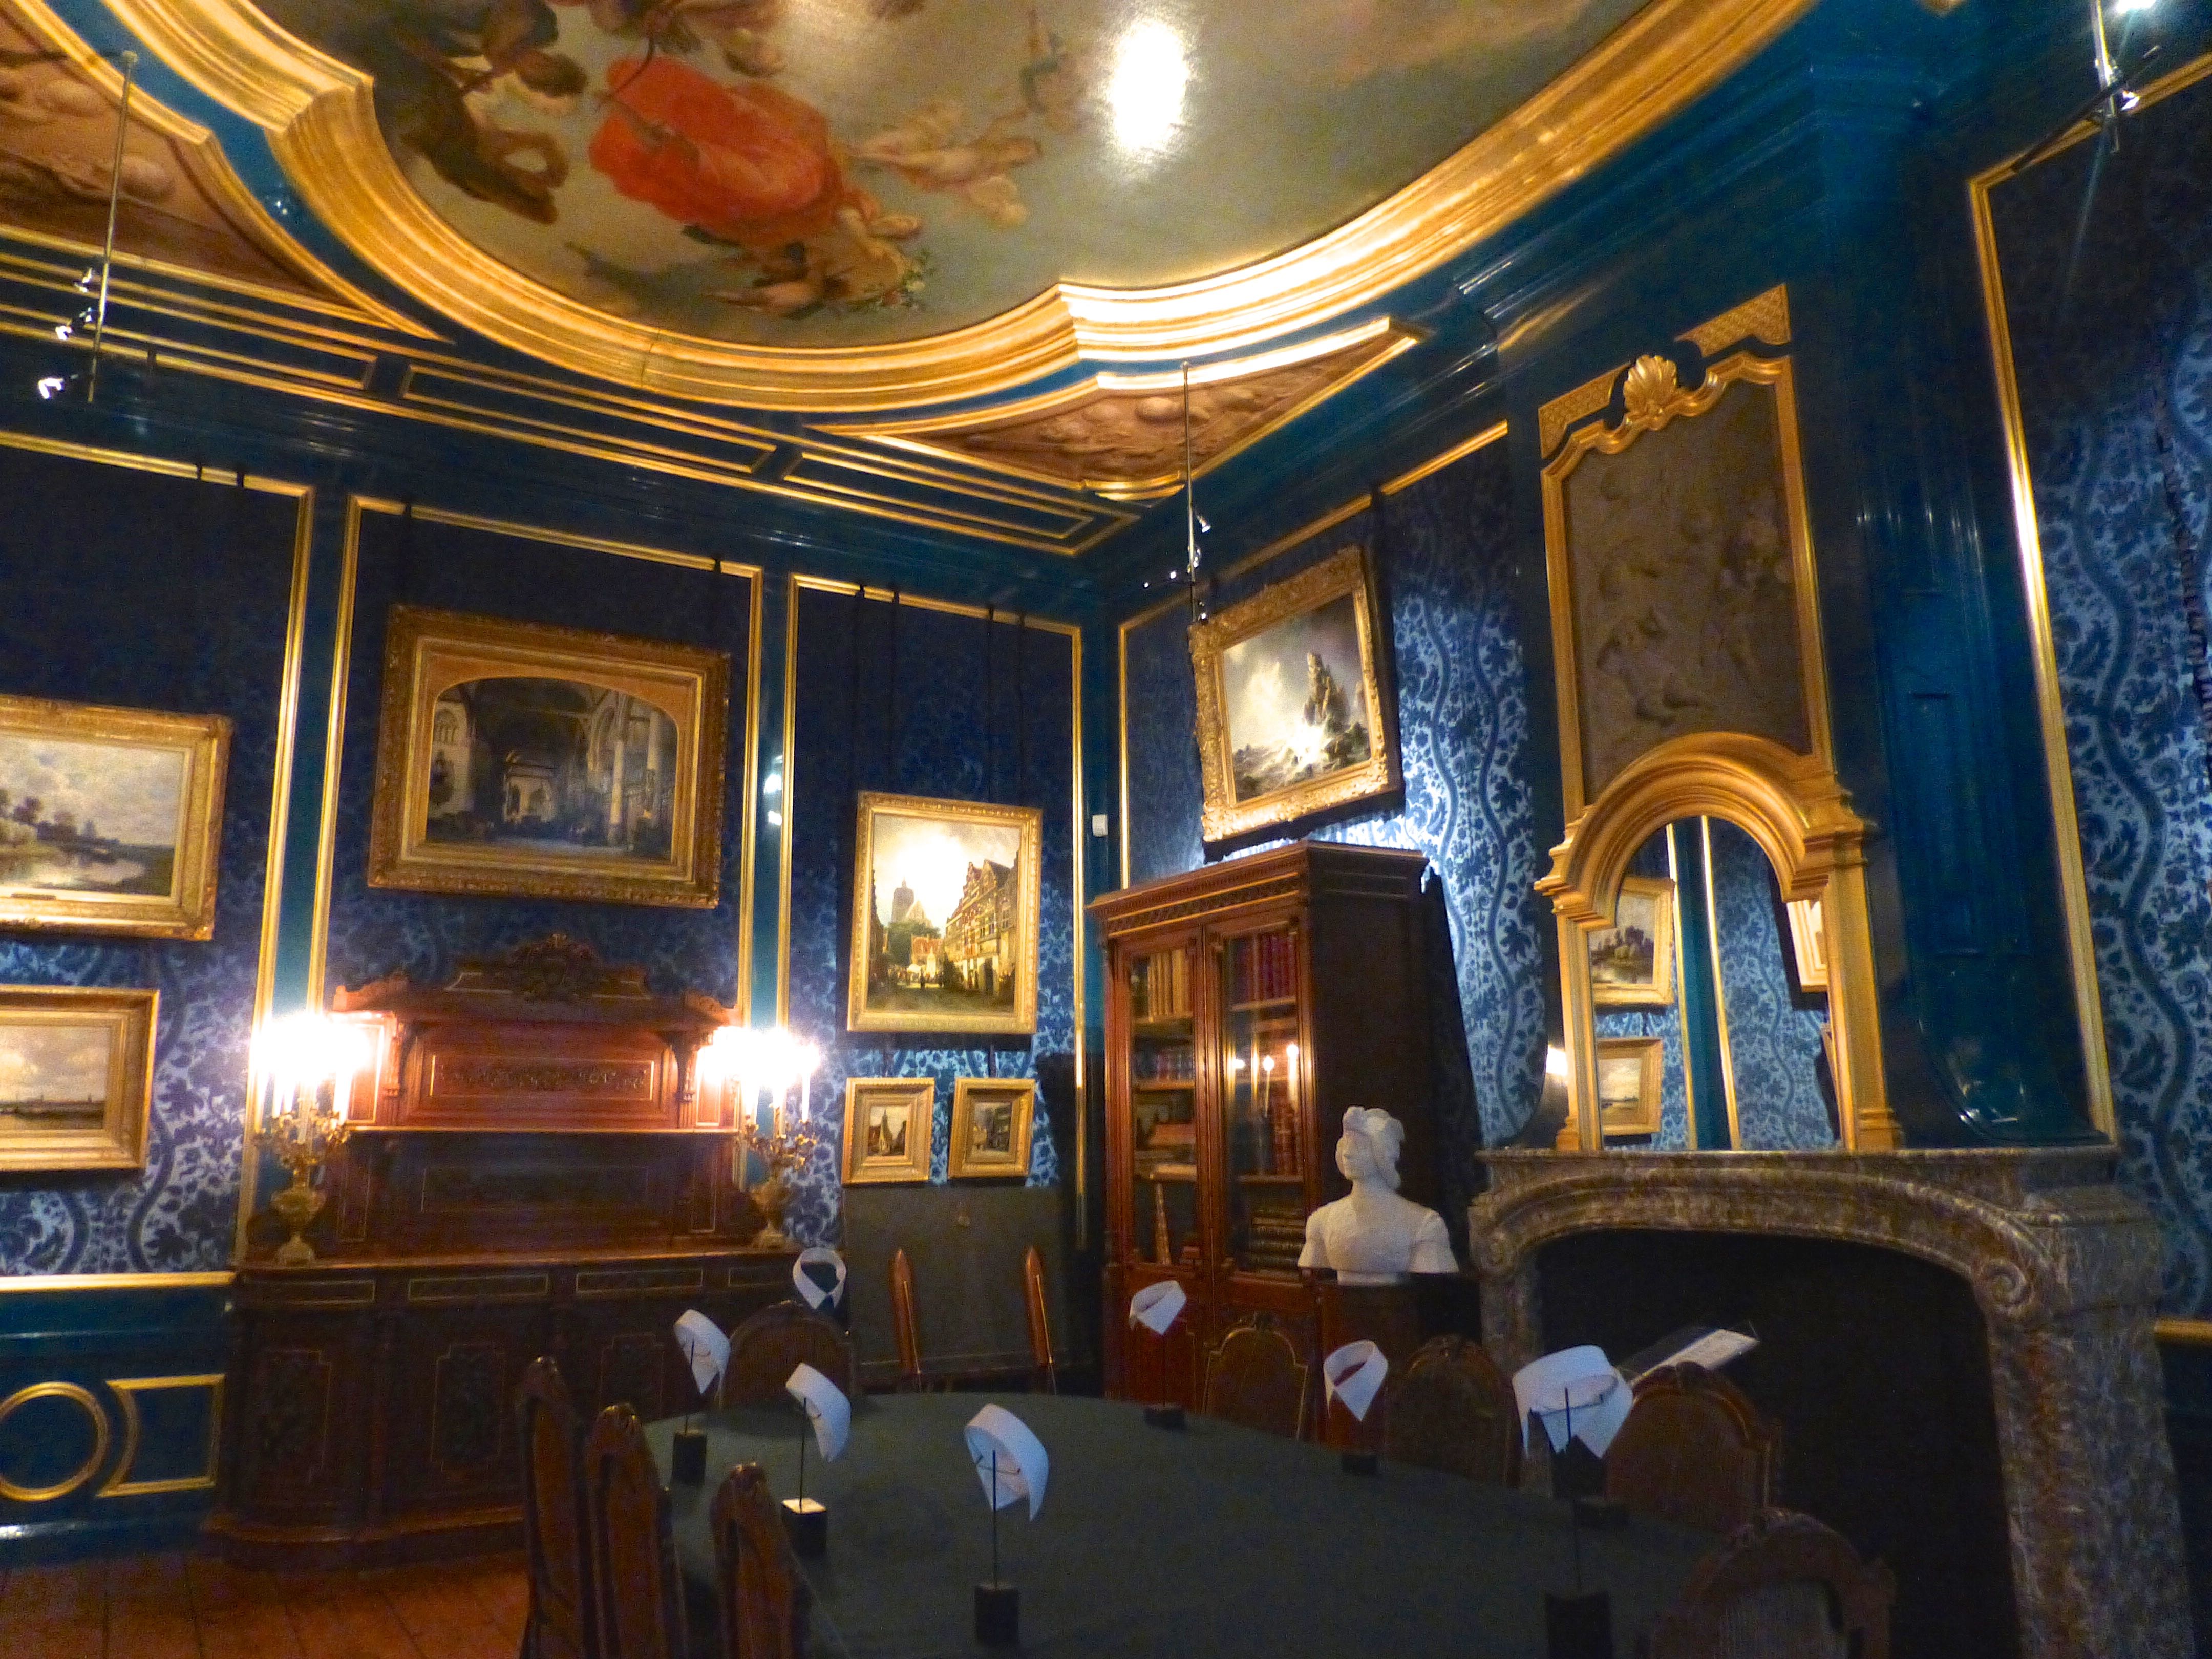
The house in the centre of the photo below was left to the city in the will of it’s last owner in about 1890, on condition that it was opened to the public as a museum – the Willet-Holthuysen museum.

museum

Two of the floors are left exactly as they were, the lower ground floor was reconstructed to the same period and the top floor displays all her art.

It’s well worth a visit as it shows how the Merchants typically lived at that time. It also gives you an idea of what all the other houses would have looked before over a hundred years of constant modernising took it’s toll and saw them chopped up into offices and flats.

merchant's house

More beer in a bid to shelter from the rain…..

beer

….which led to emergency use of the (very) public facilities!

loo

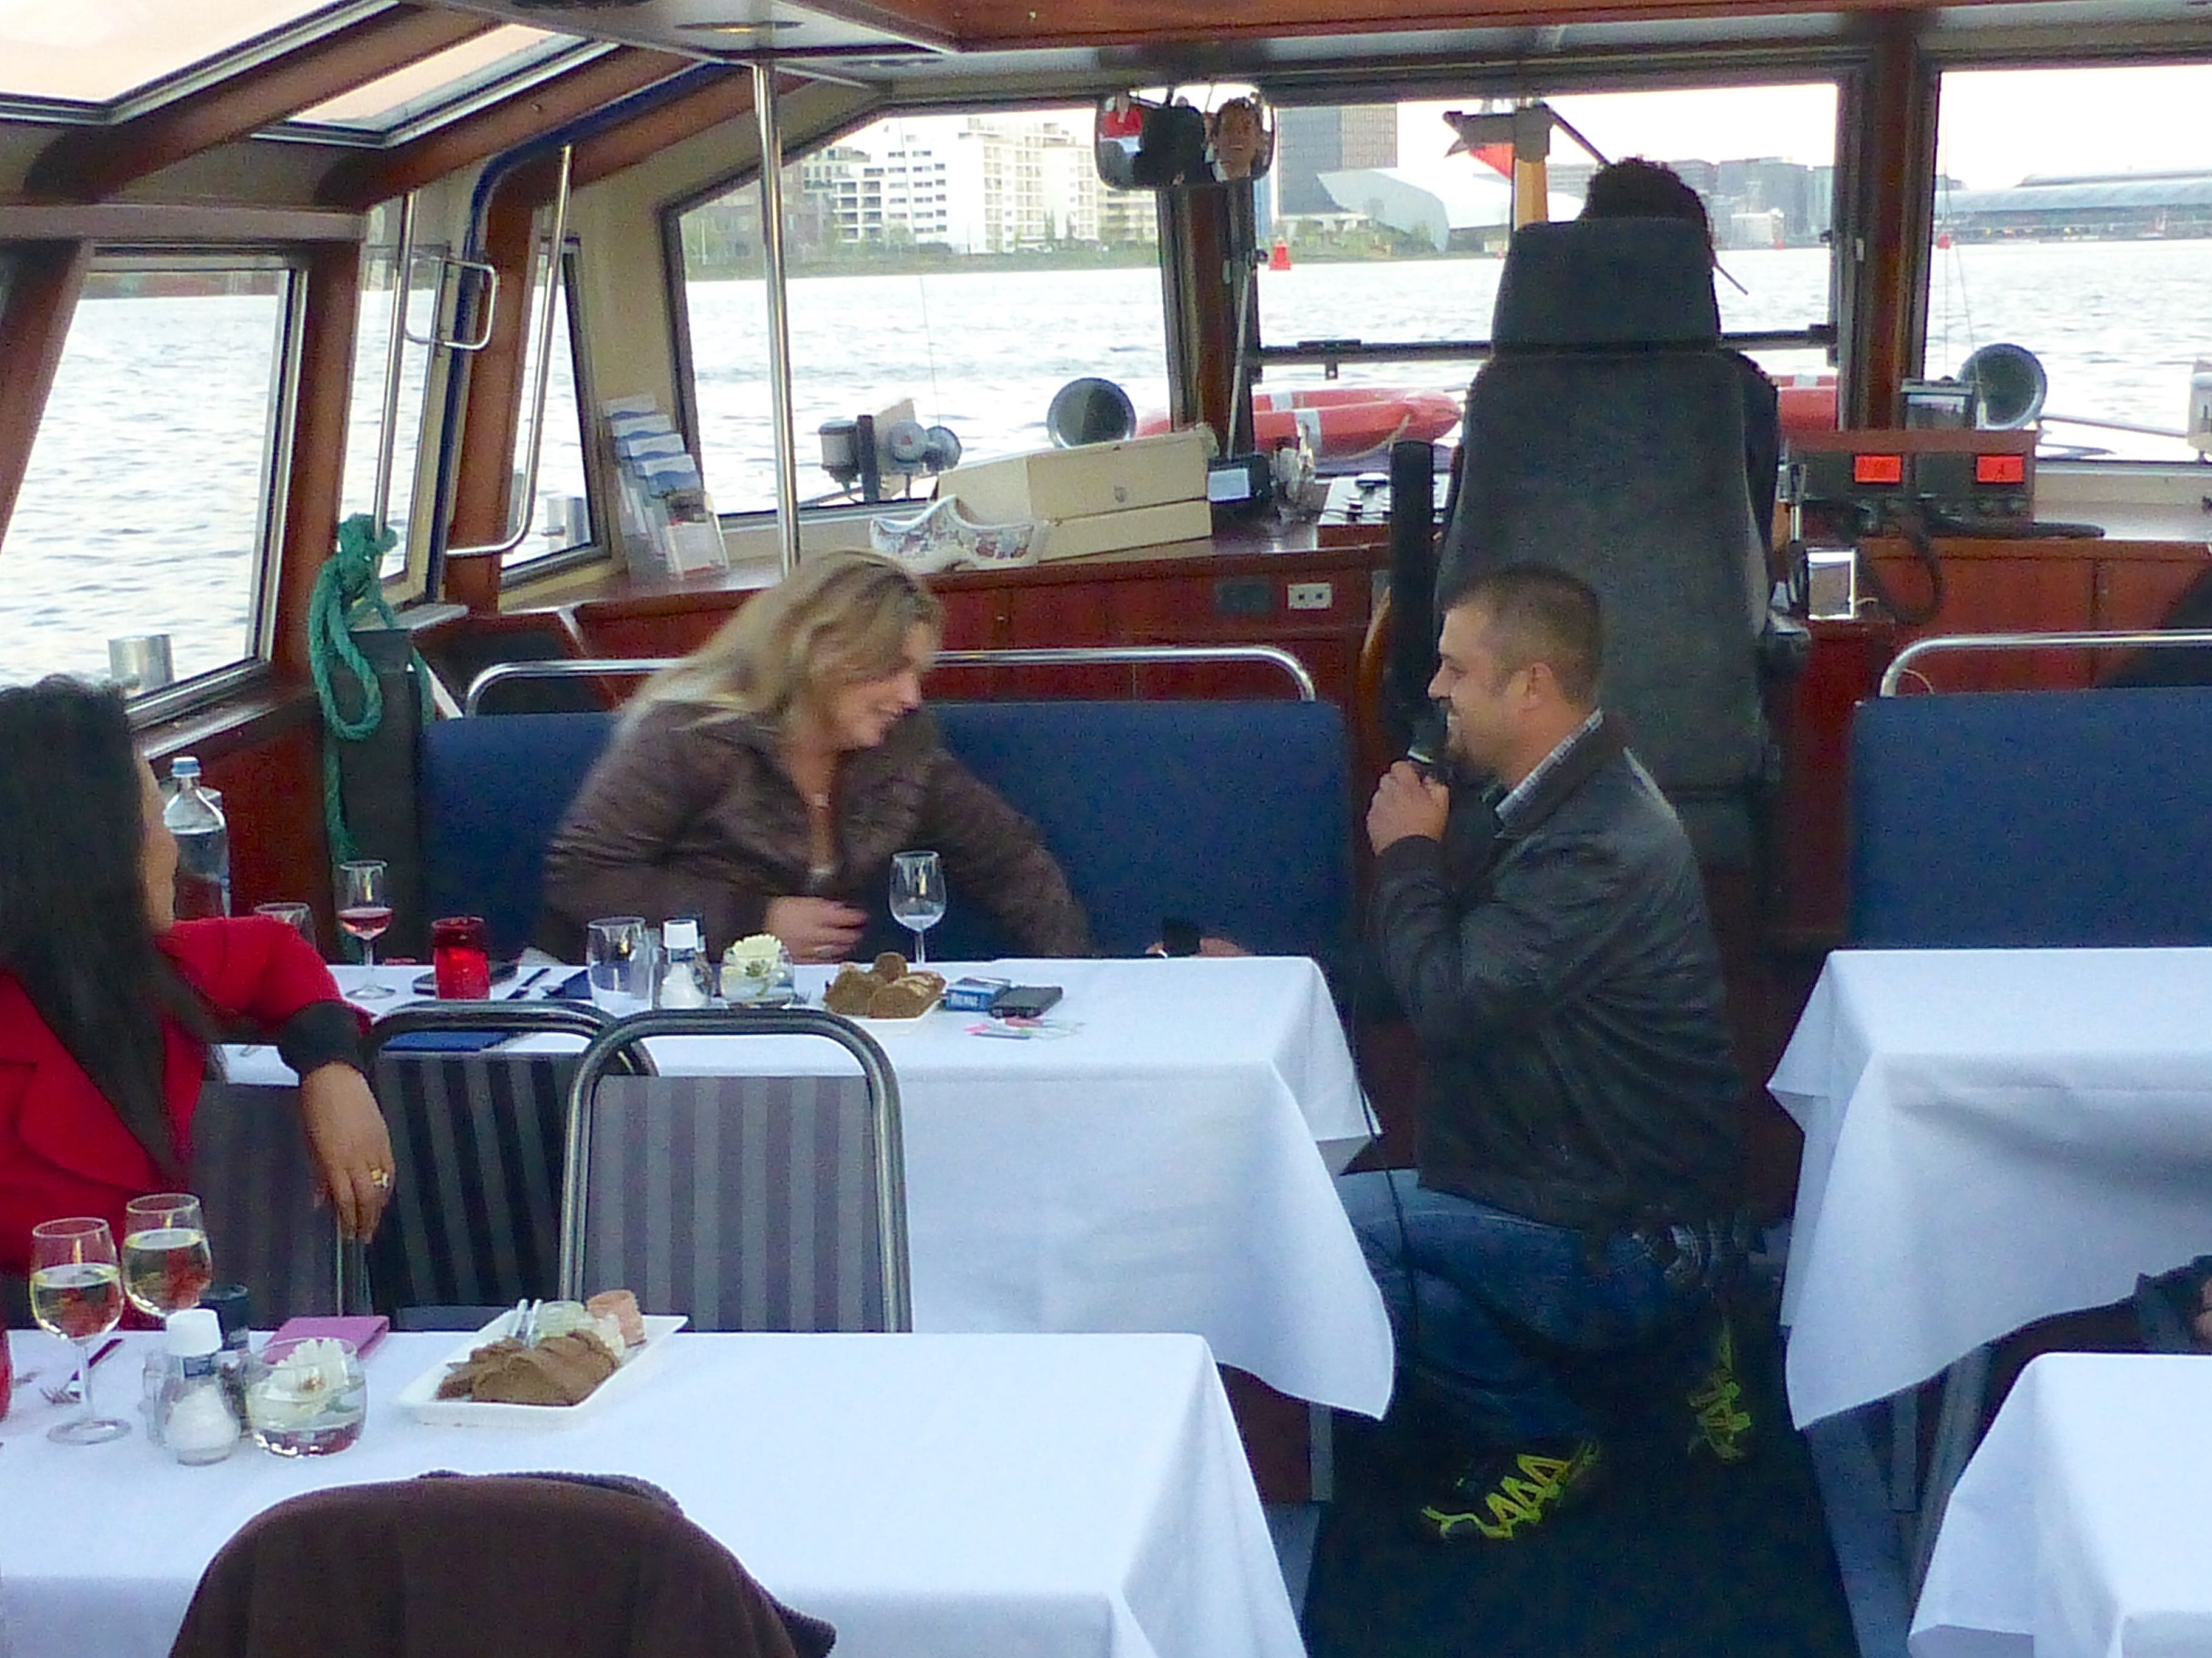
The same night was our actual anniversary and my lovely husband booked an evening canal cruise inclusive of five courses and as much prosecco and wine that you could drink!

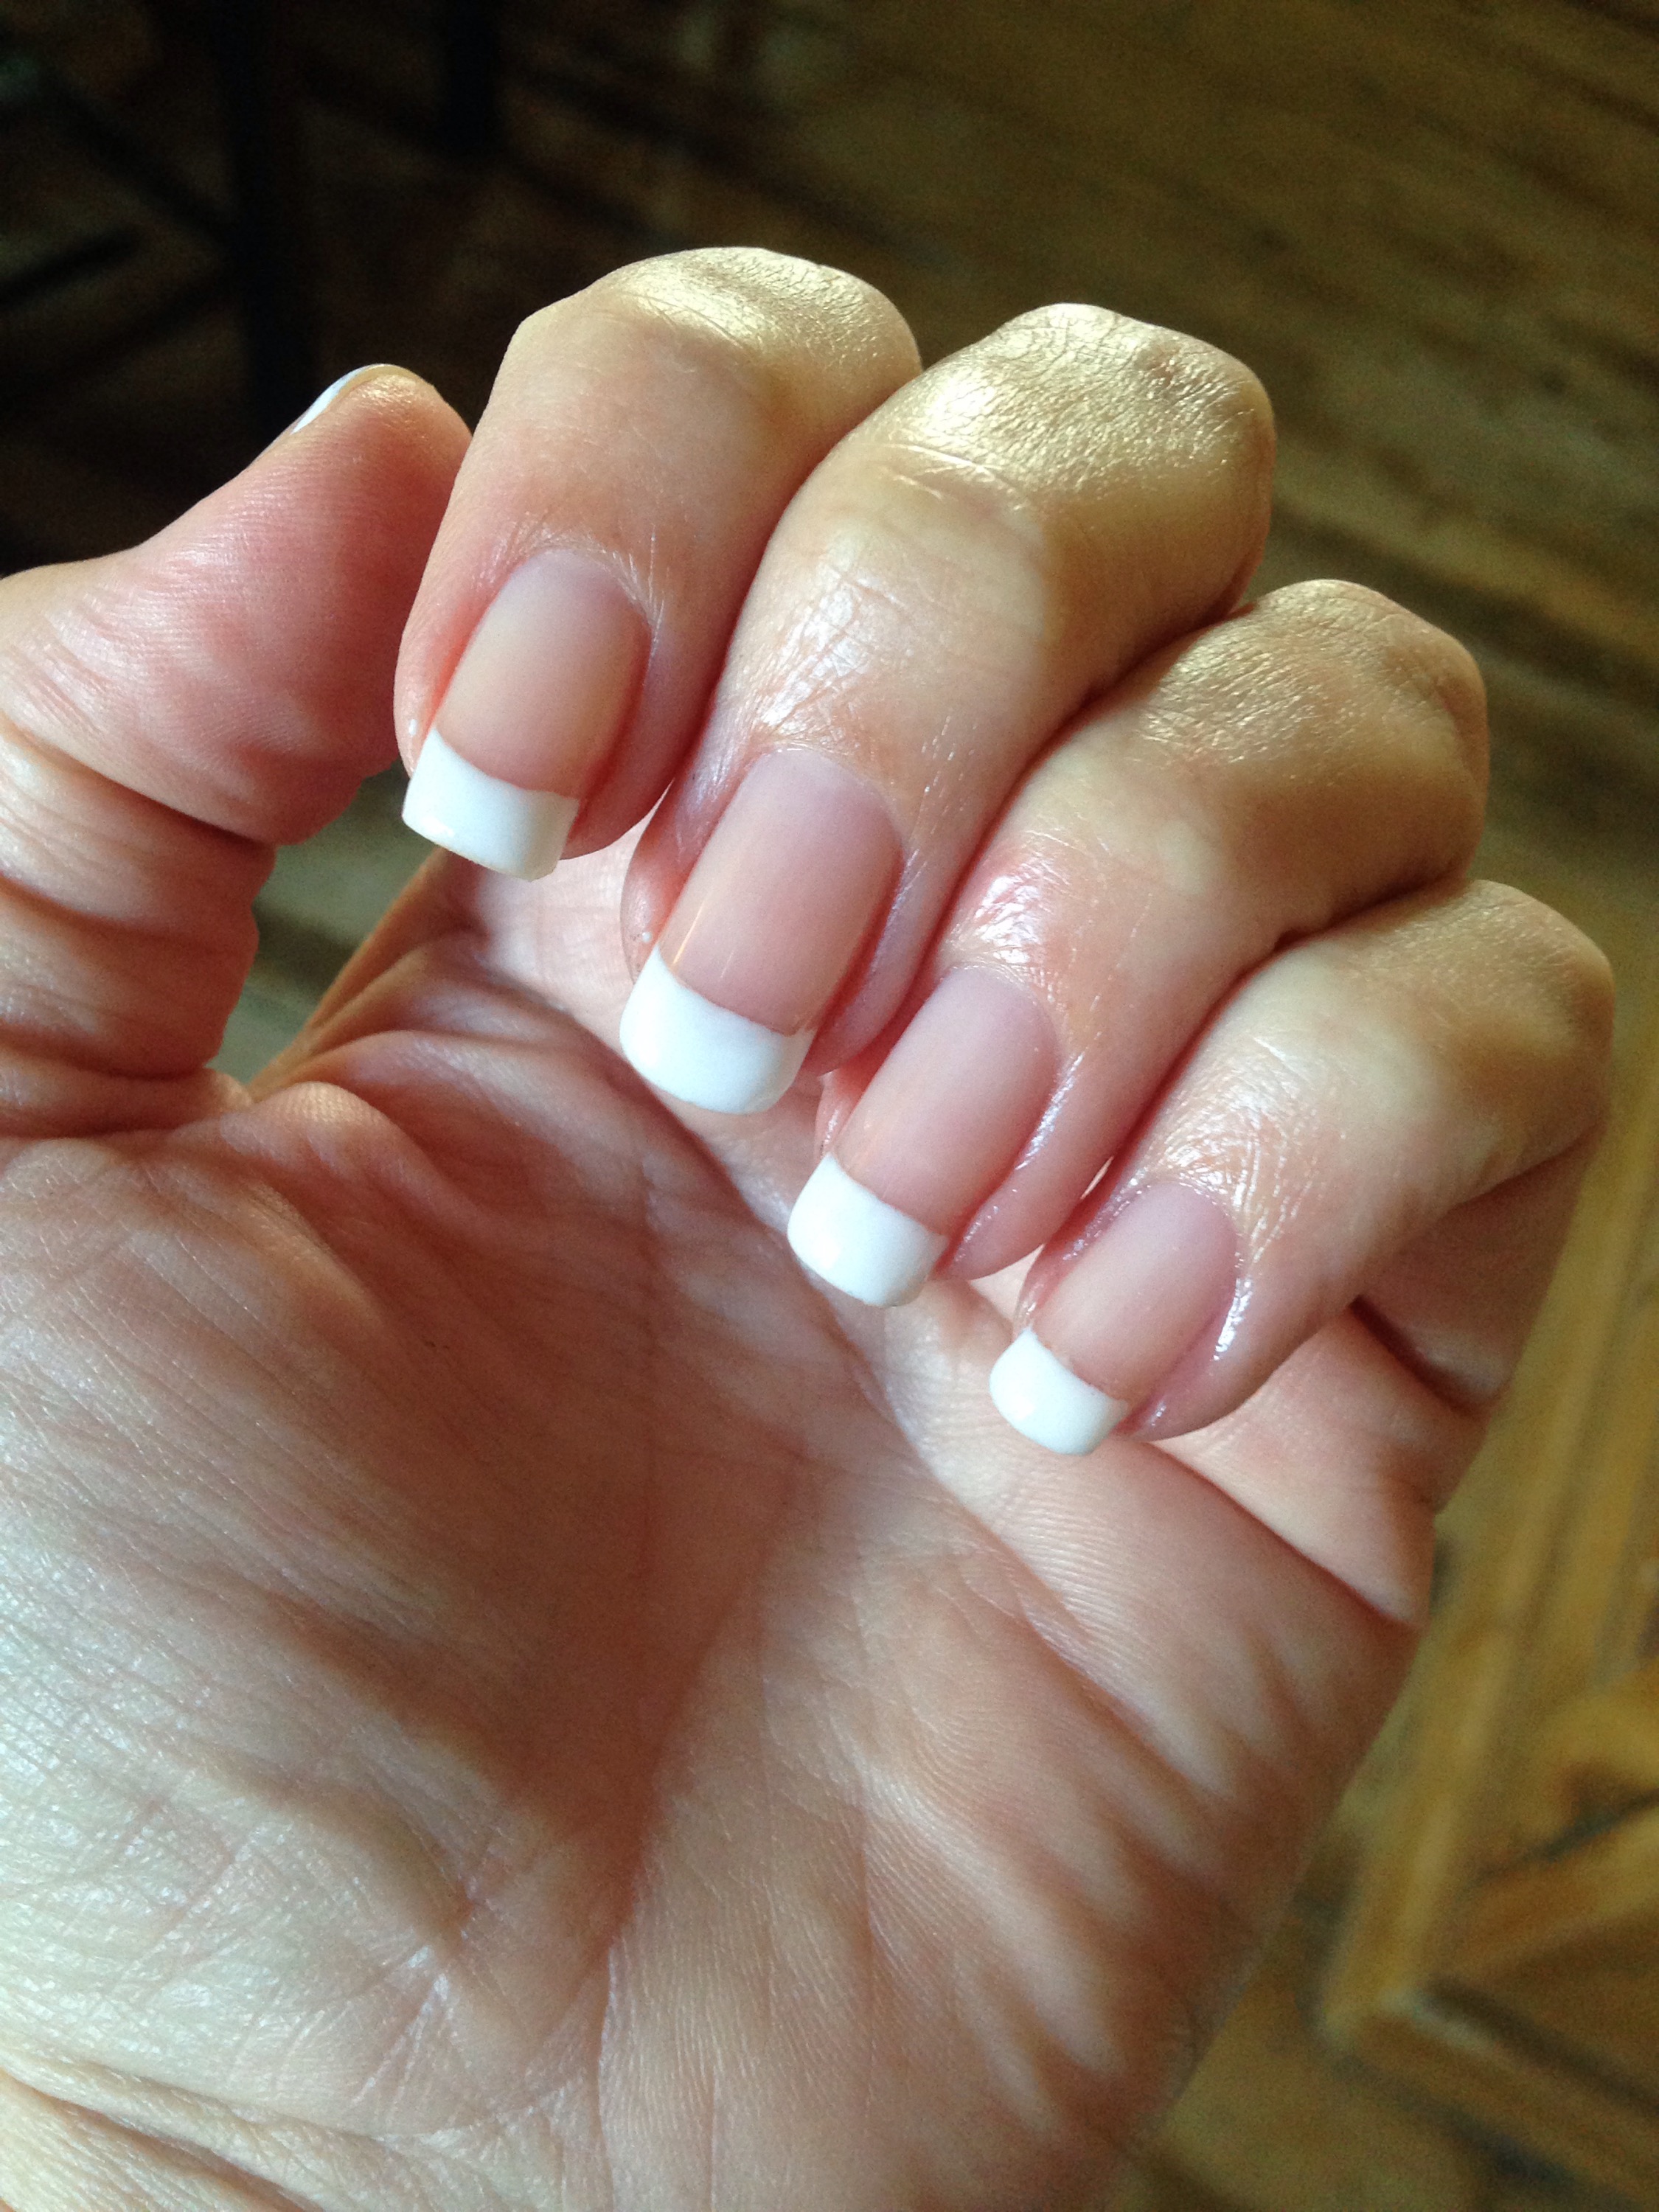
Unfortunately, even a newly purchased dutch umbrella couldn’t stop the damp air making frizz out of my hair:(

cruise

The food was spectacular – have you ever heard of Broccoli Panna Cotta with Piccallilli?!

Cruise food

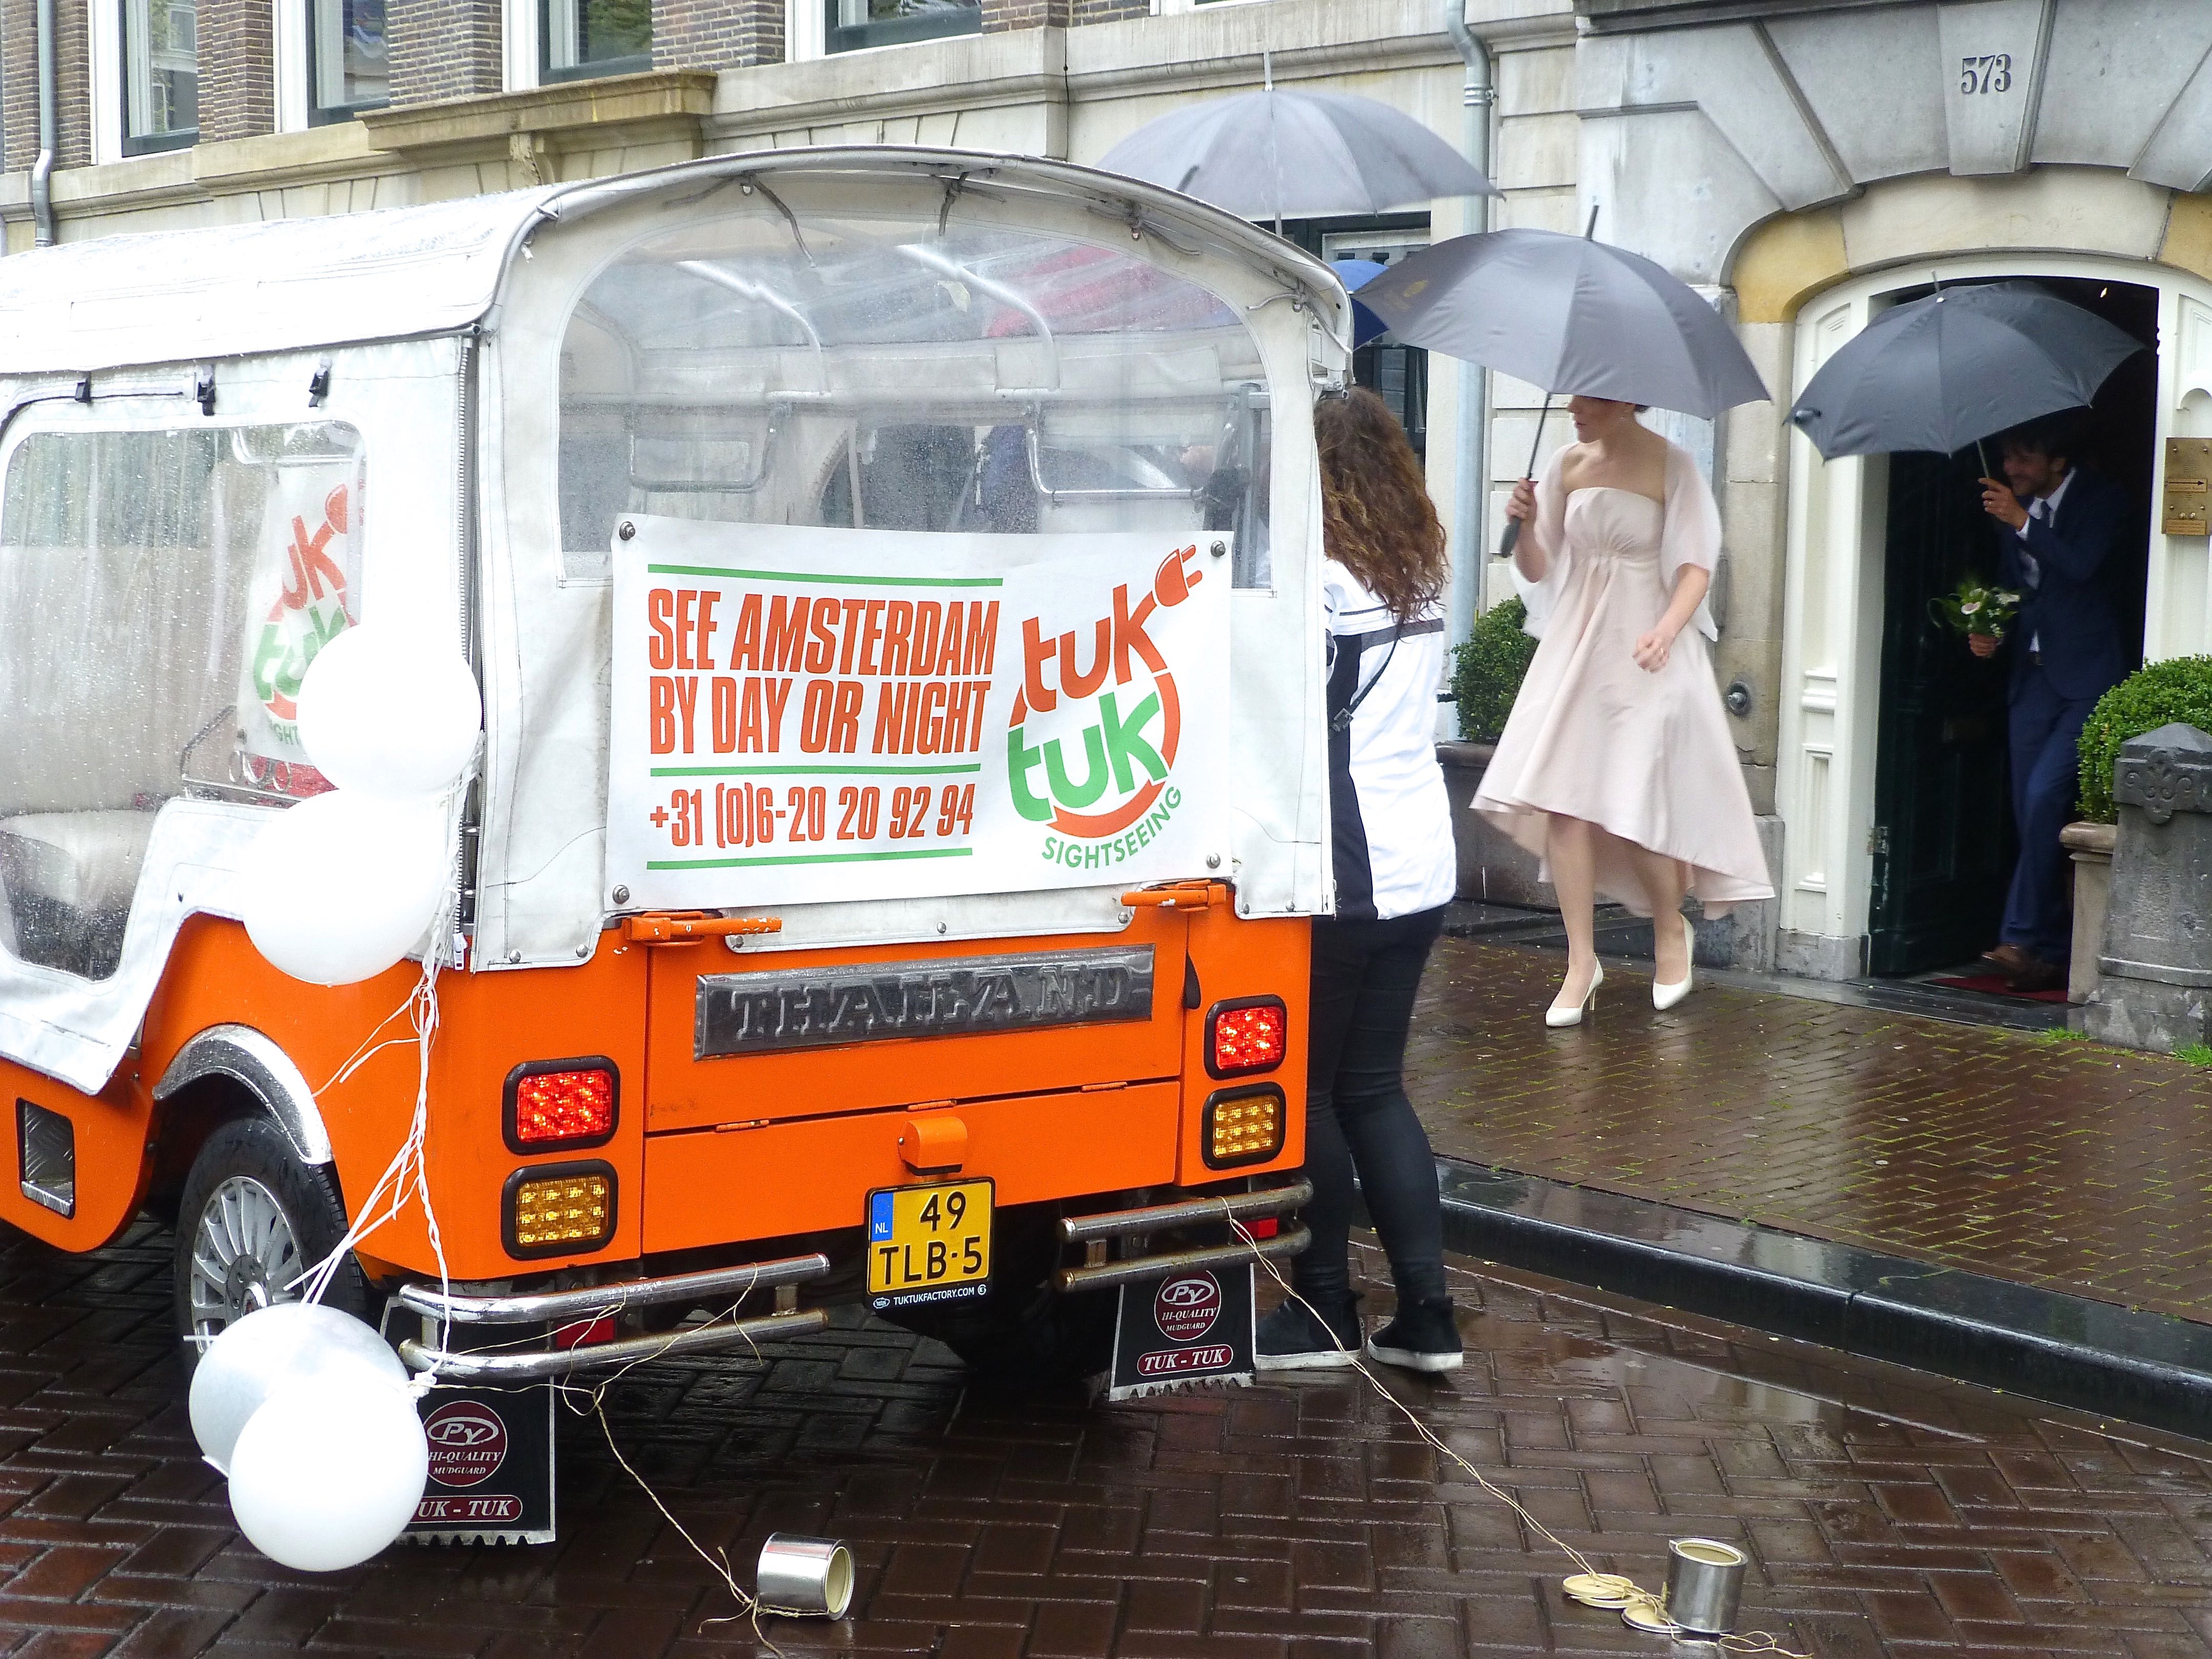
Amsterdam must be a romantic hot-spot because, aside from the usual Hen parties and Stag groups, we witnessed a proposal on our dinner cruise…..

proposal

….and a newly married couple being whisked away by tuk-tuk, complete with tins trailing along noisily behind.

wedding tuk tuk

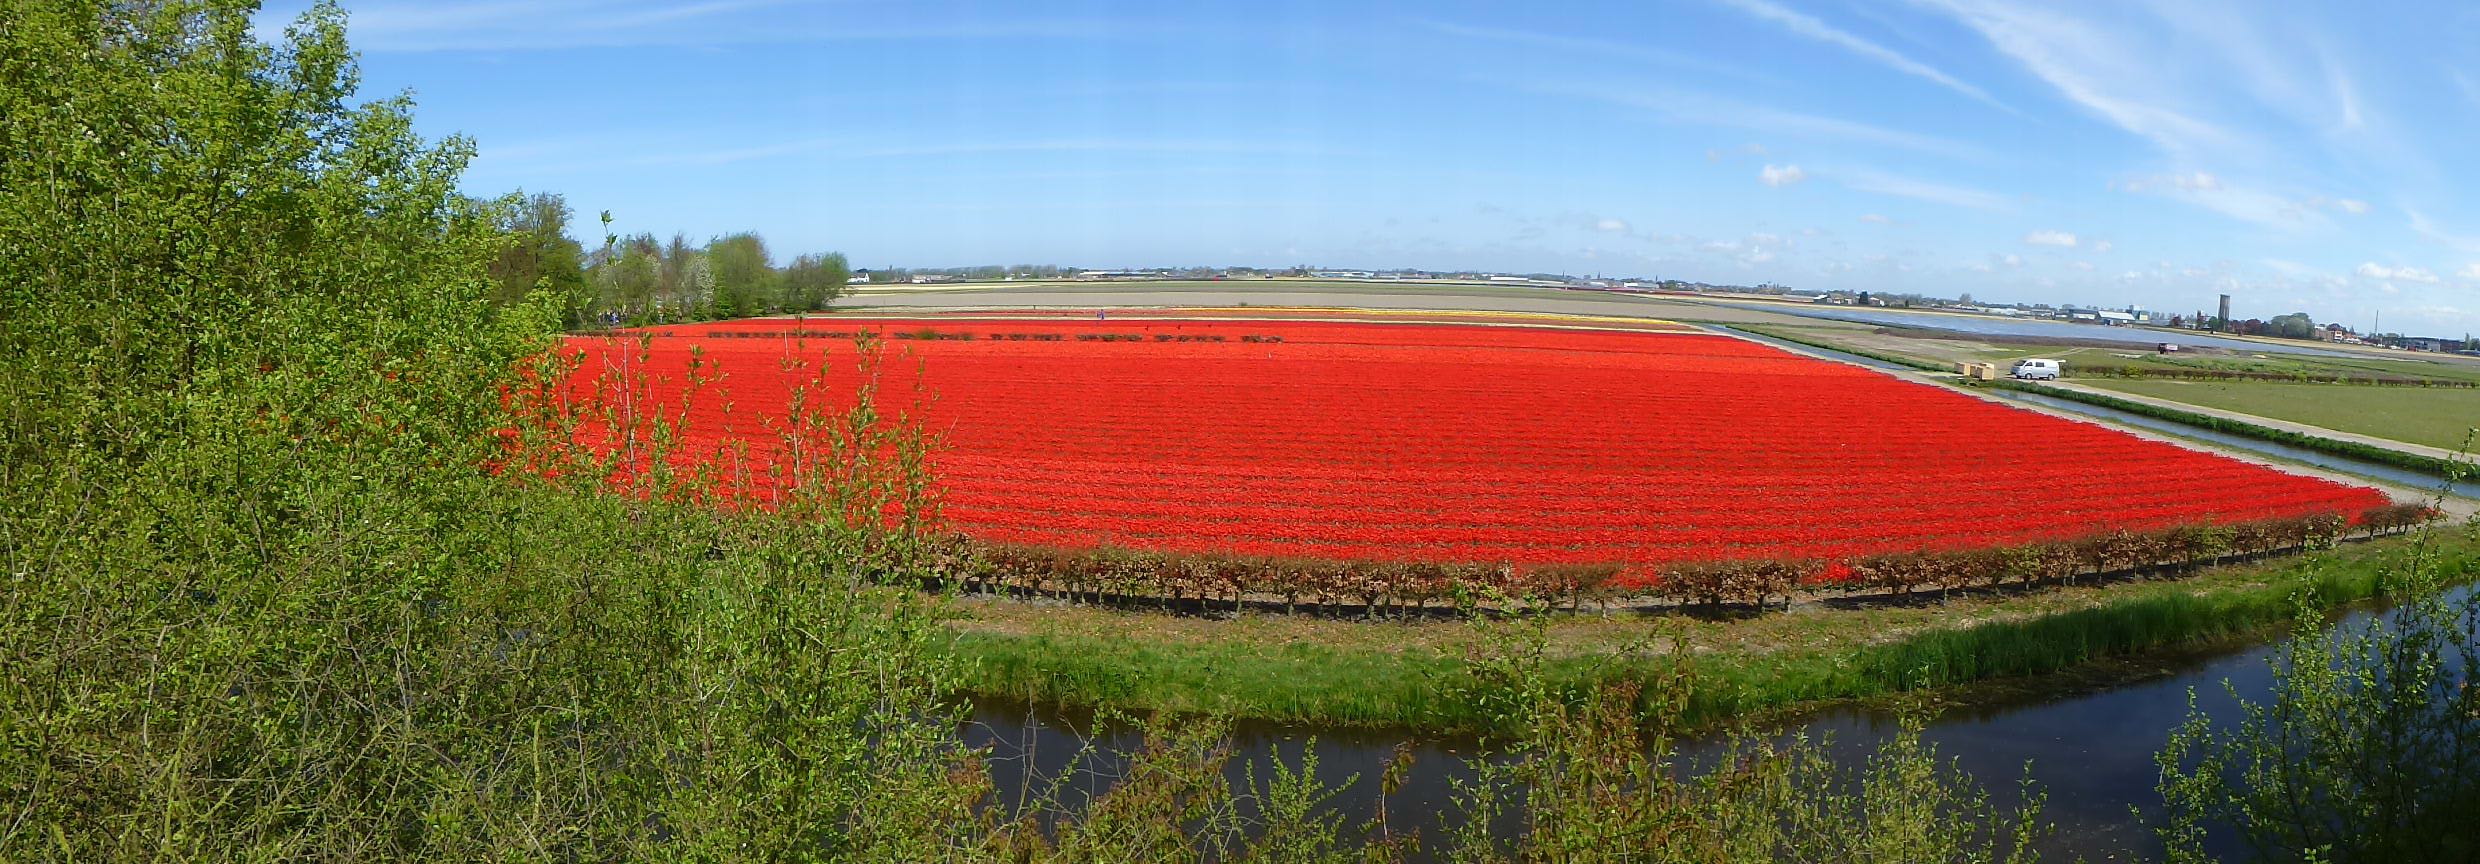
Monday saw us taking the obligatory trip out to the bulb fields to see the tulips. Altogether now – “When it’s Spring again, I’ll bring again, Tulips from Amsterdam”.

tulip fields

bulbfields

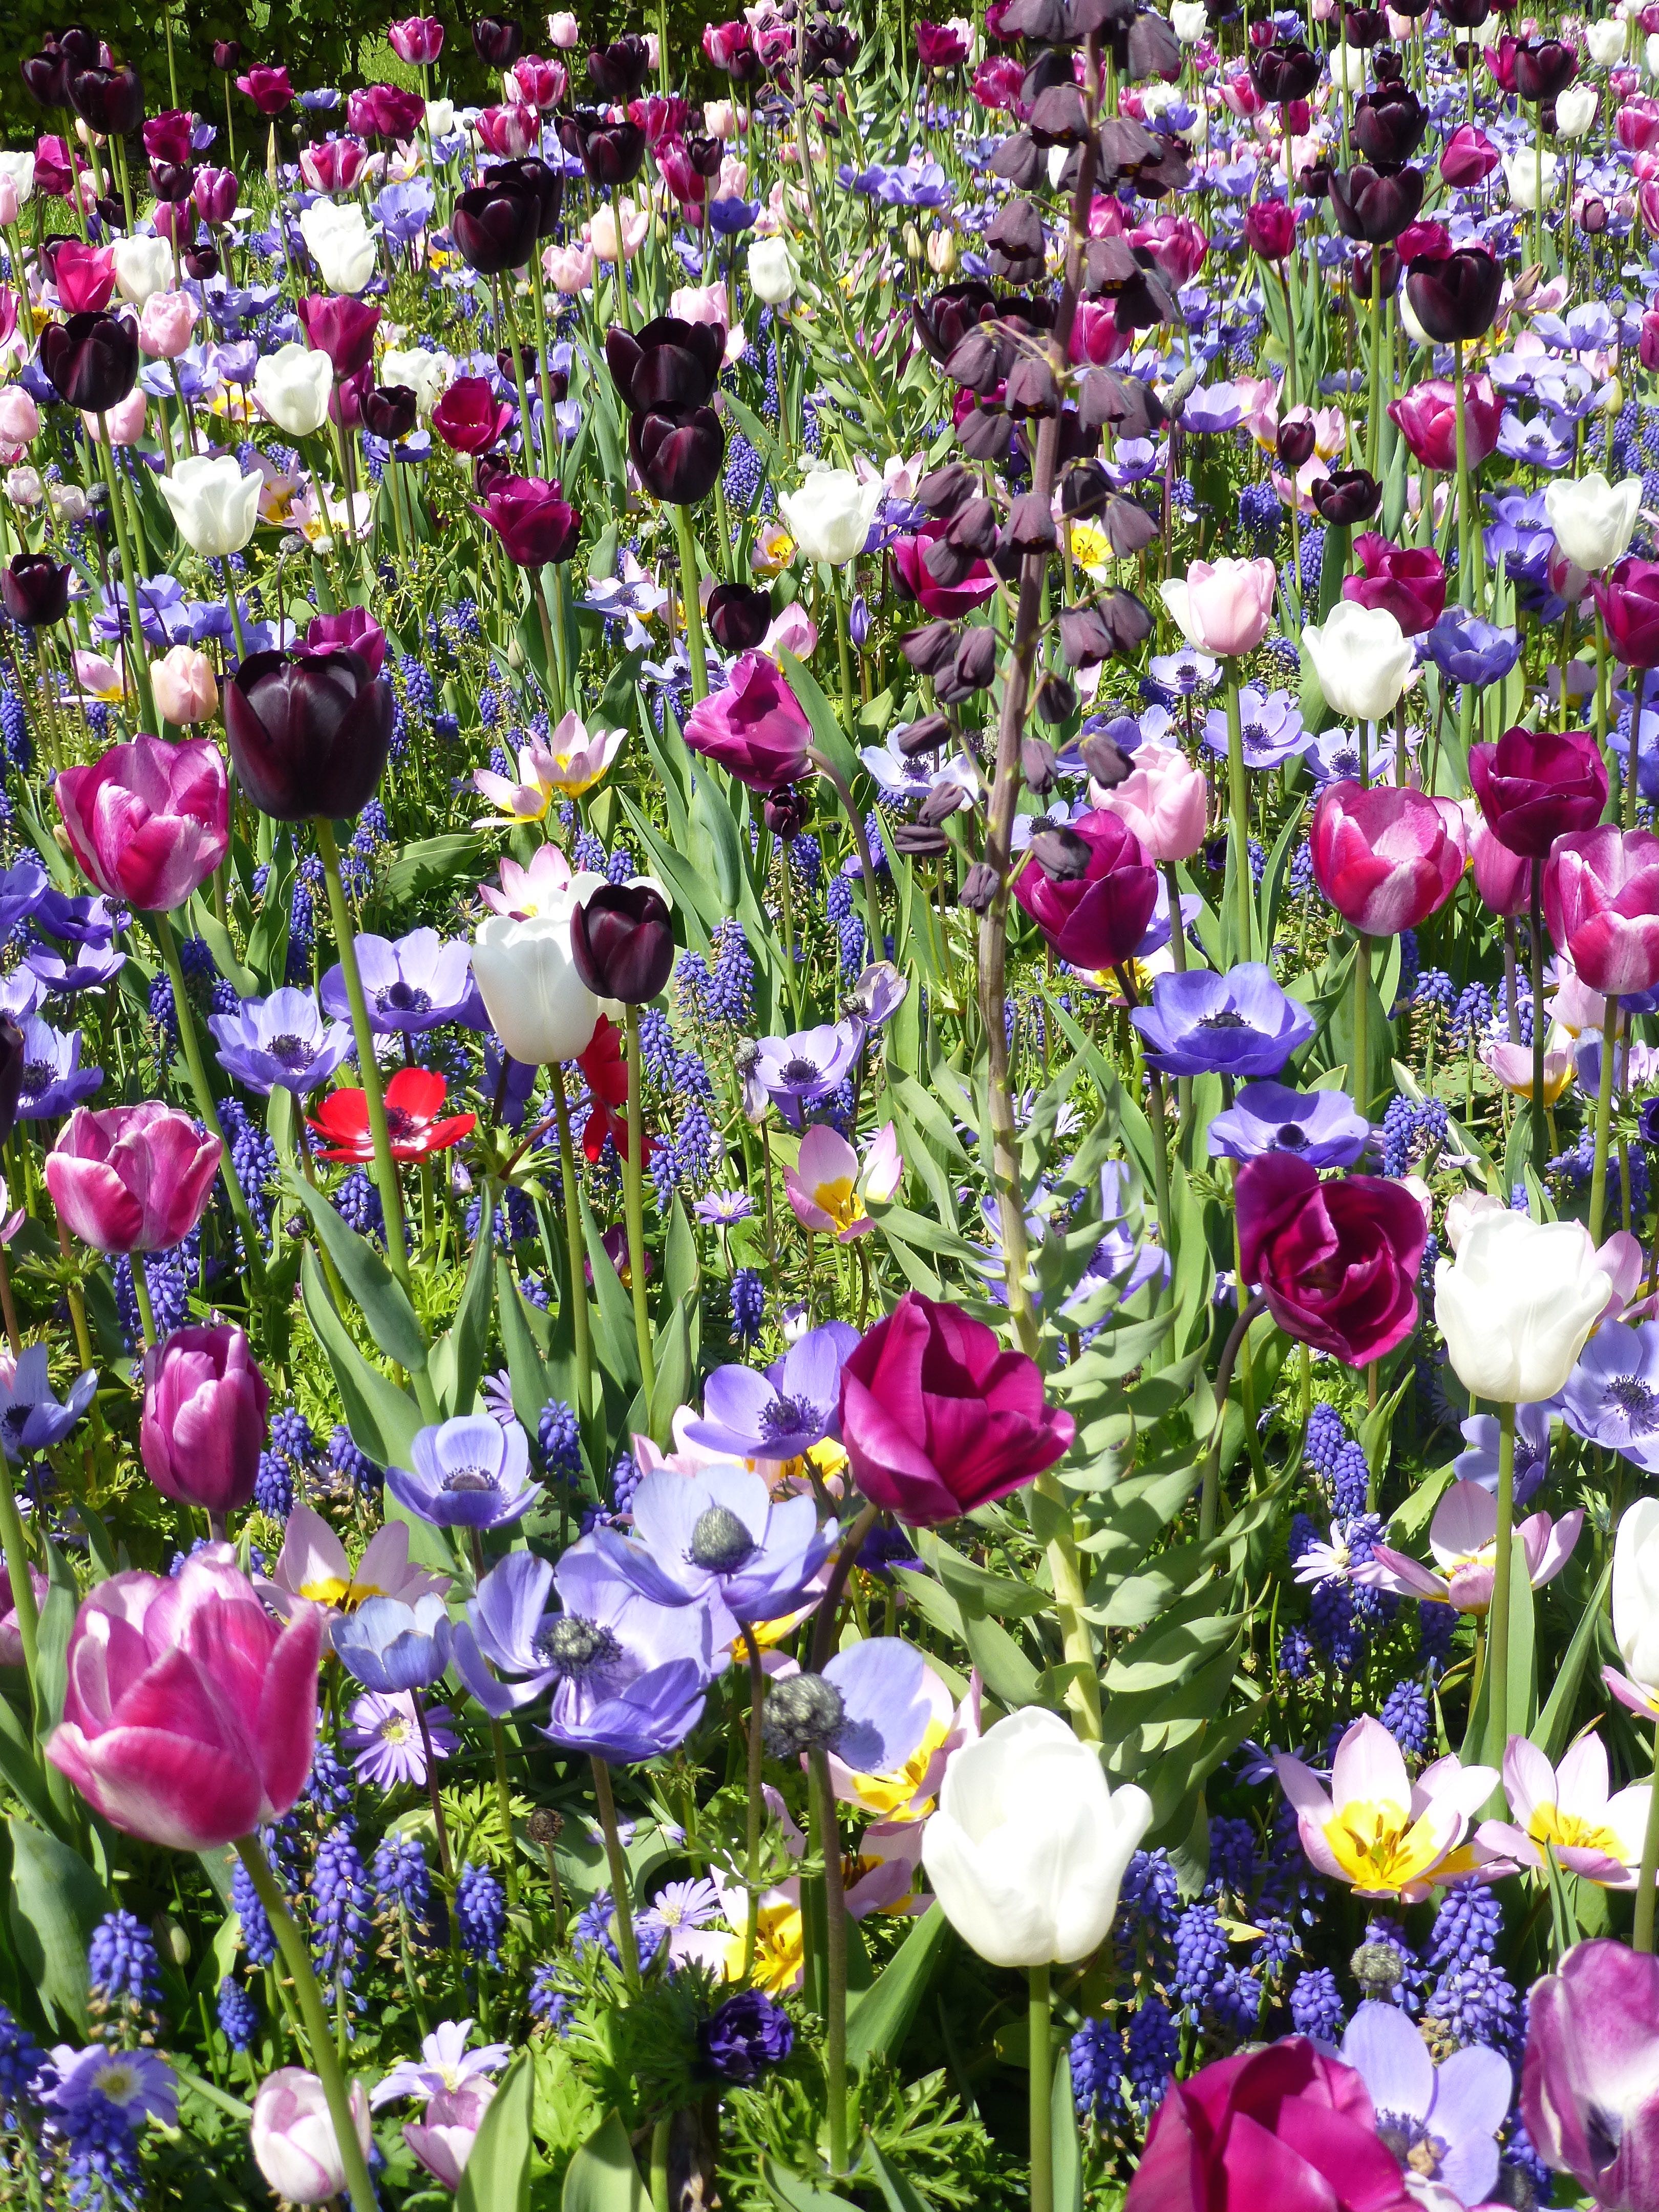
Keukenhof was the destination though, a 70 acre wooded park about half an hour from the city, which only opens for eight weeks of the year whilst the tulips are in bloom. How lucky were we that it coincided with our trip!

pinks

purples

vista

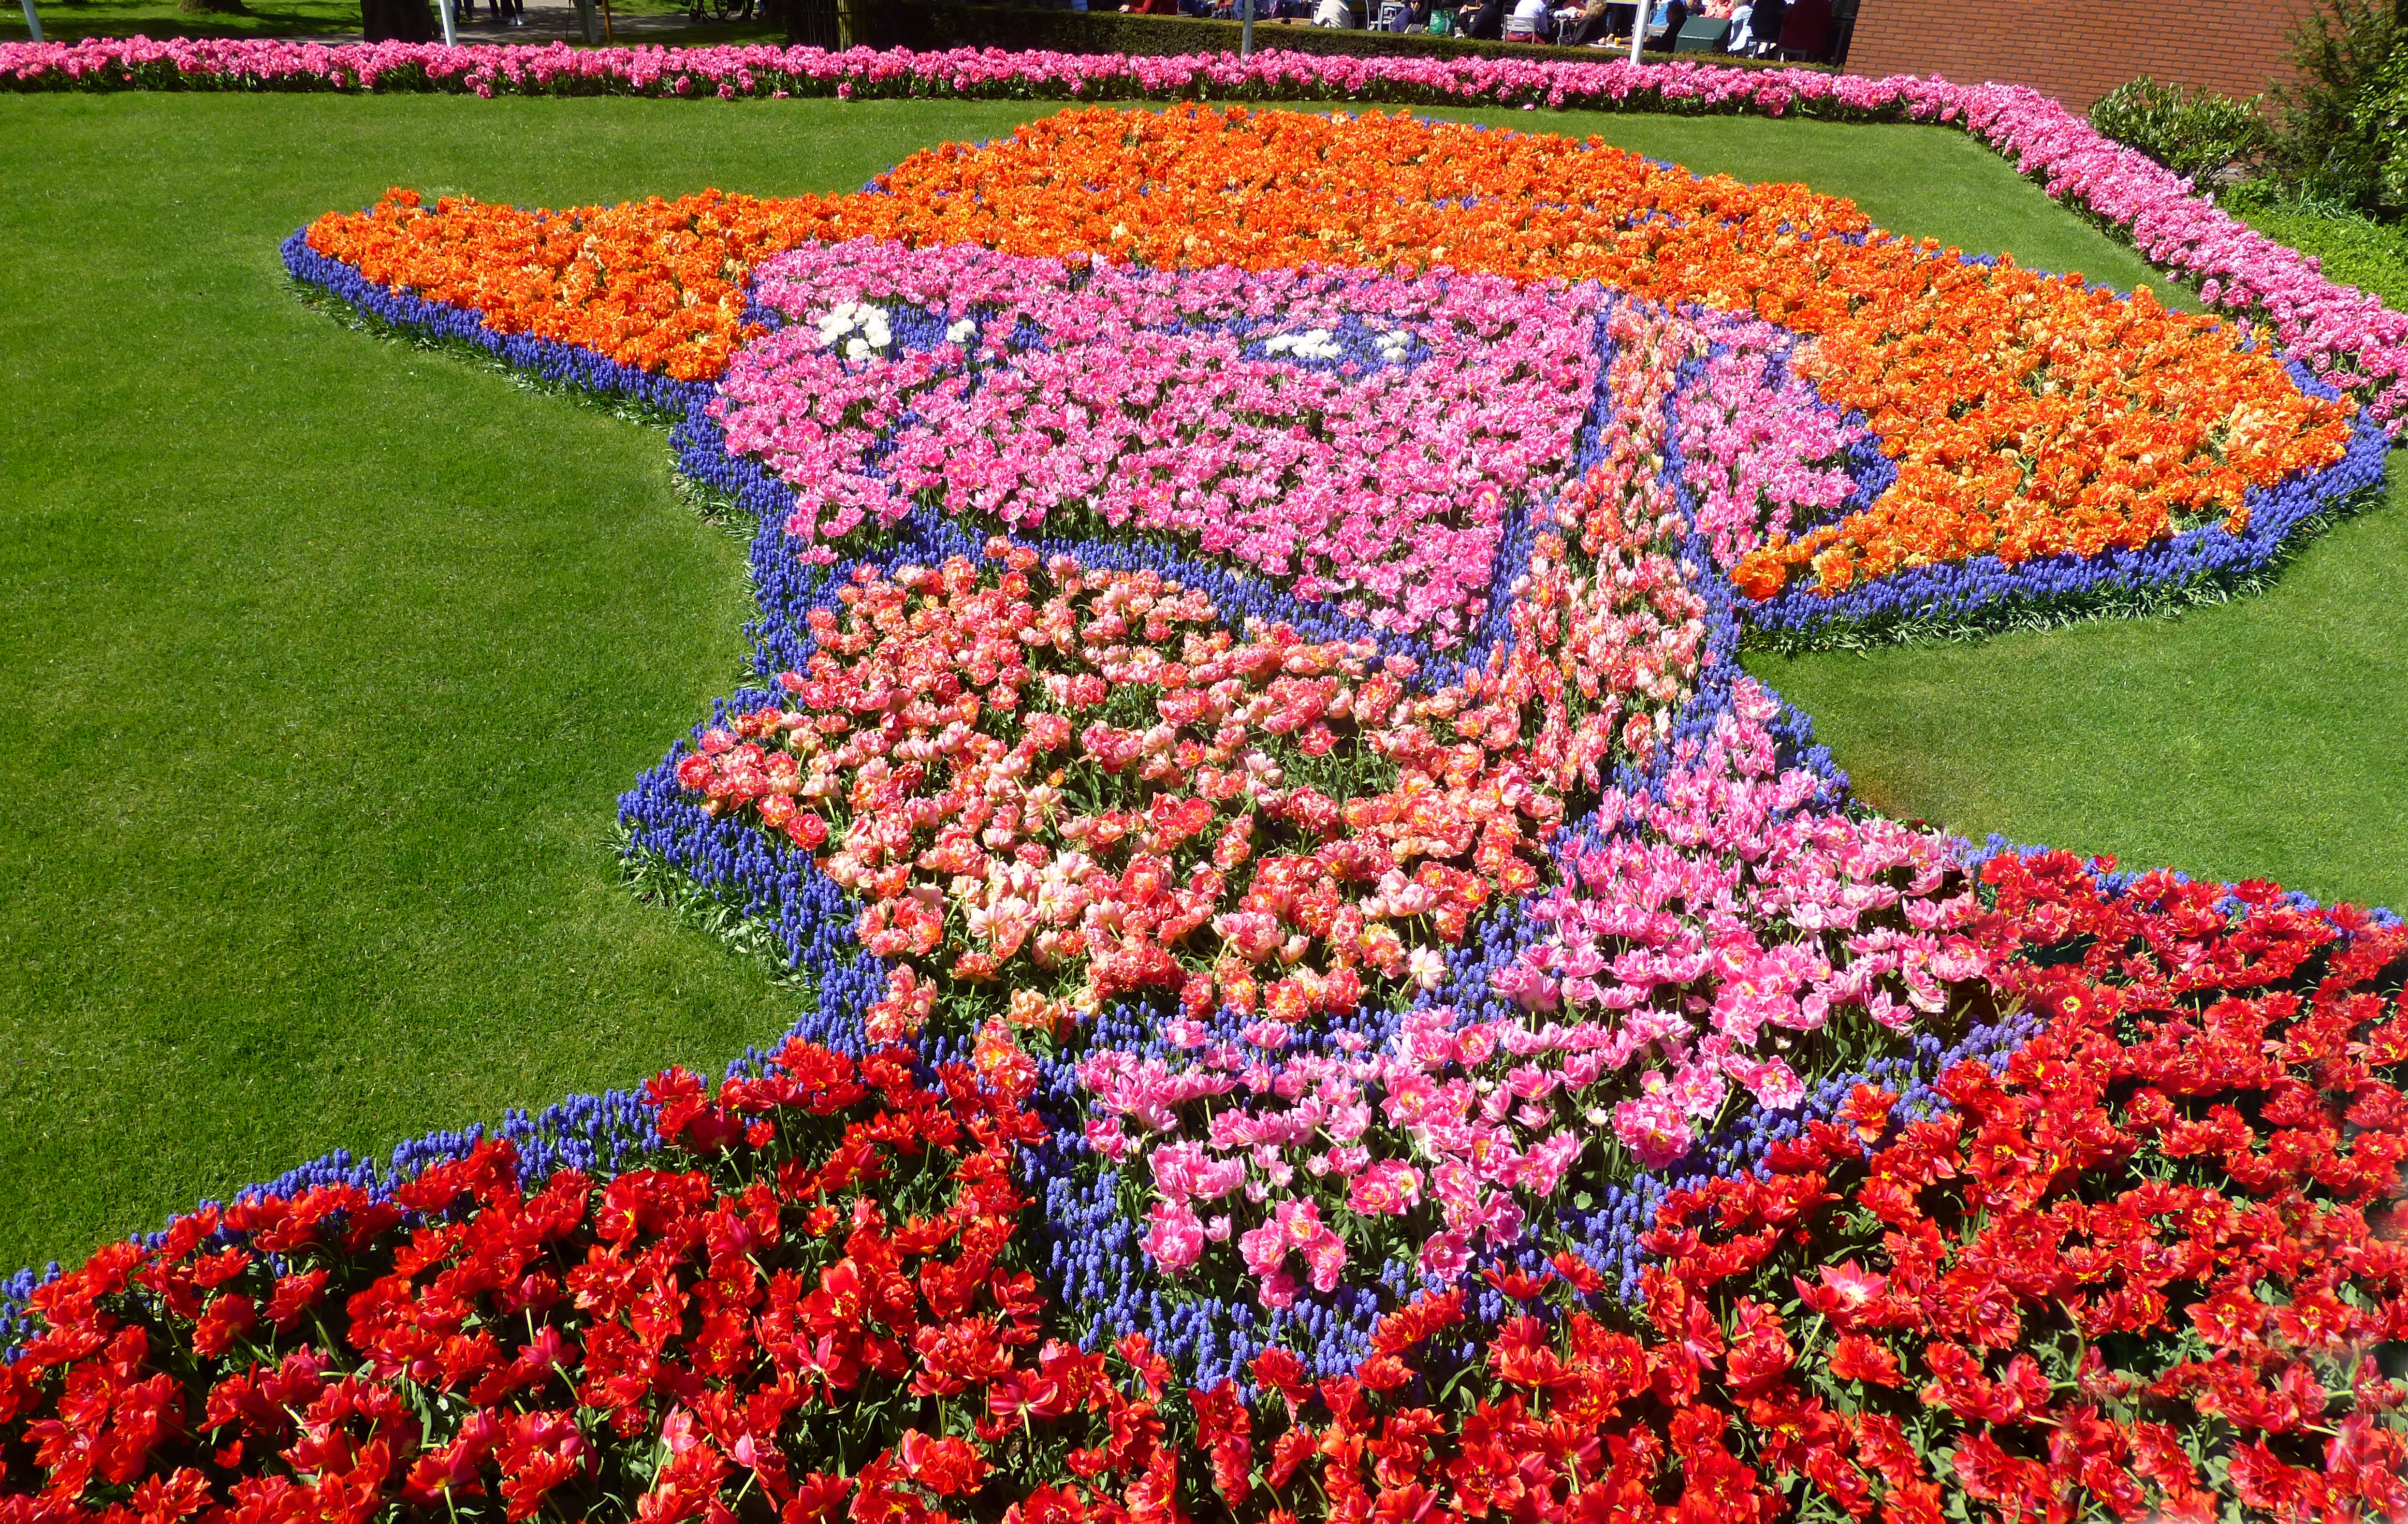
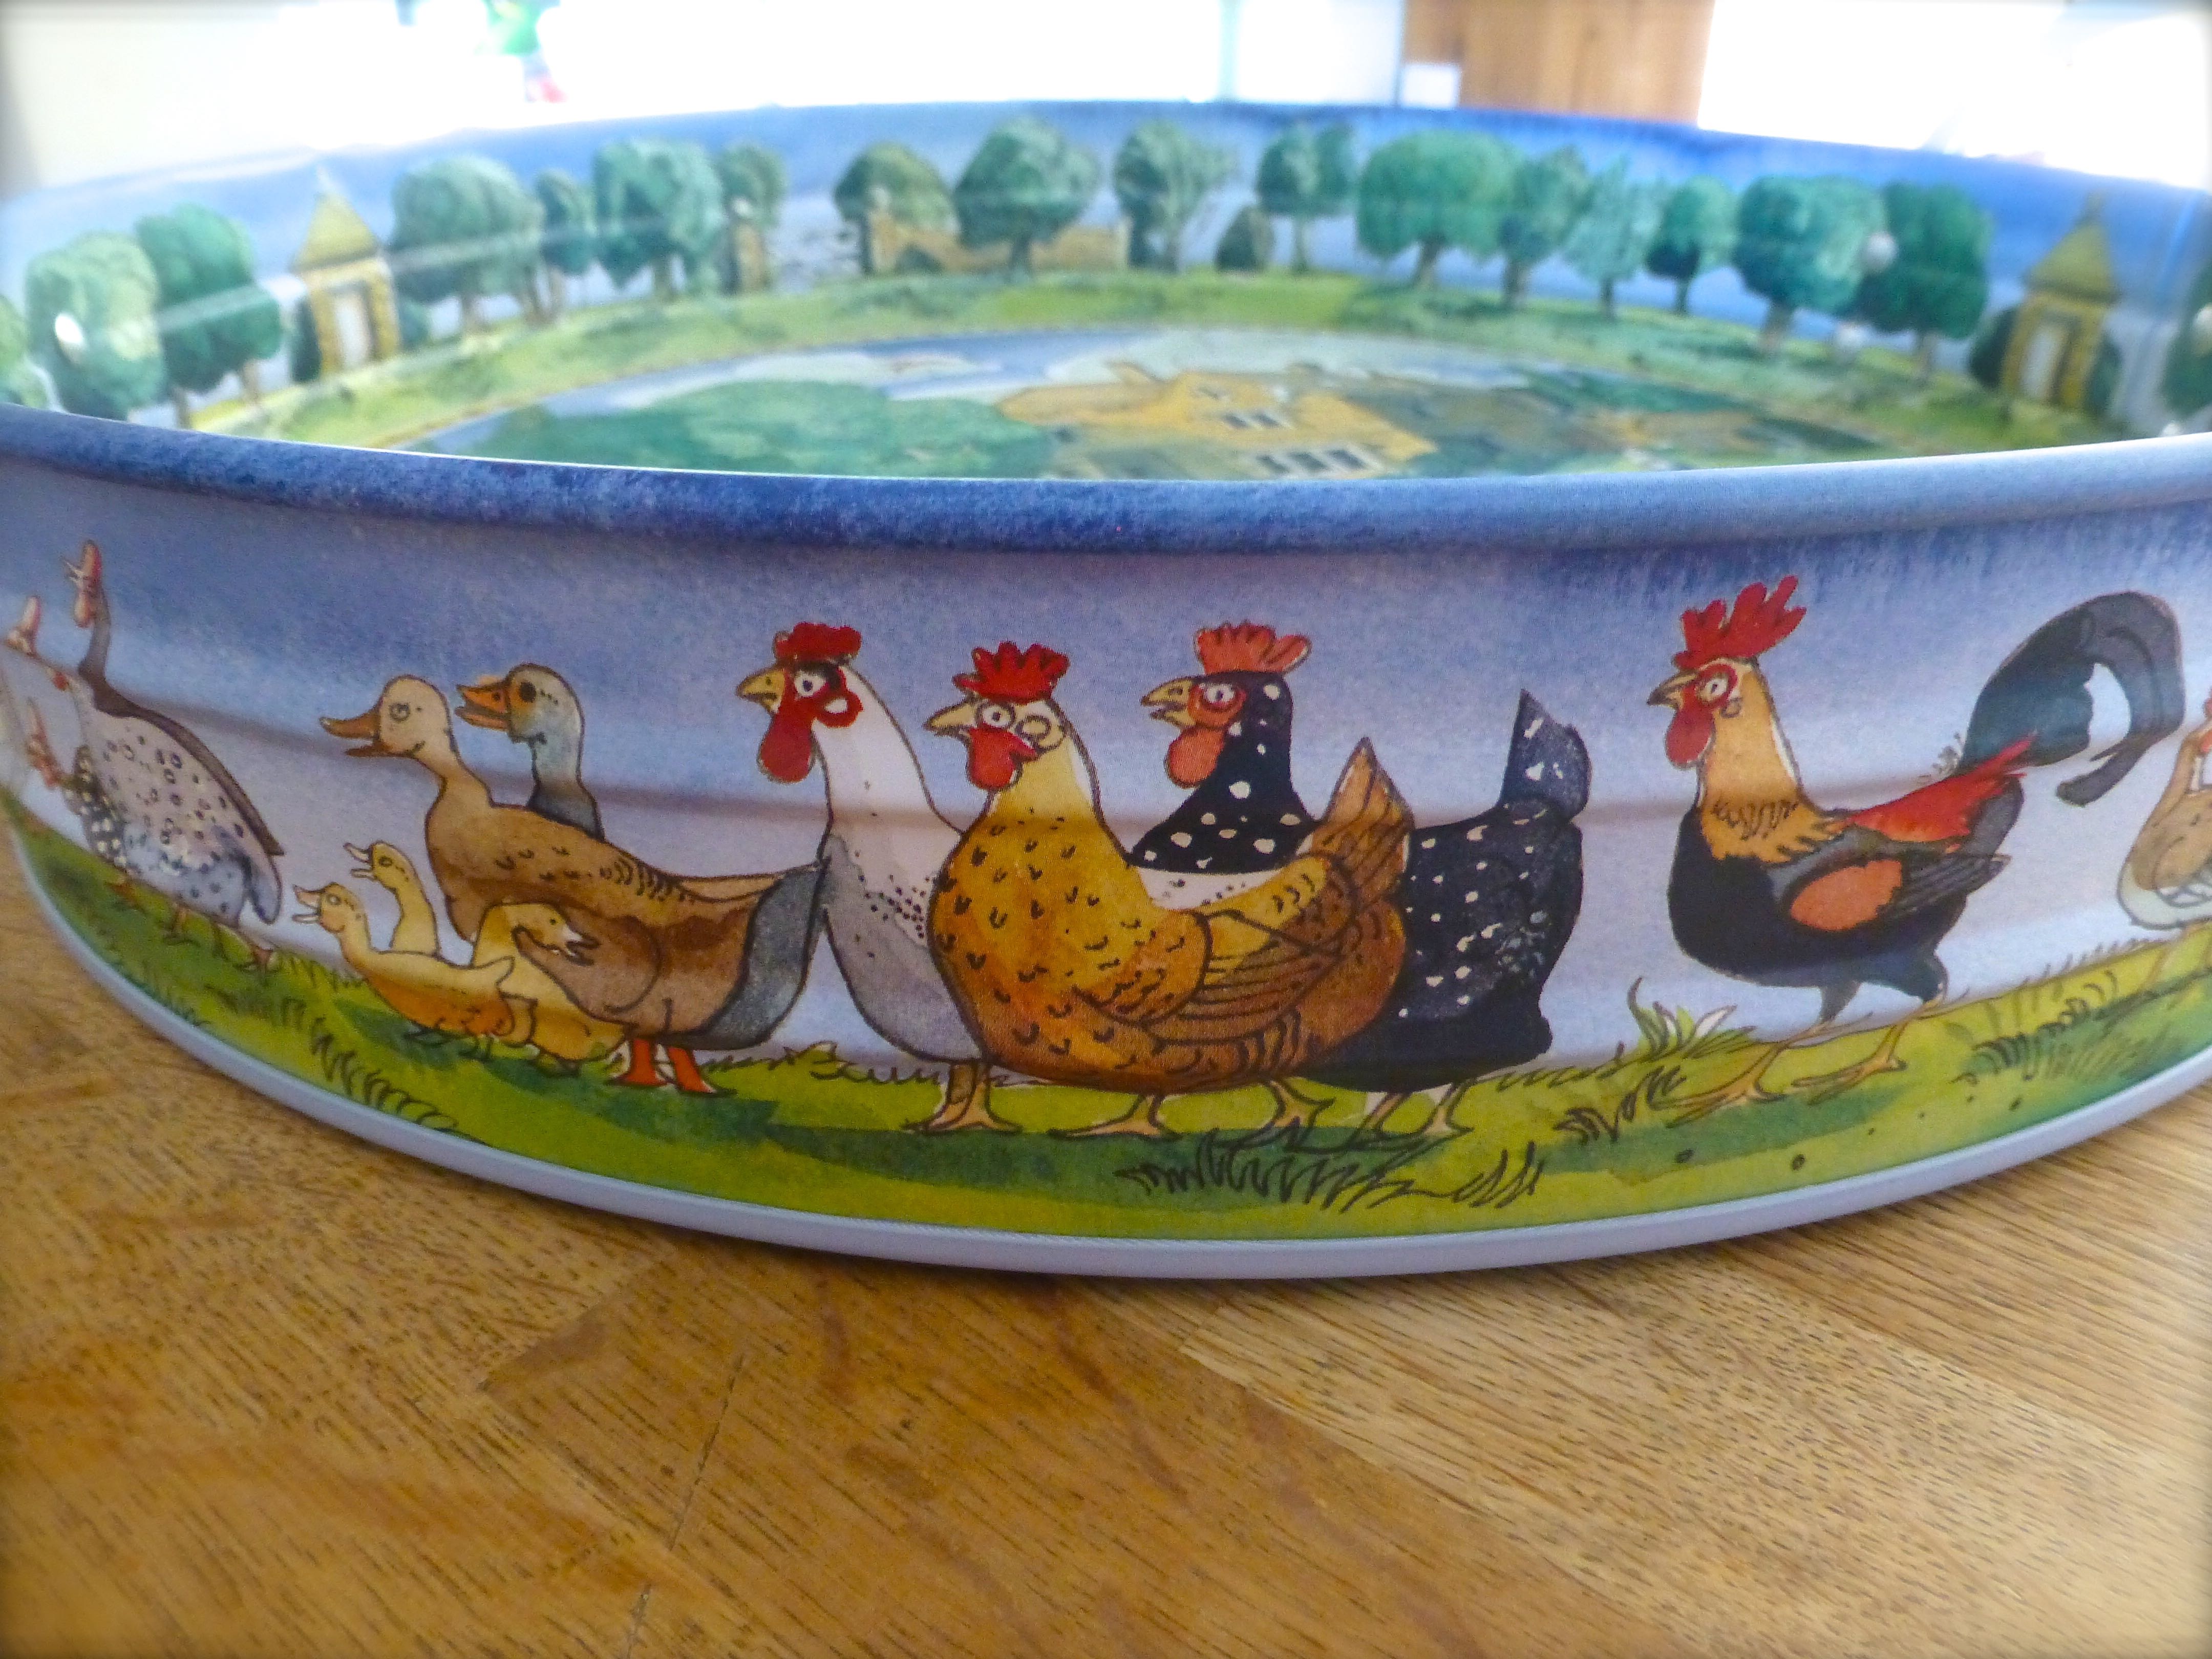
These flower ‘beds’ made me smile.

flower beds

windmill

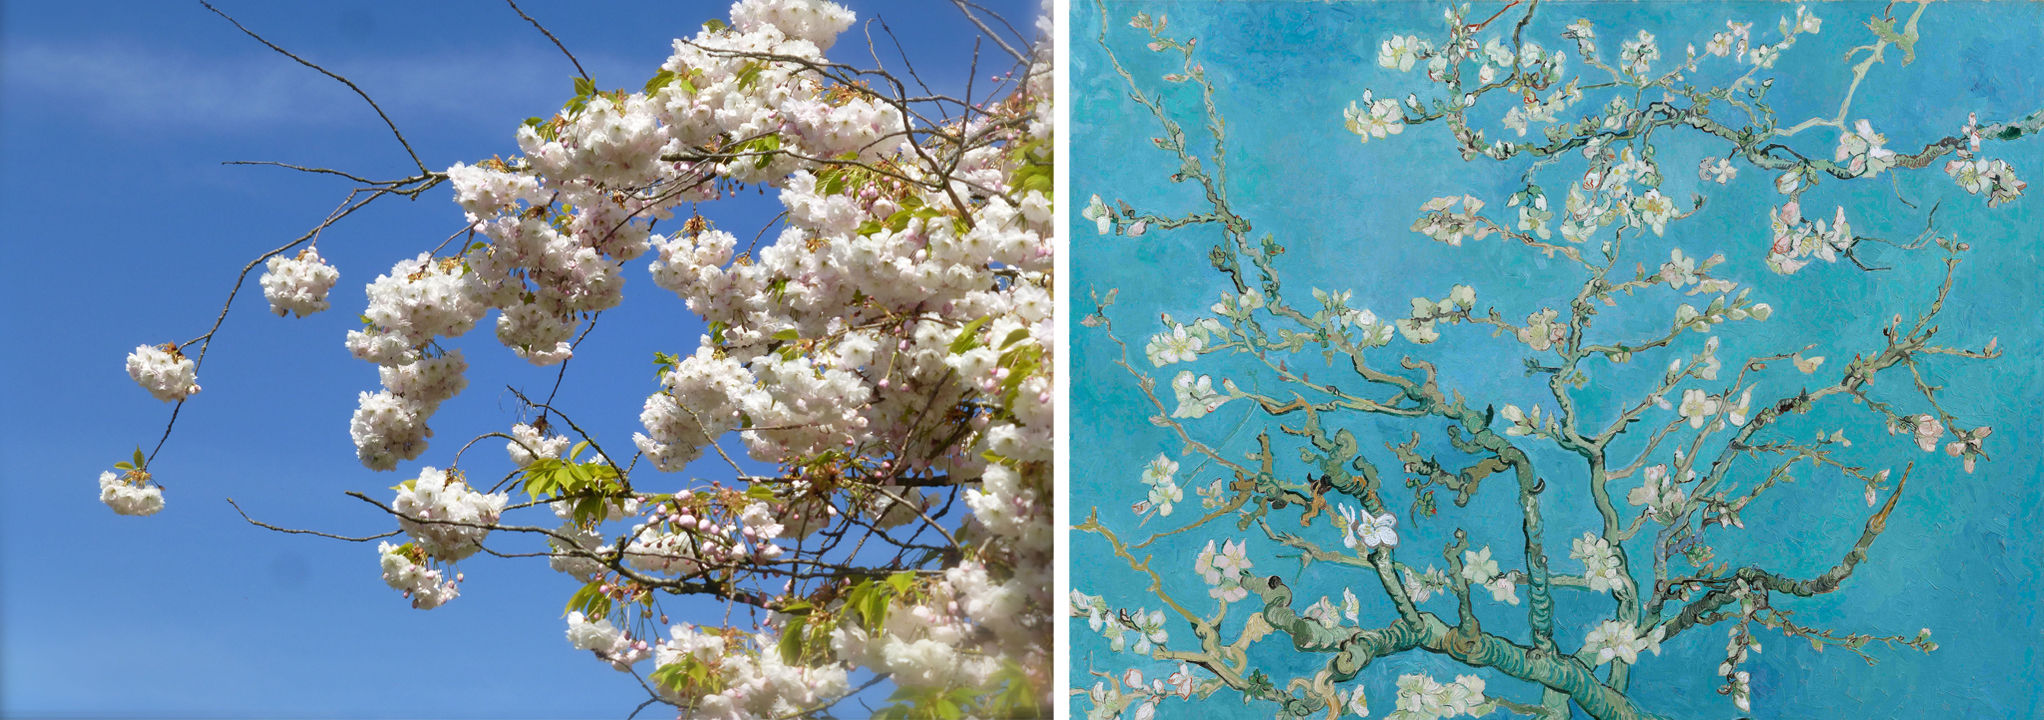
2015 marks 125 years since the death of Van Gogh and Keukenhof planted an incredible floral tribute.

Van Gogh floral

The blossom on the cherry trees was magnificent and reminded me of his painting “Almond Blossom”.

almond blossom

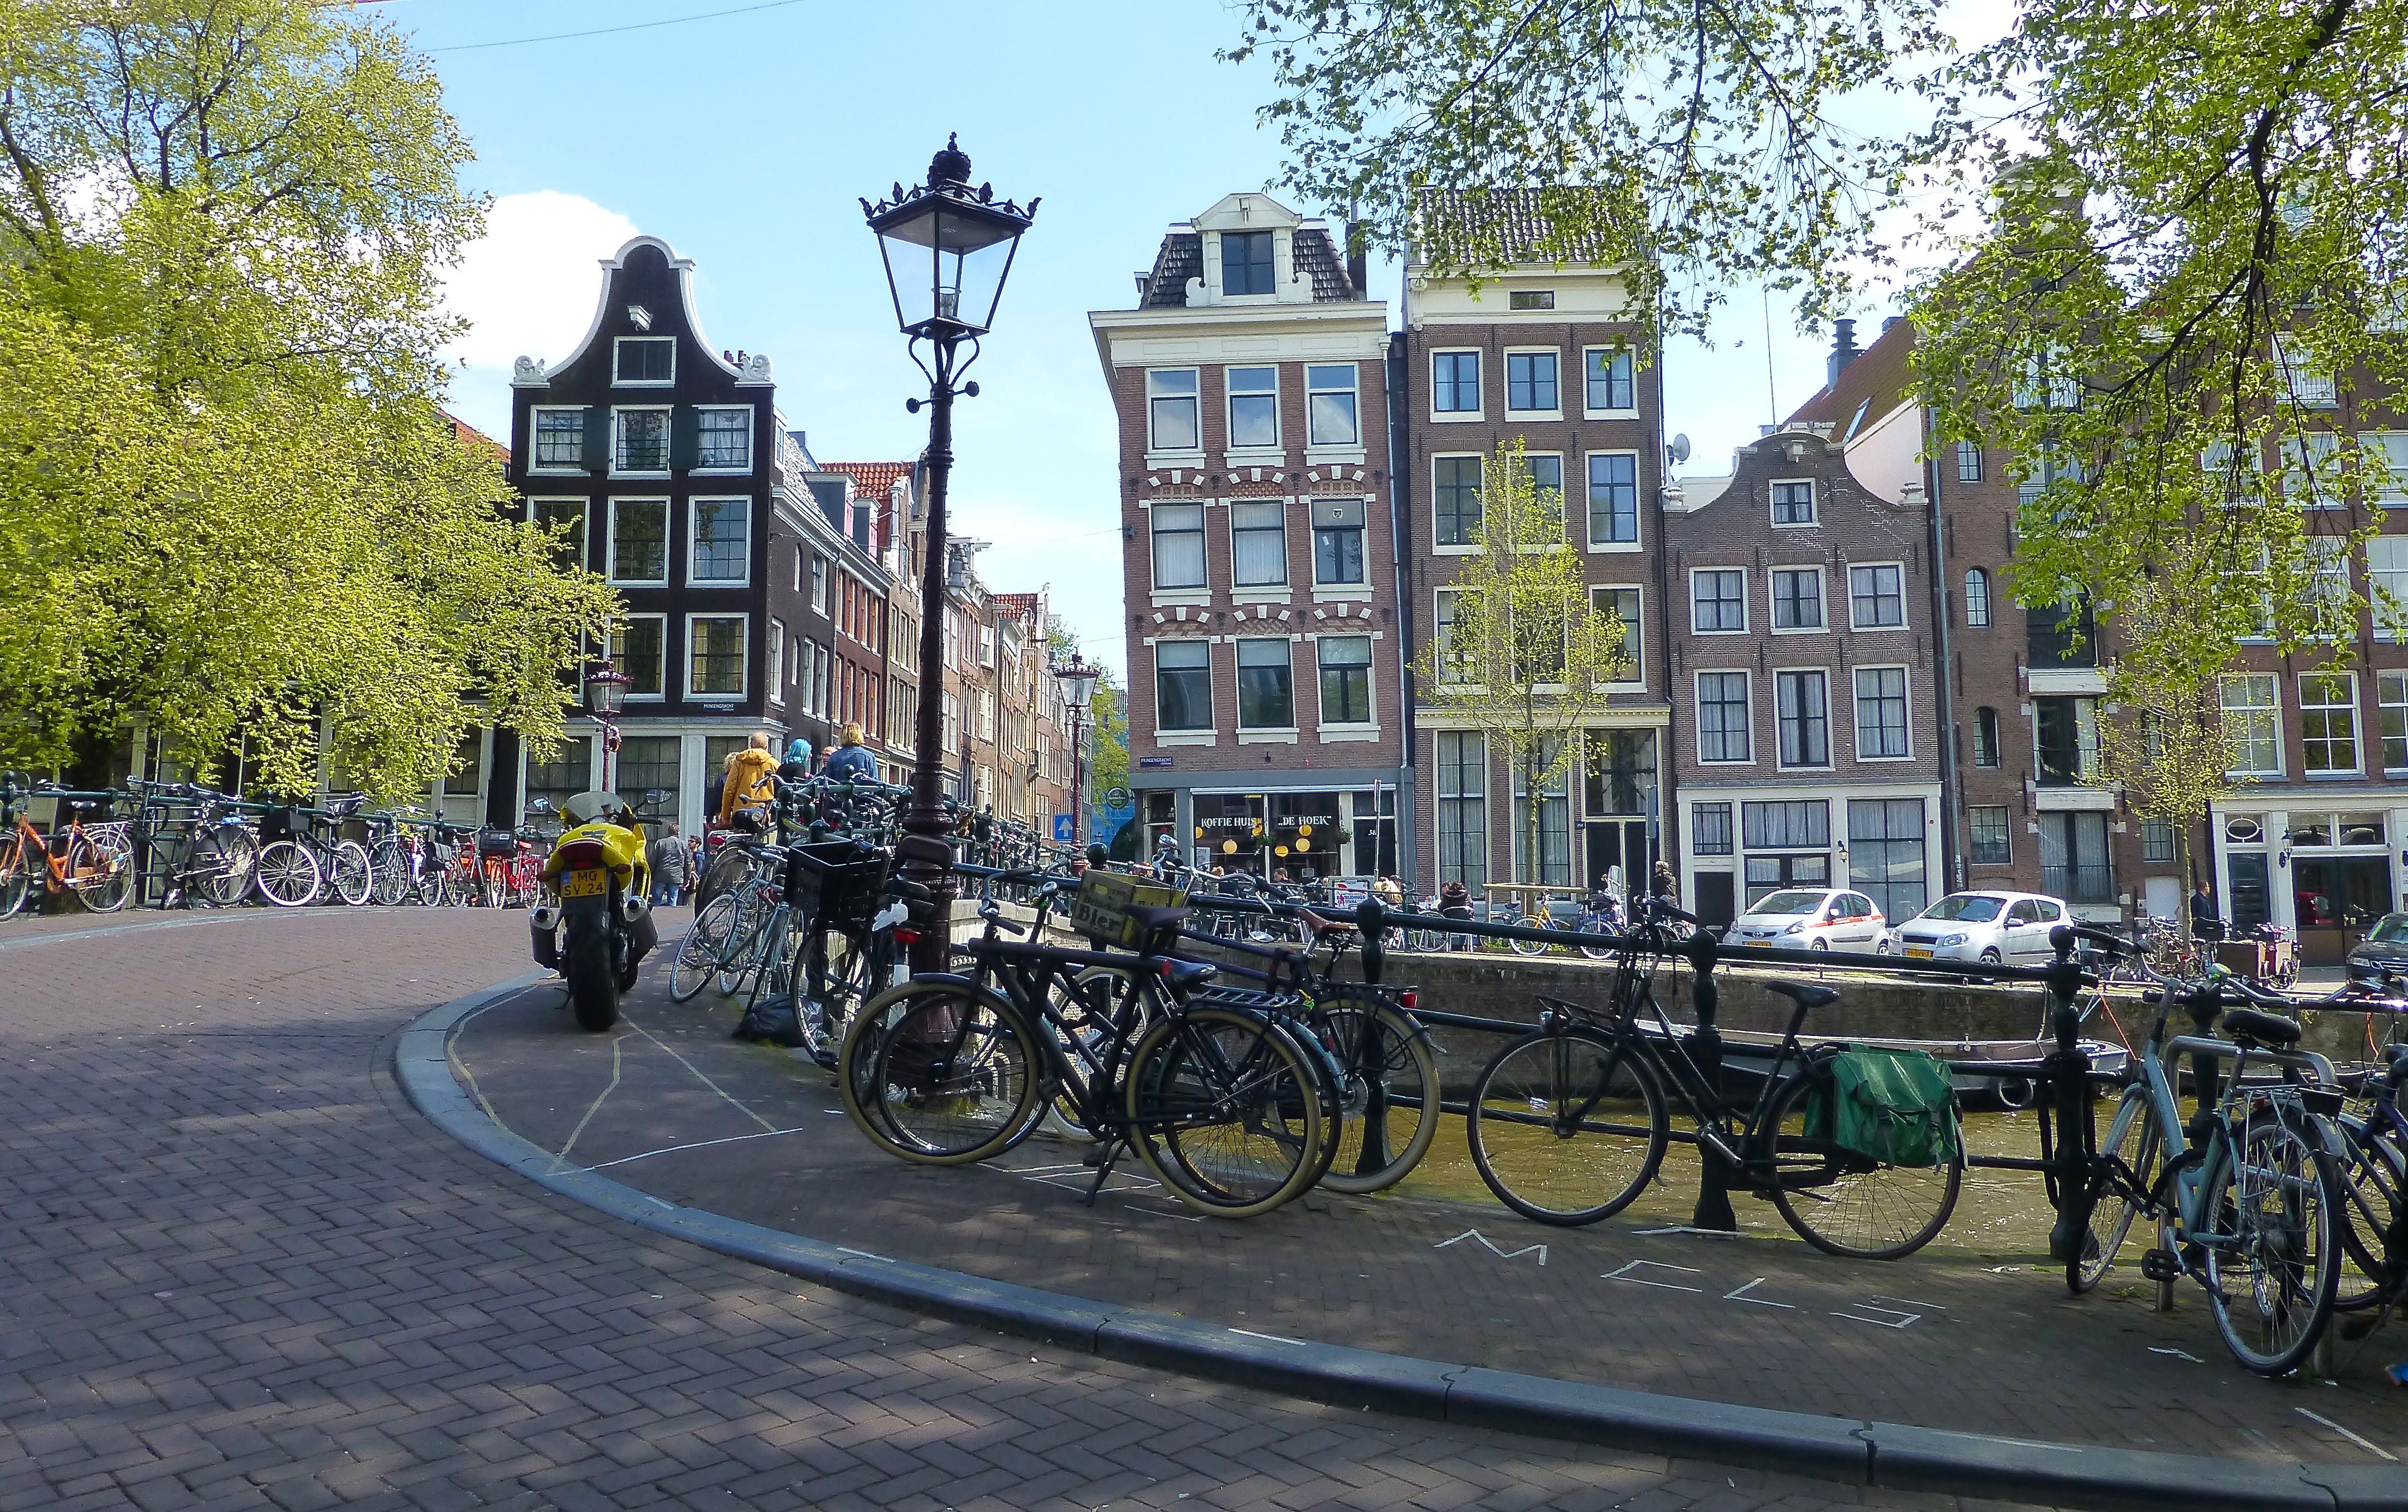
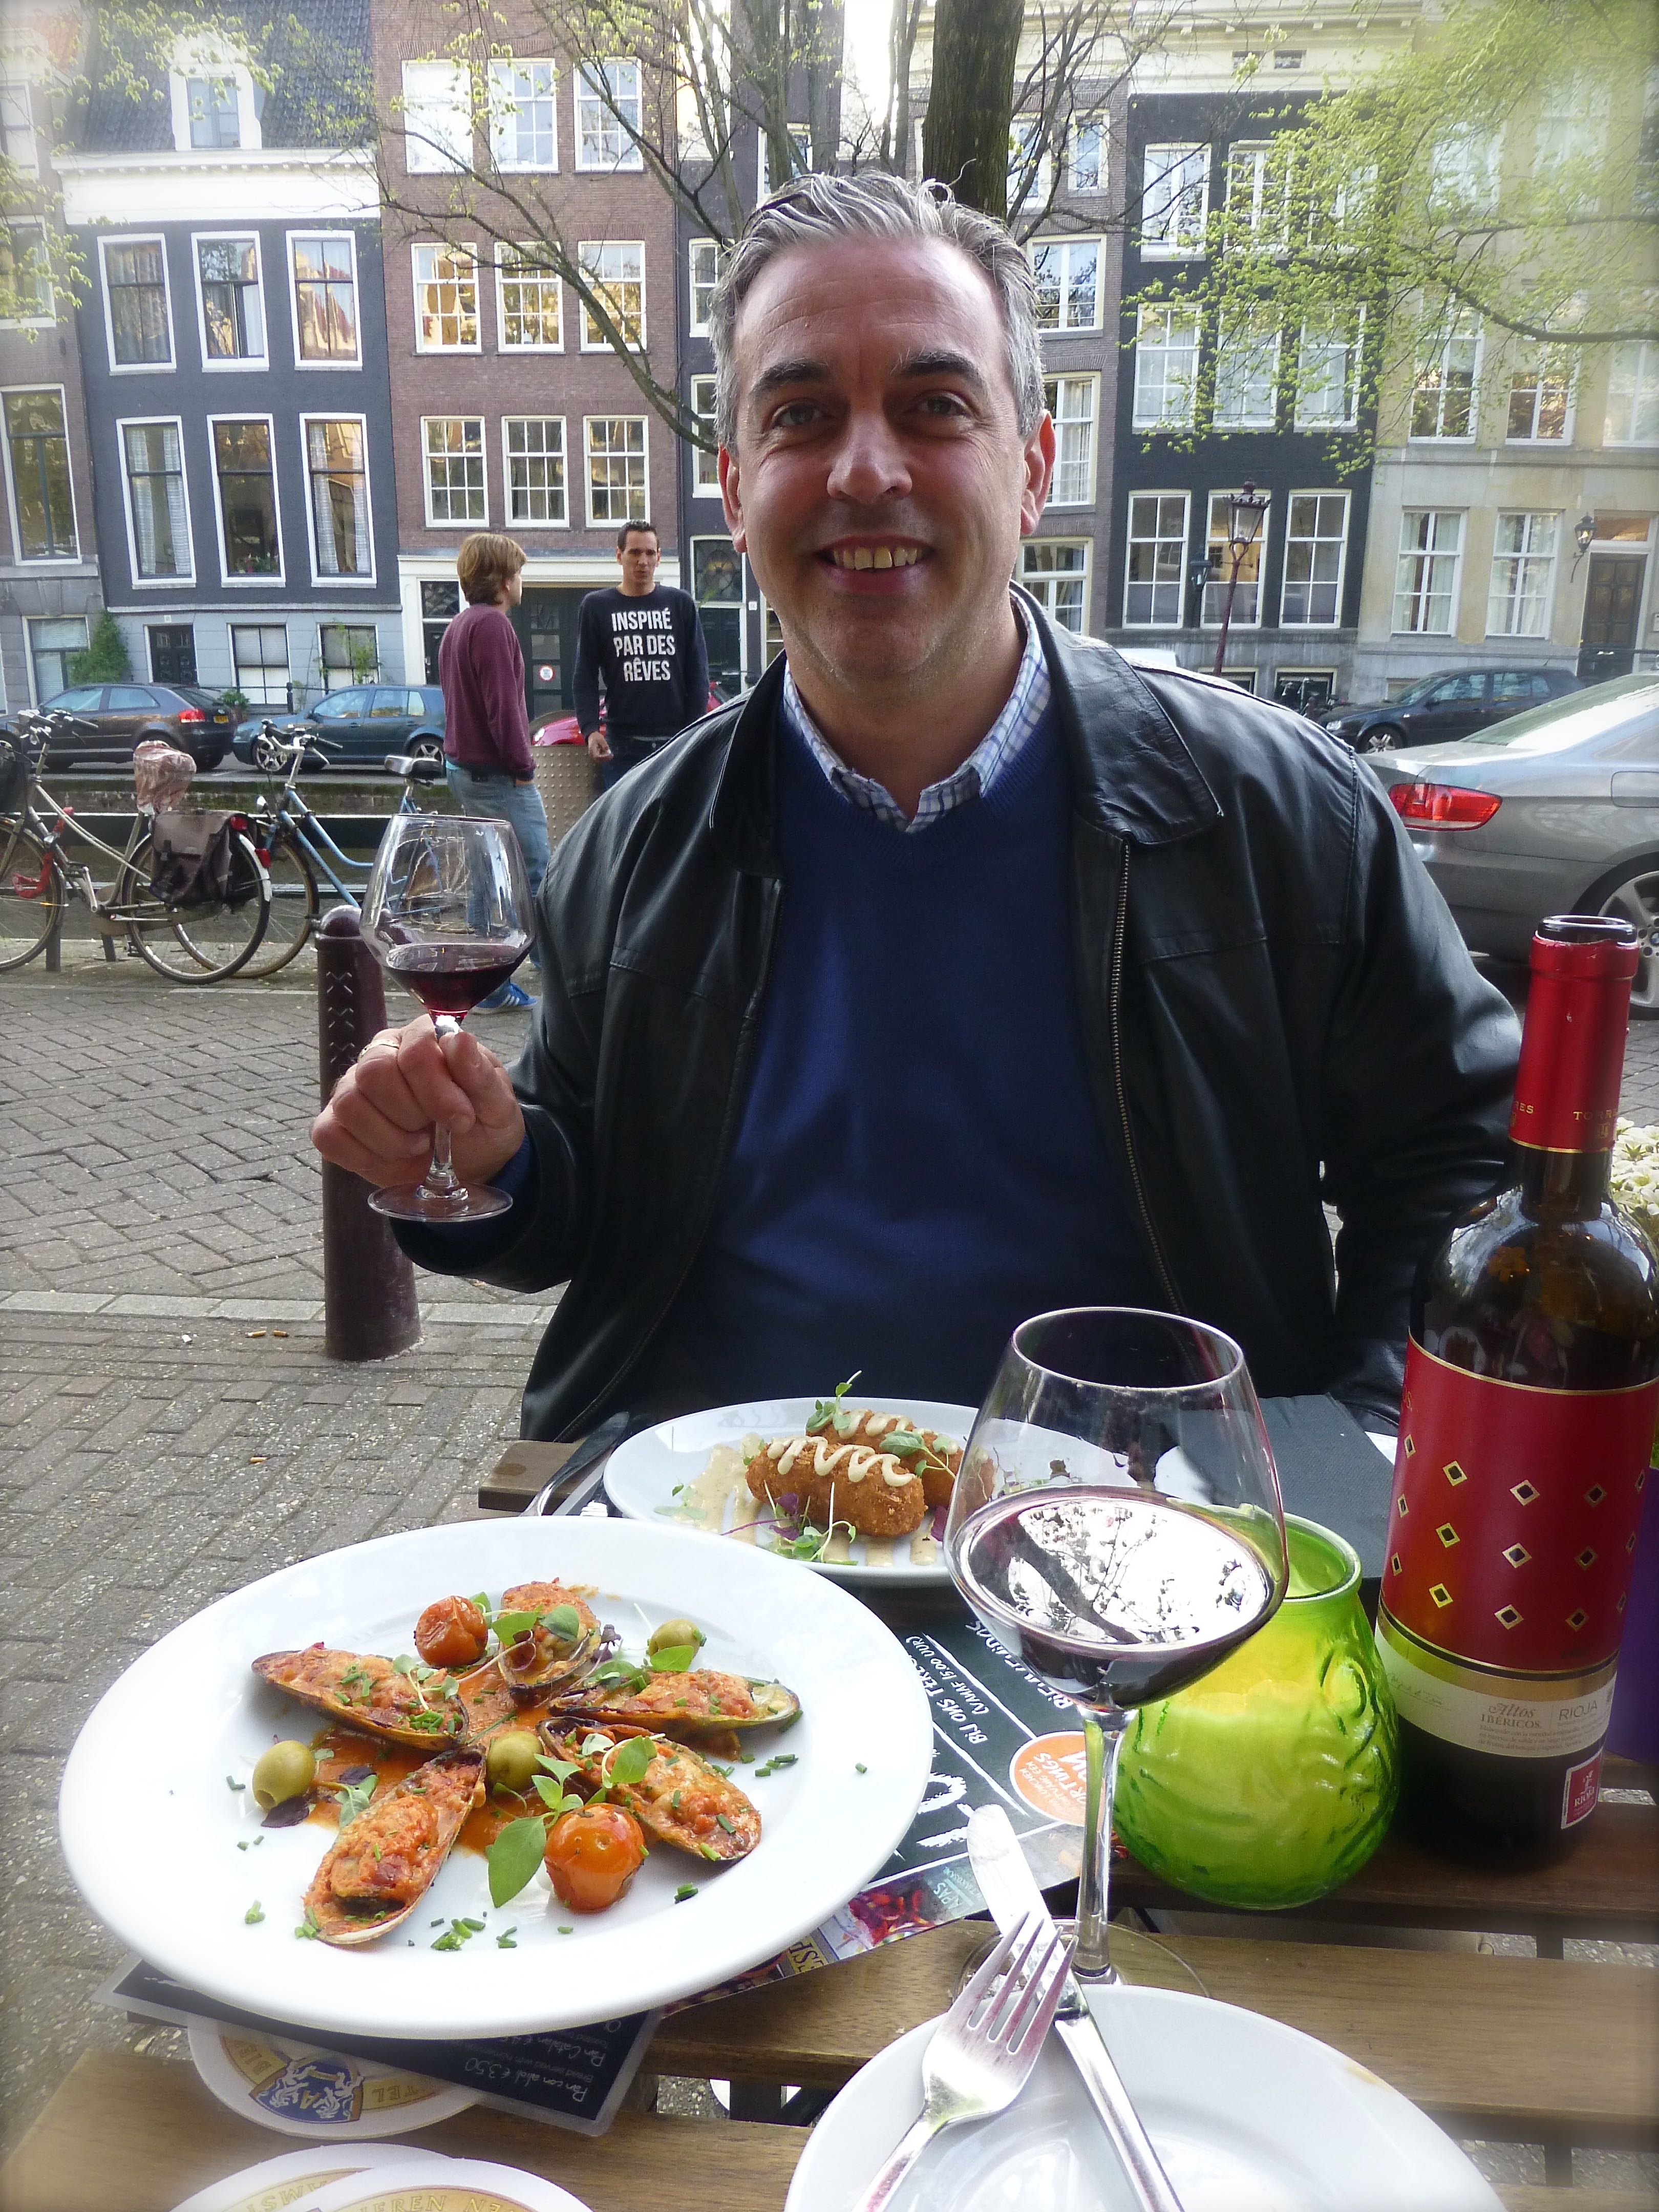
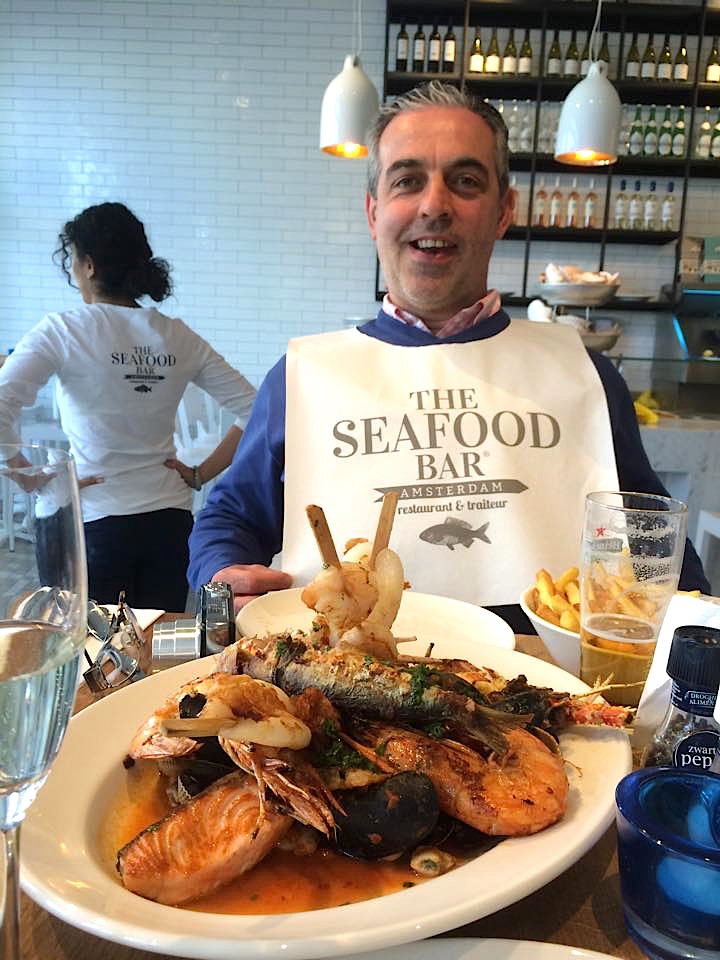
On the walk back from the tour bus to collect our suitcases we spotted those fatal words “Seafood Bar”, an unassuming place hiding behind row upon row of bicycles.

(Did I mention the 22,000,000,000 bikes for the Dutch population of 17,000,000,000?!)

P1050243

There was no way we were ever going to walk by and not go in!

Seafood

Just look at his face and the anticipation of dripping all that lobster sauce down the paper bibs they give you.

Bruce

Champagne and Mixed Grill – the perfect end to a perfect wedding anniversary.

Now, where shall we go next year?


39 Comments

Sunday Sevens #33

Another week of Sunday Sevens as organized by Nat at Threads and Bobbins – seven photos that show a snapshot of your week.

OK, for the observant ones amongst you, it is now Monday.

And there are ten photos, not seven:)

Remember the crocheted basket I made? Fifi decided it would make a nice bed, filled as it is with lovely soft balls of mohair!

IMG_1671

I saw this tray in the Museum Selection and just had to buy it. It sums up everything that is English in a garden, doesn’t it?

P1040967

The hens and cockerel sealed the deal.

P1040968

My silver tea strainer and vintage china finish the look perfectly!

P1040977

Celebrated the opening of the new kitchen in our village hall with a Spanish themed supper – this is me cooking Paella.

SAMSUNG CAMERA PICTURES

My lovely sister bought me this fabulous vintage cake stand for my birthday last month. Not that I need an excuse to make more scones, but it’s like it was made for them.

P1040976

Unfortunately, this proved too irresistible an opportunity for one naughty hen!

P1040986

P1040981

Having stolen and eaten half a scone complete with cream and raspberries, she flopped down inside the french windows and slept it off in the sunshine!

P1040984

Tess has that look on her face that says “If I did that, I would be in my cage in disgrace.”

IMG_1649

Hope you had a lovely weekend too!


38 Comments

Love Sewing Magazine – Matilda Everyday Tunic

Almost as soon as the latest issue of ‘Love Sewing’ magazine landed on my doorstep, I knew I was going to make the ‘Matilda’ Everyday Tunic with the free pattern (included).

Matilda Tunic

It looks like just the thing to pull on in the morning without having to worry about whether I’m having a fat(ter) day:)

Of course, I chose something a bit more eye-catching than the boring neutral denim – well, I do like a bit of Lime Green and Orange!

P1040999

Due to the busy fabric and the fact that many of the design features wouldn’t work, I actually made huge alterations to the pattern but kept the basic shape: –

  • Re-cut the pattern into one piece for both the front and back
  • Cut the front neck a little lower
  • Lost the pockets altogether
  • Shortened the sleeves
  • Moved the rouleau closure to the front neck
  • Bound the hem with matching orange bias binding

After this photo was taken I took the side seams in by another four inches as I realise my body looks quite ‘square’ – it was just too big at the waist.

Although it is a very simple shape, there is some shaping in the form of side bust darts.

Darts can be tricky so do them carefully to make sure they lie flat and don’t pucker at the point.

Matilda Tunic bust darts

The design called for a single rouleau button loop at the back neck.

I rarely wear my hair up so this little detail would have been hidden under my hair, so I recreated it at the front neck instead.

P1050016

I used my trusty overlocker to finish all the raw edges and side seams…

P1050017

….and a flat fell seam for the shoulder seams.

I just love how neat this type of seam looks and feels!

P1050018

I was about to turn up a plain hem when I remembered some bright orange bias binding left over from a previous project. It lends the perfect designer touch to lift the tunic out of the ordinary.

P1050014

What do you think? It certainly shouts “Summer is coming” to me!


38 Comments

Lace Leaf Shawl

When Claire from Mollie & Claire asked if anyone fancied doing a shawl KAL back in March, I jumped at the chance.

I had long admired each one of her ten versions of the Lace Leaf shawl pattern by Mary Henderson (£3-00 on Ravelry), so this was a great chance to bite the bullet and crack on with it. Does anyone else find that working this way helps you to get focused?

A group was set up on Ravelry so if you want to look at everyone’s progress so far, hop over here and be nosy!

I chose a luxury yarn of 70% mohair/30% silk (just because I could!) which, whilst expensive at around £18-00 per 50g, was affordable because it only needed a single skein to complete the entire shawl on 4.5mm circular needles.

Rowan Kidsilk Haze Stripe Circus

Designed by the legendary Kaffe Fassett, Rowan Kidsilk Haze Stripe in the ‘Circus’ colourway promised to knit up like this on the website….

Rowan Kidsilk Haze Stripe Circus sample

….but after I was some way in actually looked like this!

Lace leaf shawl KAL WIP

To say I was disappointed would be an understatement but, as progress continued, the glorious pink which lured me in the beginning began to creep in.

Shawl progress

I frogged it back to the beginning twice before mastering the pattern – not an easy task with mohair as it welds itself strand to strand immediately.

The pattern is an eight row repeating one and I found it a real pleasure to knit, always impatient to see the next band of colour emerge.

I suppose I knitted for a couple of hours most nights over the course of two weeks, then I wove the ends in and blocked it, leaving it for twenty-four hours before it was bone dry and ready to wear.

And finally – TADAH!

IMG_1628

I used a matching shade in plain pink for the scalloped border as I wanted pink to be the main colour.

You get more of a sense of the stripes in this photo of the shawl laid over the back of a sofa.

IMG_1625

The stitch pattern is so pretty that I might make another one in a plain colour to show it off more.

IMG_1626

Look how sheer and lacy it is – you can see right through it when held up against a window!

P1040958

Although it is warm and cosy around the neck, it is the lightest thing I have ever worn and weighs in at a mere 50g!

IMG_1623

It’s going to be perfect to throw around my shoulders on those balmy Summer evenings when we stay outside until after the sun goes down.

P1040959

The colours remind me of rhubarb and custard….

P1040956

Yep – it’s gonna be a favourite, that’s for sure!

IMG_1632