Sewchet

Sewing, crochet, crafts, accessories, baking, tutorials,


4 Comments

Sunday Sevens #7

This week’s Sunday Sevens is on time! Only because the clocks went back and we were up earlier than usual; the boys were playing pool so I grabbed a few minutes in the office to do a quick post.

Pop over to Natalie at Threads and Bobbins to see what it’s all about.

1. Bought the 541,765th poppy from the Tower of London Installation a few weeks ago and found out that all 888,256 have sold out this week!!  Sooo pleased we were able to secure one – well, two actually, as we bought another for my mother for Christmas only to find out that they won’t be despatched until January…

Monday

2. Collecting the eggs before school.

Tuesday

3. Hung the new curtains at last! Read about the charity shop designer fabric bargain in this post.

Wednesday

4. Painted the kitchen; which was long overdue – we realized it hadn’t been painted since we first moved in after renovations seven years ago! “Lime White” by Farrow and Ball replaced the “Cooking Apple Green” which was gorgeous, but made the room feel dark and I fancied something lighter for a change.

Thursday

5. Still warm enough for naked football in the field….!

Friday

6. A visit to Auntie’s farm. Such a unique farmhouse – 450+ years old, utterly original and unspoilt complete with cheese room next to the main bedroom! I just love going back – it rekindles fond memories of staying as a child.

Saturday

7. Sunday morning pool with waistcoat and bow tie! That’s what the boys are up to whilst I’m writing this.

Sunday morning pool

Now, where’s my coffee….?


14 Comments

Crochet cowls and beanie

Just a quick post today to show you a few finished Christmas presents. I don’t think any of the intended recipients read the blog, so as long as I don’t put them on my Facebook page it shouldn’t spoil any surprises:)

First, another chunky cowl in purple fleck….

purple cowl

….and another in black fleck;

black cowl

The free pattern and tutorial can be found here.

Finally, here is the crocheted beanie in a fab ribbed design;

ribbed beanie

Personally speaking, I would have loved it in lime green like in the original pattern which can be found over at Hopeful Honey, but most people have more conservative tastes than mine:)

Next, onto the monogrammed napkins – now they really are a challenge!

How are you getting on with your handmade Christmas gifts?


11 Comments

Sunday Sevens #6

This week’s Sunday Sevens is a day late again but better late than never eh?

A link up organized by Natalie at Threads & Bobbins to show you snippets of our lives that may be too insubstantial to form a blog post in their own right, but form a bigger picture when all showcased in one post.

MONDAY – I have no idea what these pretty little flowers are, but there’s a cluster of them in front of the village stocks and the gardeners very sweetly mow around them.

Monday

TUESDAY – Snapped up these vintage plates in the charity shop for three pounds!

Tuesday

WEDNESDAY – The Girls sheltered from a shower underneath the garden furniture and promptly went to sleep!

Wednesday

THURSDAY – There are dry stone walls around many a property here, lots of which have collapsed under the weight of sodden soil backed up behind them. The craftsmen who rebuild them (reusing the fallen stones) are truly astonishing – just look at this newly finished section. Can you see how well it blends into the original wall on the right? They are sensibly including more drainage channels to allow the water to escape more freely in the future.

Thursday

FRIDAY – Walking the dogs…..

Friday

SATURDAY – Ignore the silly face and concentrate on the birthday present wish-list. No.2 Son is obsessed with both the First and Second World Wars. We’re taking him to see the poppy installation at the Tower of London for his birthday.

Saturday

SUNDAY – Breakfast in bed:)

Sunday


128 Comments

Tutorial: Crochet Poncho

This last week has been pretty miserable weather-wise in South Somerset. I have managed to walk the dogs on several days but mostly they put one paw on the doorstep, feel the rain and high-tail it back indoors. They’re most definitely fair-weather walkers which is a shame because I quite like walking in the rain.

On the plus side, being cosied up in front of a roaring fire has had its advantages in that I’ve been finishing some WIPs (and starting some others…) and I actually have one ready to show you complete with a tutorial!

This one was relatively straightforward – I wrote the pattern as I went and got it right first time…with no unpicking at all! Or should I say “frogging”. That’s a lovely word that I’ve only just come across but I think I’ll use it in future:)

Anyway, drum roll please…..

…………………………Tadah!

crochet poncho

Most of the poncho patterns out there seem to be decorative rather than functional and I wanted one that could replace a coat and scarf, so I designed this one with a toasty cowl neck that can be rolled up around my face if it gets windy.

crochet poncho3

Two rows of granny stripe in blue were added at the bottom edge for a bit more interest.

crochet poncho4

Impossible to get a decent selfie but this gives you an idea of what it looks like on;

crochet poncho5

I love it!

It crochets up really quickly and could be finished in two or three evenings so why not have a go? Here are the instructions: –

CROCHET PONCHO

You will need: 5 x 100g super chunky yarn in Red and 1 x 100g in Blue (I used “Life Super Chunky” by Stylecraft with 25%wool)

10mm crochet hook

Tension: 6 rows and 9tr in 10x10cm

Cowl

In Red, Ch50, sl st in first chain to join round

*Ch3, 1tr in each st to end. Join with a sl st into ch3* Repeat ** until your work measures 8″ (20cm) then continue on to work the Poncho

Poncho

Ch3, 1tr, ch1, 2tr all into next stitch (centre back), 1tr into next 26 stitches, 2tr, ch1, 2tr all into next stitch (centre front), 1tr in each stitch to end.

Subsequent rows are all treble crochet, increasing at centre back and front as follows: 2tr, ch1, 2tr

Repeat until your arm length measures 20″ (50cm)

Change to Blue in the sl st to join the last round.

Ch3, 2tr,*sk 2, 3tr* Repeat ** to end increasing at centre back and front as before. Join with a sl st.

Repeat last row.

For the final row, work 1dc into each stitch to end. Fasten off and weave in ends.

And there you have it! A lovely warm crocheted poncho to see you through Autumn:)

crochet poncho2


12 Comments

Liebster Award!

Thank you to Beth at After Dark Sewing for nominating me for The Liebster Award which I proudly accept!

Beth is a young mum who fits in her love of crafting around her small daughters and consequently finds herself sewing after dark. Check out her blog for some inspirational posts:)

(To find out more about The Liebster Award, follow the link and use Google Translate)

LA

These are the questions Beth asked me: –

1. If you could have one superpower, what would it be?

Time Travel. The ability to travel back in time (not forward – too scary) and witness history in the making – how cool would that be?

2. Which movie would you watch over and over?

The Blues Brothers. I have no idea how many times I’ve watched it, suffice to say that my children quote from it so they must have seen it a few times too.

“It’s 106 miles to Chicago. We’ve got a full tank of gas, half a pack of cigarettes, it’s dark, and we’re wearing sunglasses.”

Brilliant.

3. If you could be granted three wishes, what would you wish for?

Health, Wealth and Happiness for those in my life. Predictable, but true.

4. Coffee or tea?

Both actually – but only if they’re good. Could never drink instant coffee – we buy our own beans and grind from scratch. I currently have seven, no, eight, different types of tea staring at me from the shelf, our “everyday” choice being Earl Grey.

5. What are your pet hates?

Incorrect and lazy use of the English language! “Could of” instead of “Could have” etc. etc.  Bad grammar and punctuation drive me insane! Bad table manners; Knorking (using the fork as both a knife and fork), ‘phones at the table etc. Cheap loo roll (nuff said!).

6. If you were a crayon, what colour would you be?

Red. Read what you will into that!!!

7. What’s the story behind your blog name?

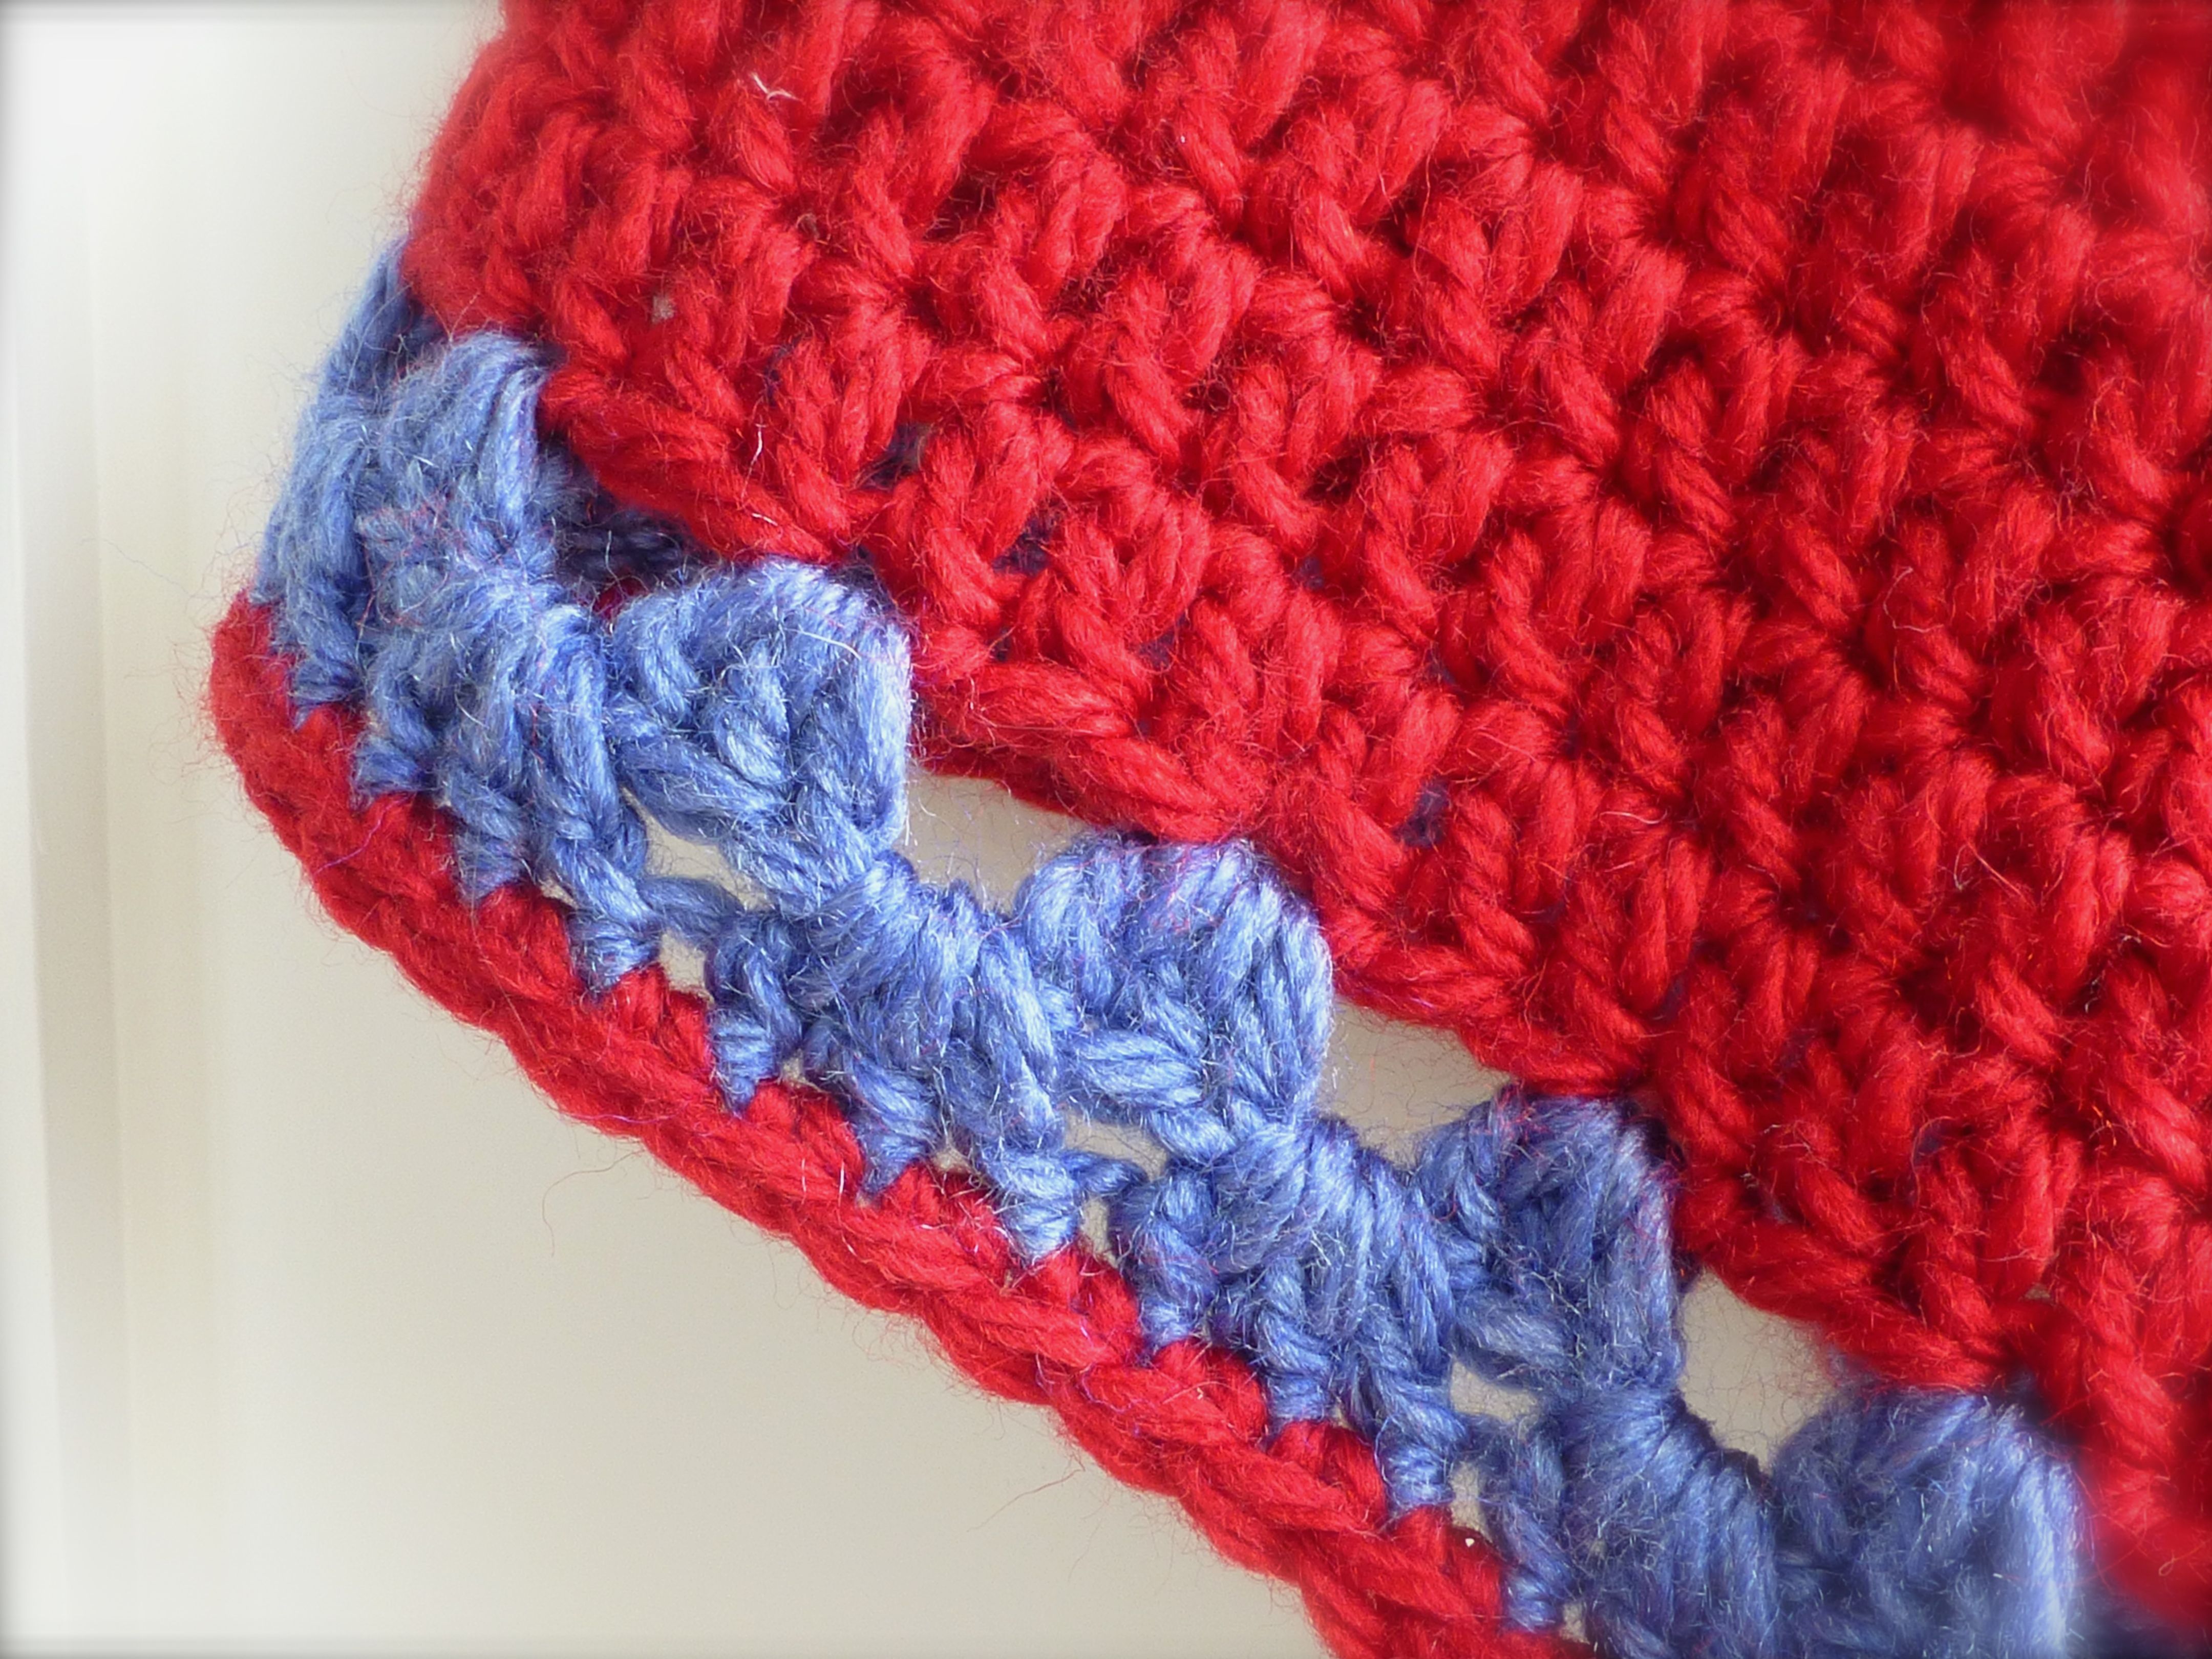
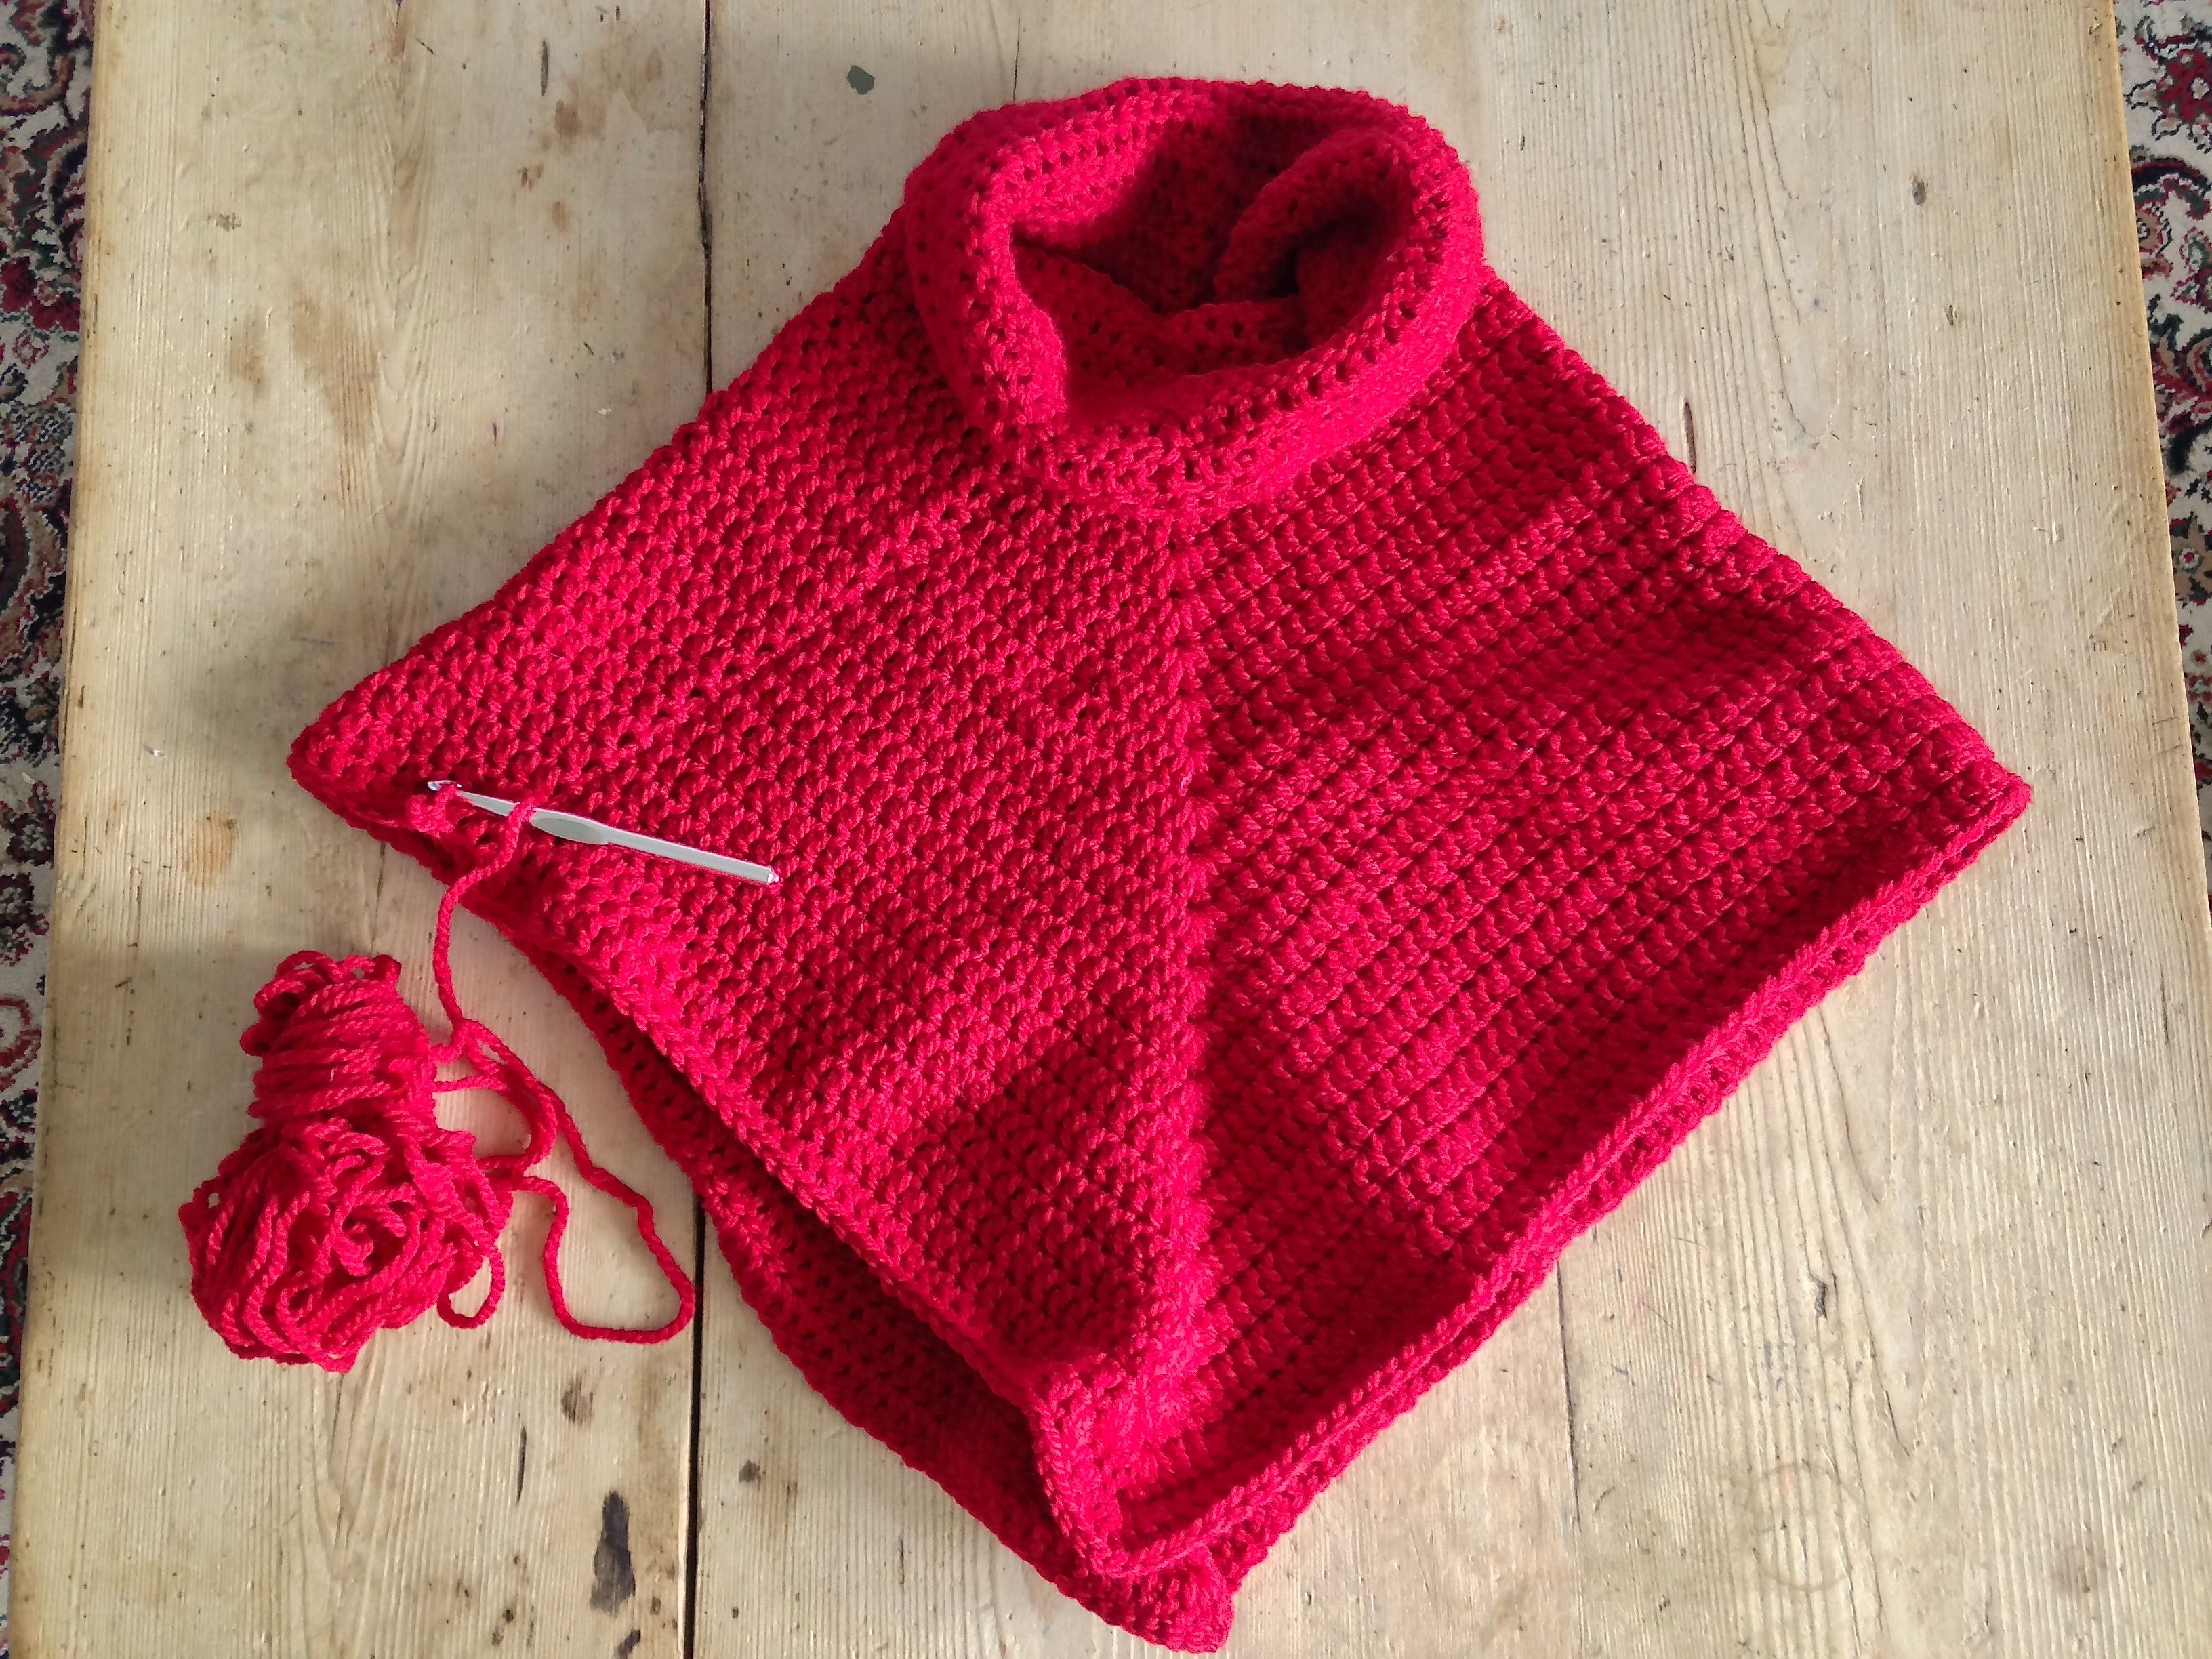
It’s an amalgamation of my two favourite hobbies, Sewing and CrochetSewchet. Simple!

8. Do you have any pets?

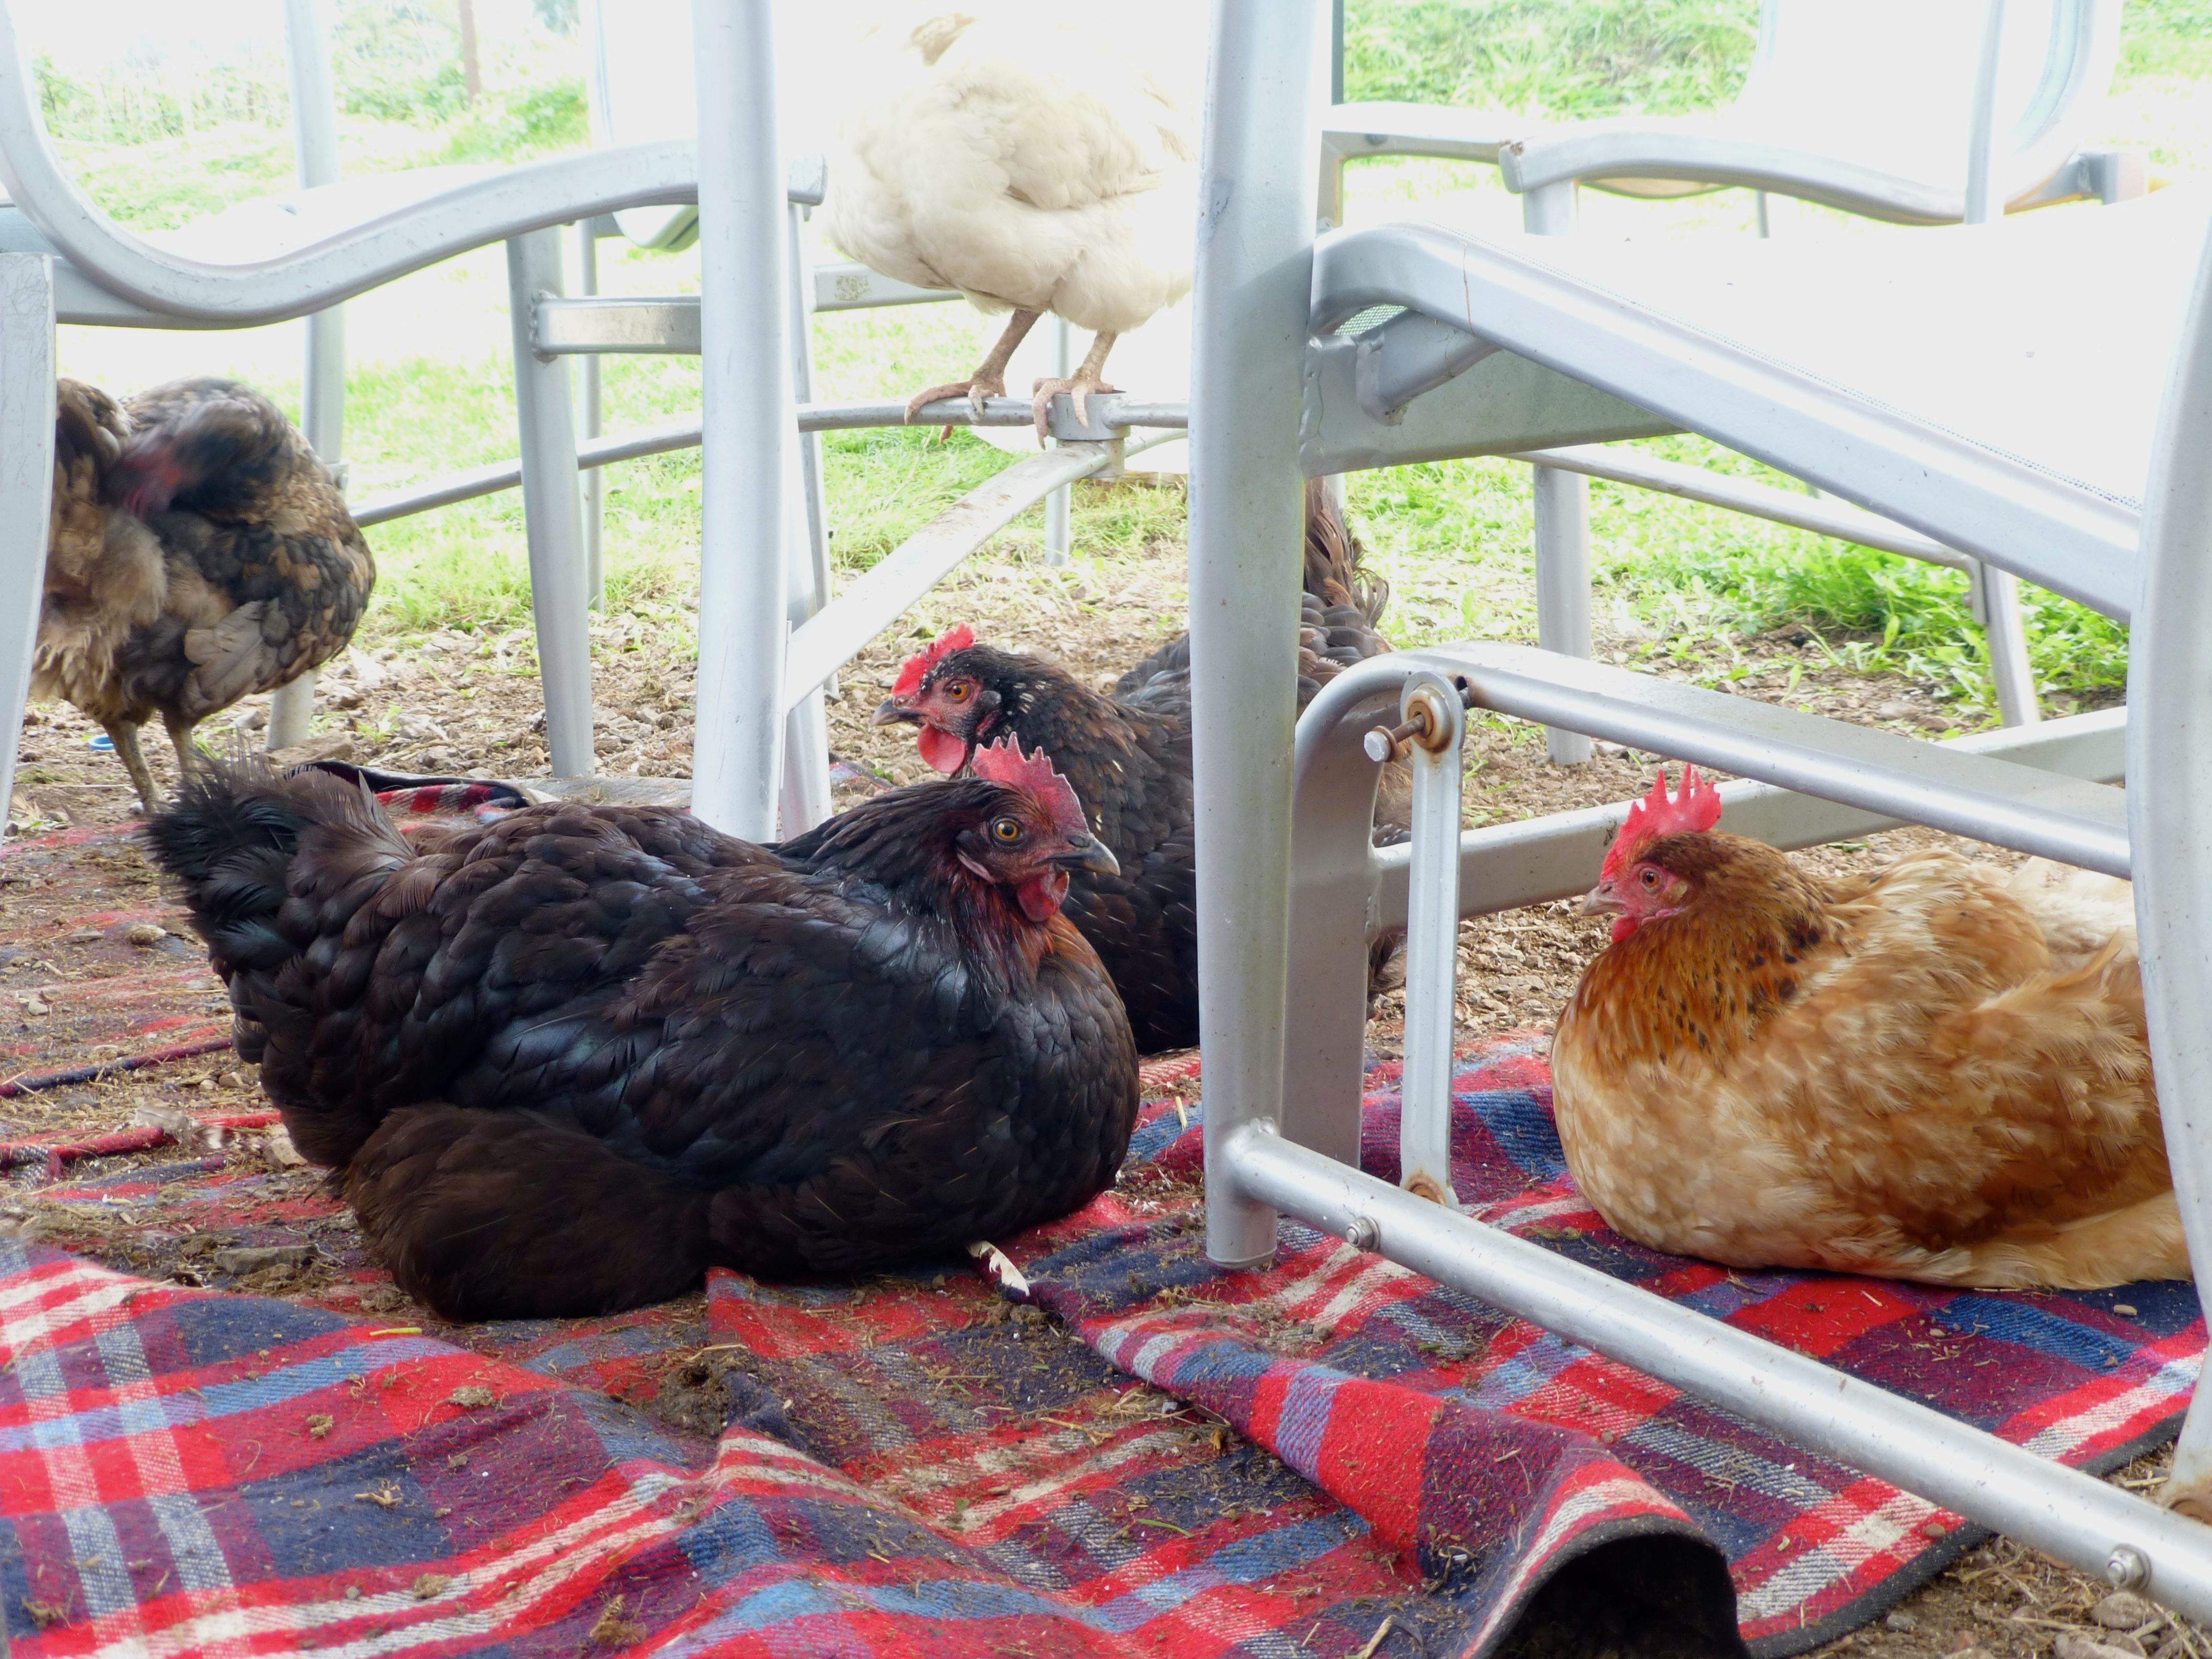
Yes; two dogs, six hens, a cockerel and a tank full of fish. Growing up as one of four, my mother said she had enough to do looking after us without having pets to worry about, so we never had pets as children. As soon as I bought my first house at nineteen I overdosed on the pet front with rats, cats and dogs and have never looked back! Ideally, we’d buy the field behind our house and have a smallholding……

9. Are you a lark or an night owl?

I am utterly rubbish in the mornings as my husband will testify. I would much rather have an extra ten minutes in bed in the morning than get up in time to run a brush through my hair before the school run!

10. What was your favourite television programme as a child?

We didn’t have a television when I was a child!!!  Although I used to absolutely love Mary, Mungo and Midge (https://www.youtube.com/watch?v=9f0oHGkVoPA) which I watched at my Grandma’s house when I could. We inherited our first (black and white!) television in 1980 when I was twelve and we moved into the cottage where my father was born and raised.

Now it’s my turn to pass on the blogging baton – if you wish to accept the award there are a few simple rules:

1. Thank the person who nominated you for the award and follow that blog.
2. Display the (pink) Liebster Award on your blog.
3. Answer ten questions about yourself.
4. Nominate ten more bloggers (with less than 200 followers). Inform them by commenting on their blog. You must also follow them to help spread the word!

Don’t forget to check out the other great blogs in the list!

Here are my questions for you: –

1. What is your favourite film quote?

2. What was the first thing you made?

3. Which three words best describe you?

4. Which is your favourite blog and why?

5. Do you have a favourite post from your archives? Why not share the link again.

6. What are the top three things on your bucket list?

7. How did you meet your partner?

8. Describe your house.

9. Sewing or Crochet?

10. Which celebrity would be top of your guest list for a dinner party?

And the nominations are….

The Velvet Cow

Colour Me Happy

The Small Sewing Room

Carina’s Crafts

Cozy Crafting

Sewnhenge

sewinlove

Mummy Doesn’t Bake

Some Assembly Required

Fibre and Fabrics

Here’s hoping you all get lots of new interested followers to your blogs – and maybe even find some great new ones to follow yourselves!


15 Comments

Tutorial: – How To Make A Crochet Cowl In Three Hours!!

Last week I bought two skeins of Debbie Bliss “Roma” with a particular project in mind – a cosy cowl for myself.

As this only takes two skeins, I splashed out on this luxury yarn which is a beautifully soft mix of Merino and superfine Alpaca in a gorgeous shade, Duck Egg. At £8.95 per 100g ball it costs just under £18.00 to make which is well worth it considering the quality of the wool.

Even though I was writing the pattern as I went, I had the finished cowl around my neck within just three hours of hooking my first stitch. Not bad for an evening’s work, though I say so myself!

This was made possible by the use of super chunky yarn and a super sized crochet hook, the combination of which creates a loose textured cowl which drapes softly.

Thursday

There are lots of patterns out there but I had a go at designing my own as I went, combining several elements into one design and tailoring it to fit me exactly.

IMG_1211

I decided to use exclusively treble crochet (US double) to keep it simple and let the wonderful yarn take centre stage.

I also decided to make it wider at the bottom so that it would drape lower and keep my chest warm, but make it narrower at the neck for a snug fit to keep the wind out.

IMG_1214

IMG_1226

IMG_1230

Apologies for the slightly scary stare – that’s what happens when I take selfies!!! Anyway, you get the idea – a really cosy cowl to keep you warm on a cold day. So, without further ado….

COSY COWL PATTERN

You will need: –

2 skeins of any super chunky yarn (I used Debbie Bliss “Roma” in Duck Egg – £8.95 each from the Wool Warehouse)

12mm crochet hook

Tension: 7 stitches and 5 rows to 10 x 10cm

Instructions: –

Ch50 and join with a slip stitch into your first chain to continue working in the round.

Round 1. Ch3, 1tr in each ch to end. Join with a sl st into your first ch3 (50 st)

Rounds 2-4. Repeat Round 1 three more times (50 st)

Round 5. Start decreasing for the neck; Ch3, 1tr into next 12 stitches, tr2tog, 1tr into next 24 stitches, tr2tog, 1tr in each st to end. Join with a sl st (48 st)

Round 6. Ch3, 1tr into next 11 stitches, tr2tog, 1tr into next 23 stitches, tr2tog, 1tr in each st to end. join with a sl st (46 st)

Round 7. Ch3, 1tr into next 10 stitches, tr2tog, 1tr into next 22 stitches, tr2tog, 1tr in each st to end. join with a sl st (44 st)

Round 8. Ch3, 1tr into next 9 stitches, tr2tog, 1tr into next 21 stitches, tr2tog, 1tr in each st to end. join with a sl st (42 st)

Round 9. Ch3, 1tr into next 8 stitches, tr2tog, 1tr into next 20 stitches, tr2tog, 1tr in each st to end. join with a sl st (40 st)

Rounds 10-16. Ch3, 1tr into each st to end. join with a sl st (40 st)

Round 17. Ch2, 1dc into each st to end. Fasten off and weave in loose ends.

Such a simple, quick pattern with only 17 rows of crochet – I think this cowl is definitely going to be made in various different shades for Christmas presents….!


7 Comments

Sunday Sevens #5

A day late again, sorry, but Sundays are family time, not computer time:)

Thanks again to Natalie at Threads & Bobbins for her Sunday Sevens link up.

Here’s a fleeting glimpse of my week: –

SUNDAY – Harvest Lunch in the village hall

Sunday

MONDAY – Bean Bag repair needed!

Monday

TUESDAY – Isn’t it a bit cold for butterflies now??

Tuesday

WEDNESDAY – New yarn delivery – yummy!

Wednesday

THURSDAY – New project started with luscious Debbie Bliss Merino/Alpaca

Thursday

FRIDAY – Preview evening for Art Exhibition in the village hall

Friday

SATURDAY – Rubbish phone camera photo of a wedding we went to three hours away in Essex

Saturday


5 Comments

Tutorial: How To Make A Bedside Book Pocket

My two youngest boys share a room (out of choice, not because we’re too mean to give them a room each!).

It’s a good size double but with all their toys etc. in there, there wasn’t enough playing space left when they had single beds, so we had to seriously consider bunk beds.

I loathe bunk beds.

Not only are they ugly, but they’re often not the best use of space, so I designed a set of bunks that fit wall-to-wall (keeping the floor totally free for a den underneath) and hubby made them. And they even cost less than it would to buy the cheapest pine bunk beds on the market so a bit of a bargain to boot – and I do love a bargain:)

They still need painting and both the climbing-wall ladder and fireman’s pole need fitting, but at least they’re functional in the meantime.

The only problem we have with them sharing a room is that one wakes early (6 ish) and the other likes a bit of a lie-in (7 ish) resulting in the light being switched on and a grumpy boy:(

The solution was simple enough – fit each cabin out with it’s own light so No.2 son can read without waking No.3 son. We chose the type of lights that run on batteries rather than rewire the whole room; you know the kind, you click the front to switch on and off and they’re often used for garages or inside cupboards where there’s no power.

The other issue was that, as they can’t have a bedside table or a shelf, they needed somewhere to keep a book handy.

This is what I came up with;

10

It just hangs over the edge and fastens with a velcro strip on the inside so it would work equally well for any wooden (or metal) bed frame or bunk bed.

09

They work really well and the boys were (a little bit too) excited with such a simple gift. This is how they look (I really must get the paint out!) –

11

You can just see the lights on the wall.

So, here’s how I made them…

1. To fit the average sized book, cut two pieces of fabric and one piece of interlining 21″ x 8″

01

2. Sandwich the interlining between the two pieces of fabric, wrong sides together, and baste around all four sides.

02

3. On the front pocket edge, pin and stitch some bias binding (tutorial here).

03

4. Fold the pocket up 7″, pin in place then baste down the sides.

04

5. Pin more bias binding around the entire outside edge…..

05

….mitring the corners for a neat finish.

06

6. Stitch carefully in place, making sure to catch the back of the binding as well. If you miss a bit like I did (!) don’t panic. Remember that it’s on the reverse and can’t be seen so just catch-stitch in place by hand.

7. Sew a 6″ strip of Sew ‘n’ Stick velcro to the top on the reverse side….

07

…et Voilá!

08

8. Stick the adhesive part to the inside of your bed frame and attach your finished pocket to it.

09

The Boys couldn’t wait to get in bed last night and try them out and what’s more it worked this morning – No.2 son woke early and stayed in bed quietly reading to himself until his brother woke up!

Don’t they look snug?

photo-34

I know we’ll have to change the light batteries regularly but it’s worth the inconvenience. They’re bright enough to read by but, because they each have their own ‘cabin’, light from one does not disturb the other. Result!!

Have a go at making your own version or look out in my Folksy shop for some in the near future:)

(Please link back to this page if you want to use this article on any other site – thanks!)


14 Comments

A “Fruitful” Walk and How To Make Sloe Gin

It was such a perfect Autumn morning that I decided to take the dogs on The Road Walk instead of The Field Walk, with the added benefit that the road acts as a nail file thereby negating the need to get the dreaded nail clippers out (for the dogs, not me).

I use the word ‘road’ very loosely because, although they have been acquainted with tarmac at some point, the lanes between my village and the neighbouring ones rarely see a car. The total combined population of all three villages adds up to less than 400! In fact this morning we met neither vehicle nor human on a two and a half hour walk. Just the way I like it:)

IMG_1160

I took a few snaps on my iPhone just to give you an idea.

After about a mile we took a footpath to Blackford (population 70). Look at that blue sky!

IMG_1161

IMG_1162 IMG_1163

Back onto the lane and a pretty little corner in Maperton (population 100) caught my eye. I usually walk straight past but I thought I’d photograph it today to show you; the shady end of the cottage has been planted with vibrant orange flowers which smell heavenly as you drift by.

IMG_1166

View from the top of the lane;

IMG_1167

Back into my village, North Cheriton (population 208) and the way back takes us through a wooded lane….

IMG_1170

…and past Wisteria cottage…..

IMG_1171

…to a Blackthorn Tree! Look at those lovely sloes;

IMG_1172

Folklore tells us not to pick the sloes until after the first frost and, as we had the first frost at the weekend, those spare dog poo bags that I always carry came in handy:)

This is my recipe for sloe gin;

Put 1lb sloes, pricked several times with a pin, into a clean jar.

IMG_1173

Add 4oz sugar and a bottle of gin;

IMG_1179

Shake well and put in a cool, dark place for at least two months. We store ours in the understairs cupboard.

IMG_1181

It’s that simple.

Important things to note are: –

1. You need to shake the mixture every morning for about a week until the sugar has dissolved

2. To keep the colour a deep, dark maroon, cover with a tea-towel to stop any light getting in, otherwise it will fade to an insipid pink

My daughter gave me this lovely book of Cath Kidston stickers for Christmas one year so I used some to label the jars with a date.

IMG_1183

Our first fire of the season was lit much to the dogs’ delight;

IMG_1142

I pulled up an armchair and they curled up on the floor beside me whilst I did a spot of crocheting;

IMG_1158

This one is for me….a chunky poncho in ‘berry red’;

IMG_1185

I plan on putting a row of blue near the bottom for a bit of interest and I’m writing it up as I go so the poncho pattern will be on the blog when I’ve finished:)


7 Comments

Sunday Sevens #4

Yes, I know I didn’t post a Sunday Sevens #3, but I was otherwise engaged last weekend:)

Shall we start with that?

SUNDAY – Needs no explanation really!

Sunday4

MONDAY – Ooh, lovely seafood platter….mmm

Monday

TUESDAY – Halfway through a WIP for a Christmas pressie:)

Tuesday

WEDNESDAY – Hubby working from home can only mean one thing – eggs from our own hens for breakfast!

Wednesday

THURSDAY – Great day out with the girls visiting some of the talented artists in their studios for Somerset Art Weeks.

Thursday

FRIDAY – Autumn is here…..

Friday

SATURDAY – Tess’ first birthday!

Saturday

Thanks Natalie at Threads and Bobbins for your Sunday Sevens link up!