Sewchet

Sewing, crochet, crafts, accessories, baking, tutorials,


10 Comments

Jam, Flowers and WIP

Wow, we’ve got loads of blackberries this year! Sadly we won’t have as many next year because, whilst we were away, my son thoughtfully pruned the overhanging branches (quote – “Only the ones with no blackberries on”). He has unwittingly removed most of the growth that was going to produce next year’s fruit!! Hey ho, these things happen. blackberries

blackberry
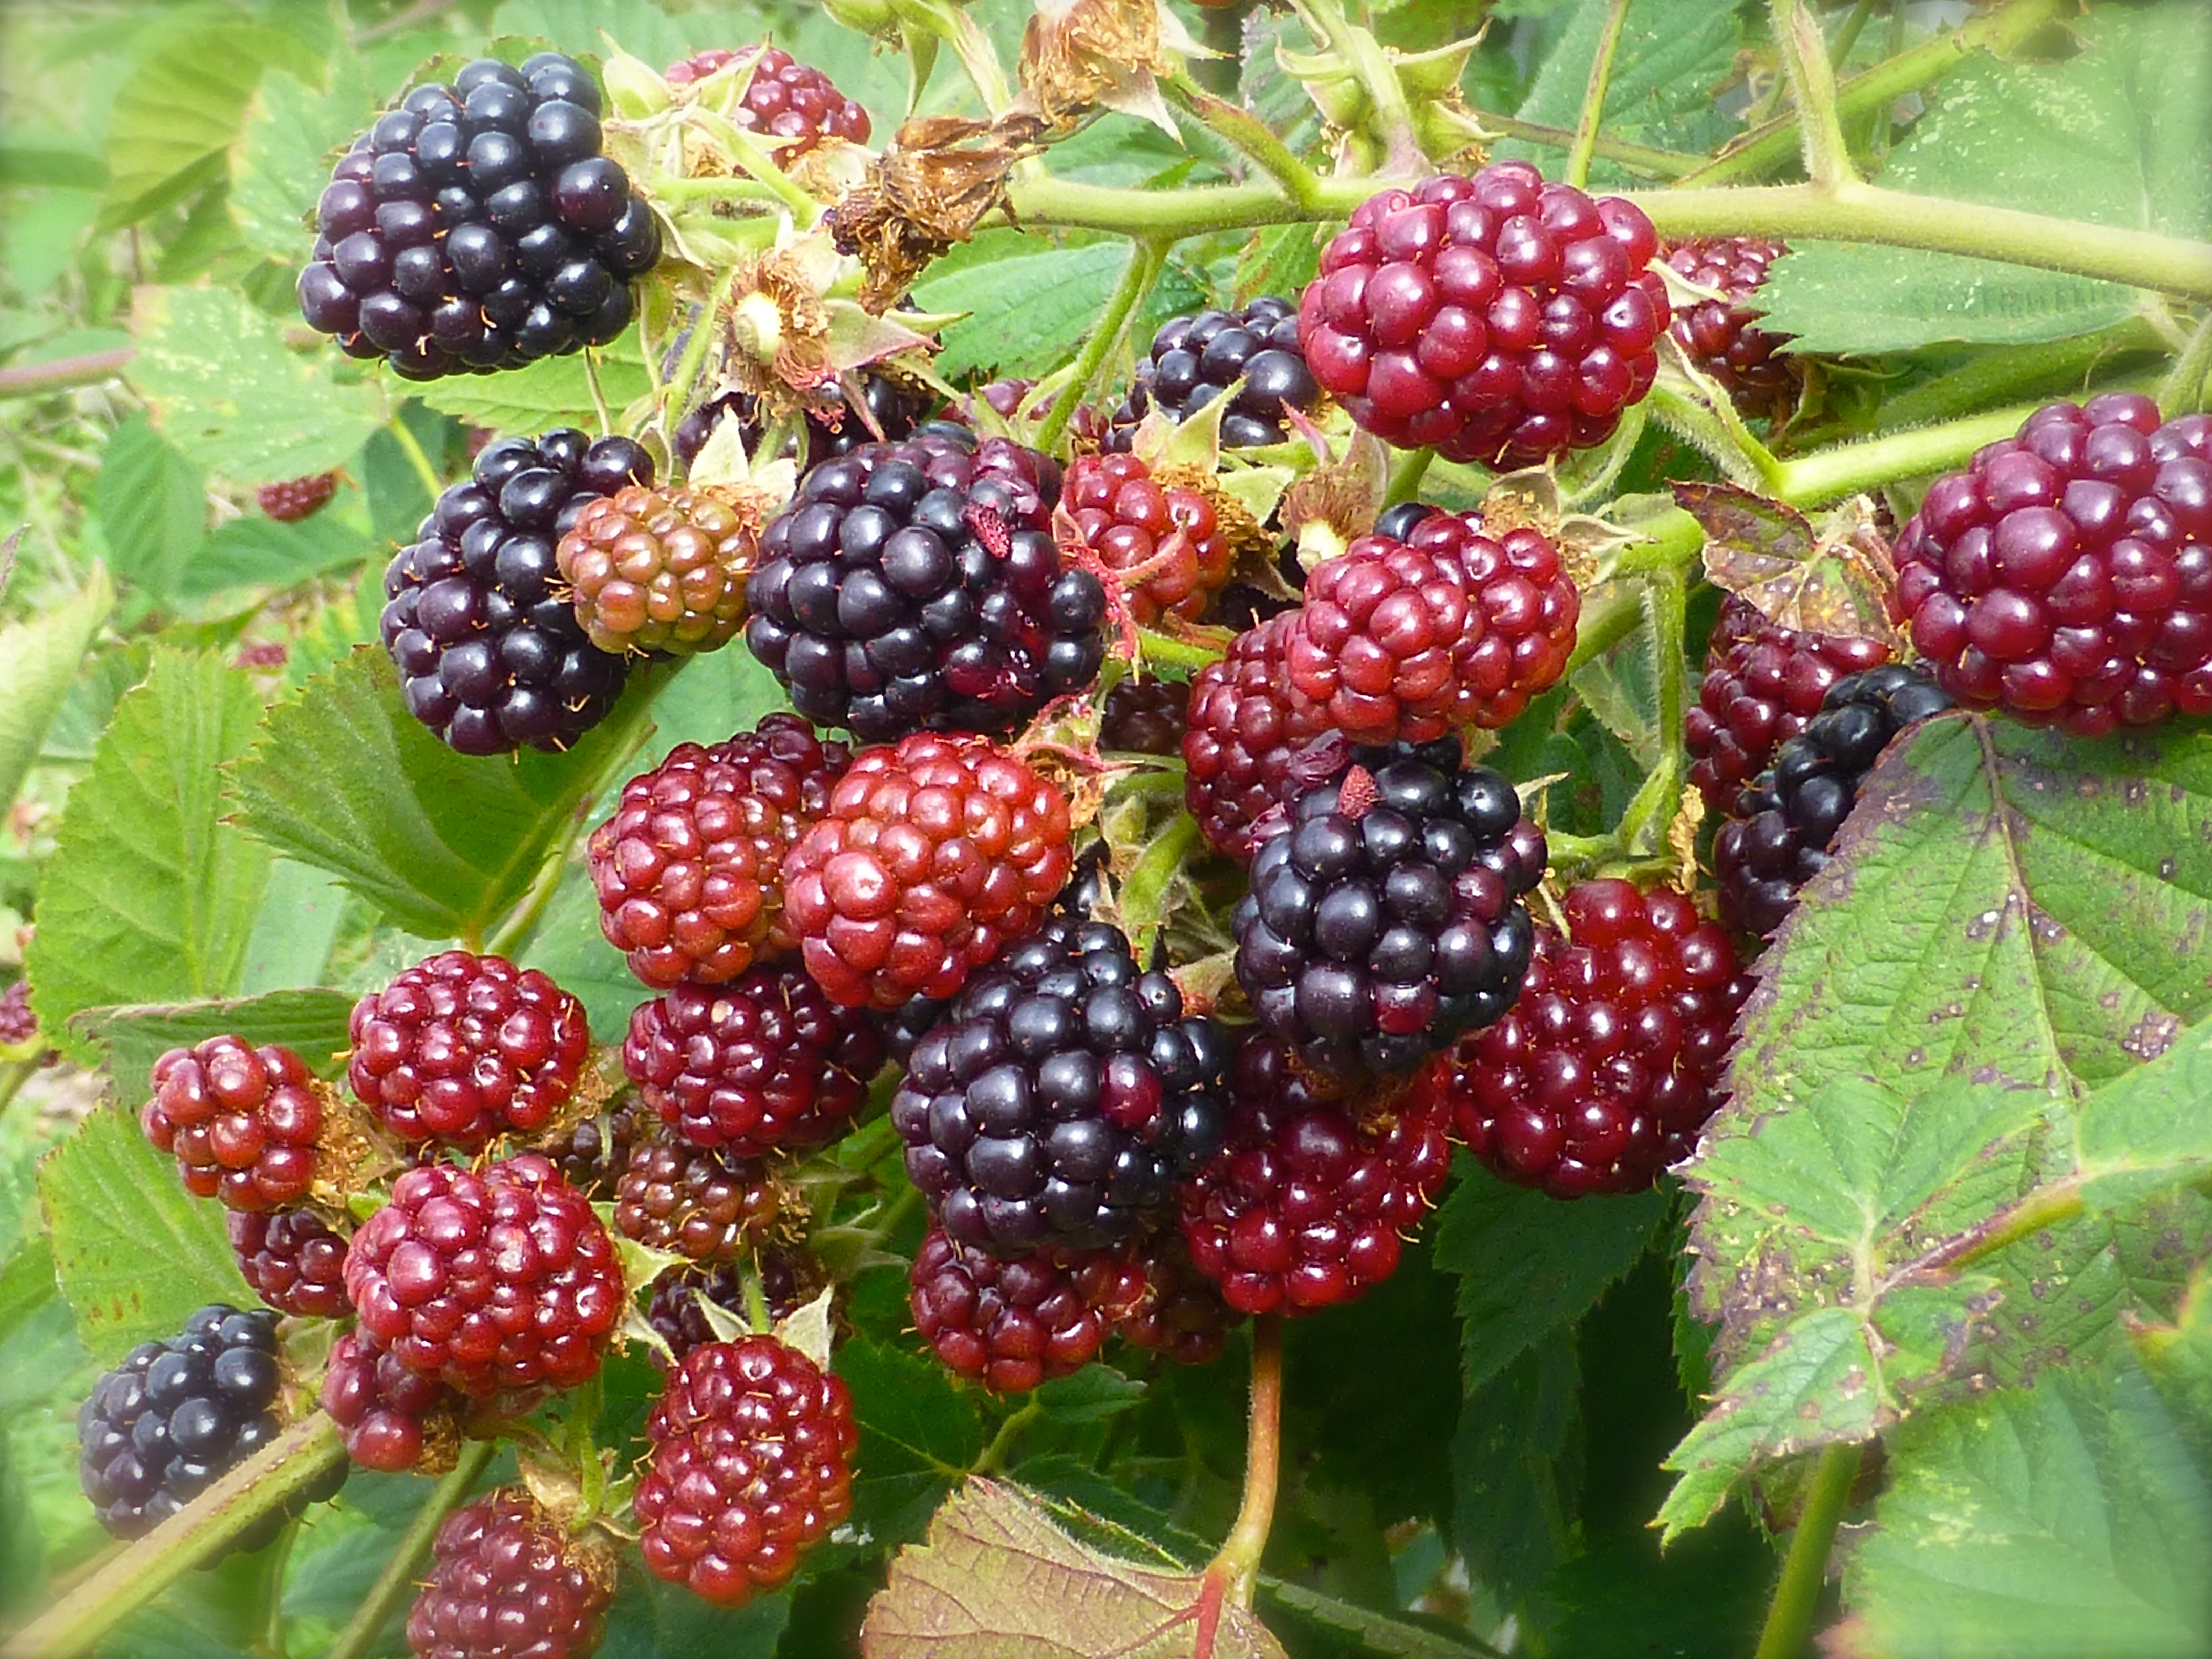
The Girls eat as many as they can reach; it’s hilarious watching the way they flap with all their might in an effort to jump higher to get to the juicy, ripe ones which are just out of pecking distance!

hen eating blackberriesI am going to make as much blackberry and apple jam as I can this year in the hope that it will last longer. First two batches are in jars awaiting ‘hats’ and labels. I always give some away as Christmas presents paired with matching jars of homemade marmalade or another jam, so gingham hats and raffia ties are a must!

Jam making small

They look rather nice as homemade gifts go!

Homemade jam gift small

For our own use, I transfer jam from the jars into a lovely vintage jam pot. The lid was dropped onto the tiled floor and, unfortunately, didn’t survive, but I still love it.

vintage jam potsmall

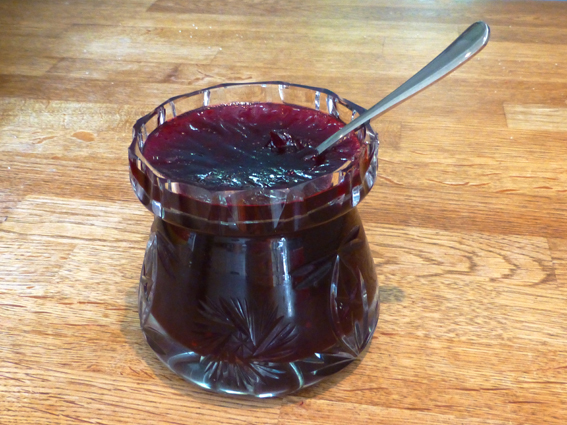
Of course, there’s always a little bit left over that has to go through Quality Control….

Homemade jam small

If you let your hens free-range as we do, you’ll know that growing flowers in the garden is nearly impossible so my lovely husband brings home glorious blooms on a regular basis. Even so, the cheeky chickens still hop onto the coffee table to peck at the stamens! These should be safe though, as they’re well out of the way up on the dining table.

Vase of liliessmall

Liliessmall

I know lilies are associated with funerals and many people don’t like them for that reason, but I absolutely love, love, LOVE them!

Stargazer Lilysmall

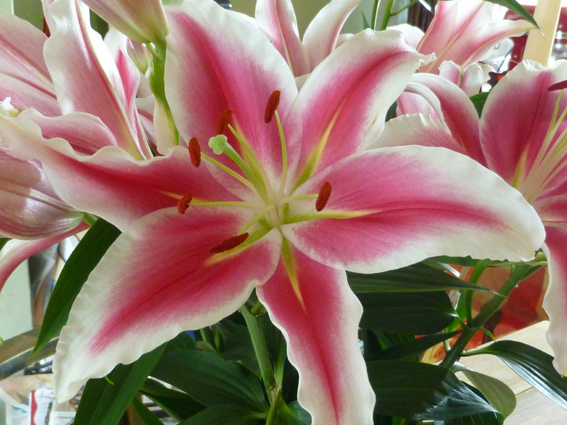
I wouldn’t dream of removing the stamens that stain everything a dark orange either; they’re just so pretty:)

Lily close upsmall

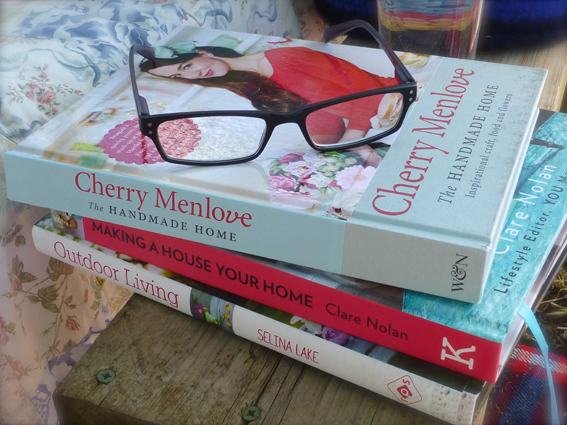
I wish I could paint – I would have my own watercolour floral masterpieces clinging to the walls like wallpaper….but alas my creative talents lie in a different direction.

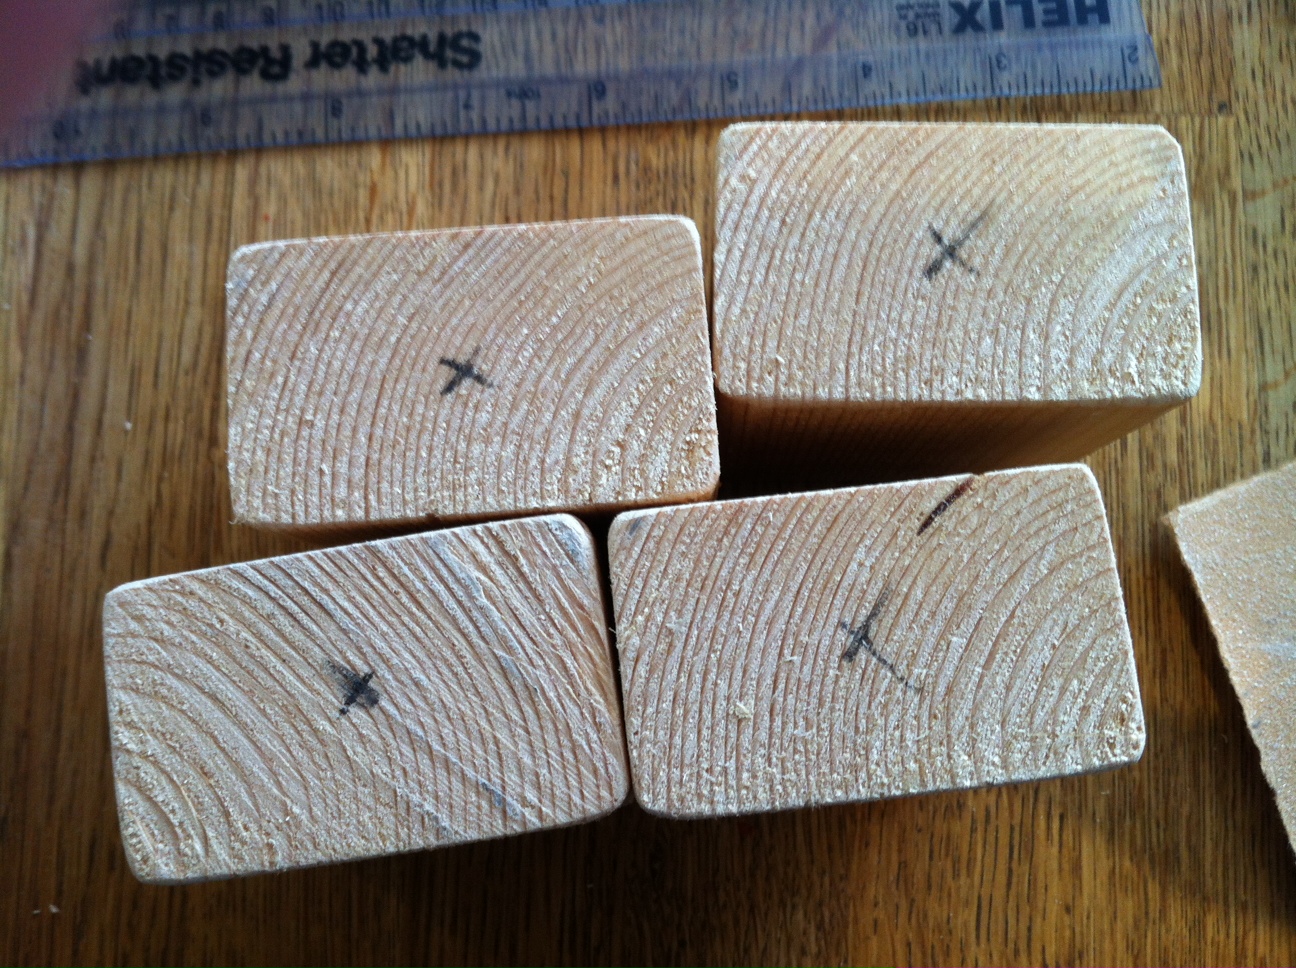
Talking of which, here are a couple of WIPs – this one just waiting the addition of a few bits of hardware that are marked by eBay as ‘dispatched’…

Granny stripes smallGranny square flowers smallIncreasing base small

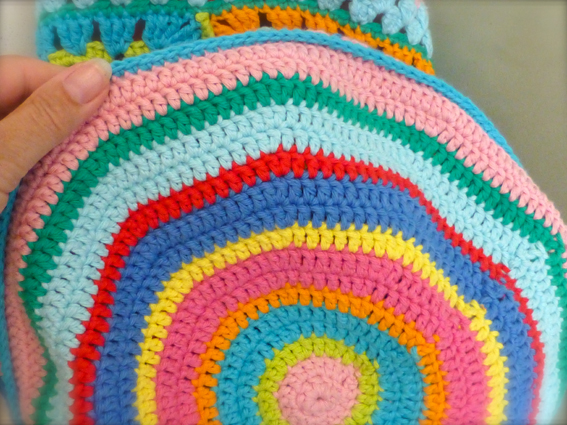
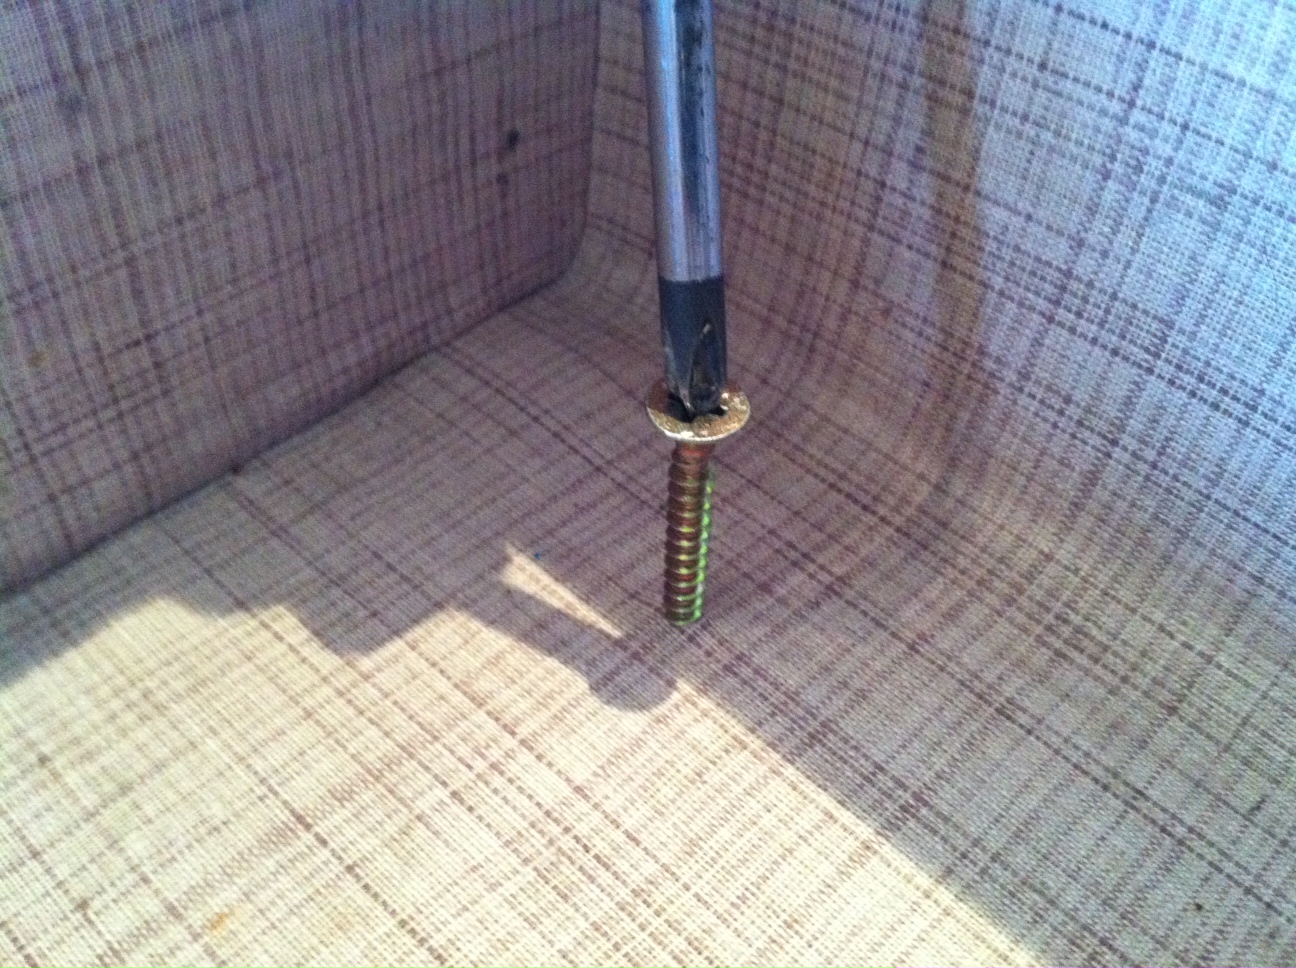
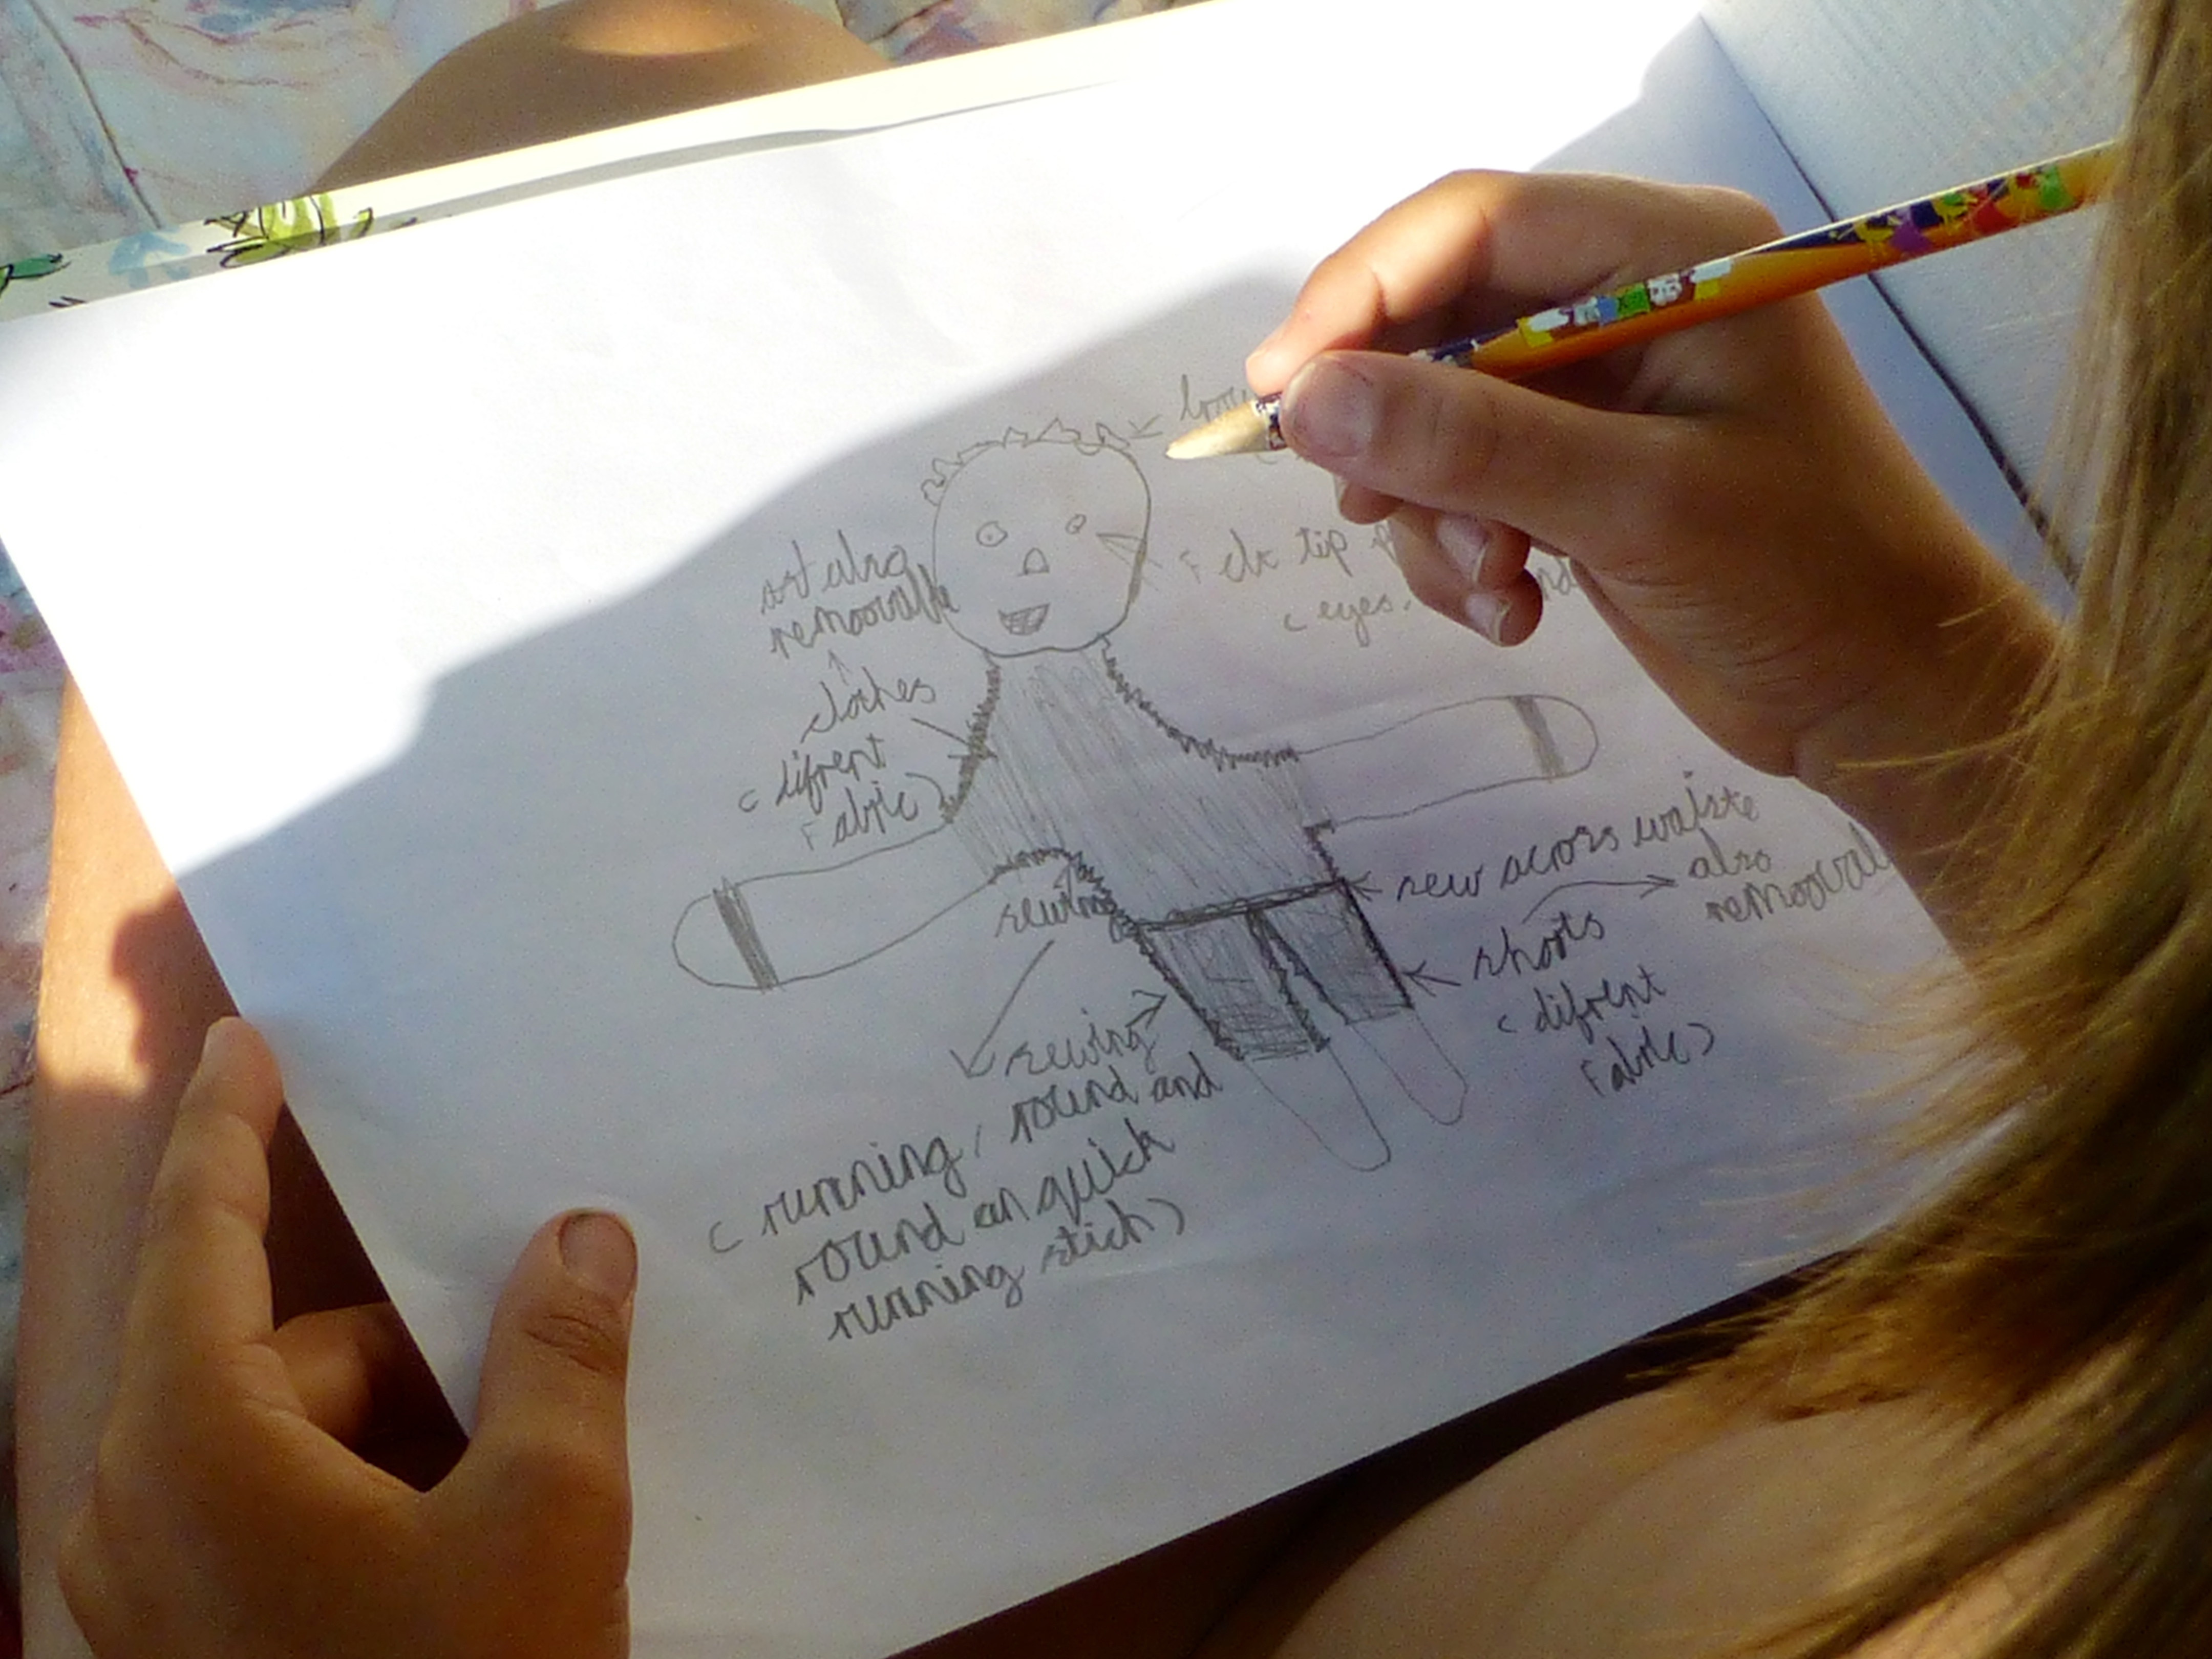
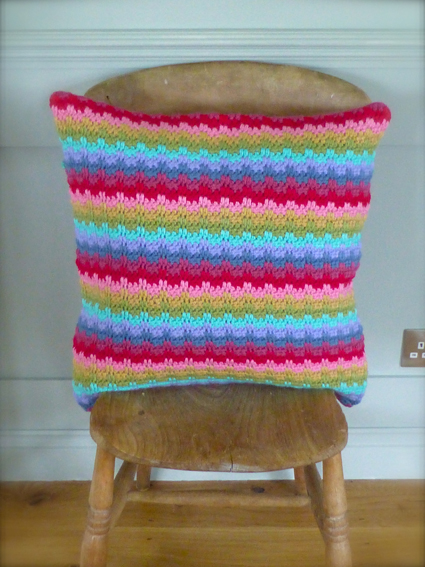
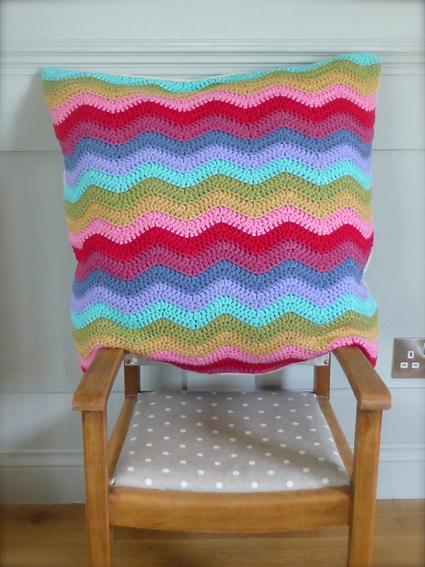
…and this one. In the words of Rolf Harris “Can you guess what it is yet?”.

WIPsmall

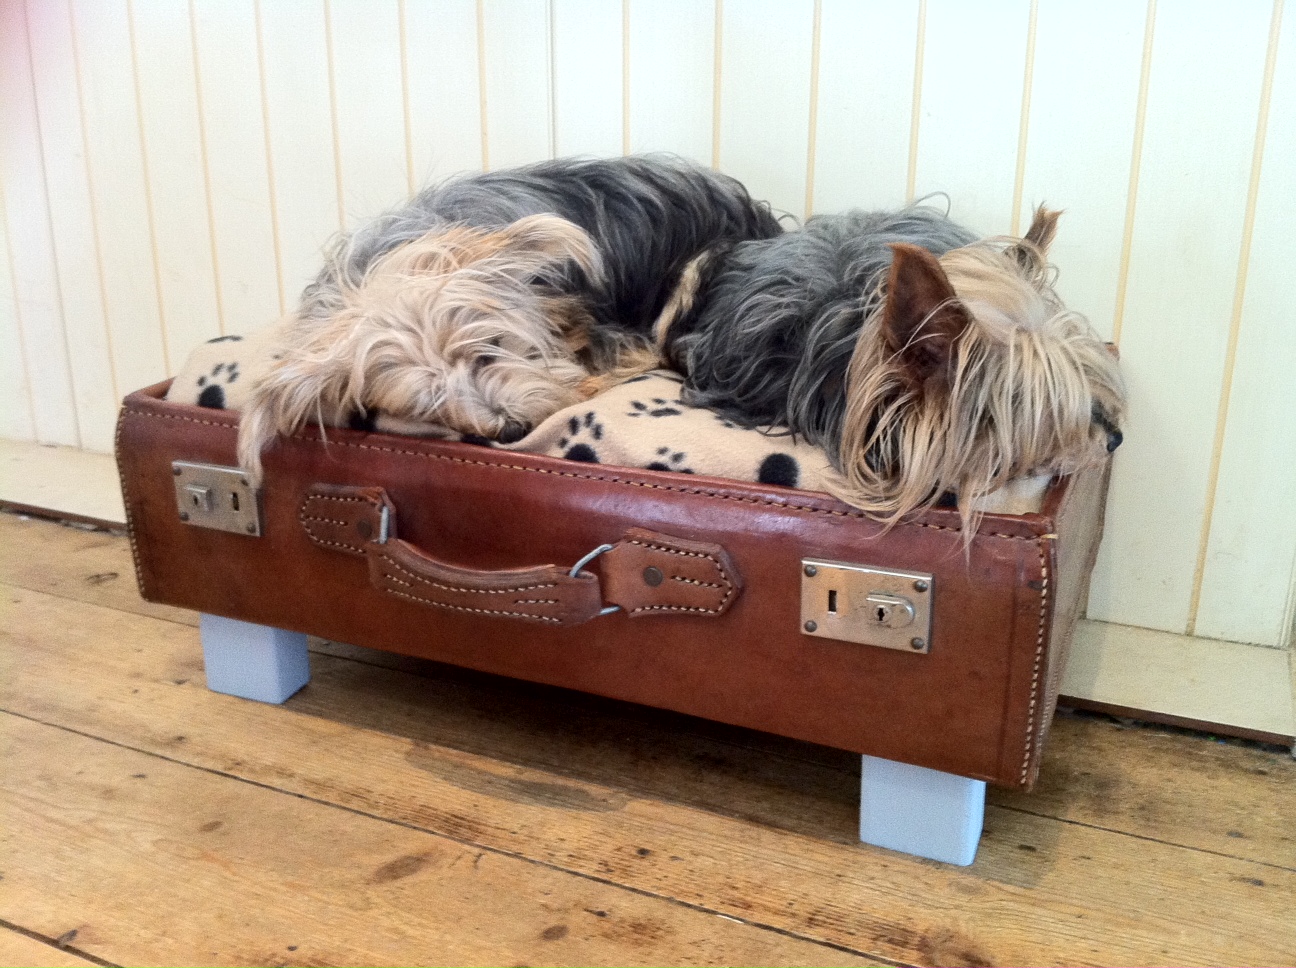
And no, it’s not another basket. Intrigued? Watch this space….!


6 Comments

How To Make A Dog Bed From An Old Suitcase

I had an exciting delivery earlier this week – a new sewing machine!  It arrived on Tuesday but I only had chance to open the box today and still haven’t tried it out.  My first sewing machine wore out after fifteen years of hard labour and I’ve had my second one for fifteen too, although there’s nothing wrong with it – I just fancied treating myself to an upgrade.  

I didn’t want a computerized one with all the bells and whistles or hundreds of embroidery stitches that I know I’ll never use, so ended up choosing the Janome 525s which seemed perfect for the way I work. I have since found out that it is the very same machine as used by The Great British Sewing Bee and the Kirstie Allsopp programmes, so hopefully I made a good choice.

Apologies for the rubbish photos all through this post, but hubby took my little camera to work so I used the iPhone and they weren’t worth putting through Photoshop so…..photo-28Talking of Kirstie, I watched one of her recent “Fill Your House For Free” programmes where she upcycled an old suitcase to make a dog bed. Now I know it’s nothing new, but I had acquired an old leather suitcase with this very project in mind as the puppy had all but destroyed her bed. So, instead of trying out my new toy, I made something that didn’t involve any sewing whatsoever.

Which makes this a great project for those of you who can’t/don’t like sewing.

Here goes….

Tutorial: How To Make A Dog Bed From An Old Suitcase

Acquire a strong, suitably sized suitcase – I managed to find a brilliant leather one on eBay.photo 1

photo 2Now you can leave the lid on, but you will have to fix it in the upright position permanently so as not to give your dog a nasty headache.

I decided not to take this risk, and removed it by cutting through the leather straps and unpicking the stitching that held it together.photo 2

photo 1At this point you could insert a piece of chipboard to the inside of the base for added strength depending on the size of your dog but, as mine is for two tiny Yorkies, it wasn’t necessary.

I had every intention of attaching beautiful bun feet to the base and waxing them a gorgeous shade of tan to compliment the vintage patina of the leather. But at twenty quid for four including postage, I thought that rather defeated the object.

A quick visit to the woodpile turned up a perfectly adequate length of 2 x 3 which, with a little imagination, would do just fine.

I marked the timber at 7cm intervals (just under 3 inches in old money) and sawed four square-ish stumps for the feet. (What can I say? Hubby was at work and I was far too impatient to wait for him to come home and do it properly!)photo 4

photo 3Sand the rough edges away to get rid of any splinters and also to provide a smooth surface for the paint.photo 3Mark the centre of each block of wood with a pencil and, if you don’t have self-driving screws, make a pilot hole with a drill or bradawl.photo 1Mark where you want your feet to go on the outside of the base and turn your screw until it pierces the leather.photo 4Remove and screw from the inside, through the hole you have just made and into the centre mark of the foot.

I found this to be the simplest method of transferring the markings and getting the holes in the right place!

My husband would probably have done it differently but as I said, I’m impatient…photo 2If your wood is untreated as mine was, paint one coat of a suitable primer to seal.

I had some tester pots lurking in my understairs cupboard (as you do) which I knew would come in handy one day, and picked Parma Grey as a lovely modern contrast to the old leather. Two coats of paint seemed to be plenty.photo 3When dry, turn up the right way.

I had a feather pillow surplus to requirements which fits perfectly, but you could have a piece of foam cut to size if you prefer.

Whatever you choose to use as padding needs to be be waterproof really, so I used a waterproof pillowcase to protect it.

The existing dog blanket was wrapped around for comfort and….

“Ta dah!”photo 4Both dogs hopped in immediately and settled down to sleep so I guess it’s a hit!photo 3By using stuff I had lying around the house already, I didn’t spend any money at all on the project so it was true upcycling.

The initial cost of the suitcase was twenty pounds and, although there are cheaper ones to be found, I wanted a sturdy leather one with strong stitching and a good base. I think twenty pounds for a unique, (luxury?) dog basket is a bargain quite frankly, and I’m really pleased with it! 

What do you think? Have you been inspired by anything you’ve seen on TV?


3 Comments

Work In Progress Update (and a lovely video of my young sons crocheting!)

Well, another glorious Summer day – boys are naked trampolining, naked swimming and…..naked crocheting. Yes, really!

I love the Summer holidays (when we have a good Summer!) because we are outside from the moment the boys wake up until the moment they drop through the sheer exhausted joy of just being boys. And I have far less washing to do because…who needs clothes?

We really do make the most of the good weather while it lasts and, as I don’t like to leave them in the pool unattended, it means I have a good excuse to relax on the day bed in the garden and crochet/read for a large part of the day. How lucky is that?

Bertie crochet - 02small

As such, my latest blanket is coming on a treat so I thought I’d show you a quick update. This is the Greengate style one that I ended up having to write my own pattern for because Google Translate didn’t do a great job.  If anyone wants it, I will try to work out how to do a PDF for downloading but until then you will have to email me and I can send the pattern to you.

So, here it is so far;

Bertie crochet - 04small Bertie crochet - 05small

I had a few of my favourite books on the table next to me to dip into for when I got Crocheter’s Cramp. I love ‘The Handmade Home’ by Cherry Menlove (real name, apparently!) and it’s exactly the kind of book I would love to write one day. Hers stemmed from a highly successful blog but publishers are only interested when your blog has more than 10,000 folowers though, so might be a while yet as I’ve only got 20! Still, I can dream can’t I and I do have thirty-plus years of material to edit down first!

Bertie crochet - 03small

After a couple of hours playing in the garden, the boys needed a rest and decided to join me on the bed with their crochet.

Bertie crochet - 10small

Bertie is only eight and Freddy just seven, so they’re not old enough to be put off by the stereoptype that ‘crochet is for girls’. I will encourage them while I can; not that Bertie needs any encouragement – look how big his blanket is getting!

Bertie crochet - 06small

Freddy is short tempered and gets frustrated quite easily, but Bertie has so much more patience than me and quietly explains to his little brother how to put any mistakes right.

Bertie crochet - 08small

I was watching them and I couldn’t believe how fast Bertie can crochet now so I took a short video.

Here it is if you want to use it to inspire a youngster of your own:-

Video of my 8 and 7 year old sons crocheting!

My husband is NOT interested in crochet.

He does Man Things, like cleaning out the pool….

Bertie crochet - 09small


2 Comments

A Question of Faith – and ‘Ta Dah!’

I had a Christening to photograph yesterday in The Day Job and, seeing the girls all dressed up in their finery, it almost made me wish that I had gone with tradition and had my four children baptized. But I don’t believe in a higher being, so I didn’t – that would have been hypocritical and just plain wrong.

It does make me sad though, especially when I see how much comfort people get from their faith when going through tough times. You can’t force yourself to believe though, can you? I do go to church occasionally however, and always when on holiday abroad, as I find the architecture and ‘feel’ of religious buildings fascinating.

I also love singing hymns – Christmas Eve and Christmas Day are just so special and I thoroughly enjoy these services in particular. I draw the line at joining in the prayers as it doesn’t feel right.

Does anyone else have this dilemma or am I just weird I wonder?

On the lighter side of life, I have another ‘Ta Dah’ moment to share with you….

Stripy throw small

Quite different to anything else I’ve made recently, more muted, dusky tones.

stripy throw 3small

stripy throw2small

Very simple – just rows of treble crochet (US double) and a border of double crochet (US single) finished with a picot edging.

stripy throw 4small

I used chunky yarn and 6mm hook so it made up nice and thick and cosy – perfect for when my niece slept outside;

stripy throw5smallIt was my son’s girlfriend’s birthday a couple of weeks ago – you may remember I taught her to crochet a while back? Well, she hasn’t managed to actually make a finished anything yet, so I made her a cushion in an effort to inspire her. So I suppose this is a little ‘Ta Dah’ moment too…!

Frankie's cushion small

Cushion back small

It’s still glorious weather-wise across much of England I think so we’re spending most of our time outside while we get the chance. Of course, that means more time spent looking at the state of the garden and the sheds in particular. I keep asking hubby to ‘go through’ the sheds as we can barely get the lawnmower in the door of one of them, but to no avail as yet. I also can’t decide whether to get a new shed door, paint the old one or….just leave it as it is.  I really rather like the rustic-ness of the way it has aged, with the peeling paint and the grille from when the previous owners used it as a kennel. The out-of-control mint smells wonderful as you brush past it to open the door.

Shed door small

What do you think?  Shabby chic or just plain shabby?


5 Comments

Passing on traditional skills to the next generation

A baby of the Sixties and growing up in the Seventies (with no television) meant, as children, we made our own entertainment.  We were either outside making dens from dawn ’til dusk or inside playing board games or……making things.

Grannies the country over were teaching their young grandchildren their make-do-and-mend skills – borne out of necessity, but usually incredibly beautiful to boot.                                            Fascinated, we watched with admiration and awe the speed at which these ‘old’ women worked those needles to create something useful in order to extend the life out of something seemingly knackered. (In reality, my Gran was only forty-odd – but they didn’t age as well back then, did they?!)

Wisely, knowing that in order to succeed the idea has to come from the child and not suggested by the adult, my Gran waited until we inevitably begged to be taught how to do ‘it’ too. Gradually we learnt how to knit, sew and crochet with the most patient of teachers to guide us.

I can’t really express how grateful I feel to be given such a gift by my late Grandmother; the pleasure I get from these skills she taught me is immeasurable. I even made a living from sewing in my twenties, but now I just pick up the needles (or hook) for relaxation and the sheer joy of it.

So, when my eight year old son came running in from a tennis tournament, threw his stuff down and said “Now will you teach me how to crochet please?”, I knew the time was right!

This is the very first time Bertie picked up a crochet hook, still hot and sweaty from tennis…

Bertie crocheting

And it doesn’t stop there!

My son’s girlfriend, Frankie, is twenty-three and she wanted to learn…..

Frankie

…..and my sixteen year old niece, Alice, was next in the queue;

Alice small

Alice's crochet small

Bertie also drew up plans for a doll that he wanted to make;

Doll

Here he is, sewing all the bits by hand;

Doll2smallDoll3small

I am sooo thrilled that I have been able to pass these skills on  – I only hope that the popularity of crafting continues so that they will in turn hand down the skills to the next generation.  Just ten years ago, pre-recession, I was convinced the arts of sewing, knitting and crochet were to be lost forever and it’s fabulous to see more and more people wanting to learn.

At the end of a long crafting day, the kids were desperate to sleep outside.  The boys slept in a tent and Alice stayed over especially so she could sleep on the day bed – I did tell you that it was comfy, right?  Here they all are, reading books just after sun down and just before the fairy lights start twinkling automatically at dusk….perfect!

Sleeping outsidesmallHave you passed on your traditional crafting skills to anyone, or created a lovely outside crafting space?


10 Comments

New Range, Outdoor Living and Crochet!

Blimey it’s been a busy couple of weeks – so much so, this is my first post in a fortnight and I can’t fit it all in!  I’ve been quite productive on the creative front and have loads to show you, so I will try to catch up in the next few days and hope you’re not too bored…

First up, the most exciting event.  Well, for me, anyway because I cook loads. Our ‘old’ range cooker pretty much gave up the ghost after seven years of hard labour and I kind of decided that, as you get what you pay for, I might as well upgrade seriously.

This is the old one…

Old range small

..and this is the lovely new RED one!

New range small

(If anyone knows how to change an oven thermostat and repair a grill element, we have an electric range cooker with ceramic hob going begging…!)

Four ovens including a slow cooker and five induction rings on the hob – I’m in cooker heaven, seriously, and I need to make more jam.  We’ve just finished the last of last year’s jam and the new crop of blackberries is looking promising, although it’s a fine line between them being ripe enough to pick and the hens deciding when they’re ripe enough to eat.  At least they can only reach the lower berries so we should still have plenty for jam making.  About another four weeks, I reckon, before the first berries turn black and sweet.  It’s a thornless bramble which is perfect for the garden, and domestic varieties are always much larger, juicier and sweeter than their wild cousins. They also ripen earlier which means the picking season is extended – good news for our household of blackberry lovers.  Blackberry and Apple Crumble anyone?

Blackberries small

We only have a small, young apple tree and an elderberry bush in our (quite large) garden which means shade is almost non-existent and, in this current heatwave, makes it too unbearably hot to enjoy the garden. The hens have commandeered the elderberry bush so my lovely husband created a shady retreat just for me!

Gazebo up, it needed bunting obviously. Well, doesn’t everything look better with a string or two of bunting??

Bunting small


Then, I had a brainwave and decided to utilize the under-used daybed from my sewing room as an outdoor sofa.  After a bit of under-the-breath muttering and “Why do want me to put the bed outside?”, husband complied.

I covered the ‘sofa’ with some patchwork throws I made thirty years ago – very faded and a bit worn, but I tell myself that it adds to the rustic charm!

Lace quilt small

Padded quilt small

I piled it up with loads of squashy cushions including the crocheted ones I made recently and it looks soooo inviting that everyone who comes to the house dives straight in and that is where they stay!

Kids small

Day bed small

I even get to use it too sometimes!  There’s nowhere nicer to relax and enjoy a bit of crocheting with a G&T.

Me small

This is what I’m working on, curled up in a cosy corner of my new favourite place…..

Granny blanket 3small

Granny blanket 4small

…..Ta da!

Granny blanket 2small

I’ve got a few more ‘Ta da’ moments to share with you in the next few days, so watch this space!

In the meantime, here’s a snippet of my latest work-in-progress using Drops Paris Cotton – it’s already my favourite project to date!

Greengate small


2 Comments

Annaprashan Gift

The weekend is over so it is time to reveal the project I was working on last week for which I showed you how to make some custom bias binding.

Sarita is my husband’s cousin’s little girl who celebrated her Annaprashan on Saturday, to which we were invited. Not being Indian or Hindu ourselves, I looked up all about this ceremony and discovered that, whilst gifts are not expected, silver and gold are traditional items to present. After a bit of indecision, I decided to leave tradition to the immediate family and create something myself, eventually settling on a personalized quilt.

I found some sweet fabric with an elephant motif which was perfect and couldn’t have been more appropriate – the most widely worshipped Hindu god deity is Lord Ganesha: The Elephant God.

Seeking inspiration from here, I made this: –

12small13small

14small15small

I used tailor’s chalk to mark out the quilting lines and then quilted the whole thing by hand!  It was hard work, but so much more aesthetically pleasing than machine quilting don’t you think?

19small

The letters were backed with interfacing before being appliquéd on with a close zigzag stitch.

16small

I used free machine embroidery to write the words on the heart, going over it twice for definition and trying to keep it quite ‘scribbly’;

17small

Here’s a close up of that fabulous elephant fabric…

11asmall

…and here’s how it looks on the reverse;

13small

I love the look of trust in Sarita’s face while she looks intently at her grandfather as he offers her some rice, her first taste of solid food (the whole concept behind this traditional ceremony);

Sarita's first taste

She was so good and not at all overwhelmed by all the attention and rituals that go hand in hand with this type of ceremony.

Here she is with her proud parents afterwards;

Sarita, Gav & Sucheta

I hope the quilt is a keepsake that she will treasure in the years to come and, who knows, it might become an heirloom to pass on to her own daughter one day?

20small22small

I think a personalized quilt like this would make a perfect gift for any occasion where you’re not sure what to give, whether it’s a gift for an Annaprashan, a Christening present or other celebration – so what are you waiting for, get quilting!


6 Comments

Tutorial: How to make your own Bias Binding

Ok, so buying it ready-made is easy and convenient but it’s not cheap and what if you can’t get the right colour to finish your project?

That was my dilemma this week, so I made my own bias binding to coordinate perfectly and I thought I’d show you how.

First off, you need to find the bias of your chosen fabric which is really easy.  If you pull along the grain (parallel to the edge), the fabric won’t stretch (unless it’s a knit fabric) and if you pull it at 45° to the grain it will stretch as demonstrated below: –

Image

Using tailor’s chalk, mark lines on your fabric on the bias at 1 1/2″ intervals (or the width suggested by your bias maker).

Image

Cut along the lines

Image

Image

With right sides together, pin two strips at right angles to each other as shown: –

Image

If you’ve gone to the edge of the fabric your corners will already be cut off, if not, you can do this now, then sew together.

Image

Press the seam open.

Image

Repeat, joining as many strips as you need to make the required length.

With wrong side facing up, insert the corner of the leading edge into the bias maker. Using the metal bar, pull very gently along the length of the fabric, ironing as you go.

Image

When you have completed the entire strip, fold in half right sides together and press.

Image

If you don’t have a bias maker, get one – they’re indispensable.  However, you can also make bias binding without a tool, it’s just a bit more fiddly. Here’s how: –

1. Cut your strips as before

2. Fold in half, wrong sides together, press along fold.

3. Open out and bring in outside edge to meet the fold. Press.

4. Repeat with other edge.

Done!  Now you have bespoke bias binding to coordinate with your project!

Image

I know, you’re dying to know just exactly what my project is, aren’t you?

Well you’ll have to wait until after the weekend because it is a present for someone very special and I don’t want to spoil the surprise, but here’s a sneak preview for now…

Image

Lots of photos to come so follow the blog to see them.

In the meantime, why don’t you have a go at making your own bias binding and show me what you’ve made with yours?


8 Comments

Crochet Cushions & A Nosy Chicken!

I finished these “rainbow” cushions a couple of weeks ago and have been meaning to show you, so this morning I pulled my finger out (along with the camera) and set to it.  Amber, our “Amber Star” hen, took the precise moment I was about to press the shutter to investigate the new additions to her familiar walking ground. 

Image

Are you allowed to have favourites? I love that hen – she is sooo bold!  She has masses of character and keeps the puppy in line (who has learned that she WILL get a peck if she gets too close!).

I laid a work-in-progress blanket on the sofa to set the scene; this corner is where I put my feet up of an evening and settle down with my crochet to watch TV, while my ever-patient husband has the sport (on silent) on his iPad beside him.  He’s a keeper – he lets me watch Midsomer Murders, Poirot, Lewis (and other such stuff that he hates) on the 60″ HD TV and he watches football on a 10″ screen without complaining!

Anyway, Amber very obligingly turned around to pose for the camera. Isn’t she lovely?

Image

I love this combination of colours (thank you Lucy at Attic 24) and used them to make two cushions, one in ‘Raindrop’ stitch and the other in ‘Ripple’.

Here is the smaller, Raindrop cushion…

Image

…and this is the back made from a gorgeous fuchsia sweater from my stash of felted woollen jumpers.

Image

I made a simple envelope-style back so that I could crochet a lovely contrasting trim in turquoise.  I just love the different coloured buttons.

Image

The Ripple cushion cover is huge and I don’t actually have a large enough feather insert for it yet, so I borrowed a smaller one from another cushion just to take the photo:)

Image

The reverse is made from part of a £3-00 charity shop find; a cream utility, pure wool, blanket with faint blue stripes running through.

Image

I left the original label on it – I don’t know why really, I suppose to shows its vintage origins. I think it adds authenticity to it and a bit of quirky character which I like.

Image

More contrasting trim and bright buttons…

Image

…and here is the “Ta Dah!” moment with them both looking very cheery on my sofa (after the hen finally got bored and disappeared into the kitchen to eat the dogs’ food, much to their disgust).

Image

Don’t you just adore crochet; it makes me feel all happy inside to see rainbow coloured cushions (and blankets) scattered around my home – and even happier knowing that I’ve made them all.


1 Comment

Ascot Ladies Day – What to wear??

Formal dress with on-the-knee or below length skirt, shoulders covered, hat or substantial fascinator.  That’s the easy part, but what actually to wear?

I have just one hat which I bought second hand over ten years ago.  I still love it and see no point in buying another.  It was a designer bargain and it comes out for weddings and Ascot and, as it is a classic navy, goes with everything.

I have a navy leather Osprey handbag (a bargain from TKMaxx) and some L K Bennett navy wedges (another bargain from Kilver Court) so the accessories were sorted.

I bought a lovely red-with-white-polka-dots dress from TKMaxx for our first wedding anniversary last month when we went to Geneva and haven’t worn it since.  Red and navy are great together, so I decided to go with that.

But I don’t own a suitable jacket.

It was Monday and Ascot was on Thursday so, knowing I could spend an entire day shopping and still not find what I was looking for, I popped over to Hanson’s fabric warehouse in Sturminster Newton with an aim to making one.

What a fabulous place, I love going there!  I wanted a bolero style and ended up going for this one by Simplicity: –

Image

I really wanted navy silk and couldn’t believe it when they didn’t have any:(

Anyway, as I only needed one metre of fabric and lining, I bought navy linen and red silk.  My theory being that both would be useful additions to my wardrobe and, at less than forty pounds including the pattern, a bargain to boot!

I don’t know if you can see on the picture of the pattern above, but I made the navy one in style B and the red one in style F.

This is the navy one; slightly longer in length and with a straighter neckline: –

Image

I bought some gorgeous coat lining which looks fabulous,

Image

The only gripe I had was with the actual pattern itself – it really was too simple and the lack of tailoring lets it down in my opinion. For instance, the lining was too simple without any facings and the armhole edges were just overlocked which was awful.  I found some black satin ribbon in my stash and bound the raw edges with it and it looks much better now.

Image

I prefer to buy Vogue designer patterns which are very advanced, but are more likely to take ten hours rather than the two that this one took!  I didn’t have much time and anyway, this really was the only style I liked in all the pattern books that would suit the outfit.

When I made the red one I altered the pattern slightly so that the lining was inserted differently and is consequently much neater.

Image

Look at this finishing – much better!

Image

The silk is a dupion with a slub effect – it shimmers as the light changes.  Here’s a close up.

08small

I put the finished outfits together on a hanger and decided to go with the red jacket, which is ironic considering I would have bought navy silk had it been in stock:)

09

So this is me, champagne in hand, ready to go….

10small

…and this is with my lovely friend Andrea with whom I had a fabulous day!

11small

Do you want to see some more?  Yes?  OK then; this is Dawn on the way up in our minibus.

And, yes, we are drinking champagne at 8.30 in the morning:)

13small

These are the other girls we went with.

23

At the Winner’s Enclosure waiting for Her Maj to arrive….

12small

And here she is!

25small

They hand round a Carriage List so you know who’s in which carriage.  It seems Rory Bremner hob nobs with royalty!

21small

24small

This was a typical crowd around one of the many champagne bars…..

19small

…and this was the champagne list.  £80 for the cheapest bottle!!!

20small

Here are a few photos of the outfits and hats on display –

22small

18small

17small

16small

15small

14small

So that’s the story of my Ascot Ladies Day outfit dilemma – what did you wear?