Time for another #sundaysevens as dreamed up by Nat over at Threads & Bobbins – seven photos that sum up your week in a nutshell that aren’t meaty enough for a blog post on their own.
1. No.2 Son won top goal scorer and player’s player of the year at the football presentation.
4. Spent the day in Exeter museums/galleries with my sister and mum. Had a lovely lunch with bubbly to celebrate mum’s 67th birthday!
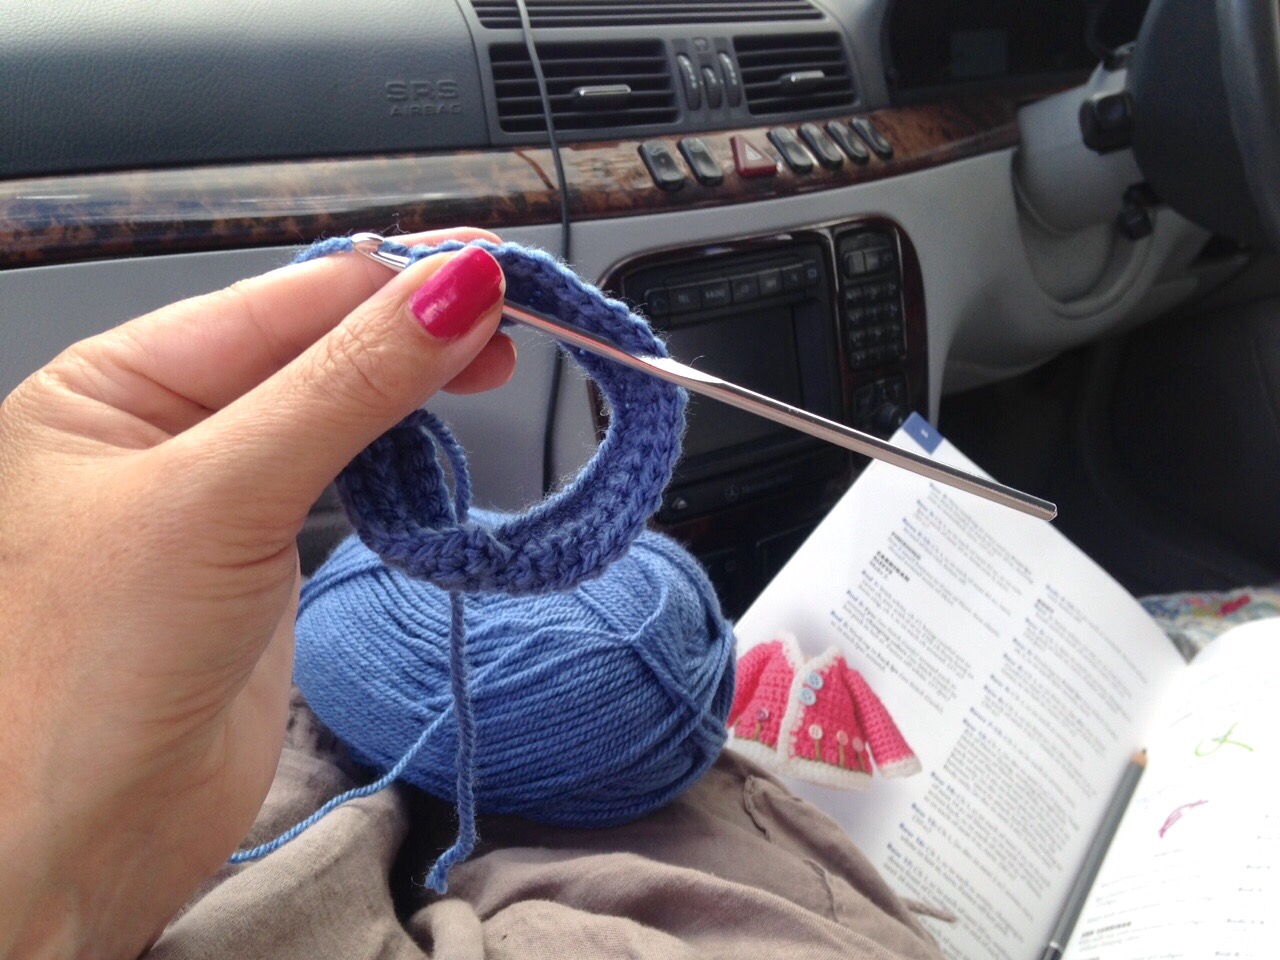
5. Sat in the car in a field on my own for FIVE hours while The Boys played in a five-a-side tournament on the way down to our mini break in Cornwall. Dogs weren’t allowed obviously, and it was too hot to leave them in the car, but we couldn’t even see the football from the ‘car park’!
On the plus side though, I don’t often get the chance to crochet for five hours solid:)
6. The little old lady from a bungalow backing onto the ‘car park’ came out with a cup of tea as she felt sorry for me sitting there for so long!
7. Playing table tennis in our cousin’s holiday home in Cornwall.
It’s raining, so The Boys have nipped up to play pool in the log cabin playroom and I’m about to put my feet up and sneak in a bit more crochet. Those dolls are coming on a treat…..
I’ve had a few birthday presents to make lately, luckily all of them for women, so it was just a case of browsing through one of my many books and choosing something appropriate to the individual.
I find that making a gift for someone you know is very different to making items to sell, in several ways: –
For a start, I don’t have to consider how long it will take versus how much I can sell it for, I can put as much time and effort in as I want which usually means it can be more elaborately decorated.
I can take the recipient’s personality into consideration and personalise the gift accordingly.
I enjoy the process far more, knowing that the thought and effort that I have invested will be appreciated.
It’s a one off – I get bored making more than one of things which is often what you have to do when stocking up for your online shop/craft fair etc.
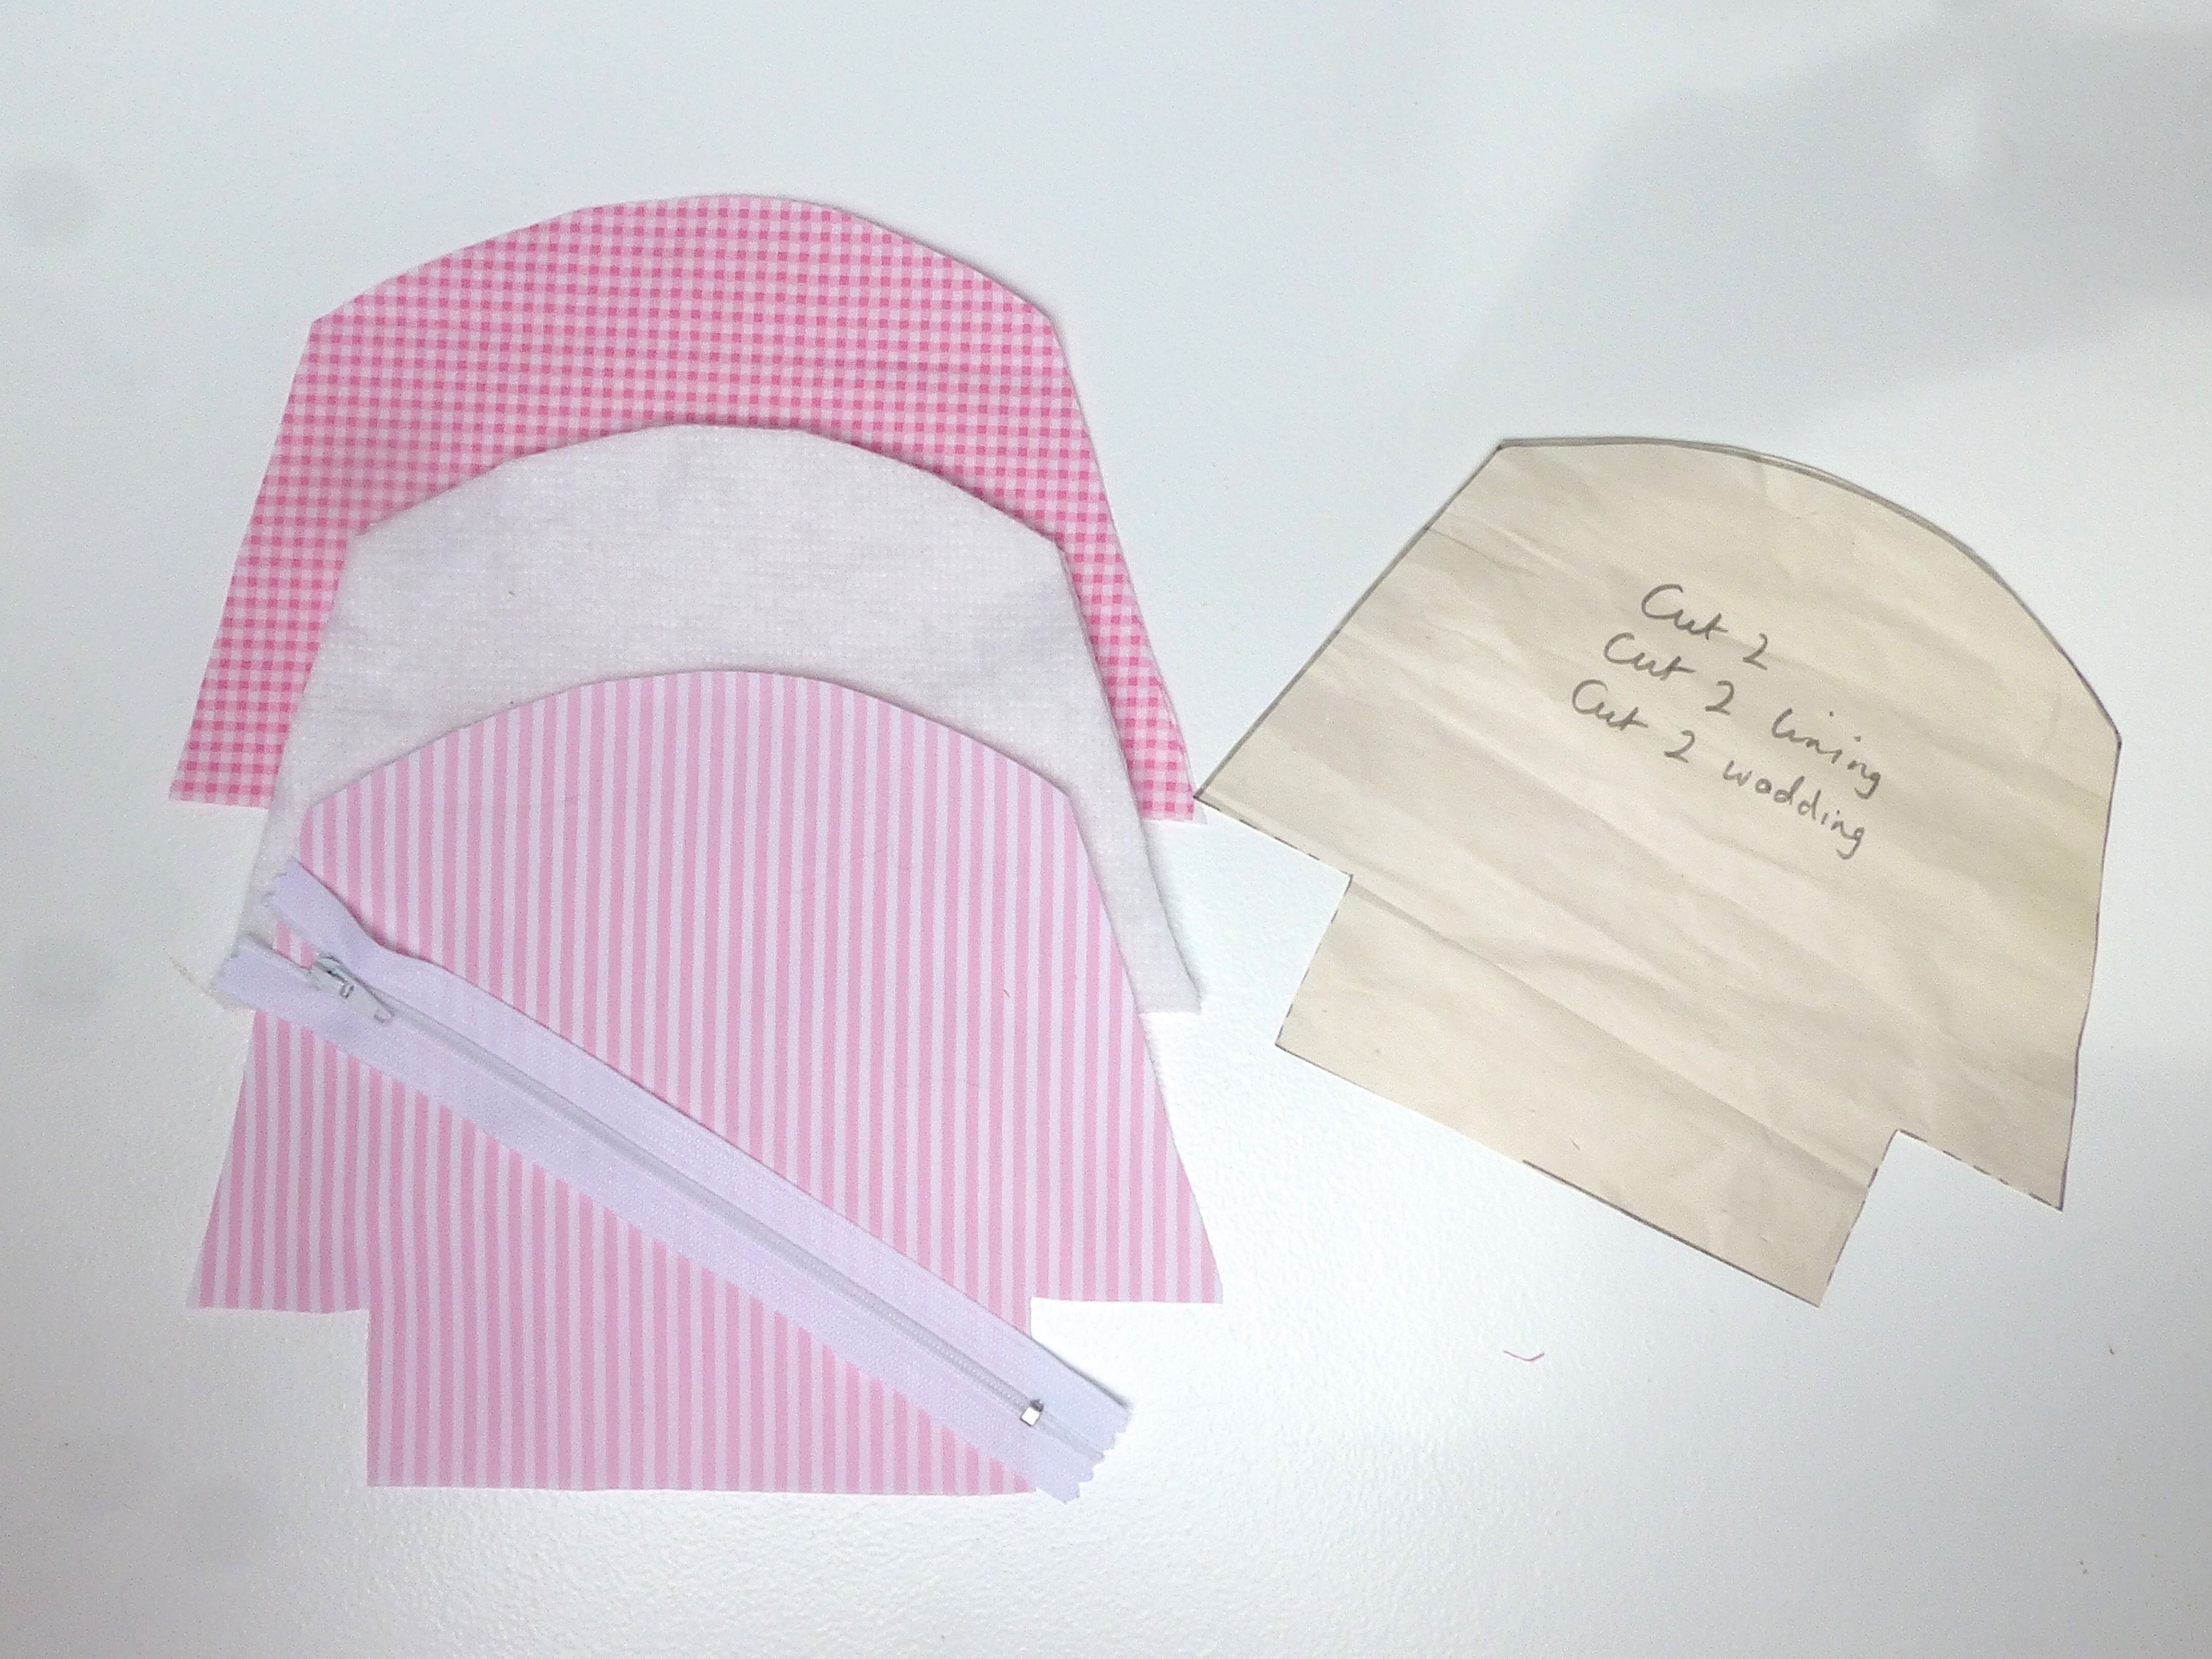
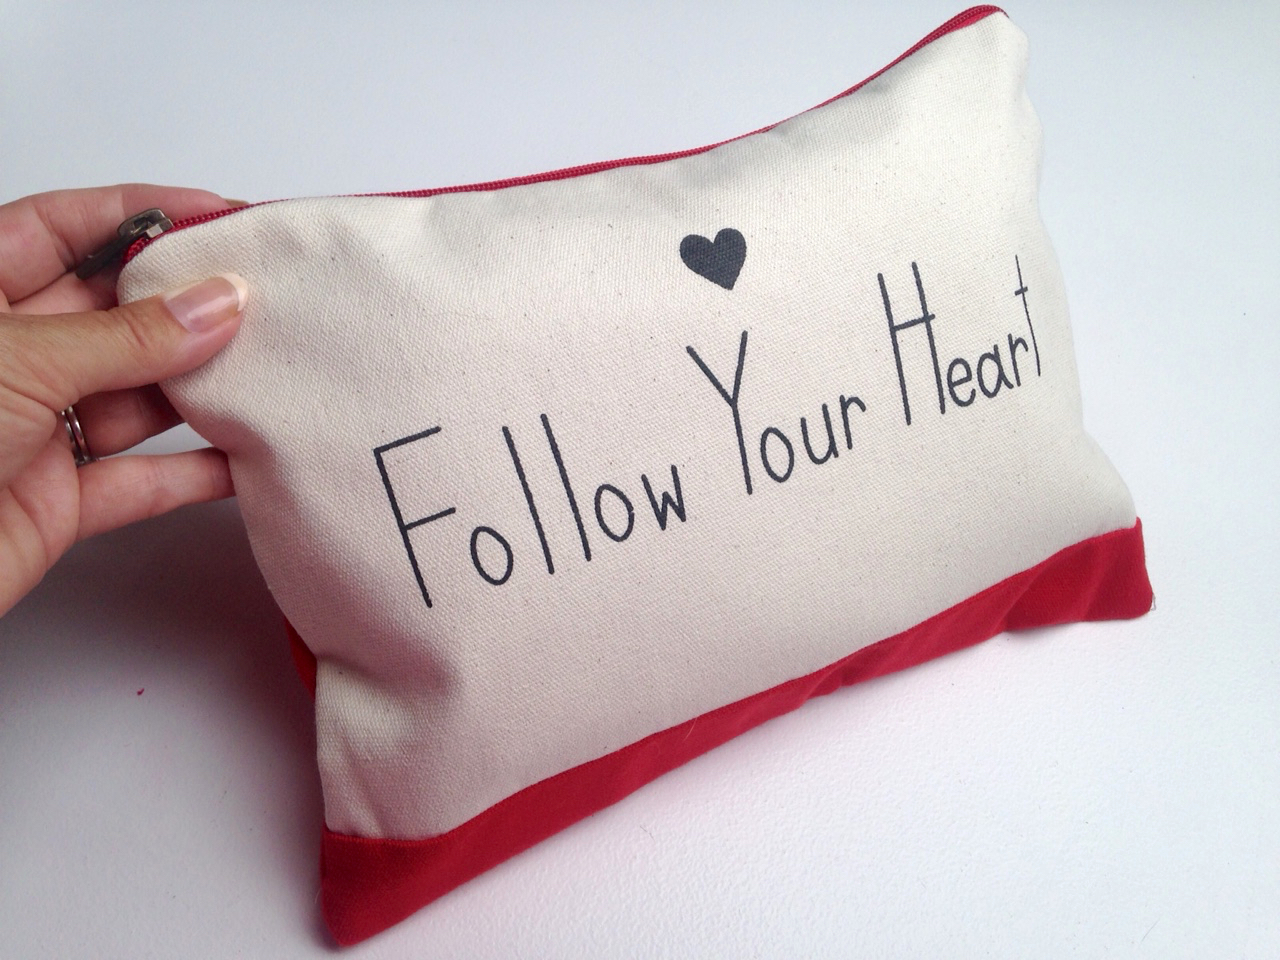
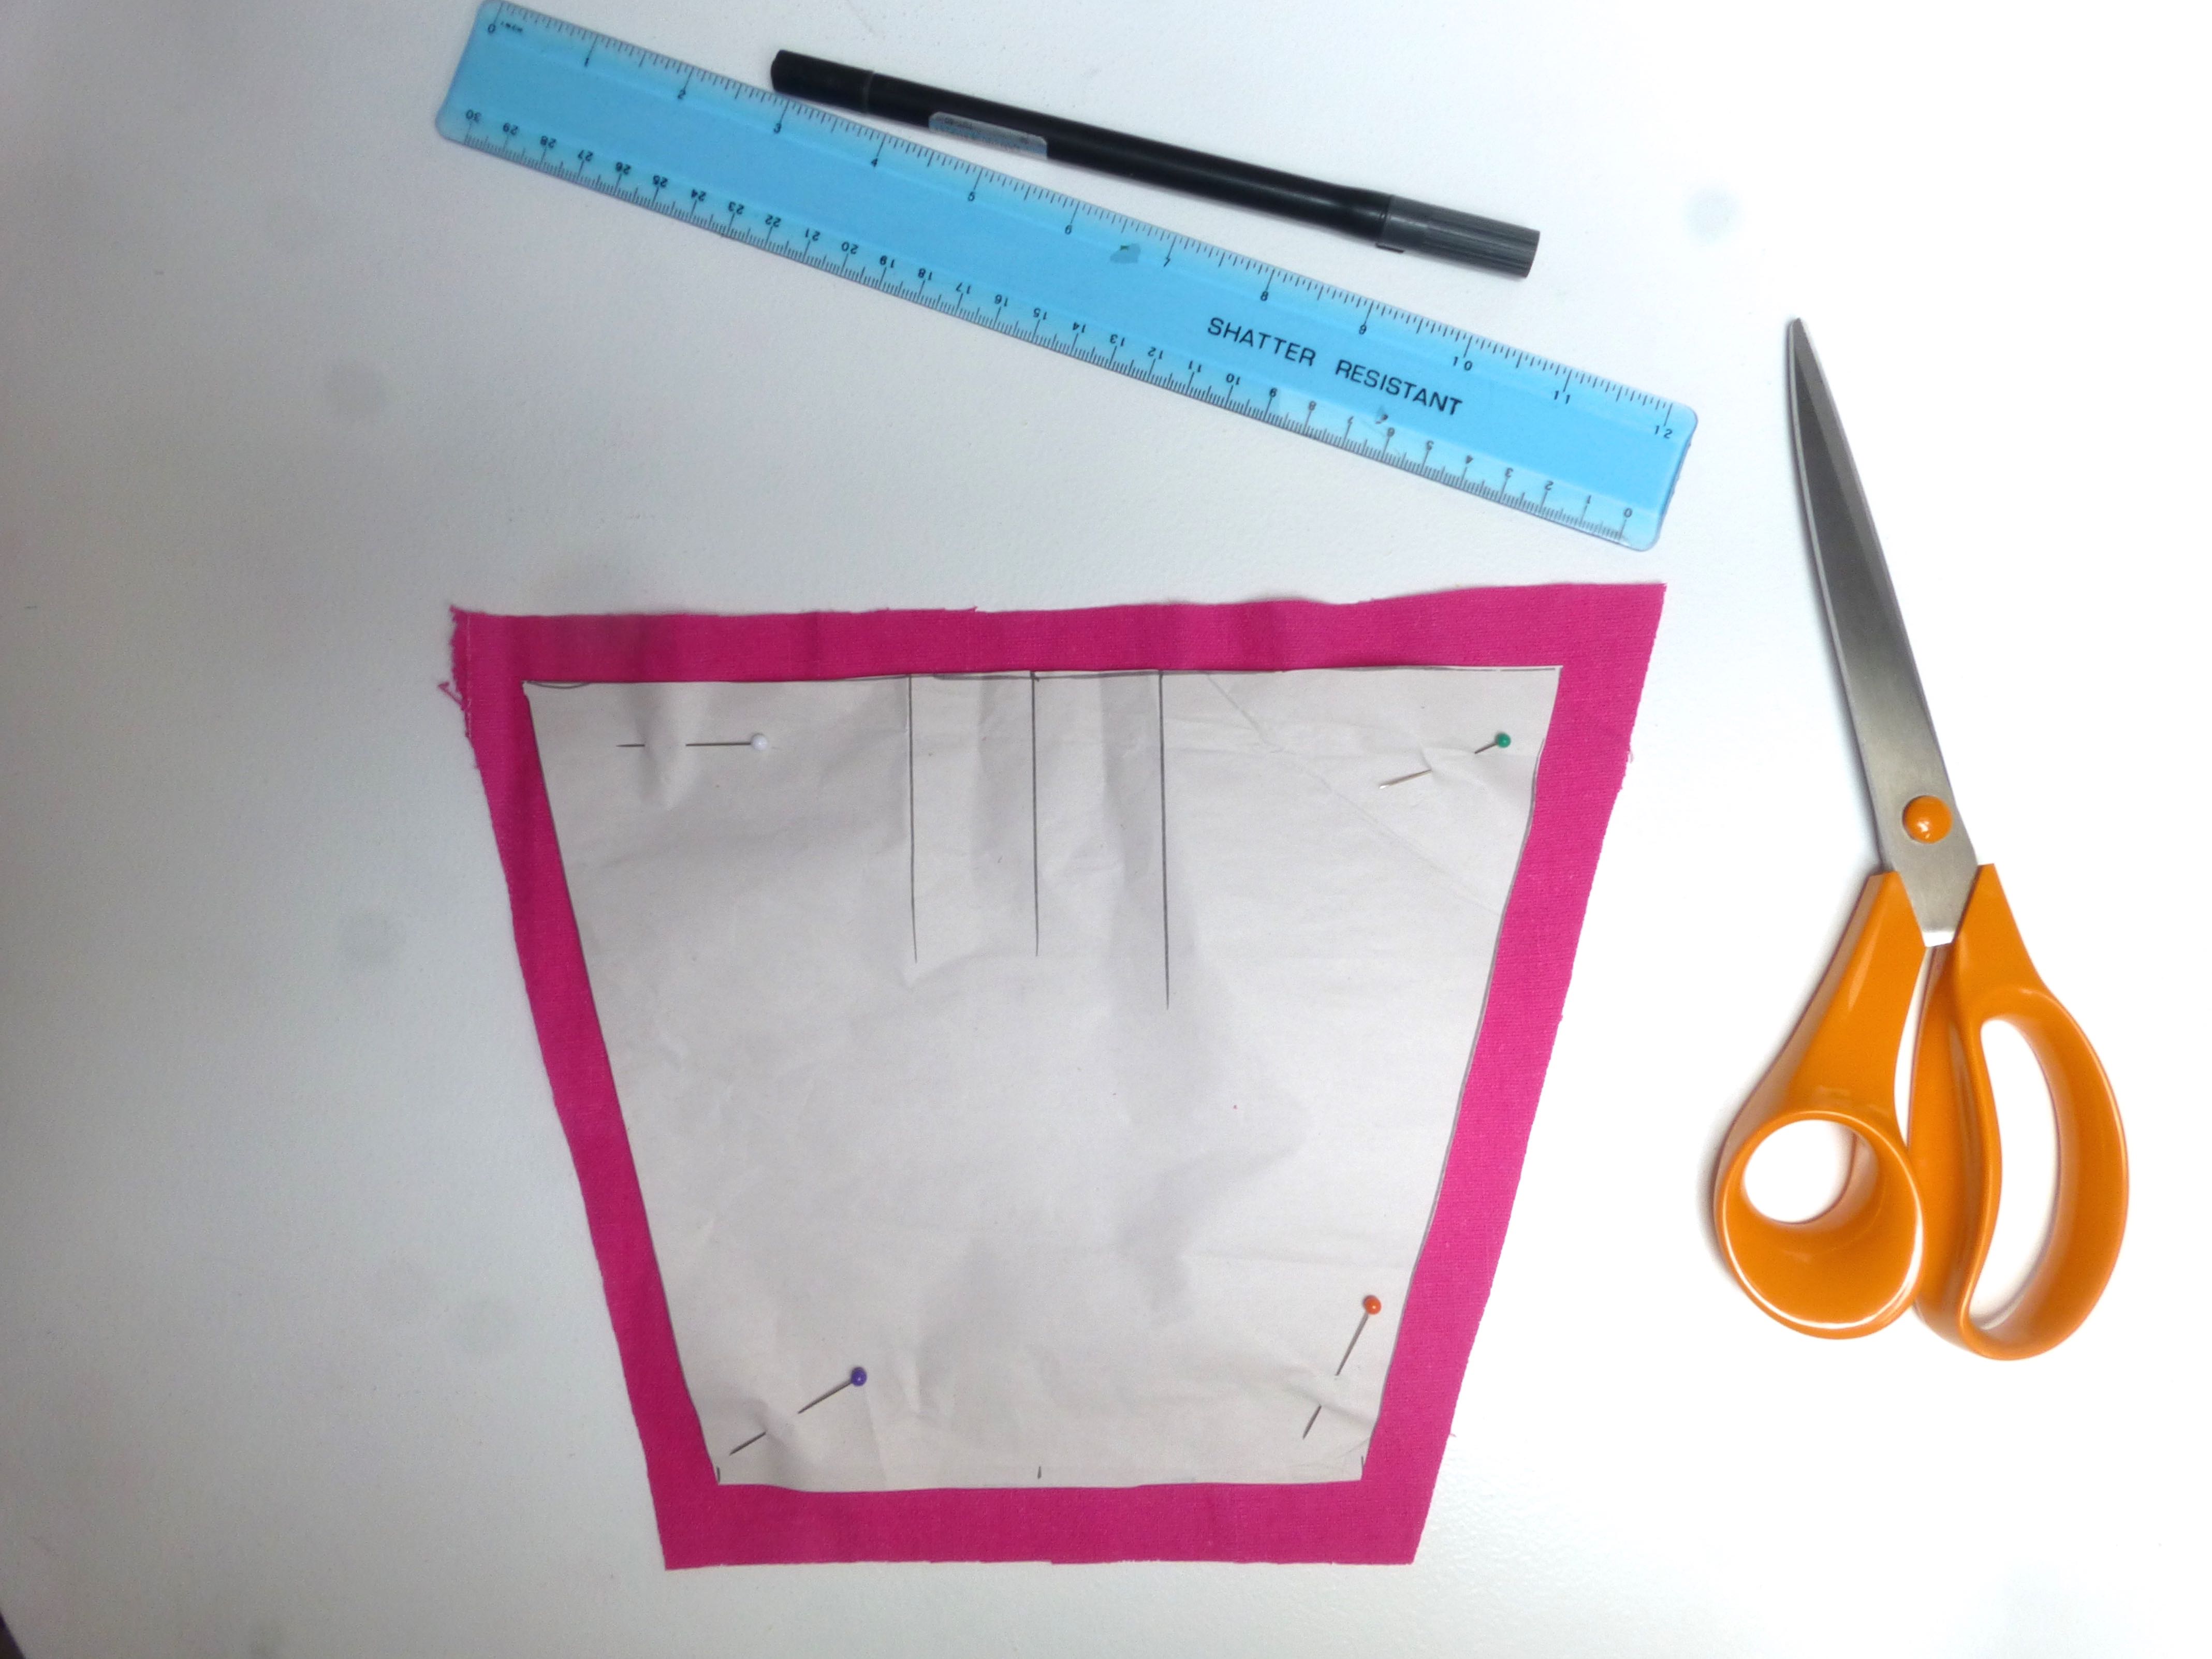
A cute little make up bag (cosmetic purse) with appliquéd detail on the front – the sort of added extra that can take hours and couldn’t possibly be done at a profit if making to sell.
After tracing off the single pattern piece, I cut out candy-pink striped fabric for the outside, coordinating checked fabric for the lining and some batting to add structure.
This method for appliqué is a good one for tiny items where there’s not much fabric to put under the sewing machine foot.
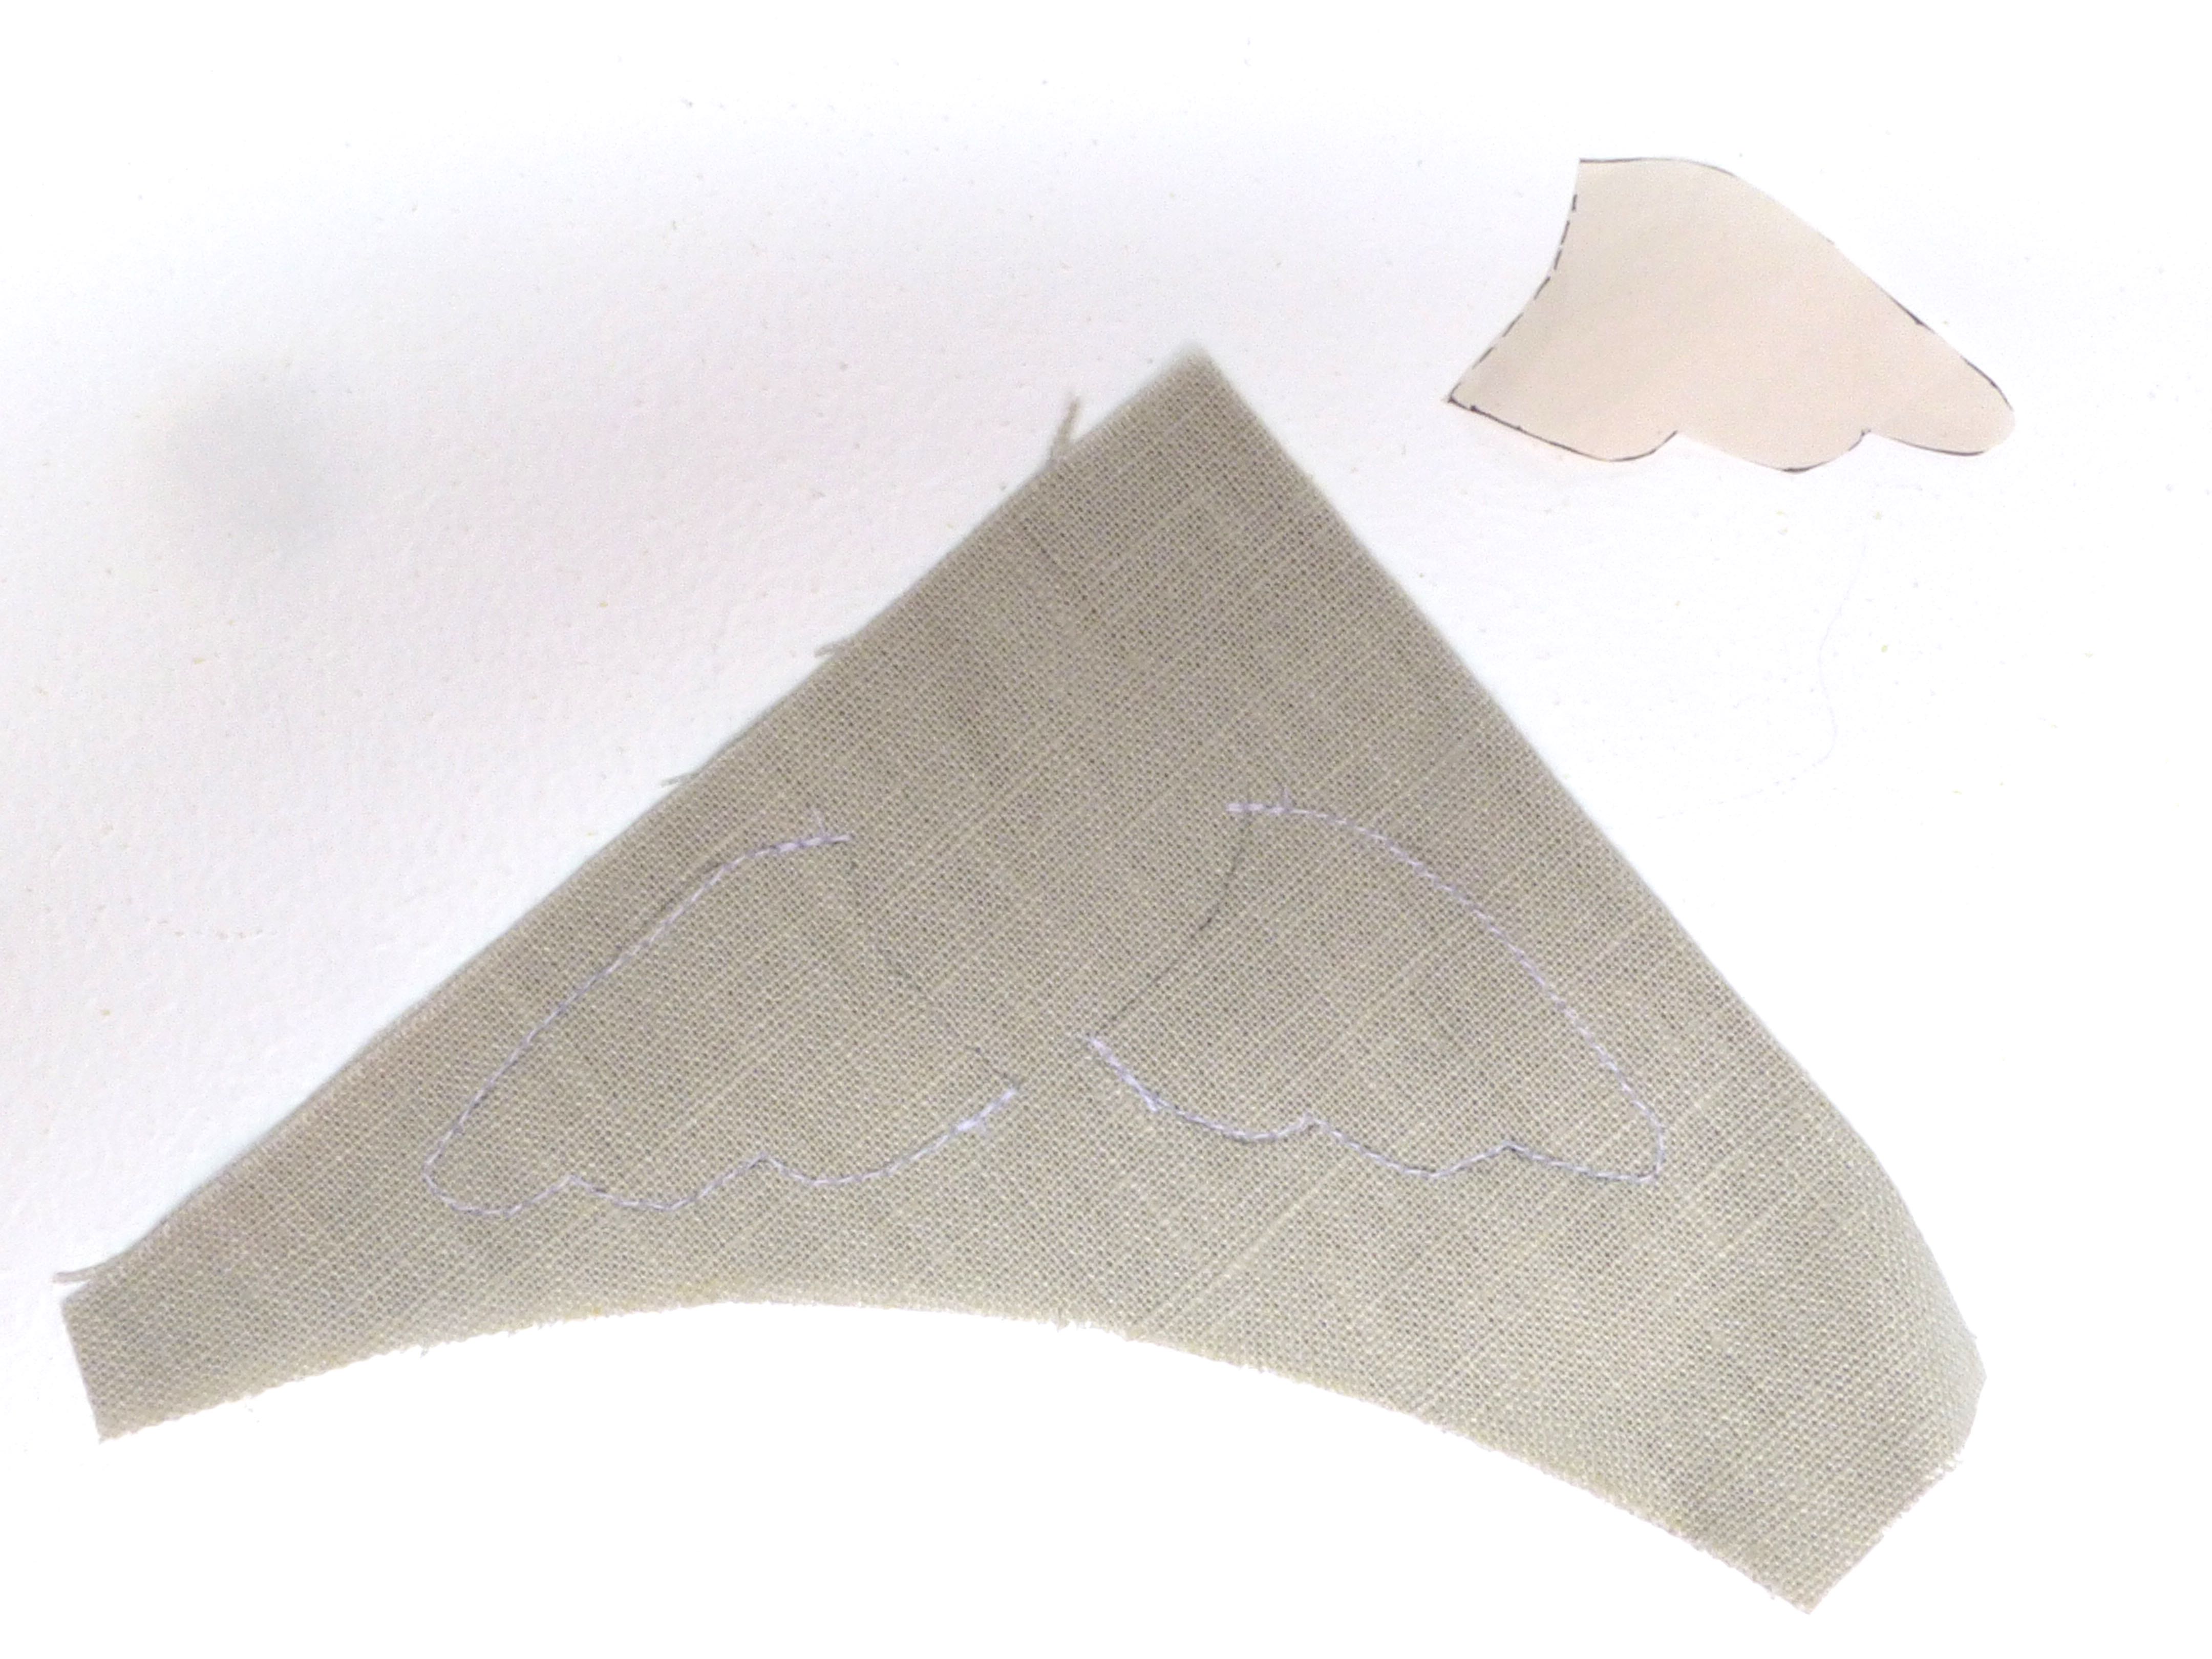
You start by transferring your design (angel’s wings) onto a double thickness of fabric and stitching around, leaving an opening for turning.
Trim close to the stitching.
Turn and press.
Repeat with all the appliquéd elements and pin to the front of the make up bag.
Sew all the motifs on, making sure your stitches are hidden.
This type of appliqué gives a raised finish when sewn on and the stitches are almost invisible rather than being a feature.
Little swirls adorn the wings, all done by hand with the tiniest of stitches.
Add some eyes and hair to the naive-style face together with an embroidered flower and the decoration is complete!
Construction was straightforward enough.
A row of rustic running stitches keeps the lining from getting caught in the zip as well as being a pretty detail.
Of course, the process could be sped up enormously if the motifs were stitched on by machine and free-machine embroidery used for the wing swirls and flower.
I chose to do it by the book, so to speak, as it gave a more homespun feel that I was looking for.
I love the coordinating lining – it makes the inside a nice surprise when you undo the zip.
This was the ideal project to use up scraps too, as it uses so little for the body and lining of the bag and the appliquéd motifs are literally tiny pieces you’d normally throw away!
Thankfully, the make up bag was very well received, so all that effort was worthwhile – I might even make some more for Christmas presents.
We were invited to No.1 Son’s girlfriend’s parent’s house (are you with me?) at the weekend, for a barbeque.
It was his girlfriend’s mother’s birthday (keep up!) so we wanted to take a suitable present, but there was a tiny problem – we’d never met, so I had no idea what she would like.
Obviously I was going to make a gift and, after a little indecision, settled on a purse (wallet, for our U.S. friends) and a matching tote.
I had some leftover vinyl from the One Hour Ikea Bag and searched through my (massive) stash before whittling it down to these grey and pink coordinating cottons, using just the dotty ones in the end.
The tutorial is pretty comprehensive and soon I had put the main pieces together.
After sewing the outside to the inside, it was simply a matter of turning through to the right side and top stitching.
Et voilá – one (very pretty) vinyl purse!
I chose to fit a magnetic snap closure simply because I’ve got loads of them and they really do give the best finish.
The inside is a purse of two halves – one side is pink, the other is grey.
The grey side holds all the real money.
Coins are kept safe in the zipped pocket….
….which is lined with the contrasting pink.
Notes are stashed in the open pocket below.
The pink side houses the ‘pretend’ money and can accommodate up to eight credit cards or similar.
Just in case there was any doubt I included a label from Hobbycraft.
I whipped up a simple tote using the same principle as the One Hour Ikea Bag but with dimensions and handles more suited to a shopper.
Box corners makes for a more spacious interior.
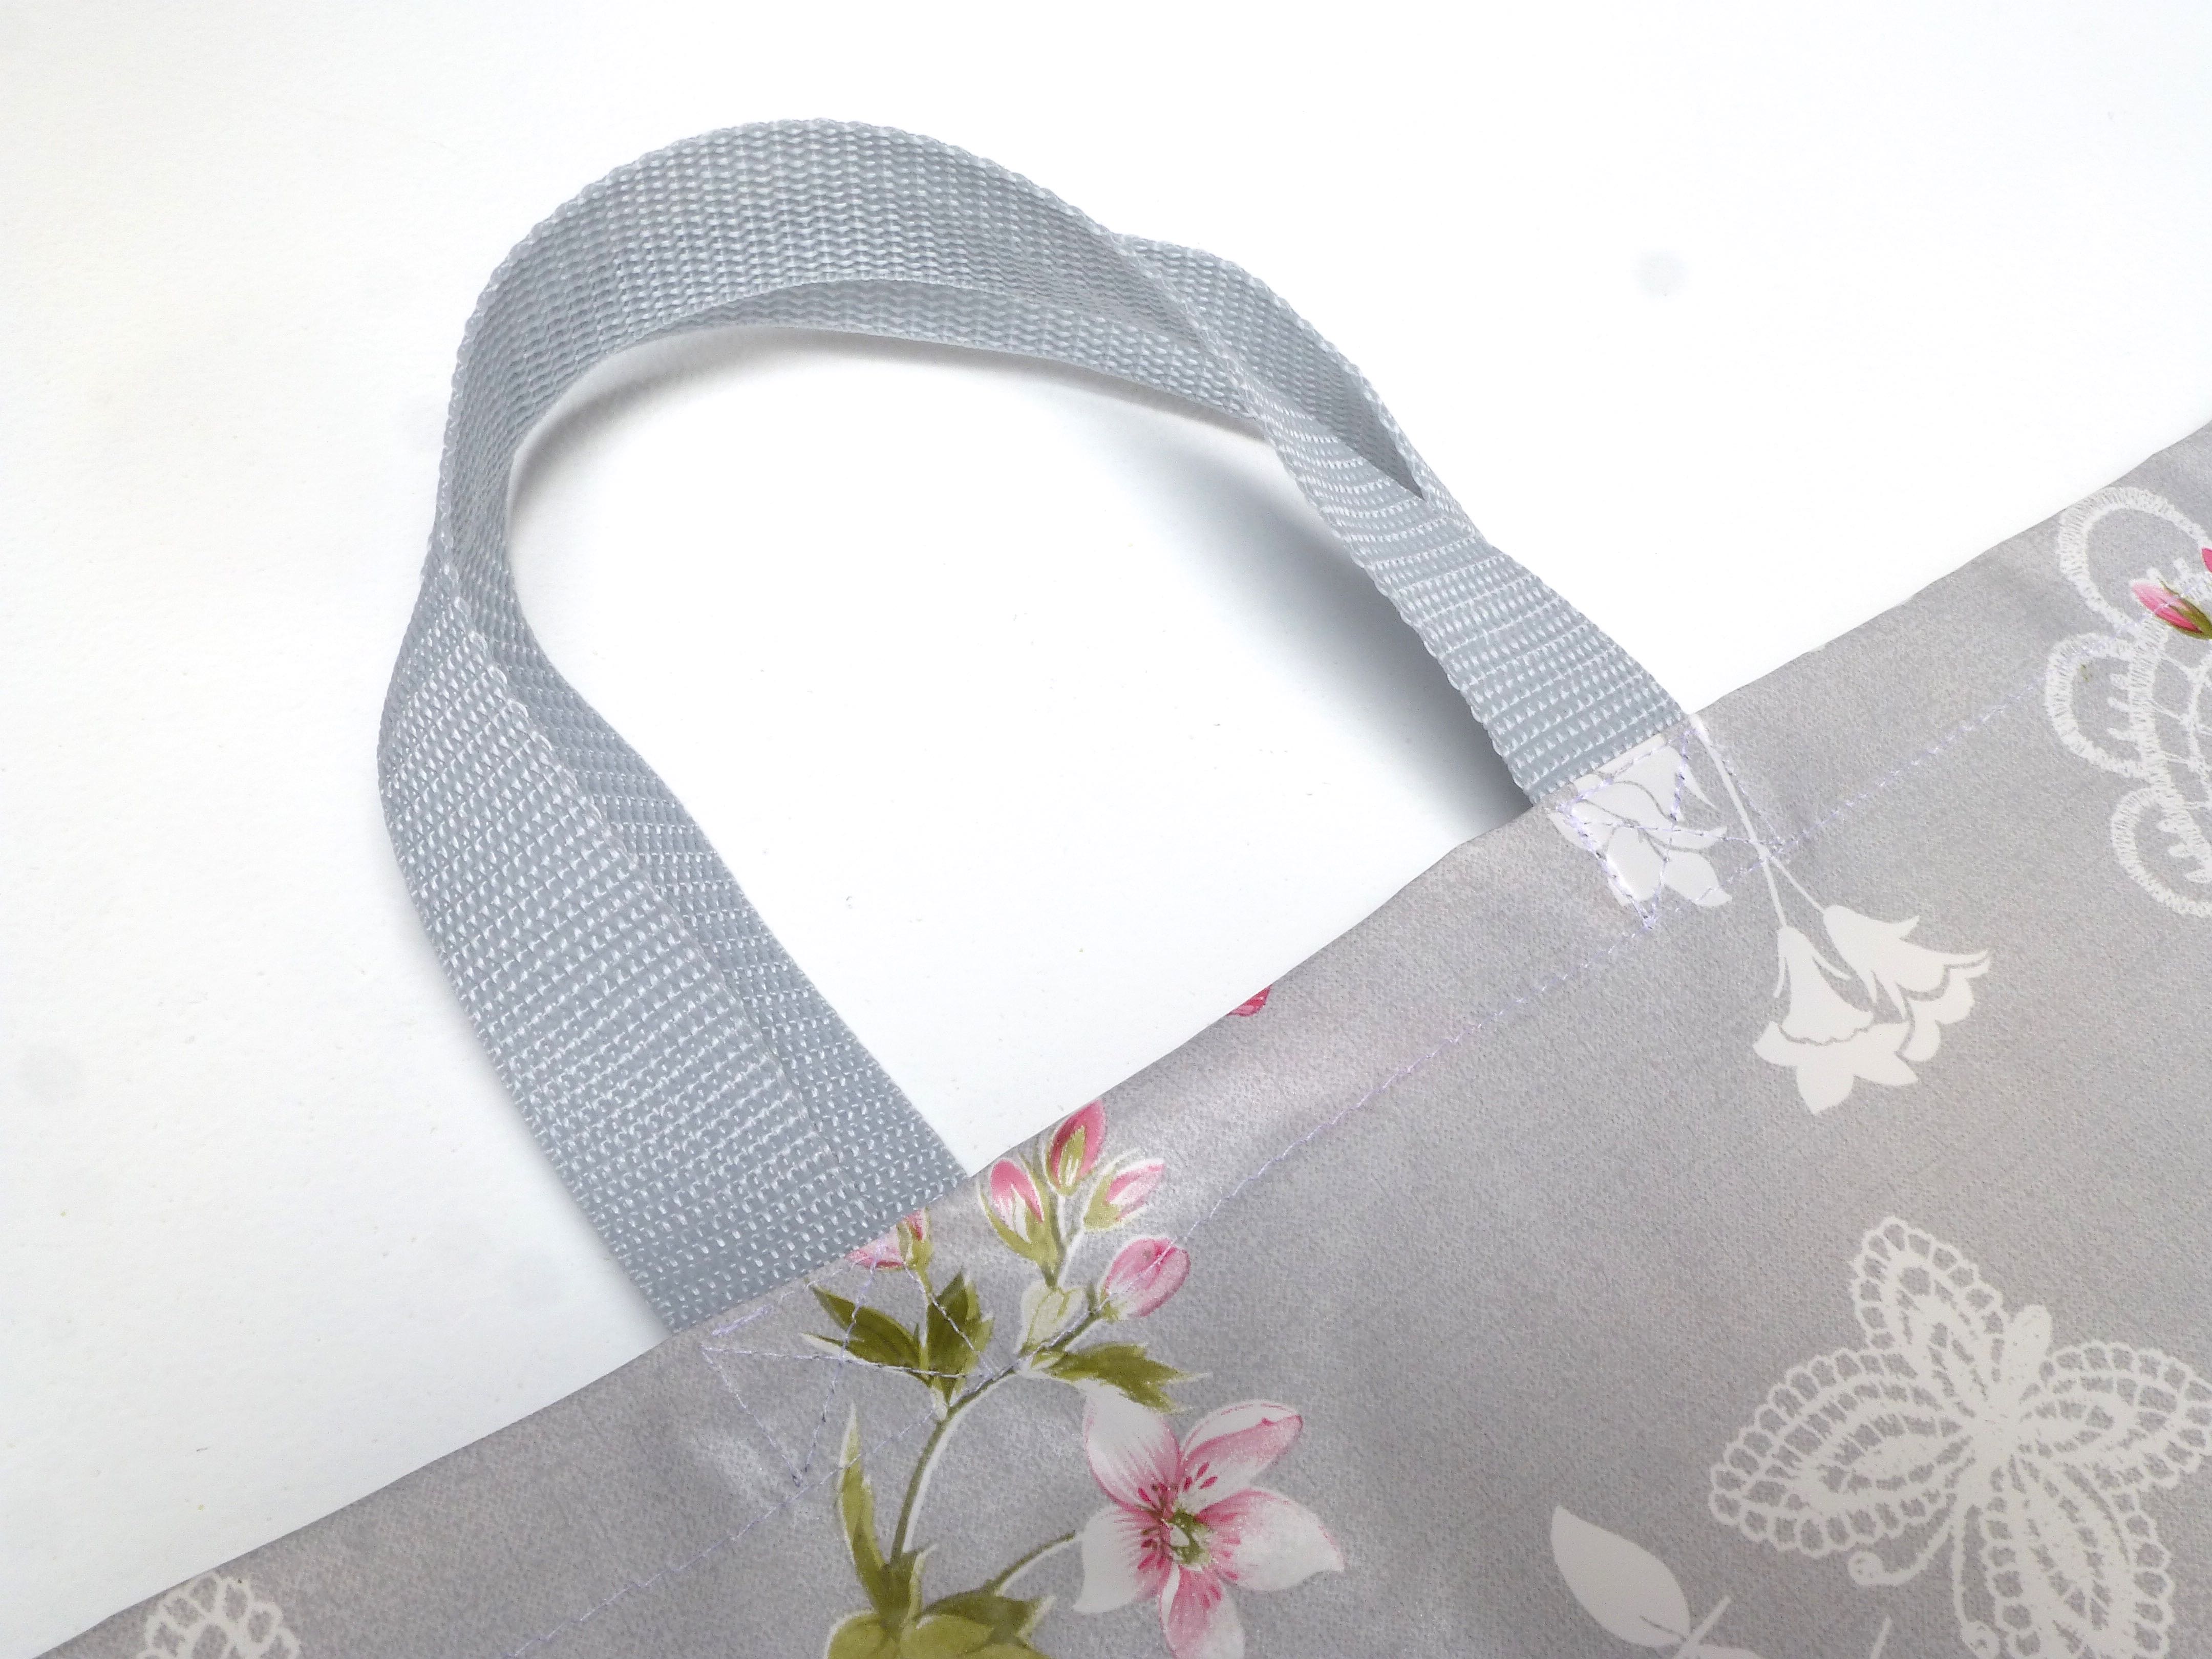
Matching grey webbing is perfect for two short handles.
I think they make quite a smart set for nipping down to the corner shop for a loaf of bread and a pint of milk. (In my dreams. We don’t have a shop in our village.)
All wrapped up and ready to go – complete with handmade birthday card!
Update: The handmade purse (wallet) and matching shopper was a huge success fortunately – she loved it!
Sunday Sevens is a weekly blog series consisting of sevens photos representing your week – a great way to keep blogging if you don’t have much to blog about!
Nat over at Threads & Bobbins explains how you can take part in #sundaysevens in her post here.
So this is my week in brief……
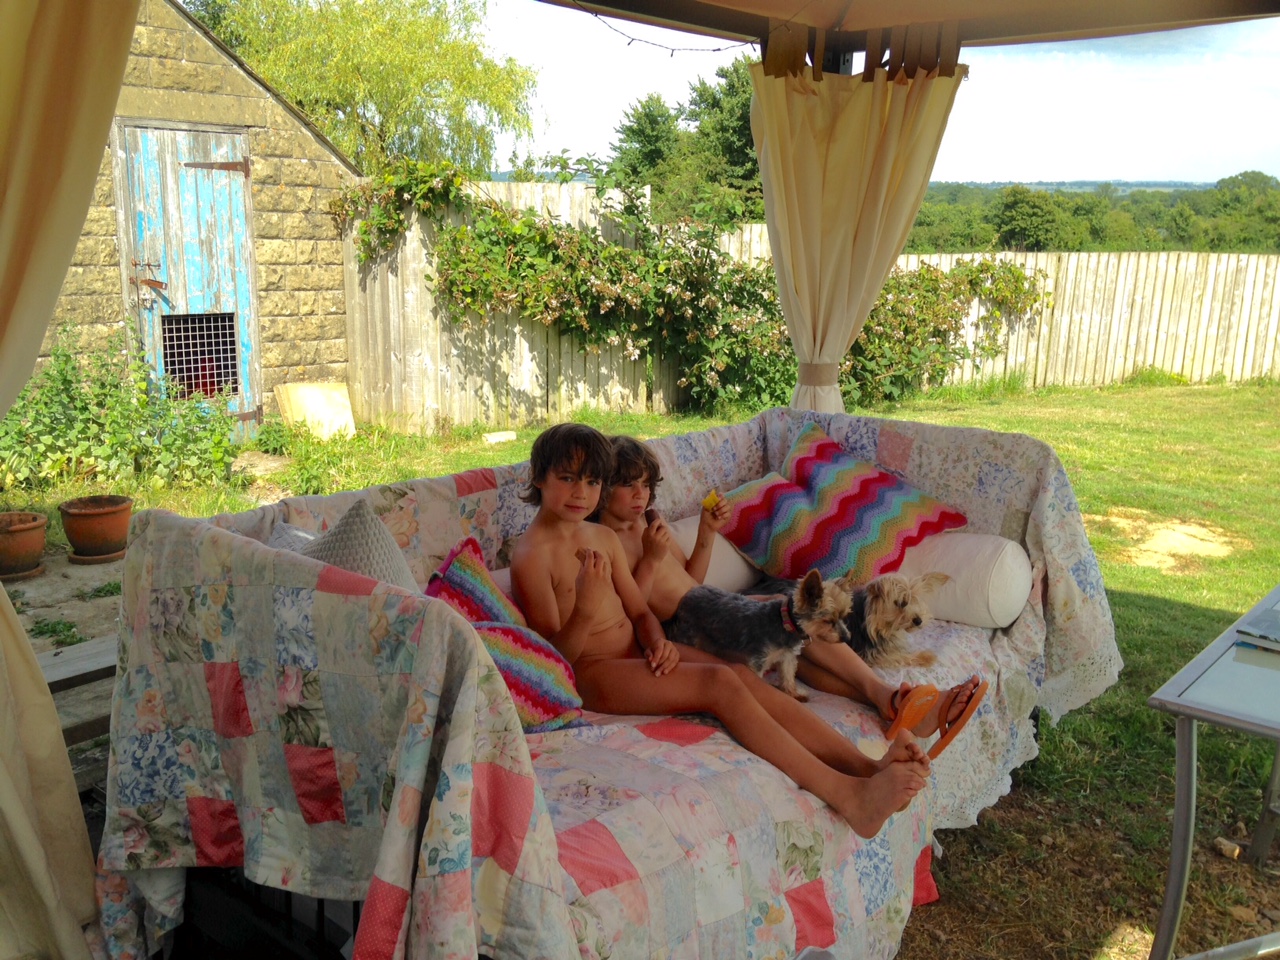
1. The day bed is finally getting some proper use now the weather has perked up – my favourite place to do a spot of crocheting.
2. My crochet-everything-in-the-book challenge is well under way – I’m nearly half way through already!!
3. Popped into Butterfly Bright in Sherborne and discovered that they do a range of knit/sew/crochet ‘n’ natter type sessions that I quite fancy attending.
4. Caught The Boys making mud pies in their school uniforms.
5. Methinks ALL the hens are taking liberties now.
6. My ‘England’ passport cover popped up in Craftseller magazine this month.
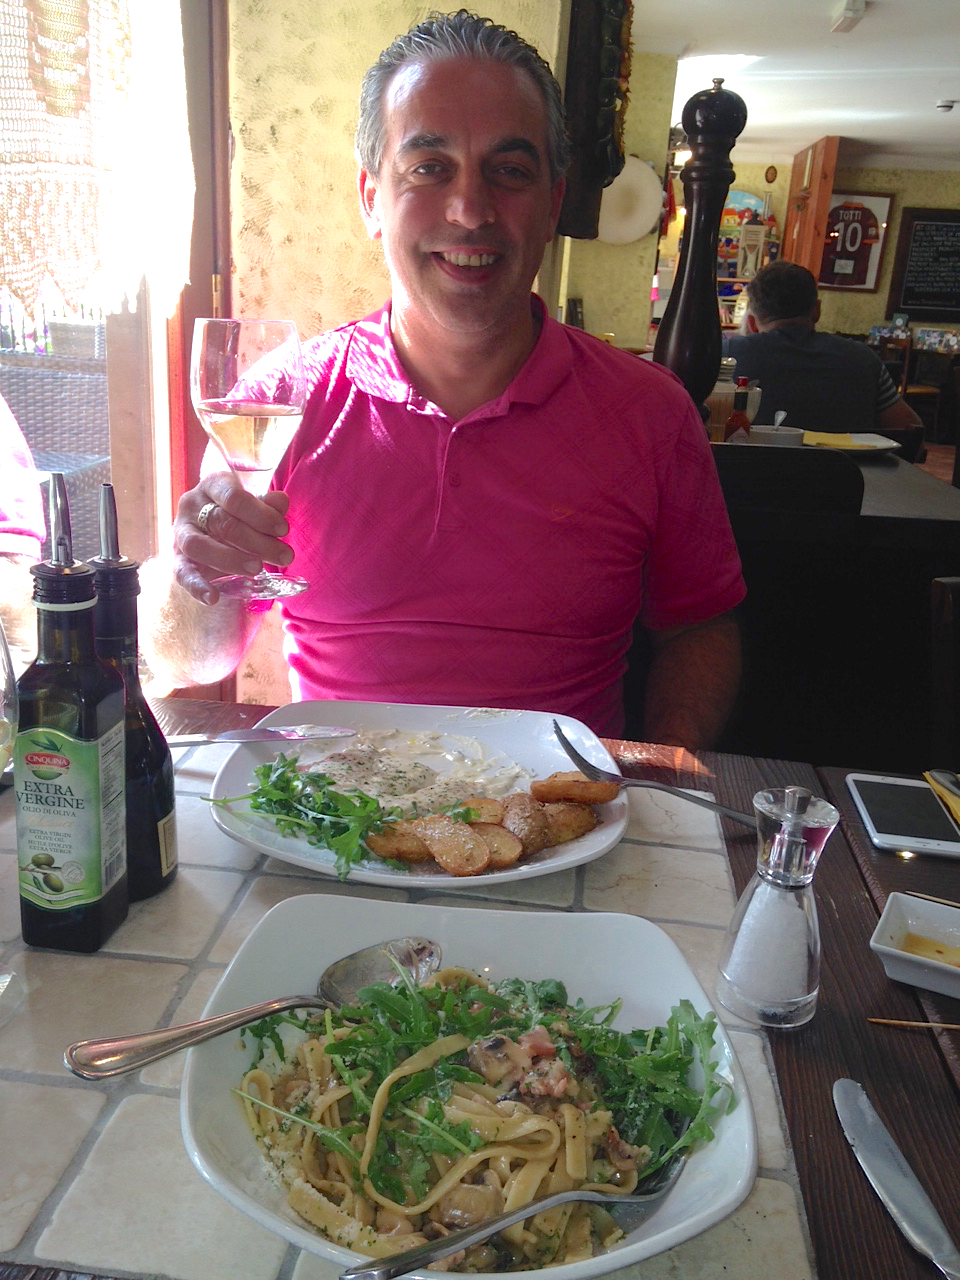
7. A cheeky lunch out whilst The Boys went bowling with their football team today.
On June 29th I opened my WordPress “Reader” as usual and read through the latest blog posts, commenting as I went, again, as usual. Then something that was far from usual happened.
A Creative Being popped up but, instead of being treated to one of Wink’s entertaining narratives or crochet works of art, her sister was the unwilling author informing us gently that Wink had taken her own life.
Wink, whose name was Marinke, was well known in the crochet world as contributing to the book ‘Crochet Saved My Life’ – she suffered from depression which finally became too much to bear.
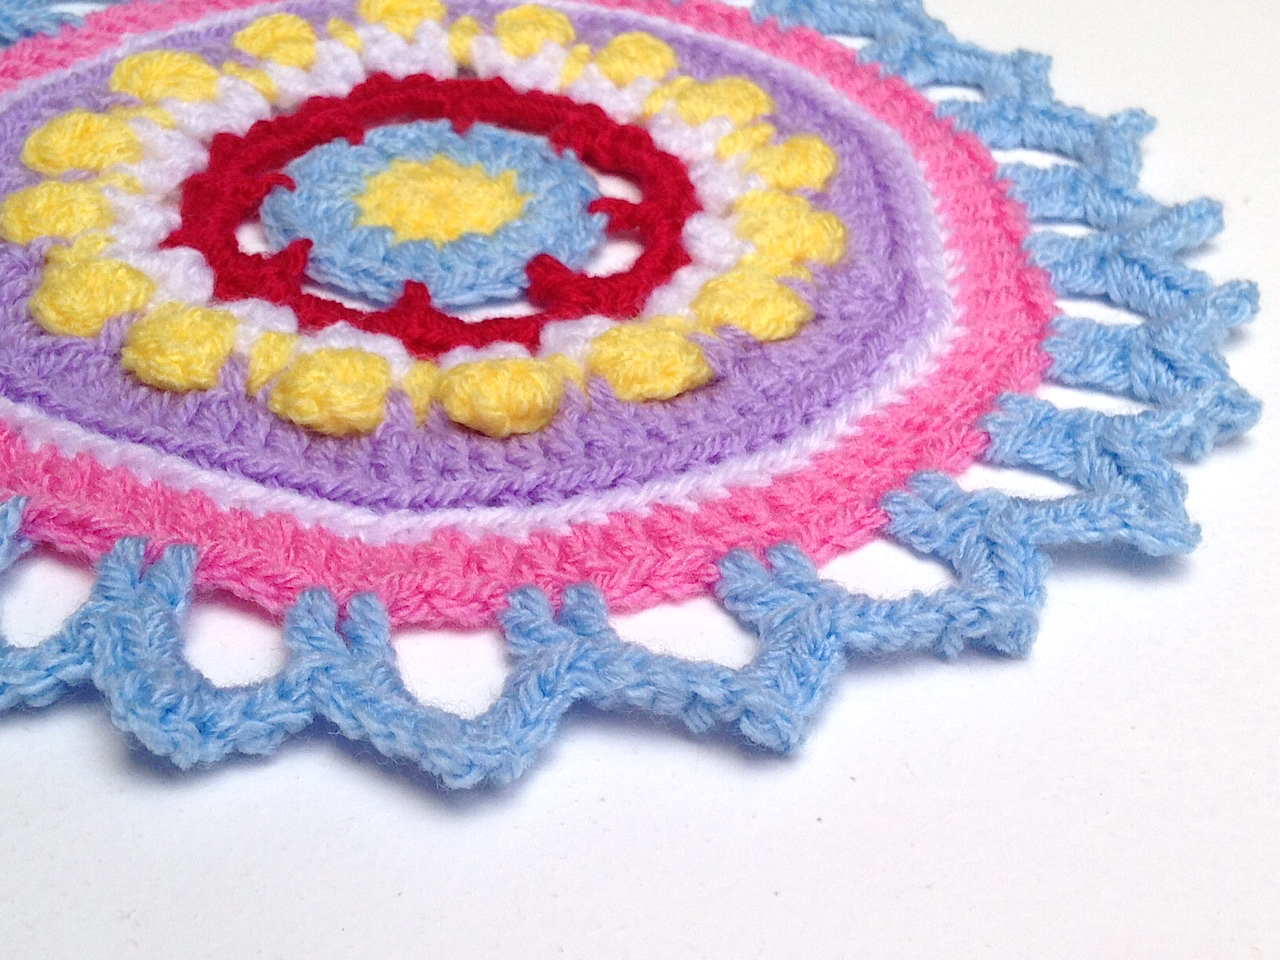
Kathryn from the blog Crochet Concupiscence, is organising a collaborative art project in Wink’s honour and to raise awareness of this dreadful illness. If you would like to make a mandala for the cause, you can find out how at #MandalasForMarinke
This is the mandala I made from one of Wink’s own patterns (which you can find here for free) which is already winging its way to Kathryn in America.
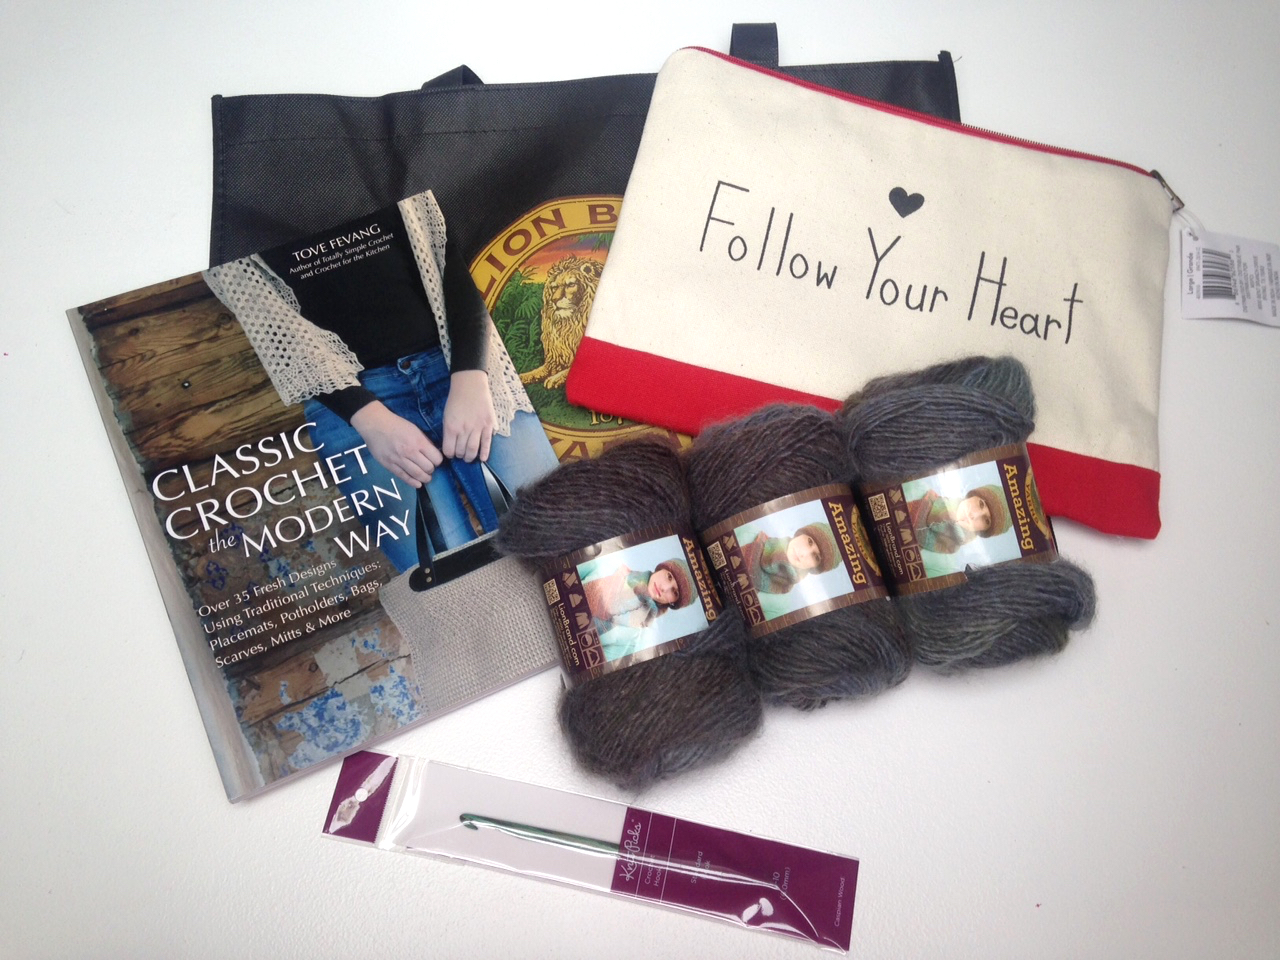
On a much lighter note – I won a giveaway!!!
Amy, from the wonderful ‘Yarnaway’ blog was giving away all this yarny loveliness which I was over the moon to receive!
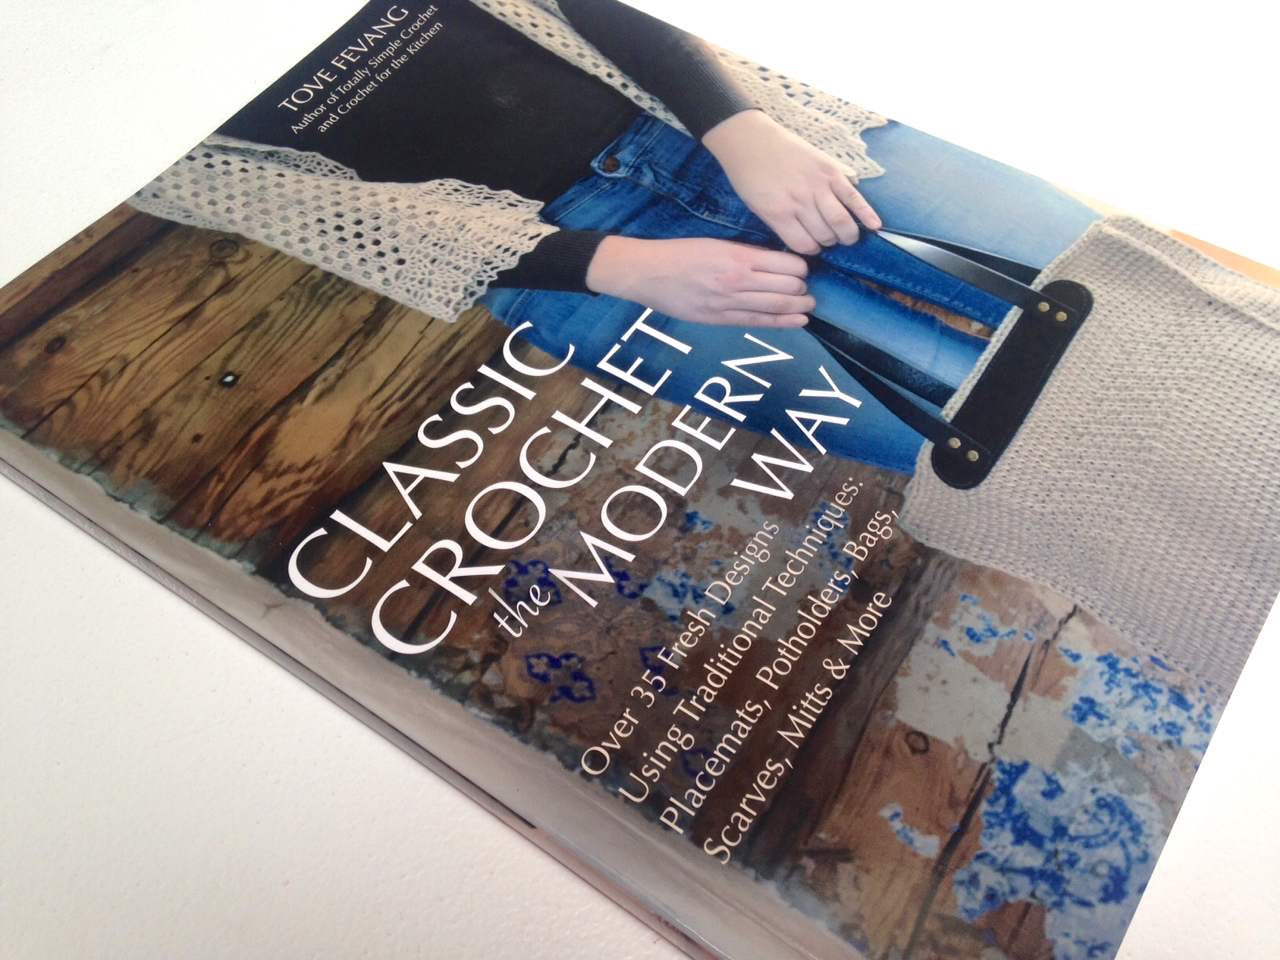
There is an amazing book which I cannot wait to get stuck into…….
……three balls of gorgeous yarn and a crochet hook……
……and a zipped pouch, all of which was tucked into a useful tote.
THANK YOU Amy!
I’m so thrilled to be the winner – the only problem is deciding which of the numerous fabulous patterns in the book to make…..
For me, it’s day trips to the coast, balmy evenings sat outdoors until after sundown, weekend breakfasts in the garden, outdoor concerts in the grounds of old ruins……in short – being outside.
And being outside is made all the more perfect if you take that most quintessentially English thing with you – a picnic. Dressed down with sandwiches and a flask of tea at the seaside, or glammed up with champagne and a candelabra for a classical concert, everyone loves a picnic, with a soft, warm, waterproof picnic blanket to relax on in comfort…….
……except we haven’t got one.
Well, we didn’t have until recently when I decided to take advantage of being part of the Minerva Crafts Blogger Network and make one.
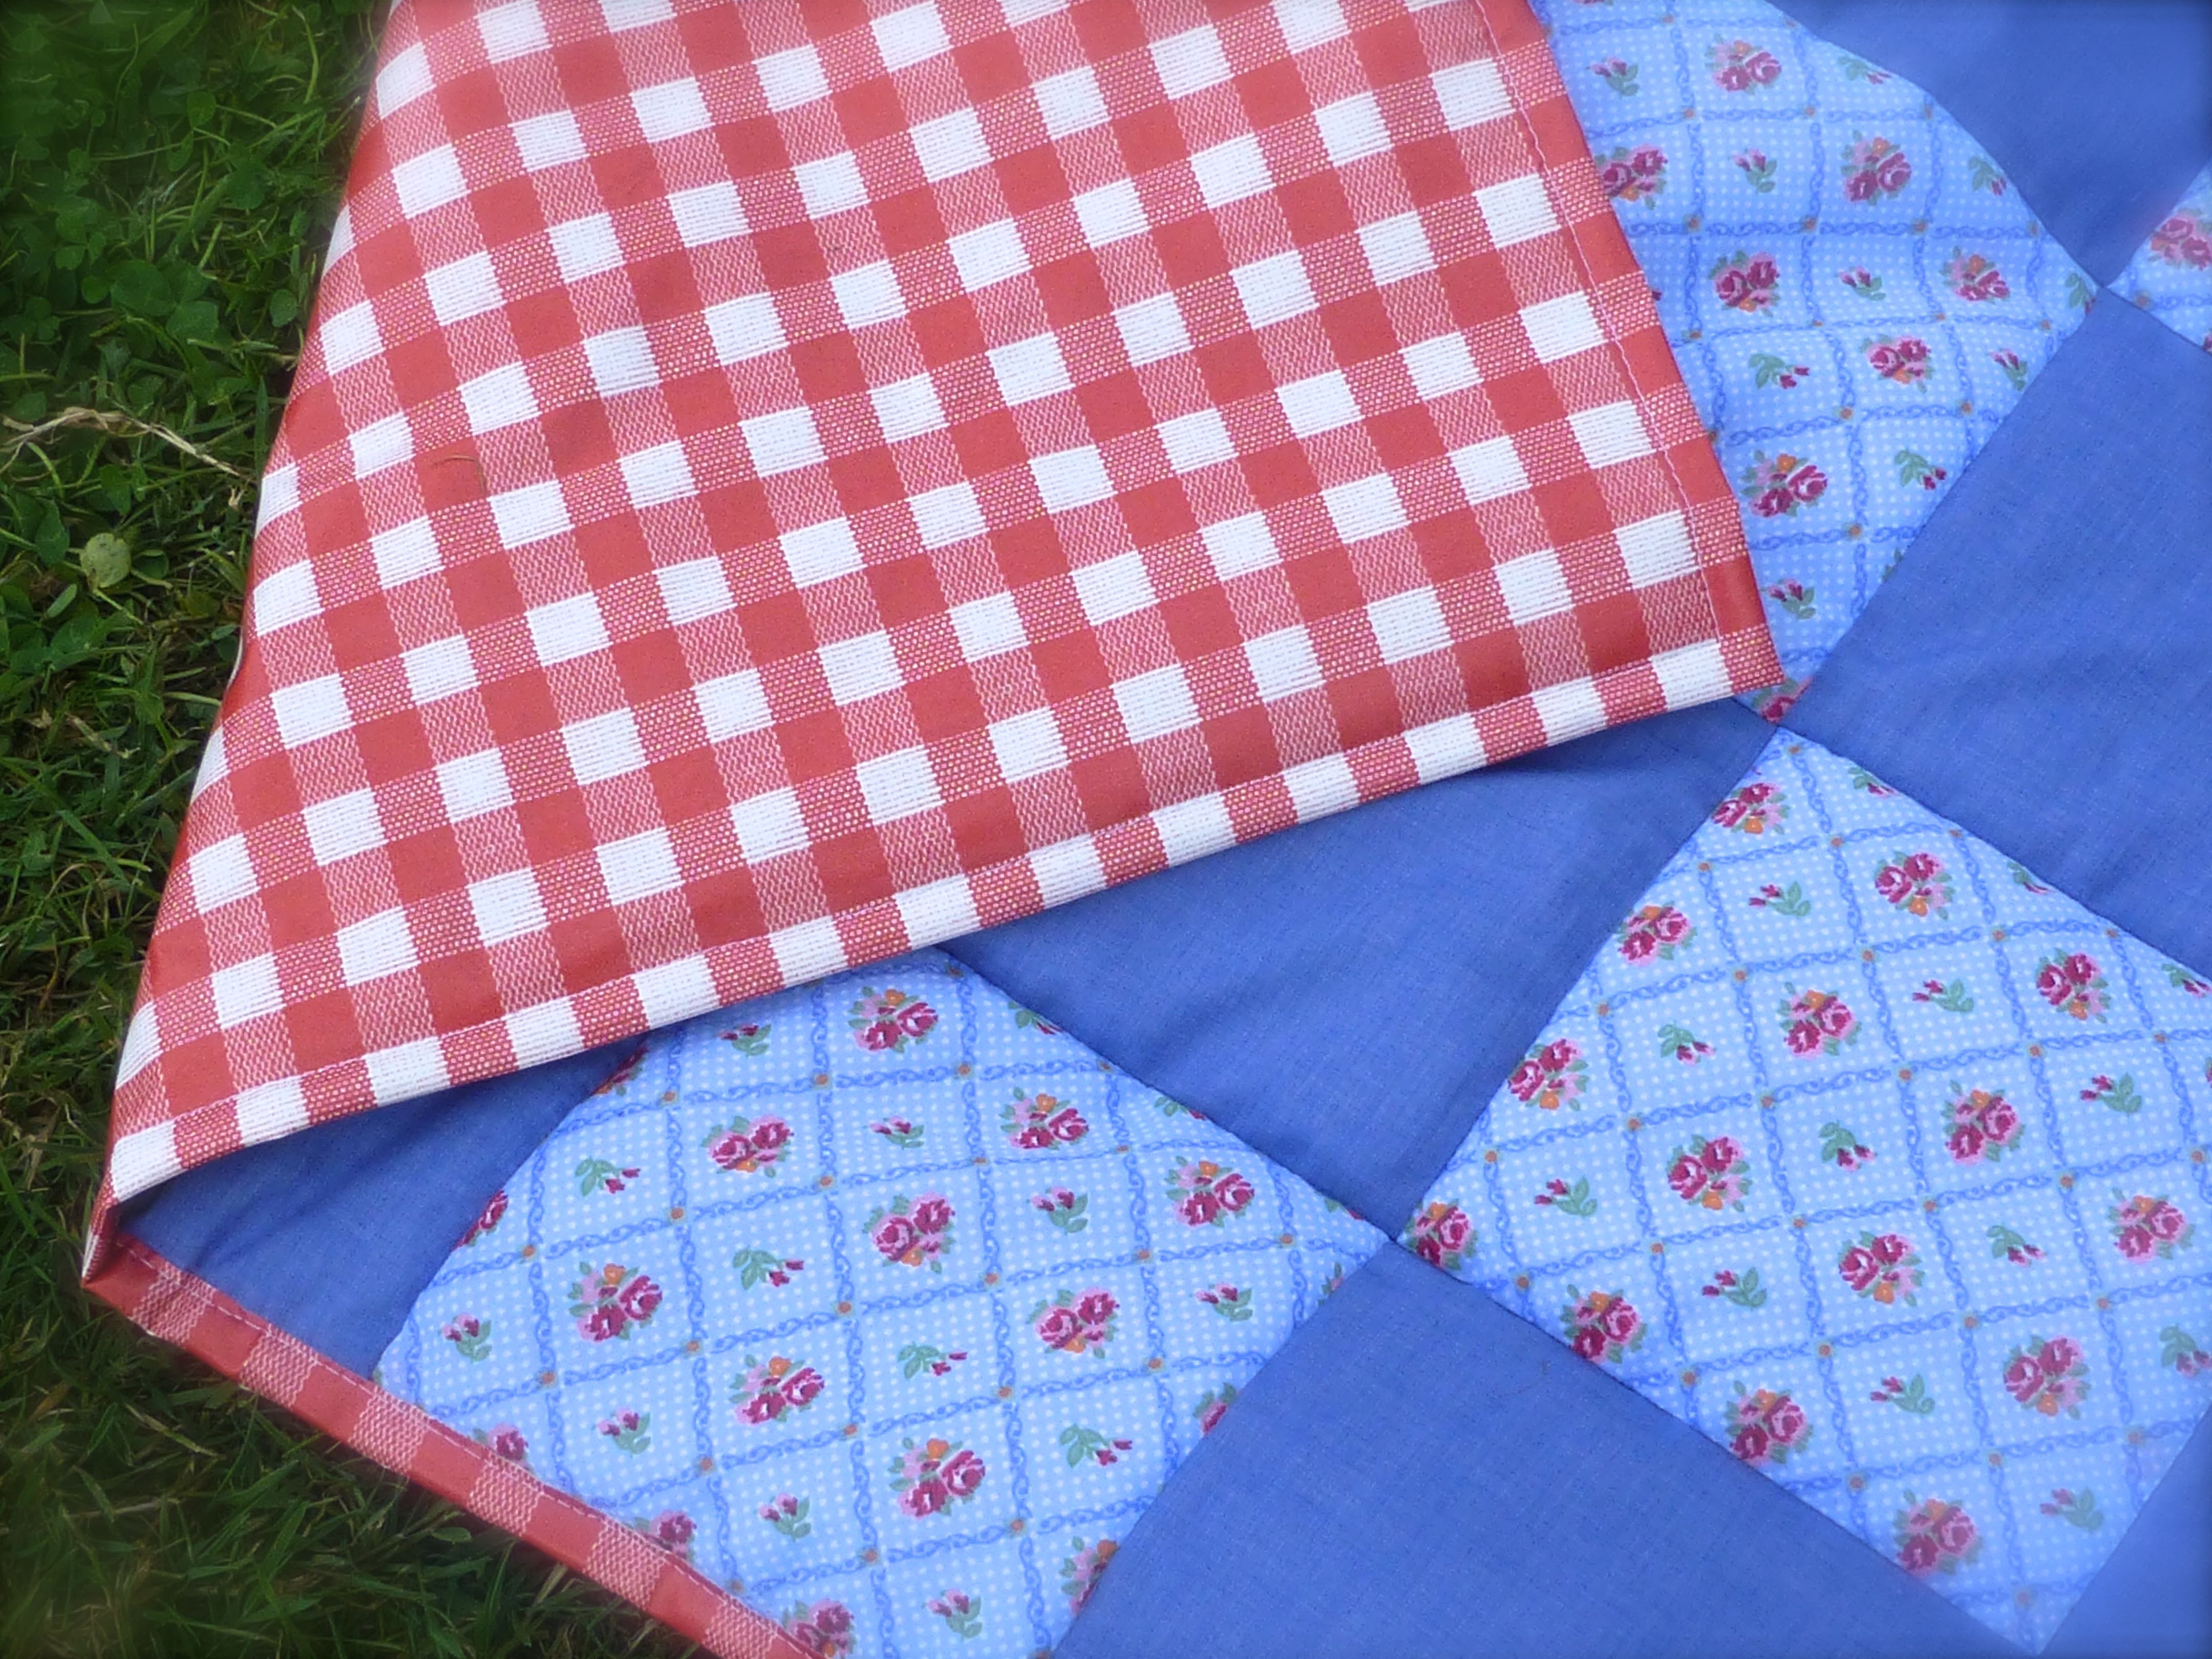
I didn’t want to make just any old picnic blanket, oh no, I wanted the ‘deluxe’ version, something a bit special, so decided to make a patchwork blanket with a waterproof backing and a carry handle. As there are four boys in the house (if you include Mr H-L), anything too pink and girly was out of the question, but I thought I could get away with a small floral print if the main colour was blue.
My Olfa Quiltmaking Kit came with this mat, rotary cutter and 6.5″ square ruler, so I kept things simple by cutting the patchwork squares the same size as the ruler.
Cutting through folded fabric made short work of all those squares as I could cut through four layers at a time – using a rotary cutter and the quilting ruler ensured that they were accurately cut, which is essential in patchwork.
In no time at all I had two piles of neatly stacked patchwork squares, 36 of the floral and 45 of the plain making 81 in total.
The easiest way to keep accurate seam allowances is to line up the edge of the fabric with the edge of the machine foot, the needle in the central position. On my machine, that means a seam allowance of 1cm throughout.
Whilst it may sound obvious, there is a quick way to whizz through all those squares.
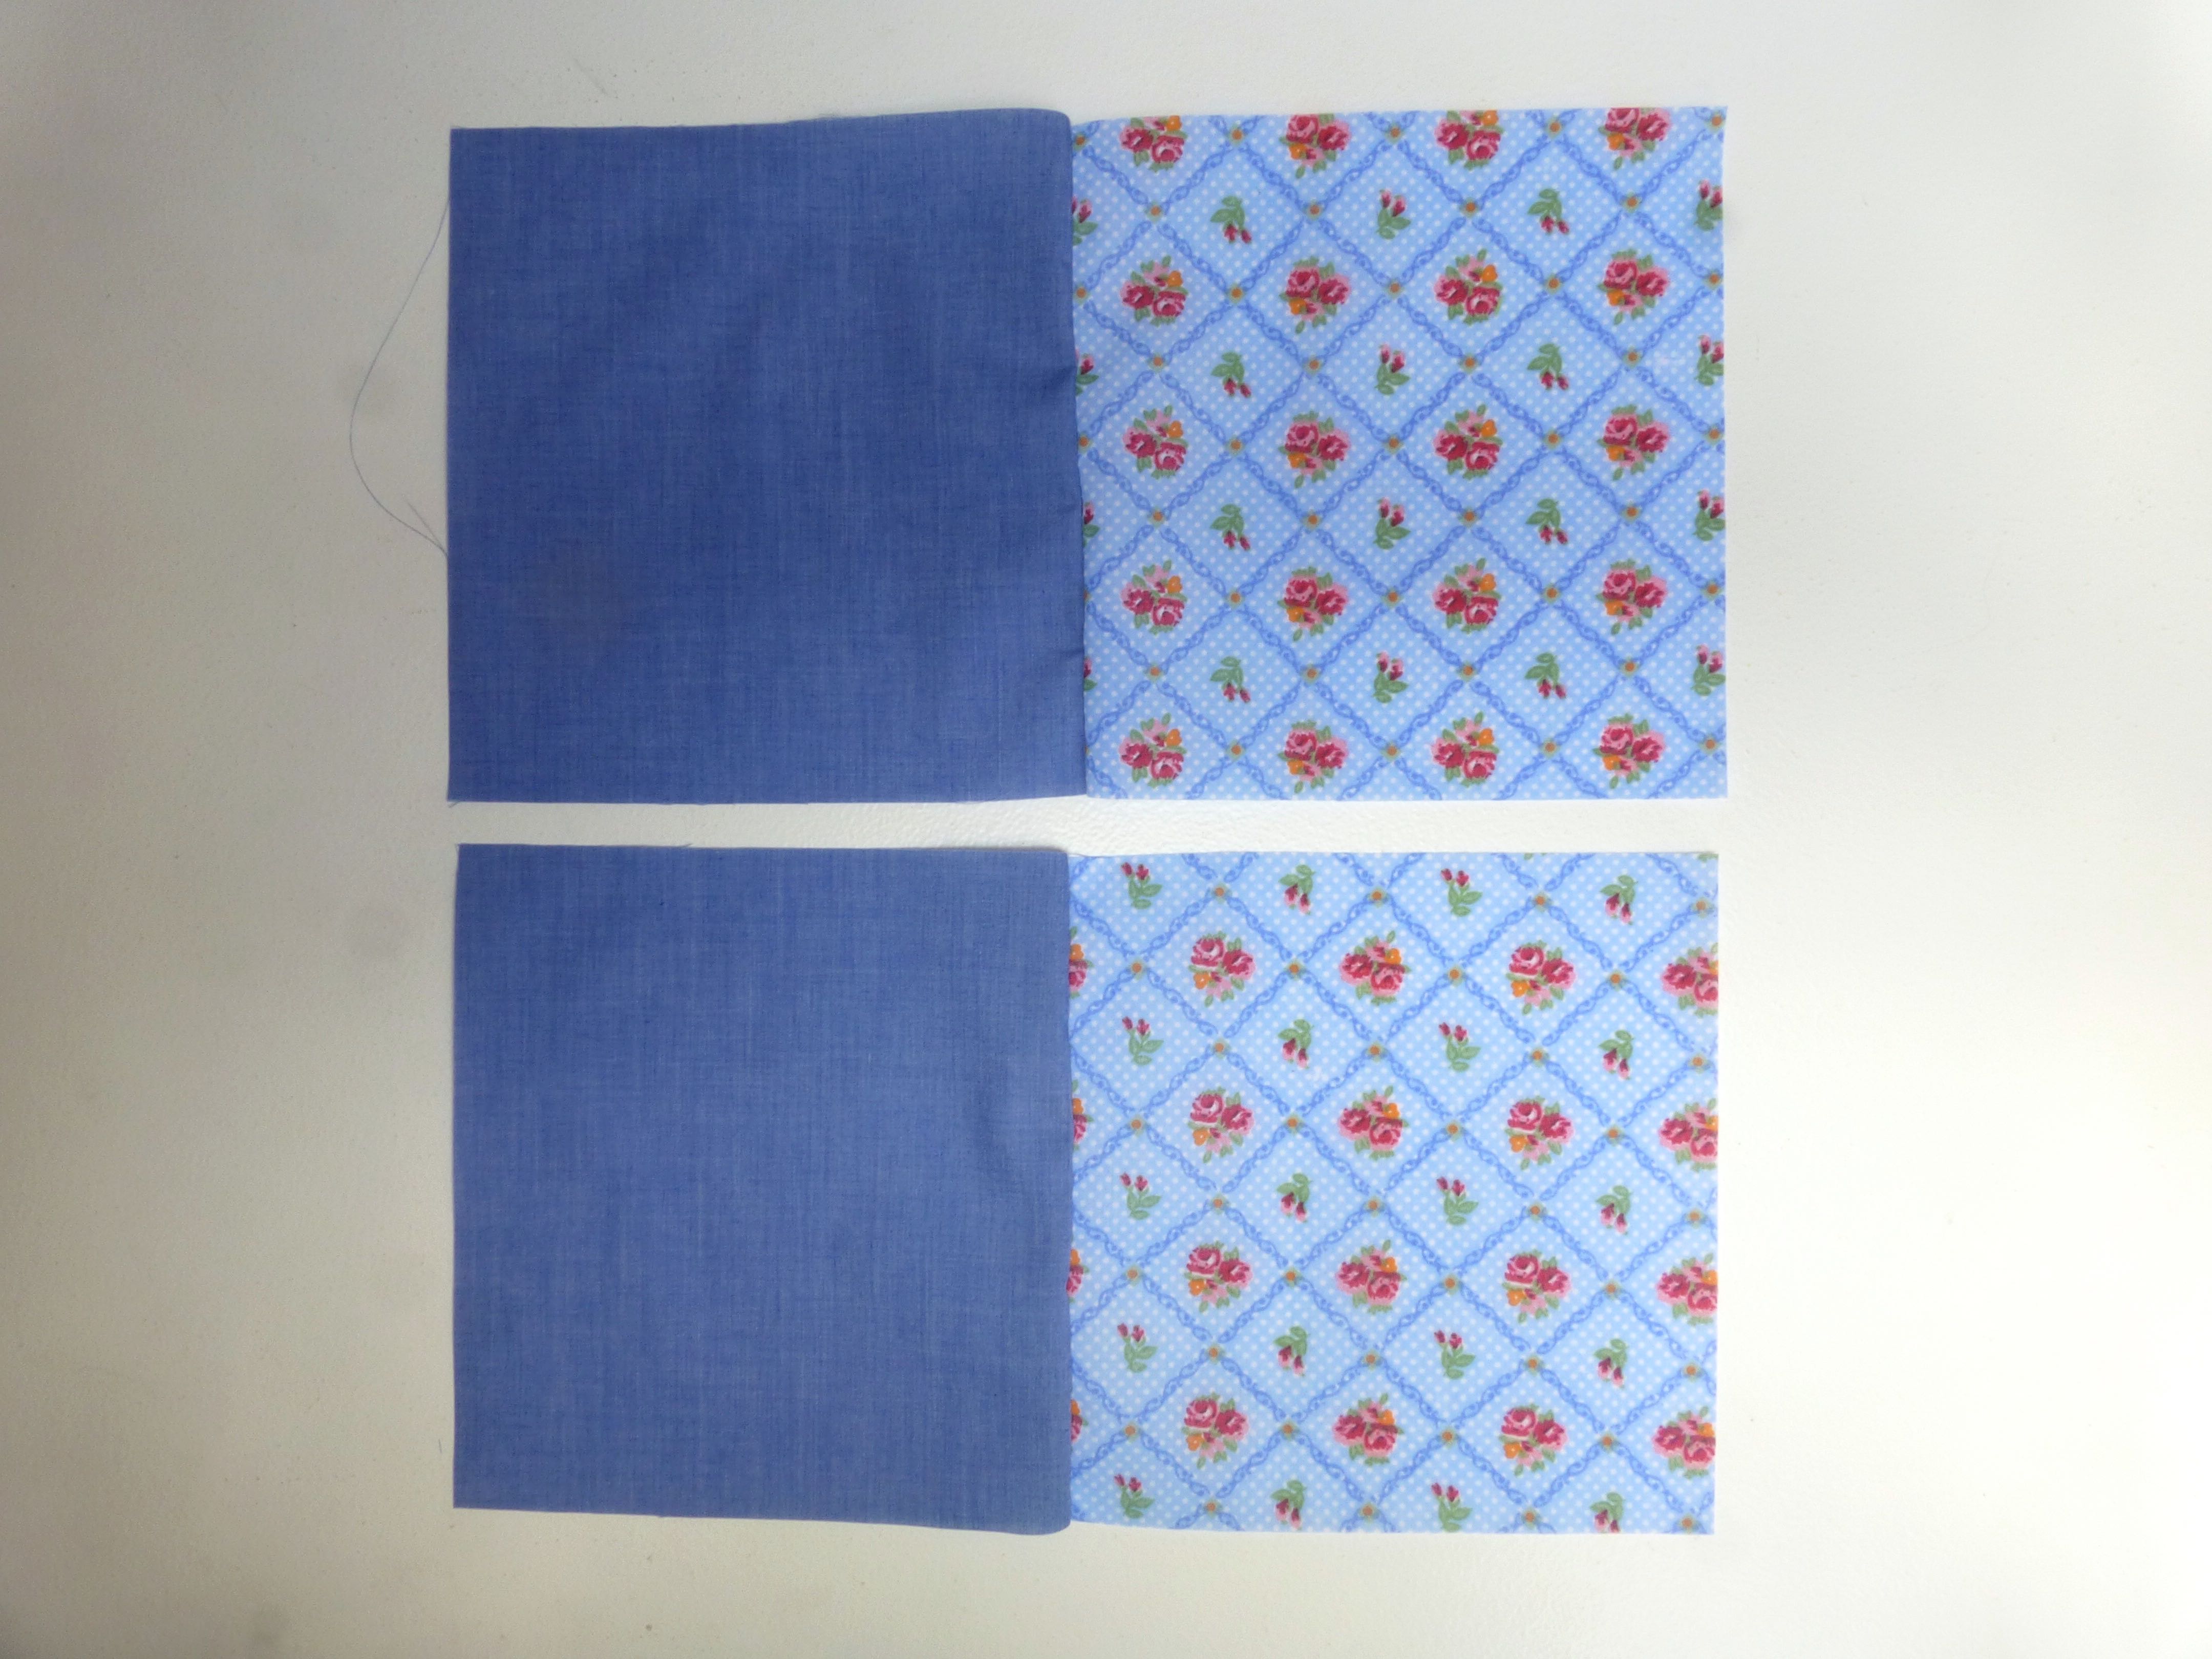
Start by sewing them in pairs, each floral with a plain, right sides together. You will need to make 36 pairs which should leave you with 9 spare squares – 5 plain and 4 floral.
Don’t bother reversing your stitching at the beginning and end of each set, cutting the thread and repeating with the next pair – just keep feeding the pairs through the machine one after the other as shown below.
When all the pairs of squares are sewn, snip the joining stitches to separate them.
Repeat this process with the pairs of squares…
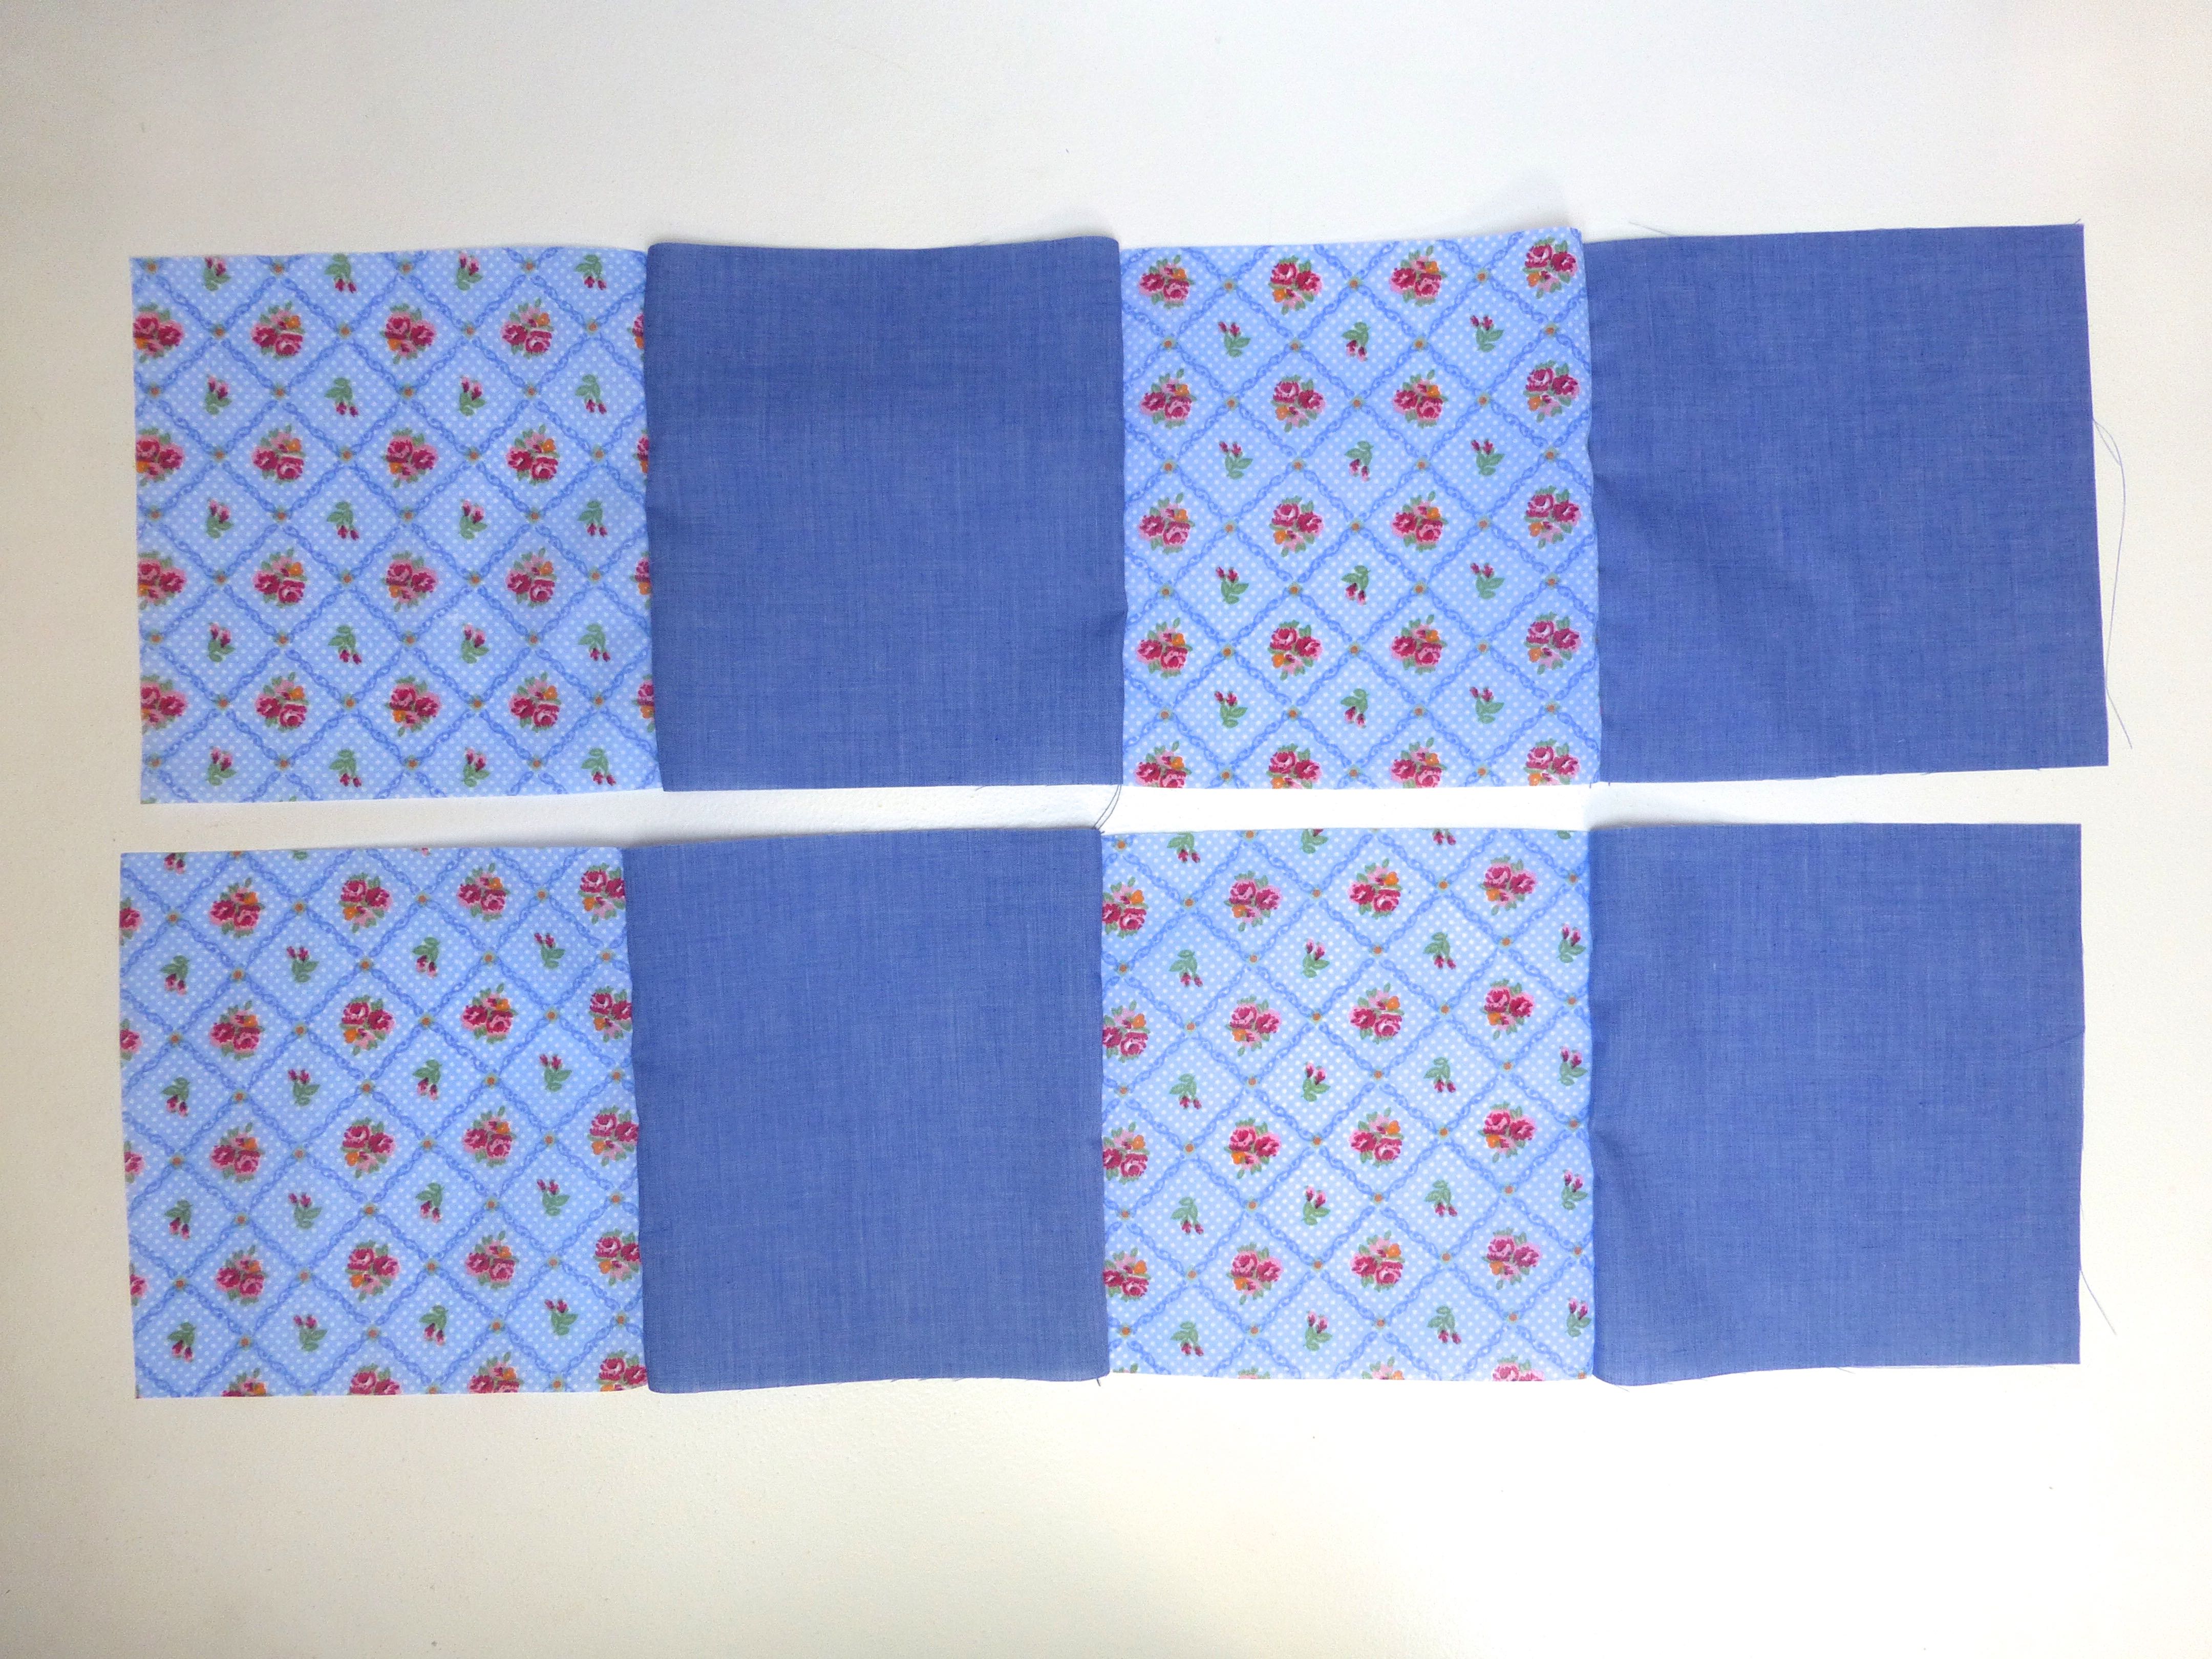
….until you have rows of 4….
….then sew the rows of 4 together to make rows of 8. Now add one of your left over squares to the end of each row.
You should now have 9 rows of 9 squares.
Press all the seam allowances to one side.
To minimise any bulk at the seams, you may wish to alternate the direction in which you press them flat.
Join these rows along the long edges, matching and pinning the seams as you go.
Continue until all your strips of patchwork are sewn together into one large square.
As I reached this stage, I made the spontaneous decision to add a layer of wadding between this top layer and the bottom layer. (I had plenty in my stash, but you can buy it here.)
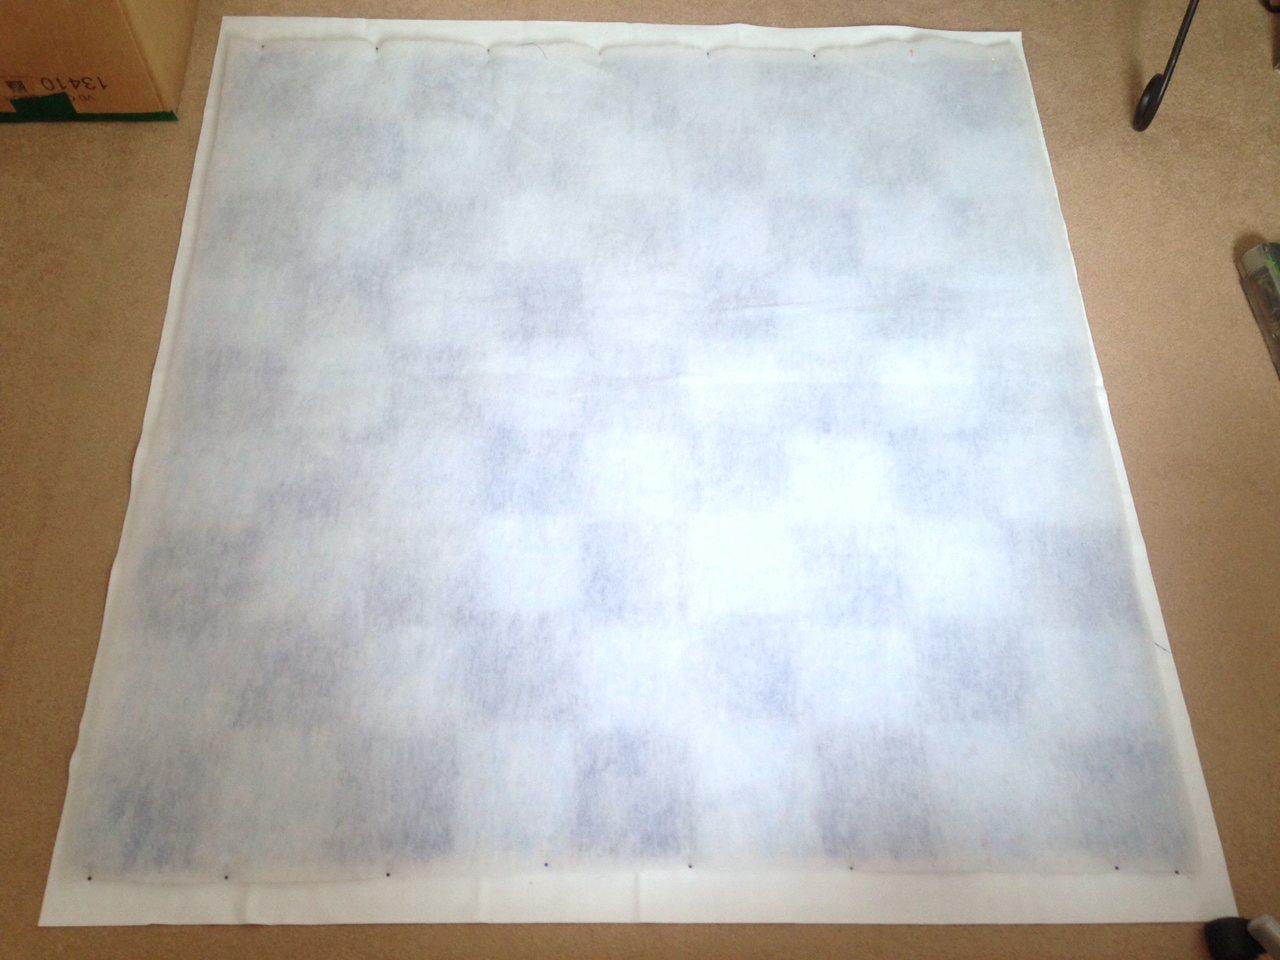
I cut a square of wadding slightly larger all the way around than the patchwork piece, laid it on top of the wrong side of the patchwork and pinned it around the entire edge.
Stitch close to the raw edges all around the outside and trim the excess wadding as shown.
Now the wadding is secured, you can use large tacking stitches through both layers to stop them shifting whilst quilting.
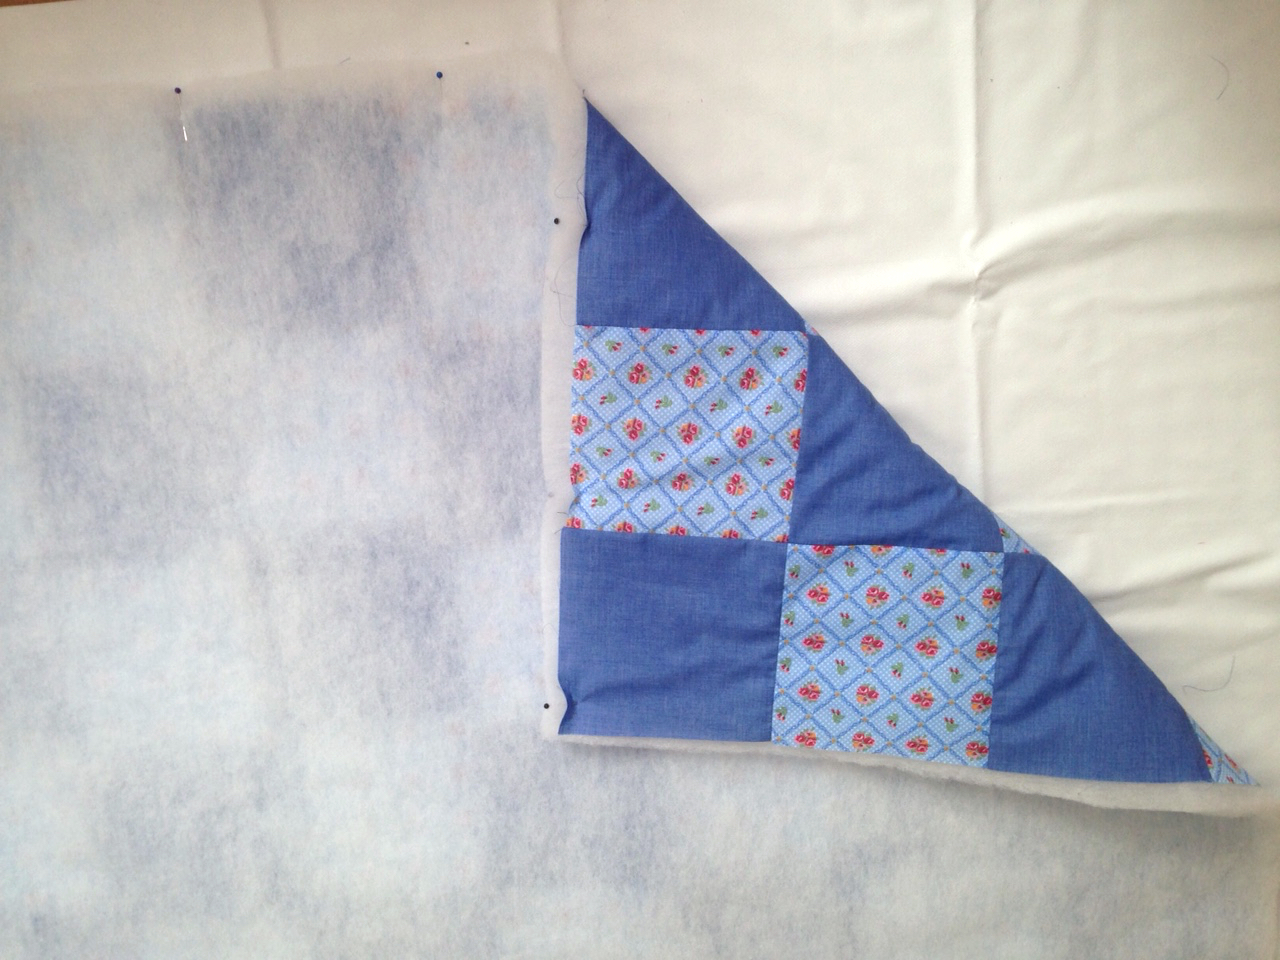
Stitch in the ‘ditch’ using a long stitch length until the whole blanket has been quilted along the seam lines.
Place the quilted layer onto the vinyl backing, wrong sides together, and trim the backing so that it is 1.5cm bigger than the top all the way around.
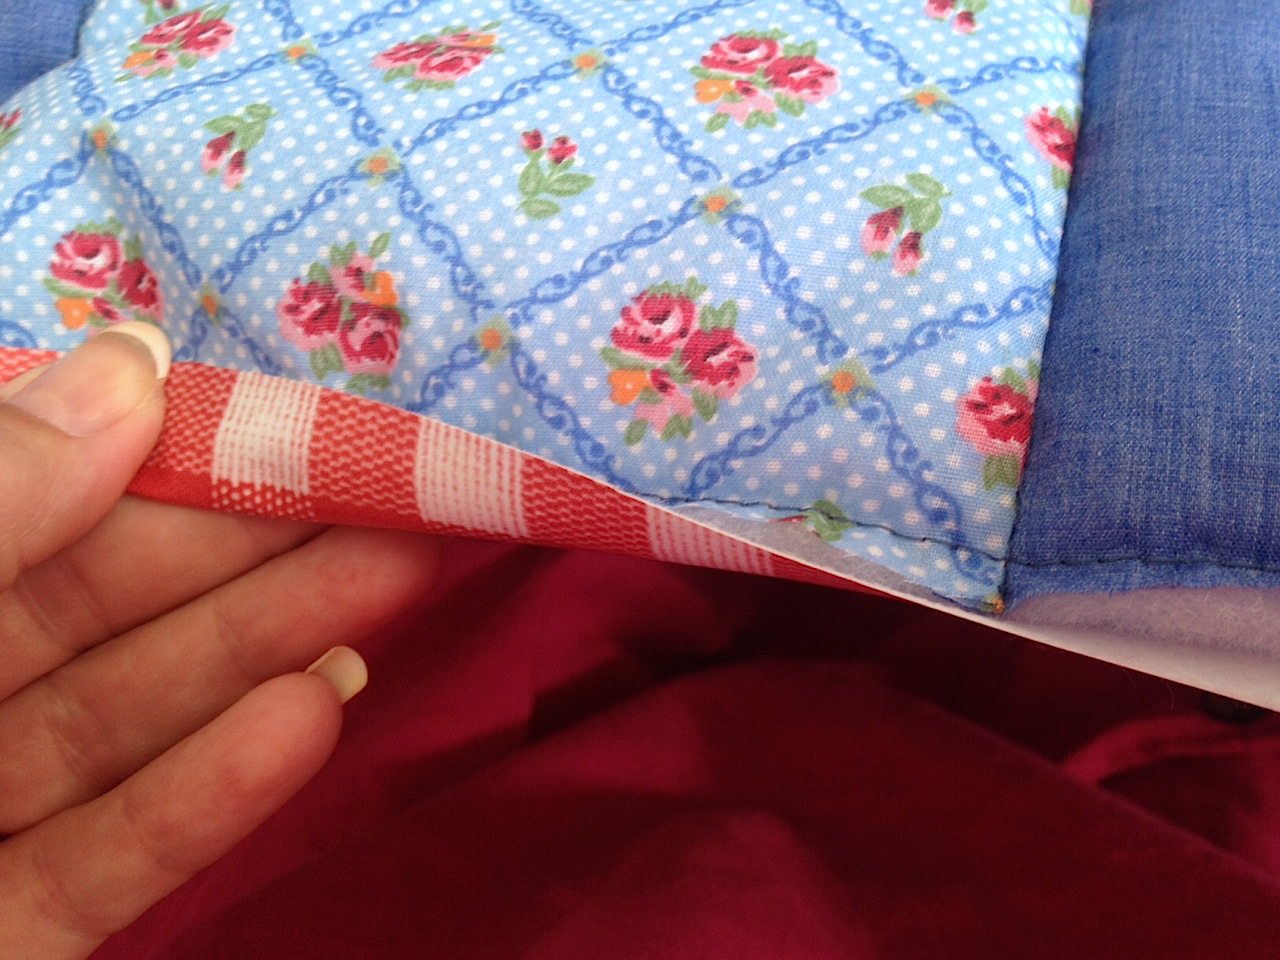
Using clips, fold the excess vinyl over to the right side of the blanket and secure in place.
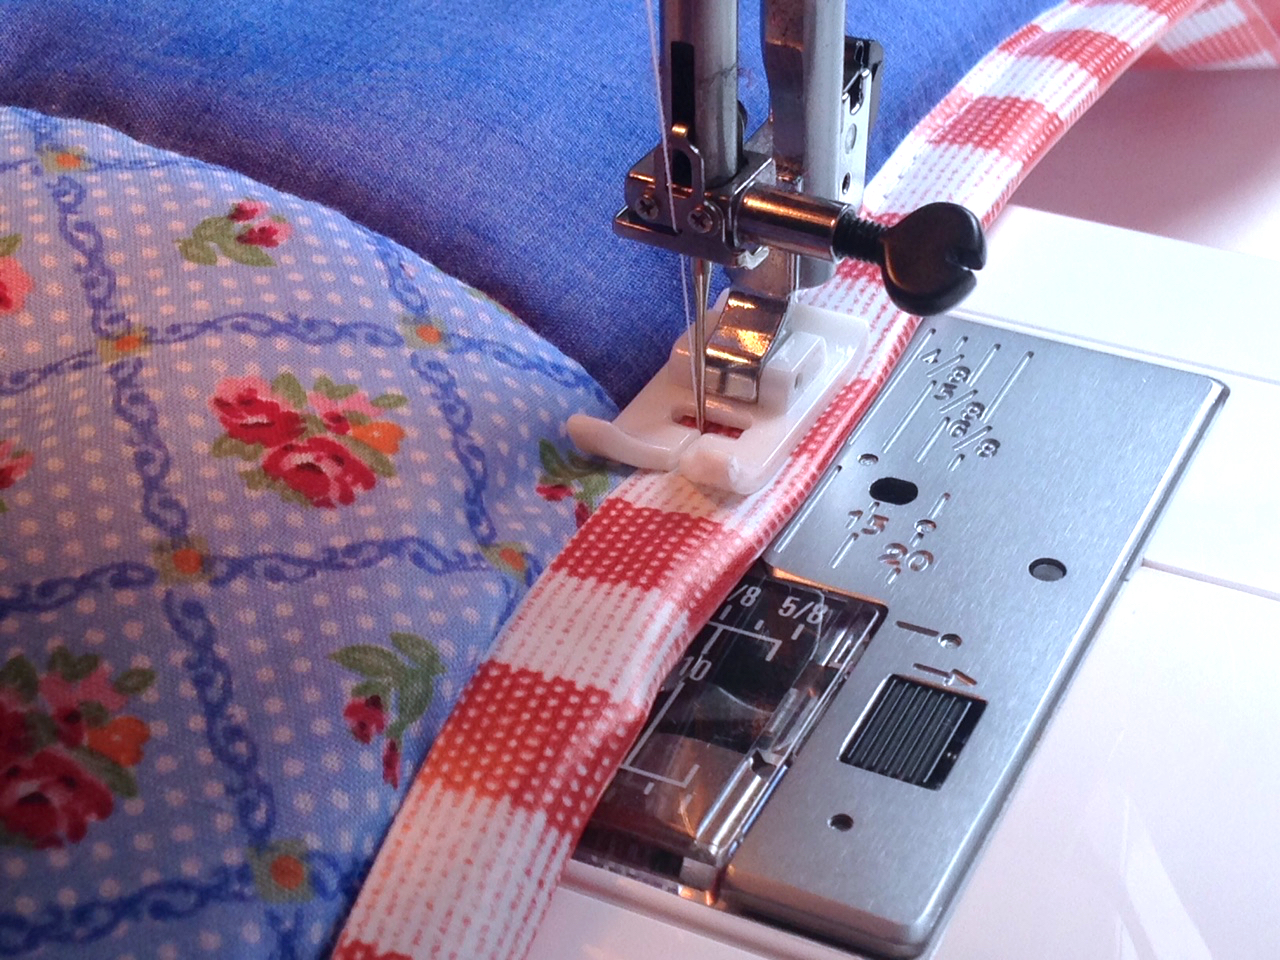
A teflon foot makes the vinyl move smoothly through the machine, and a leather needle with its wedged shape will stop any skipped stitches (discovered through trial and error!)
A simple long straight stitch close to the raw edge of the vinyl is all that is needed.
Mitre the corners as you go for a neat finish.
I was left with a few scraps of fabric and vinyl, so I also designed a fabric roll to act as a carry pack for the blanket.
For the carry pack, cut 3 floral and 2 plain squares the same size as before and sew them all together in a single row. Press.
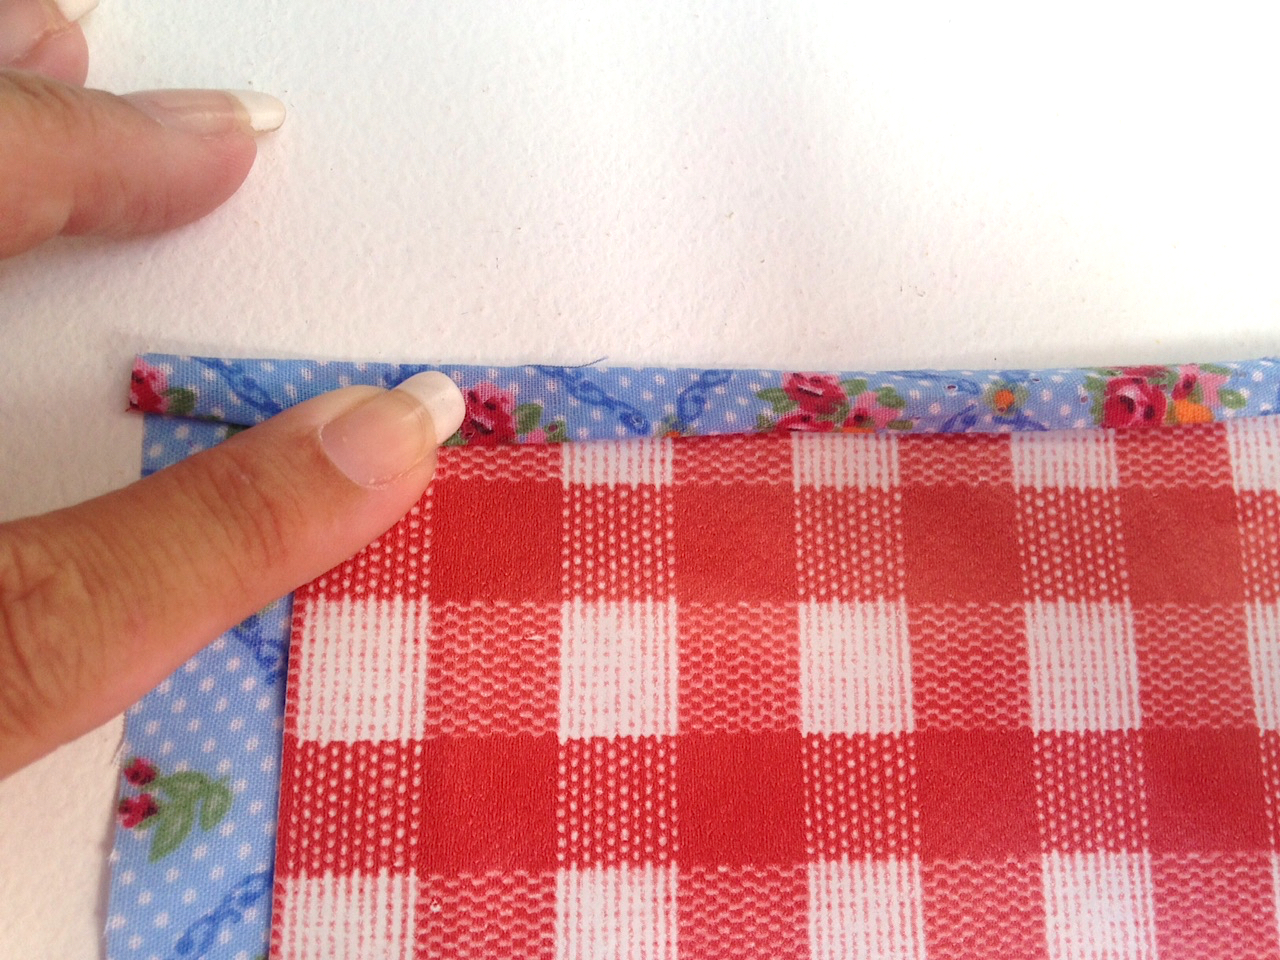
Cut a piece of spare vinyl 1.5cm smaller than the patchwork strip and place in the centre of the strip, wrong sides together.
Turn a narrow hem…..
….and stitch in place close to the inner folded edge around all 4 sides, mitring the corners as you go.
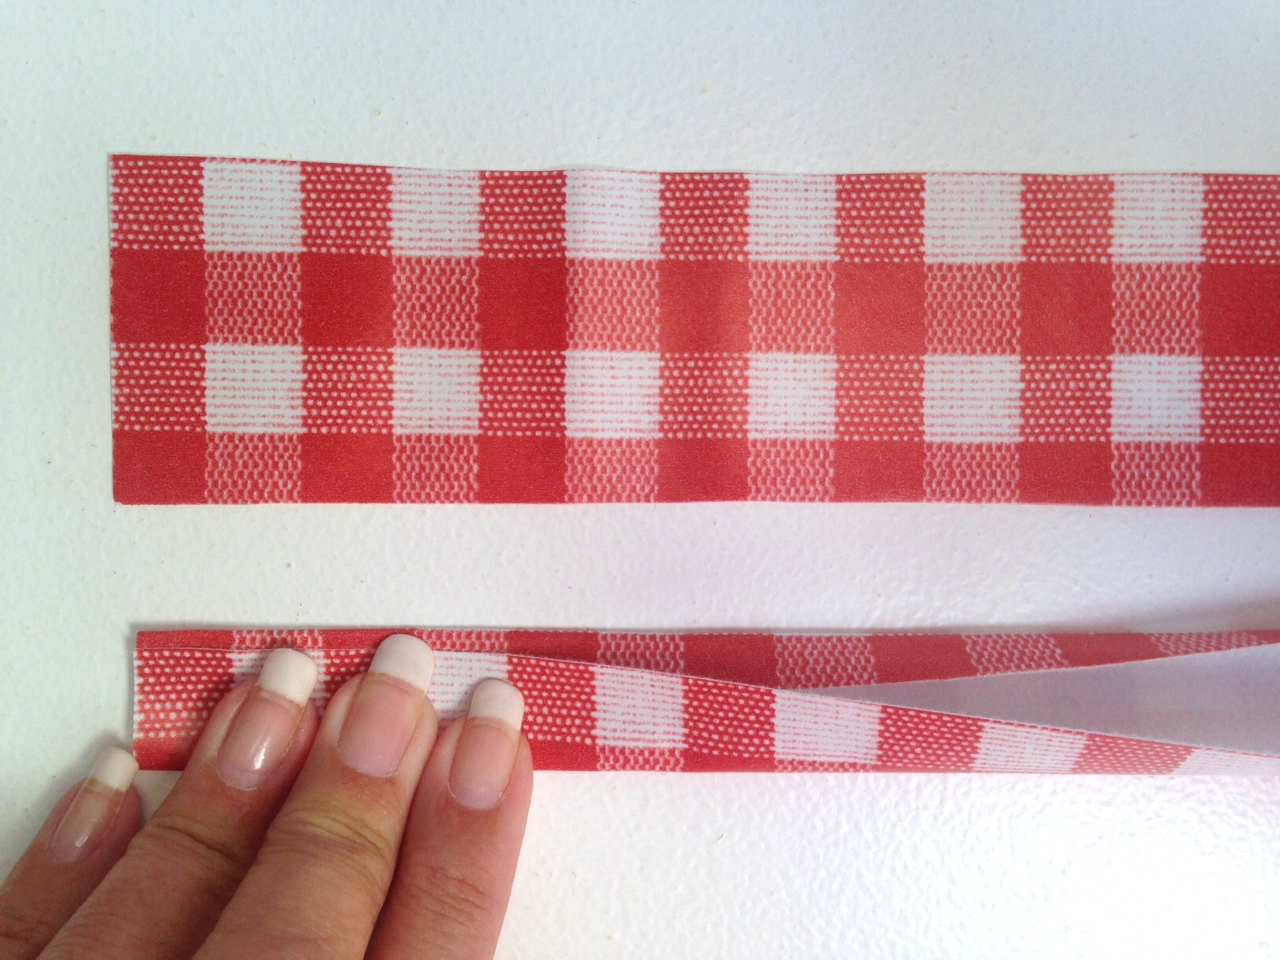
Cut two pieces of vinyl for the handles, each measuring 20cm x 5cm.
Fold the long upper edge in to the wrong side by 1cm, and bring the lower edge up to meet it, overlapping a little to encase the raw edge as shown below.
Stitch close to the raw edge.
Repeat with the second handle.
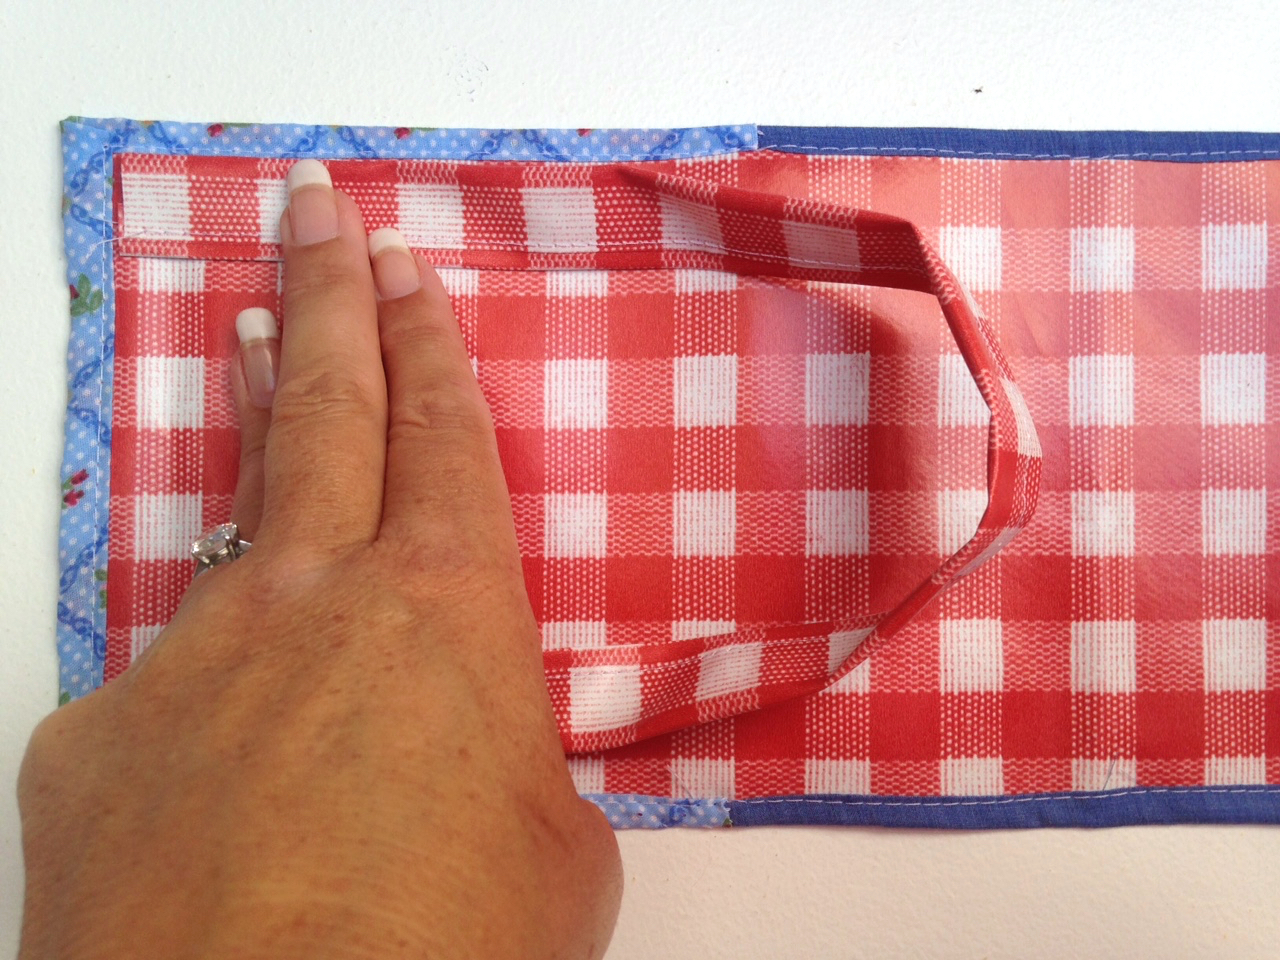
Position the two ends of the handle in the corner of the carry pack using the photograph as a guide.
Stitch in place with a 1cm seam.
Fold the handle to the outside and turn over, vinyl side down.
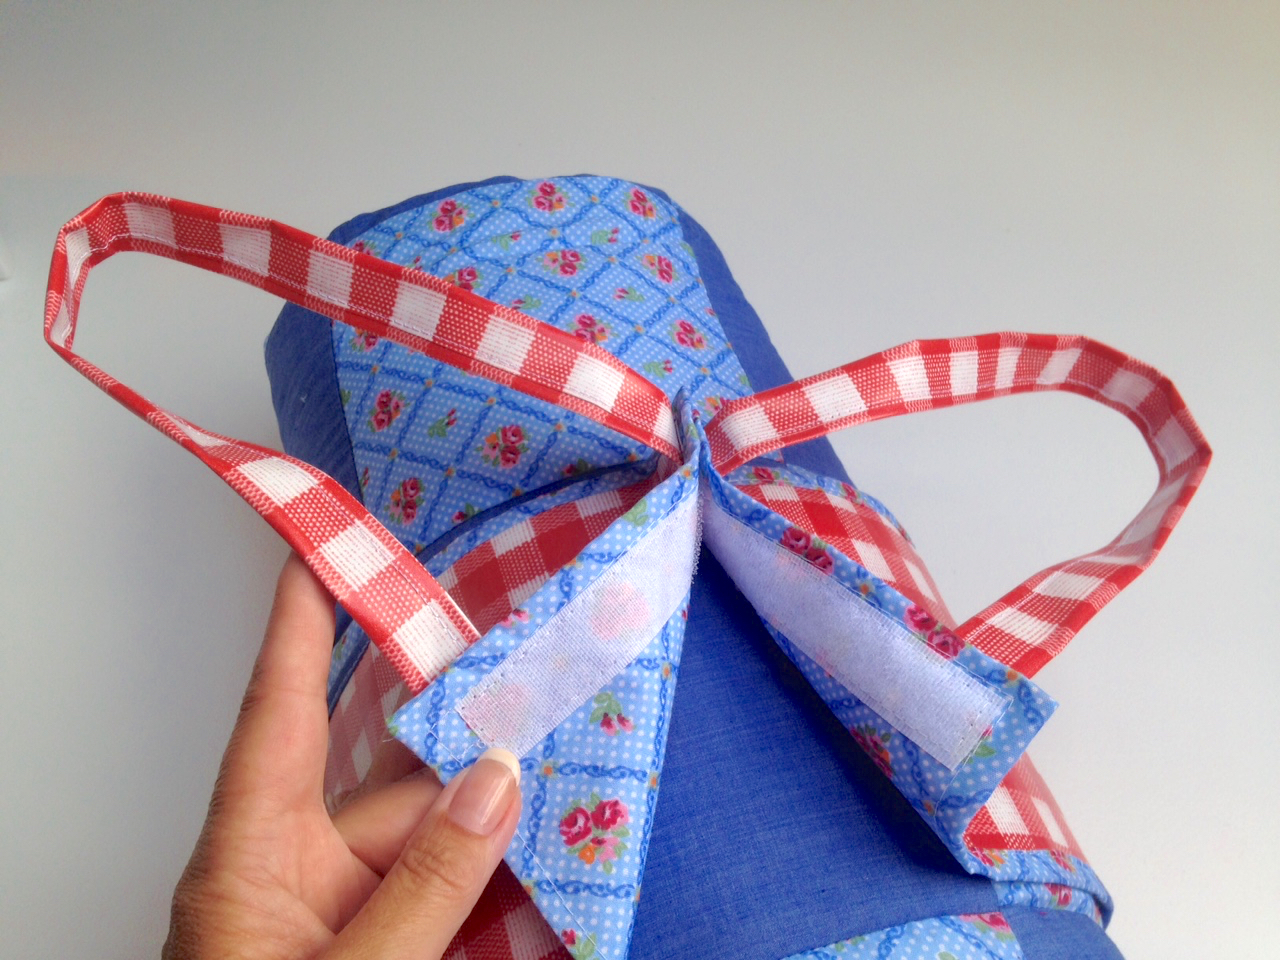
Cut a 12cm strip of velcro hook and loop fastener and sew the hook side to the fabric side of the carry pack, being sure to catch the handle in the ‘up’ position, securing it in place at the same time.
Repeat with the loop side at the other end of the carrier.
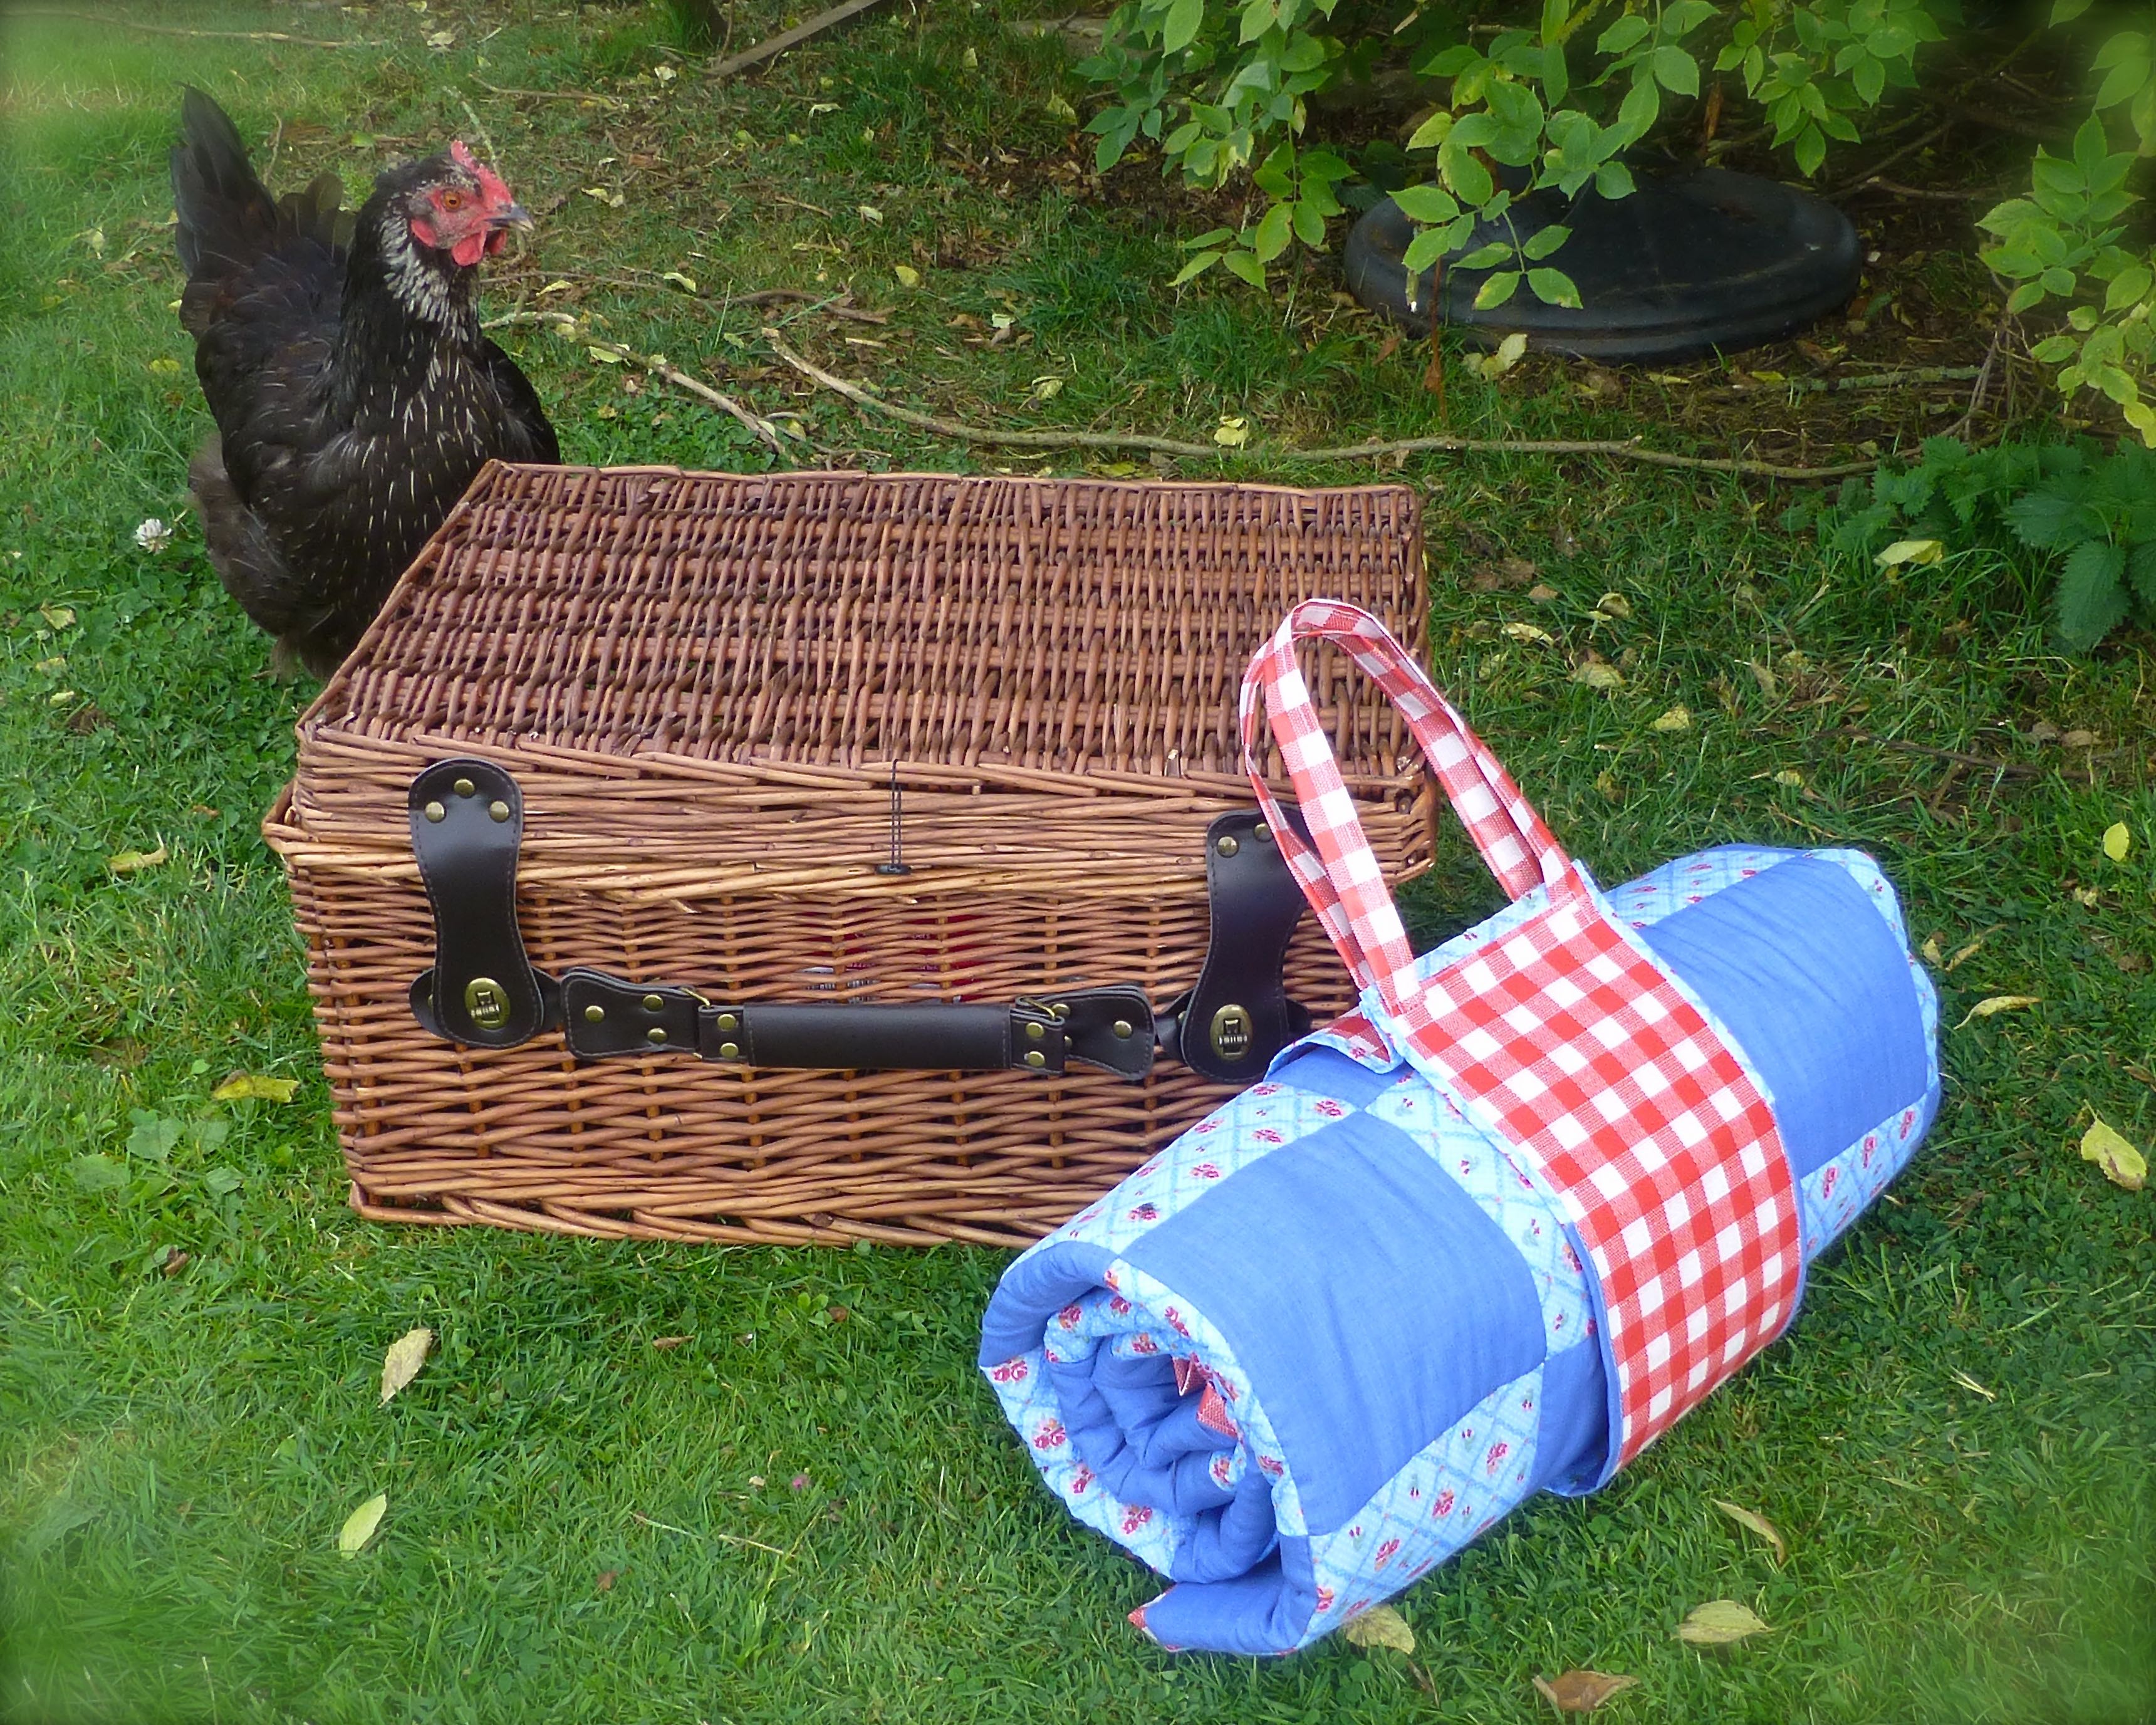
When the blanket is rolled up, wrap the carry pack around it and press the velcro strips together.
For a picnic in the garden (or anywhere), just add bunting, a squishy cushion and a hamper full of goodies.
Sun is a bonus for a picnic, but not when taking photographs (too much contrast)…
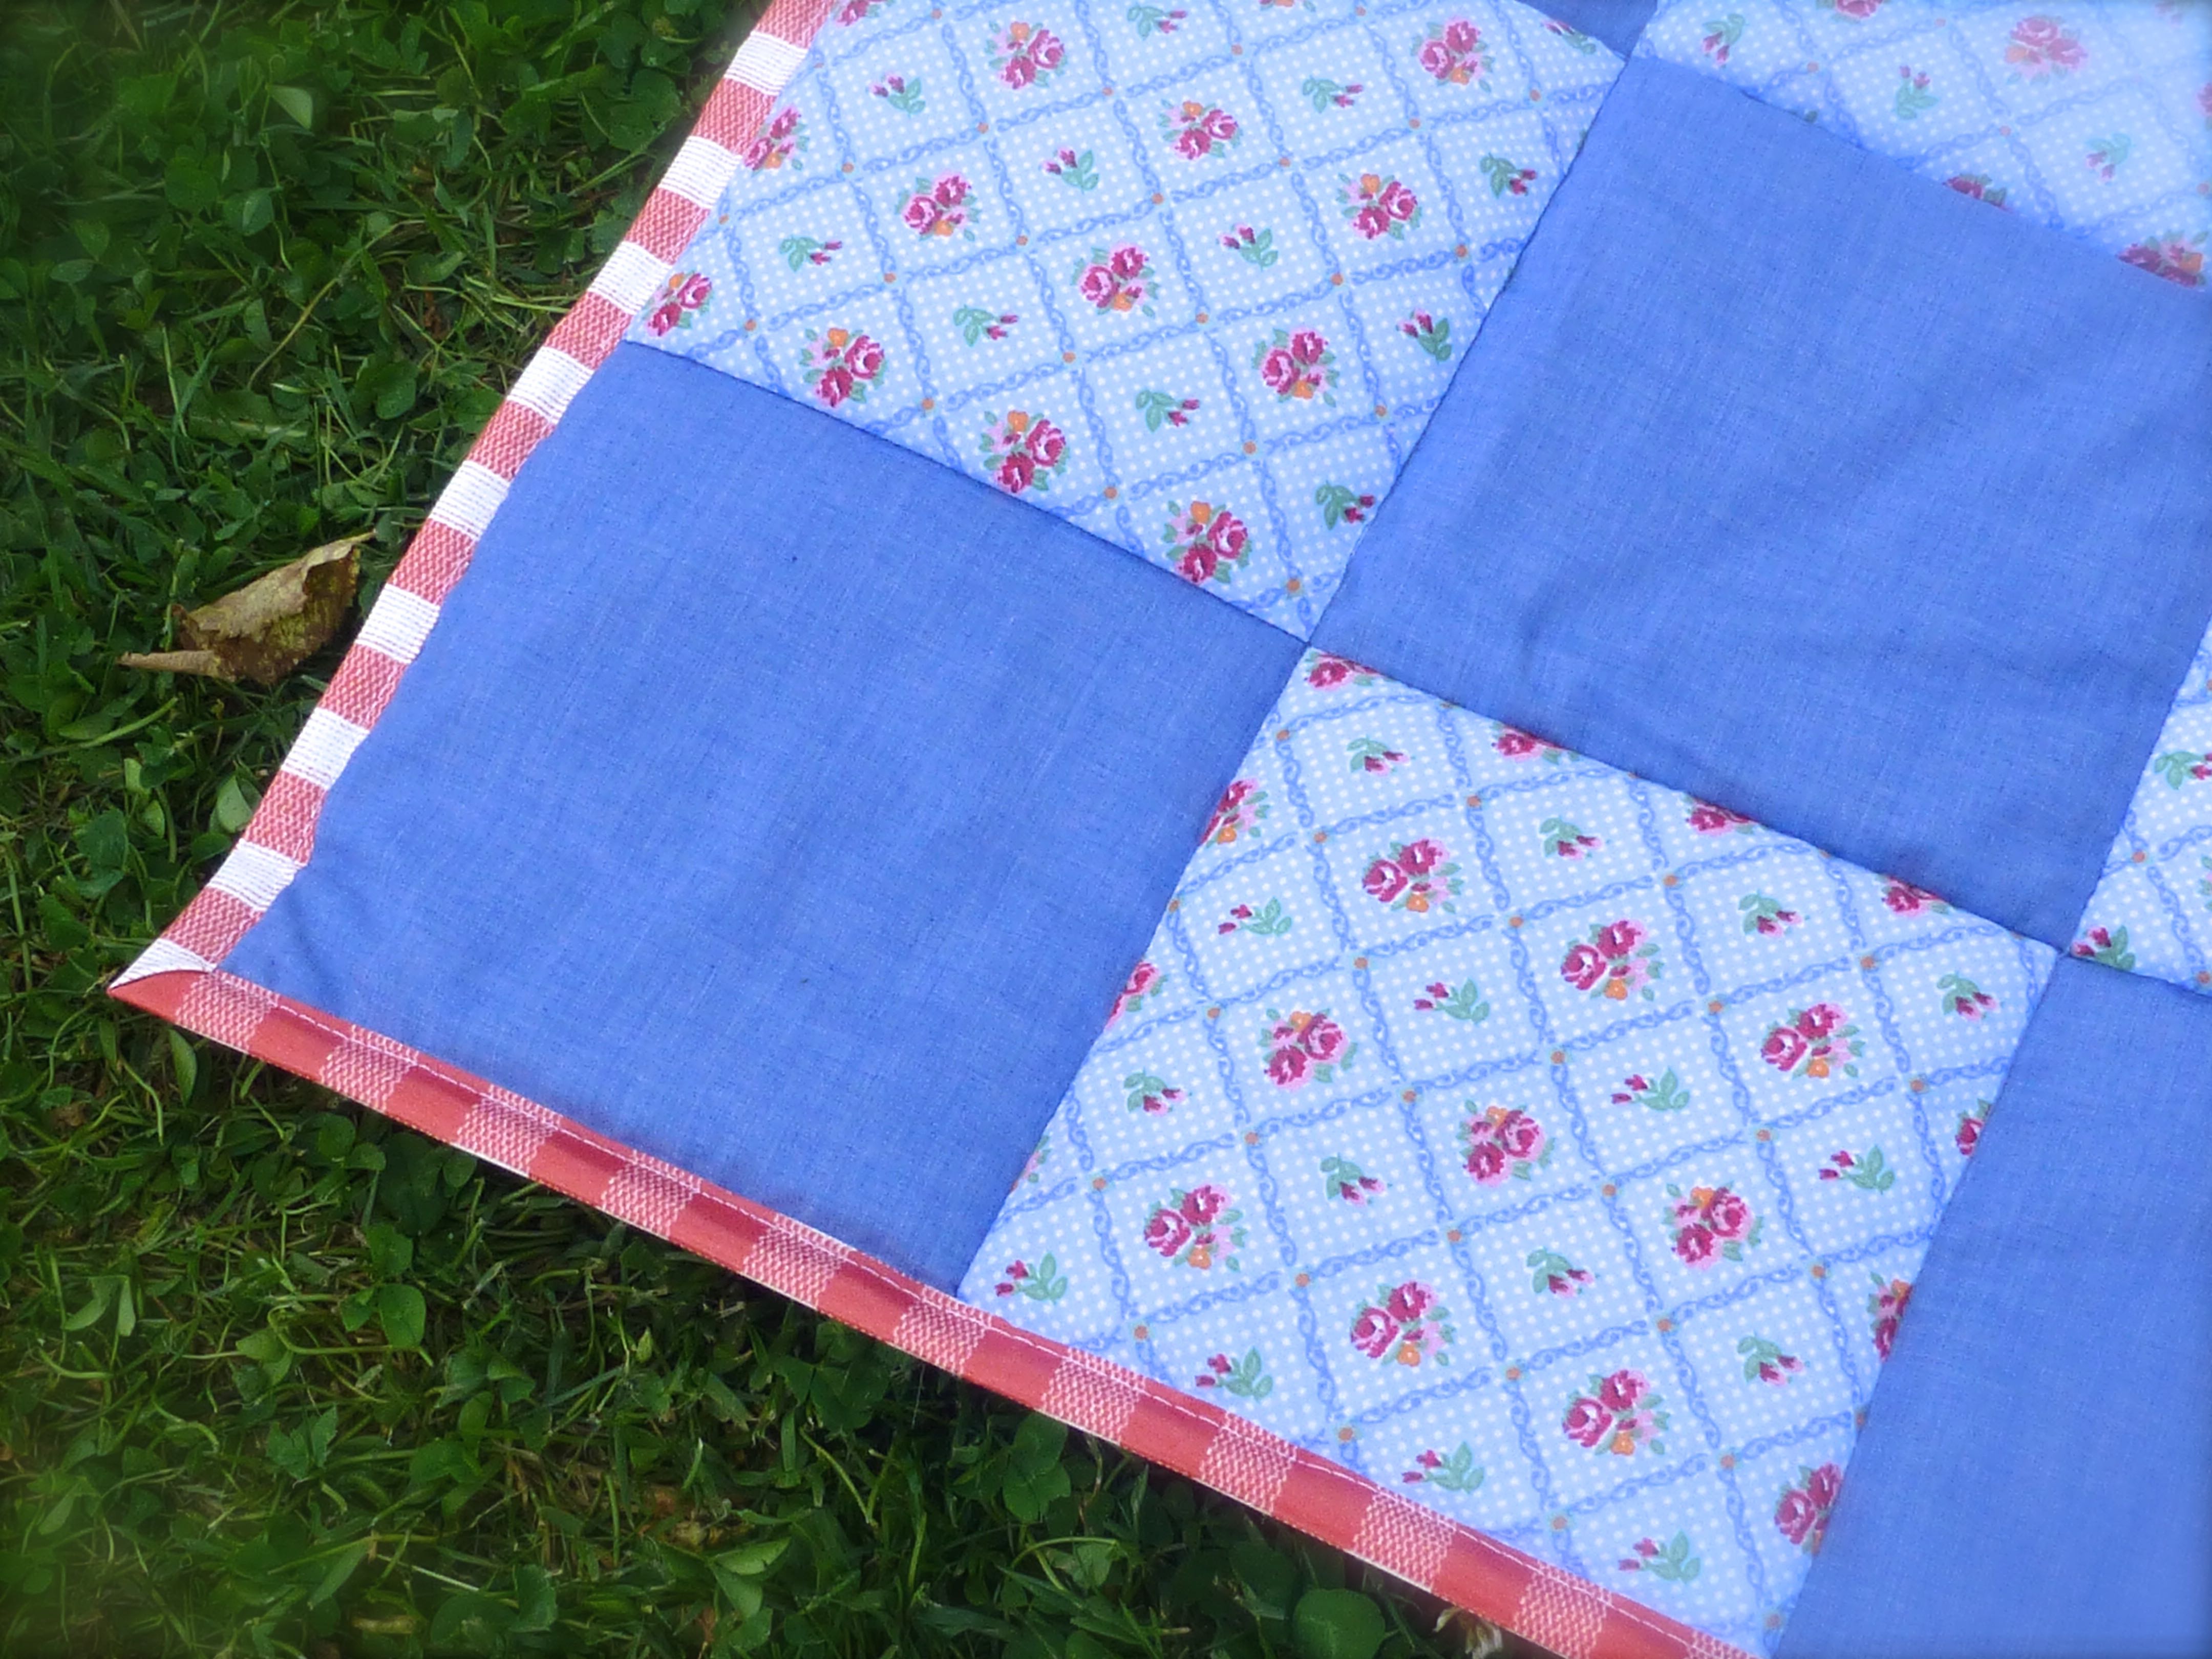
The perfect fusion of girl/boy styling that anyone would be happy to sit on.
No more damp bums!
A lovely layer of wadding for added comfort.
The carry pack with handles means that it’s compact and easy to transport.
Marley was interested to see what was going on – sometimes our hens are just a little bit too friendly!
Now all we need is for Summer to return so we can actually use our lovely new picnic blanket!!
Sunday Sevens is a weekly feature showcasing a photo a day from your week. Sometimes things don’t warrant a full blog post, so save them all for Sunday Sevens!
This was thought up and organised by Nat at Threads and Bobbins – visit her site for more details of how to join in.
1. No.3 Son was eight on Monday so we had a day out the day before. A (rare) trip to the cinema followed by a three course meal at a restaurant of his choice.
2. Amber is obviously feeling back to normal – we found an egg hidden behind the curtain! Hens stop laying if they’re ill or traumatised so this is a great sign.
3. No.1 Son asked me to sew up the hem on his trousers in time for an interview. I told him I’d show him how to do it!
Well, everyone benefits from learning herringbone stitch, don’t they?
4. He did a great job.
5. My new assistant arrived!
I finally decided to buy a new dress form to fit my mature figure. It’s the Lady Valet by Adjustoform. Well, I might as well have the best that money can buy….
6. A friend saw this and thought of us. Needs a bit of work, but hopefully it will be in and working by Christmas.
7. Last but not least – my Ascot dress is featured in this month’s Love Sewing!
Mr. H-L was chuffed that he got in too.
That’s all for now – can’t wait to see what you’ve all been up to this week:)
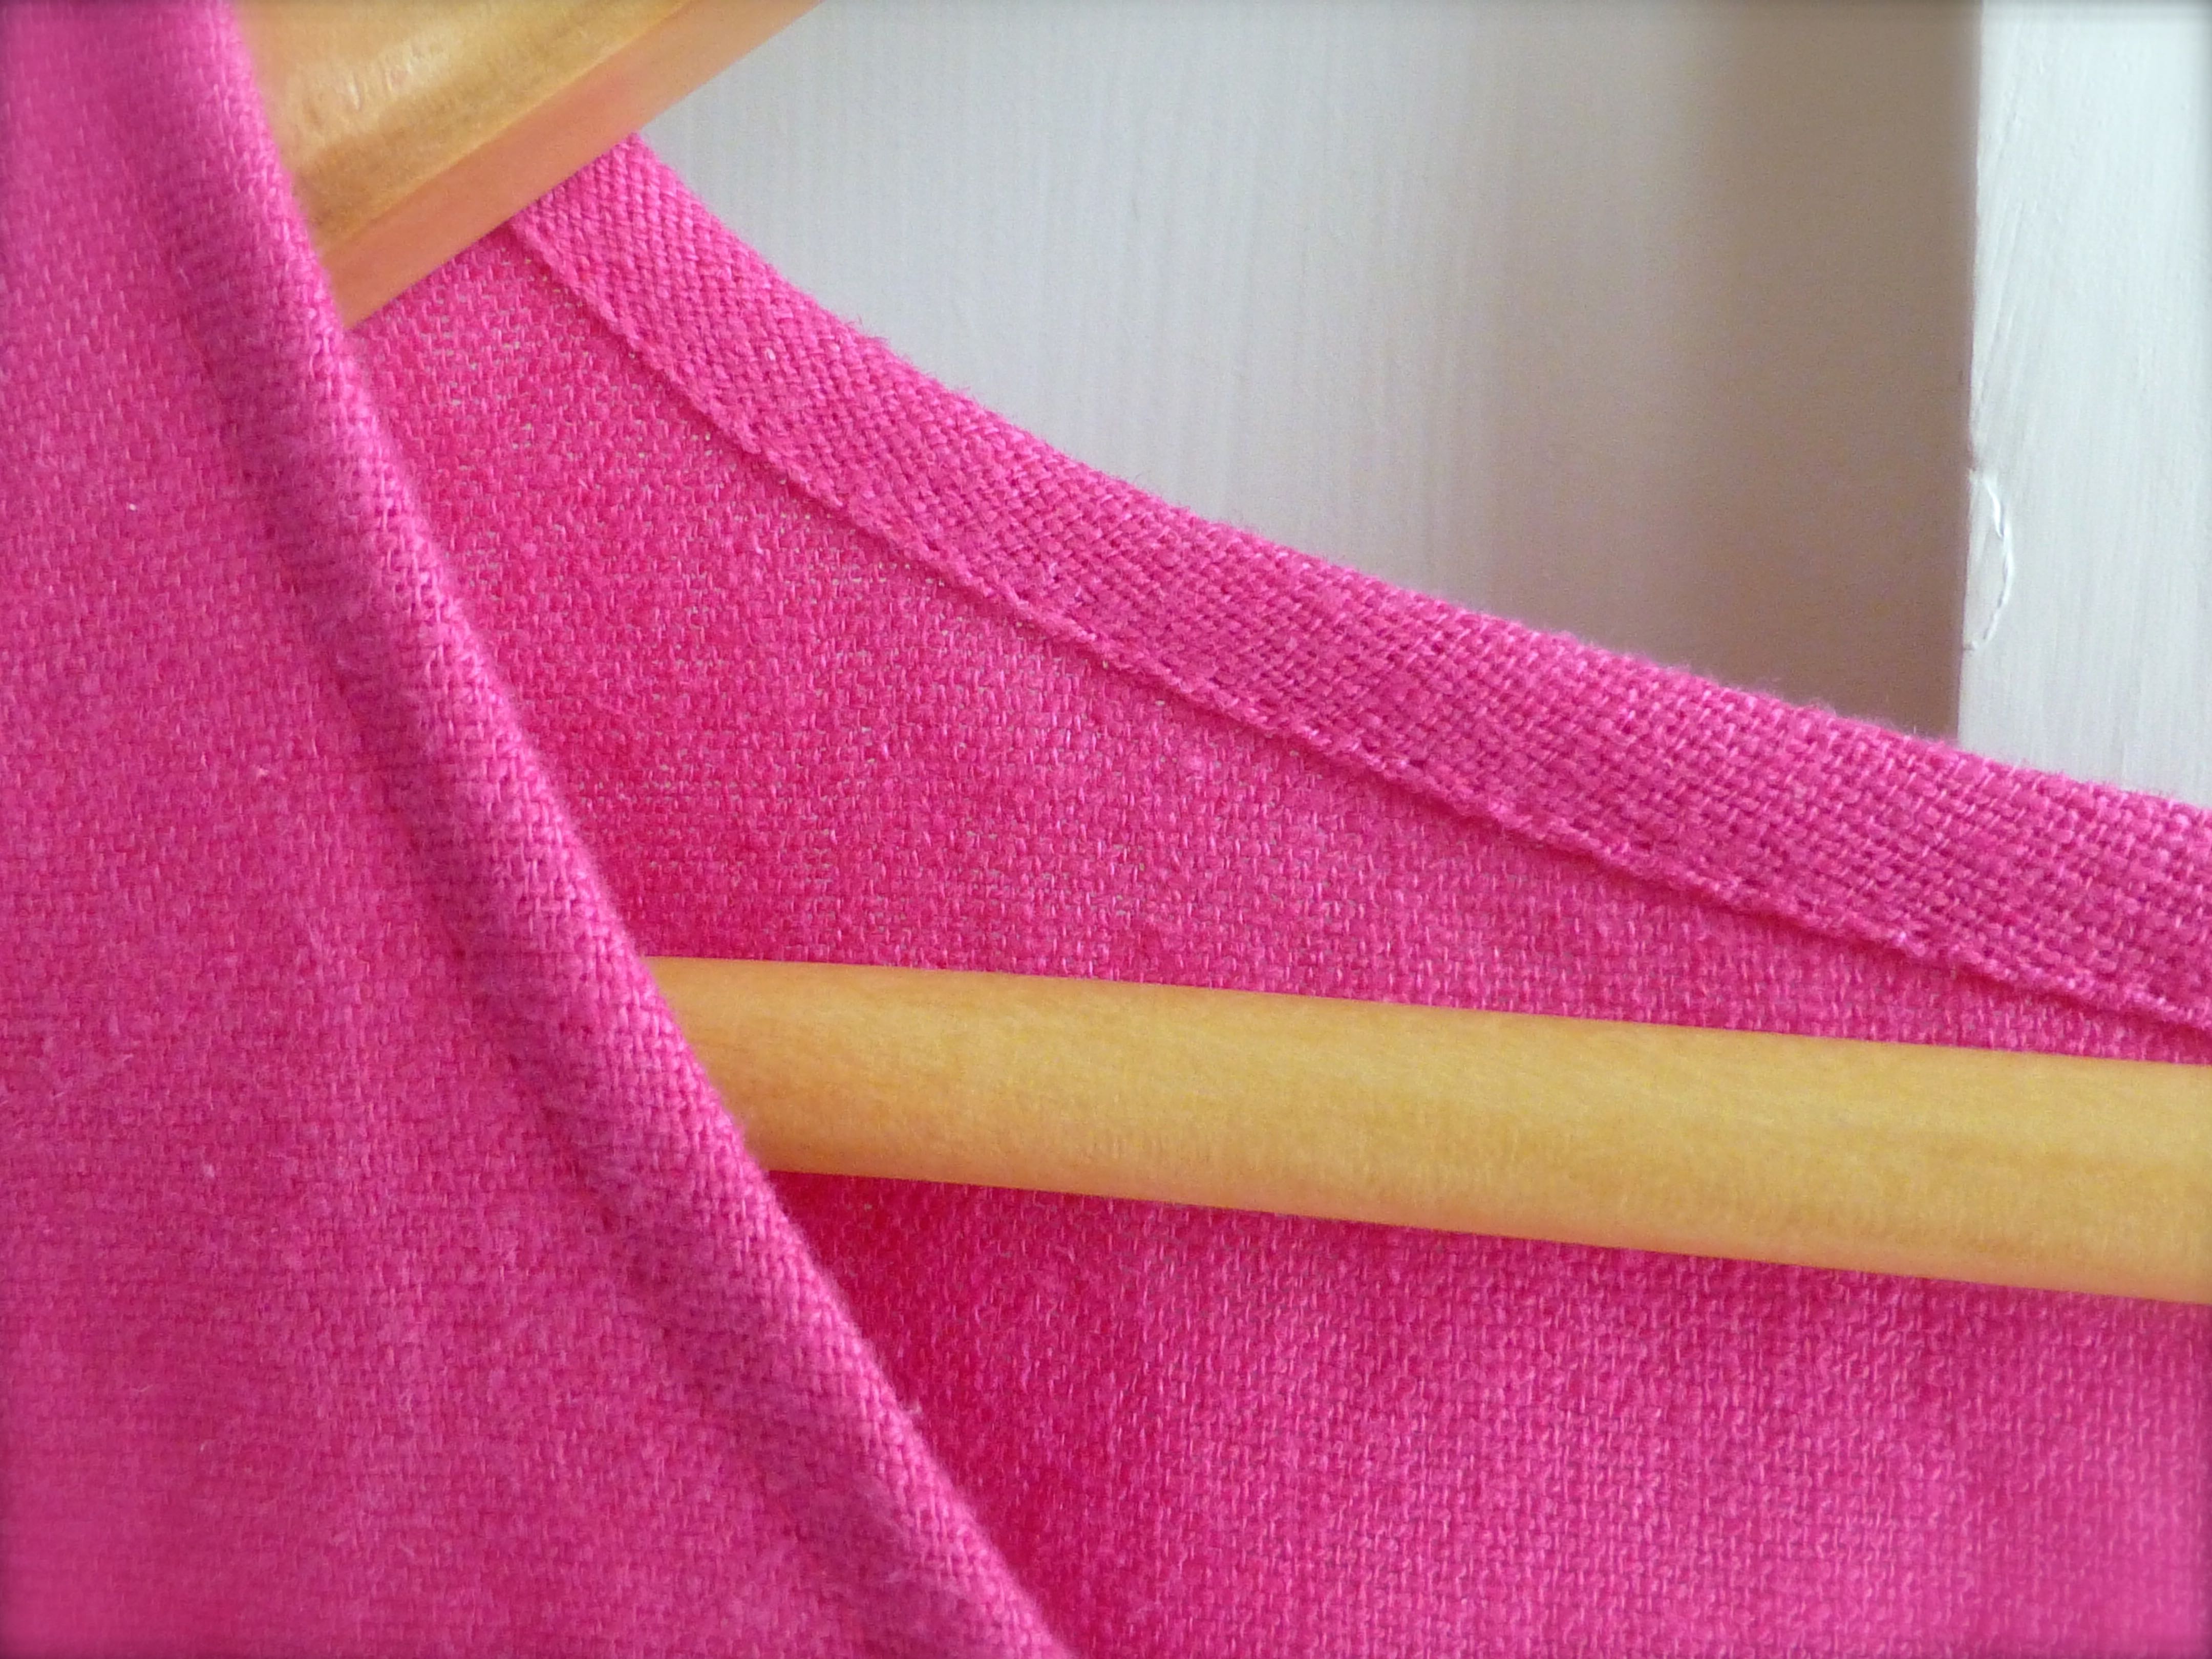
I wanted something along the same lines for the fuschia linen, another loose fitting, easy-to-wear item that would be a delight to wander around in on even the hottest day.
In the end I decided to make a dress based mainly on the tunic but, this time, with sleeves, albeit short ones.
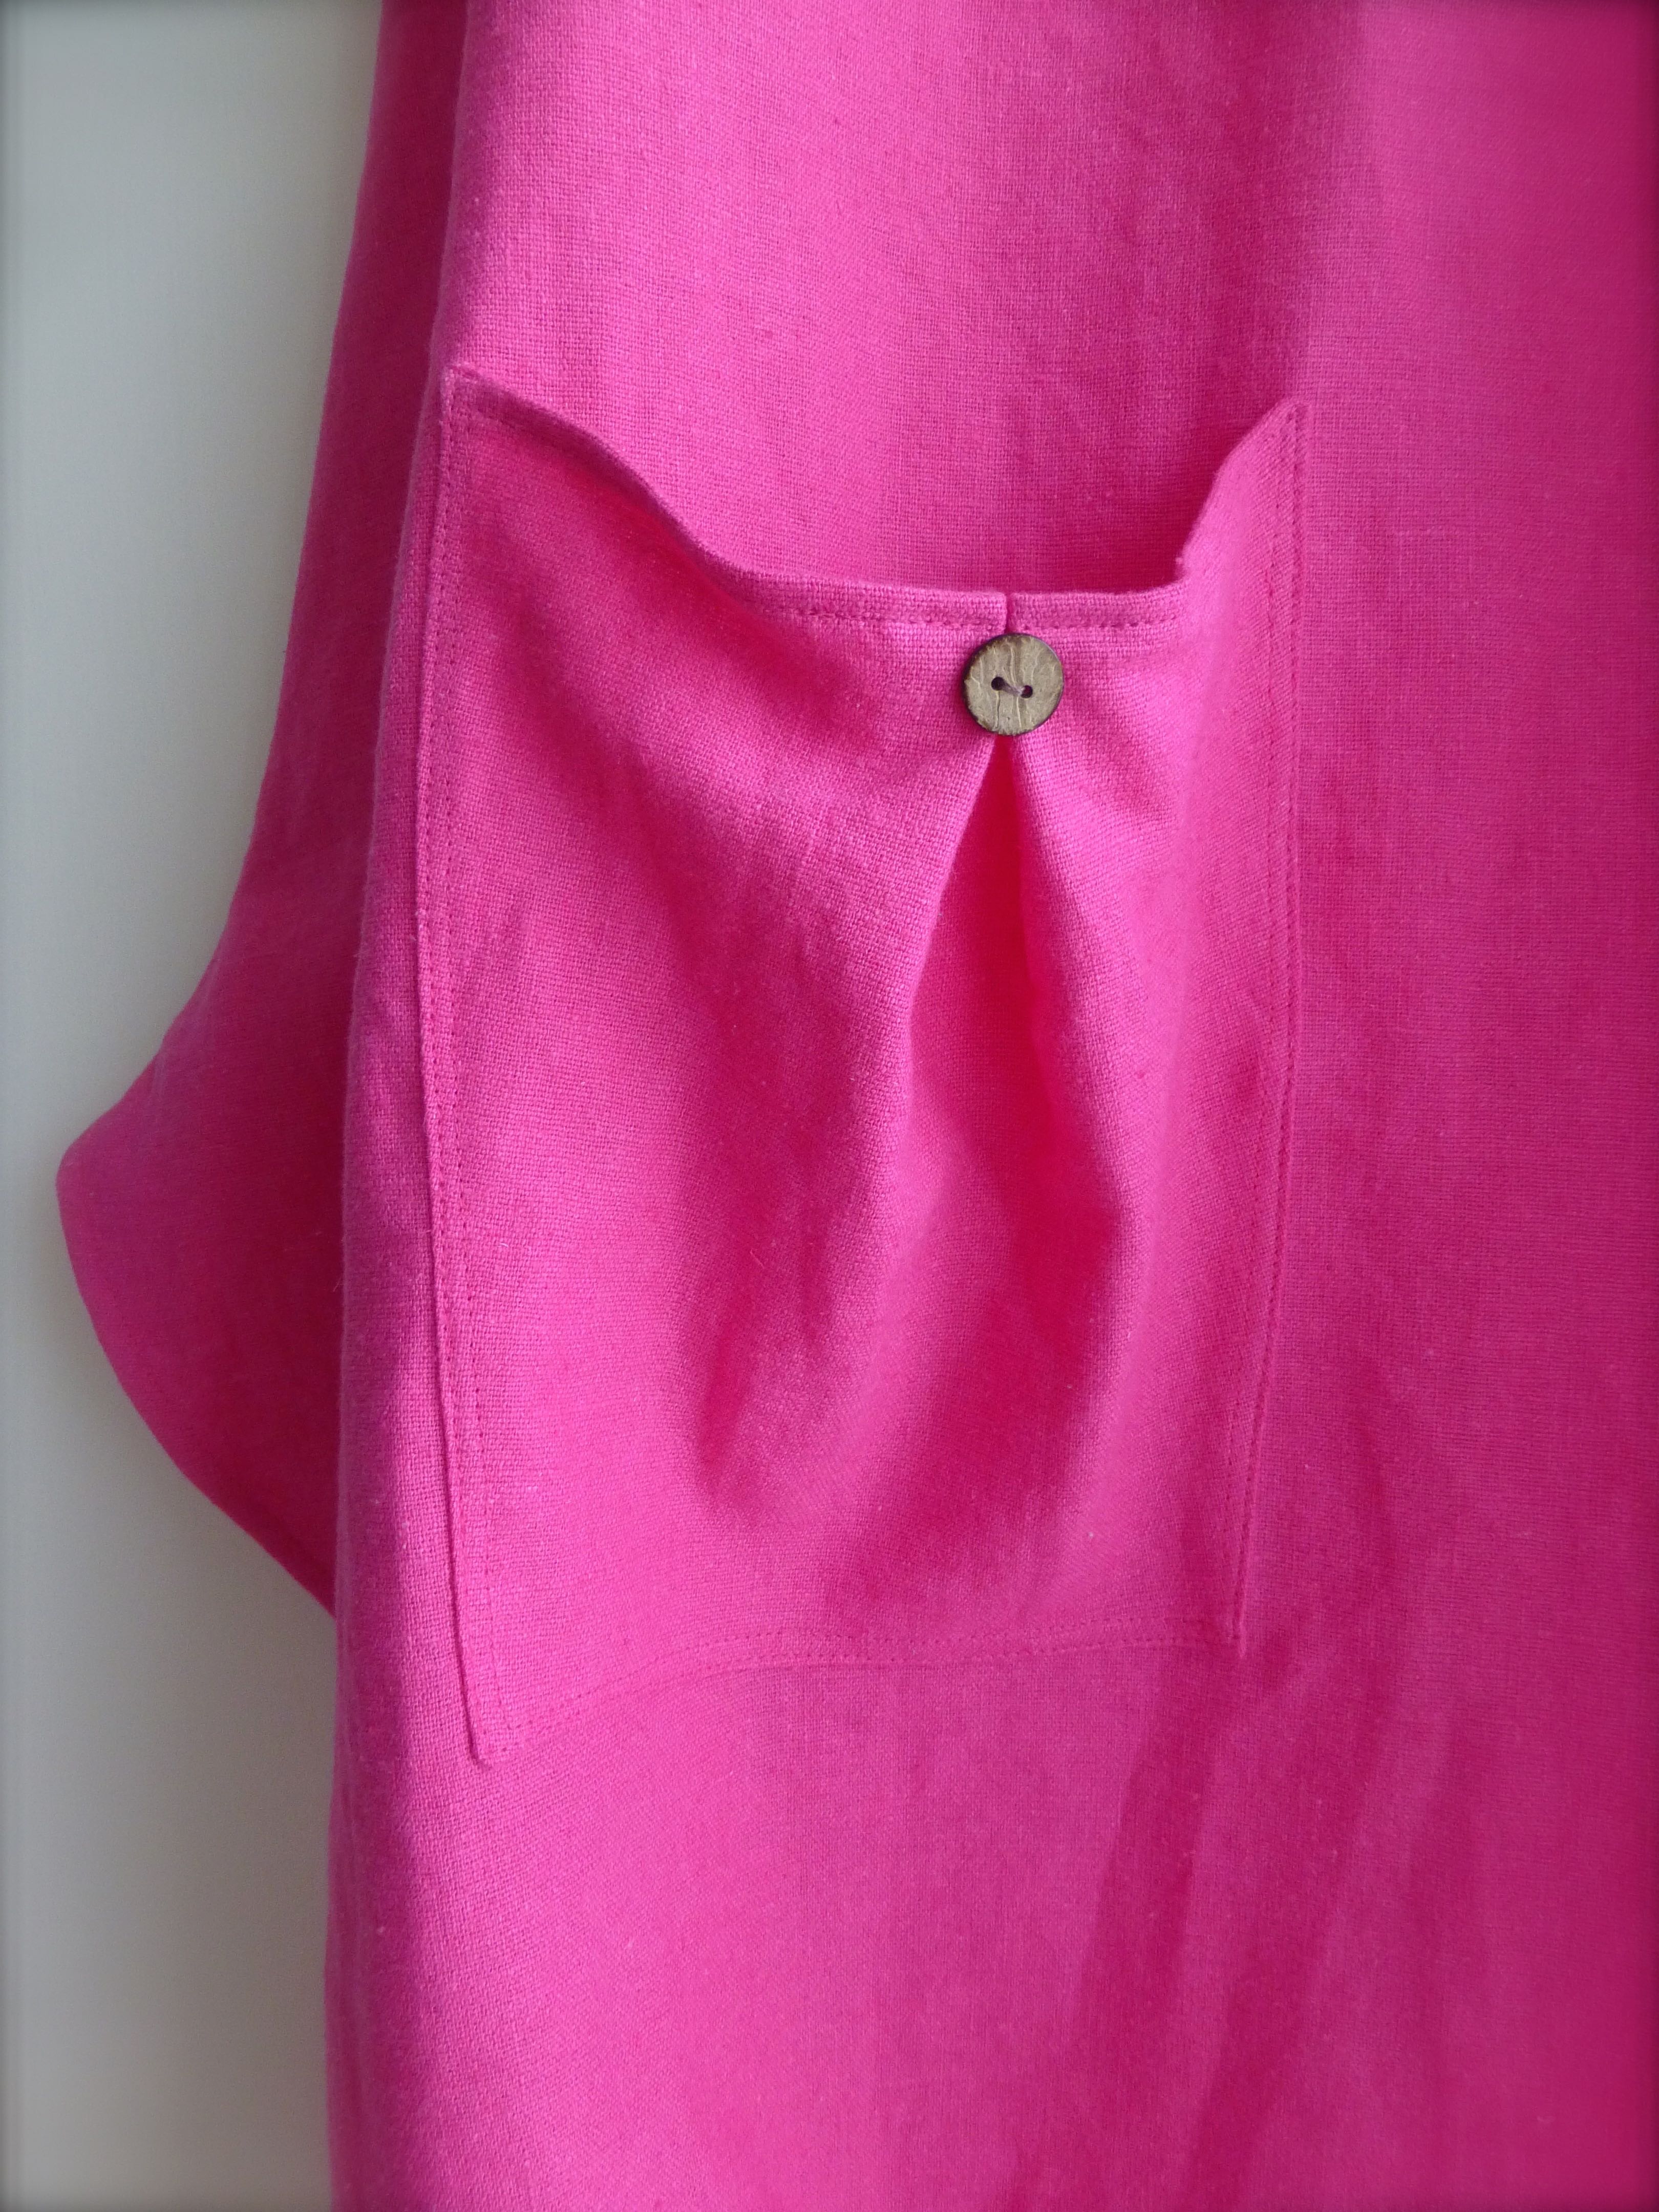
This is what I came up with for the pockets, the lines marking the placement for an inverted pleat.
I used a combination of flat fell seams and French seams for the construction.
Narrow hems were made throughout, so no need for facings.
I really liked the details in the tunic so I applied them to this dress as well.
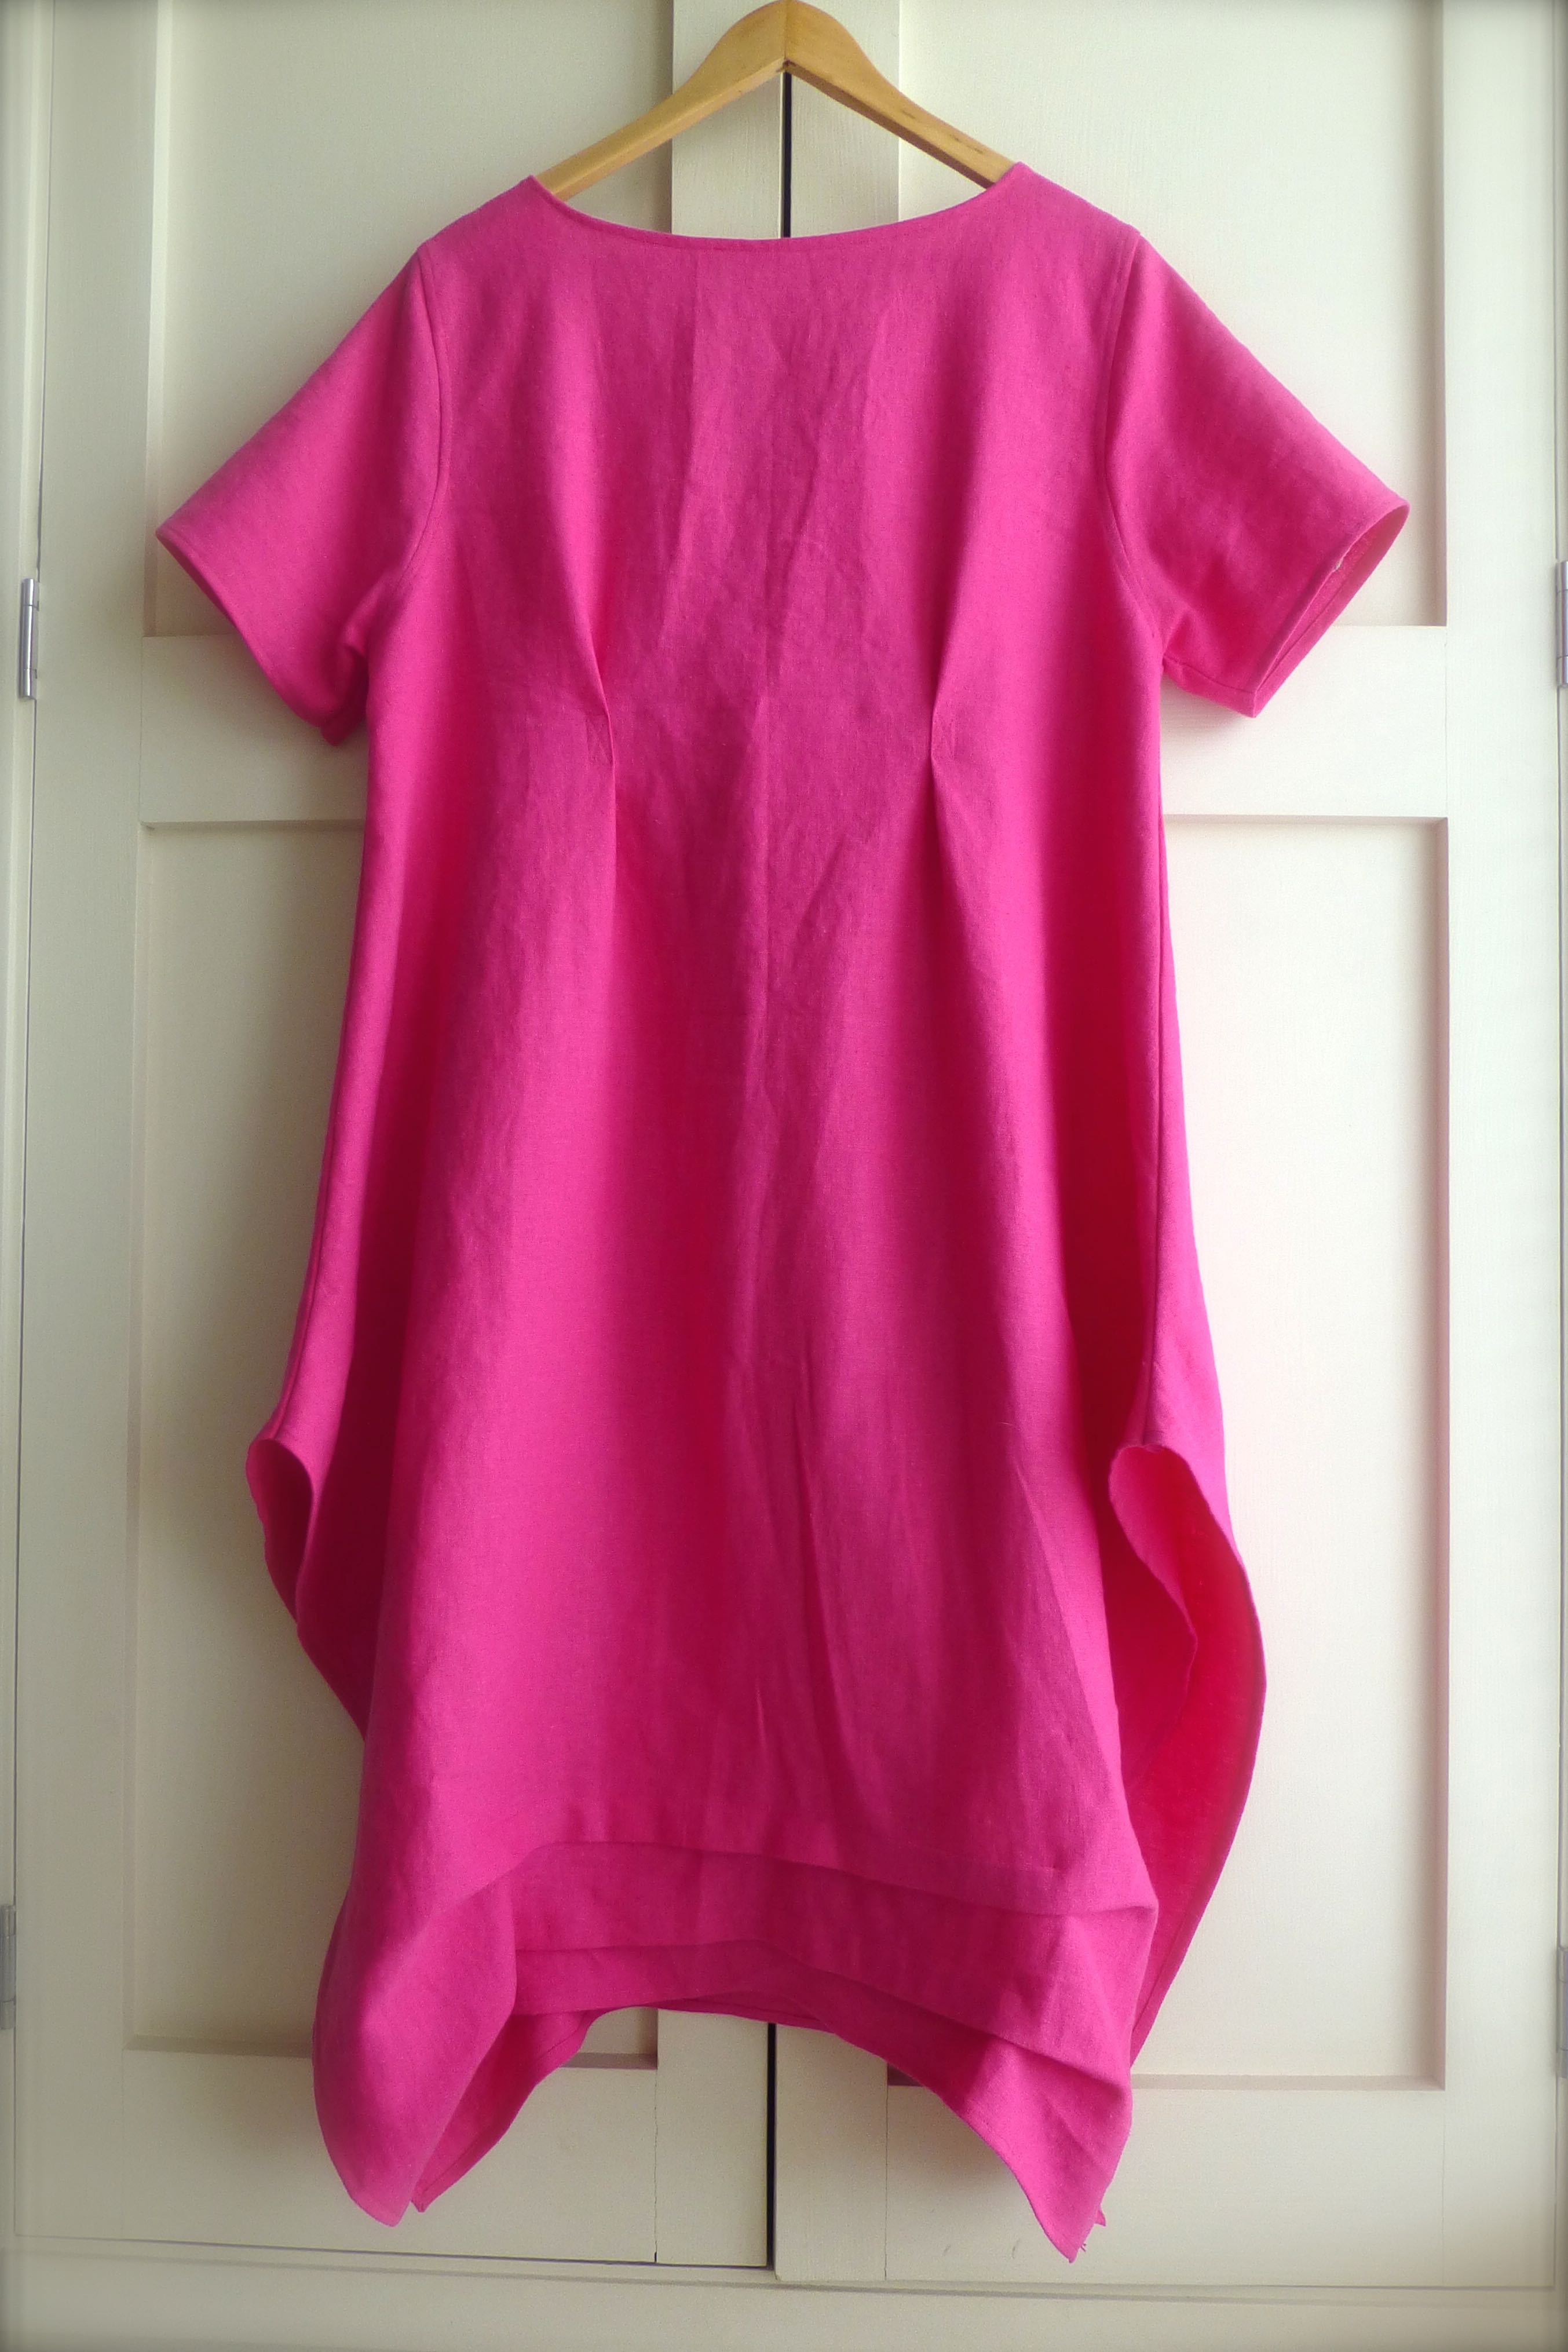
The parallel pleats on the front and back which draw the centre upwards and allow the edges to hang lower in an interesting shape….
…the exterior pleats on the back which add shape as an alternative to darts…
….and the inverted centre front pleat adorned with two coconut shell buttons.
I added two pockets this time, in a slightly different style….
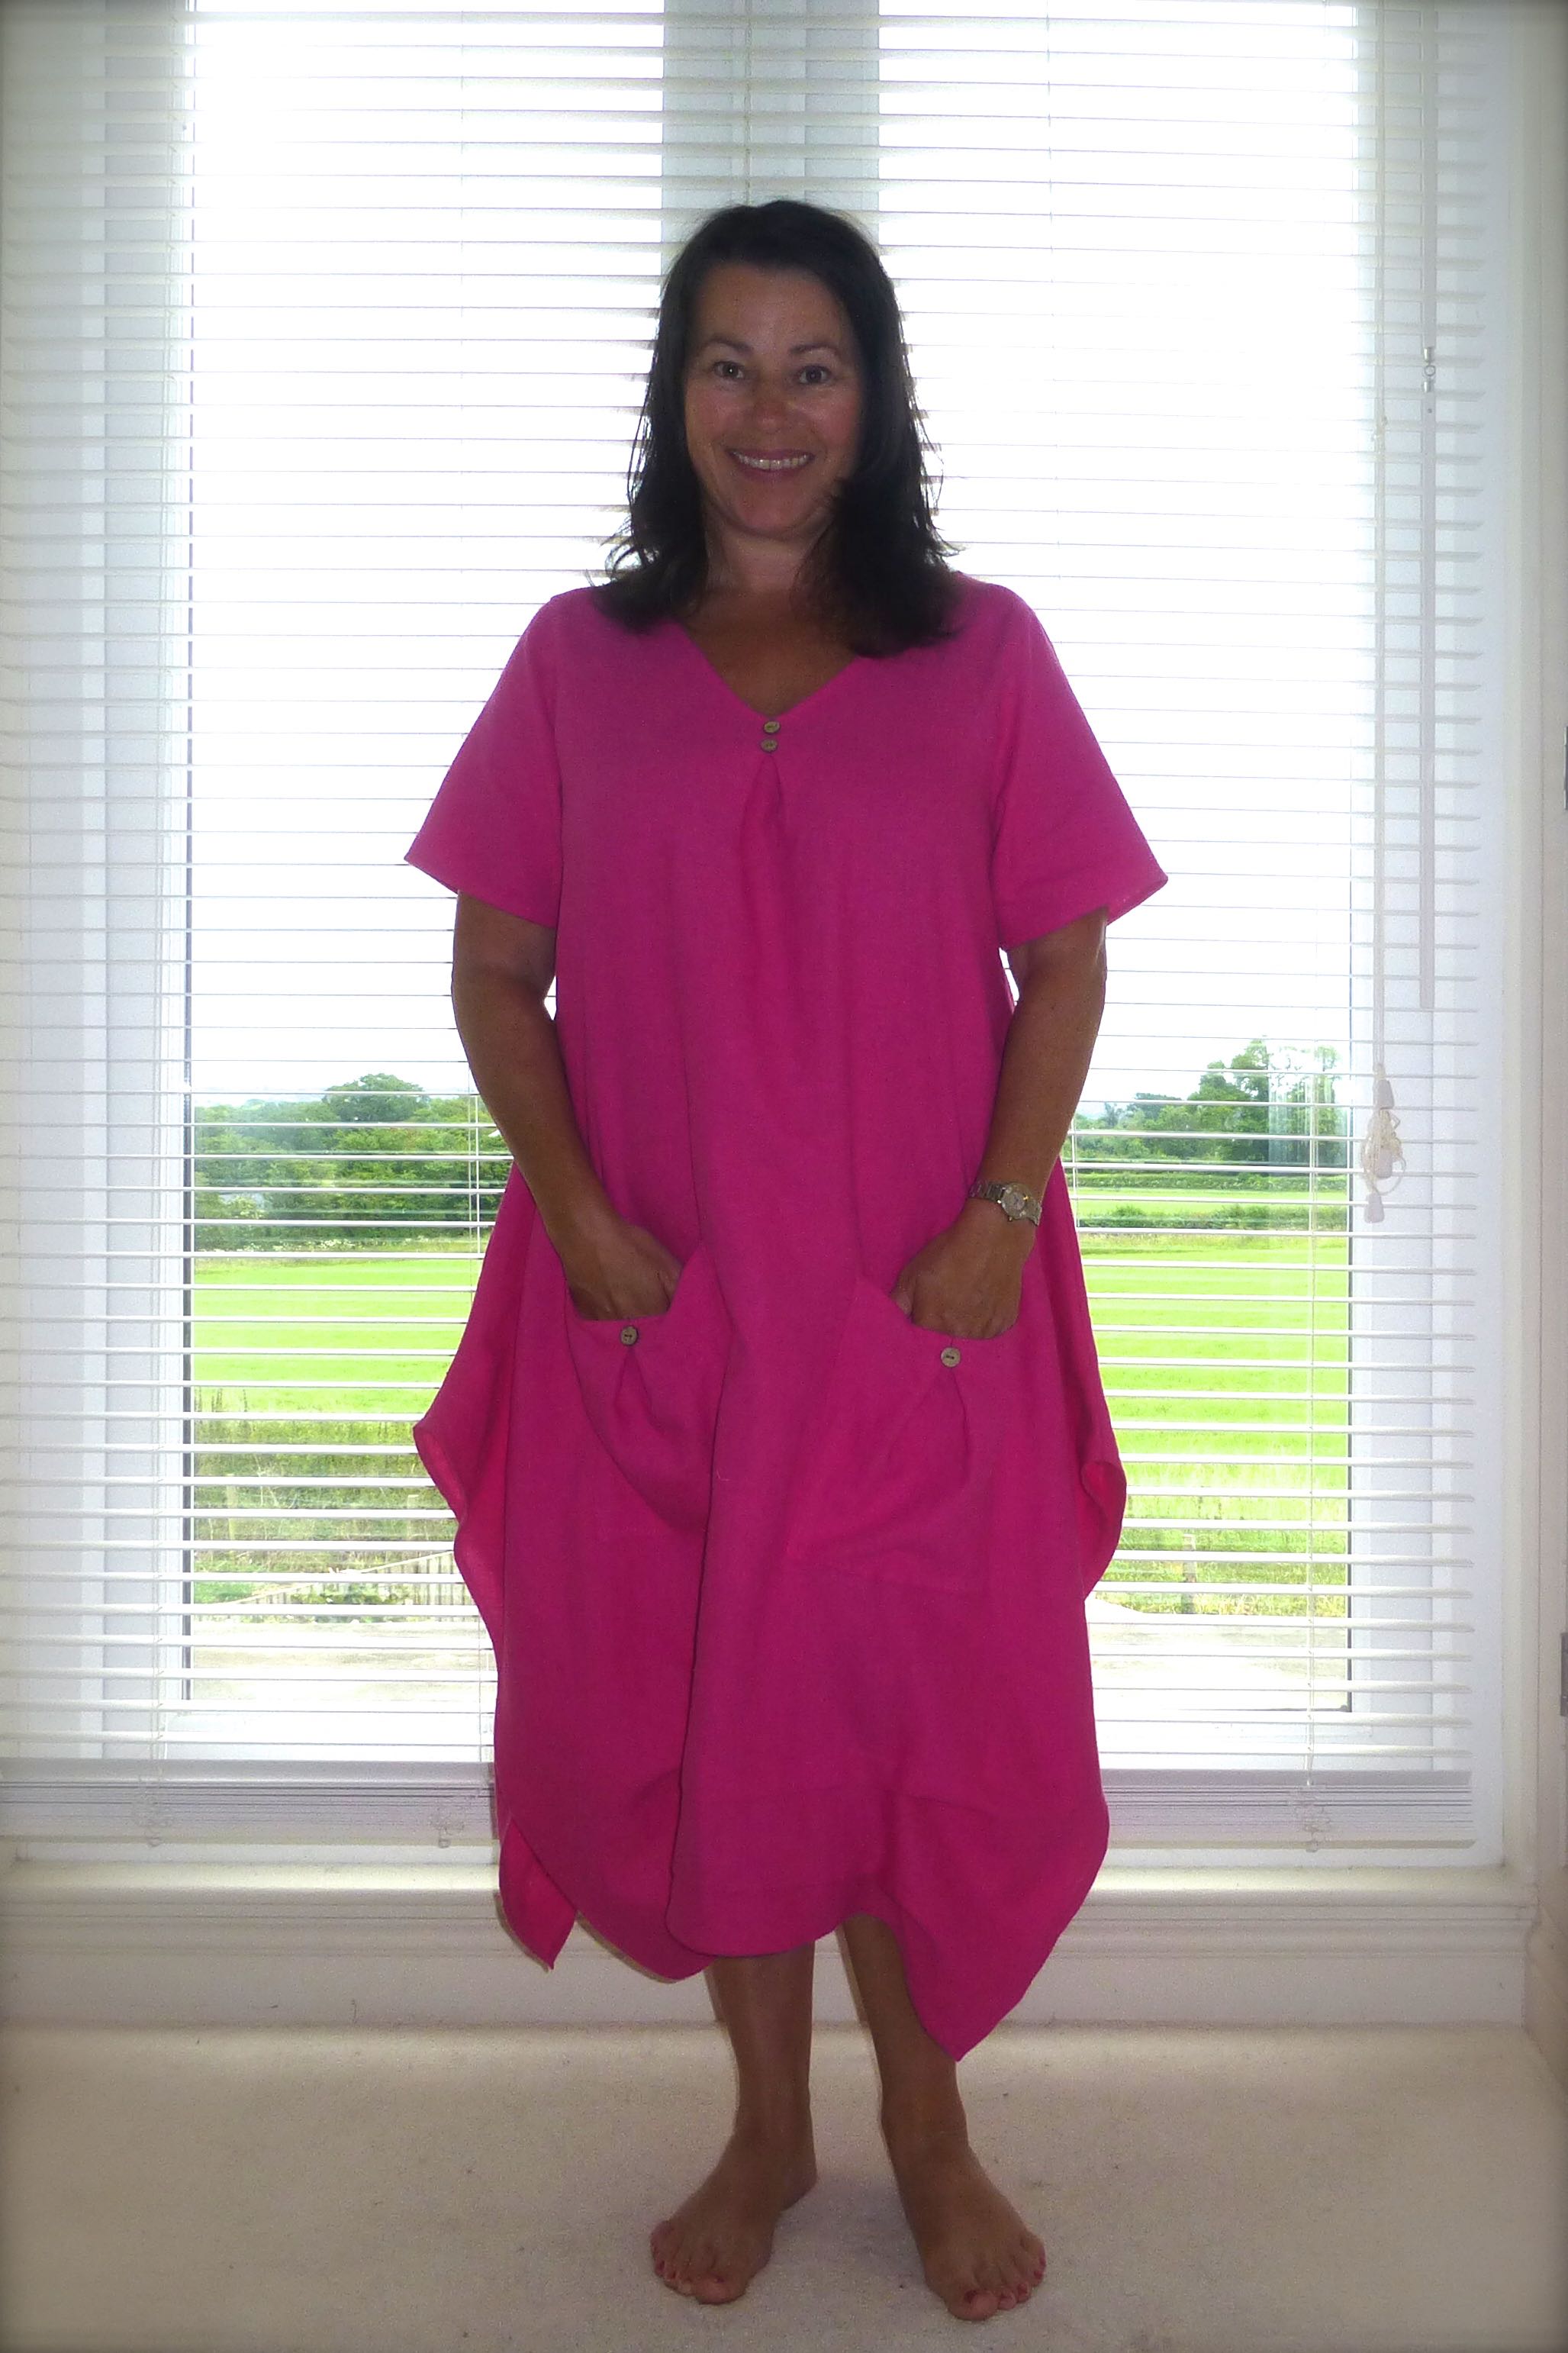
…and this is the finished article!
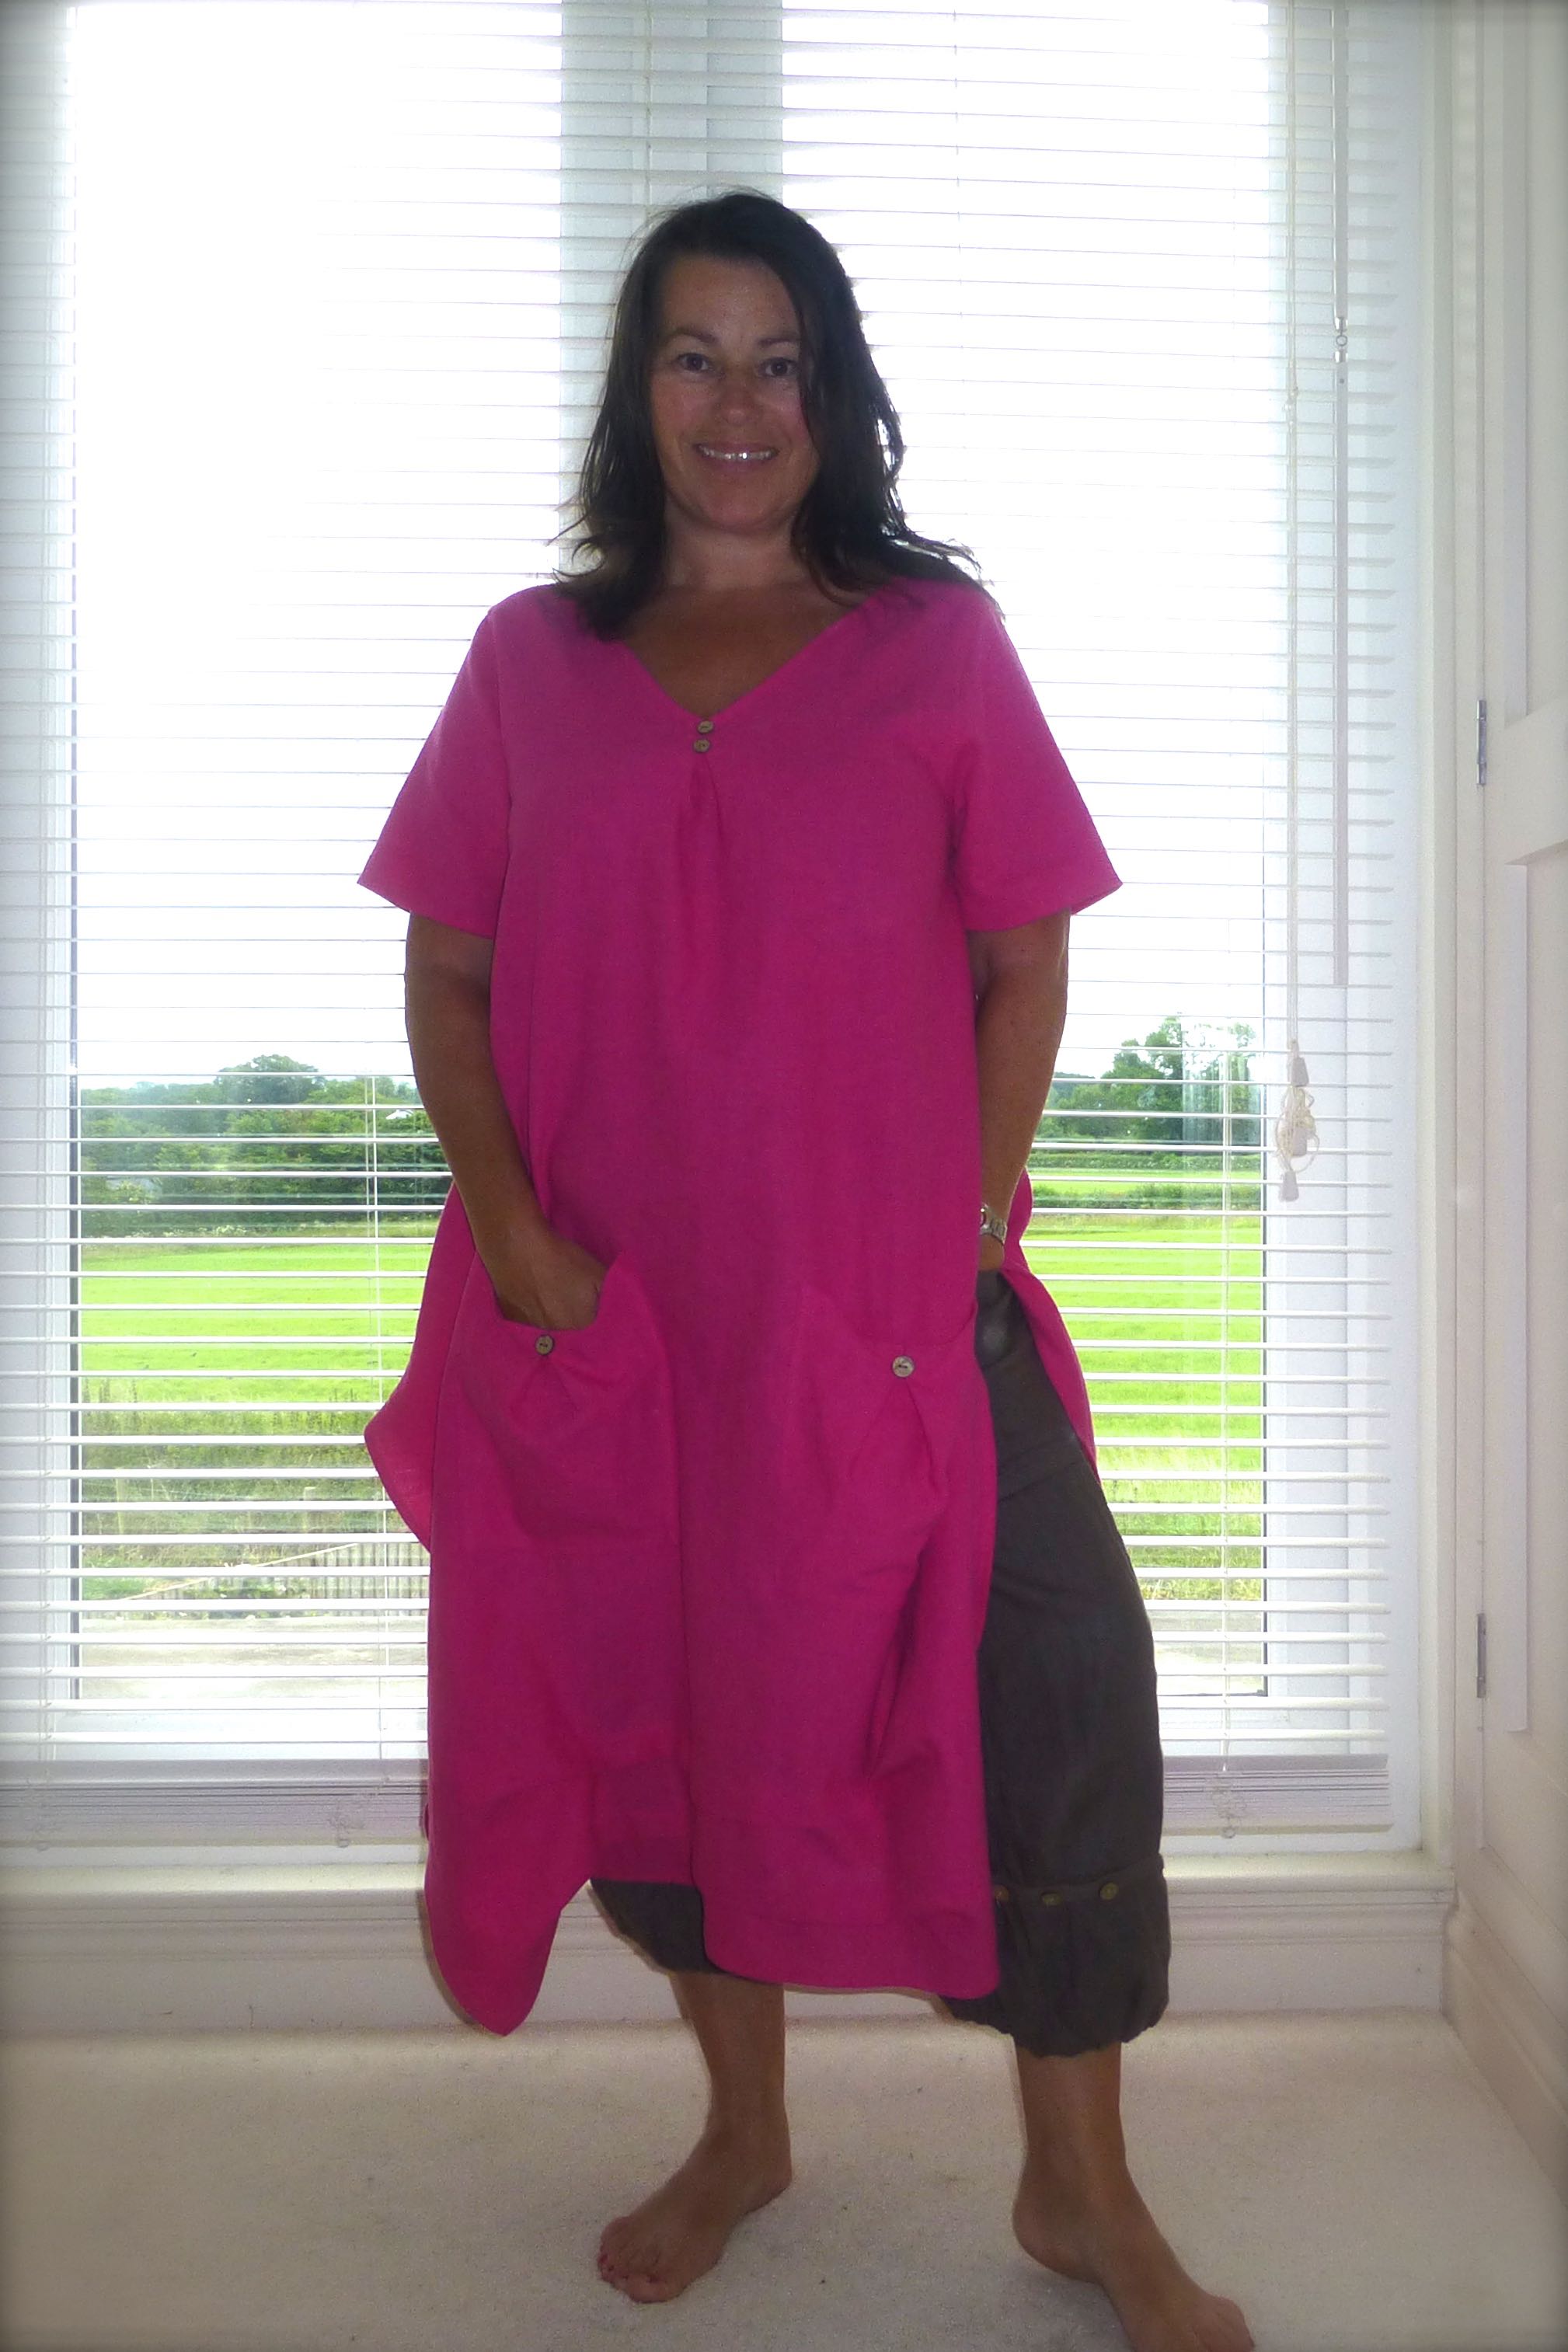
The sides are split to mid thigh level which lets the breeze in to keep me nice and cool!
I can also wear linen trousers underneath for a different look (or if it gets cooler).
Very casual, comfortable and cool – three reasons why I LOVE linen!
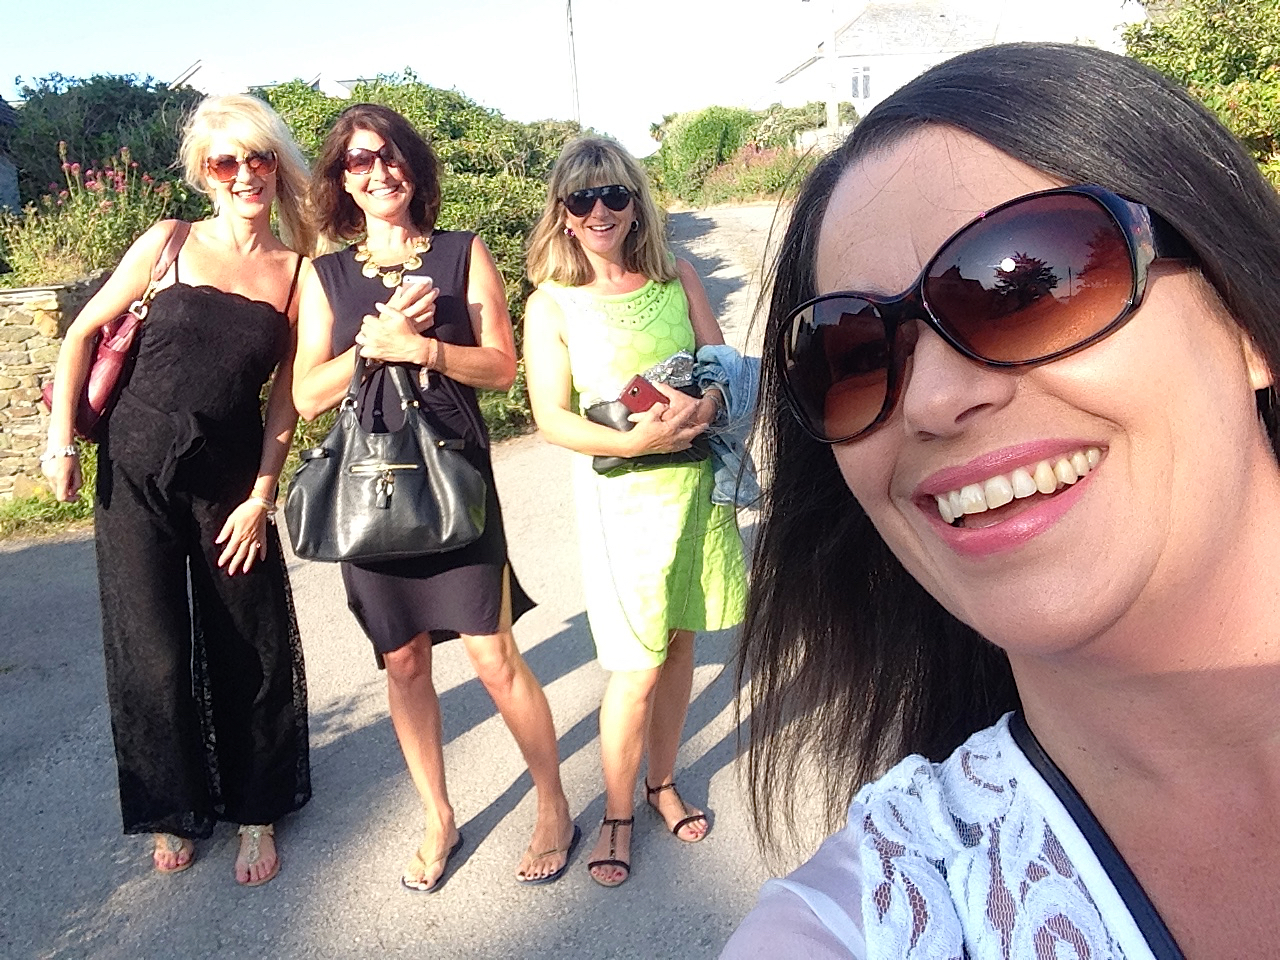
This week’s #sundaysevens consists entirely of photos of my week in Polzeath, Cornwall with The Girls.
We’ve been besties for twenty-five years since pregnant with our first children and have had many holidays together over the years, both with and without the kids.
This holiday was just for us though, as it was a special celebration for the first one of us to reach the big five-o.
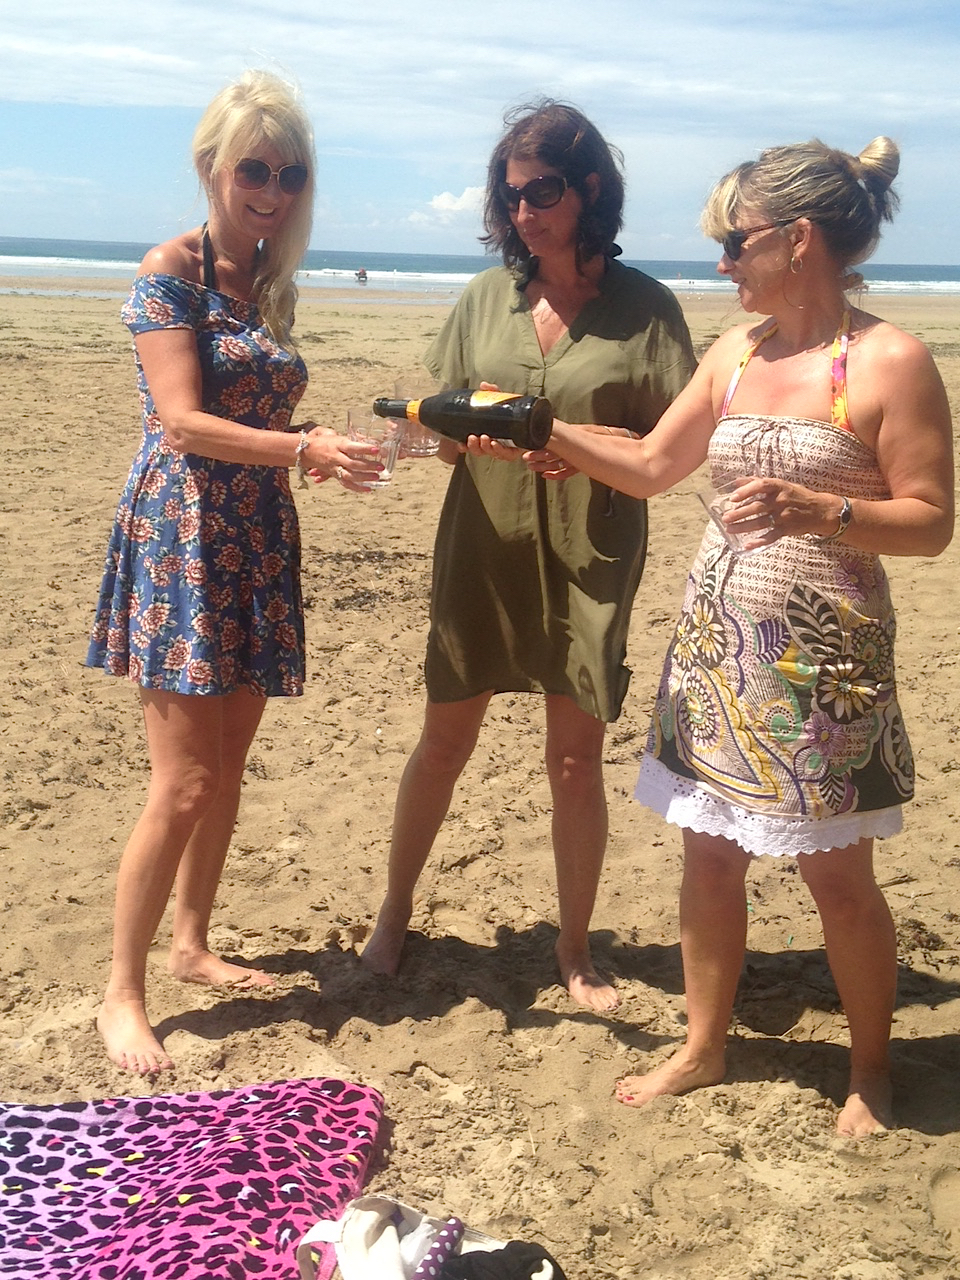
We spent an indulgent six days getting up late, lazing on the beach, eating at the finest restaurants and drinking.
Lots of drinking.
I shall spare you all the drunken photos and just share a few nice ones:)
1. Meet The Girls.
2. Prosecco on the beach by day…
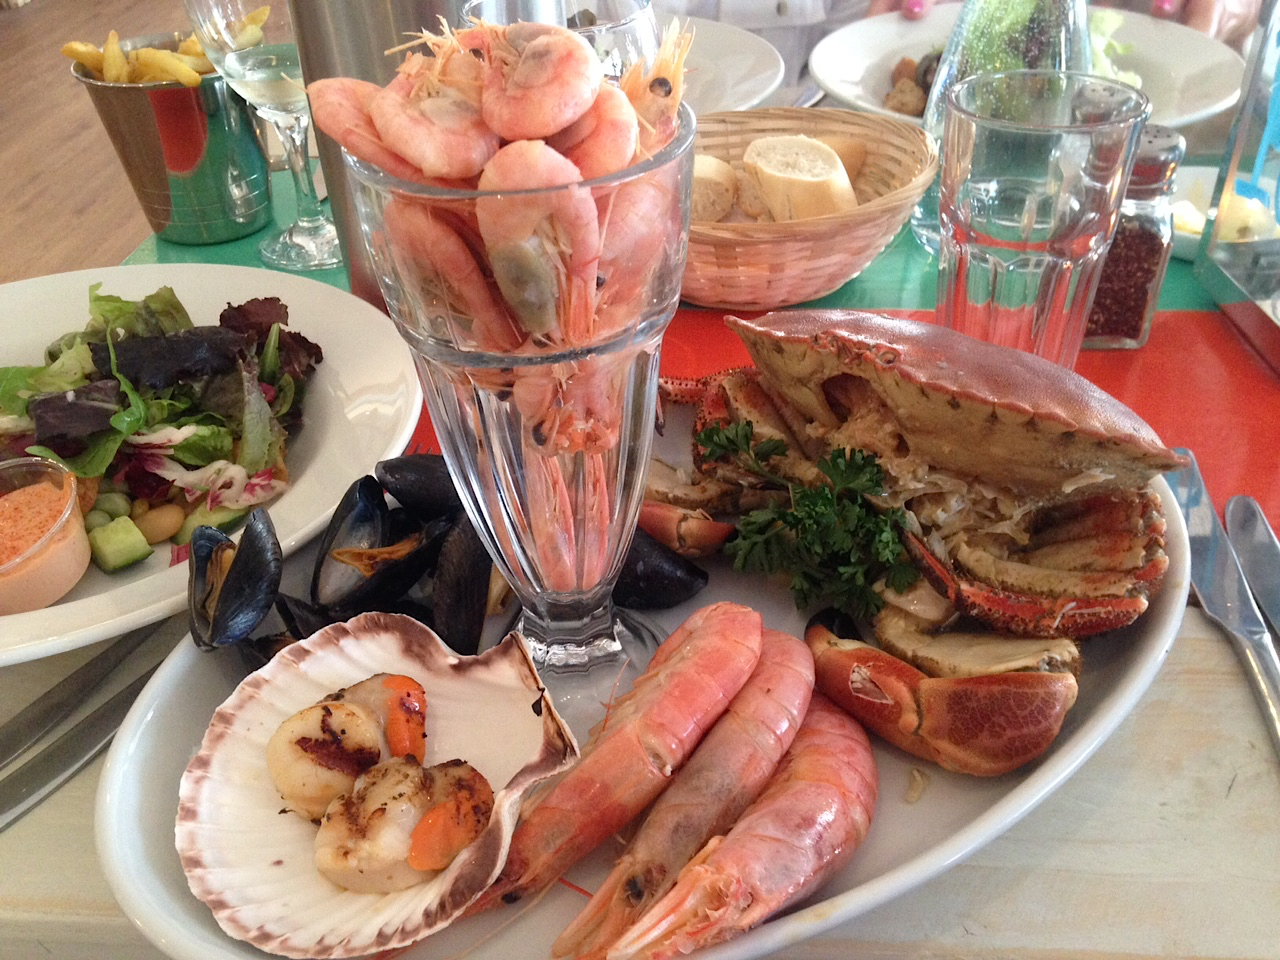
3. ….the best dishes on the menu each night.
4. Water taxi home at midnight.
5. The Birthday Girl herself.
6. Toasting her health with a bottle of Bolly.
7. Our gift – a Tiffany charm for her bracelet.
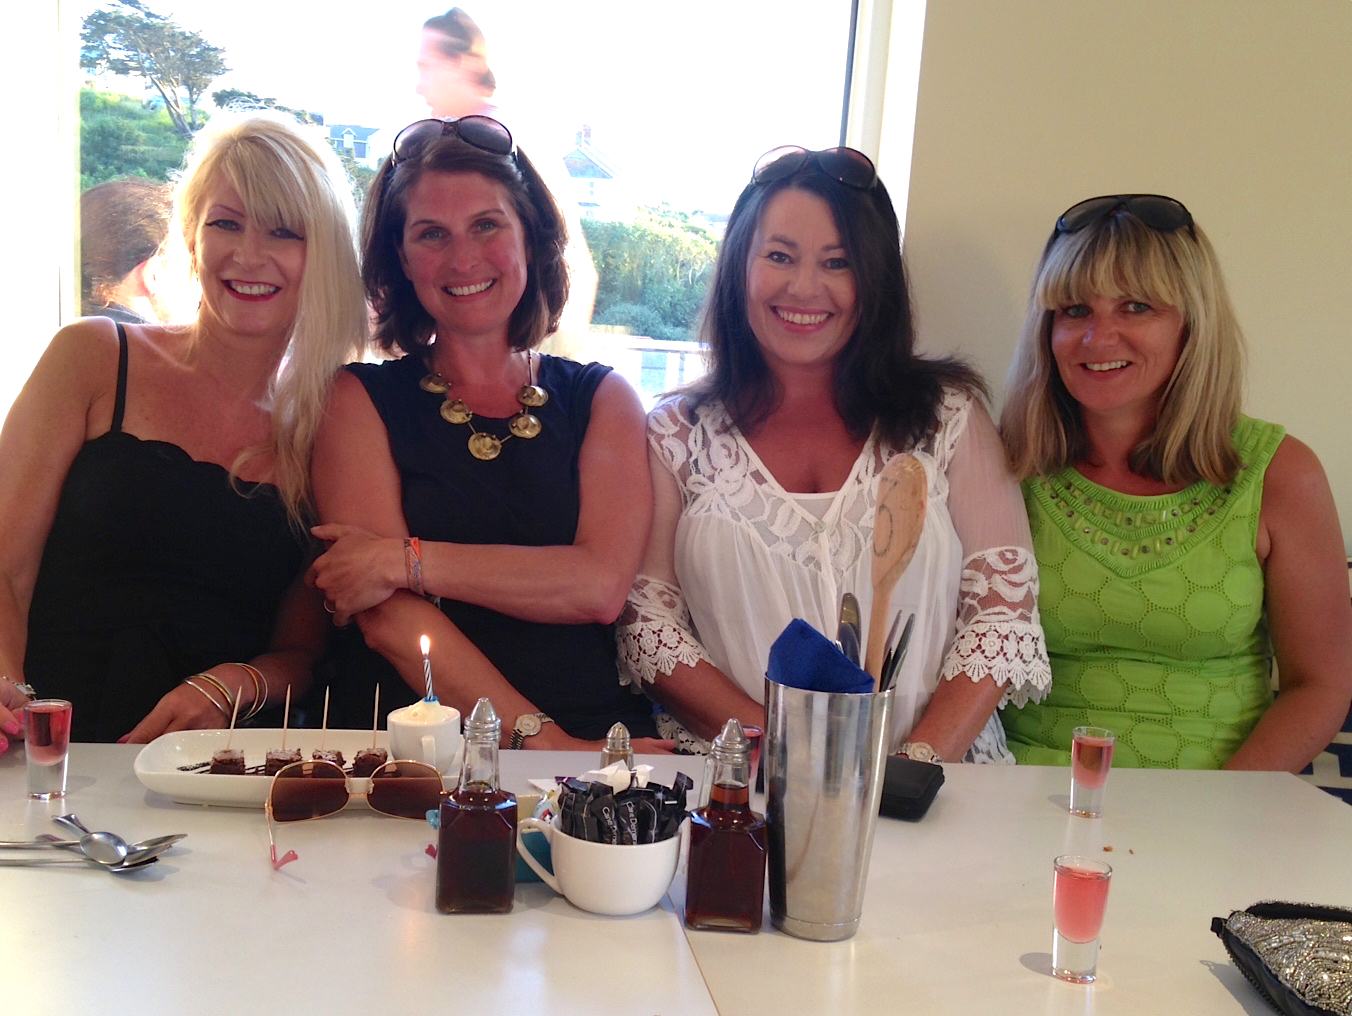
8. Here we are all together – what a fantastic week we had!
I’m the next one to hit fifty in a couple of years, but how we’ll top that as far as celebrations go I have no idea!
A couple of months ago I refashioned and repaired an old T-shirt discarded by my father-in-law in favour of some new ones, and made a perfectly wearable ‘new’ T-shirt for No.3 Son. (Blogged about here.)
I also had these two still waiting to be transformed into something The Boys would happily wear.
I was flicking through my old Love Sewing magazines when I came upon this pattern in Issue 10: –
The last T-shirt refashion was drafted from an existing shirt but, stupidly, I didn’t make a paper copy of it, so when I saw this one in Love Sewing, I thought I’d give it a whirl.
(Talking of Love Sewing, look out for my feature in the next issue!)
The sleeves would have to be short though, and the neckline is a bit too wide and ‘girly’ for my boys.
I cut out the largest size age 8-9 as No.3 Son is 8 next week and No.2 Son is 9. Perfect.
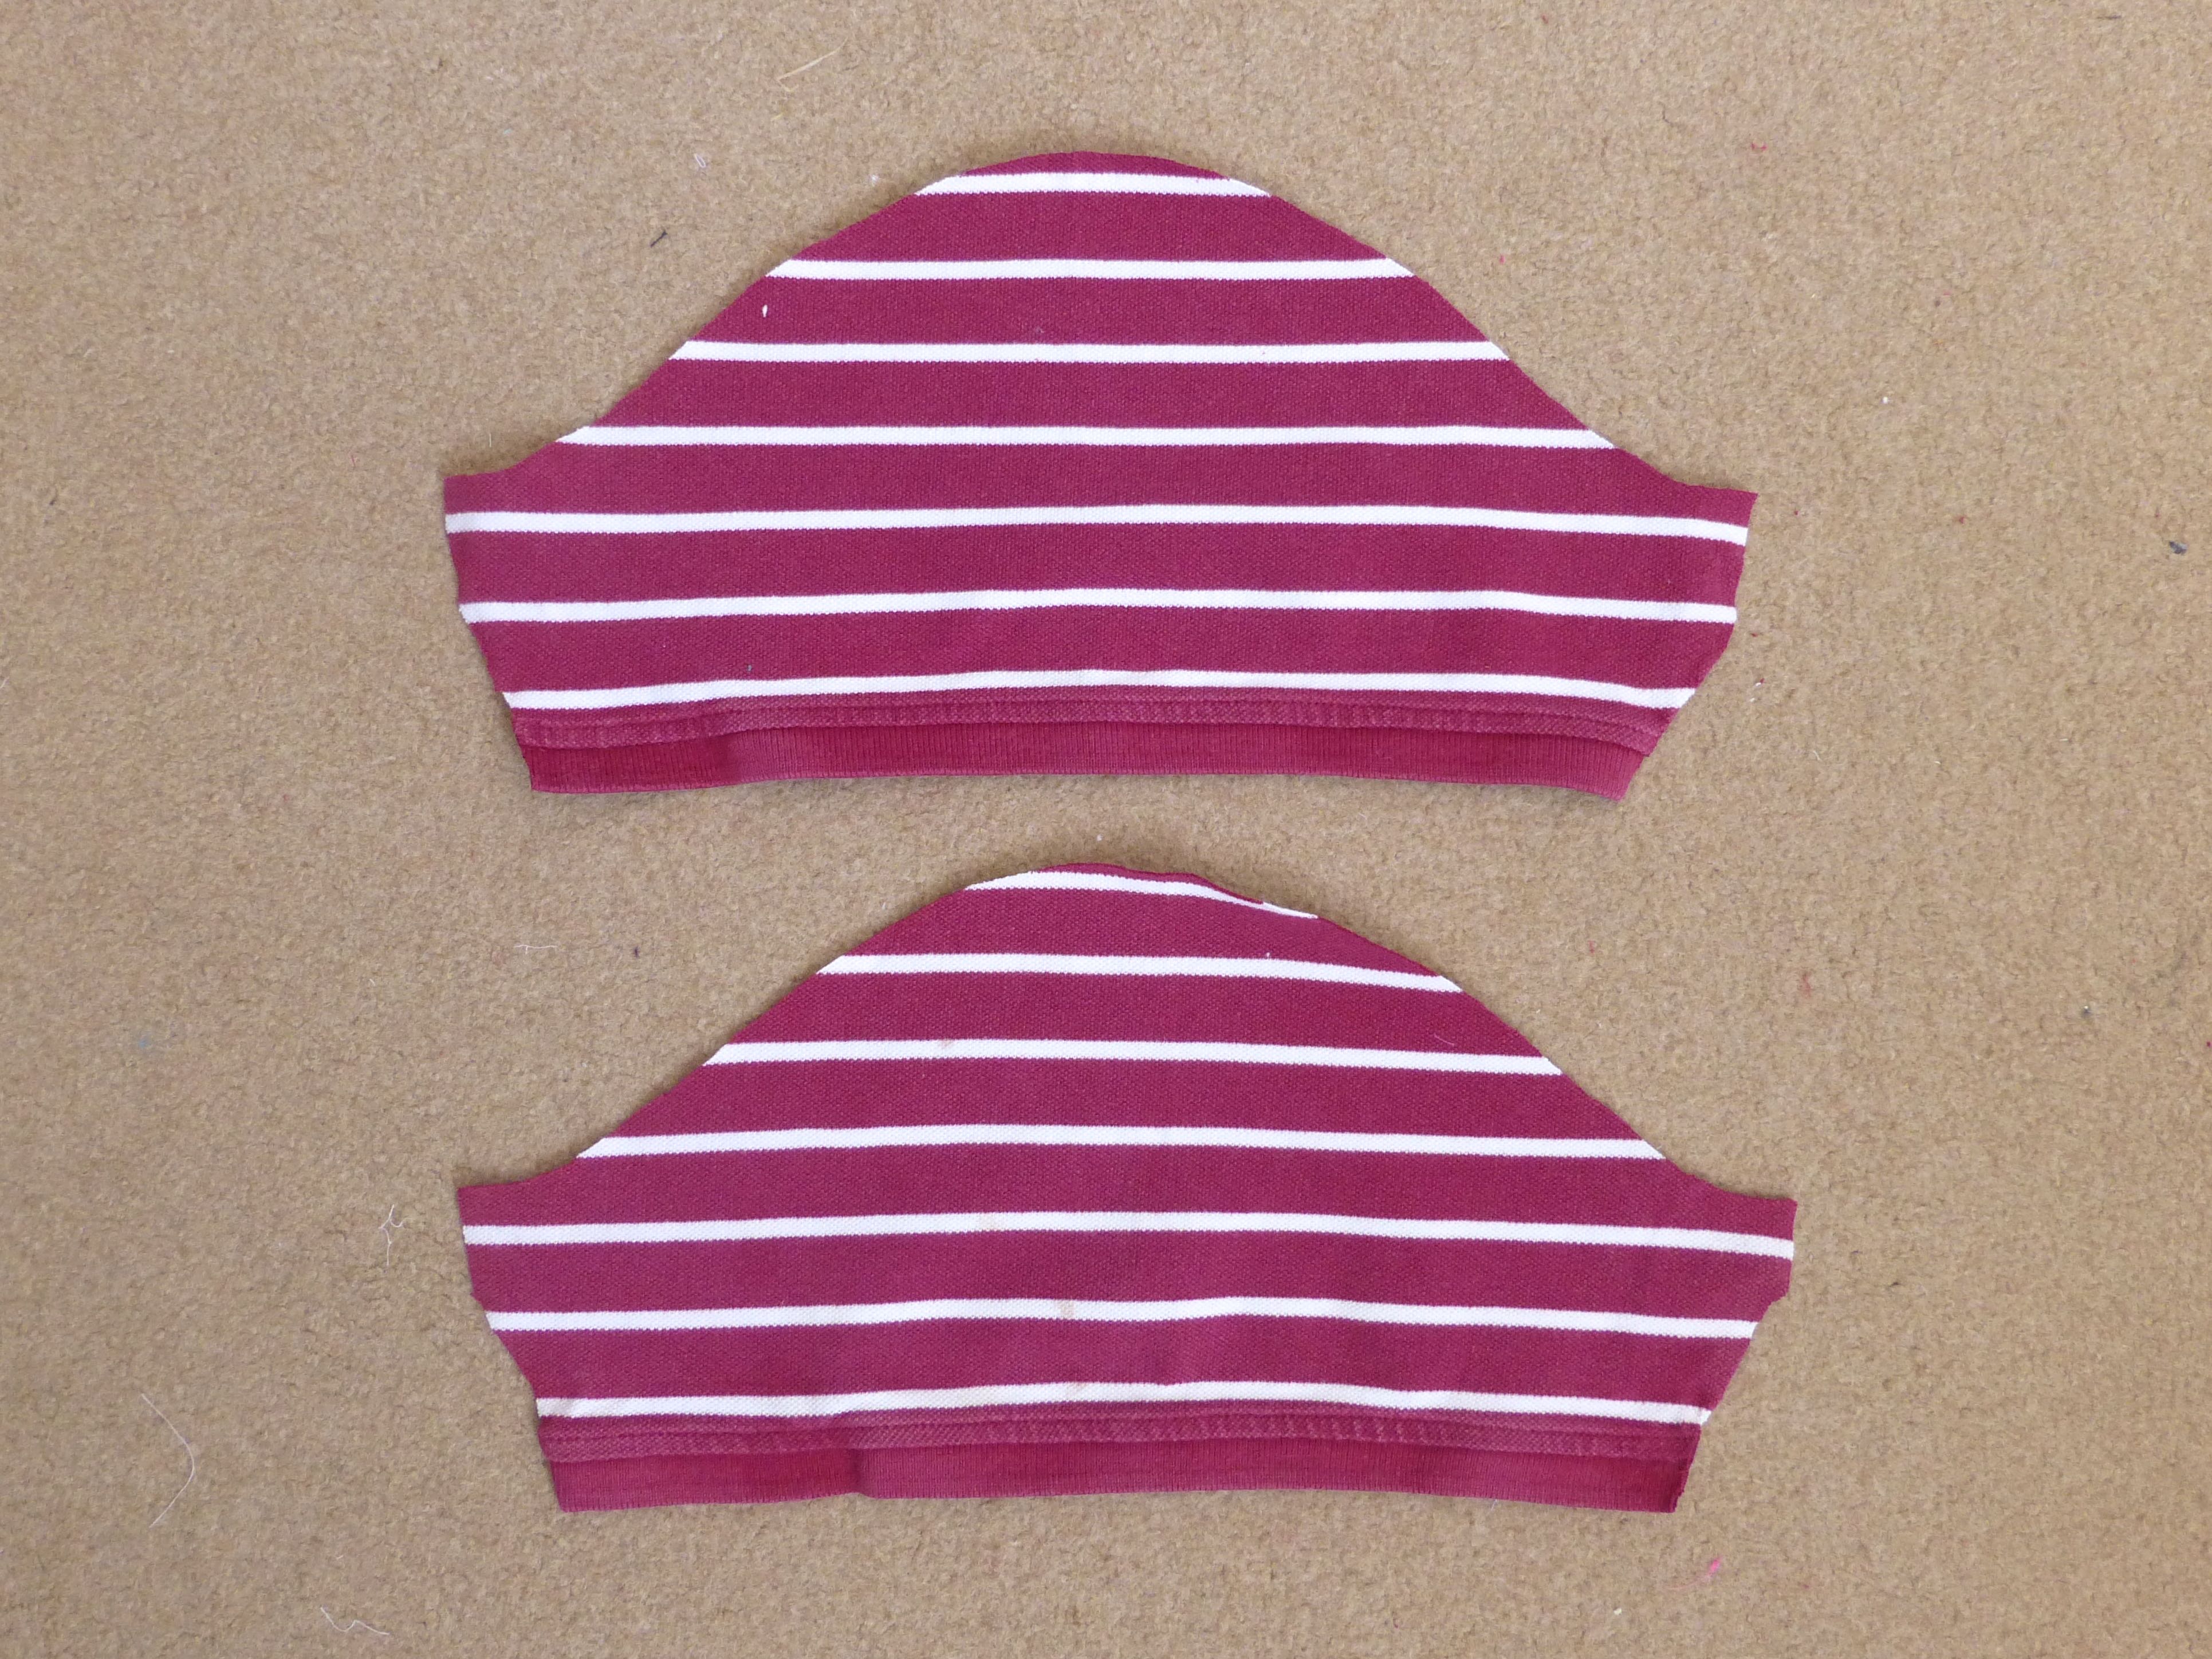
The two remaining shirts were different coloured versions of each other, so I decided to funk them up a little by swapping the sleeves as part of the remake.
I left all the original hems attached so these were both whipped up within a couple of hours – including tracing the pattern!
I used plain cotton tape to face the neckline as it was all I had to hand and it works perfectly.
Here they are waiting for The Boys to wreck them – they are mightily hard on their clothes!
Yep, they fit a treat – thanks, Love Sewing, for the free pattern!
So that’s another two items upcycled and given a new lease of life – fun, this sewing lark, isn’t it?
Previously Boys and Chickens, I have created a new blog to share my sewing adventure as 2018 is they year I plan to teach myself to sew! There will also be bits of crochet and cooking too.
My challenge: One year - I will not buy clothes - I will upcycle to make what I need - everything from underwear to evening wear! Join me for tips, exclusive BrawHem makes, and inevitably some hilarious disasters...


 3. Visited the Devon Guild of Craftsmen in Bovey Tracey – fell in love with the textile landscapes of Amanda Richardson.

 7. Playing table tennis in our cousin’s holiday home in Cornwall.