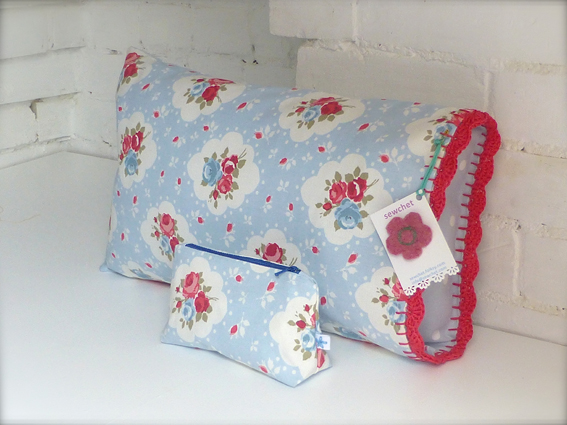
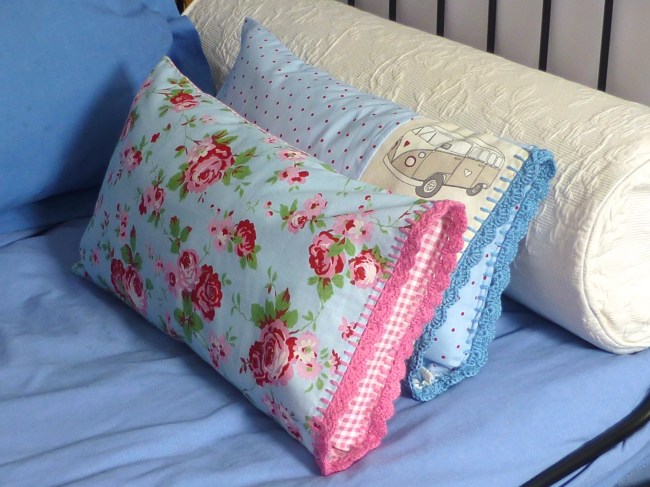
If you like the crochet edge cushions and would like to have a go at making one for yourself, I’ve put together a tutorial to help you.
If anything is not clear, please let me know and I’ll amend it.
So, here goes!
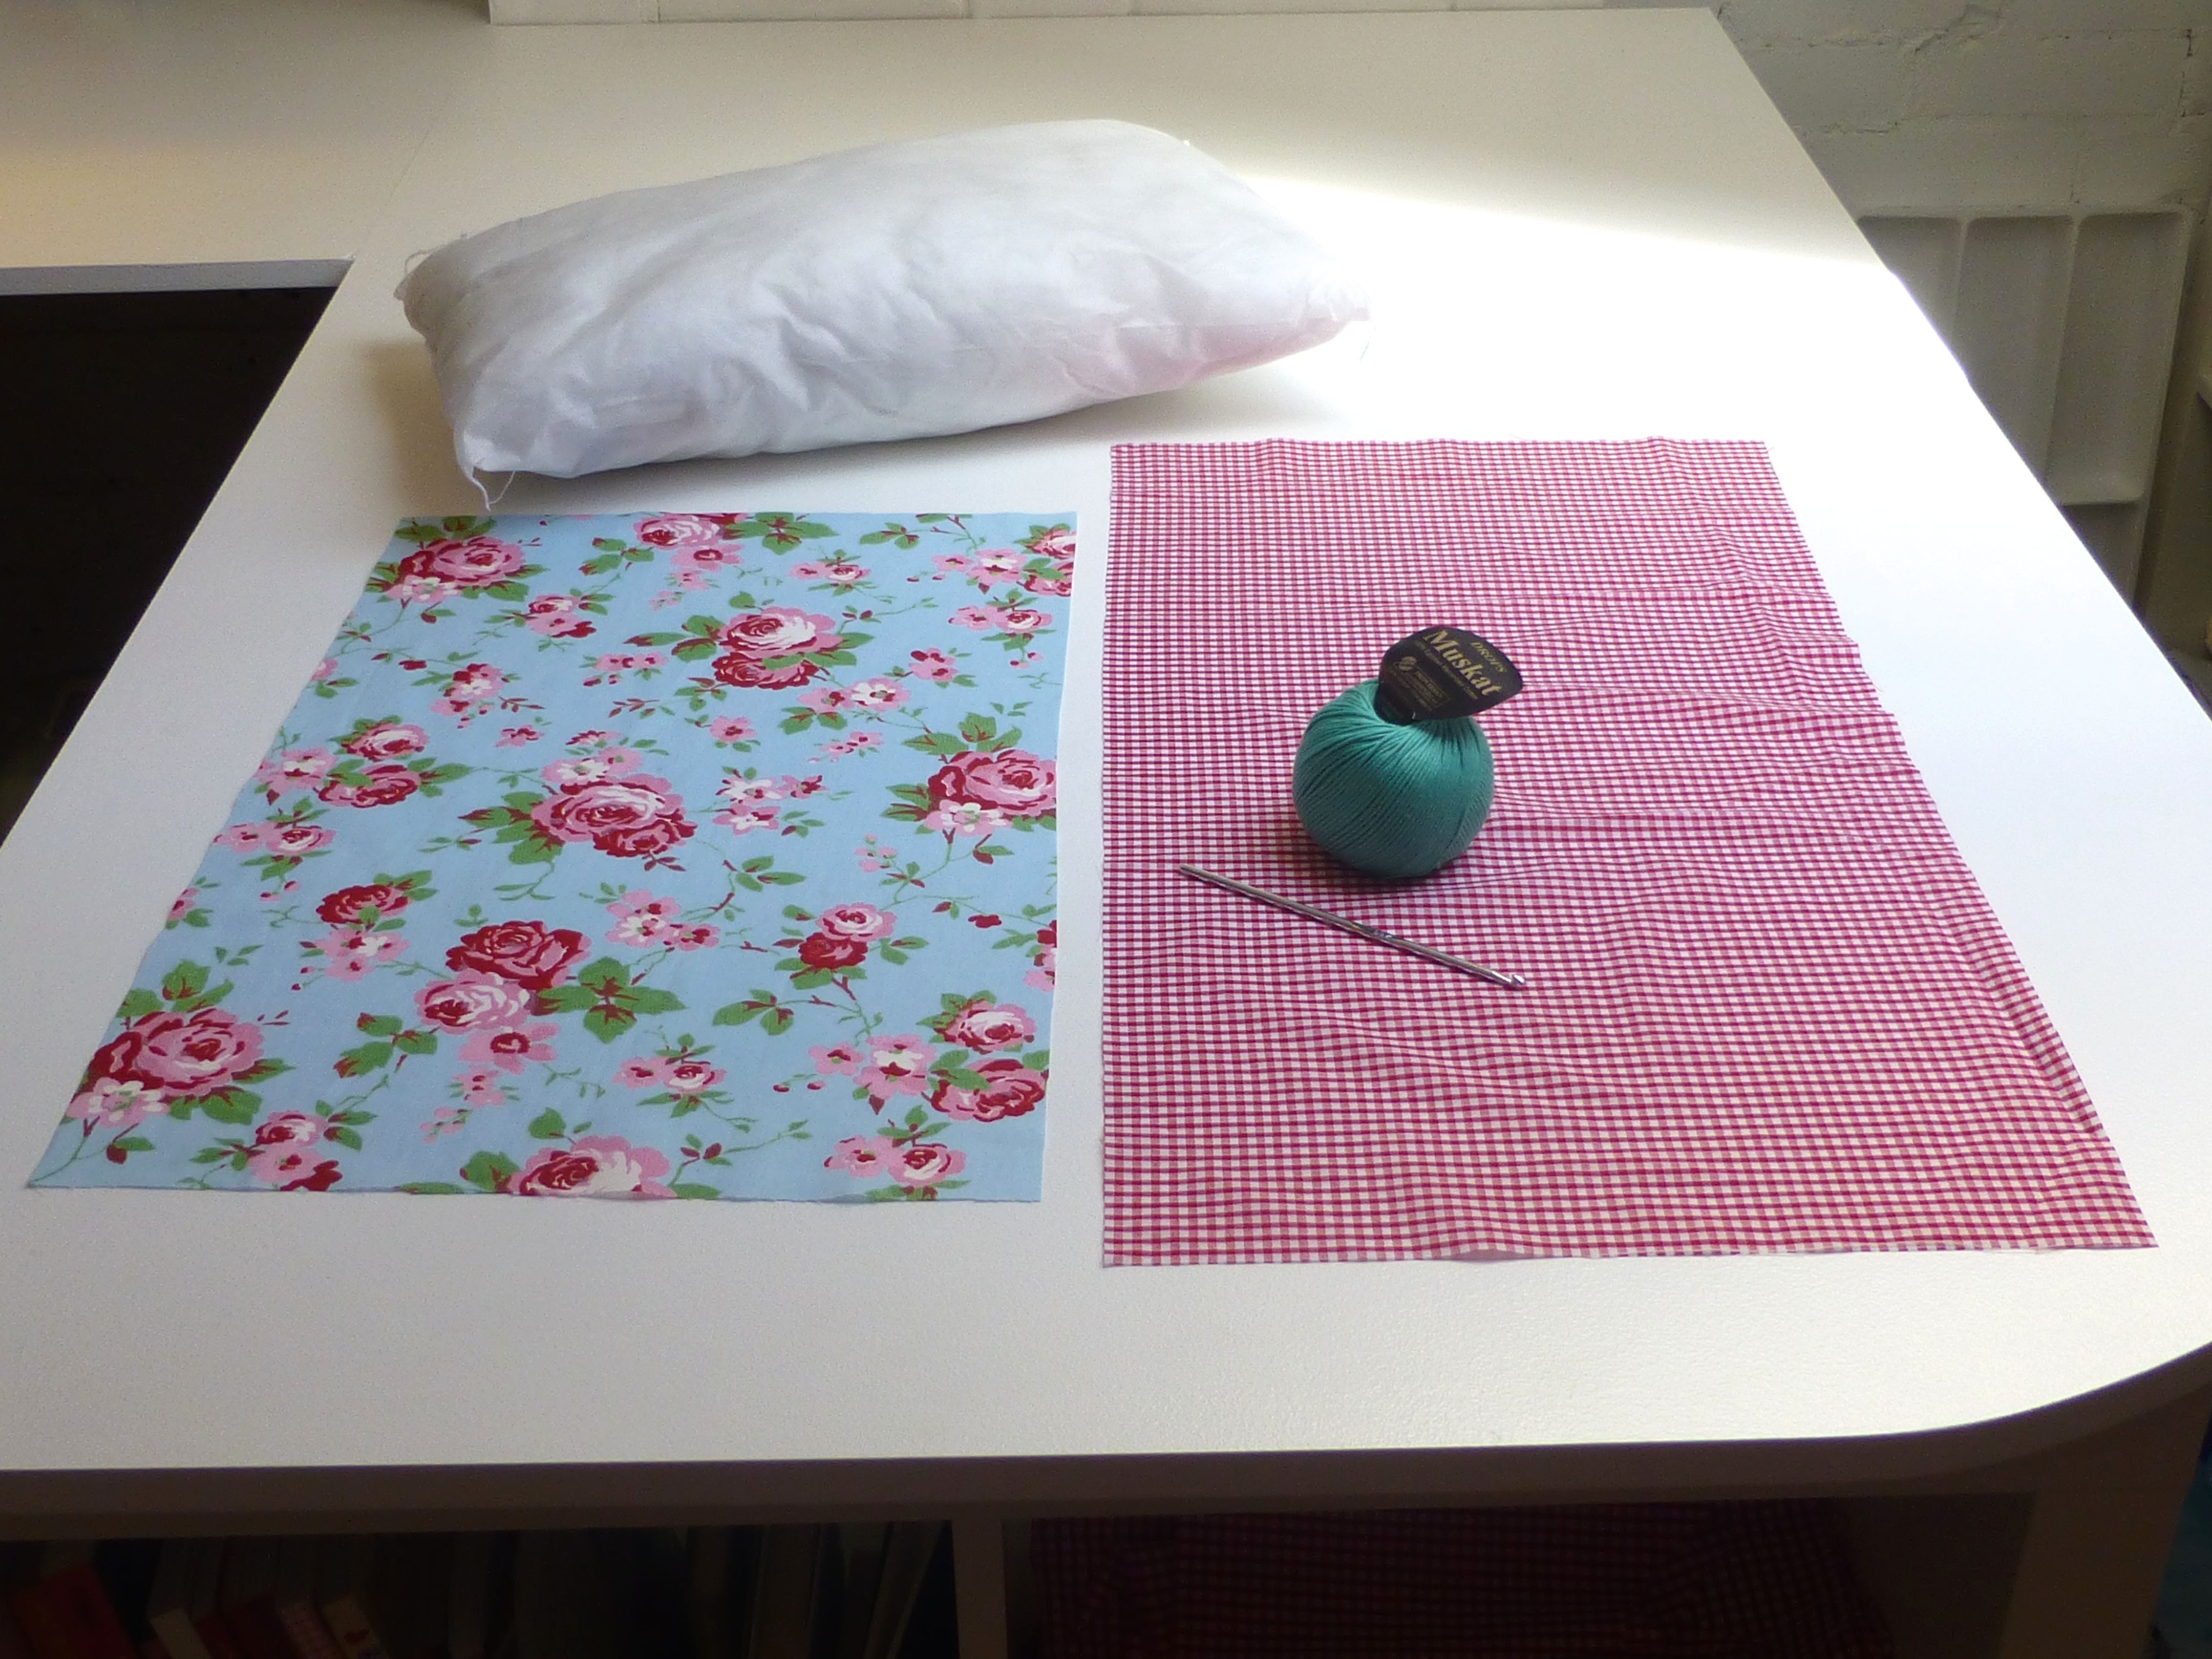
You will need: –
- A 30 x 50cm cushion pad
- A piece of fabric 34 x 53cm for the cushion front
- A piece of fabric 34 x 65cm for the cushion back
- Yarn for the crochet edge (I used Drops Muskat Cotton and a 4mm hook)

1.Make a narrow hem on one short edge of each of your pieces of fabric – this will be the opening edge.

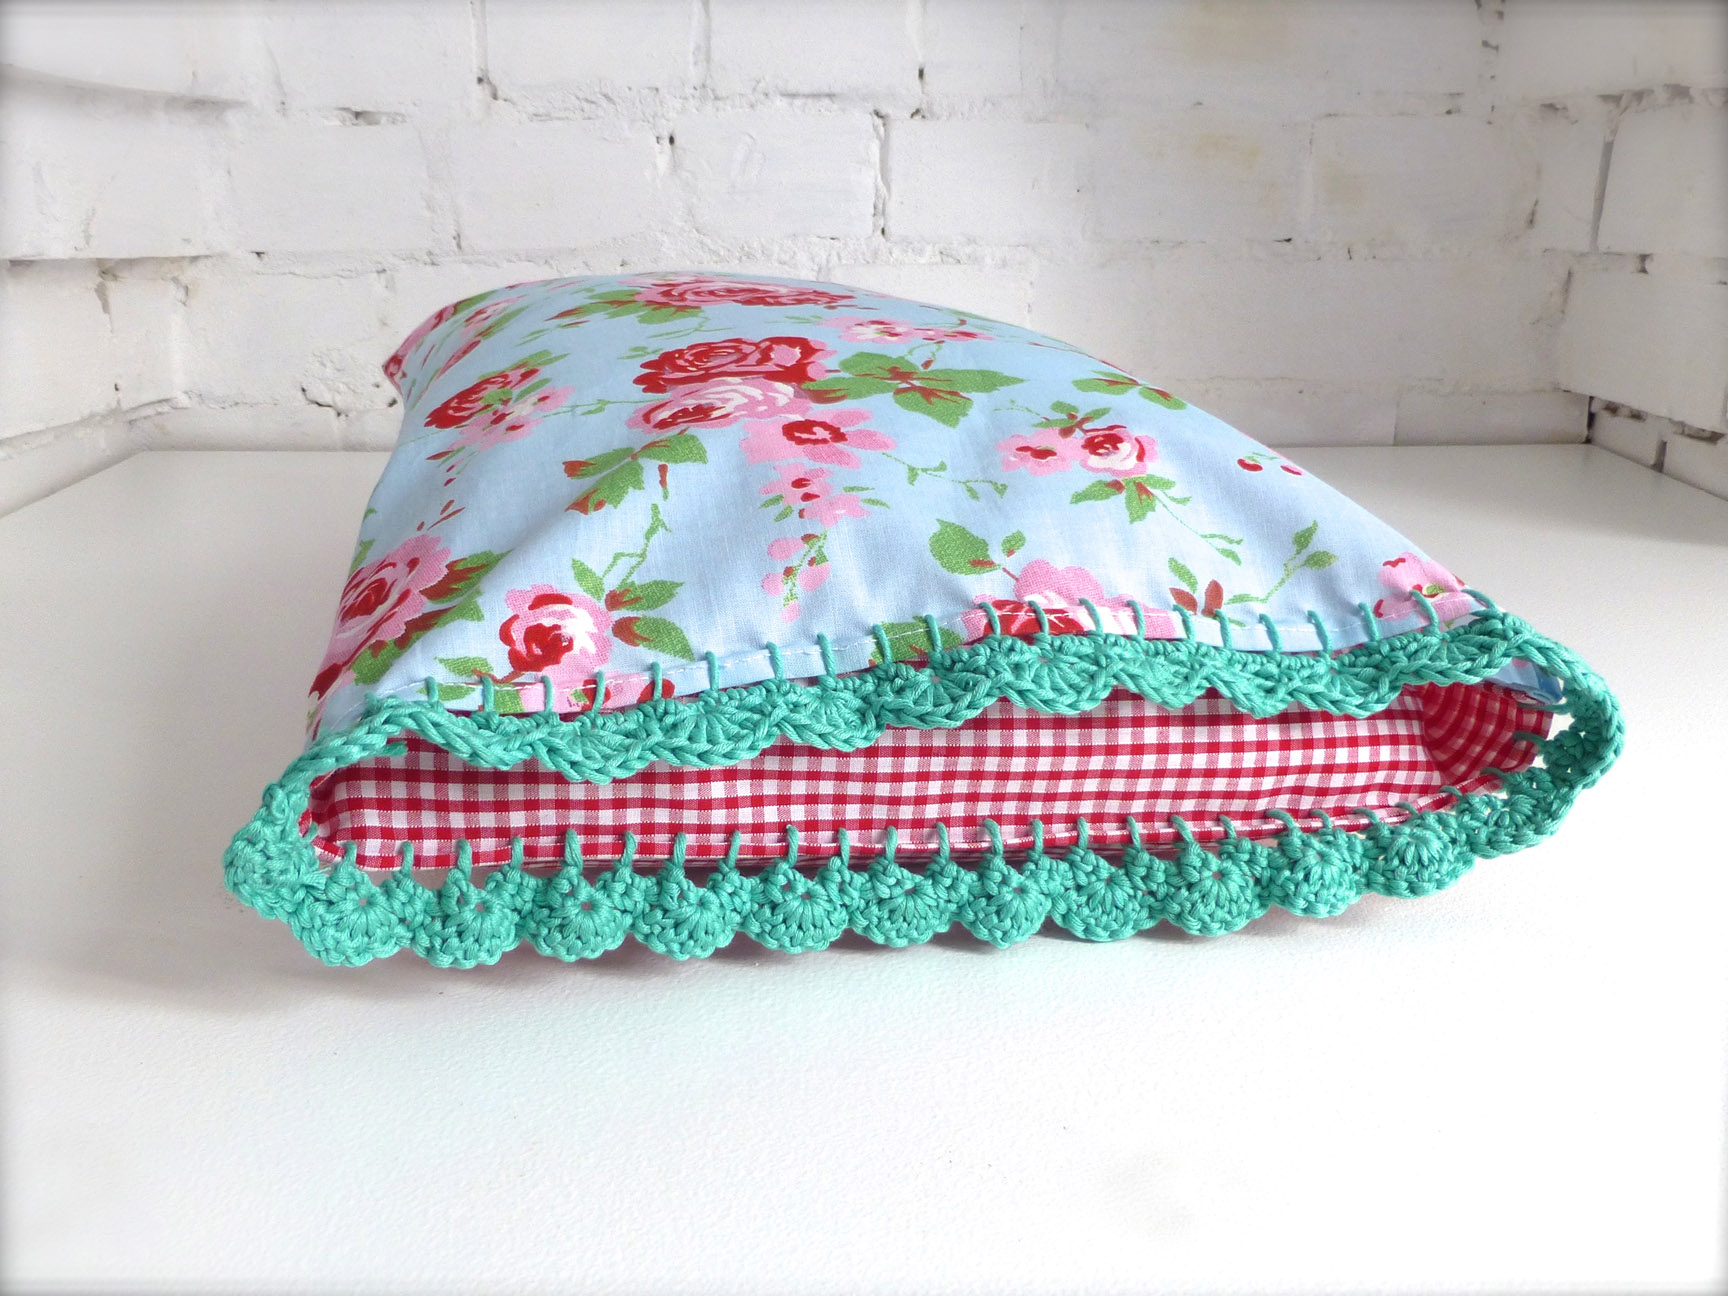
2.Take your back piece and, wrong sides together, fold the hemmed edge in 12cm. Press and pin.
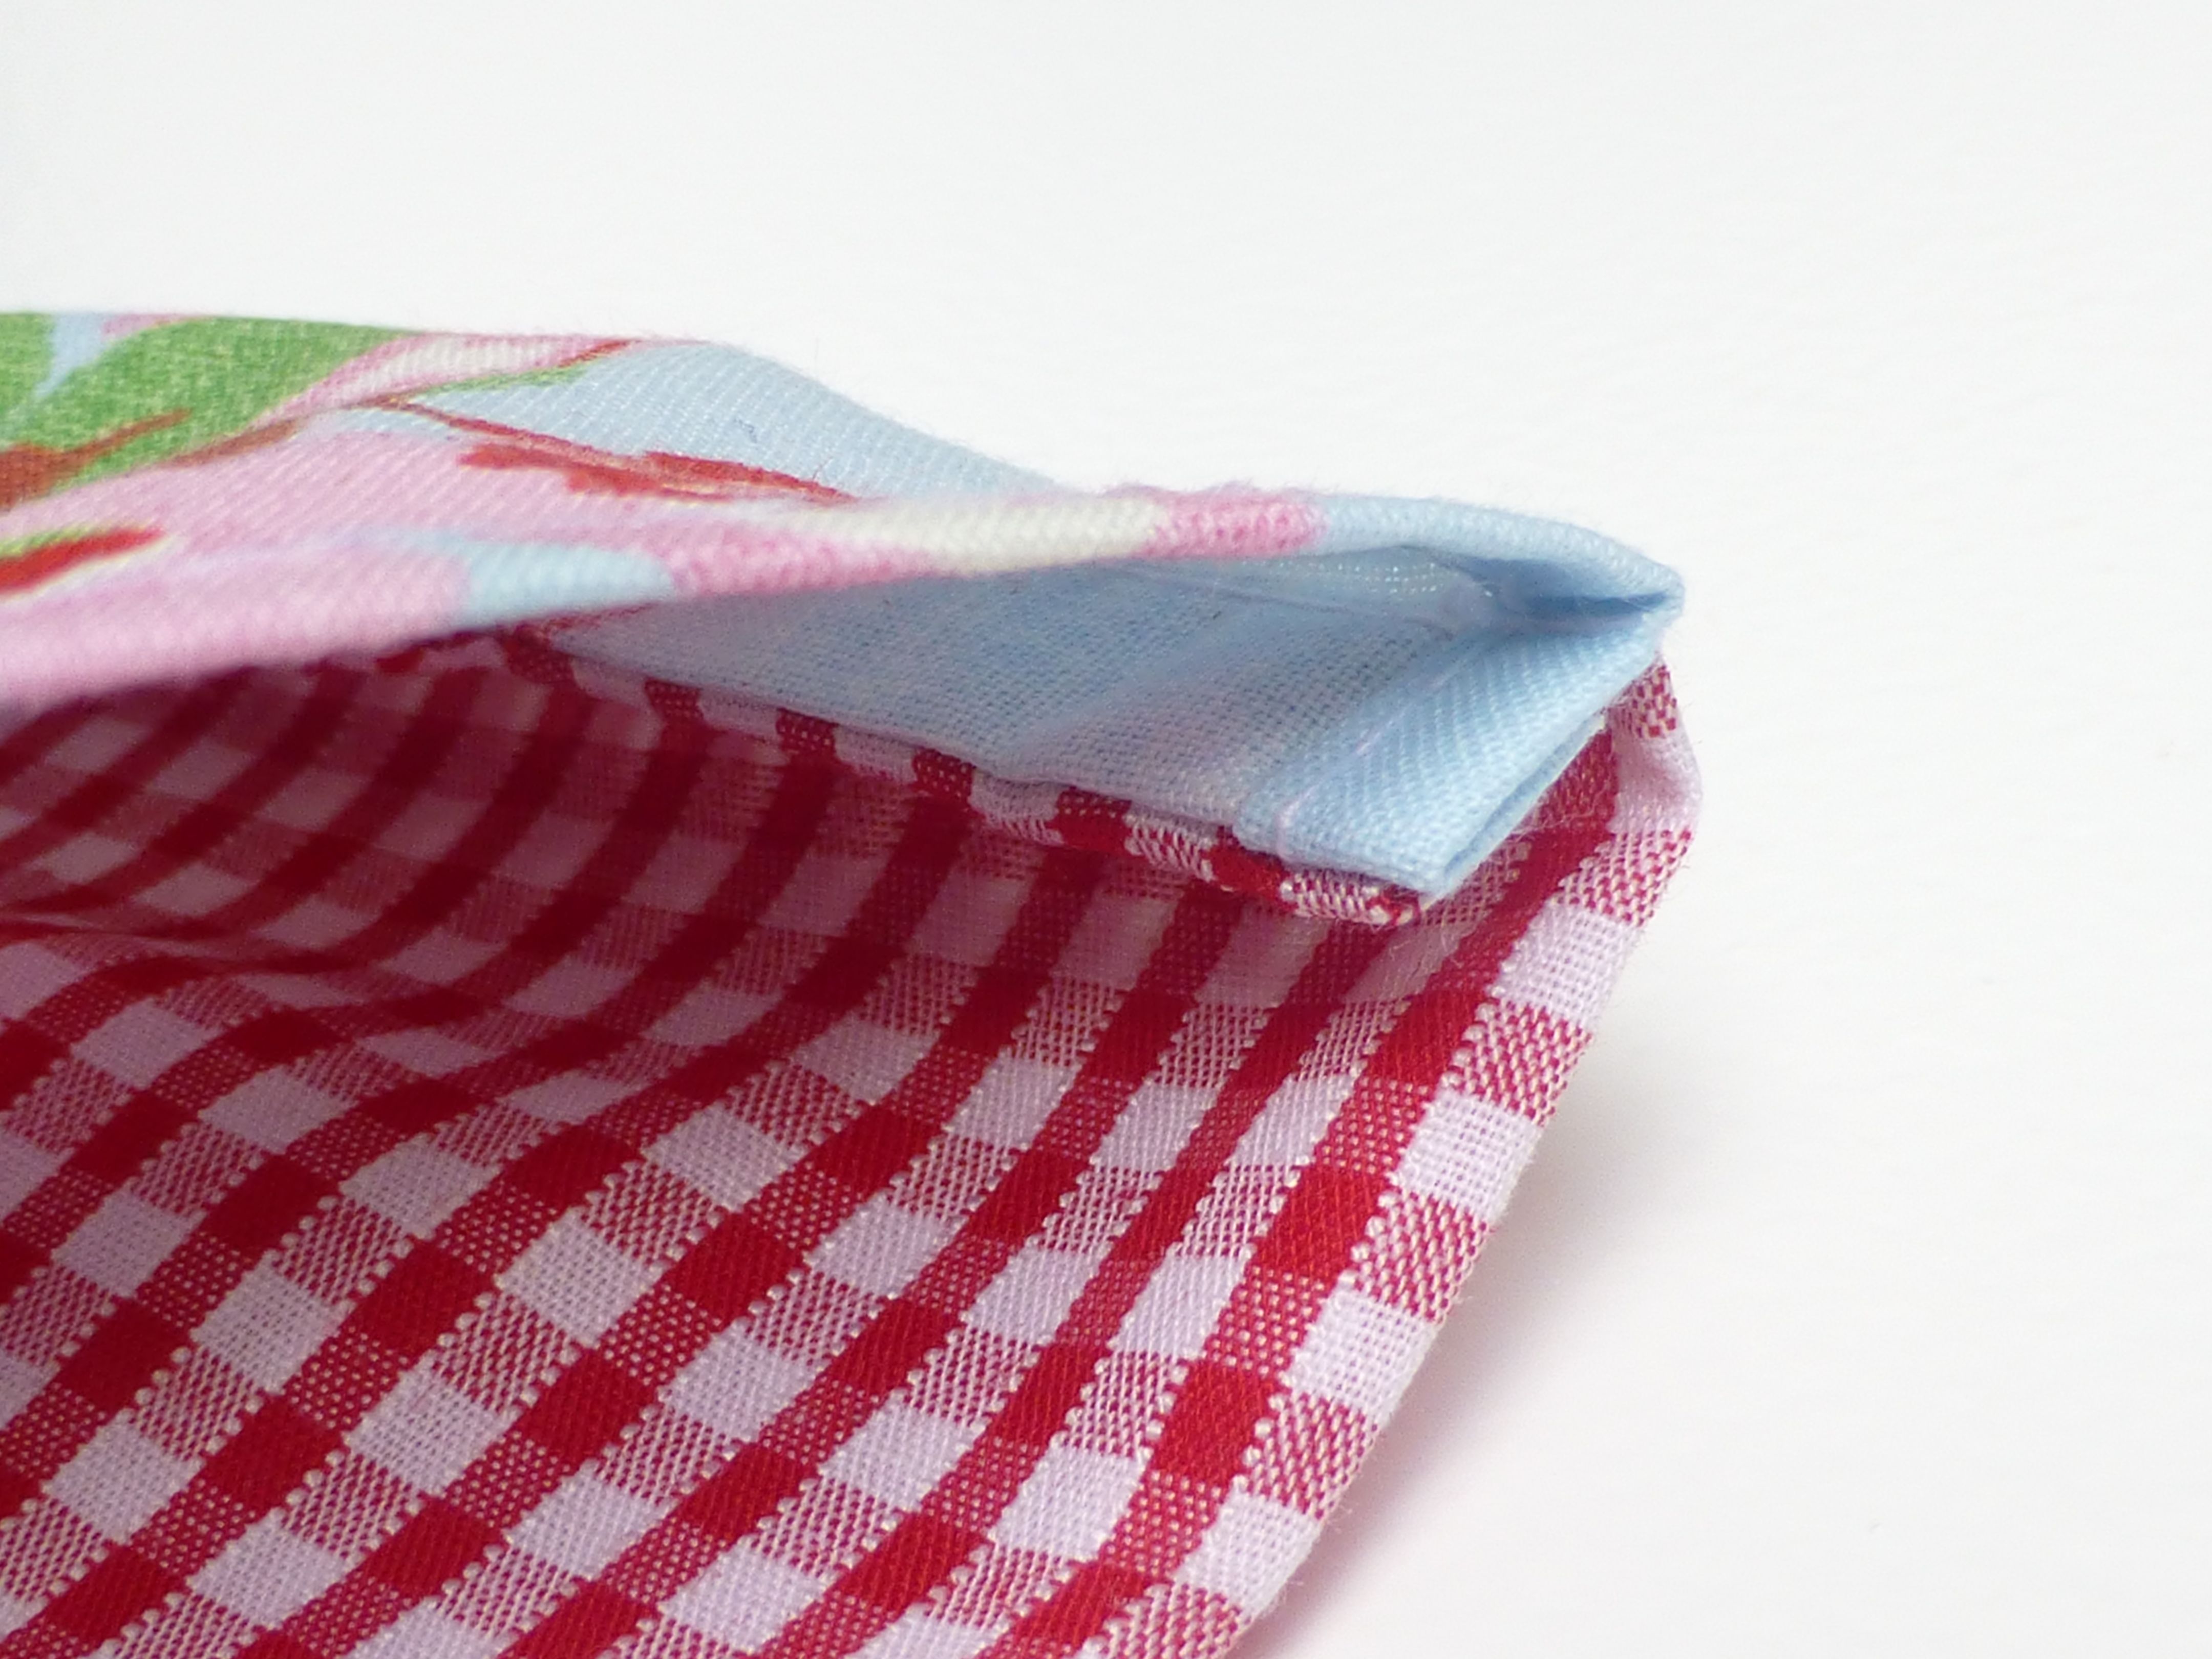
3.Pin front to back, wrong sides together and stitch around the three raw edges with a 5mm seam.

4.Trim seam to 3mm. Turn inside out and press.
5.Stitch a 10mm seam around the same three sides, this time enclosing the raw edges.

This creates a “French” seam which stops any fraying (and is really neat!)

Your cushion cover is made and now for the exciting part…
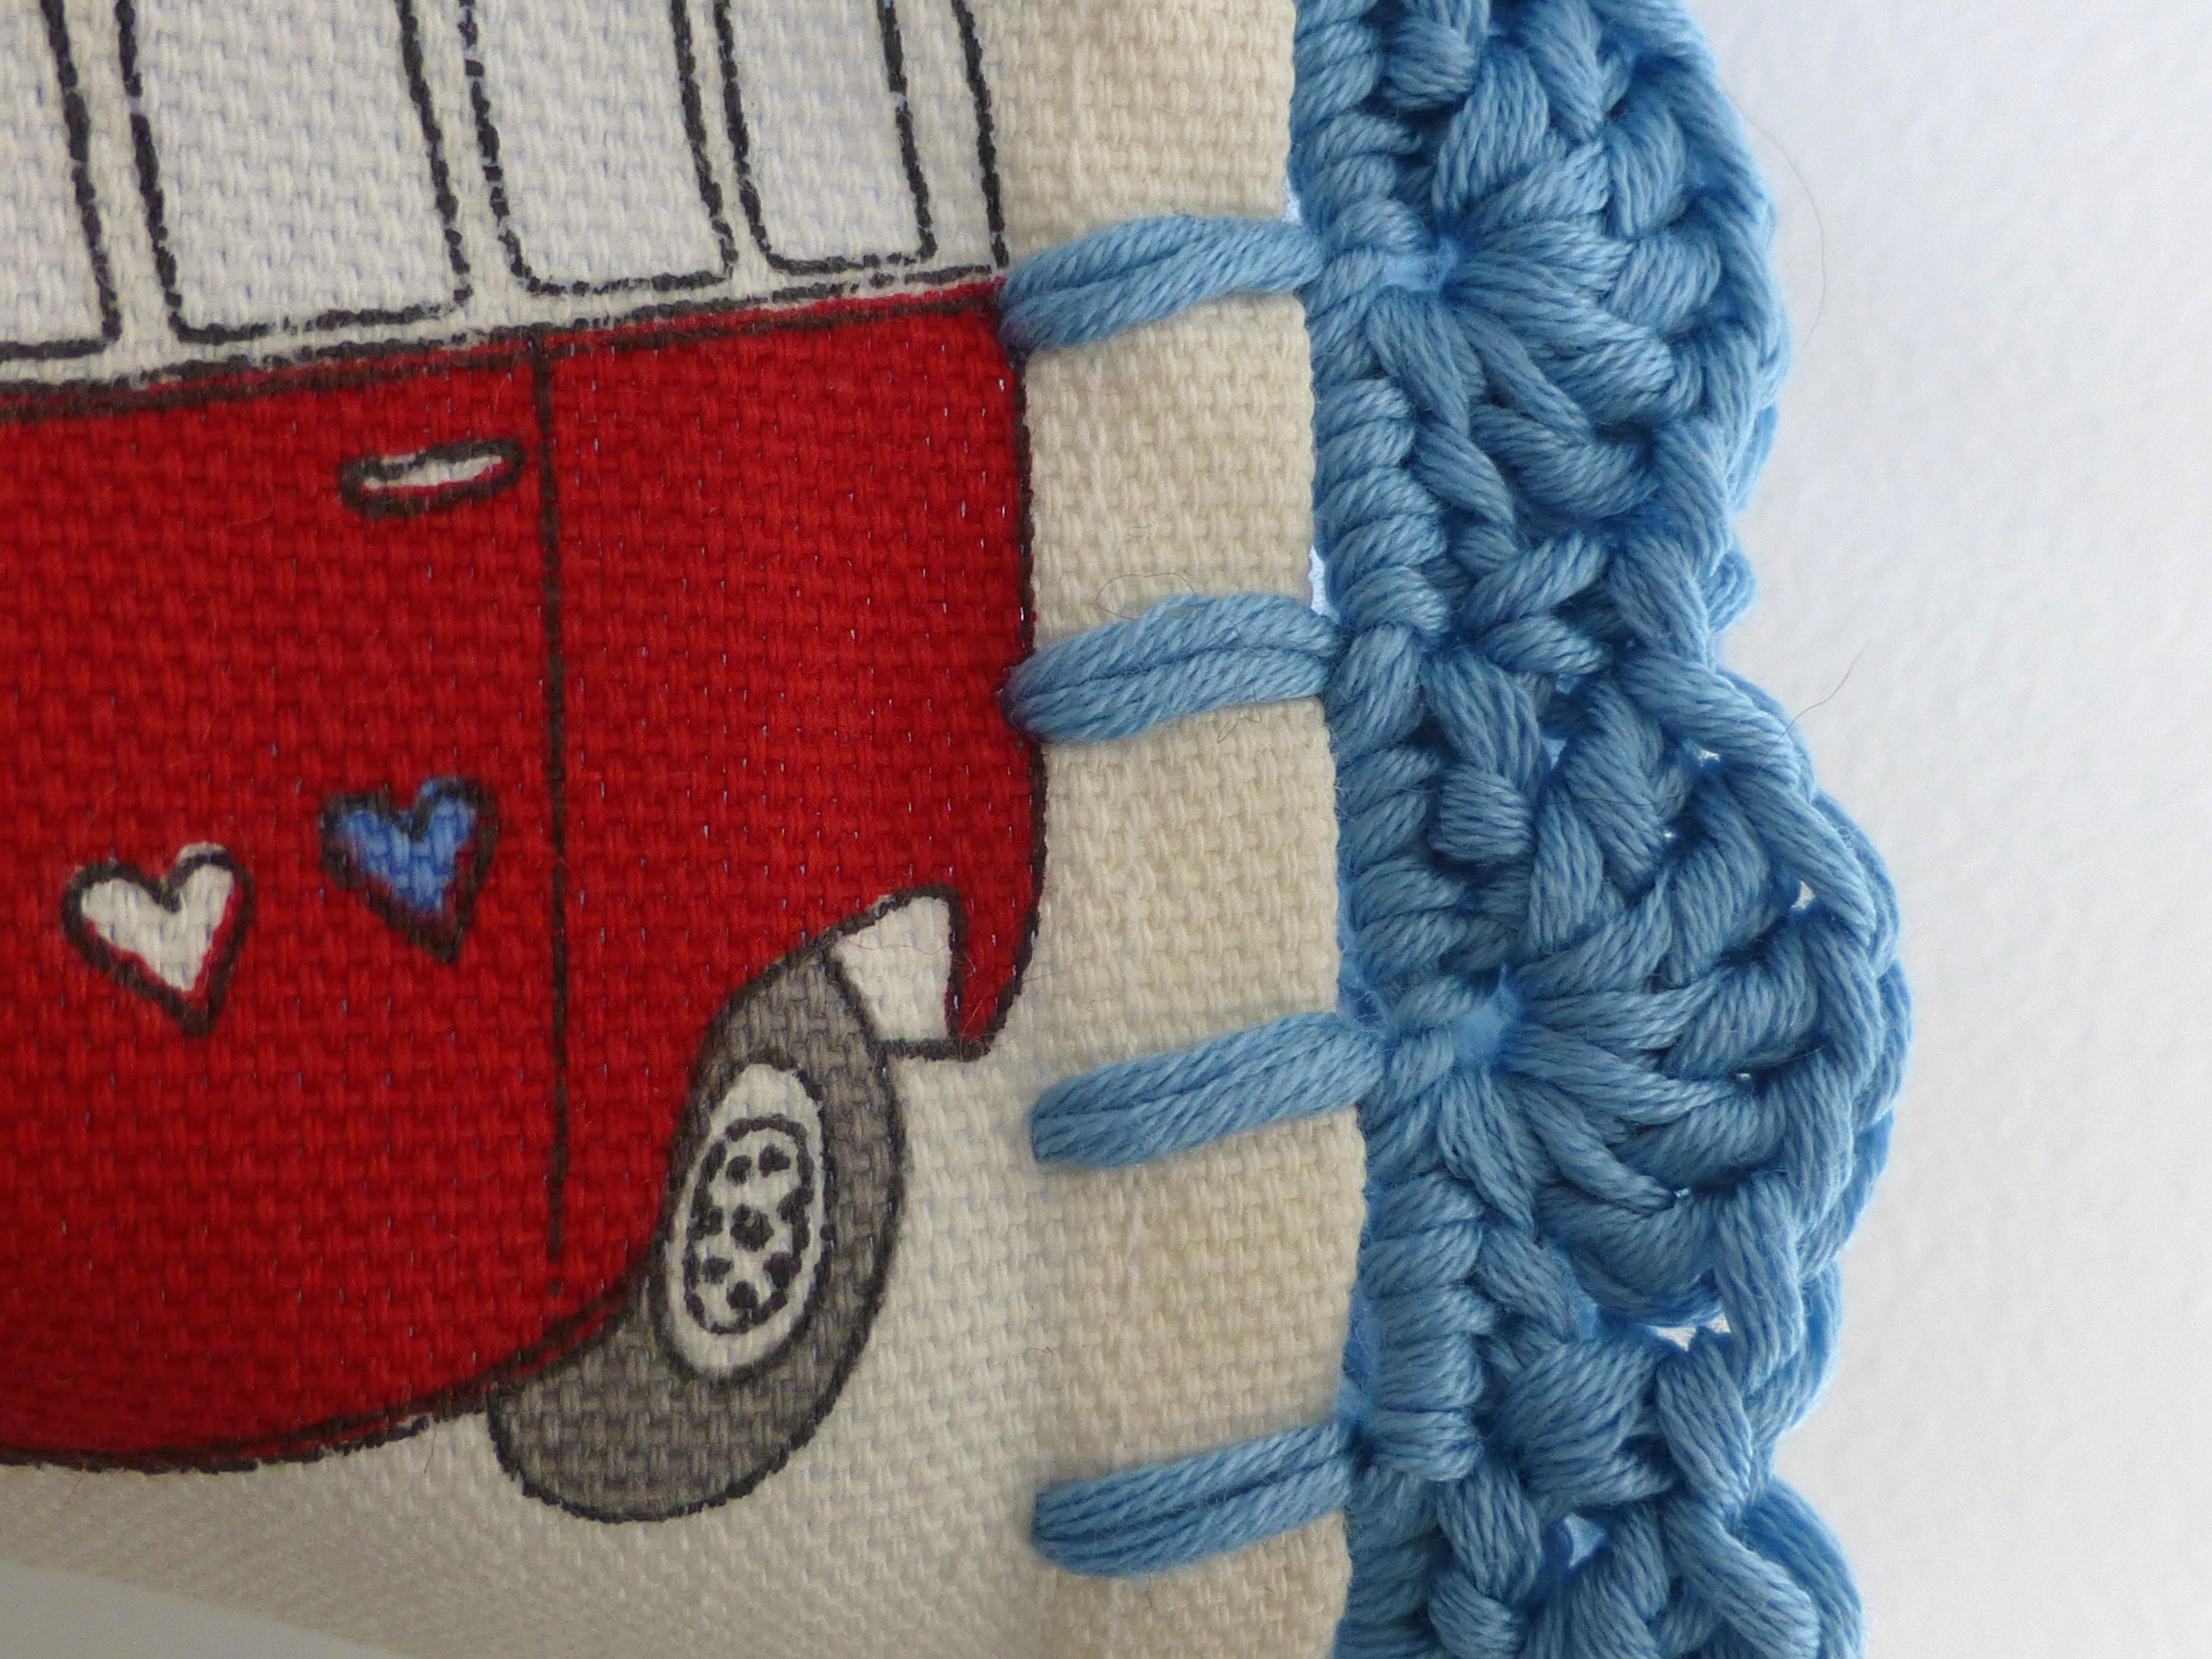
6.Cut a length of yarn about eight times the width of your cushion cover and blanket stitch all around the opening edge.

7.Row 1 – 3 dc into each blanket stitch (English terms are used)

Row 2 – ch 1, *dc into 1st foundation stitch, skip 2, 5 tr into next foundation stitch, skip 2* Repeat to end, filling any remaining stitches with dc.
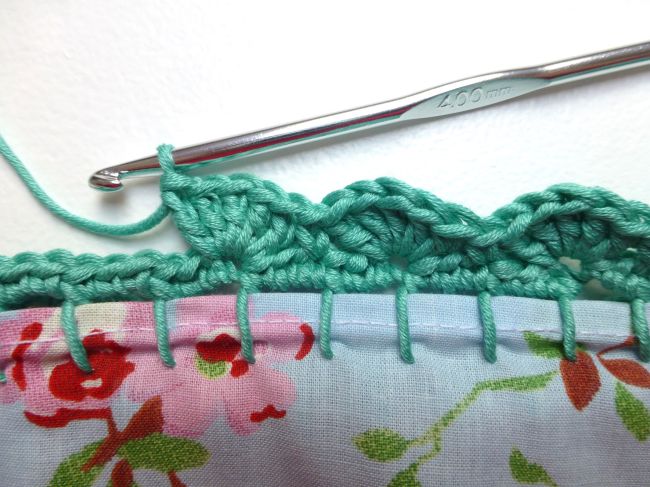
8.Close with a slip stitch and pull yarn through to finish.
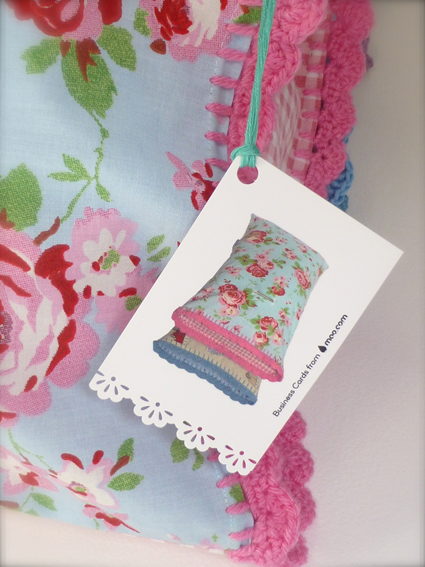
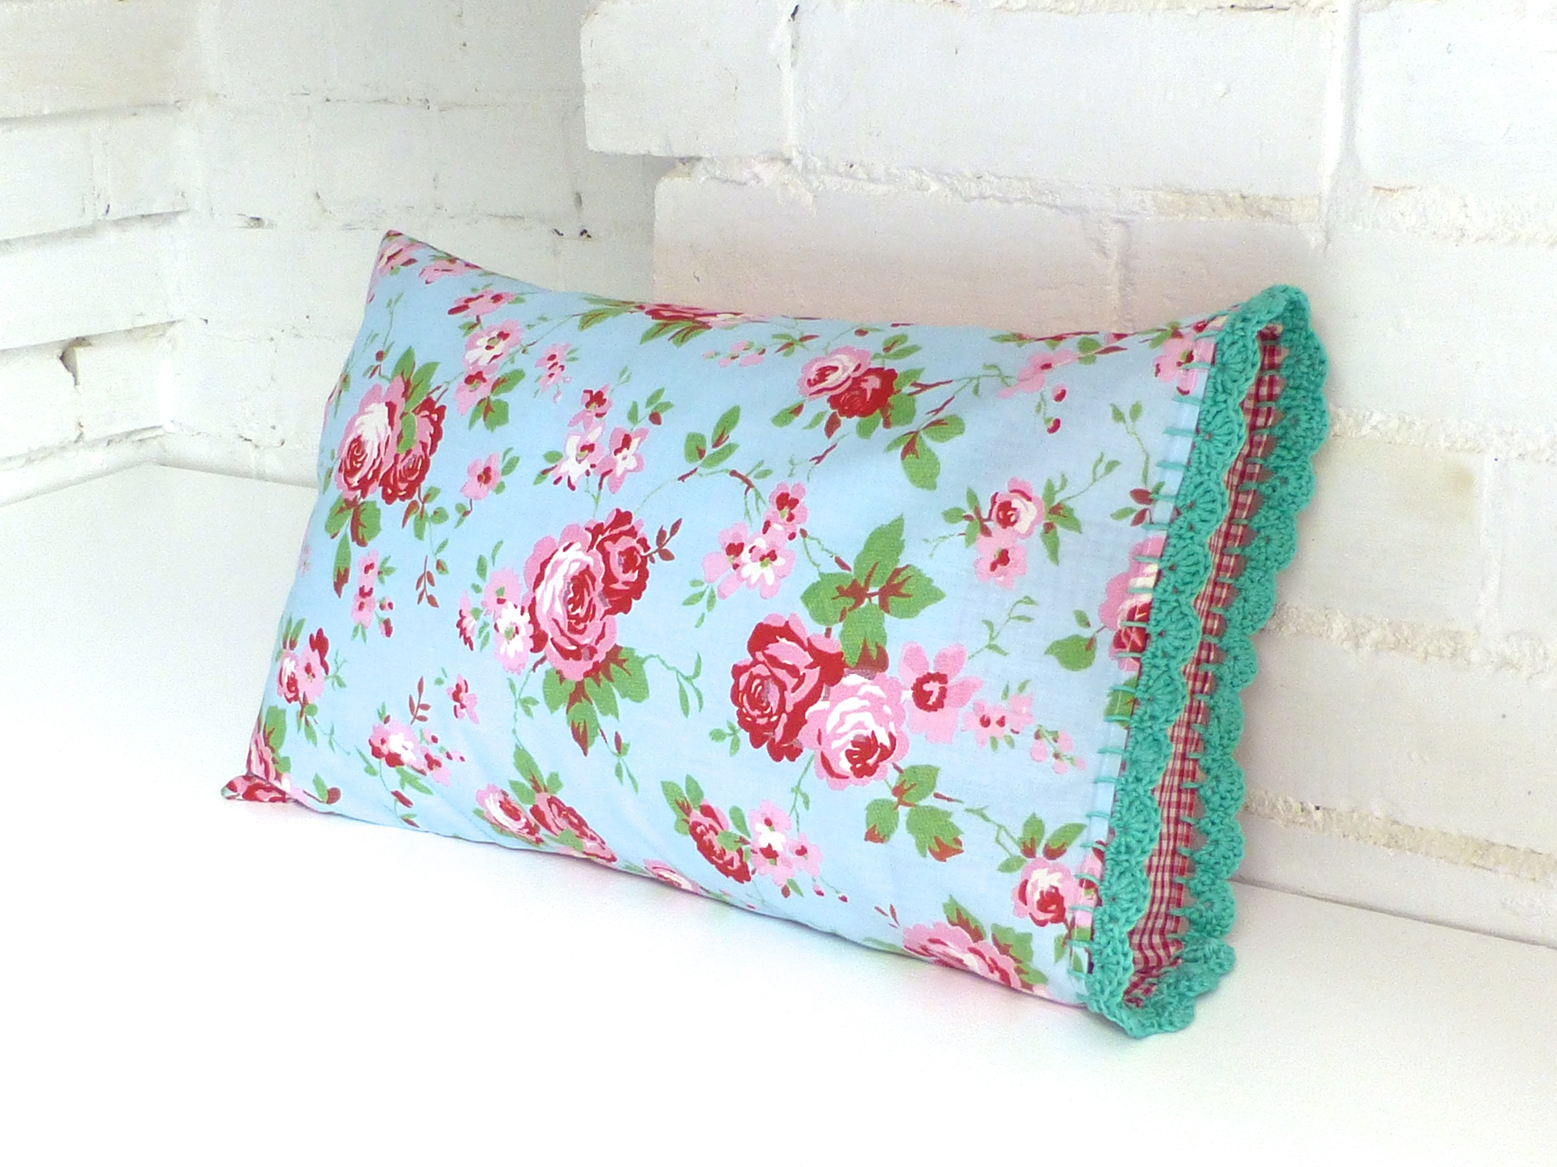
Voila! A gorgeous cushion cover with the prettiest crochet edging.

I would love to see your versions – post photos to my Facebook page (link on top right of this post).
If you would like to use this on your blog, please link back to this page.
Have fun:)