Sewchet

Sewing, crochet, crafts, accessories, baking, tutorials,


5 Comments

Passing on traditional skills to the next generation

A baby of the Sixties and growing up in the Seventies (with no television) meant, as children, we made our own entertainment.  We were either outside making dens from dawn ’til dusk or inside playing board games or……making things.

Grannies the country over were teaching their young grandchildren their make-do-and-mend skills – borne out of necessity, but usually incredibly beautiful to boot.                                            Fascinated, we watched with admiration and awe the speed at which these ‘old’ women worked those needles to create something useful in order to extend the life out of something seemingly knackered. (In reality, my Gran was only forty-odd – but they didn’t age as well back then, did they?!)

Wisely, knowing that in order to succeed the idea has to come from the child and not suggested by the adult, my Gran waited until we inevitably begged to be taught how to do ‘it’ too. Gradually we learnt how to knit, sew and crochet with the most patient of teachers to guide us.

I can’t really express how grateful I feel to be given such a gift by my late Grandmother; the pleasure I get from these skills she taught me is immeasurable. I even made a living from sewing in my twenties, but now I just pick up the needles (or hook) for relaxation and the sheer joy of it.

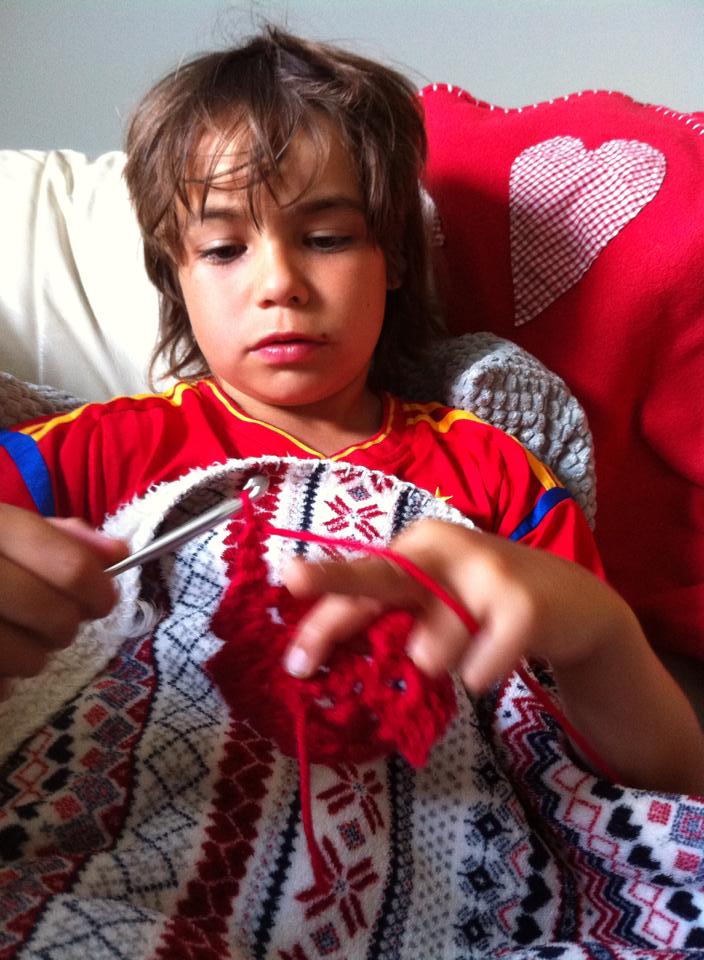
So, when my eight year old son came running in from a tennis tournament, threw his stuff down and said “Now will you teach me how to crochet please?”, I knew the time was right!

This is the very first time Bertie picked up a crochet hook, still hot and sweaty from tennis…

Bertie crocheting

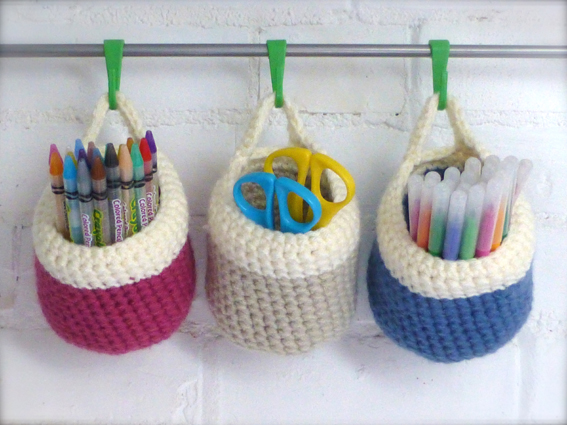
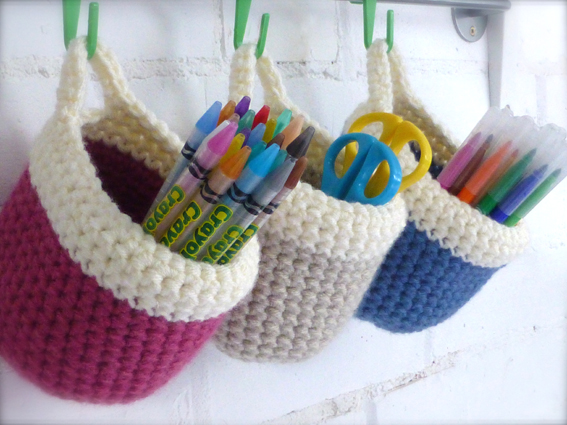
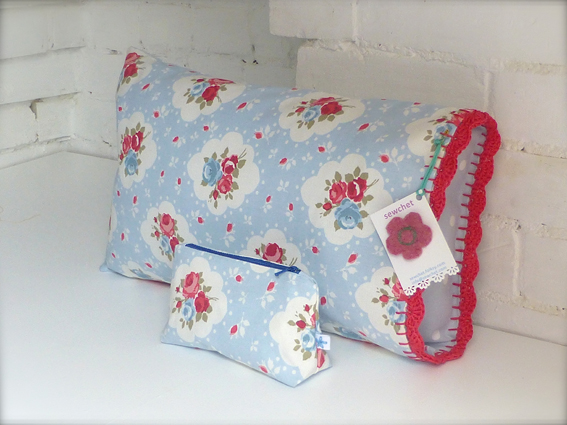
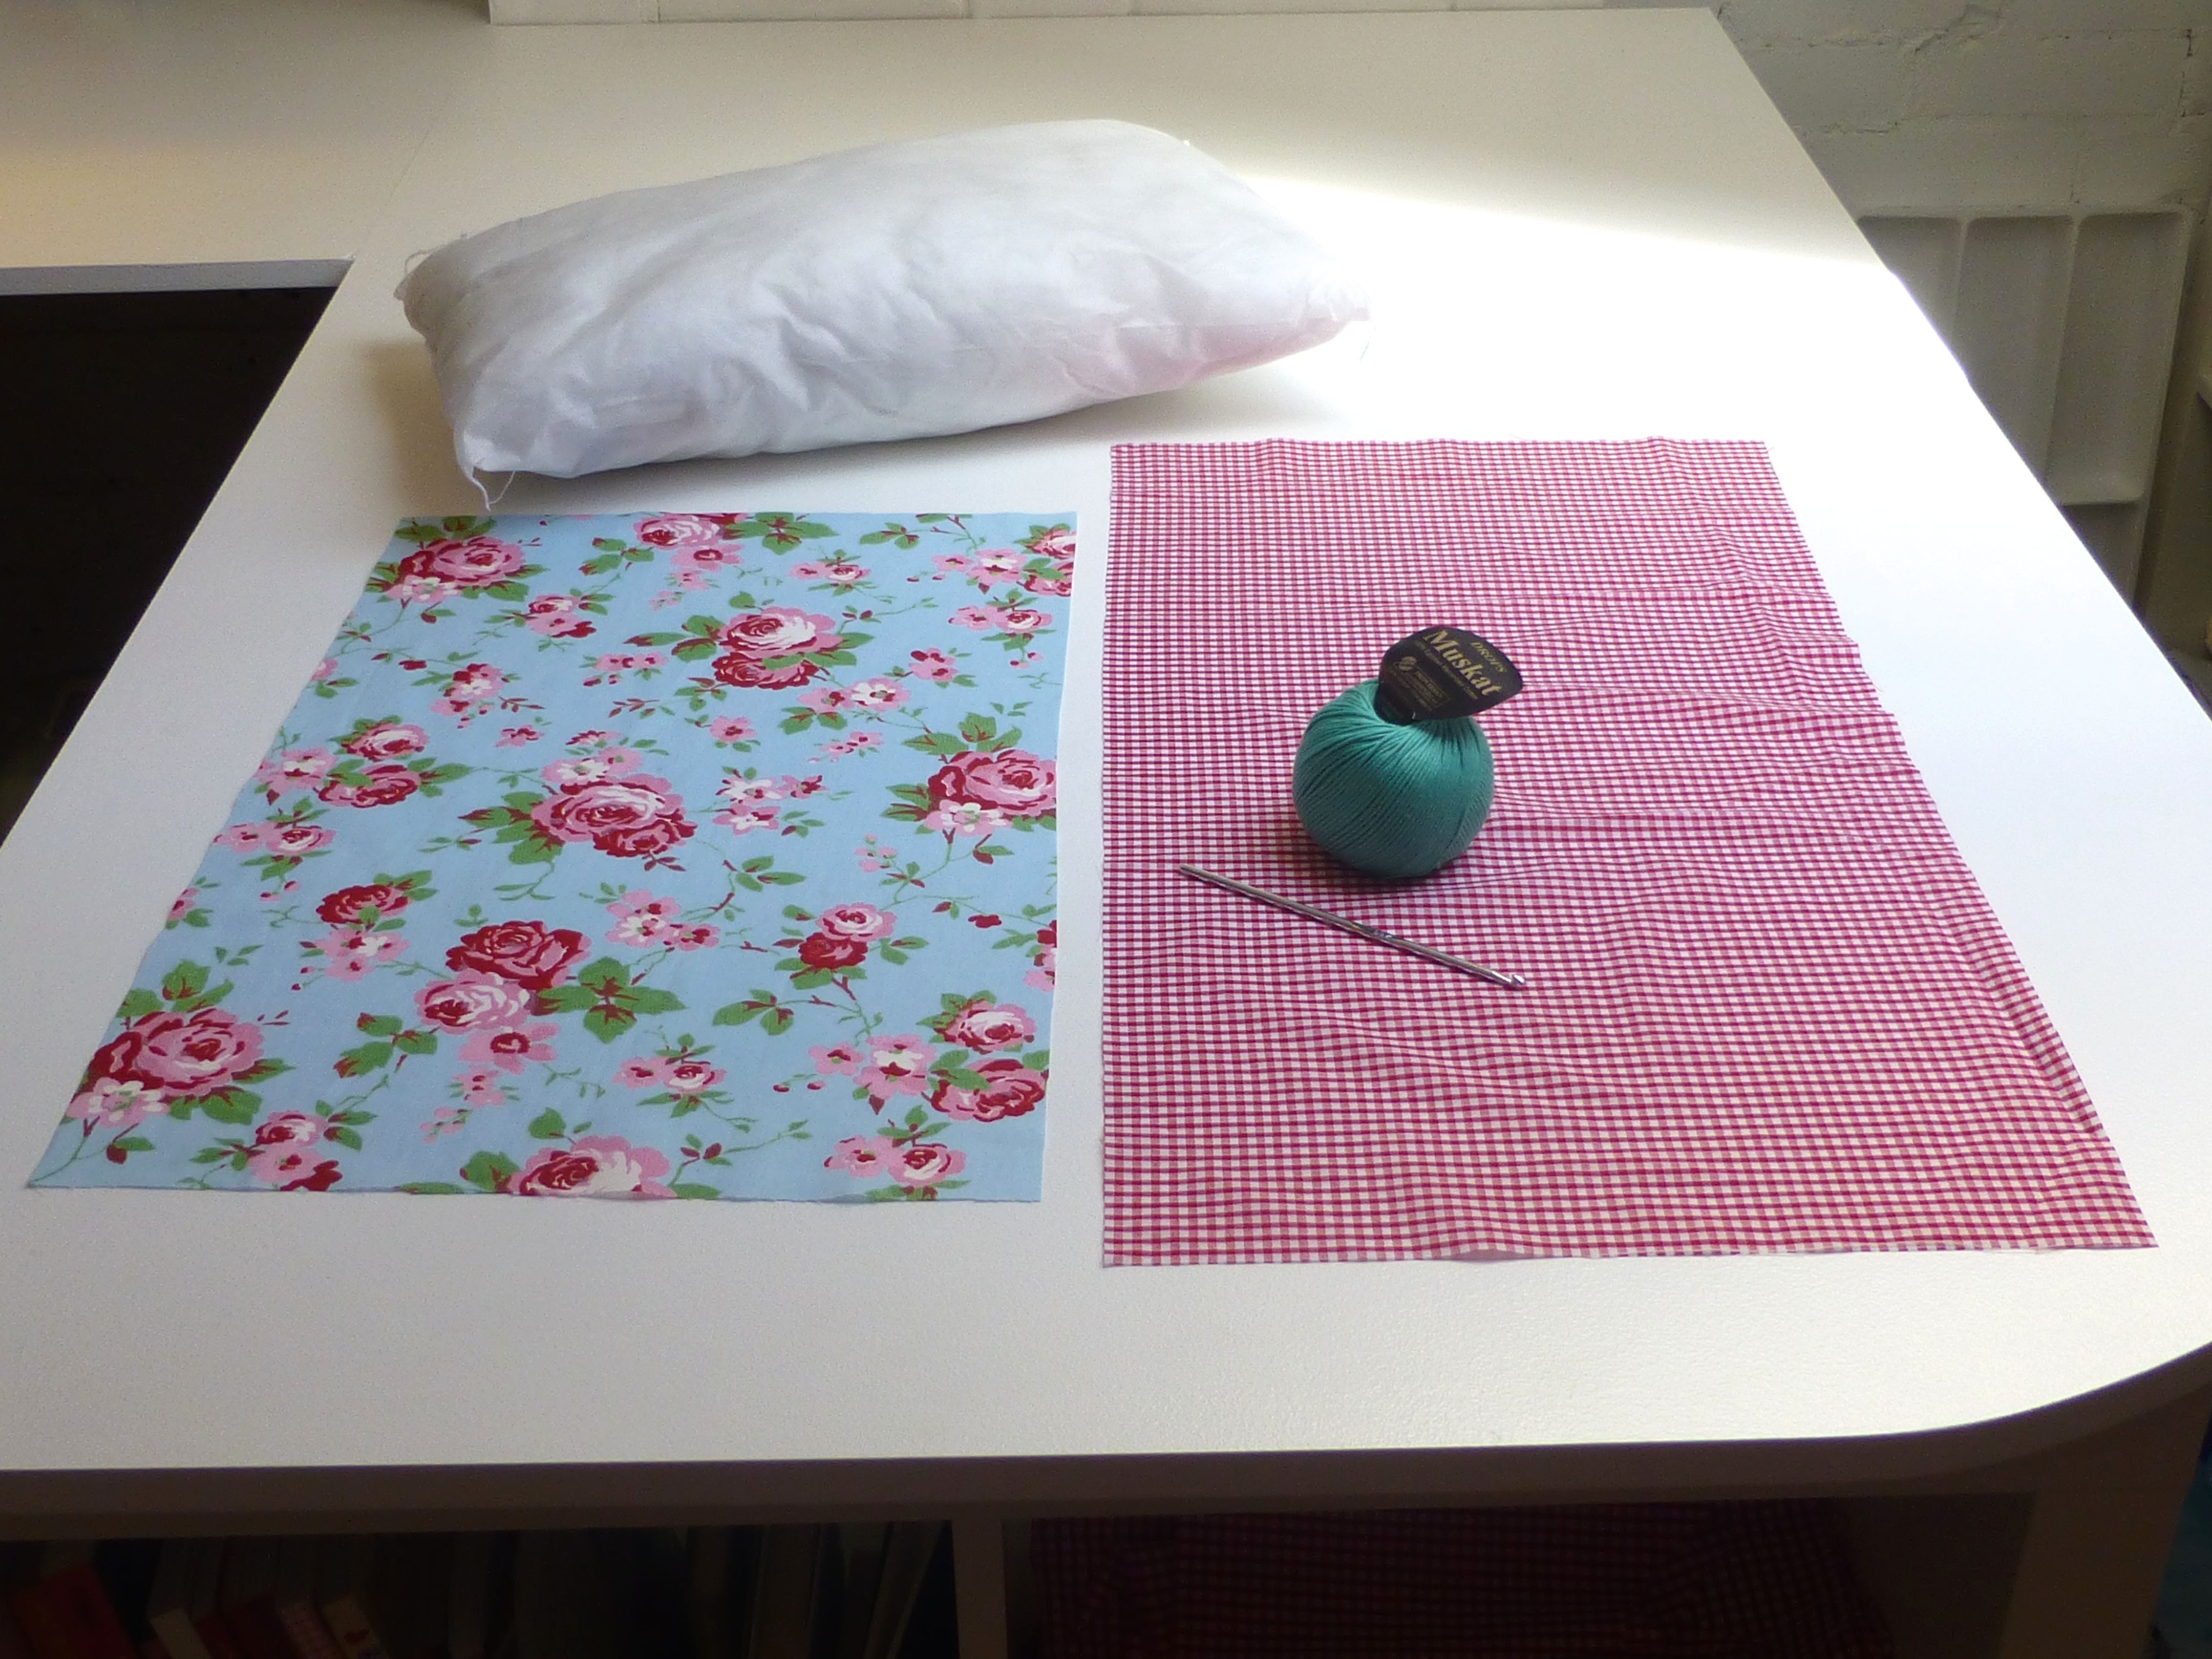
And it doesn’t stop there!

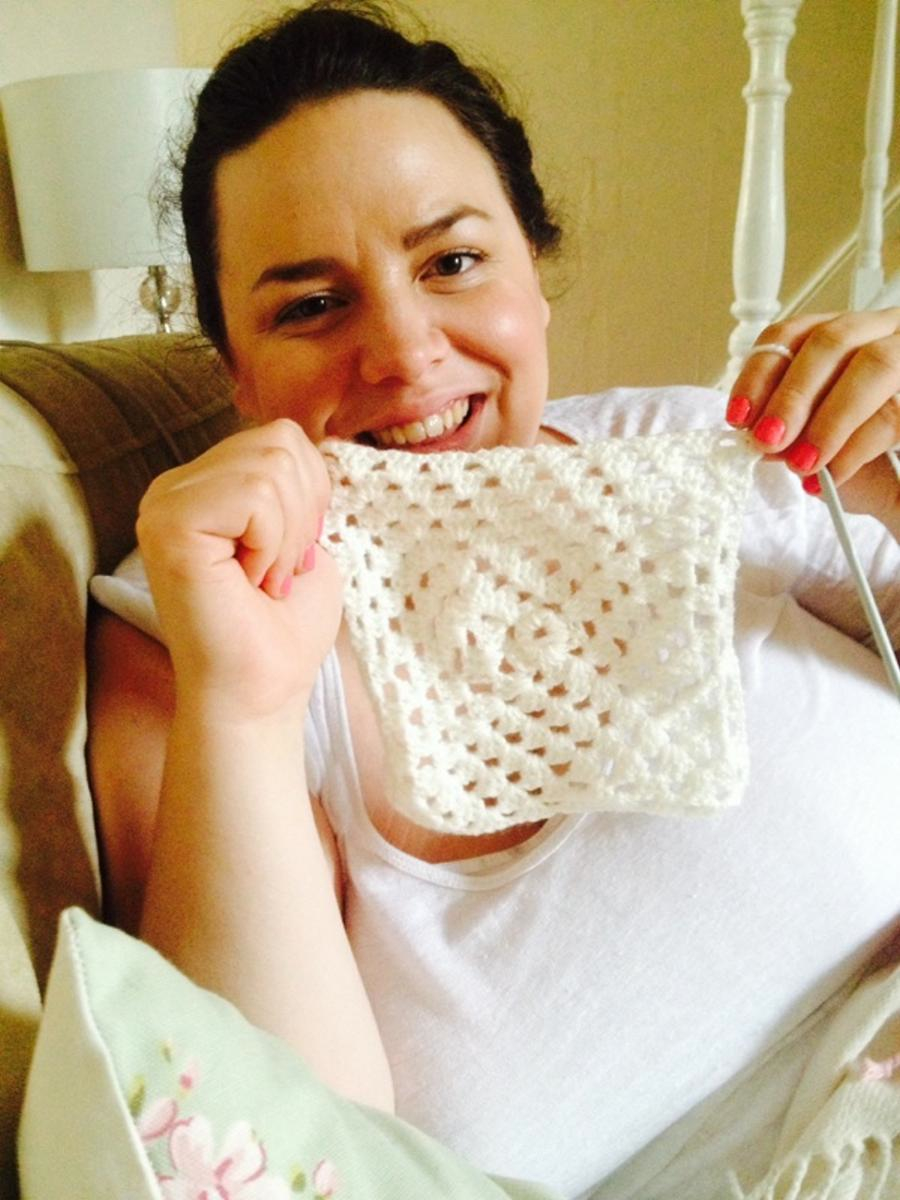
My son’s girlfriend, Frankie, is twenty-three and she wanted to learn…..

Frankie

…..and my sixteen year old niece, Alice, was next in the queue;

Alice small

Alice's crochet small

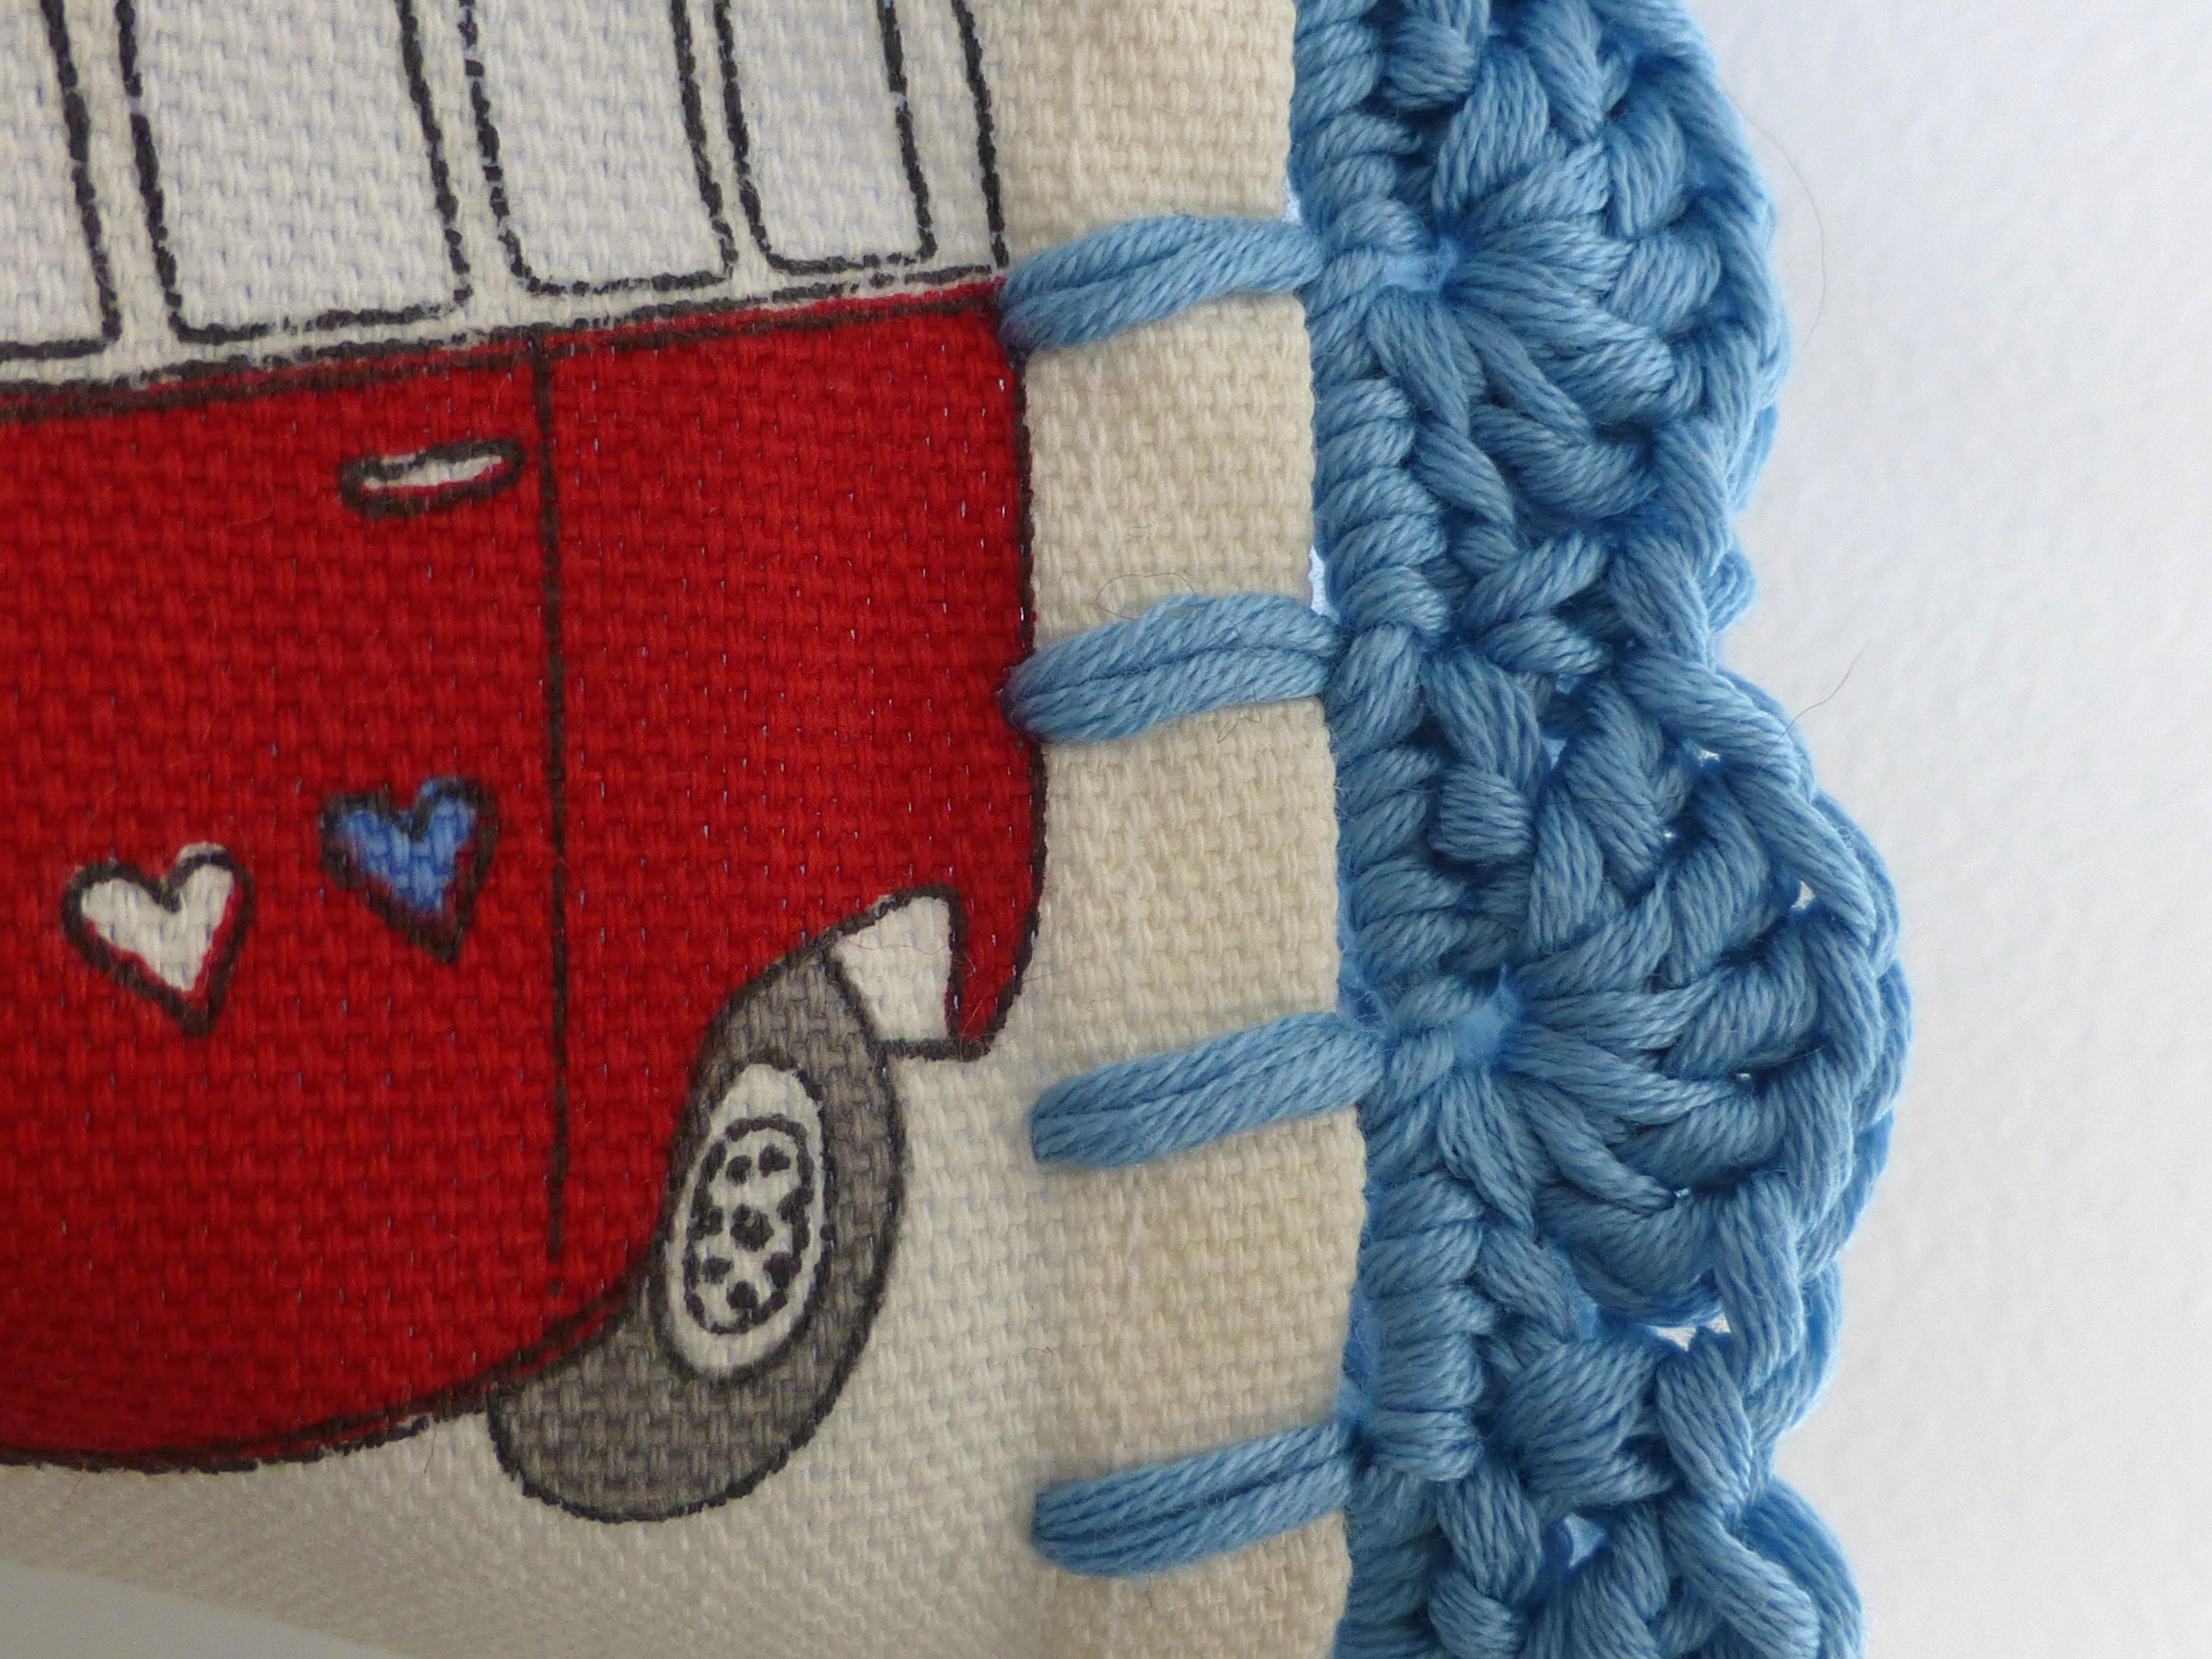
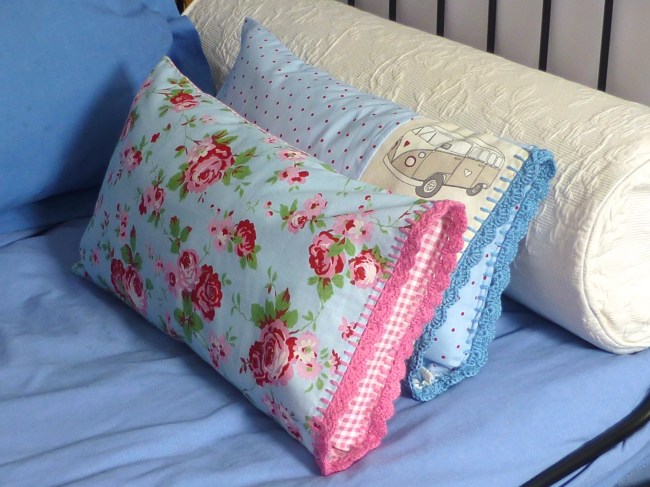
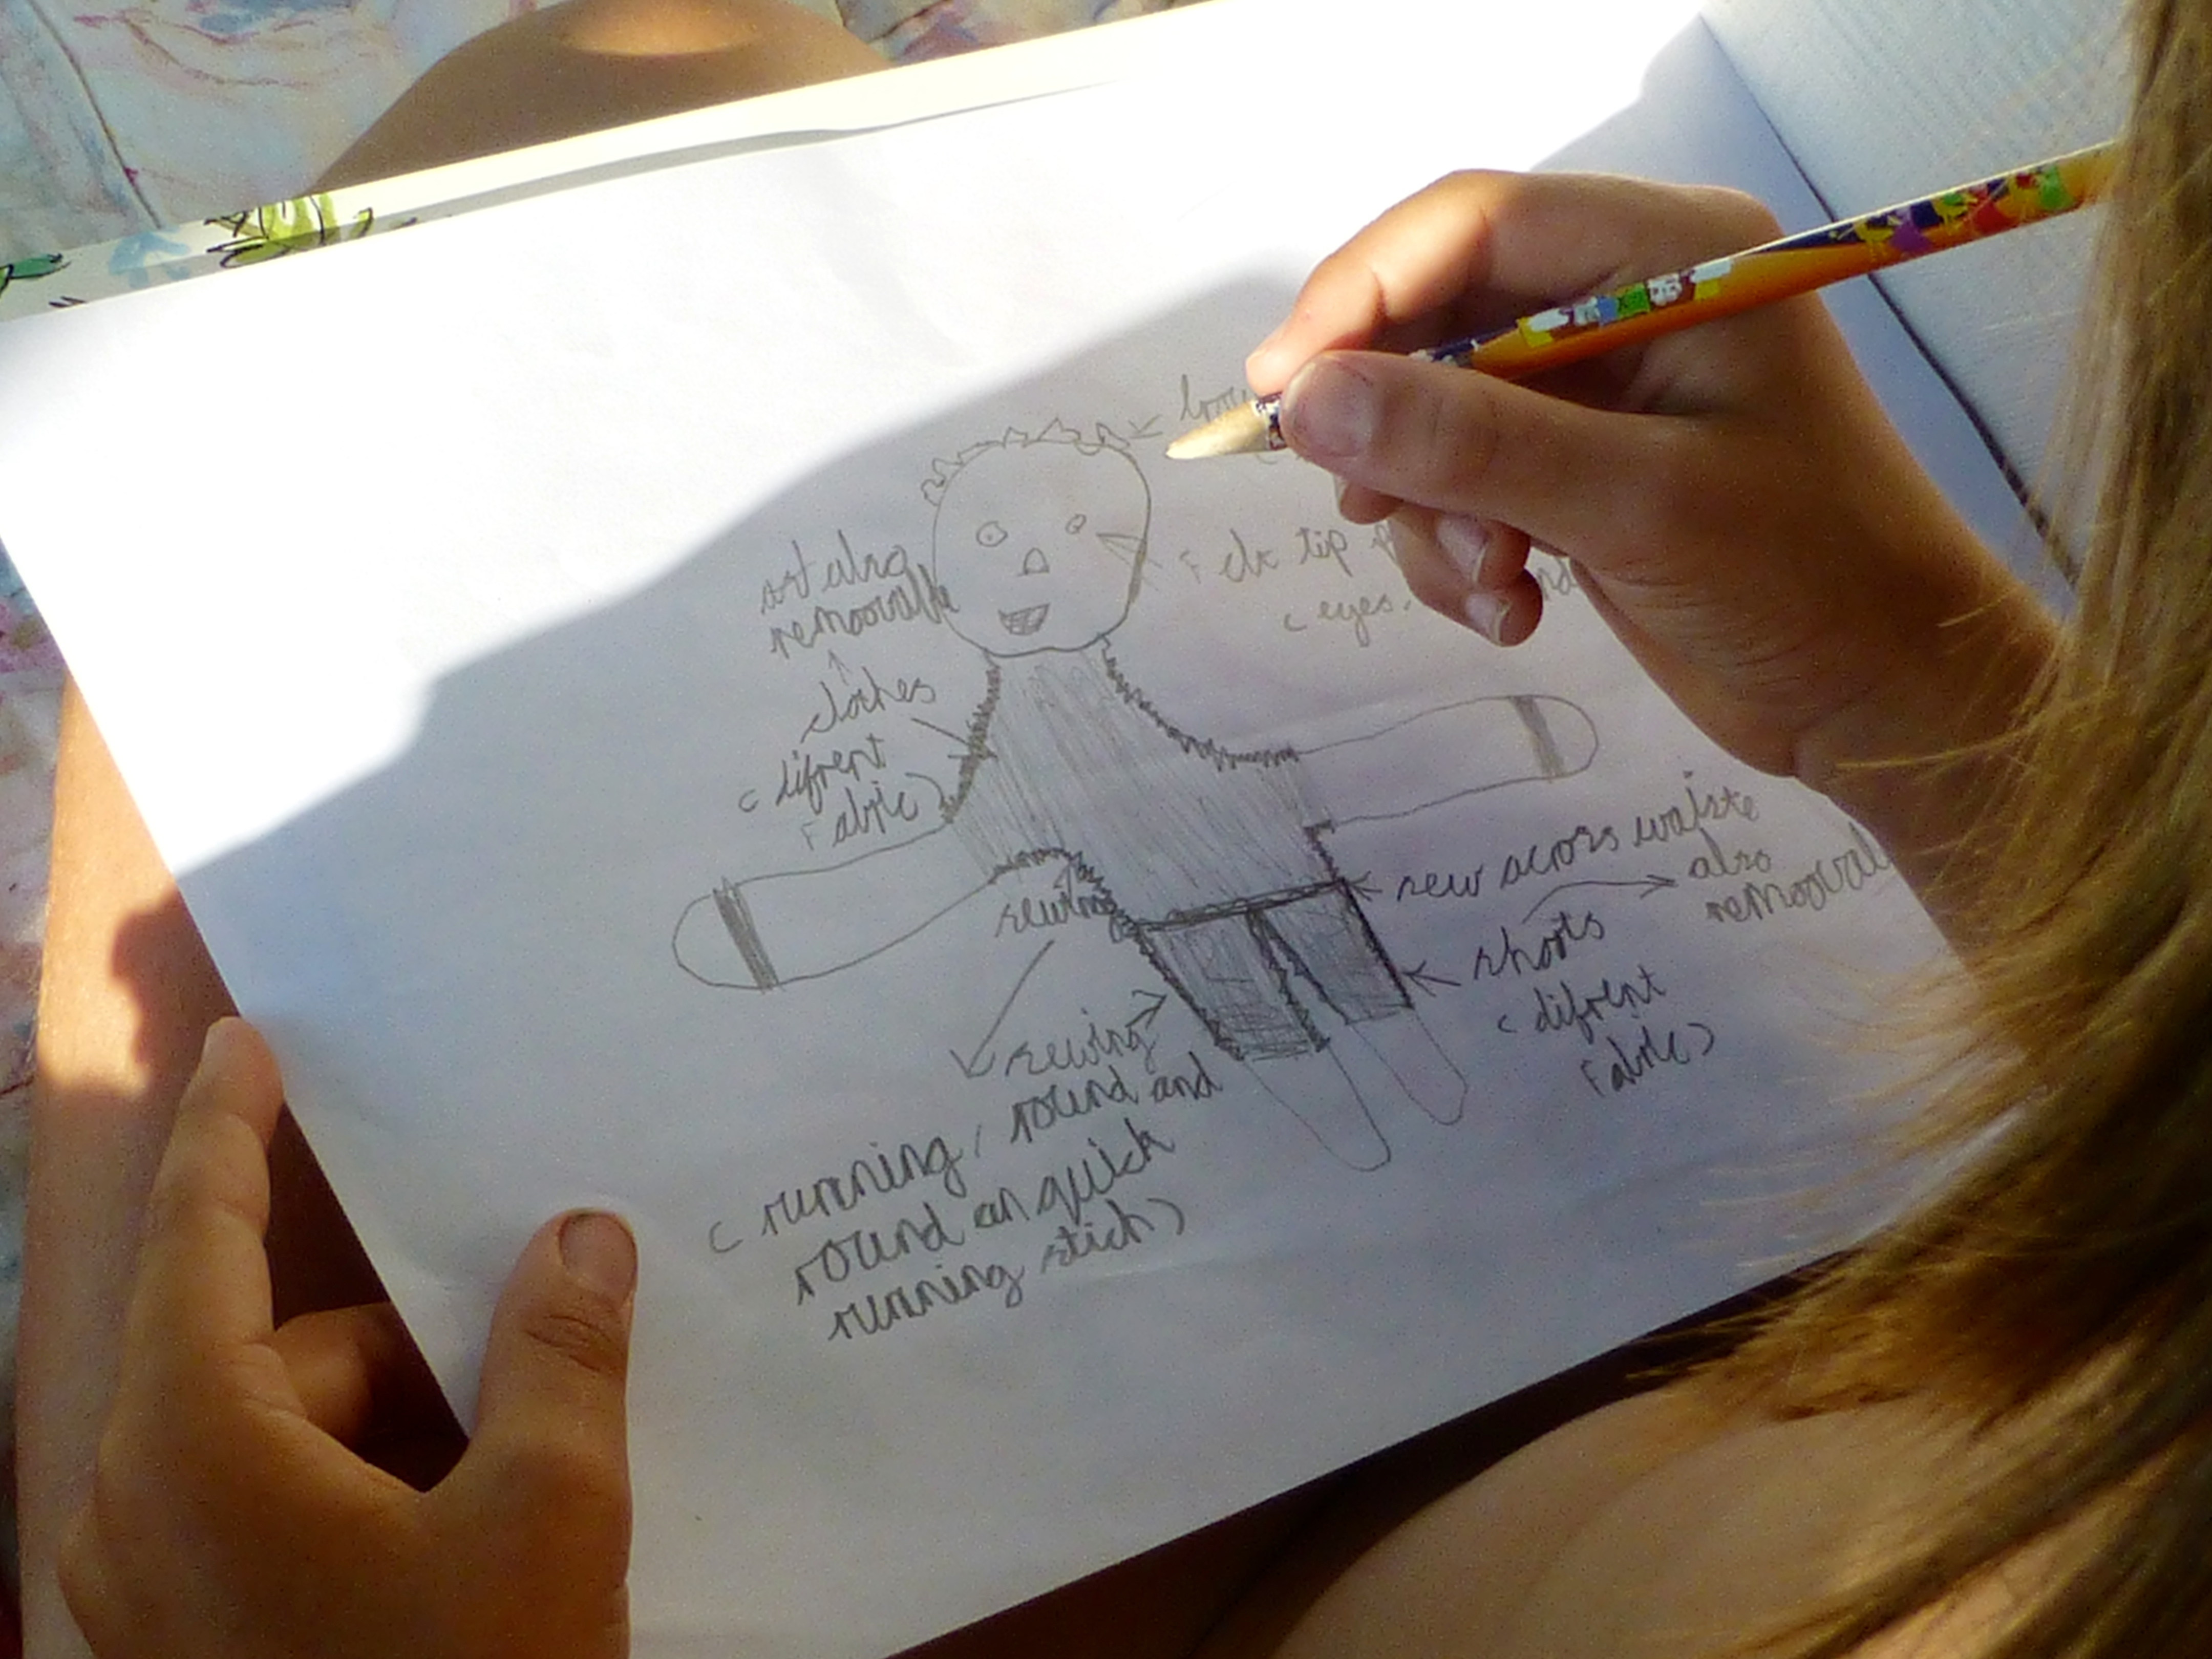
Bertie also drew up plans for a doll that he wanted to make;

Doll

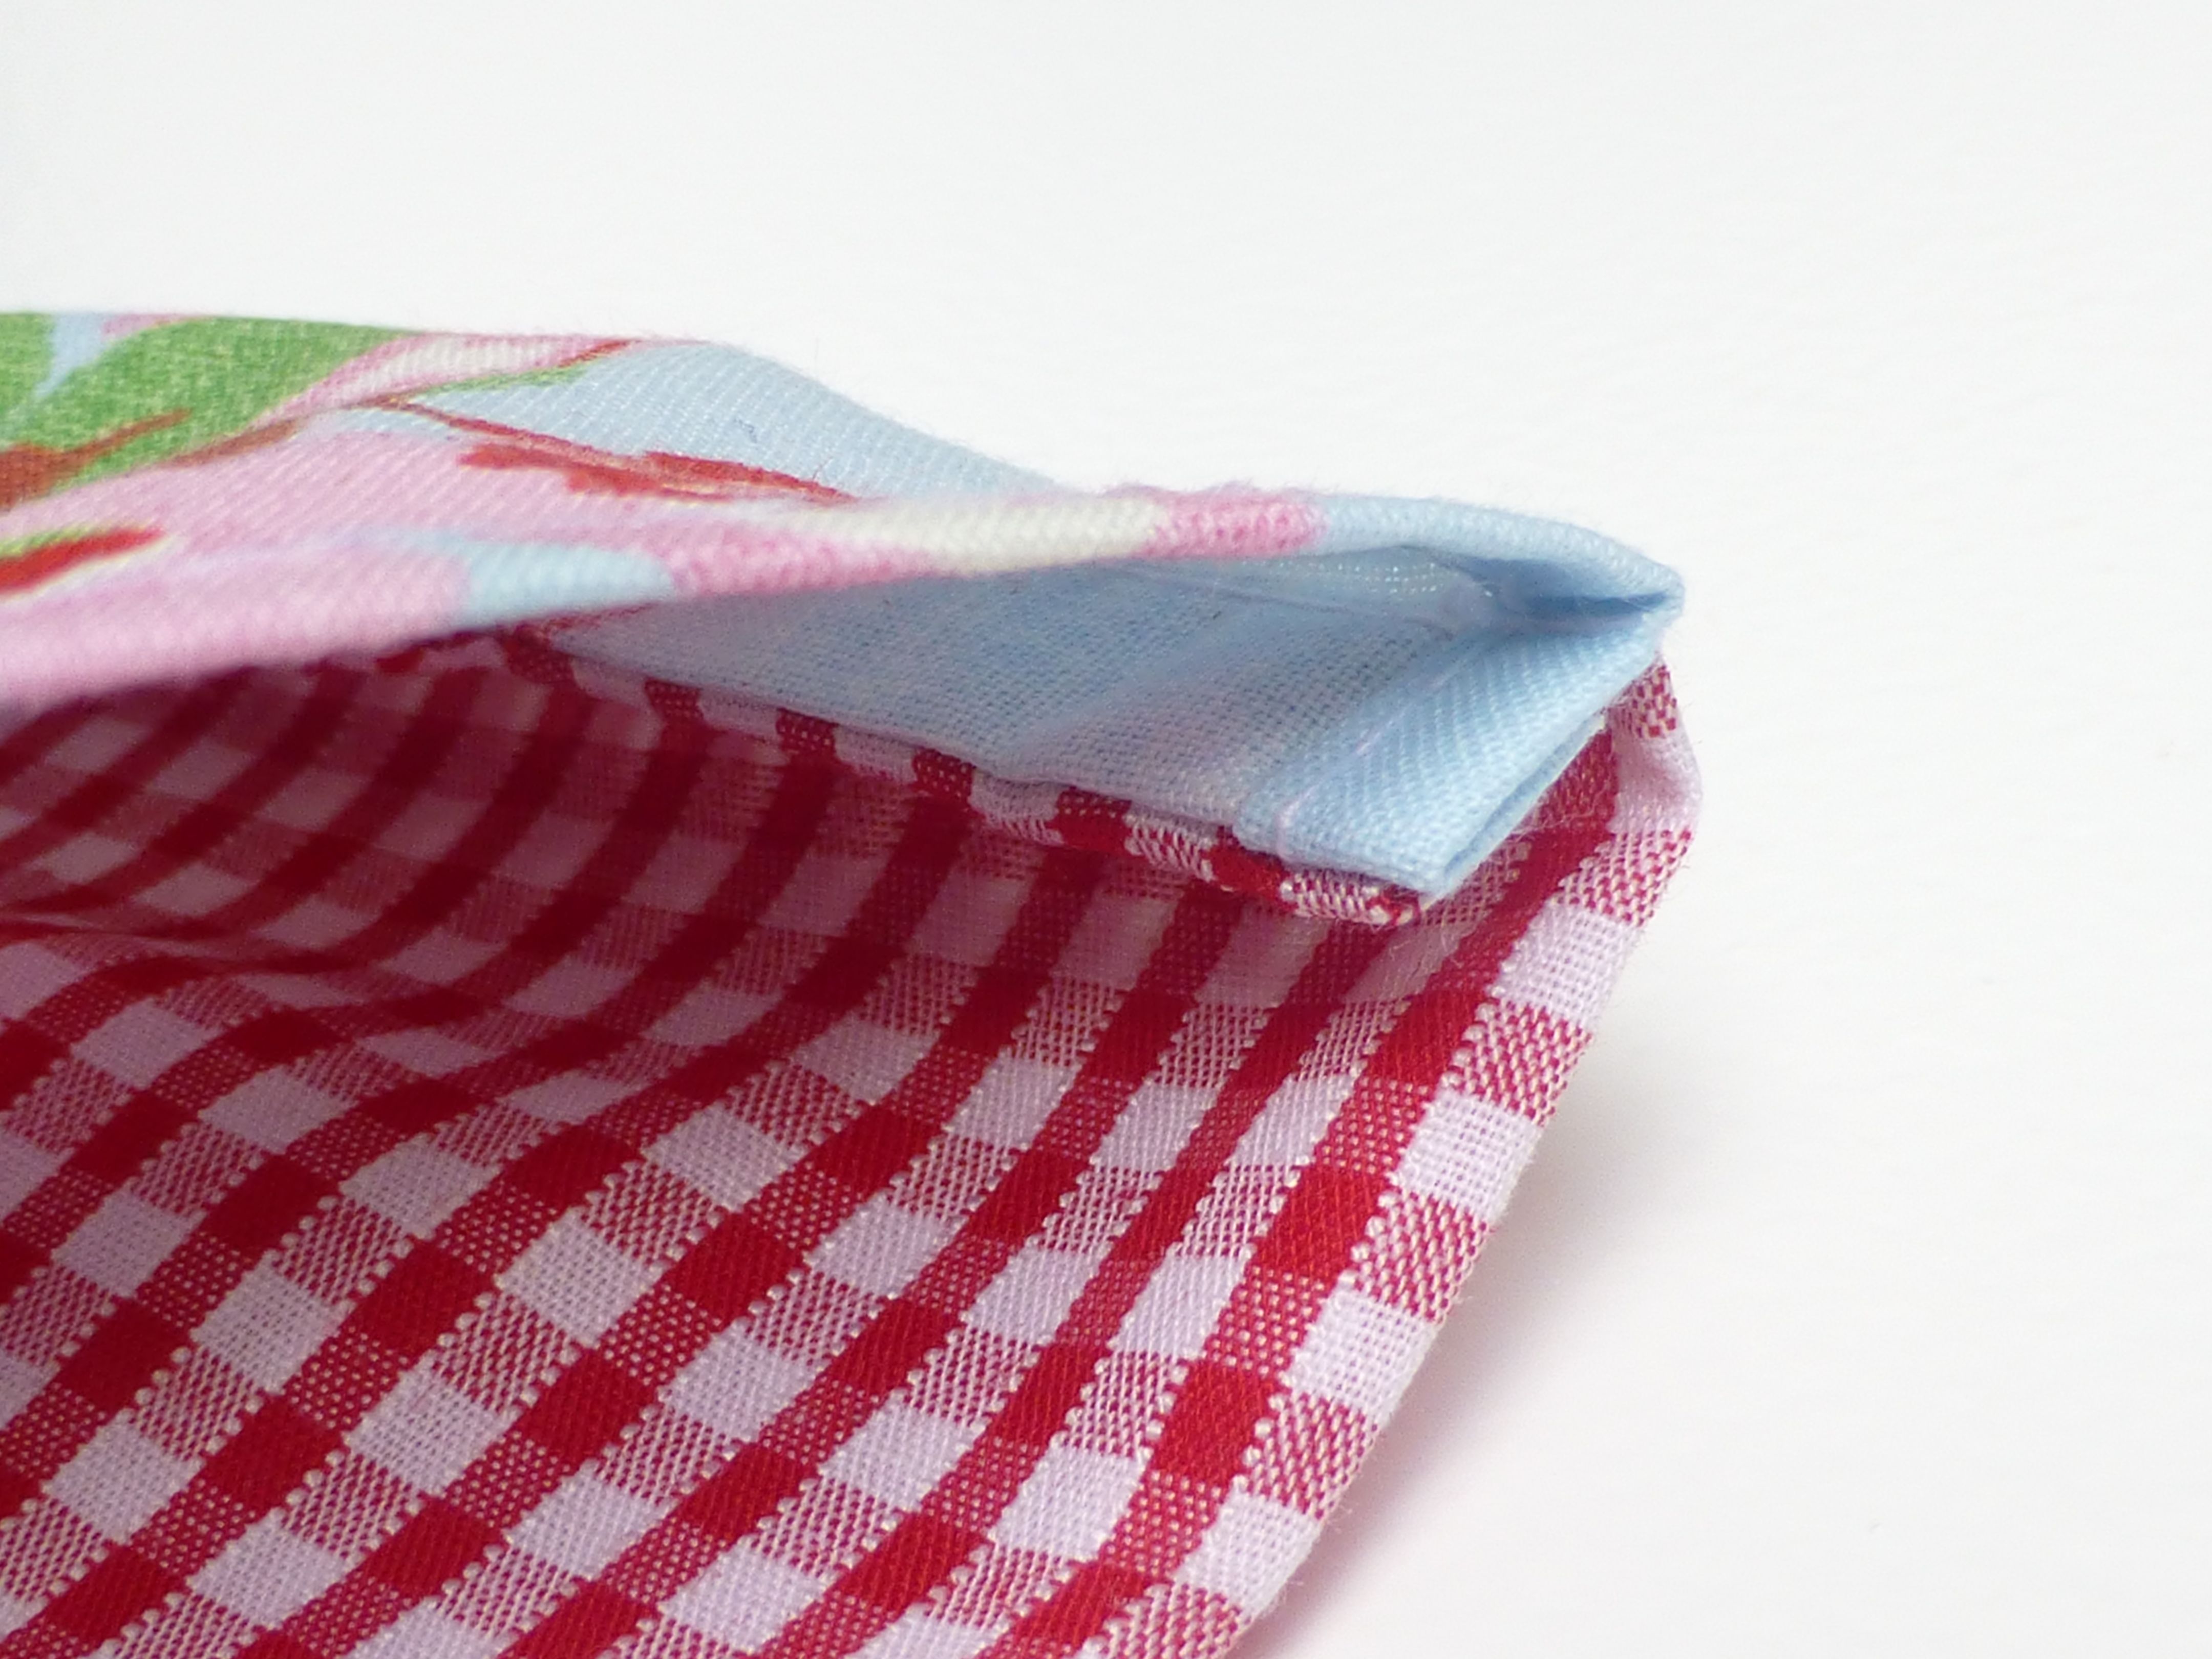
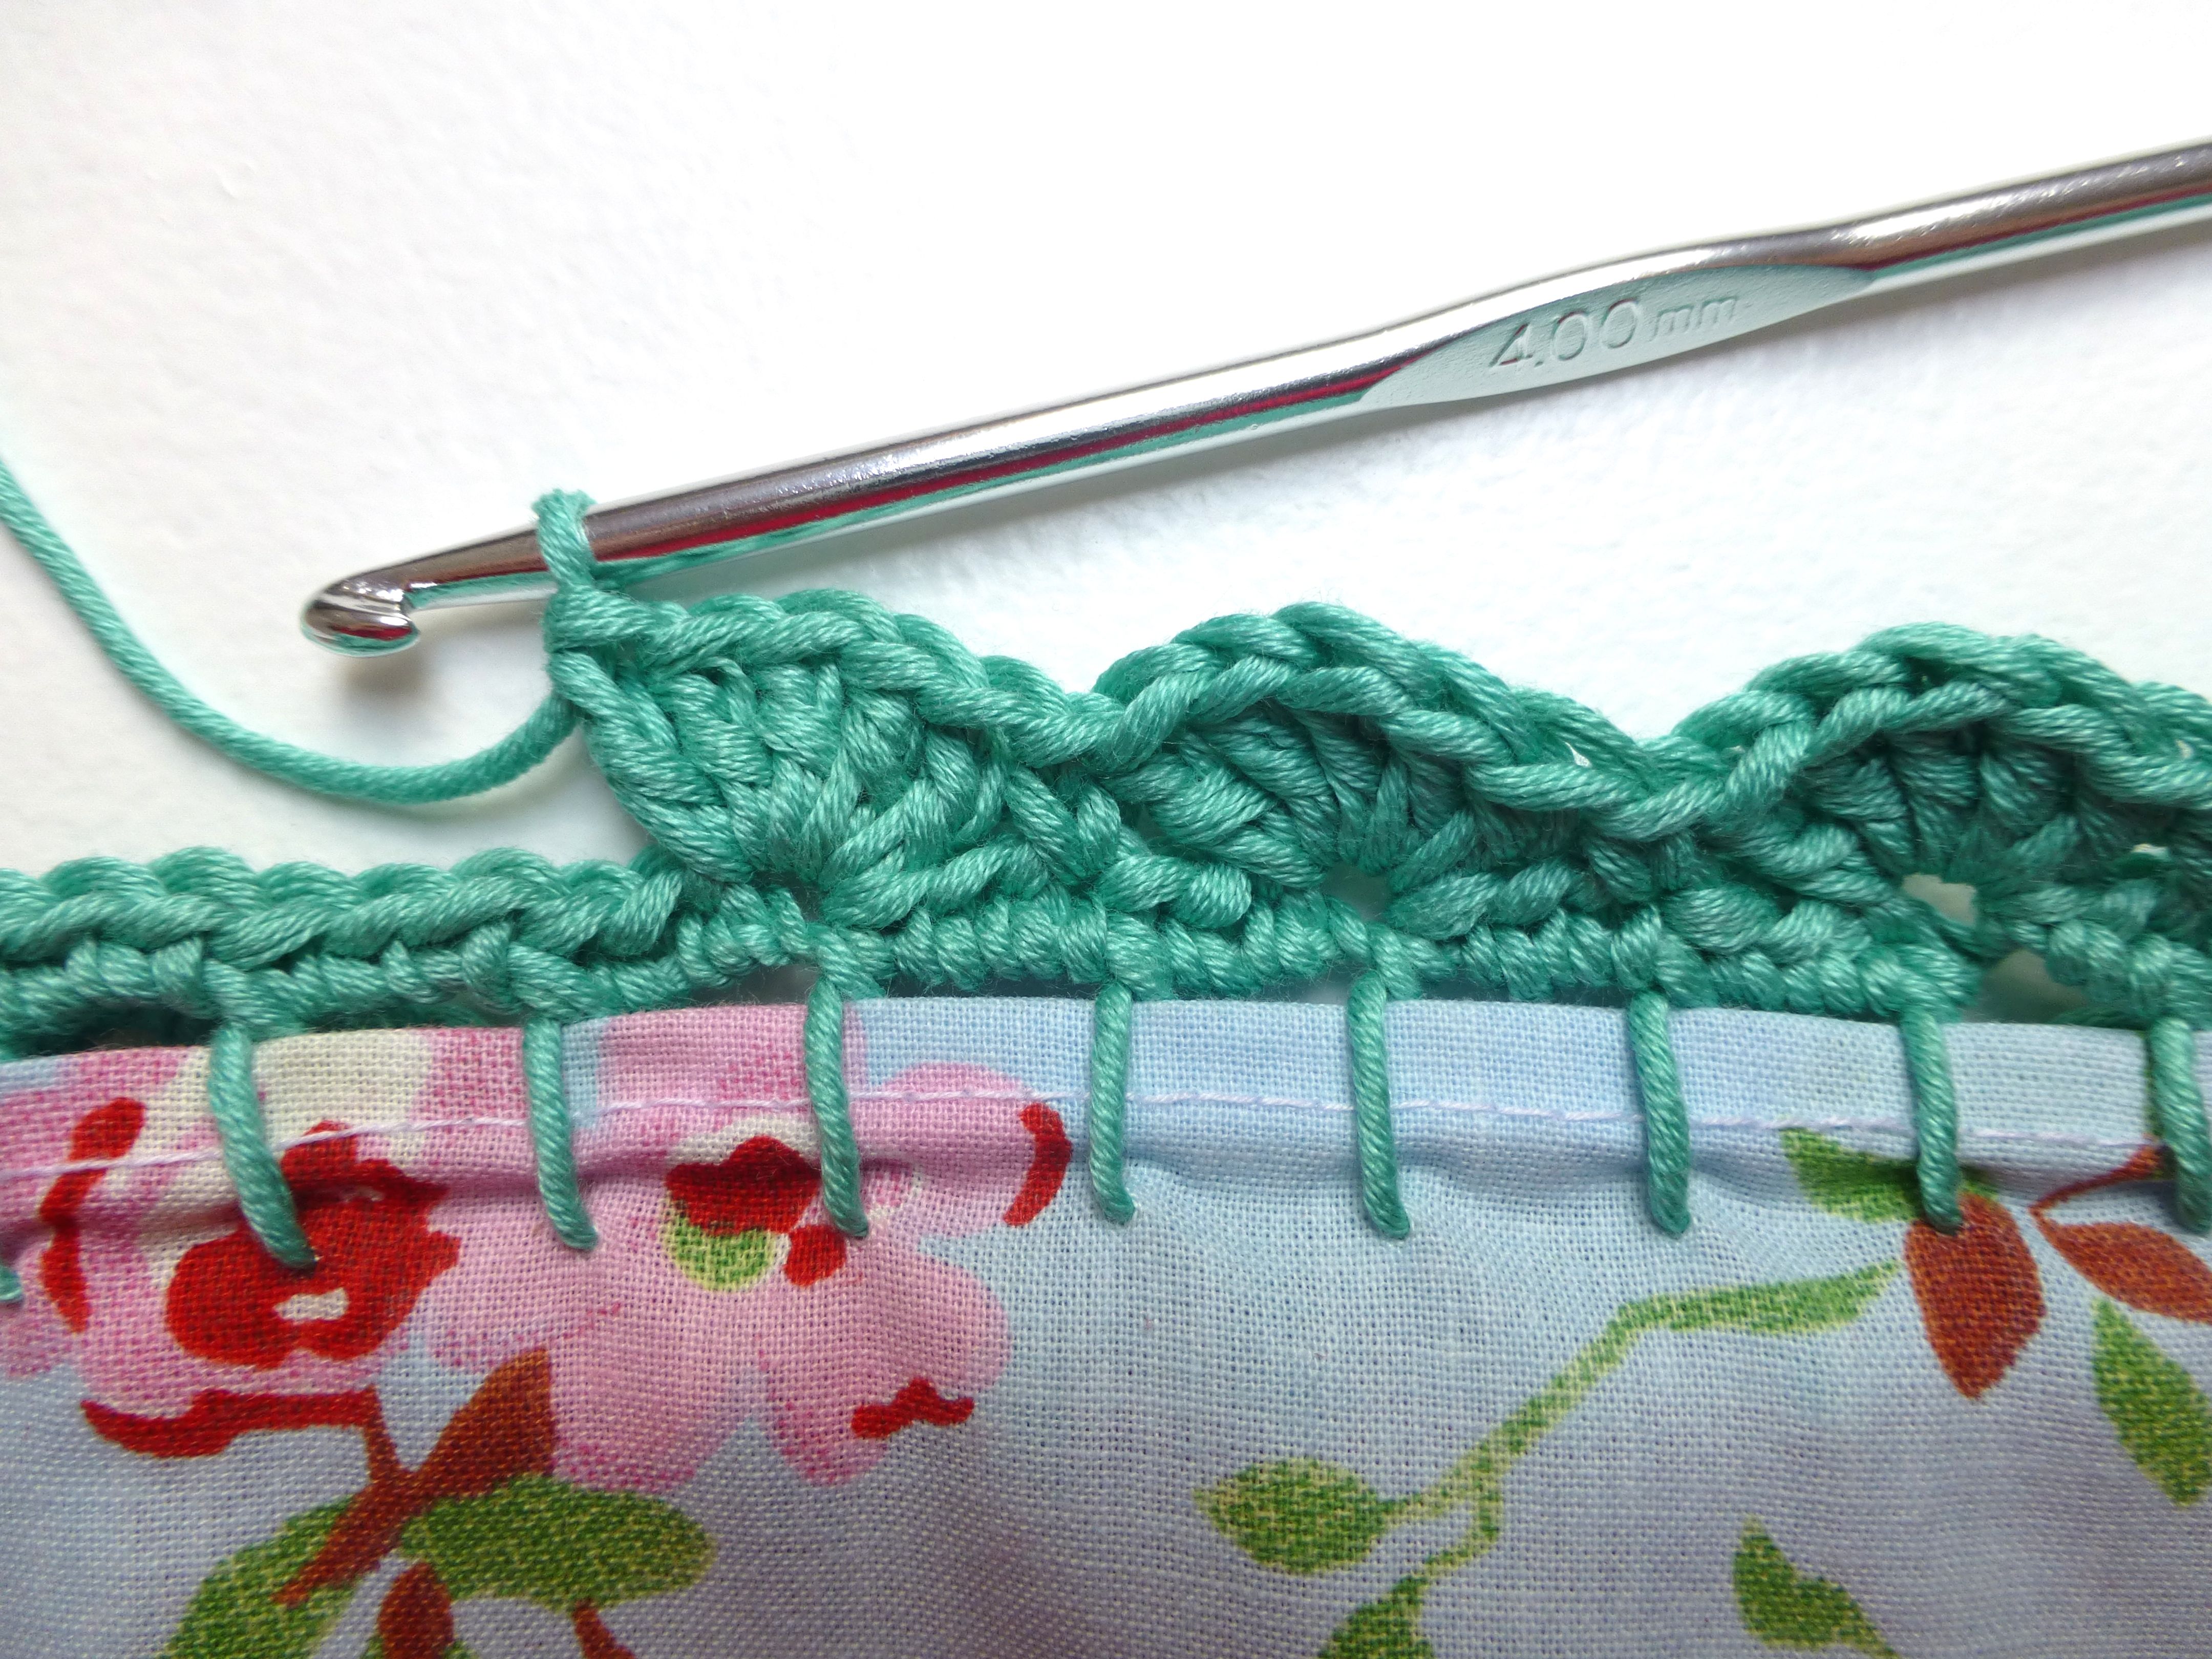
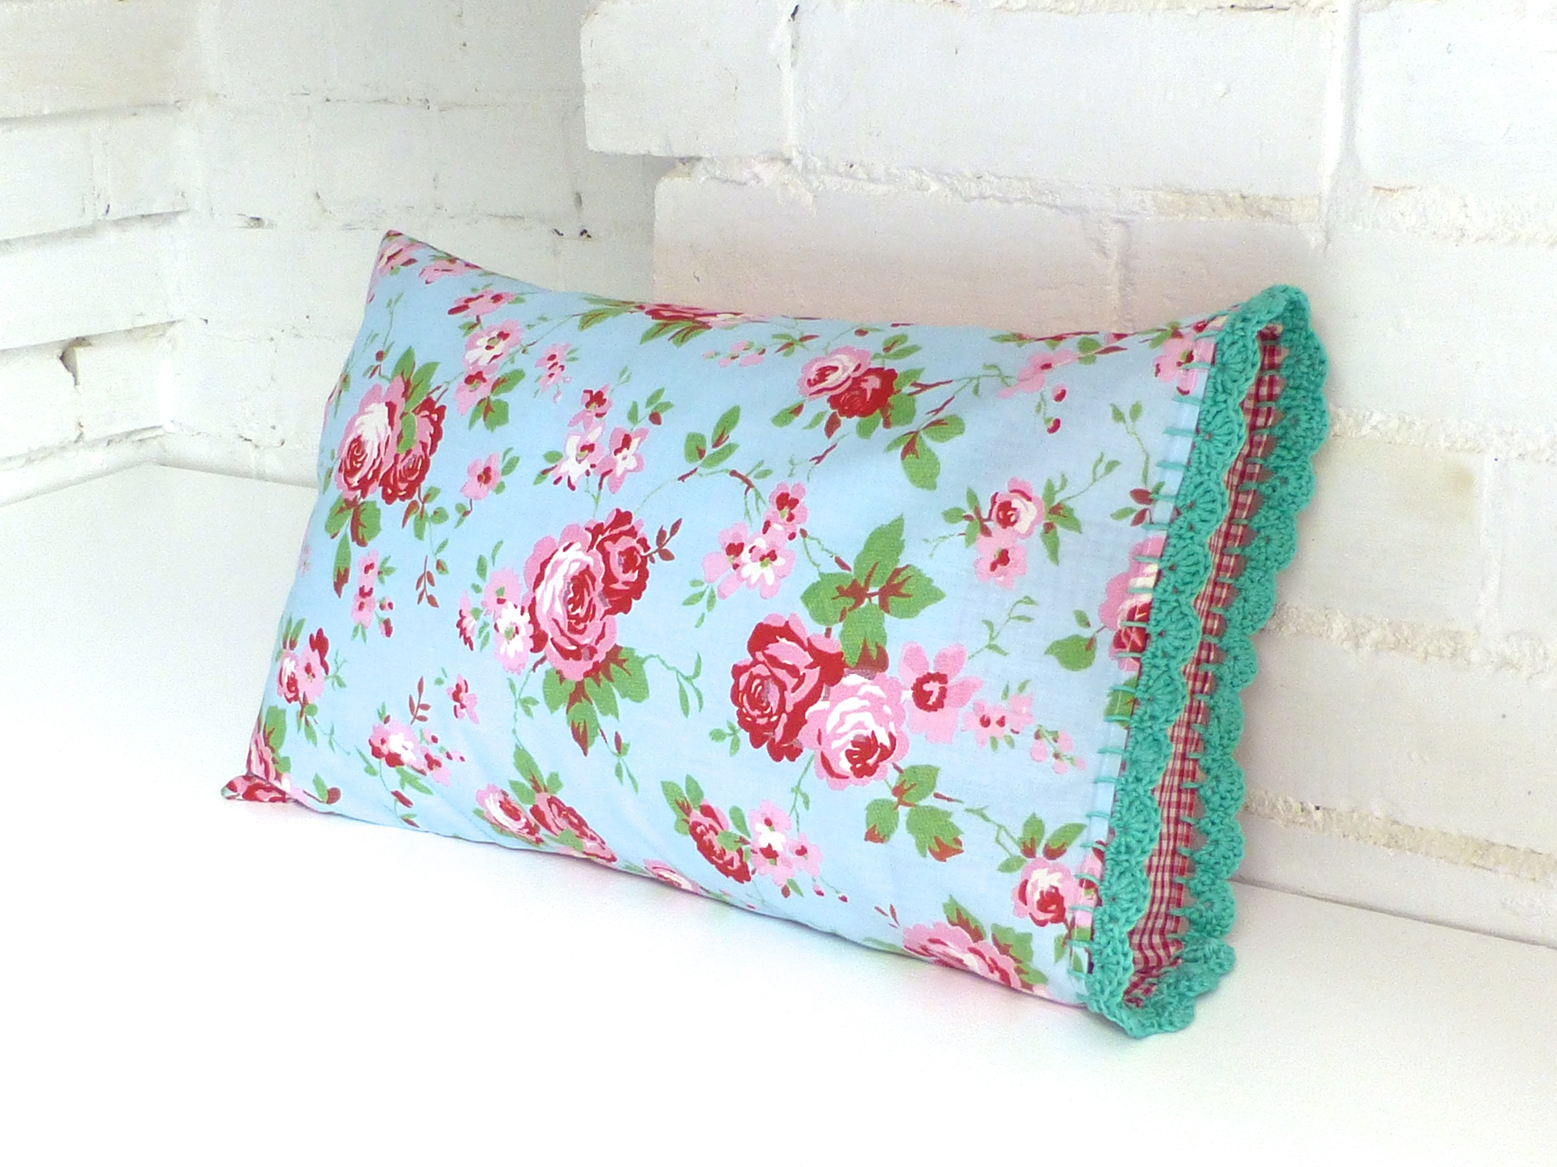
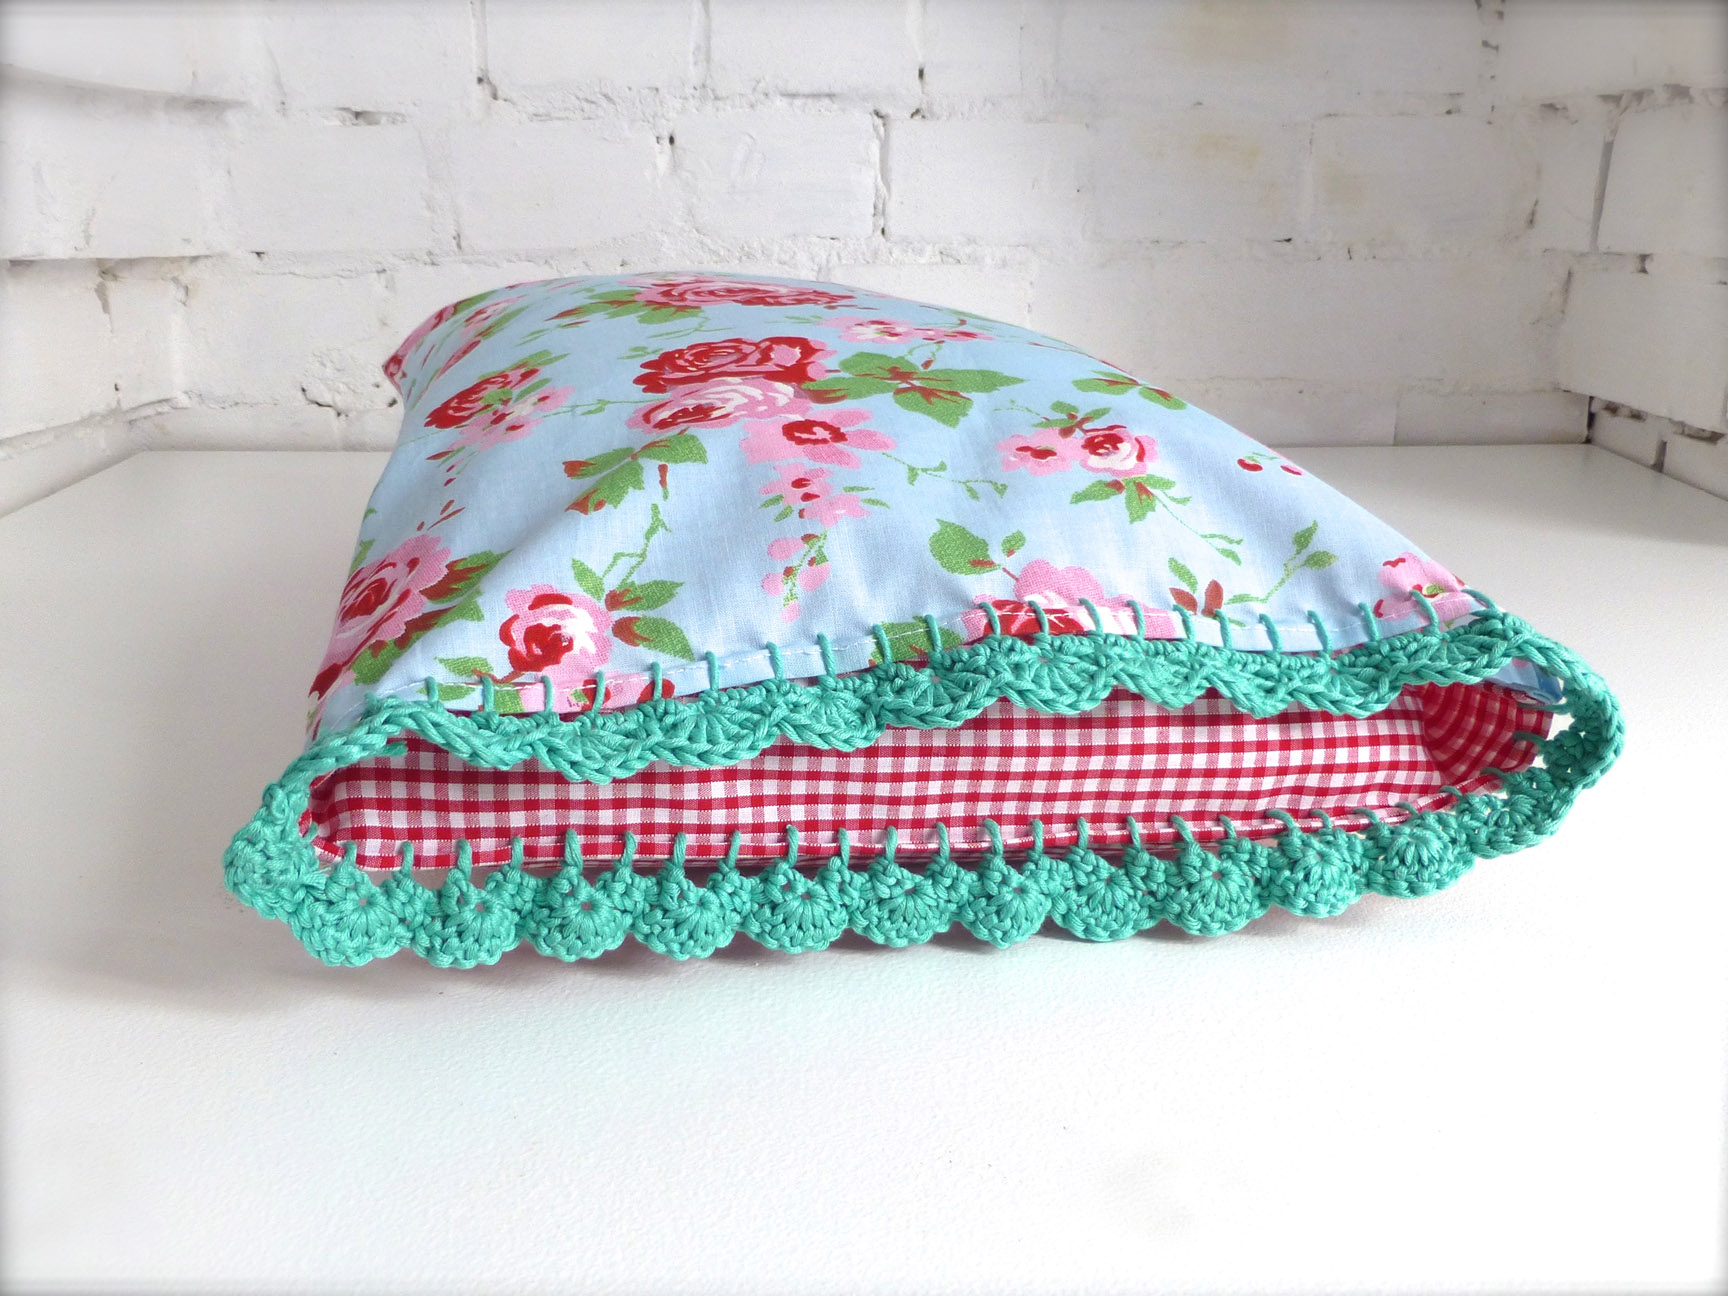
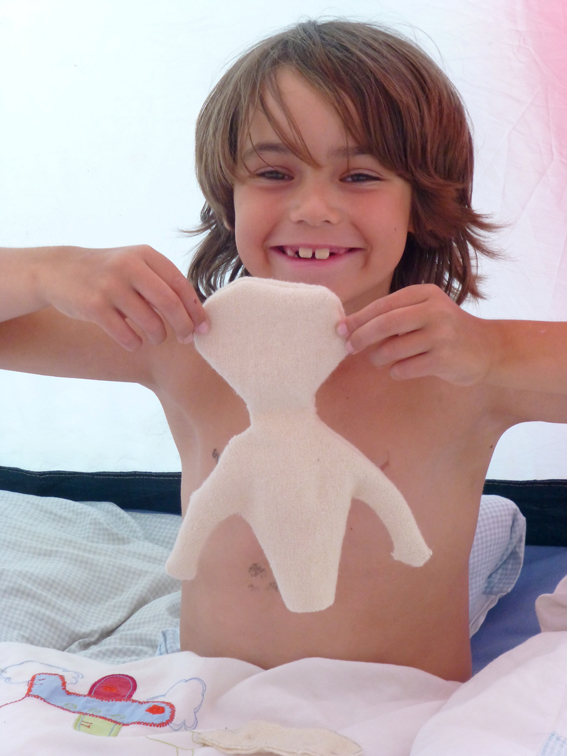
Here he is, sewing all the bits by hand;

Doll2smallDoll3small

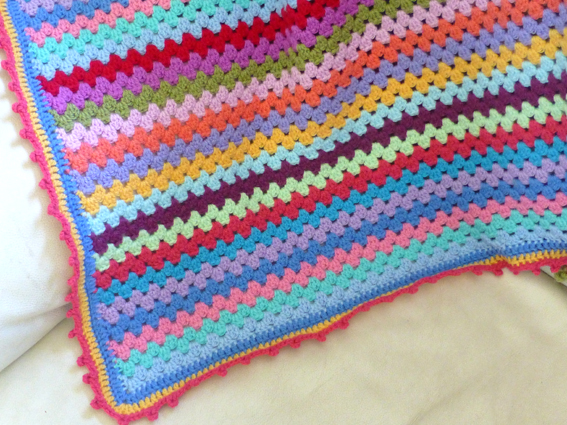
I am sooo thrilled that I have been able to pass these skills on  – I only hope that the popularity of crafting continues so that they will in turn hand down the skills to the next generation.  Just ten years ago, pre-recession, I was convinced the arts of sewing, knitting and crochet were to be lost forever and it’s fabulous to see more and more people wanting to learn.

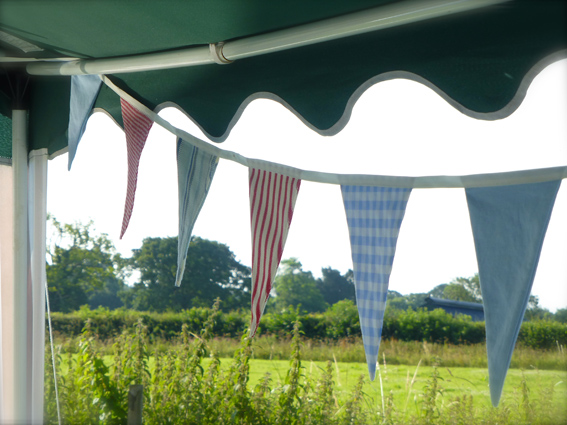
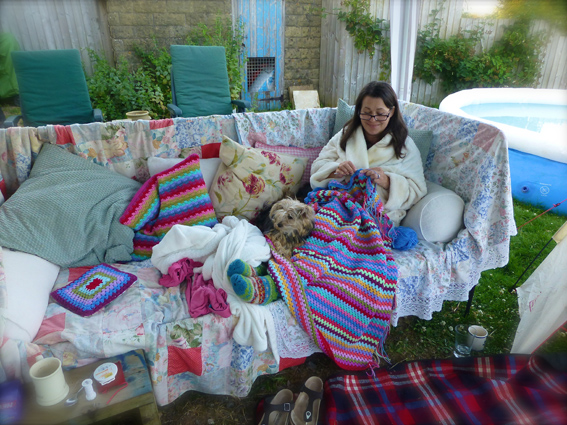
At the end of a long crafting day, the kids were desperate to sleep outside.  The boys slept in a tent and Alice stayed over especially so she could sleep on the day bed – I did tell you that it was comfy, right?  Here they all are, reading books just after sun down and just before the fairy lights start twinkling automatically at dusk….perfect!

Sleeping outsidesmallHave you passed on your traditional crafting skills to anyone, or created a lovely outside crafting space?


10 Comments

New Range, Outdoor Living and Crochet!

Blimey it’s been a busy couple of weeks – so much so, this is my first post in a fortnight and I can’t fit it all in!  I’ve been quite productive on the creative front and have loads to show you, so I will try to catch up in the next few days and hope you’re not too bored…

First up, the most exciting event.  Well, for me, anyway because I cook loads. Our ‘old’ range cooker pretty much gave up the ghost after seven years of hard labour and I kind of decided that, as you get what you pay for, I might as well upgrade seriously.

This is the old one…

Old range small

..and this is the lovely new RED one!

New range small

(If anyone knows how to change an oven thermostat and repair a grill element, we have an electric range cooker with ceramic hob going begging…!)

Four ovens including a slow cooker and five induction rings on the hob – I’m in cooker heaven, seriously, and I need to make more jam.  We’ve just finished the last of last year’s jam and the new crop of blackberries is looking promising, although it’s a fine line between them being ripe enough to pick and the hens deciding when they’re ripe enough to eat.  At least they can only reach the lower berries so we should still have plenty for jam making.  About another four weeks, I reckon, before the first berries turn black and sweet.  It’s a thornless bramble which is perfect for the garden, and domestic varieties are always much larger, juicier and sweeter than their wild cousins. They also ripen earlier which means the picking season is extended – good news for our household of blackberry lovers.  Blackberry and Apple Crumble anyone?

Blackberries small

We only have a small, young apple tree and an elderberry bush in our (quite large) garden which means shade is almost non-existent and, in this current heatwave, makes it too unbearably hot to enjoy the garden. The hens have commandeered the elderberry bush so my lovely husband created a shady retreat just for me!

Gazebo up, it needed bunting obviously. Well, doesn’t everything look better with a string or two of bunting??

Bunting small


Then, I had a brainwave and decided to utilize the under-used daybed from my sewing room as an outdoor sofa.  After a bit of under-the-breath muttering and “Why do want me to put the bed outside?”, husband complied.

I covered the ‘sofa’ with some patchwork throws I made thirty years ago – very faded and a bit worn, but I tell myself that it adds to the rustic charm!

Lace quilt small

Padded quilt small

I piled it up with loads of squashy cushions including the crocheted ones I made recently and it looks soooo inviting that everyone who comes to the house dives straight in and that is where they stay!

Kids small

Day bed small

I even get to use it too sometimes!  There’s nowhere nicer to relax and enjoy a bit of crocheting with a G&T.

Me small

This is what I’m working on, curled up in a cosy corner of my new favourite place…..

Granny blanket 3small

Granny blanket 4small

…..Ta da!

Granny blanket 2small

I’ve got a few more ‘Ta da’ moments to share with you in the next few days, so watch this space!

In the meantime, here’s a snippet of my latest work-in-progress using Drops Paris Cotton – it’s already my favourite project to date!

Greengate small


8 Comments

Crochet Cushions & A Nosy Chicken!

I finished these “rainbow” cushions a couple of weeks ago and have been meaning to show you, so this morning I pulled my finger out (along with the camera) and set to it.  Amber, our “Amber Star” hen, took the precise moment I was about to press the shutter to investigate the new additions to her familiar walking ground. 

Image

Are you allowed to have favourites? I love that hen – she is sooo bold!  She has masses of character and keeps the puppy in line (who has learned that she WILL get a peck if she gets too close!).

I laid a work-in-progress blanket on the sofa to set the scene; this corner is where I put my feet up of an evening and settle down with my crochet to watch TV, while my ever-patient husband has the sport (on silent) on his iPad beside him.  He’s a keeper – he lets me watch Midsomer Murders, Poirot, Lewis (and other such stuff that he hates) on the 60″ HD TV and he watches football on a 10″ screen without complaining!

Anyway, Amber very obligingly turned around to pose for the camera. Isn’t she lovely?

Image

I love this combination of colours (thank you Lucy at Attic 24) and used them to make two cushions, one in ‘Raindrop’ stitch and the other in ‘Ripple’.

Here is the smaller, Raindrop cushion…

Image

…and this is the back made from a gorgeous fuchsia sweater from my stash of felted woollen jumpers.

Image

I made a simple envelope-style back so that I could crochet a lovely contrasting trim in turquoise.  I just love the different coloured buttons.

Image

The Ripple cushion cover is huge and I don’t actually have a large enough feather insert for it yet, so I borrowed a smaller one from another cushion just to take the photo:)

Image

The reverse is made from part of a £3-00 charity shop find; a cream utility, pure wool, blanket with faint blue stripes running through.

Image

I left the original label on it – I don’t know why really, I suppose to shows its vintage origins. I think it adds authenticity to it and a bit of quirky character which I like.

Image

More contrasting trim and bright buttons…

Image

…and here is the “Ta Dah!” moment with them both looking very cheery on my sofa (after the hen finally got bored and disappeared into the kitchen to eat the dogs’ food, much to their disgust).

Image

Don’t you just adore crochet; it makes me feel all happy inside to see rainbow coloured cushions (and blankets) scattered around my home – and even happier knowing that I’ve made them all.


Leave a comment

Crochet Glastonbury Festival Bag!

Well, the festival season is here upon us once again and I happen to live near to the biggest and best – Glastonbury! 

Whilst I’m not actually going this year, two of our daughters are stewarding for free tickets and the eldest son is taking the traditional route in.  By that, I mean he bought a ticket and is not planning to climb over the fence.  (Did you know that Michael Eavis is on record as saying how disappointed he is at the lack of ingenuity shown by would-be festival crashers when trying to sneak in for nothing?).

We used to be able to hear the music from our house but, since moving seven miles further east, no longer have that (dubious) pleasure.

I digress….

The first event was in 1979 and attracted 1,500 party-goers at the cost of £1 each (including FREE milk from the farm!), but it wasn’t until ten years later that Eavis used it as a fundraiser for CND, raising £20,000 for the cause. 

Image

Last year (2013) saw 175,00 ticket holders paying £210 each and raised £2,000,000 for charities and local good causes!

So what images spring to mind when thinking of the Glastonbury (or, more accurately, Pilton) Pop Festival?  Think hippies, rainbows, love, peace, cannabis, wellies, mud, sunburn etc. (although my husband refers to the annual migrants as “smelly soap-dodgers”!)

Taking the optimistic view and thinking ‘sunshine and rainbows’, I designed some free-form crochet bags in the “Hippy-Chic” style.

Would you like to see them?

Of course you would!

Here is my very lovely daughter modelling them together with that other festival staple – wellies (well, my Dubarry’s actually): –

Image

Here’s a close up of the front showing that gorgeous “ripple” pattern…

Image

…and the back is felted wool.  Fully lined with contrasting blue fabric with white polka dots, there is a pocket inside for your mobile ‘phone and it closes with a magnetic clasp.

Image

Here’s the other one: –

Image

This was made in one piece so the back is a continuation of the front.

Image

Lovely spotty fabric for the lining and this shows the ‘phone pocket and magnetic clasp –

Image

Are they “Festival” enough for you?  Both crochet Glastonbury Festival bags are available from my shop on the link at the top of the page – go on, unleash the hippy in you!


3 Comments

Small Crochet Storage Baskets

When I first kitted out my craft studio I pretty much sourced everything from Ikea just to get started – their storage solutions are ideal, not to mention cheap. But, being the creative person I am, it is all a bit too functional and I’m trying to come up with ways to personalize my space with handmade alternatives.

Take these plastic tubs that are currently in my studio for example: –

Image

They’re the perfect size – just not ‘me’.

I got to thinking about the work-in-progress basket I made a few weeks ago (below) and thought I could come up with something along the same lines, but much smaller.

Image

I came across these little baskets here and love the different, but toning colours, and the band of cream that ties the three baskets together visually. I wanted baskets that could hang from a hook though…

Image

After playing around with size, tension and colours, I made these three little baskets with a single hanging loop which are stiff enough to do the job perfectly.

Image

Image

Image

I love them!  Sooo much nicer and more tactile than the plastic tubs. 

I will work out a tutorial for them so, if you want to make your own small crochet baskets – follow the blog and don’t miss out!


1 Comment

“Rosetta” Cushion and Make Up Bag

Just finished another cushion – my favourite ‘sew’ far (sorry!)

I can’t decide which side I prefer because, although “Rosetta” is just glorious, “Dotty” on the reverse is a classic. Two looks for the price of one – bargain:)

I will design some more coordinating accessories in the next few days – I think a white bedroom with these timeless colours would be almost too pretty for words.

Image

Image

Image

Any ideas? Laundry/Toy bag, lampshade maybe….


14 Comments

Crocheted Basket with flower inspiration

So here is the final finished basket and, yes, I am now happy with the way it looks.

Image

It is perfect for some of my many works-in-progress (well, who doesn’t have half a dozen things on the go at any one time?) or just for storing wool.

Image

I came across a version of this basket here http://crochetincolor.blogspot.com.au/2012/03/ombre-basket-pattern.html and just HAD to have a go myself. As mentioned in my previous post, I decided to embellish the less-than-invisible seam with crocheted flowers topped off by a butterfly.

Image

It certainly is easier on the eye than the plastic carrier bag that was formerly home to my mobile works-in-progress and will look a whole lot prettier sat by my feet next to the sofa.

Image

Now all I have to do is convince the puppy that chasing her round the lounge with a rapidly-unravelling ball of wool in her mouth is NOT the fun it seems to be.


Leave a comment

Crochet Edge Cushion Tutorial

If you like the crochet edge cushions and would like to have a go at making one for yourself, I’ve put together a tutorial to help you.

If anything is not clear, please let me know and I’ll amend it.

So, here goes!

You will need: –

  • A 30 x 50cm cushion pad
  • A piece of fabric 34 x 53cm for the cushion front
  • A piece of fabric 34 x 65cm for the cushion back
  • Yarn for the crochet edge (I used Drops Muskat Cotton and a 4mm hook)

Image

1.Make a narrow hem on one short edge of each of your pieces of fabric – this will be the opening edge.

Image

2.Take your back piece and, wrong sides together, fold the hemmed edge in 12cm. Press and pin.

3.Pin front to back, wrong sides together and stitch around the three raw edges with a 5mm seam.

Image

4.Trim seam to 3mm. Turn inside out and press.

5.Stitch a 10mm seam around the same three sides, this time enclosing the raw edges.

Image

This creates a “French” seam which stops any fraying (and is really neat!)

Image

Your cushion cover is made and now for the exciting part…

6.Cut a length of yarn about eight times the width of your cushion cover and blanket stitch all around the opening edge.

Image

7.Row 1 – 3 dc into each blanket stitch (English terms are used)

Image

Row 2 – ch 1, *dc into 1st foundation stitch, skip 2, 5 tr into next foundation stitch, skip 2* Repeat to end, filling any remaining stitches    with dc.

Image

8.Close with a slip stitch and pull yarn through to finish.

Voila! A gorgeous cushion cover with the prettiest crochet edging.

Image

I would love to see your versions – post photos to my Facebook page (link on top right of this post).

If you would like to use this on your blog, please link back to this page.

Have fun:)


3 Comments

Shop Open!!

Crochet Edge Cushions are now available in my new shop!!

www.sewchet.folksy.com

What do you think? There are some really modern designs on their way – do you have any suggestions for designs you’d like to see?

Here are the latest ones: –

Image

I love the reverse – lavender blue with white spots.

They’re all double-sided so you can display whichever side the mood takes you. Great for changing the look without spending more!

Image

Another classic floral, this time with bold red gingham as a contrast.

Image

Sea-Green crochet makes an unexpected contrast; time-consuming, but sooo worth it.

Image

Looking pretty, stacked on a bed….

Image

Now to crack on finishing that tutorial:)


Leave a comment

Crochet Edged Cushions

Hello and welcome to “Sewchet”!

My two favourite crafts are sewing and crochet so, for my first post, I thought it would be appropriate to share with you my newest creation – cushions with a crocheted opening edge. And, yes, these are the ones featured in the banner above. They’re so pretty I can see them every time I log in!

Image

I just love pinks and blues and these cute fabrics were just crying out to have a pretty edging.

Image

This one’s for the boys; who says boys can’t enjoy crochet too?

Image

I love the change in texture both to look at and to touch, it makes it so much more interesting don’t you think?

Image

Here’s how they look on the day bed in my Craft Studio; they’re going in my new Folksy shop for sale (www.sewchet.folksy.com)…if I can actually bear to part with them:(

Image

I’m writing up a tutorial so, if you’re interested, look out for it in the next day or two. That is, of course, if I don’t get sidetracked making some more in the meantime ‘cos they’re REALLY addictive!