Sewchet

Sewing, crochet, crafts, accessories, baking, tutorials,


29 Comments

Tutorial: How To Make A Faux Sheepskin Bag / Tote

img_3365

No, your eyes don’t deceive you, this IS yet another post featuring the lilac faux sheepskin fabric I bought last month. It really has been the fabric that keeps on giving as I have made not only a full length coat and two pairs of mittens, but also TWO tote bags!

If you would like to make your own, either from similar fabric or from a thick fleecy fabric, here’s a quick tutorial on how I did it.

Materials: Approx. 3/4yd of 45″ wide Faux Sheepskin or fleece

2 Magnetic Snaps

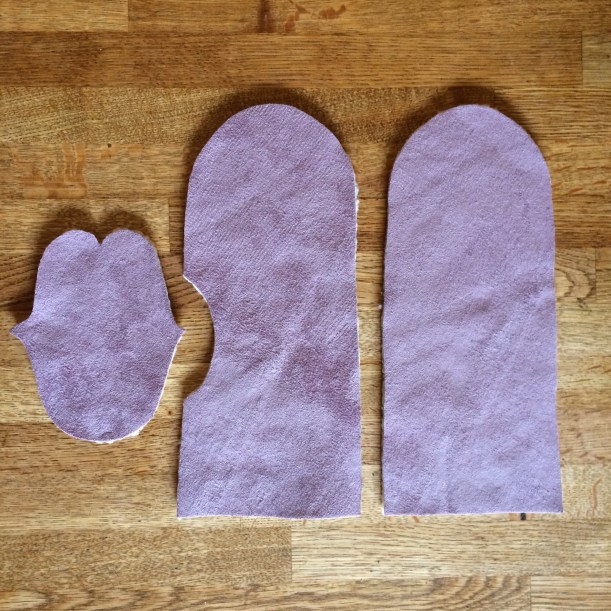
Cut pieces from your fabric following the diagram below (which is NOT to scale). If your fabric has a nap or a directional pattern, be sure to take this into account when cutting out.

You may have to adjust the size of the pocket to suit your particular ‘phone – this pocket is the perfect size for a normal (not ‘plus’) iPhone and you may well have to make it larger for a Samsung Galaxy or similar.

Sheepskin Tote Pattern

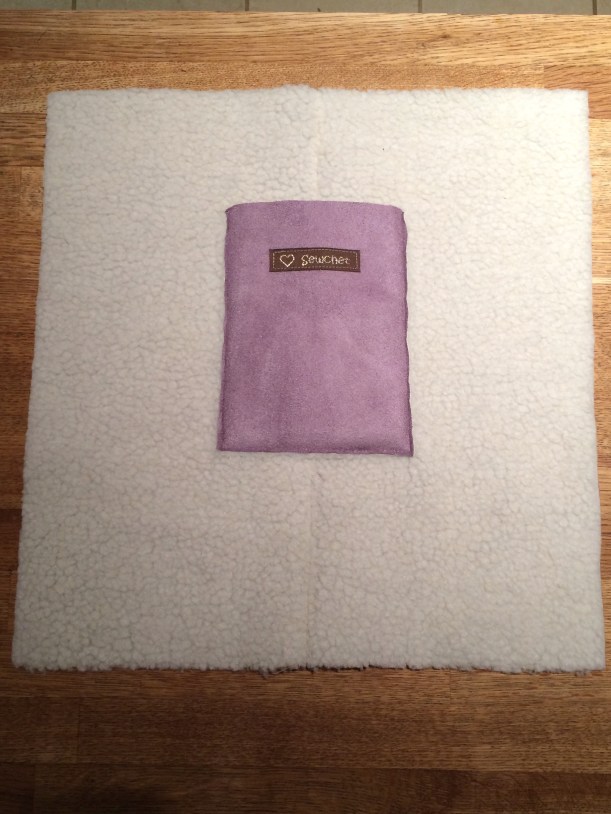
This photo shows the main pieces; front and back, gusset and interior mobile ‘phone pocket.

img_1304-1

Seam allowances are 1/4″ throughout.

All raw edges are left unfinished and the seams are constructed with WRONG sides together, making a feature of them.

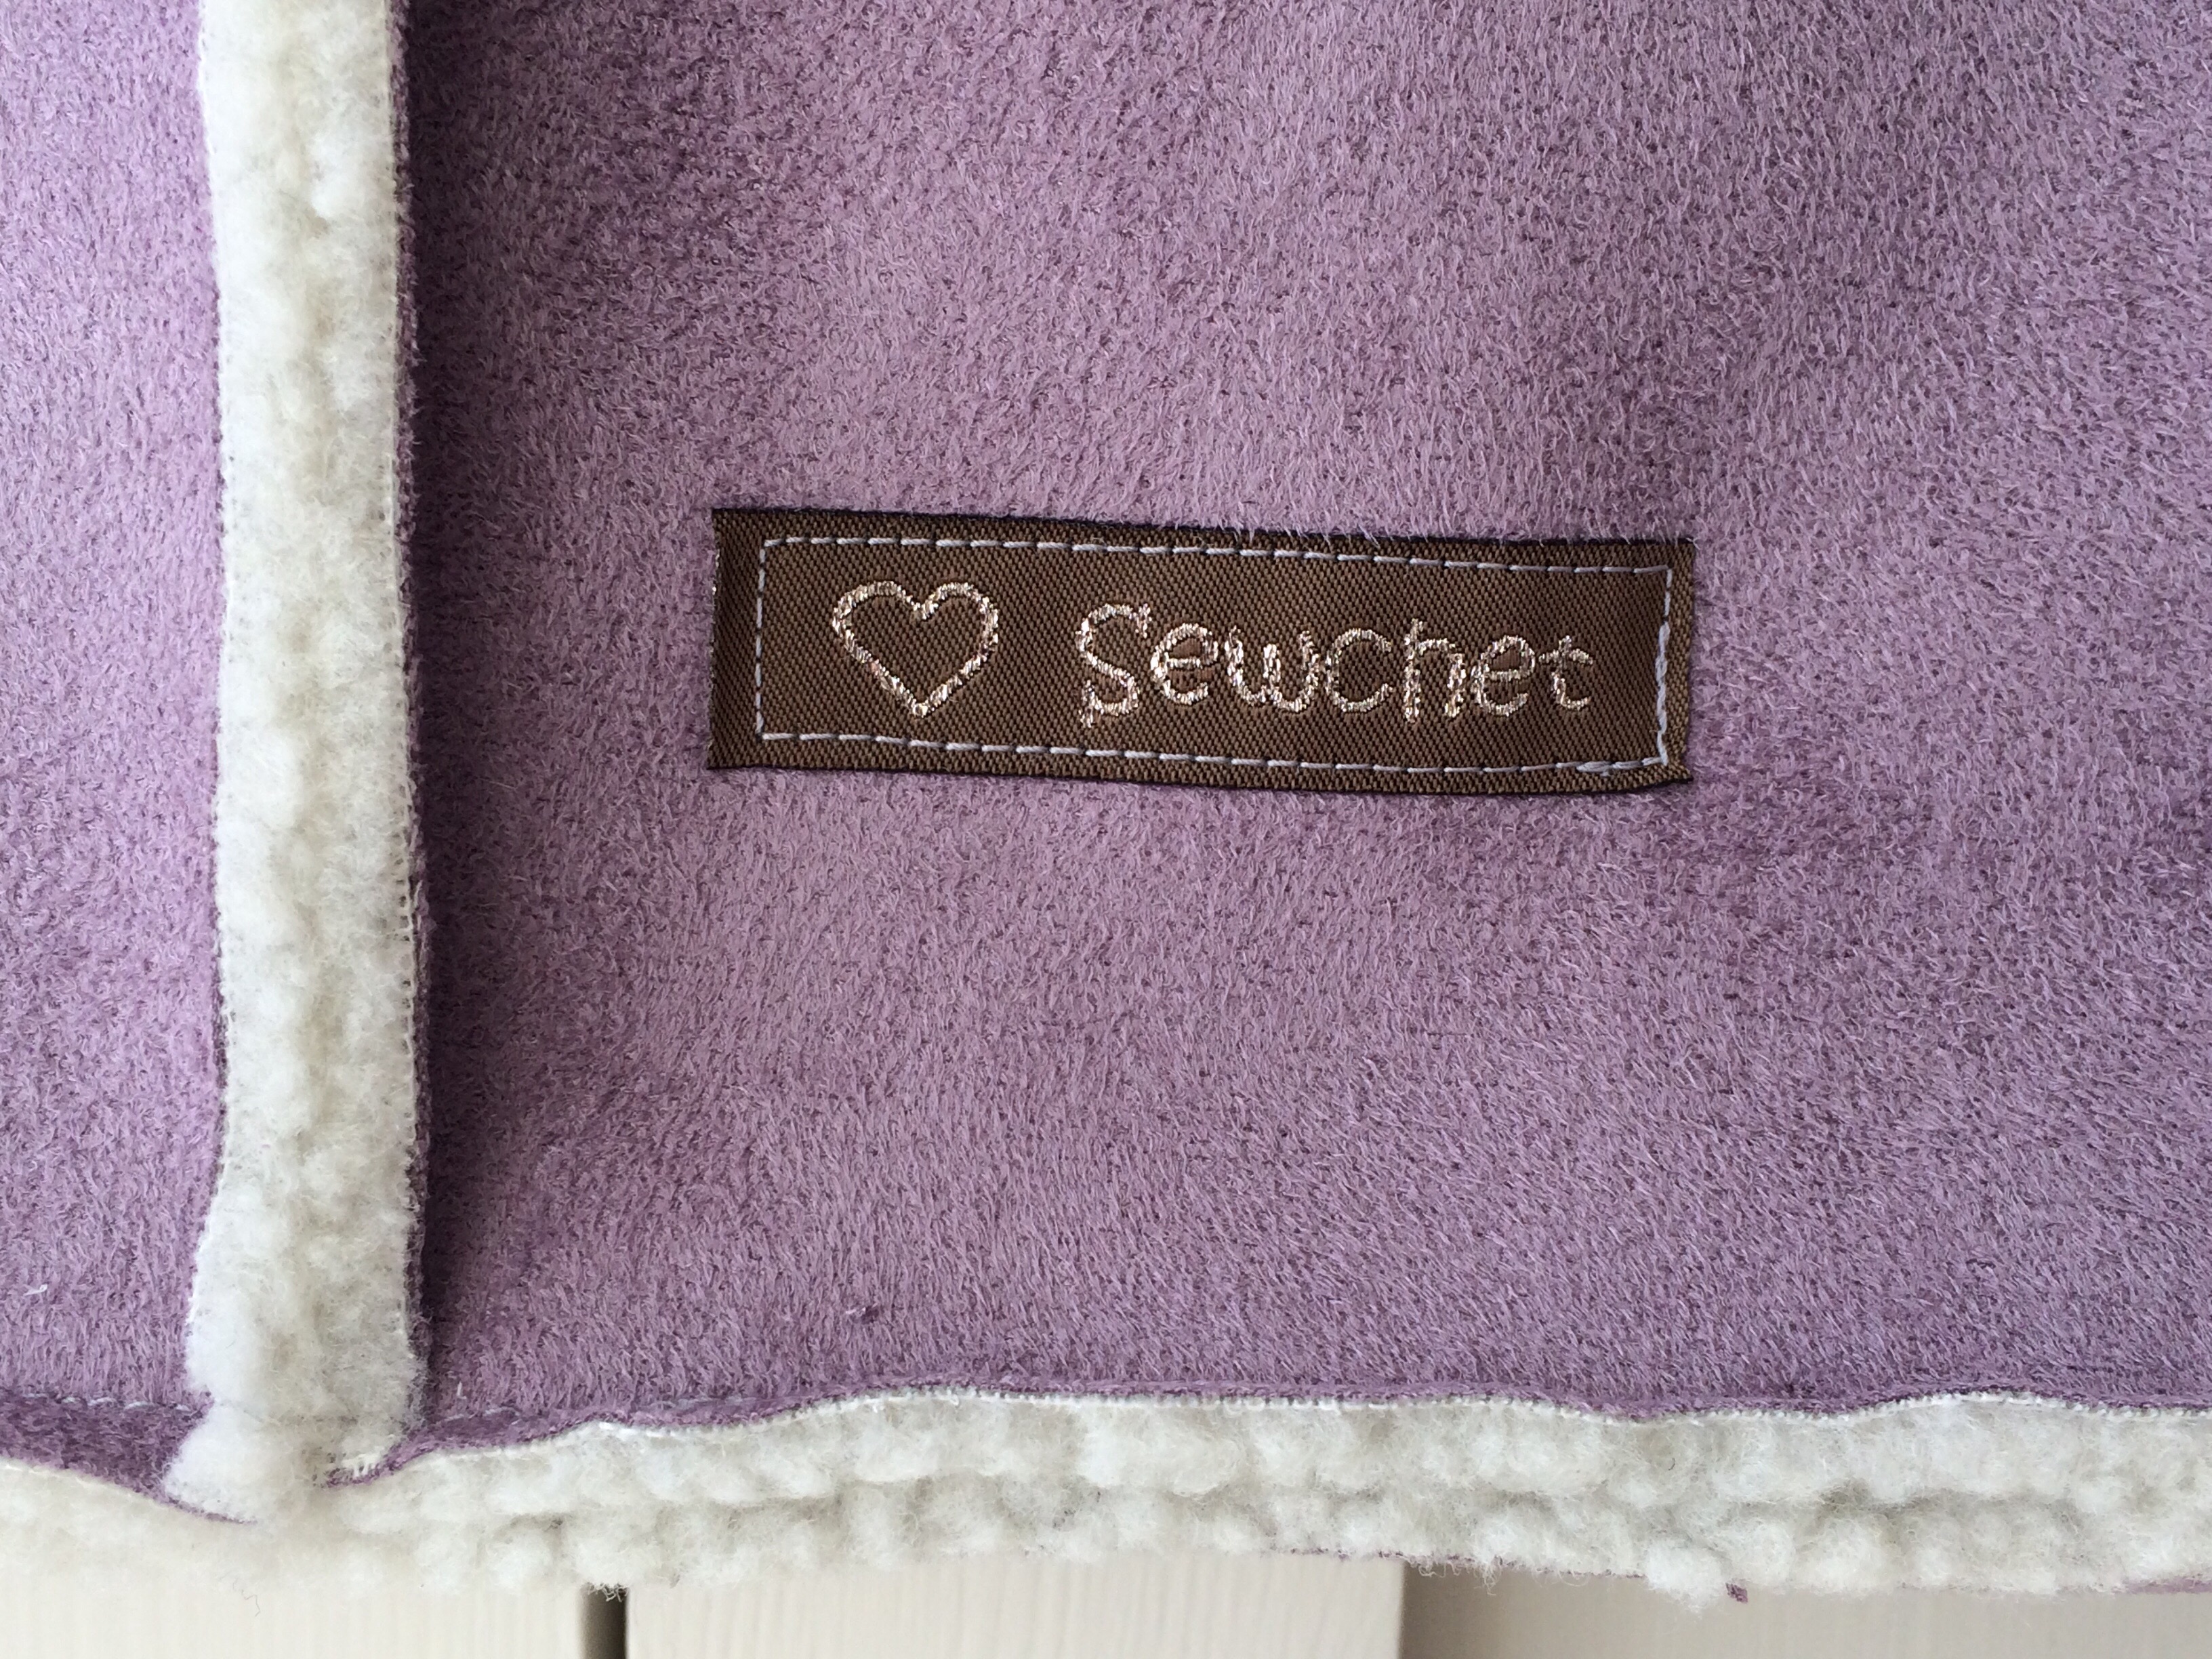
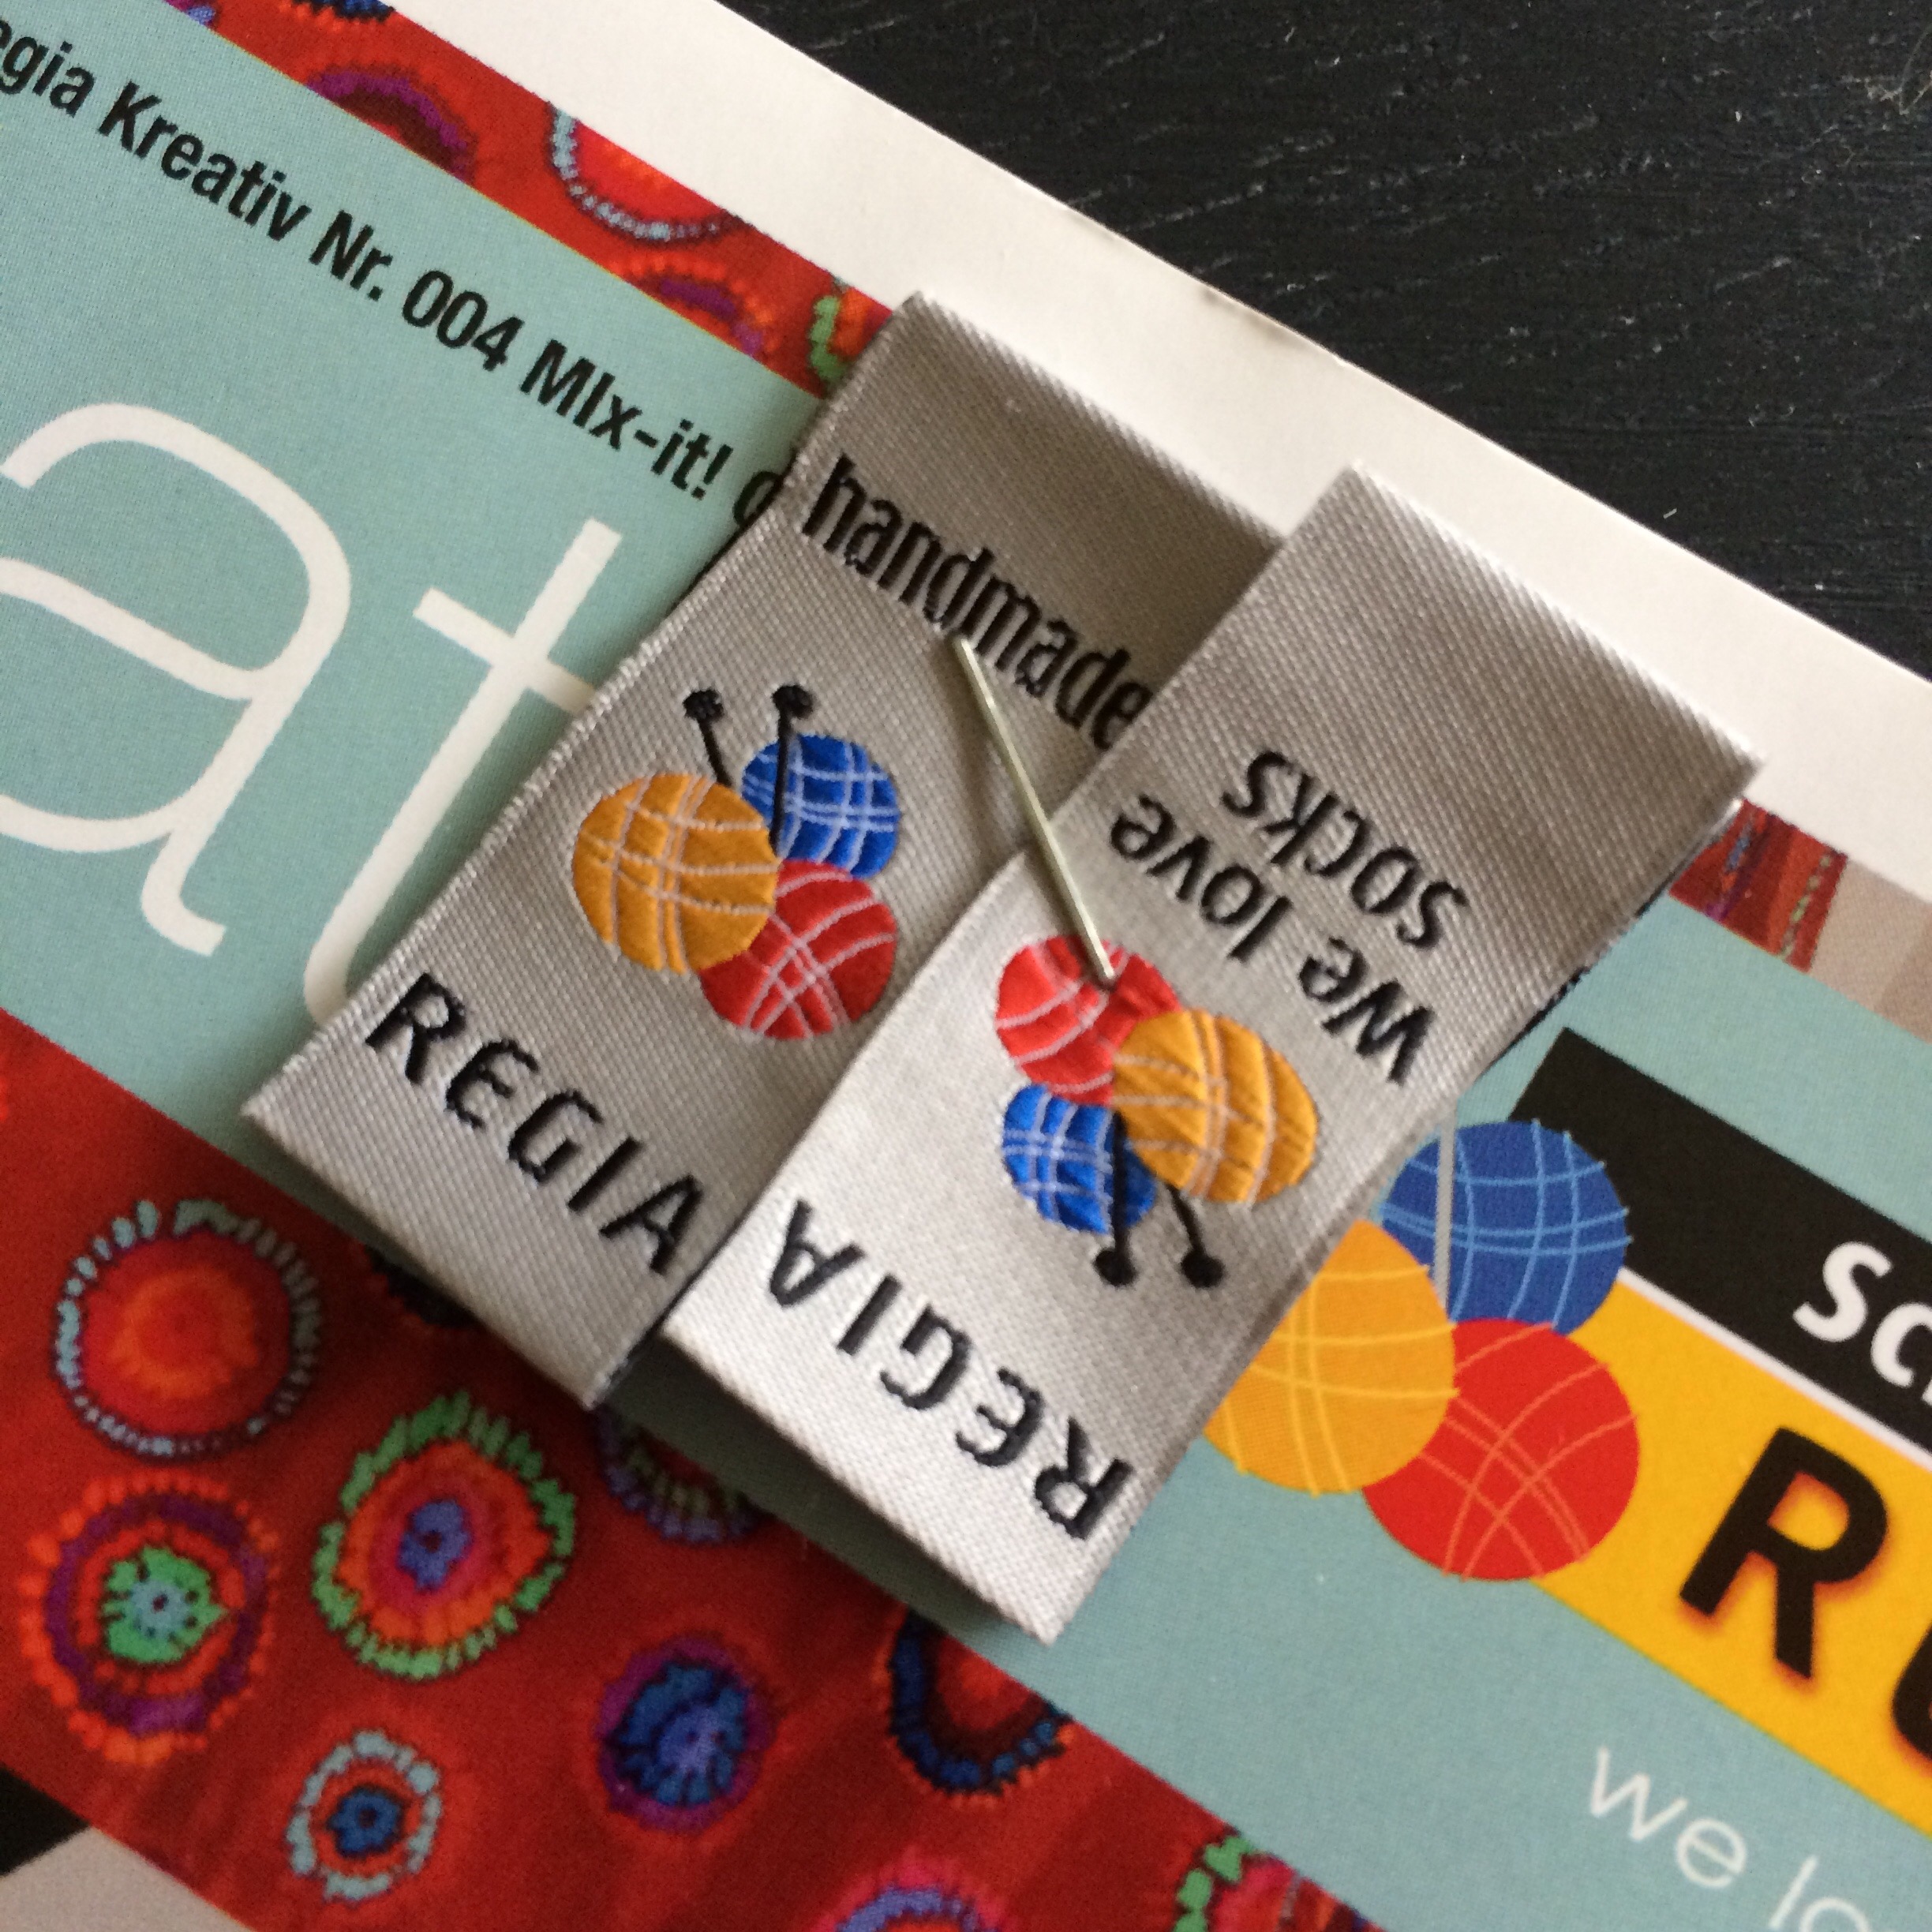
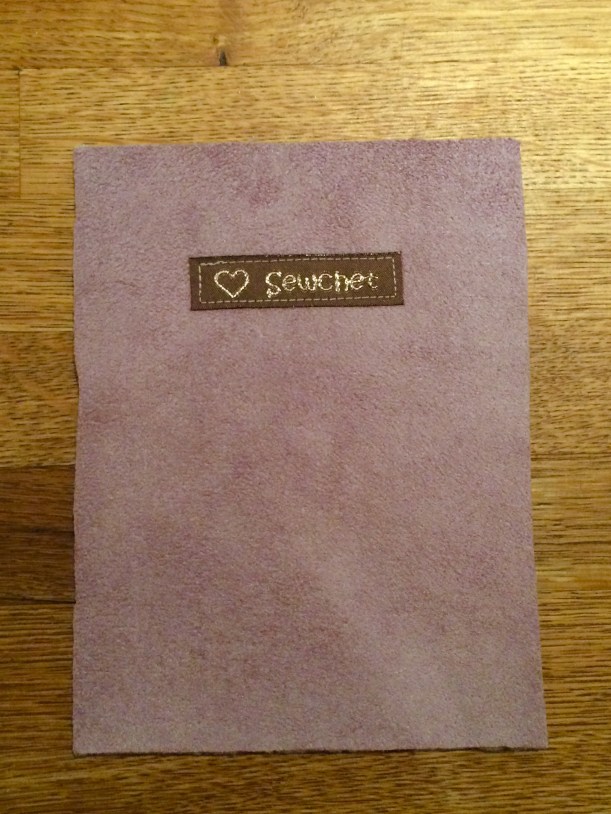
If you have your own labels, sew them to all pieces before any construction takes place. This avoids any fiddly sewing later on.

img_3344

Sew your pocket to the inside of the BACK section of the bag around three sides only, leaving the top open.

img_3345

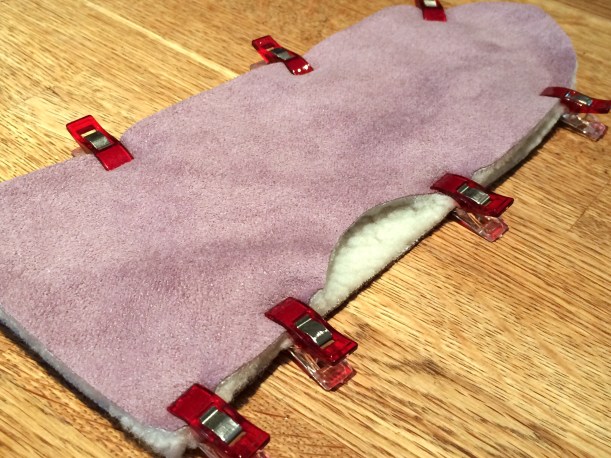
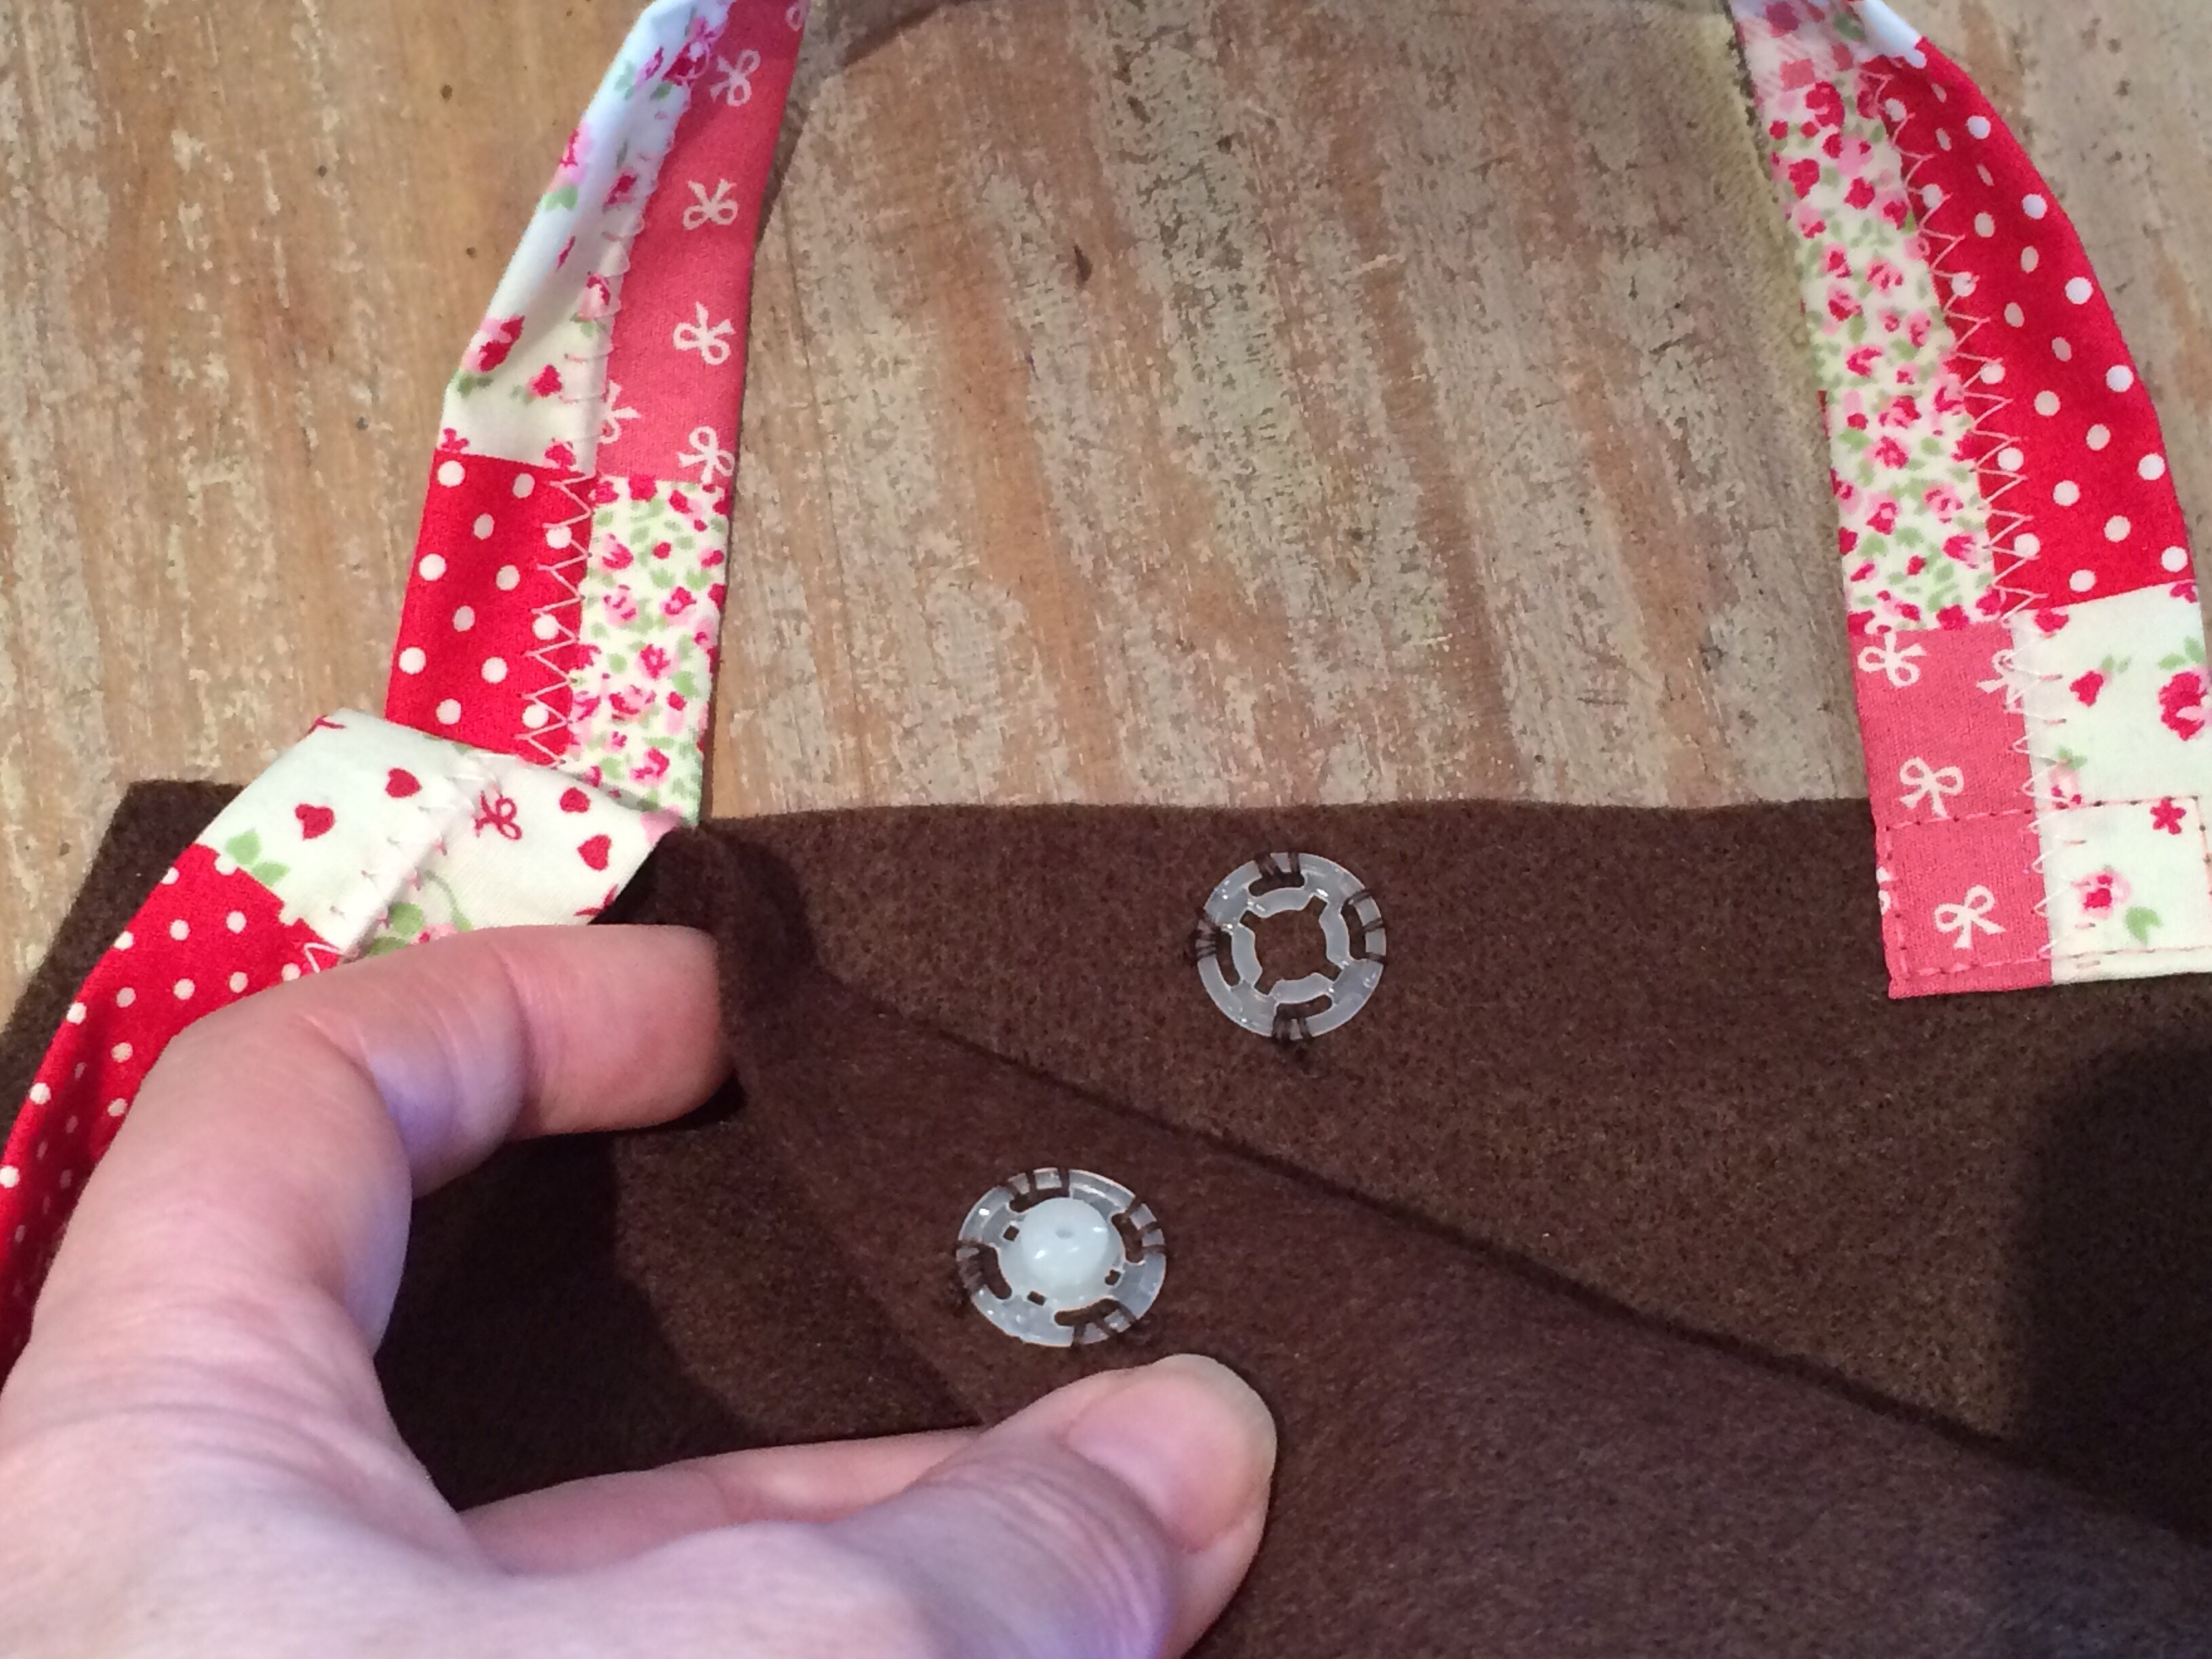
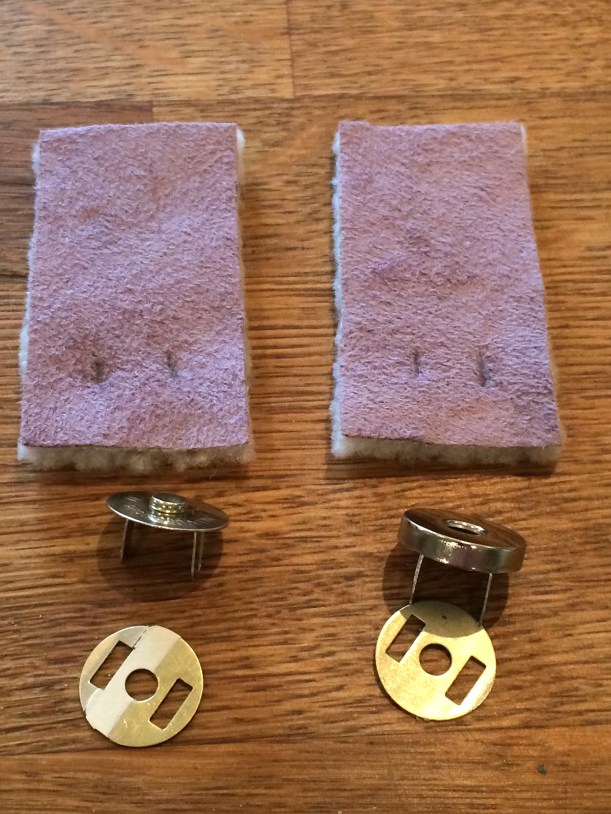
Apply the magnetic tabs according to the manufacturer’s instructions, using the photos as a guideline for placement.

img_3321

img_3322

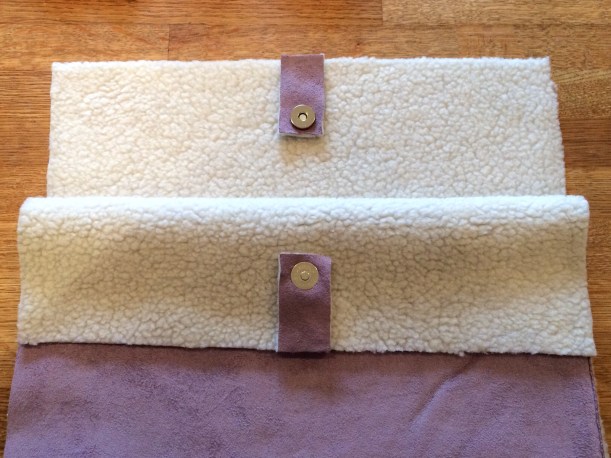
Pin a tab to the top centre of the front and back sections.

img_3346.jpg

Sew in place.

img_3323

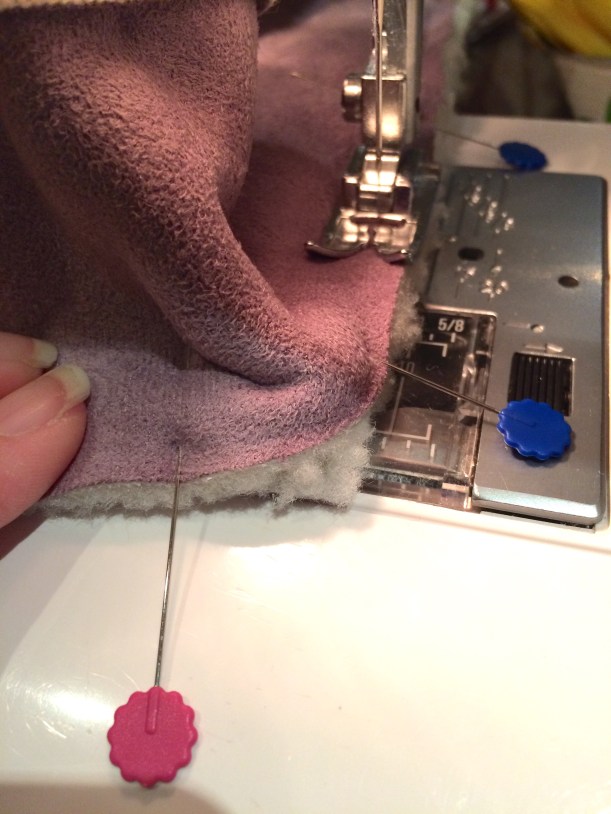
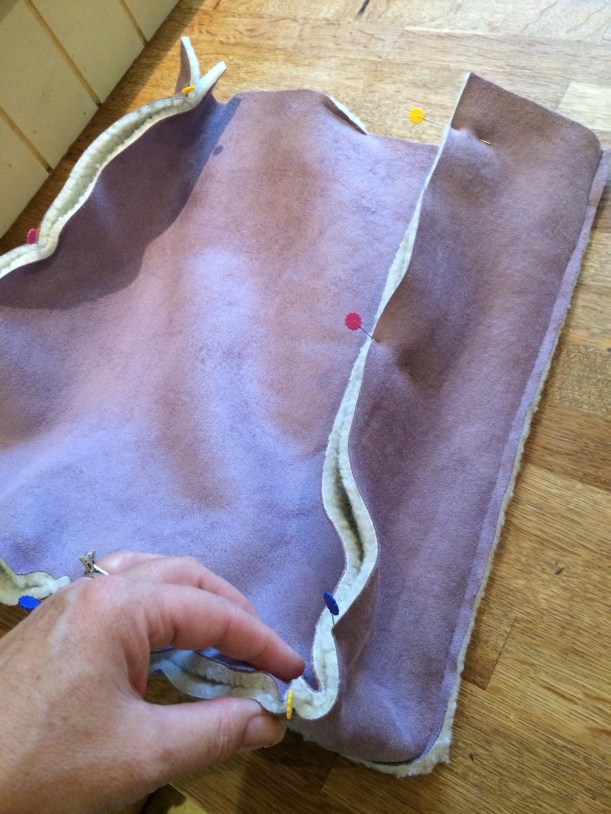
Pin the gusset to the back section with WRONG sides together. There will be surplus fabric to cut off later.

img_3348

Stitch with 1/4″ seam allowance, being careful not to get any puckers as you sew around the corners.

img_3350

Pin the front to the remaining long edge of the gusset and stitch as before.

img_3324

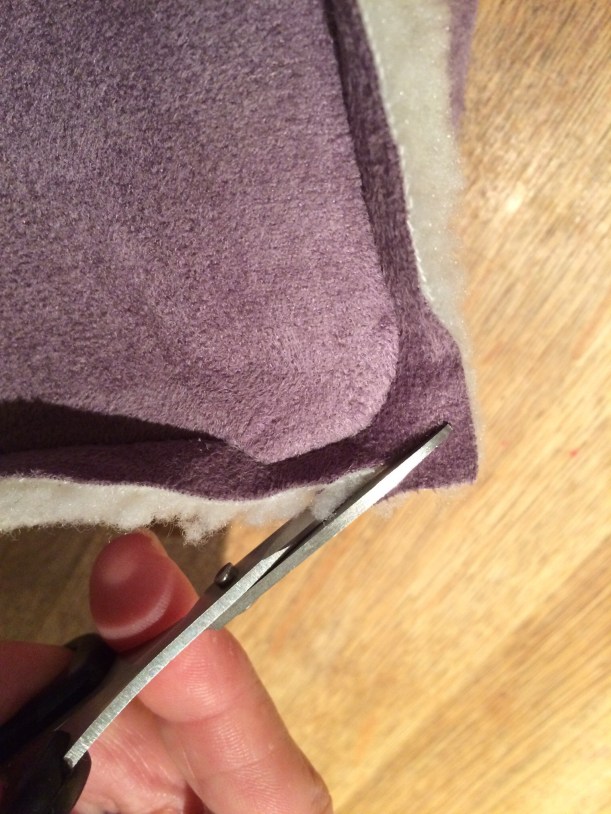
Trim the corners off the front and back sections to give a rounded finish.

img_3349.jpg

Onto the handles.

Fold in half lengthways with WRONG sides facing in.

img_3352

Stitch close to the raw edges.

img_3327.jpg

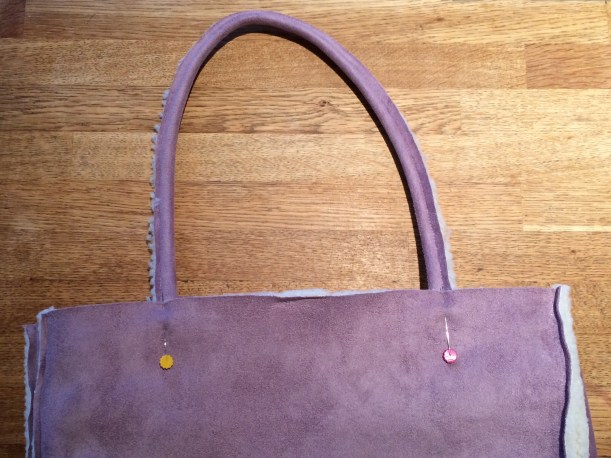
Pin handles about 3″ in from the sides of the bag, on the INSIDE.

img_3328

BASTE loosely in place if necessary, although I just pinned them.

img_3329

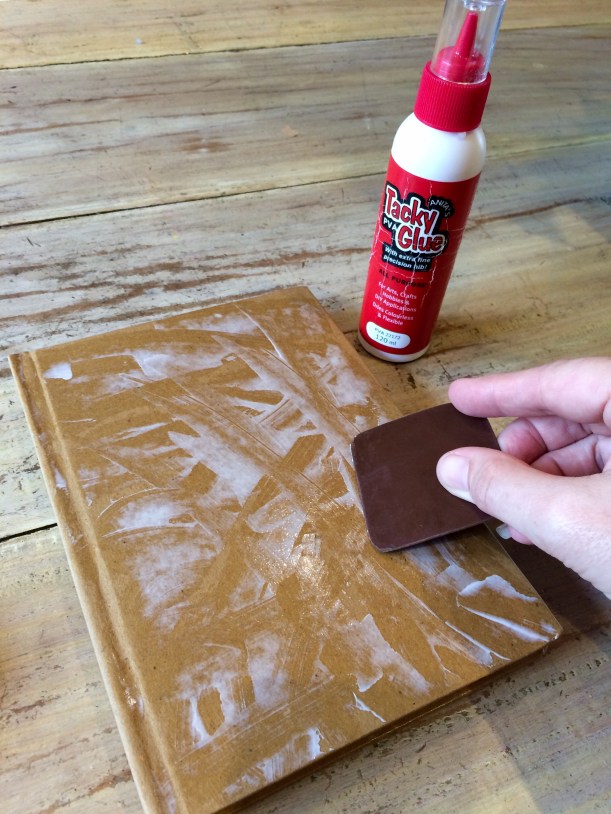
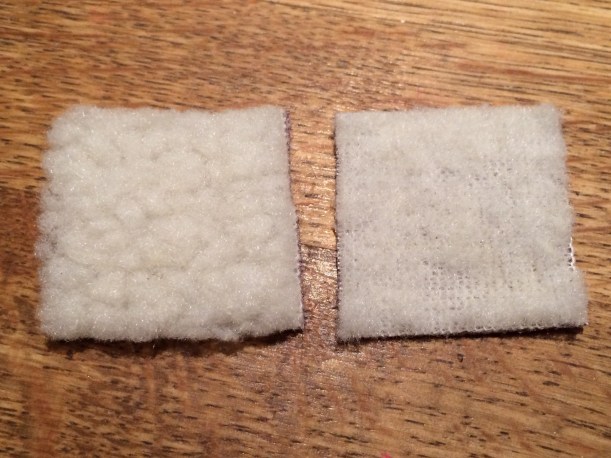
Take your 4 little squares – these will cover the ends of the handles to lend a neat finish on the inside of the bag.

img_3330

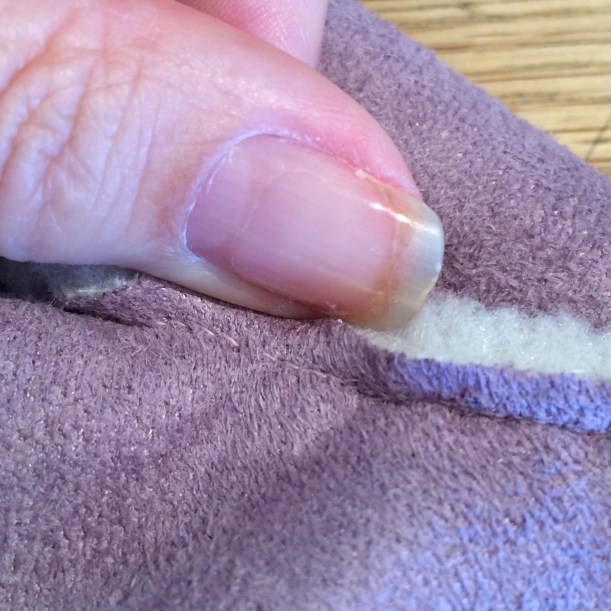
You will need to remove as much of the pile on the reverse side of the fabric as possible. This will reduce the bulk and leave a flatter surface.

img_3358.jpg

Pin each square over the raw edge of a handle and stitch in place, crossing your stitching to strengthen the base of the handles as shown below.

img_3331

img_3335

And that’s all there is to it!

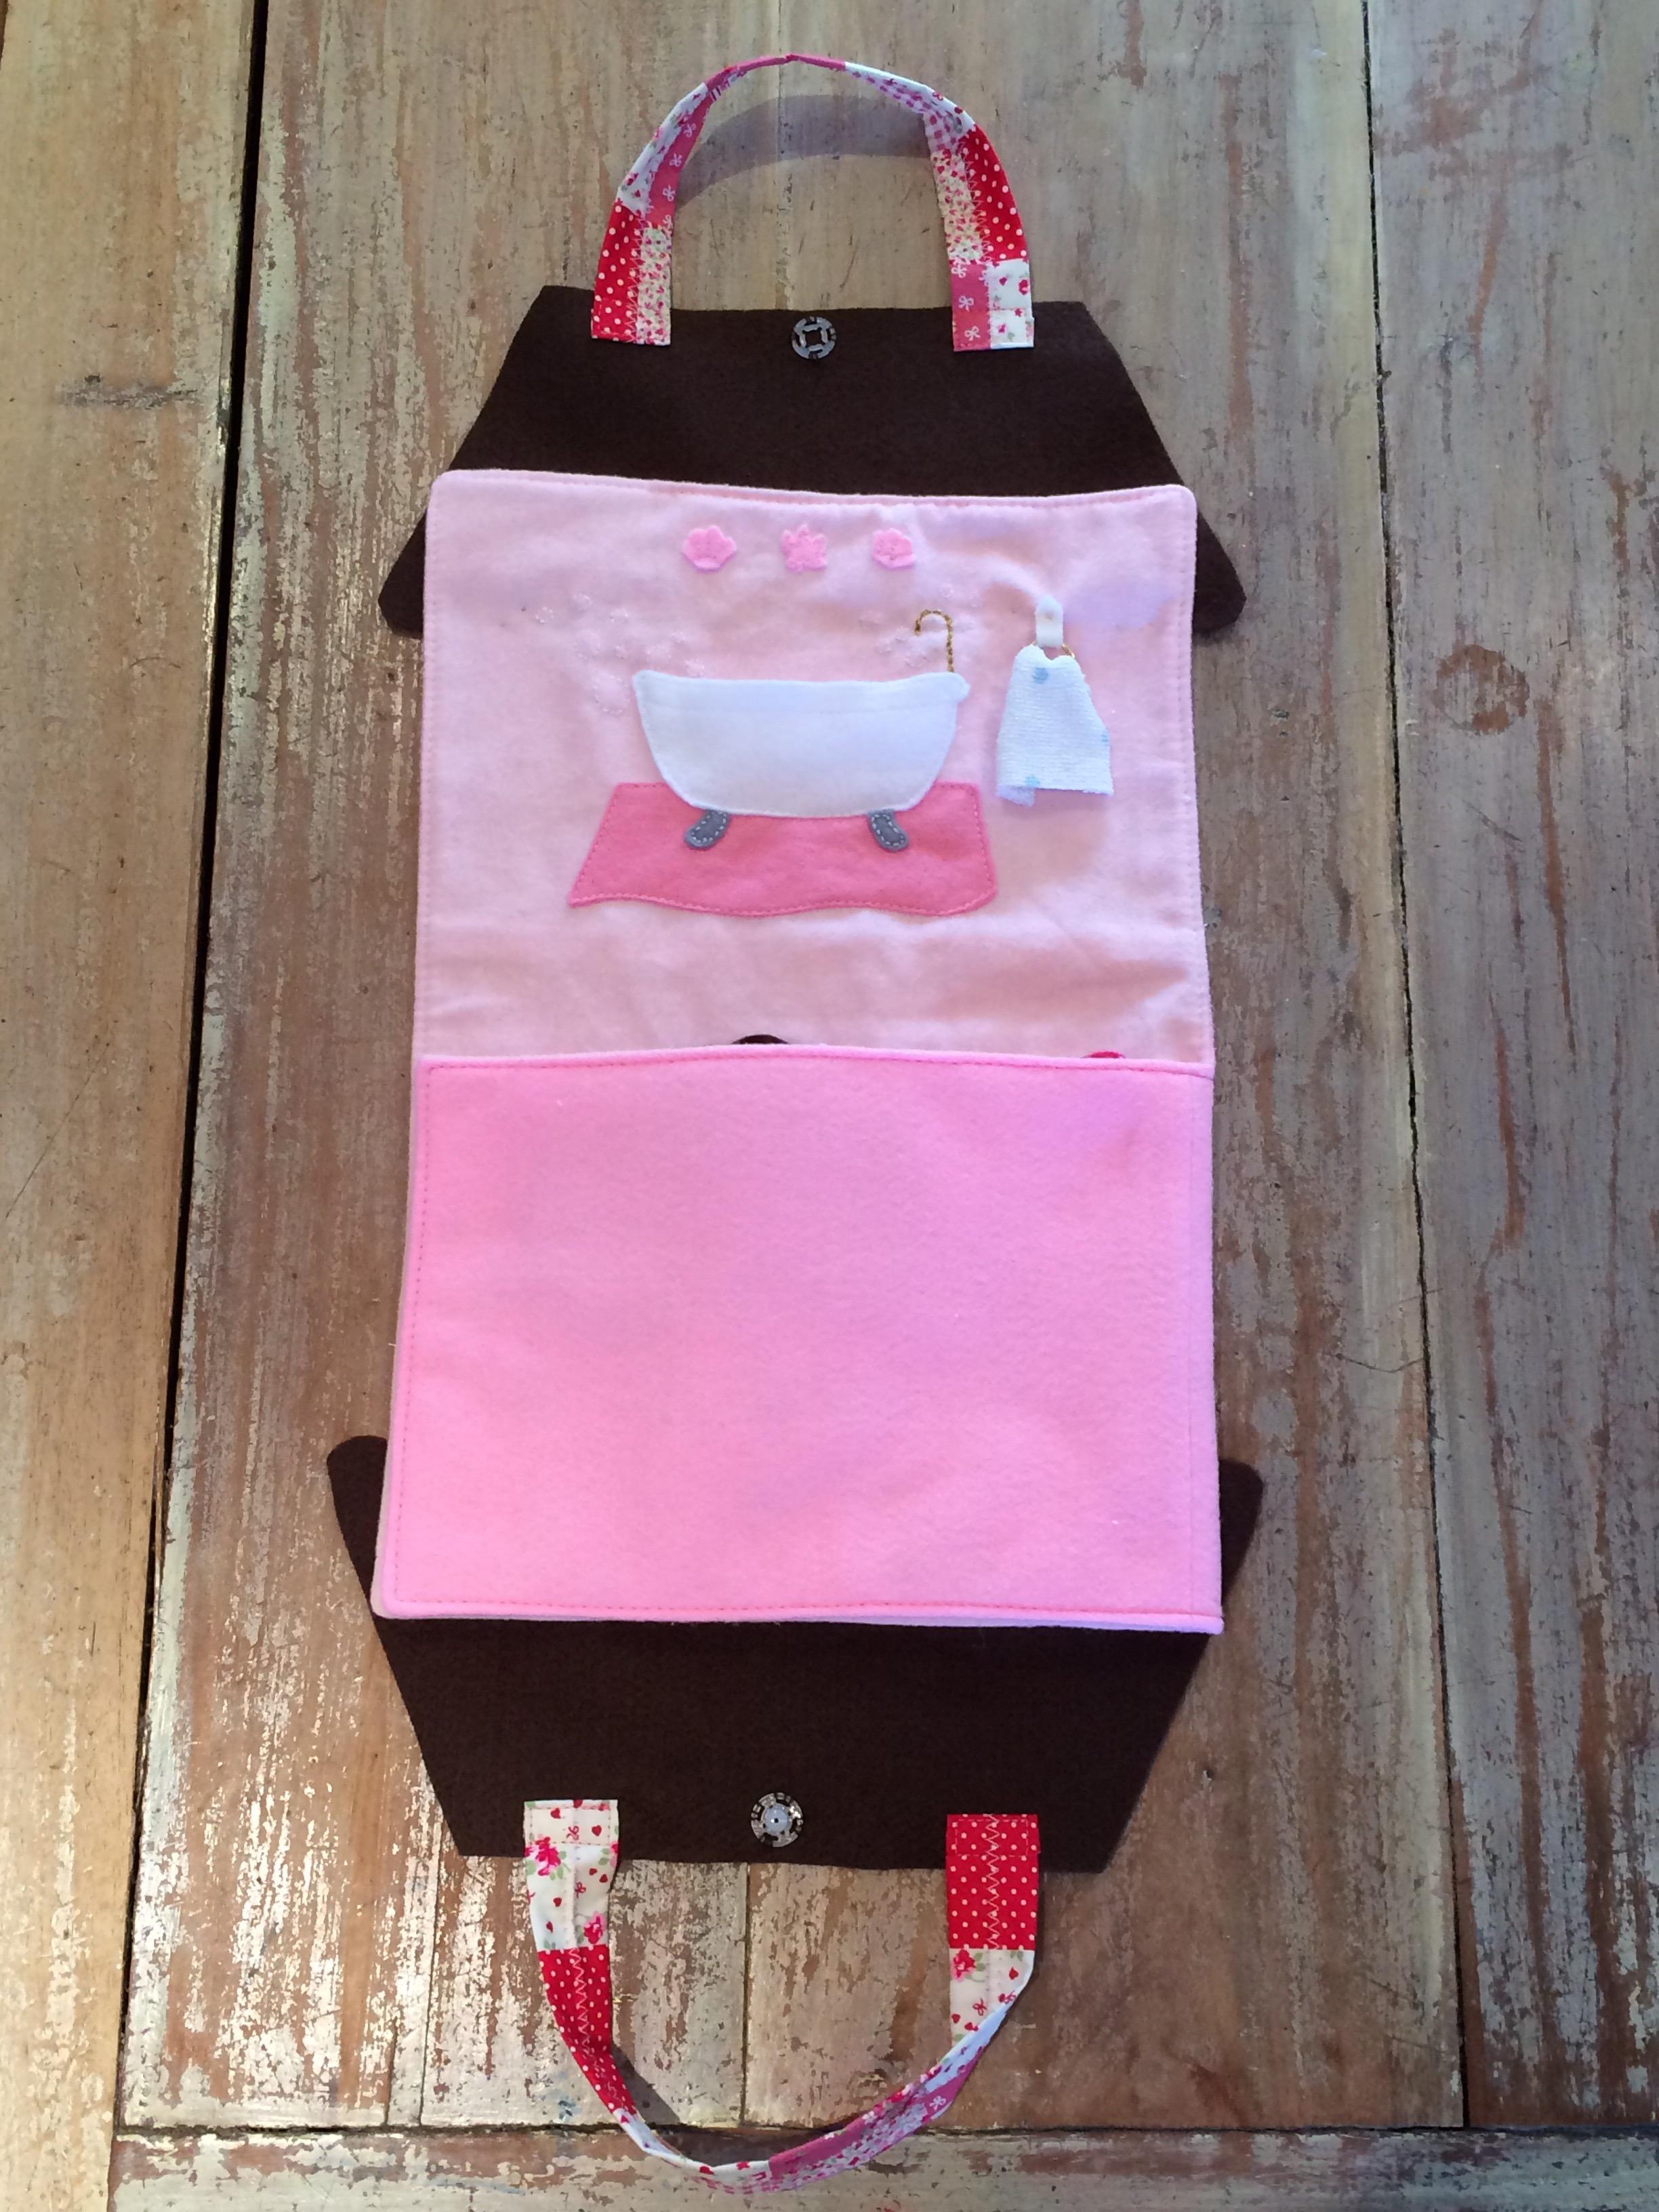
This is the first one I made.

img_3359

img_3368

I even managed to make a second one using the rest of the scraps. There wasn’t enough to cut the main sections out in one piece, so I had to make a seam for the centre front and back, and I actually prefer this version.

img_3365

I added my label in a slightly different position and it looks just as good.

img_3361

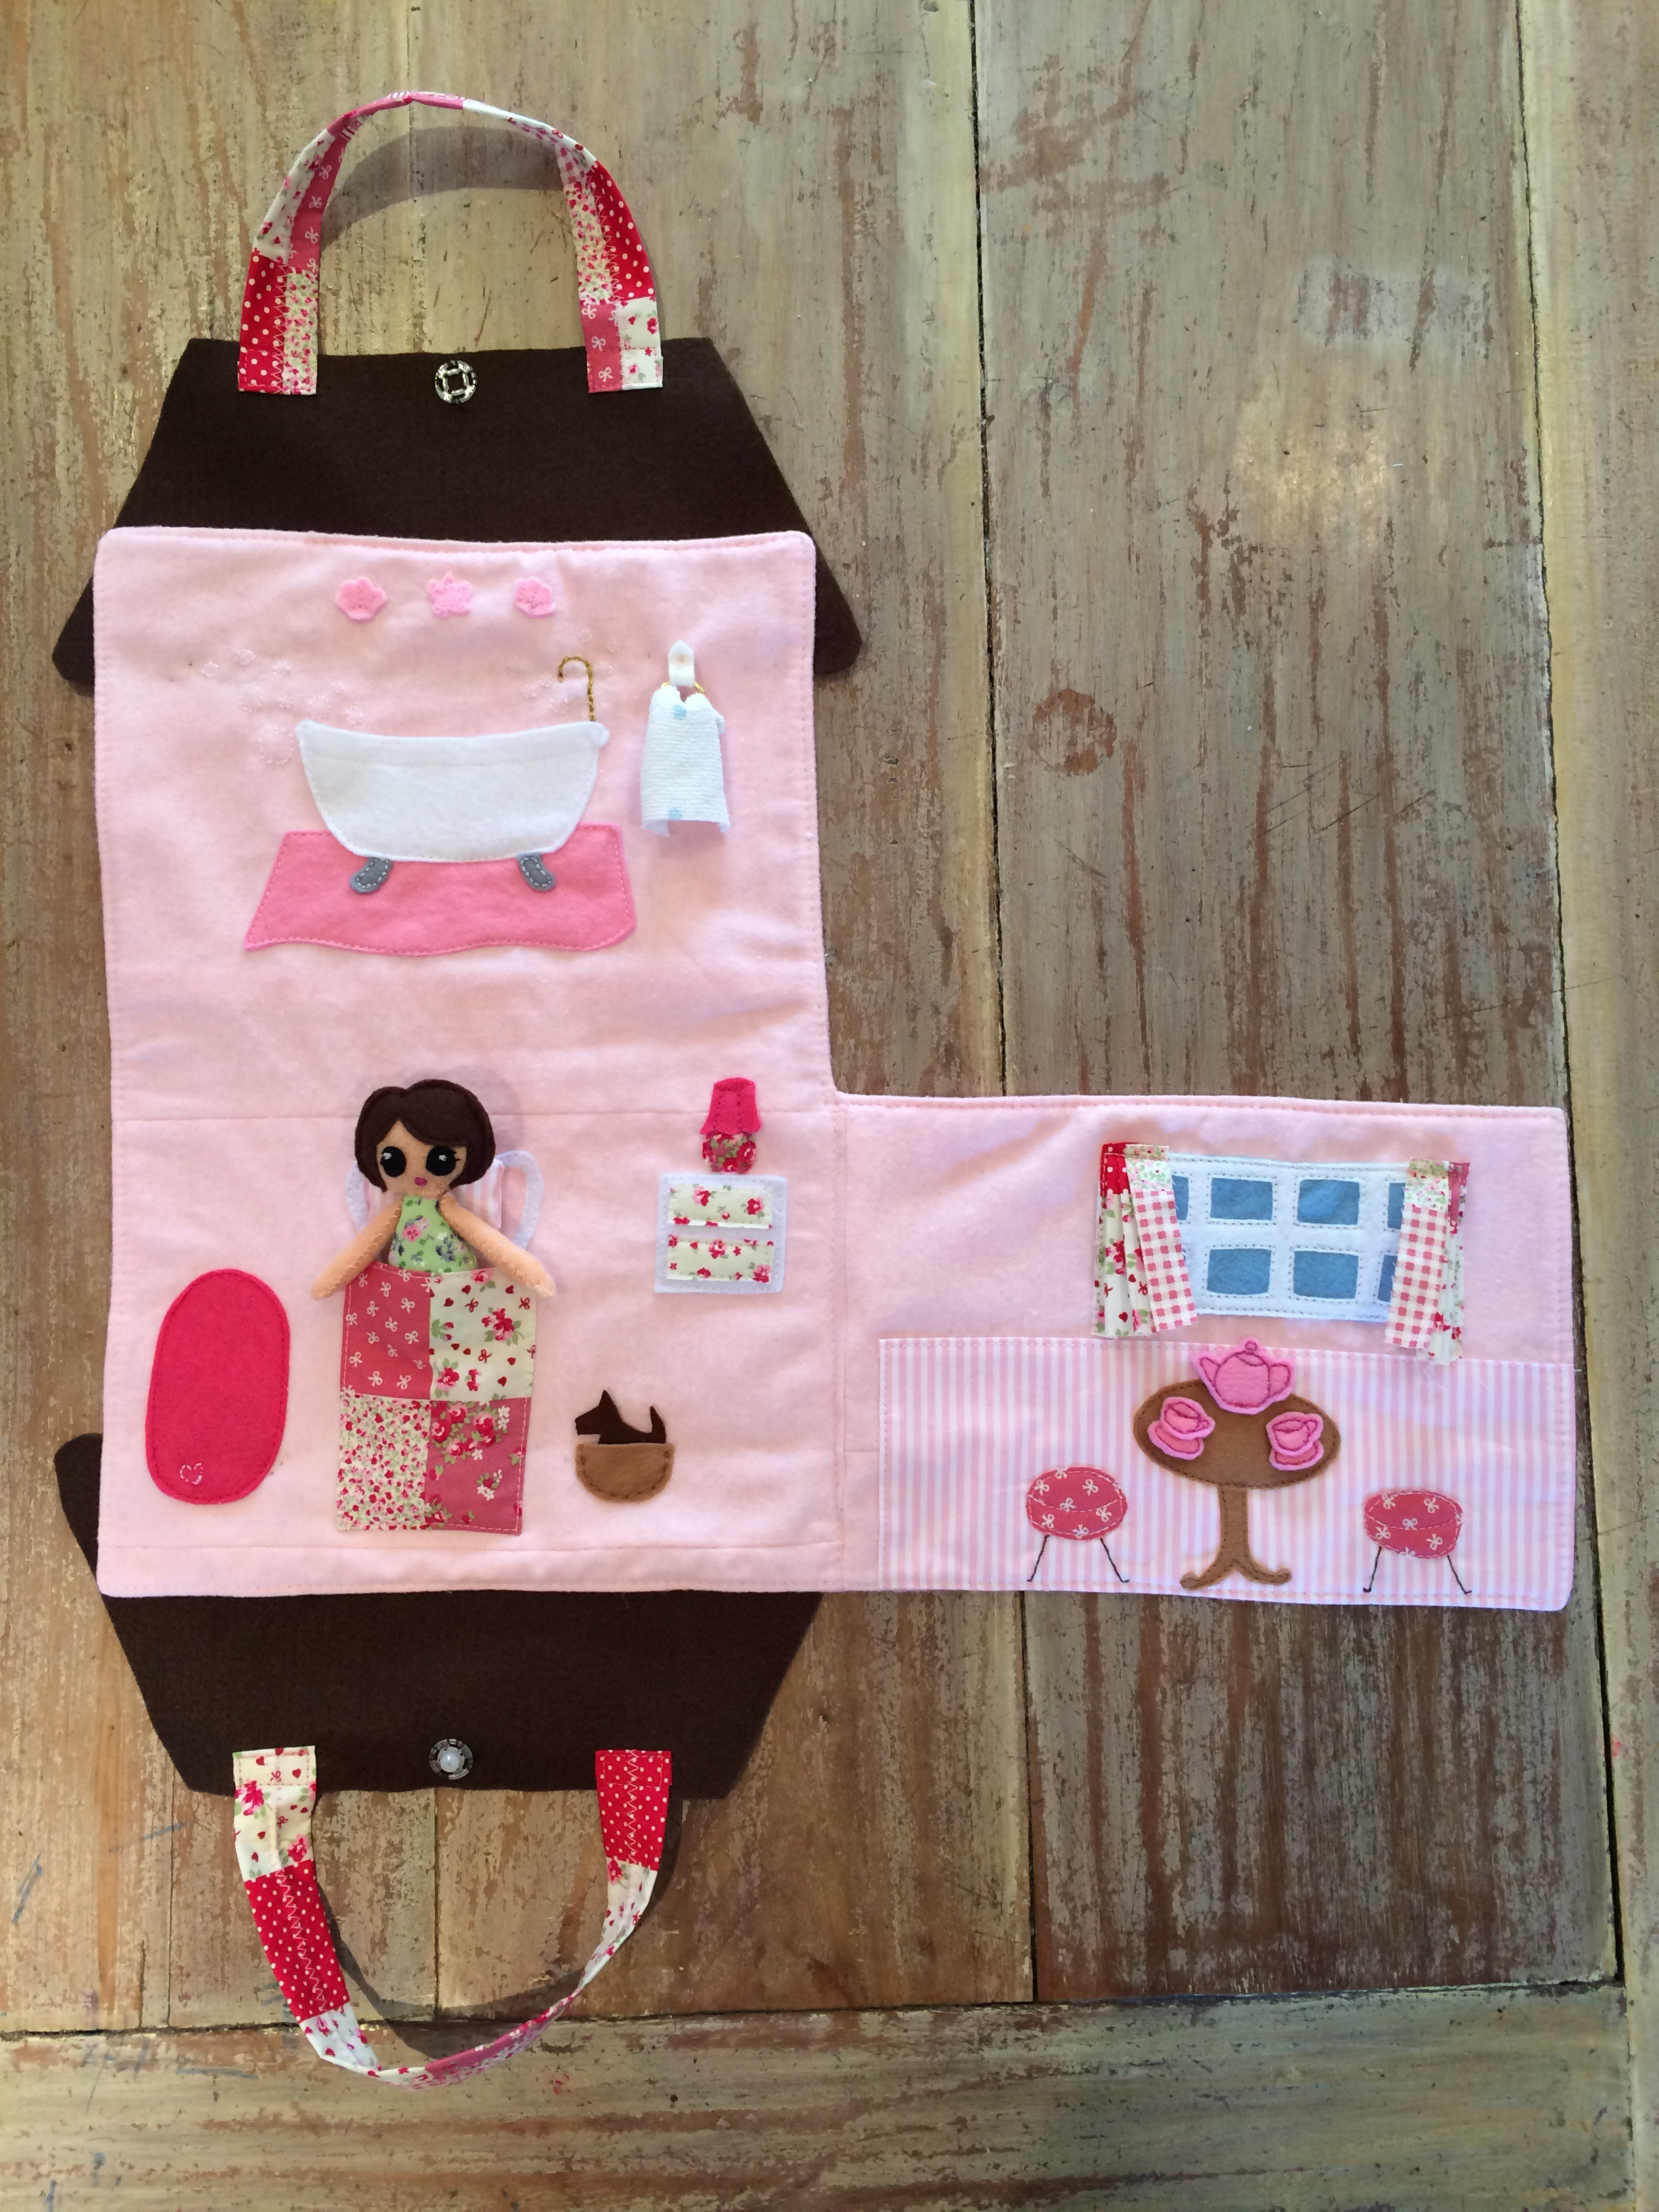
The inside is nice and roomy with the all-important interior pocket to keep your ‘phone easily accessible.

img_3367

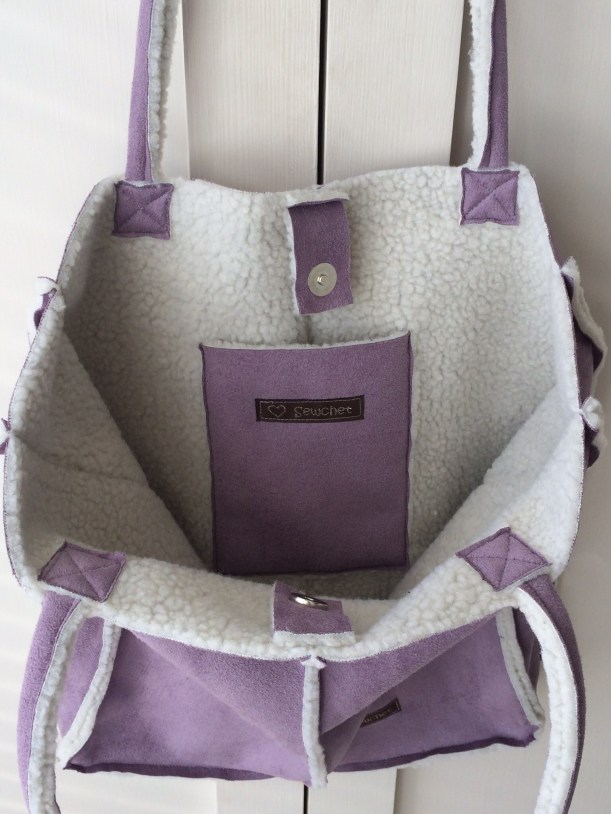
The magnetic tabs give an element of security and stop the bag falling open.

img_3334

As always, your own label adds a professional touch both inside and out.

img_3366

The handles are short enough not to have the bag dragging on the floor (if you’re around the 5″ mark like me!), but also long enough for you to carry over your shoulder if that is your preference.

img_3339

One of these is to be a Christmas gift for family and the other one may well end up in my Stitching Santa parcel, depending on who I get in the draw.

Which is your favourite?


22 Comments

Sunday Sevens #140

Sunday Sevens is a weekly blog series showing seven(ish) photos of your week outside the blog. Anyone can join in at any time.

1. Half term started well, with lazy mornings allowing plenty of time for a leisurely cooked breakfast every day.

2. My mother and sister came to visit for a couple of days, one of which was spent doing art and craft type things. We visited Ilminster Arts Centre and enjoyed a couple of hours at the current exhibition, together with tea and cake in the café and some time browsing in the shop.


3. I gave in to temptation and bought some handmade ceramic buttons. I don’t have a plan for them as yet, but they’re sure to be the perfect finishing touch to a future make.


4. On the way back home we made a short detour so we could try this Railway Carriage Café, as recommended by a friend a while back.


5. It was lovely inside, full of original character and a great choice of gluten free options on the menu.

6. Later that evening, my mum and sister both got their sketching pencils and paints out and had fun with a squash.

7. Next day, The Boys had two brothers around to play for the day whilst their mother went to work. No technology allowed (my rules!) so they were all worn out by the end of the day with ‘real’ playing.

8. To wind down after their friends had gone, I let The Boys watch a film. They loved it and were totally engrossed, as you can see from this photo. The film?


9. Snow White, the original animation from 1937!


10. Christmas has taken over our local garden centre and the singing reindeer were back for a second year.


11. A family friend came to stay for the weekend and we went to Bath for the day, starting off with breakfast. You can just see the trio in the background who played some wonderful classical music whilst we ate.


12. A few hours later and we stopped to eat again, this time at Yo! Sushi, The Boy’s favourite treat.

13. Crafty things still happened over the course of the week. Progress is good on my Eastern Jewels blanket.


14. I’ve included my new labels on a couple of things I’ve made for this year’s Stitching Santa parcel.

15. Yes, yet more made from the leftover lilac faux sheepskin – it’s the fabric that just keeps giving! I will reveal all in a future blog post.

No.2 Son is at home for a second week of half term, but his little brother goes back to school tomorrow, so I’m looking forward to some time together before he goes back to boarding school. I hope your half term is going well, too!


22 Comments

Stitching Santa – How To Make Faux Sheepskin Mittens

Remember the faux sheepskin coat I made a couple of weeks ago?

img_3374

Well, despite messing up the sleeves and having to re-cut them, I still had some largish scraps of fabric left and started looking for ways to use them up, preferably for Christmas presents or for something to add to my Stitching Santa parcel. The first and most obvious thing that came to mind was to make a pair of mittens.

Having trawled the internet for a pattern, I discovered that it would probably be just as easy to design my own based on a few that I’d seen, so I gave it a go and this is the result.

img_3258-1

They turned out better than I imagined and only took a couple of hours, most of which was taken up hand-sewing the thumb in place.

Boosted by my success, I thought I’d do a quick tutorial as these would make a great handmade Christmas gift. They would be great in a fleecy fabric, too, as the raw edges can just be left as they are without fraying.

There are just two simple pattern pieces to this pair of mittens; click on the links below to download and print.

Printable Mitten Template

Mitten pattern

Printable Thumb Template

Thumb pattern

Cut out the pieces as below for each mitten, reversing the template for the second mitten.

You will notice that the TOP of the mitten has been cut out WITHOUT the curve. To do this, simply draw a straight line connecting points D+E on the MITTENS template.

img_3261-1

Make sure that any stretch in the fabric goes ACROSS the hand width – you can see where I am pulling the fabric to find the stretch in the photo below.

img_3245-1

You may also spot in the photo above that the first draft was one piece folded in half. I later adapted this to make two separate pieces so that there would be a seam all the way around.

Pin the top of the mitten (no curve) to the bottom (with curve) with WRONG sides together. You may find this easier with quilting clips if the fabric is thick like mine.

img_3248-1

With 1/4″ seam allowance, sew from A to D and from B to E, leaving an opening for the thumb.

img_3249-1

img_3250-1

With WRONG sides together and 1/4″ seam allowance, fold the thumb in half and sew from C to D.

img_3251-1

Pin the thumb in place.

img_3252-1

Hand-sew the thumb to the body of the mitten with a BACKSTITCH, 1/4″ from the raw edges.

img_3253-1

img_3254-1

You can trim any excess fur from the seams if you like, to tidy them up, but that’s it – finished.

How simple?

img_3258-1

img_3257

They really are lovely and cosy and much more pliable than real sheepskin, so are much more comfortable to wear.

I managed to get a second pair of mittens out of the scraps, so I am going to put one pair in my Stitching Santa parcel and the other will be a Christmas gift for someone in the family.

img_3343

Talking of Stitching Santa the deadline is 31st October – have YOU signed up yet?


22 Comments

Simplicity 1238

Simplicity 1238
Meet Ellie, the star of this month’s blog post for the Minerva Crafts Blogger Network.

She has this rather splendid suitcase home complete with a whole wardrobe full of clothes.

Simplicity 1238
To see lots more photos of how it all came together, click on the link: – Ellie The Elephant And Her Suitcase Home


43 Comments

First Christmas Present Hot Off The Needles!

Exactly one month ago I popped into Sew Vintage in Wells, looking for nothing in particular and happy to just drool over all the lovely things on display.


Amongst all the yarns, I spotted some lovely self striping “Regia” sock yarn, designed by Arne and Carlos for Schachenmayr. There was also a pattern for knee-high socks complete with two labels to sew in to the finished socks. How cute? I couldn’t resist it, so bought both the pattern and four balls of yarn.

(I still can’t find any see-through wellies, though!).


When I got home and put on my glasses to read the pattern, I discovered that it was written for DPNS – and I only know how to use circulars. To be honest, I think I would have had a go on circulars if the instructions had been more straightforward, but they seemed overly complicated to me so I chose a pattern from “Coop Knits Socks”, by Rachel Coopey. I bought this book at Yarndale a couple of years ago and have made several different pairs from it already.


These are the “Brighton” socks and feature a stunning fair isle design in three colours. I decided to follow the pattern for construction without following the charts for the colourwork, so the style would be the same minus the fair isle – knee-high socks with a deep ribbed cuff.


That evening, I cast on using the long-tail method as usual for a nice, stretchy top.


I love my row counter which was gifted to me in a Stitching Santa parcel last year – it makes keeping track of where you are a piece of cake.


Of course, The Dogs like to be close by when Mummy’s knitting at night. 


I’ve taken these in the car with me whilst The Boys play football. I love that socks are such a portable project.

I also LOVE this yarn!

The body of the sock is in stocking stitch and just look at how different the stripes look from the deep ribbing. The combination of colours are really lovely, too, and they’re quite accurate in this photo.


I tried it on for size just before I started turning the heel and this is when I noticed just how good the yarn is.

It’s quite expensive at £5.49 a ball, meaning that this pair cost £22.00 to knit, but they feel expensive, too, and surprisingly soft for such a high wool content (75% wool, 25% polyamide). As they are destined to be a Christmas present I felt it was worth it, especially after feeling how nice they felt against the skin.


One sock down and the second one almost finished, when I made a mistake and had to frog a whole evening’s work back. Poo!


Finally finished and ready to put away for Christmas – my first present made and it’s not Easter yet!

I’ve a feeling they’ll be worn over trousers as welly socks, hence my modelling them as such.


I’m very happy with the pattern matching as it can be tricky to find the exact spot in the ball at which to start the second sock.


As with all Rachel’s socks, the fit is absolutely perfect.


The extra deep ribbing will mean that the socks will hug the leg without slipping down.


Nice neat heels – the frogging was worth the effort!


Next up, some pink ones – another Christmas present in the making, but with some much cheaper yarn. I wonder if I’ll regret it…?


28 Comments

Portable Doll’s House

When Issue 62 of Mollie Makes dropped through the letterbox, it was a good one. See the text on the front saying “Kid’s Doll House”? 

Easily missed, I know, but when I opened it onto the relevant page I did a little virtual skip – this would be the perfect present for a little three year old girl in the family.

A fold-out doll’s house, ideal for taking out and about to keep any little girl entertained (and better than handing over your smart phone, any day).

The details were a joy to put together and customise with whatever scraps of fabric I had to hand.

See, I told you that bag full of two-inch scraps would come in handy one day. I can’t throw any fabric out, no matter how minuscule the leftovers.

The teeny tiny tea set could have Velcro on the back for an older child, to make it removeable. As this was for a toddler, I sewed them to the table permanently.

Some of the bits were embroidered by hand….

….and others were stitched on by machine.

Dolly herself also has a dress and some hair bows, but those will have to follow in the post as I didn’t have time to make them before we visited.

Here’s the bed which is open for the doll to get in. She even has a little removeable pillow.

Of course, she needs a bedside rug to step out onto.

A bedside table has open-topped drawers to store those hair bows, and a little lamp.

I added a last minute dog in its basket, for added fun. Kids love things that ‘do’ something, don’t they?

The bathroom had some lovely details, like the bubbles and towel rail. I embroidered the tap using metallic gold thread to make it more realistic.

Once everything had been sewn on, it was just a case of attaching the front to the back and then turning it right side out.

Roof on, handles added.


Isn’t that just the cutest front door?

So, the house opens up and lays flat for play, like this: –

To close it, you simply fold the side in…..

….fold the bottom up to meet the top and then fasten the popper.

It transforms quickly and easily into a ‘bag’ with carry handles – simple enough for any toddler to use without help.

The iron test is, of course, if the girl in question actually likes it.

What do you think?!


32 Comments

Stitching Santa Sewing Idea

Having concentrated on my knitting Stitching Santa swap, I’ve only just started to get on with my sewing swap. Knitting and crochet take longer, so I wanted to finish those handmade items before moving onto the sewn ones, hoping that these will be a lot quicker.

This one took about an hour and I thought I’d share it with you in case anyone fancies having a go themselves. I think it makes a great little gift – I know I’d be happy with it in my Stitching Santa parcel!

I had an A5 hardback notebook in the office, just lying around begging to be made beautiful and, luckily, I found the perfect fabric for a dressmaker in my collection.

img_0415

I started by cutting a rectangle of wadding exactly the same size as the notebook.

img_0417

Any PVA adhesive will do – just spread it on lightly all over the front surface of the cover.

img_0418

Press the wadding on to the tacky glue, then turn it over and do the same with the spine and back cover.

img_0419

Cut a rectangle of fabric about two inches wider all around than the notebook and spread glue directly onto the wrong side of the fabric.

img_0420

Lay the notebook cover onto the glued surface of the fabric and press with your fingers. Turn the excess fabric inwards and stick it to the inside cover.

img_0421

Work around the notebook applying more glue as necessary, mitring the corners as you go.

img_0422img_0423

Use plenty of glue to cover the tiny bit of spine that needs covering. If you choose a PVA that dries clear, any surplus will be invisible when it dries.

img_0426

Finally, cut a decorative piece of paper to act as an end paper, covering the raw edges of the fabric to achieve a smart finish.

img_0427

img_0428

And there you are – a padded notebook, ideal for any seamstress.

img_0429

I hope my Stitching Santa recipient likes it – I’m tempted to make one for myself!


24 Comments

Speedy Christmas Gift – ‘Entrechat’ Bolero

img_0131

My blog post for Minerva Crafts this month is this adorable little girl’s cardigan/bolero, which is now available for grown ups, too!

This one is for a Christmas present but, as it was whipped up in just a few hours, I couldn’t resist casting on another as a birthday present immediately after the first one was off the needles.

Follow this link for the pattern and to see how sweet it looks on our baby granddaughter.


47 Comments

American Girl Doll’s Clothes

Last month, No.2 Son was invited to his girlfriend’s birthday party (they’re both ten) so I had to come up with an appropriate gift idea – no mean feat when you’re used to buying for boys.

I don’t know about you, but the amount of parties The Boys get invited to means that you can end up spending a small fortune throughout the year in presents, even though I try to spend no more than £10 maximum per child.

£10 doesn’t buy much nowadays, unless you opt for the useful book token which, despite being a great gift which kids love to spend, is hard to get excited about when you open it. You never hear “WOW! It’s just what I’ve always wanted – thank you!”

So I had a little think and remembered that this little girl had recently been to America on holiday and had come back with a “Truly Me” American Girl doll.

doll

Apparently, these dolls are a bit of a cult item in the USA with girls and women alike, and you can choose the skin, hair and eye colour to match your own.

With the doll itself costing $115 and each item of clothing costing upwards of $10, she, understandably, had a very limited wardrobe thus far.

So I decided to put aside a whole day and make some clothes for her.

With a bit of searching on the internet, I found several patterns suitable for an 18″ doll, and these are what I came up with.

Remember THAT hoodie I made earlier in the Summer? Well, I used some of the leftover fabric to make a sweatshirt for the doll with popper closures at the back.

fullsizerender73

I matched the sweatshirt with some purple elasticated jogging bottoms and that was one outfit completed.

american-girl-doll-pants-trousers

Using the same T-shirt pattern as for the sweatshirt, I made a plain white Tee to which I added a ruffle to jazz it up a bit.american-girl-doll-skirt

A velcro back was used this time.

The little lace-trimmed  A-line skirt took hardly any fabric at all and was whipped up in minutes, again with a velcro back fastening.

american-girl-doll-skirt-back

Next up was a simple dress which could be worn on its own or with the white ruffle tee as before.

american-girl-doll-dress-strappy

I knew a ‘proper’ dress would be appreciated, so this next one took a little more effort, adding full lining and ric rac trim at the waist and hem.

american-girl-doll-dress

I even inserted a back zip to make it more special.

american-girl-doll-dress-back

Finally, one more top, this time in blue, and a coordinating elasticated straight skirt with side splits.

american-girl-doll-sirt-and-topamerican-girl-doll-skirt-top

I can’t tell you quite how much fun I had making them all and, not only that, I worked out that, had similar outfits been purchased, the cost would have been upwards of £/$100!

And guess what? She said: –

“WOW! It’s just what I always wanted – thank you!”


30 Comments

Last Minute Birthday Sewing

HOW expensive are goalposts?

Even though they were half price, they still cost quite a lot, so it meant No.3 Son would only have one present to open on his birthday.

Don’t get me wrong, I know one present is adequate but it’s always nice to see a little pile of gifts wrapped up with your name on. I managed to buy three secondhand children’s novels and wondered if I could make something for him as well. 

He finished these long shorts earlier in the week and decided that the best T-shirt to go with it was this red one with a picture of a camper van on the front.

Hmm, two different shades of red do not an outfit make.

Rummaging through my fabrics, I found a length of turquoise jersey left over from making this sample Coco for my stand at the school fair.


There was just enough for a boy’s T-shirt using this pattern from issue 27 of Love Sewing magazine.


I wouldn’t download and print off a pattern for anything larger, but this was just nine sheets of paper which taped together very quickly.

My French curve came in handy for grading the pattern up to Age 9.


Just three pattern pieces meant this promised to be a quick enough make to complete in the couple of hours before he came home from school.


Some remnants of blind fabric provided the perfect motif to add to the front of the T-shirt and I picked the red one to echo the colour of the shorts they were to go with.


After stabilising with some interfacing, the free motion foot made short work of the appliqué – I sewed two rounds of stitching.


Embroidery scissors were used to cut close to the stitching and remove the excess fabric to reveal the motif.


The finished appliqué.


Maybe it would have been better to place it a little higher on the chest?


Full construction details, and the free pattern, can be found in issue 27 of Love Sewing, so I won’t repeat them here. 

Suffice to say that it was quick, easy and fun to make and the finish was faultless, though I say so myself!

The overlocker (all four threads) was used exclusively for the construction, with top stitching done on the sewing machine.


Apart from the white overlock thread.  It was all I had.

I also didn’t have the requisite ribbed jersey for the neckband, but more of the fabric that I used for the body of the T-shirt worked just as well.

A slight zig zag stitch was used for the top stitching around the neckline, both for decoration and to keep the neckline lying flat.


A straightforward one centimetre hem on the bottom and sleeve hems was the final touch to bring the project in under two hours.


All wrapped up and ready to open – a free extra present for one little nine year old boy!


At precisely 4.51am, a very excited little boy bounded into our bedroom….and was sent back to bed for an hour and a half. I know. We’re mean parents.

At 6.30, Take Two. He woke up everyone in the house (No.1 Son ended up going into work early!) and we all went down to watch him unwrap his presents.

First, his T-shirt….


….then Star Wars masks and light sabres from his oldest brother….


As for the T-shirt….well, it stayed clean for all of five minutes….