Sewchet

Sewing, crochet, crafts, accessories, baking, tutorials,


50 Comments

Sunday Sevens #55

What a busy week!

Here are this week’s Sunday Sevens as organised by Nat at Threads & Bobbins – seven photos that sum up your week that otherwise wouldn’t be enough to make a full blog post.

Although, this week, I could write an entire blog post about every photo but just don’t have the time:)

Here goes: –

  1. No.1 Son graduated from Plymouth University with a 2.1 in Business Studies. He’s already got his first post-degree position in Marketing. Here he is with his sister.

P1060549

2. Celebratory post ceremony meal back at our local pub.

IMG_2829

3. Work continues at the weekends on the sun room. No.3 Son is helping daddy build….

Untitled-2

4. …..whilst No.2 Son does cross stitch with mummy!

P1060678

5. Lunch with Granddad in his care home. The Boys didn’t drink the whisky.

IMG_2831

6. Stocking up my other Folksy shop, ‘Artyzan Crafts’, which sells accessories made from upcyled materials only.

Untitled-1

7. My exciting new venture – I’ve opened a sewing school!

After a LOT of planning the first courses are starting after half term. Website is done but not all sections are completed yet. If you fancy a nose, click on the pictures or follow this link – The Stitch Academy.

Header5

Kids sewing menu


35 Comments

Marcy Tilton 8813 – Vogue Linen Dress

If you have been following my blog this Summer, you may have noticed my penchant for linen and the ‘Lagenlook’ style of clothing.

Linen is not only comfortable to wear and brilliant for keeping you cool on those long, hot Summer days, (not that we had many of those in England this year) but it also gets better with washing – softer and more drapey.

The pattern I wanted to try was V8813 by Marcy Tilton for Vogue which called for a lightweight linen or jersey. Obviously I chose a linen, and went for a stunning Pillar Box Red 100% linen from Minerva Crafts. It has a subtle sheen to it which is quite unlike the linens I have bought before.

This is what arrived in the post: –

P1060500

As we’re heading into Autumn, short sleeves were not an option so I opted for view B with three-quarter length sleeves.

P1060501

P1060502

Although not immediately obvious on the pattern envelope, the oversized pockets have a pleat in them which is held in place by a button. As the fabric is plain, I decided to make a statement with these swirly patterned buttons which are very striking and quite unusual; they look like they’re hand painted.

P1060504

The dress came together very easily but, although I washed the fabric before starting to sew, it is still stiffer than I’d like. A few more washes will soften the linen more and more though, and those pockets will drape better eventually – they just look a little too structured at the moment.

P1060517

After the main body of the dress has been constructed, the centre front panel is inserted and then the gathered detail is added.

Having read several other blogs featuring this pattern, it seems some people are finding that it is less fiddly to complete the gathers prior to inserting the front panel. However, I am used to using Vogue patterns and decided to follow their instructions which worked for me.

The pattern includes a great way to get really even gathers so I thought I’d show it in more detail as it’s a technique that would transfer to many other projects.

You cut lengths of cord twice as long as the guide lines – I used a baker’s twine but any thin cord will do.

P1060518

Pin the cord in place along the guidelines.

P1060519

Set your stitch width to a wide zig zag.

P1060521

Choose a medium stitch length.

P1060524

Zig zag over the cord being careful not to catch the cord in the stitching. I found that it just stayed in the groove of the sewing machine foot which made it easy.

P1060520

P1060525

When all the cord has been enclosed, secure one end of each of the cords by wrapping it around a pin in a figure of eight motion.

P1060526

Then simply pull the other end of the cord to create even gathers across the entire length.

Secure with another pin at the other end and steam the gathers so they stay in place.

Finally, top stitch from the right side in two rows either side of the previous zig zag stitching.

P1060527

This is my favourite way to create gathers which are nice and even – it might take a little longer than the usual method of just pulling up the bobbin thread, but it’s much more professional looking and well worth perfecting the technique.

P1060546

I amended the design by adding a row of top stitching to the shoulder seams as it’s always a nice finishing touch.

P1060544

I prefer to leave the sleeve hems and bottom hem to the very end so deviated from the instructions at this point.

The very last thing to do was to sew those wonderful buttons in place!

P1060542

Can you see the slight sheen? It’s almost like silk.

P1060535 - Version 2

P1060536

P1060537

It is SUCH a comfortable dress to wear and will drape more softly after a few more washes. I can see myself teaming it with a pair of tights and boots for the colder weather.

If you are tempted to try this pattern, there’s never been a better time as it is half price at the moment!

Here’s the link: – V8813 Marcy Tilton


42 Comments

Sunday Sevens #54

Well, here we are again, another Sunday, another Sunday Sevens as thought up by Nat over at Threads & Bobbins – seven photos summing up your week. Click on the link to find out how you can join in.

  1. Craft night at a friend’s house. Alcohol, finger food and yarn – what could possibly go wrong?

IMG_2489

2. The bucket of sloe gin is already smelling divine and we’ve got to wait until Christmas before we can drink it!

IMG_2538

3. Elderberry jelly is a first for me and it’s absolutely delicious. The jars look very sad without a pretty little fabric hat though, so I must get around to doing that.

IMG_2540

4. Managed to get tickets to Dismaland which, for those of you who have been living in a cave shut off from the outside world for the last couple of months, is Banksy’s masterpiece on the seafront in Weston.

P1060412

5. This was one of the crazy installations – a crashed car with a cross-stitched bonnet.

P1060436

6. Seriously – REAL cross stitch!!

P1060423

7. French windows are in and work is under way on the sun room at last. Is it me, or do builders seem to be getting younger?

IMG_2532

8. I’m sneaking in an eighth picture to show you the Welly Family picture I made for the friend who came with me to The Handmade Fair (see this post). She loved the ones that Katie Essam makes, so I tailored one to fit her family in the muted hydrangea colours that she loves so much.

If you’re reading this, Velvet Cow, act surprised when I give it to you in the playground tomorrow:)

P1060505

Until next week – “That’s All Folks!”


41 Comments

Kirstie’s Handmade Fair & Giveaway Winner!

What a treat – a day out out at Hampton Court with a good friend.

Unable to make it to Yarndale this year, I was lucky enough to win tickets to The Handmade Fair (my winning streak continues!) so I invited the host of our Knit ‘n’ Natter nights who also came to Yarndale with me last year.

IMG_2508a

There was a high percentage of makers from The West Country, many of whom I recognised, including the creator of this magnificent cushion – Sophia, from Jessalli in Dorset.

IMG_2508

All of the marquees were beautifully decorated with row upon row of colourful bunting which also ran the entire length of the guy ropes to make for a bright and welcoming exterior. Tissue paper pom poms were a fun addition, too, hanging from the ceiling and swaying gently in the breeze.

IMG_2510

The weather was extreme – sunshine and blue skies one minute, black clouds and torrential rain the next. Just look at the colour of the sky over the Super Theatre tent!

IMG_2496

Thankfully, we were in the Deco Noir lounge enjoying a glass of Pimms at the time of this shower.

IMG_2492

The cocktail waiters made waiting for the rain to pass a bearable experience!

IMG_2494

There were plenty of Tea & Cake tents should Pimms not be your thing. This particular one was strung with lines of vintage linen “washing” and huge lampshade pendants.

IMG_2498

Waitresses served afternoon tea in period costume whilst a trio of singers in Fiftie’s attire entertained everyone.

IMG_2500

I loved these standard lamps which were totally mad and OTT!

IMG_2490

These little ones gave me an idea for lighting in our sun room…….more about that another time.

IMG_2491

My lovely friend surprised me with this fabulous screen printed “Norfolk Hare” tea towel from the very talented Lottie Day which looks perfectly at home on my range cooker.

IMG_2520

I was tempted by the myriad of fabric stalls and came home with a selection from several different traders, as well as the odd free magazine which was being given away.

IMG_2518

This sign made us laugh – and give in to temptation!

IMG_2499

Tea was served in vintage china, cakes were homemade, and all this consumed at the same time as participating in one of many walk-in workshops.

IMG_2507

Sophie, AKA “What Delilah Did”, was running the cross stitch masterclass that we joined in with.

IMG_2502

No ‘naff’ designs here, just modern, tasteful, quick little projects that made you want to dive straight in and have a go.

This was the linen “Stag” button that I fell in love with.

IMG_2501

Actually, there were so many delightful little designs that I ended up buying the book……

IMG_2515

…..which is when Sophie admitted to being the author and insisted on signing for me!

IMG_2516

I already know that I’m going to make all these buttons using the linen and embroidery thread that came with the book. Aren’t they lovely?

IMG_2517

Lisa Comfort from Sew Over It was manning her stall in person as were many other bloggers that you may recognise, all of whom were happy to chat and pose for photographs.

sew over it

Tilly

We came home having enjoyed a thoroughly great day and fired up to book a workshop with another of the inspirational artists, Katie Essam, who creates the sweetest mixed media designs like this ‘family’ of wellies which caught our eye.

Wellies

Finally, after putting all of your names into a hat, the winner of the Giveaway is……

IMG_2513

IMG_2514

Congratulations Teresa! If you can send me your address, I’ll get these in the post to you on Monday.

Hat Bobble gloves


44 Comments

Sunday Sevens #53

Ah, late Summer – I love it. The Boys are back at school, the days are still long and warm and the bounty of the hedgerows is at its peak.

This week’s Sunday Sevens is more about the kitchen than the studio and, if you want to join in or find out more, visit Nat’s blog at Threads & Bobbins but, basically, it’s about showing seven photos of your week that may not be worth a full blog post in their own right. Oh, and it keeps you blogging when you’ve got nothing to say!

1. The first basket of elderberries picked – I had to be quick taking this photo before the hens came over to help themselves!

Elderberries

2. No.3 Son helping to strain the cooked elderberries ready to make jam. Wearing a white onesie is NOT the best choice.

Making Elderberry Jam

3. An early morning photo showing the freshly made hay bales in the field which is usually the cue to take the pool down and pack it away for next year, except it was so hot yesterday that The Boys were swimming in it still!

bales

4. We did, however, deconstruct the outdoor gazebo area. The dogs promptly curled up on the quilts that came in for washing.

Dogs

5. The sloes from last year’s sloe gin were kept in the fridge (alcohol is a great preserver) and Mr H-L made Sloe Port from them using red wine and brandy.

Sloe Port

6. I have this wonderful book which was a gift received soon after we started keeping hens. It has a brilliant recipe for hollandaise sauce which I use often.

eggs book

7. My appetite whetted by Camilla’s photo, I made Eggs Benedict with smoked salmon and the aforementioned hollandaise sauce. Delicious!

ehhs royale

8. Of course, I had to make some butter first…..!

Butter

9. Oops, this is photo number nine but I had to include it to show that I am still beavering away at Christmas presents – this is the fifth out of seven luxury scarves I am making.

knitting

The rest of the week will no doubt be spent preserving more hedgerow goodies whilst they’re there for the taking.

Is anybody else busy making jam/chutney/liqueurs with the September harvest?


57 Comments

Giveaways And Giving Back

I knitted an egg this morning before No.1 Son had crawled out from his hungover slumber just after midday.

Yup, you heard right – I knitted an egg.

Knitted egg

It took an hour and a half of knitting on 2.25mm needles with leftover sock yarn to finish this tiny creation, which was supposed to be sent flat to be filled with a polystyrene egg by the recipient.

Knitted egg progress

Trouble was, I didn’t have the required 2.75mm needles or a tension gauge to refer to so it probably wouldn’t fit. I stuffed it with fibre fill instead, and popped it in the post.

Egg

The deadline was “Autumn”, the first day of which is 21st September so, although I’ve had this on my to-do list since early July, it’s still in time. Forty are needed to give to children next Easter according to Claire’s original post. How’s the tally going Claire? Do you need any more? Look out for this little parcel in the next day or two:)

Parcel

Talking of parcels, this one arrived a few days ago – I LOVE getting parcels in the post, even if I already know what’s going to be inside. Is anybody else like that?

This was a yarn related giveaway from Sharon who blogs at Creativity and Family.

The ‘wrapping paper’ was printed patchwork cotton fabric and the ‘gift tag’ was a cute little chalkboard with my name on it.

P1060382

There was a handwritten note inside saying that Sharon had also included some sweets for The Boys. How thoughtful!

P1060386

This is what the parcel contained. What a spread!

P1060391

Shall I show you in more detail?

This lovely book which has so many great crochet projects to inspire.

P1060400

I’m rather liking the look of this boxy cardigan to start with.

P1060403

Two balls of Debblie Bliss ‘Milano’, a tweed effect yarn with 40% wool.

P1060395

These gorgeous little stork embroidery scissors with attached miniature crocheted cat – a sweet reference to the competition which I won with the cat’s name “Whiskers”.

P1060389

All of this will fit in the pretty Cath Kidston project bag.

P1060399

P1060404

I’ve already started making a tweedy hat for one of The Boys.

WIP

I’ve just found out that I’ve won another giveaway too, this time a Hallowe’en fabric bundle from Nat at Threads and Bobbins.

Hallowe'en bundle

I can’t wait to get stuck into that little lot – any ideas what I could make?

If you cast your mind back to July, I won another giveaway, this one from Amy at Yarnaway, containing all this: –

IMG_2034

I made a crocheted rib beanie from the multi-tonal yarn…..

Hat

….and a pair of bobble fingerless gloves from the beautiful book that was included in the giveaway.

Bobble gloves

I’ve still got a whole ball of yarn left to use myself, so I thought I’d pass forward some of this generosity by hosting another giveaway.

If you would like to win the beanie and matching gloves either for yourself or maybe to give as a Christmas present, just leave a comment below.

A winner will be picked out of the hat as usual (no ‘random number generators’ on this blog!) after midnight on Wednesday 16th September.

Good luck!


24 Comments

Sunday Sevens #52 – 1st Anniversary

Wow – a whole year of Sunday Sevens! Although I’ve joined in from the very beginning, I haven’t managed to post every week, in fact I think Nat at Threads & Bobbins is the only one who has.  Hop over to her blog to find out about how to add your own Sunday Sevens to the mix – and to enter a fab giveaway too!

So, without further ado, here are my Sunday Sevens 1st Anniversary pictures: –

  1. Took The Boys to the Natural History Museum in London. What a brilliant place! Headed straight for the dinosaur exhibition first, obviously.

IMG_2339

2. Nice photo of me with The Boys enjoying the sunshine.

IMG_2780

3. The Boys feeding the Lorikeets at Bristol Zoo – such a great experience, we do it every time we go.

IMG_2316-1

4. The Boys played in the fields while we put up some new fencing for my mother. They had a little bit too much fun and Gran had to literally hose them down in the garden!

IMG_2350

5. How is it even possible to sleep like that??

IMG_2776

6. There are no words.

Bristol zoo

7. I judge the Crafts and the Photographic entries in the local show every year – this was the lovely box of chocolates that I was given as a thank you.

IMG_2441

8. A cheeky extra photo to show you these little beauties. Guess what we’ll be making this afternoon…..?

IMG_4014


38 Comments

Folding Travel Photo Frame And Case

I was contacted recently by Craftseller magazine in relation to their “Blogger of the Month” feature and was asked if I would like a free double page spread in their magazine.

Um, let me think a minute…..yeeees!

As part of the feature I designed a free pattern for the readers, which was to be copyright-free allowing full reproduction rights. This was harder than it initially seems, I mean, what could I design that hadn’t been done before????

I came up with the idea of a folding travel photo frame and Googled/Pinterest-ed it…….not a single result.

Not one.

No one seems to have come up with a tutorial for such a thing, unless I just didn’t type in the correct keywords. So that was it, decision made, a “Folding Travel Photo Frame And Case” was going to be the free pattern for Craftseller’s readers.

After finalising materials and method on a prototype, this is the final product: –

Travel photo frame and case

Do you like it?

You may remember the “Postcards” fabric from the “Spring In Paris” collection by Studio Voltaire that I bought earlier in the year (see this post), well I thought it would be the perfect match for a travel themed project.

postcards

So, here goes with the tutorial!

You will need: –

  • A single fat quarter of fabric
  • Medium weight iron on interfacing
  • 1 sheet acetate
  • 1 sheet cardstock
  • 2″ length of hook and loop fastener

Cut the following: –

  • fabric: –                     2 x pieces  12″ x 3.5″

1 x piece 4.5″ x 3.5″

  • iron-on interfacing: – 2 x pieces 12″ x 3.5″

1 x piece 4.5″ x 3.5″

  • acetate: –                  1 x piece 3.5″ x 2.5″
  • cardstock: –              2 x pieces 3.5″ x 2.5″

1 x piece 2.5″ x 2″

P1060336

  1. Fuse the interfacing to the reverse of the matching fabric pieces following the manufacturers instructions.
  2. Place the acetate in the centre of the reverse of your 4.5″ x 3.5″ piece of fabric and draw around it, marking a rectangle. Remove the acetate and stay stitch the corners of the marked rectangle..
  3. Draw a second rectangle 1/4″ inside the first one and cut this section out to create a window for your photograph.

P1060343

4. Clip corners diagonally to the stay stitching.

P1060344

5. Fold to inside along the solid lines. Press.

6. Turn down a 1/4″ hem on the top edge and top stitch close to the fold. P1060346

7. Place acetate on the reverse of the window and top stitch close to the inner edge on all four sides.

P1060348

8. Turn and press a 1/4″ hem on remaining three sides of the fabric, being careful not to touch the acetate with the iron.

P1060351

It should now look like this from the right side.

P1060350

9. To make your frame, take both 12″ x 3.5″ pieces and, with right sides together, sew around three sides with a 1/4″ seam allowance. Trim corners, turn and press.

P1060352

10. With the right side up, place your window on top of the frame aligning the bottom folded edge with the bottom seam of your frame. Top stitch the window close to folded edges on three sides, leaving the top edge open to slip your photo into.

P1060355

11. Insert a 3.5″ x 2.5″ piece of card into the open, unfinished end of the frame and push right down to the bottom.

12. Sew just above the window through all layers of the frame to encase the card.

P1060356

13. Insert the second 3.5″ x 2.5″ piece of card and push down to meet the previous line of stitching.

14. Sew across the width of the frame as before, encasing the second piece of card.

15. Repeat steps 13 & 14 with the smallest 2.5″ x 2″ piece of card.

16.Turn in the raw edges of the frame opening, press and top stitch to close.

P1060358

17. Window side uppermost, stitch the loop side of the hook and loop fastener to the opposite end of the frame as shown below.

P1060360

18. Hand stitch the hook side of the fastener to the reverse of the window along the bottom edge.

19. To assemble your travel photo frame, simply fold into a triangle shape and press together the hook and loop fastener.

P1060361

20. Slide your 3″ x 2″ photo in behind the acetate.

P1060370

For the case: –

  1. Fuse interfacing to a piece of fabric measuring 16″ x 4.5″. Fold in half width-wise and sew a 1/4″ seam on the three raw edges, leaving a gap to turn.

P1060374

2. Turn and press.

P1060375

3. Top stitch close to the edge of the bottom edge.

4. Fold up from the bottom about 3.25″, so the top stitched edge stops 1.25″ from the top edge.

5. Top stitch around the side and top edges to finish.

P1060376

6. Fold your travel photo frame flat and pop inside the case.

P1060378

P1060380

There you have it, a compact and portable, travel-themed folding photo frame – perfect for the traveller or person who works away from home.

P1060379

Look out for my Blogger Of The Month feature in Craftseller magazine soon!


38 Comments

Bank Holiday Camping Trip

We do it every year, on the August Bank Holiday weekend – go camping in Sparkhayes Campsite, Porlock.

This year, because of the damp Summer, we decided to buy a larger tent at the last minute so that any enforced time inside would be more comfortable. I’m talking two hours before we went camping!

Putting up a tent in the dark is never a great idea, but when it’s a new one and it’s the first time you’ve erected it…..well, thank goodness for friendly campers who put their car headlights on for us to see by.

IMG_2363

This campsite is the same one that I’ve been coming to for over forty years and, I’m happy to say, little has changed in that time. It’s a very basic site which now has showers (!) and a covered outdoor area for checking your map in the rain before embarking on one of the numerous walks in this stunning part of Somerset.

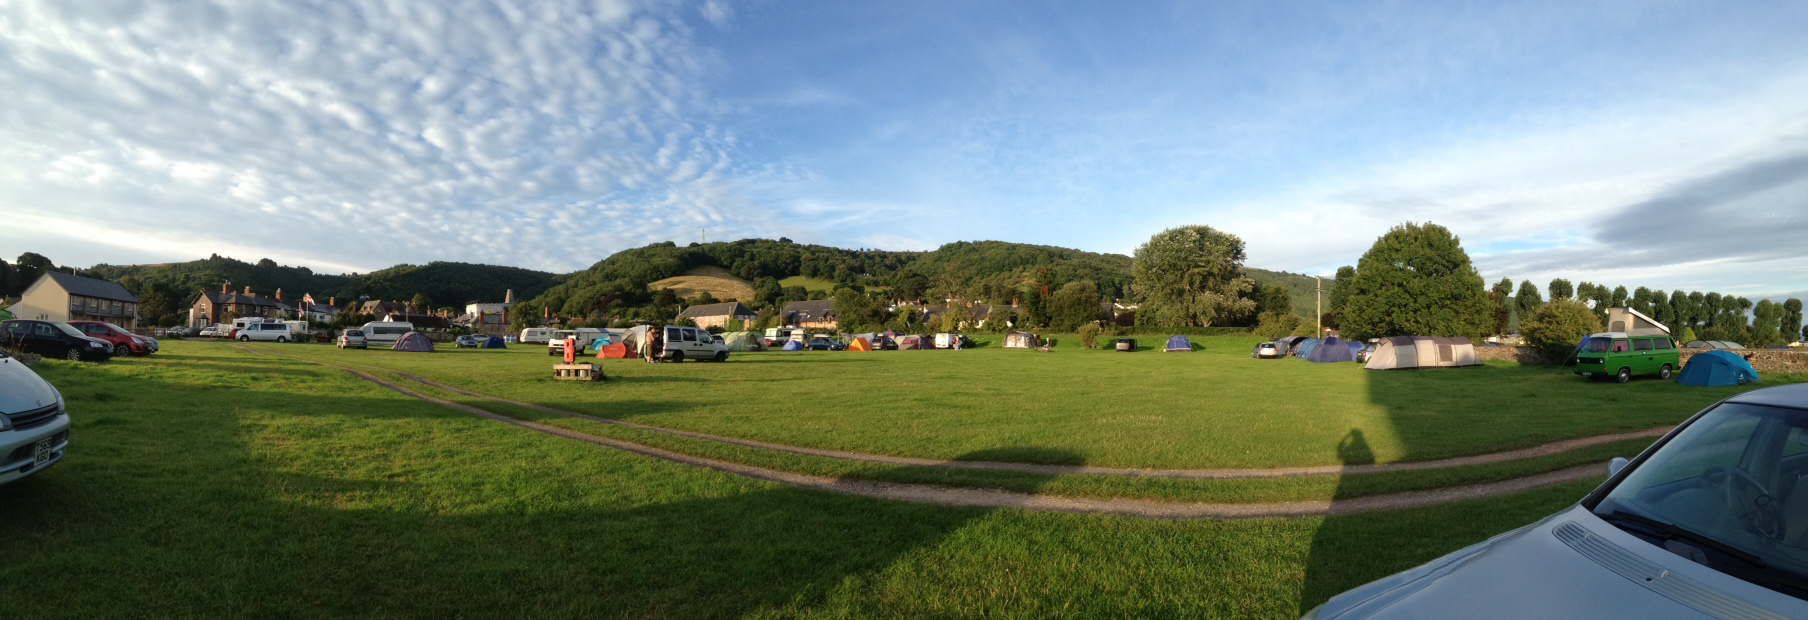
This is the view from our tent which shows remarkably few tents considering it was August Bank Holiday.

IMG_2364

I think the changeable weather forecast had a lot to do with that, but we weren’t complaining. It meant more room for The Boys to play cricket. Tess looks decidedly put out at not being allowed to join in.

IMG_2419

To put the campsite location in perspective, this is a view from a nearby walk to Hurlstone Point.

IMG_2787

The coastguard lookout shelter at Hurlstone Point marks the boundary between Porlock Bay and Blue Anchor Bay. The Boys were keen to climb even higher whilst I rested and got my breath back.

IMG_2369

The whole area is in the Exmoor National Park which is an Area of Outstanding Natural Beauty (AONB) and is the reason it is my favourite destination in the entire world.

Yes, really, although Venice and Bali are close runners up:)

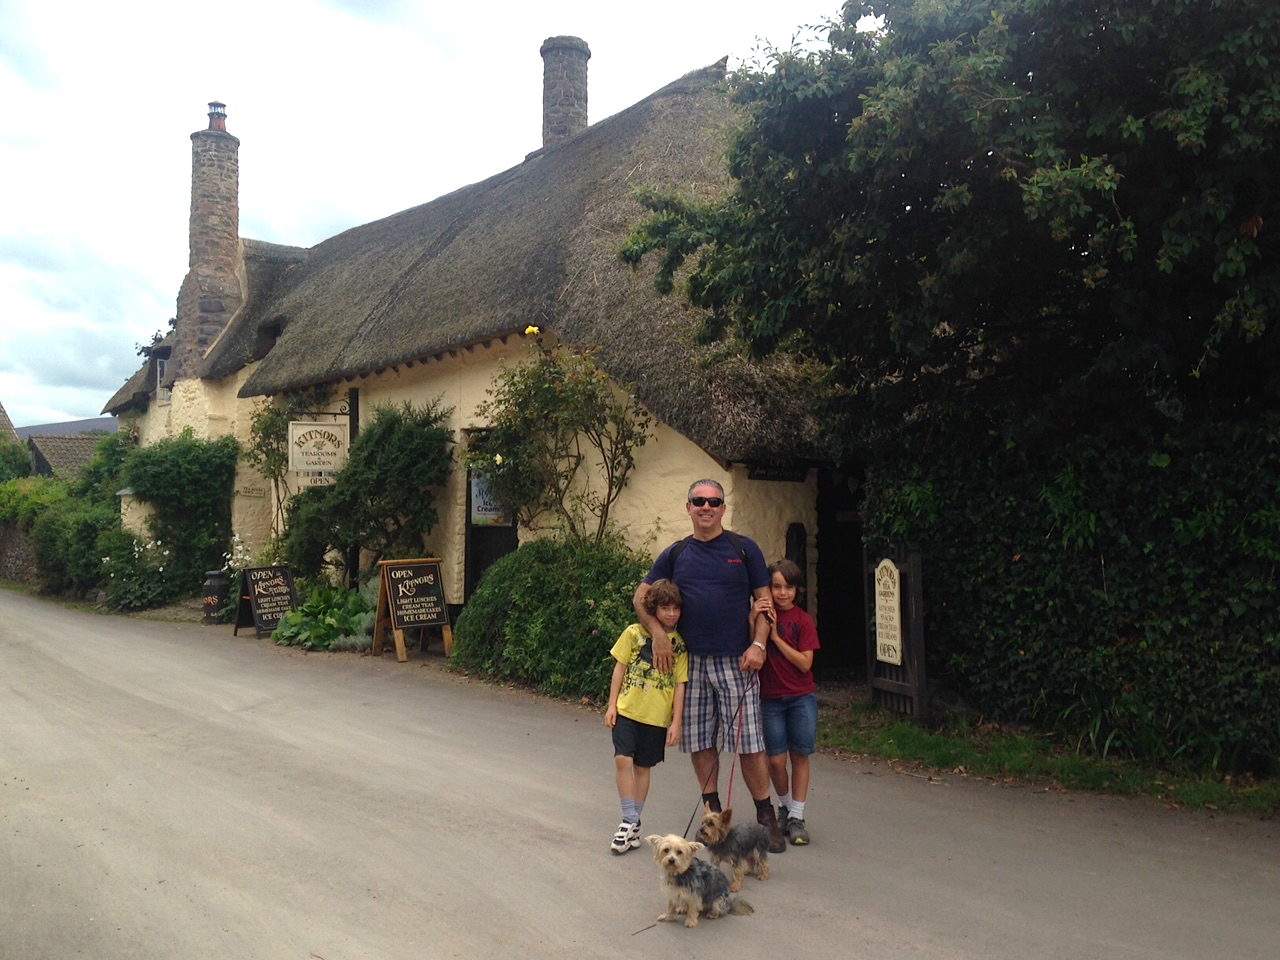
Every single time we do the walk from the campsite to Hurlstone Point, (a round trip of 4 miles) we have a cream tea in the gorgeous gardens at Kitnor’s tearoom in Bossington, leased out by The National Trust.

IMG_2382

We walk A LOT when we go camping, whatever the weather.

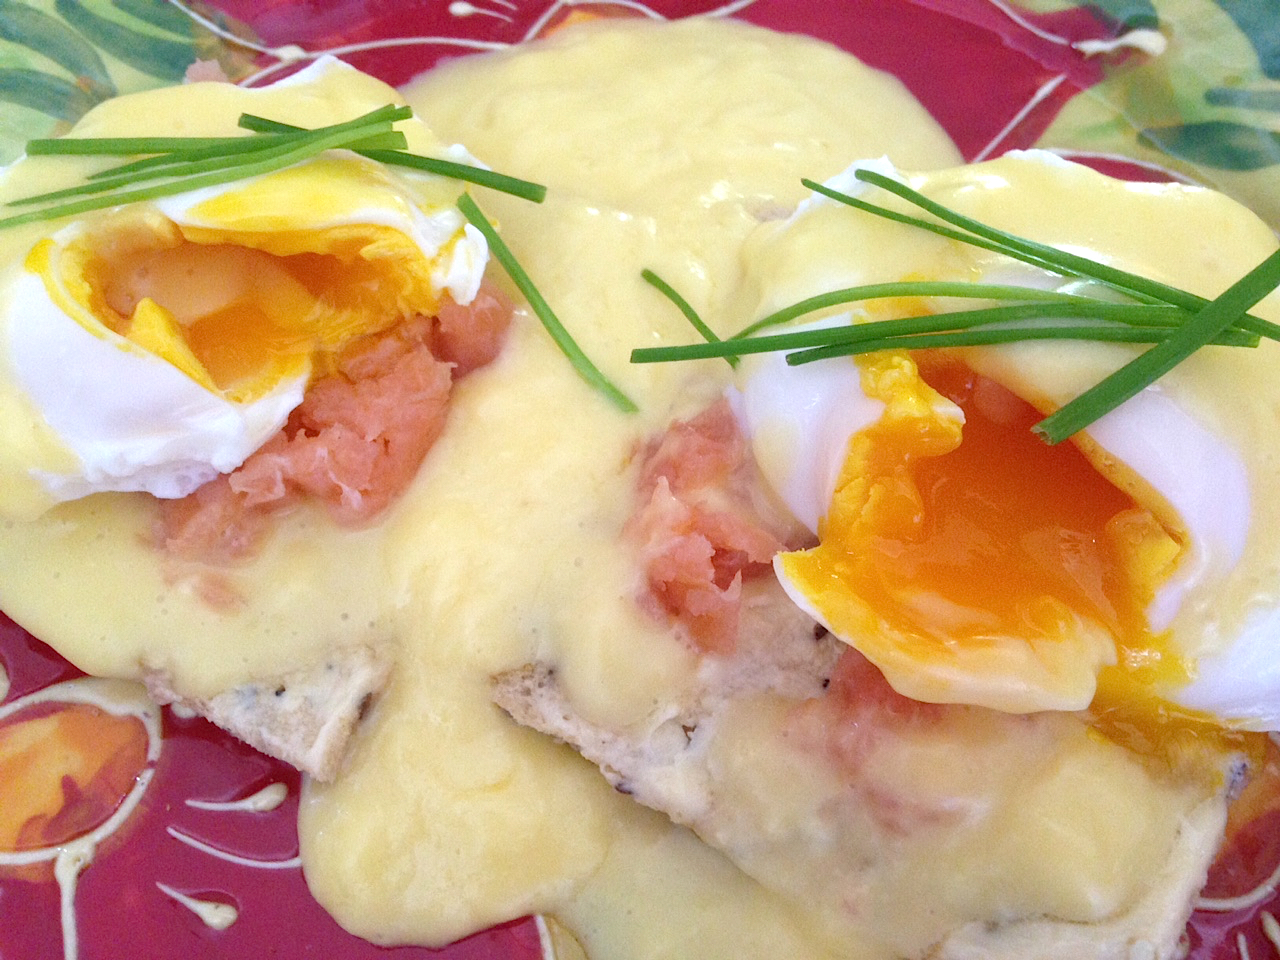
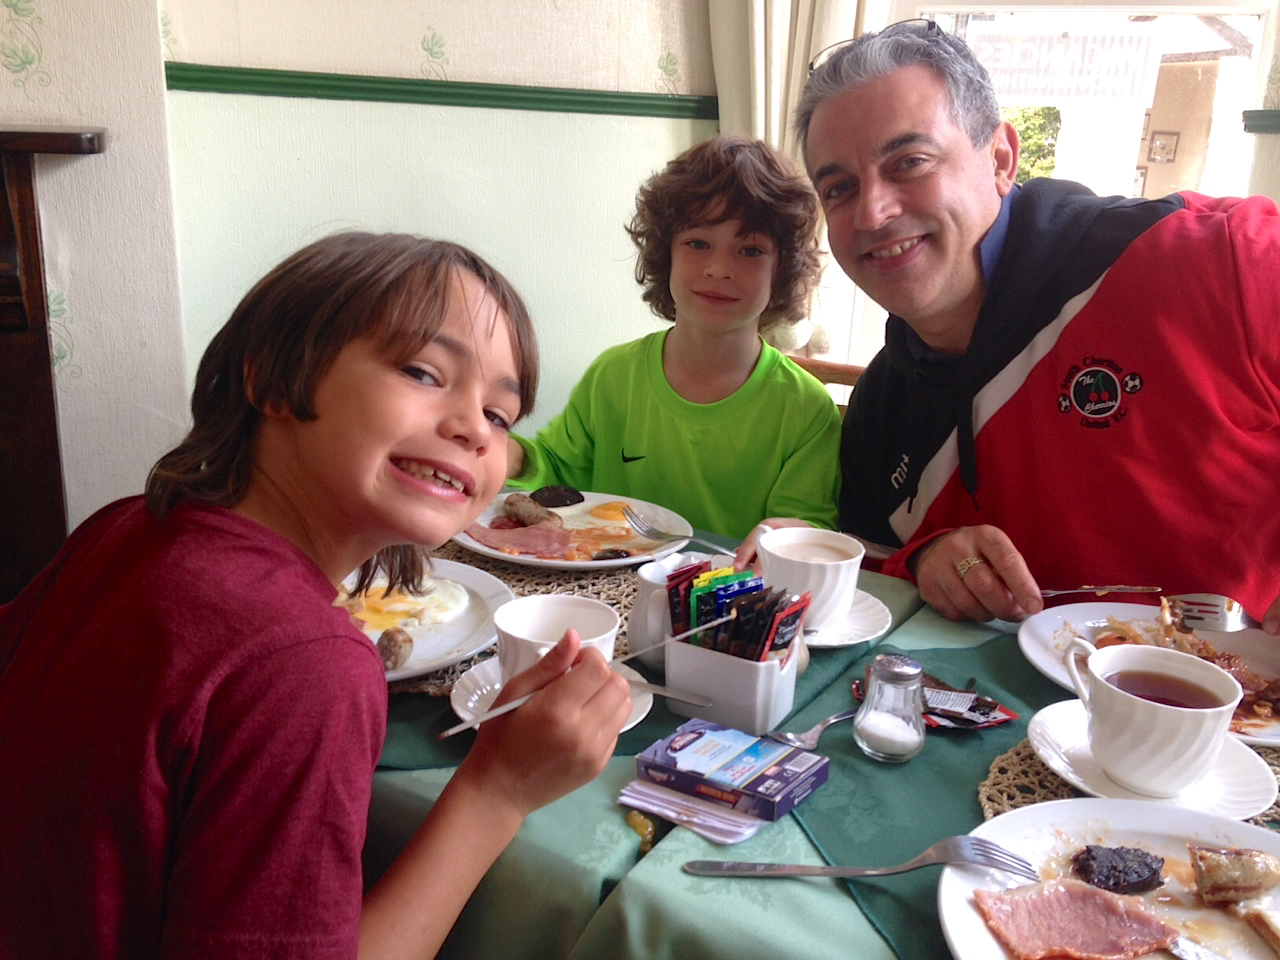
A good breakfast is essential, so we started every day with a Full English in the Whortleberry Tearoom in Porlock.

IMG_2365

It was sunny the day we walked Tucker’s Path to Webber’s Post….

IMG_2433

….until we climbed into the clouds.

IMG_2795

IMG_2796

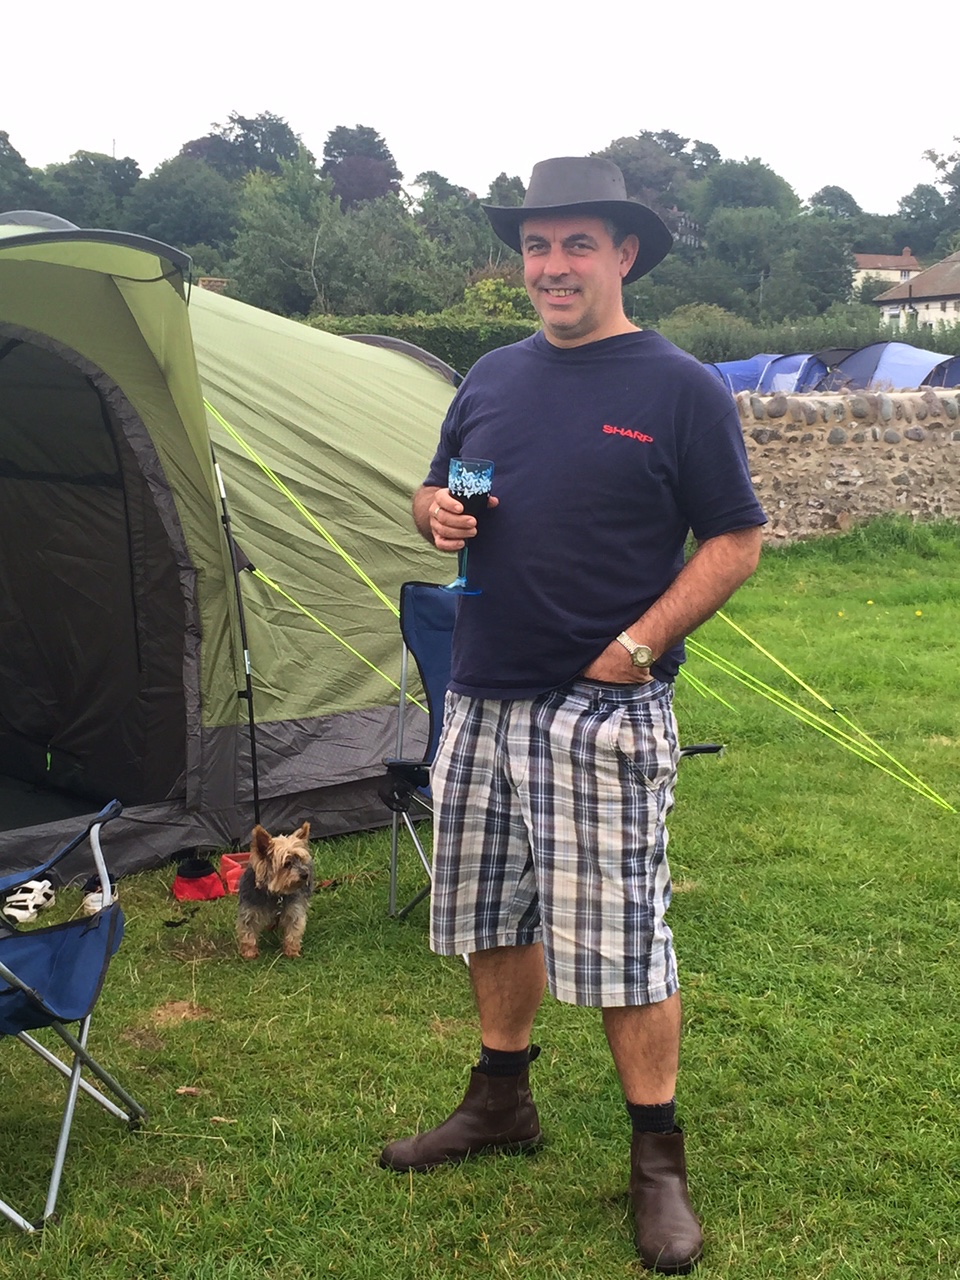
A glass of wine or two (who’s counting – no one’s driving) are well earned after a walk into the clouds and back!

IMG_2791

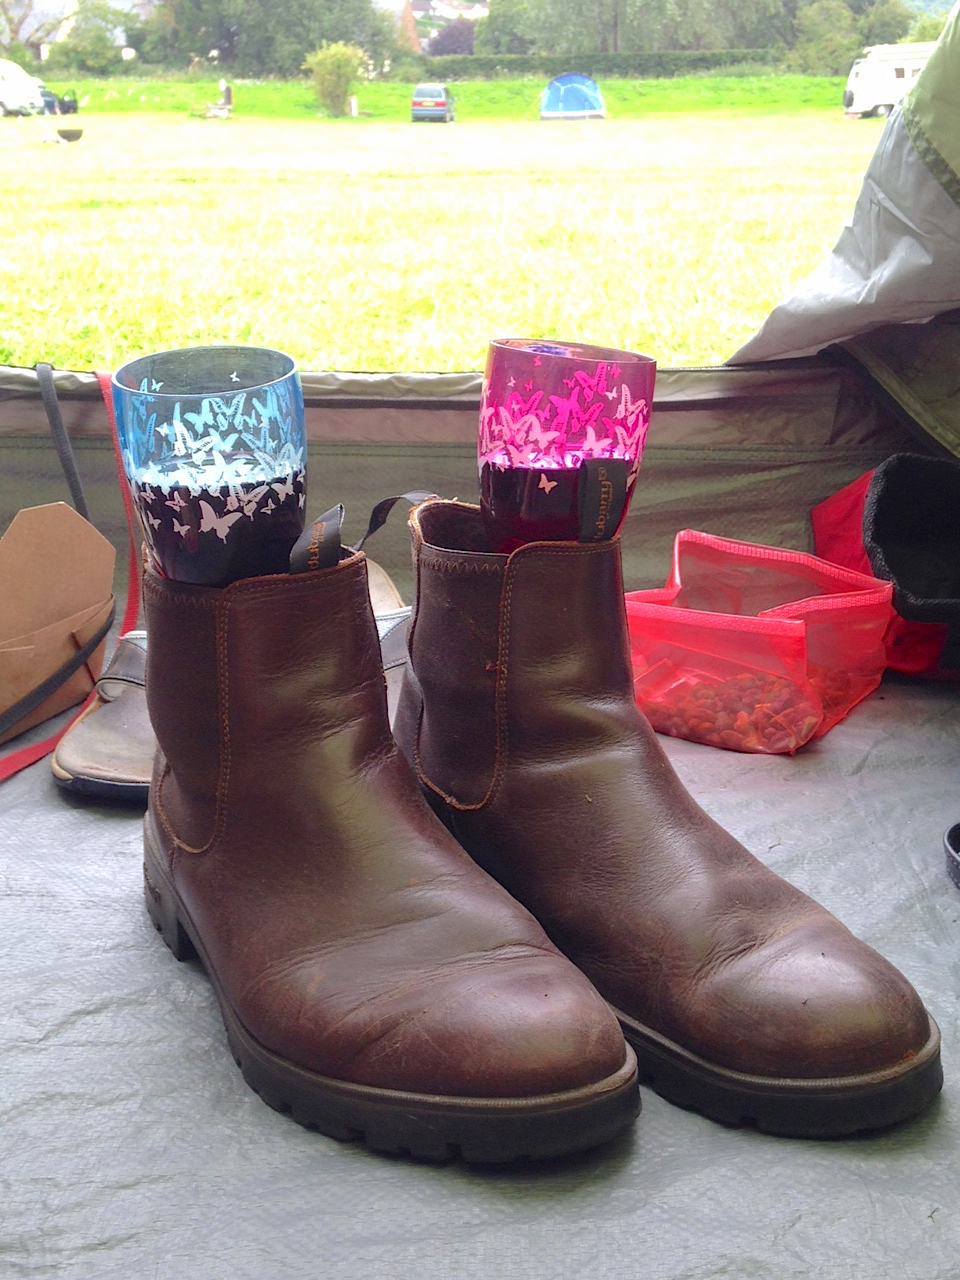
There’s nothing quite like the relief felt after removing boots after a long walk and they make pretty good makeshift wine glass holders too.

Well, you can’t drink wine out of an enamel camping mug, can you?

IMG_2414

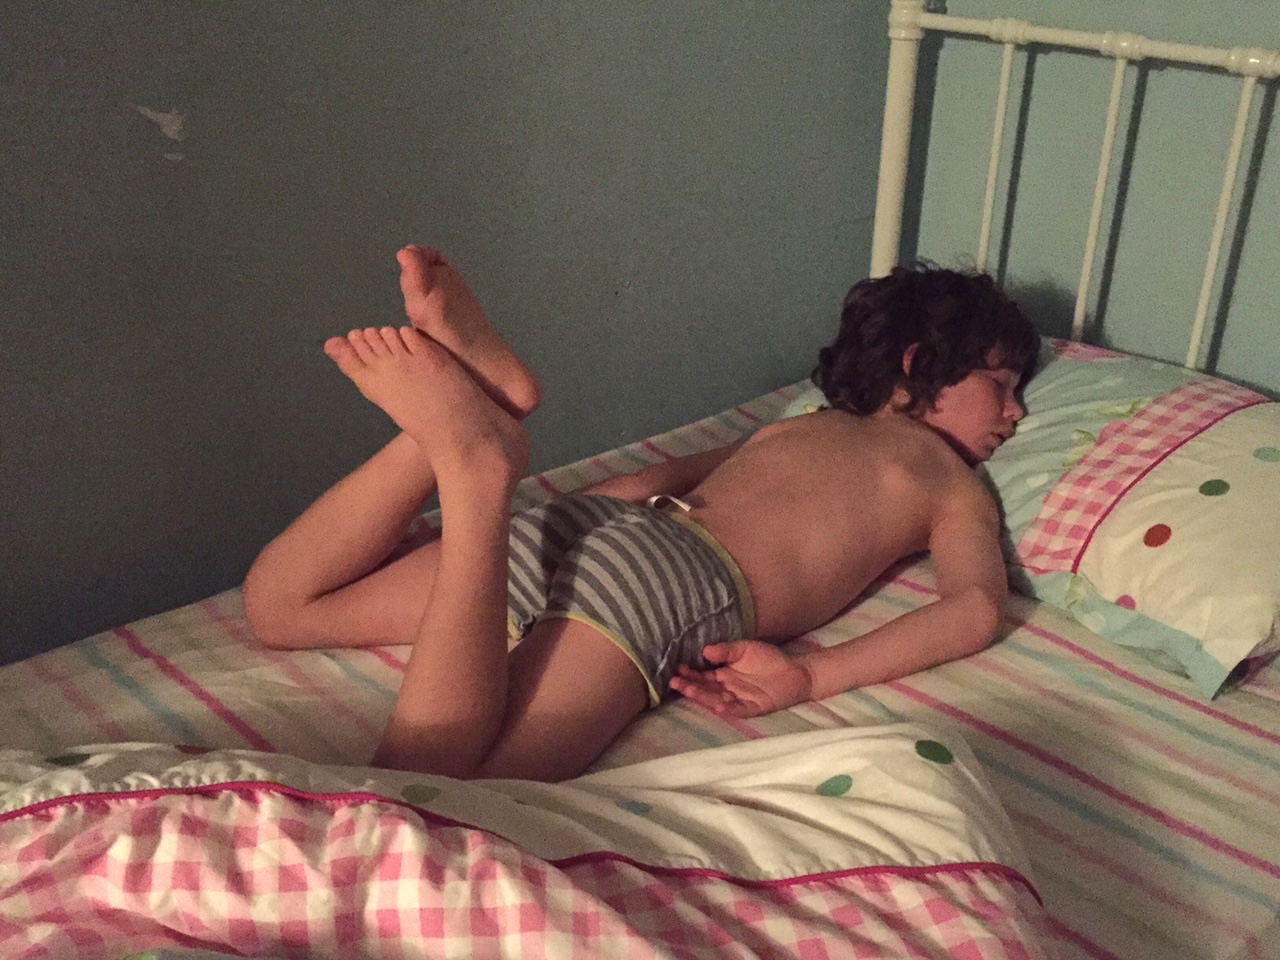
The Boys sleep well at the best of times, but when we’re camping they’re out like a light as soon as the sun goes down!

IMG_2360

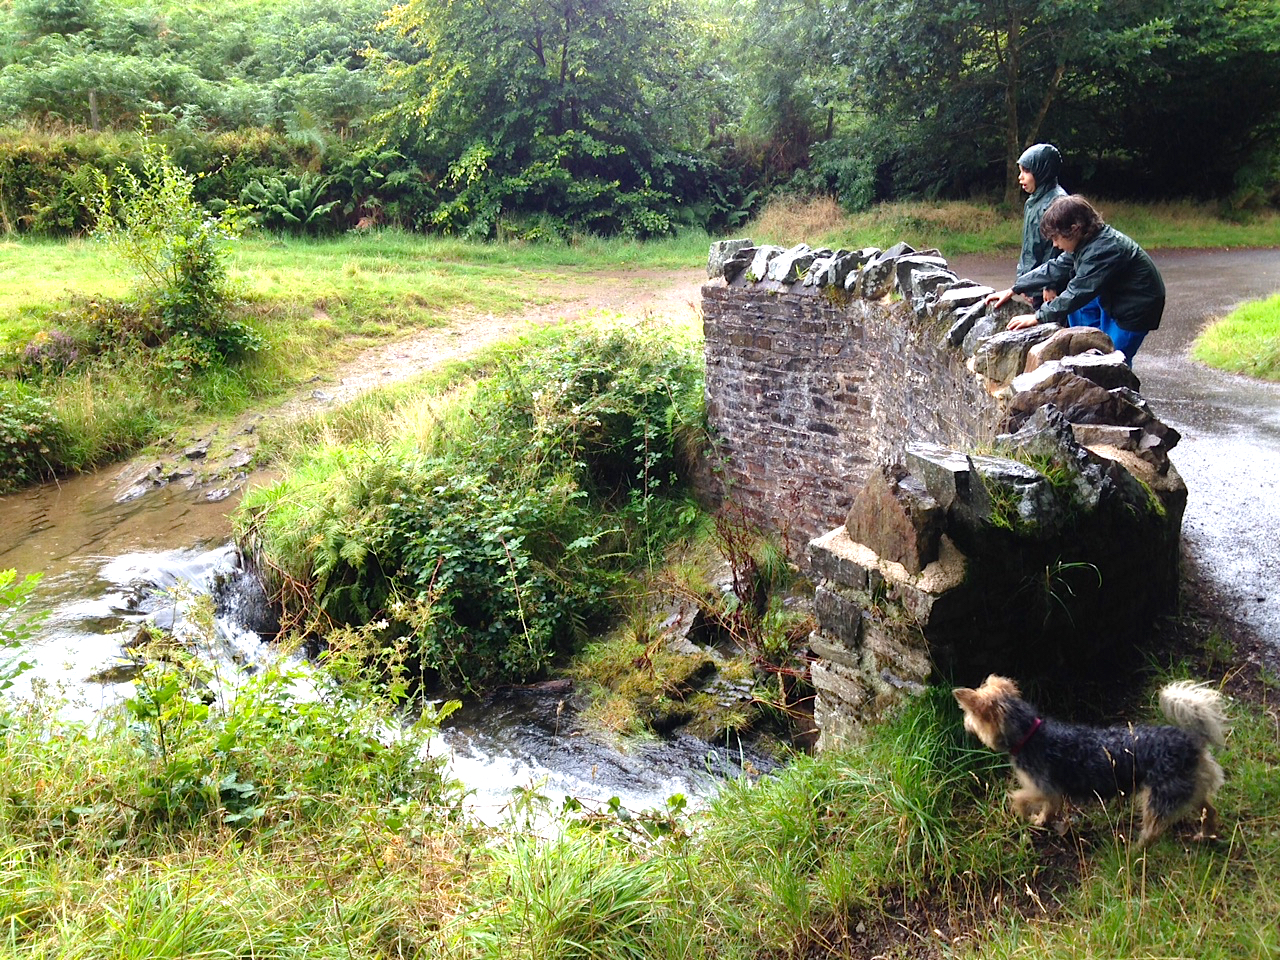
Another day, another walk, this time from Robber’s Bridge to The Culbone Inn.

The Boys played Poohsticks at Robber’s Bridge, just like we did as children.

IMG_2406

Poor Tess thought all her Christmases had come at once with all the game birds that were around and hated being on the lead whilst Fifi walked sensibly off the lead, ignoring them completely.

IMG_2400

Our destination is finally in sight, just half a mile to go.

IMG_2397

A welcome break from the rain in the pub before starting on the return journey.

IMG_2398

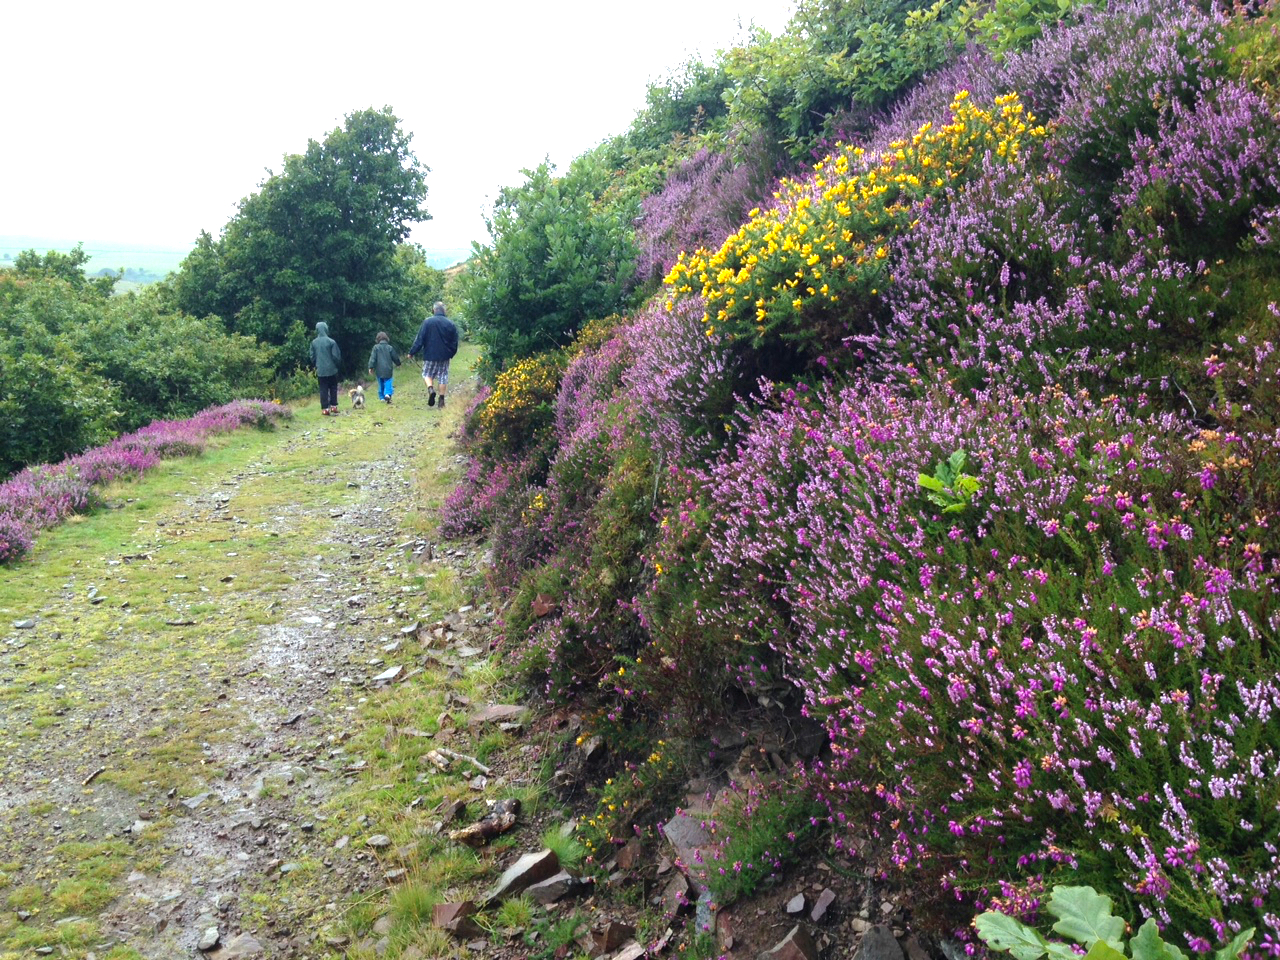
It might be wet, but Exmoor is still stunningly beautiful – just look at those heathers.

IMG_2403

Back to Robber’s Bridge again for another game of Poohsticks before going back to the tent to dry out.

IMG_2387

Two exhausted boys, fast asleep in the back of the car on the drive back to the campsite.

IMG_2790

We certainly appreciated the bigger living space in the new tent when rain stopped play and we played games inside.

IMG_2415

Anyone remember Beetle Drive?

IMG_2416

A quick drive took us to Malmsmead in the Doone Valley, where you can drive over the ancient packhorse bridge, but why would you when you can go through the ford?

Here we are in the middle of it.

IMG_2409

After another cream tea, we popped into the Lorna Doone farm shop next door which had a black lab on sentry duty.

FullSizeRender-22

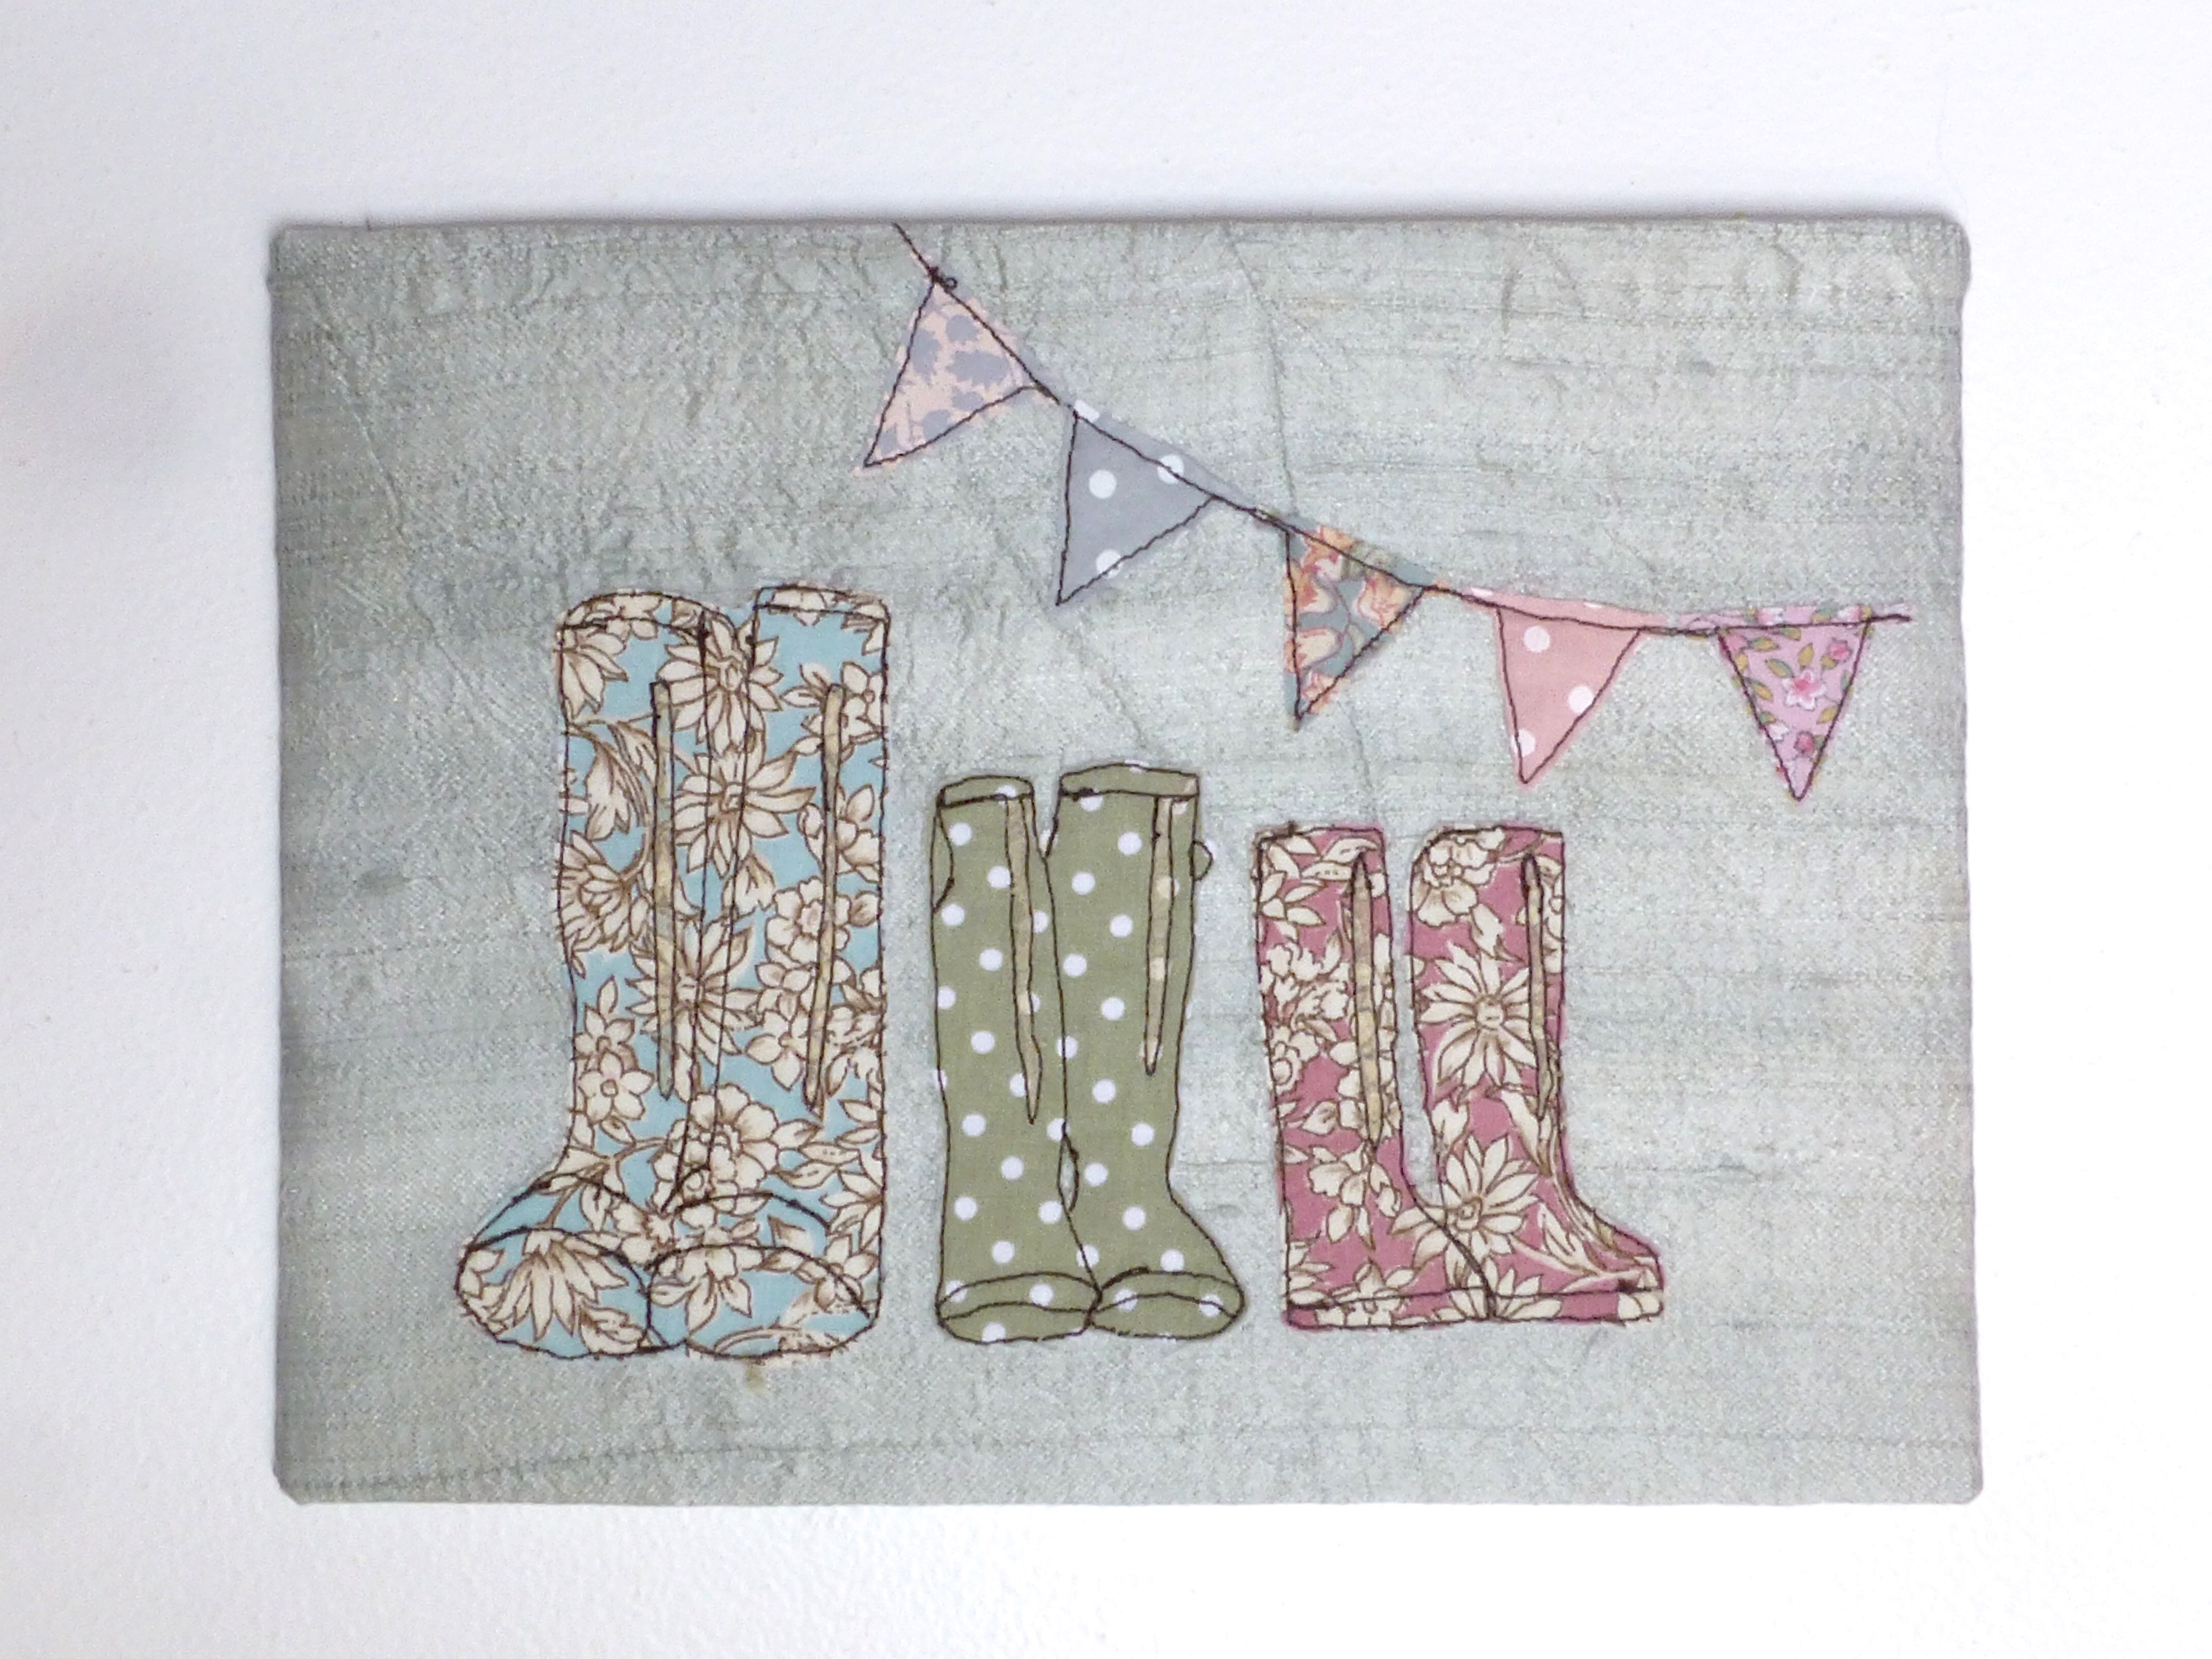
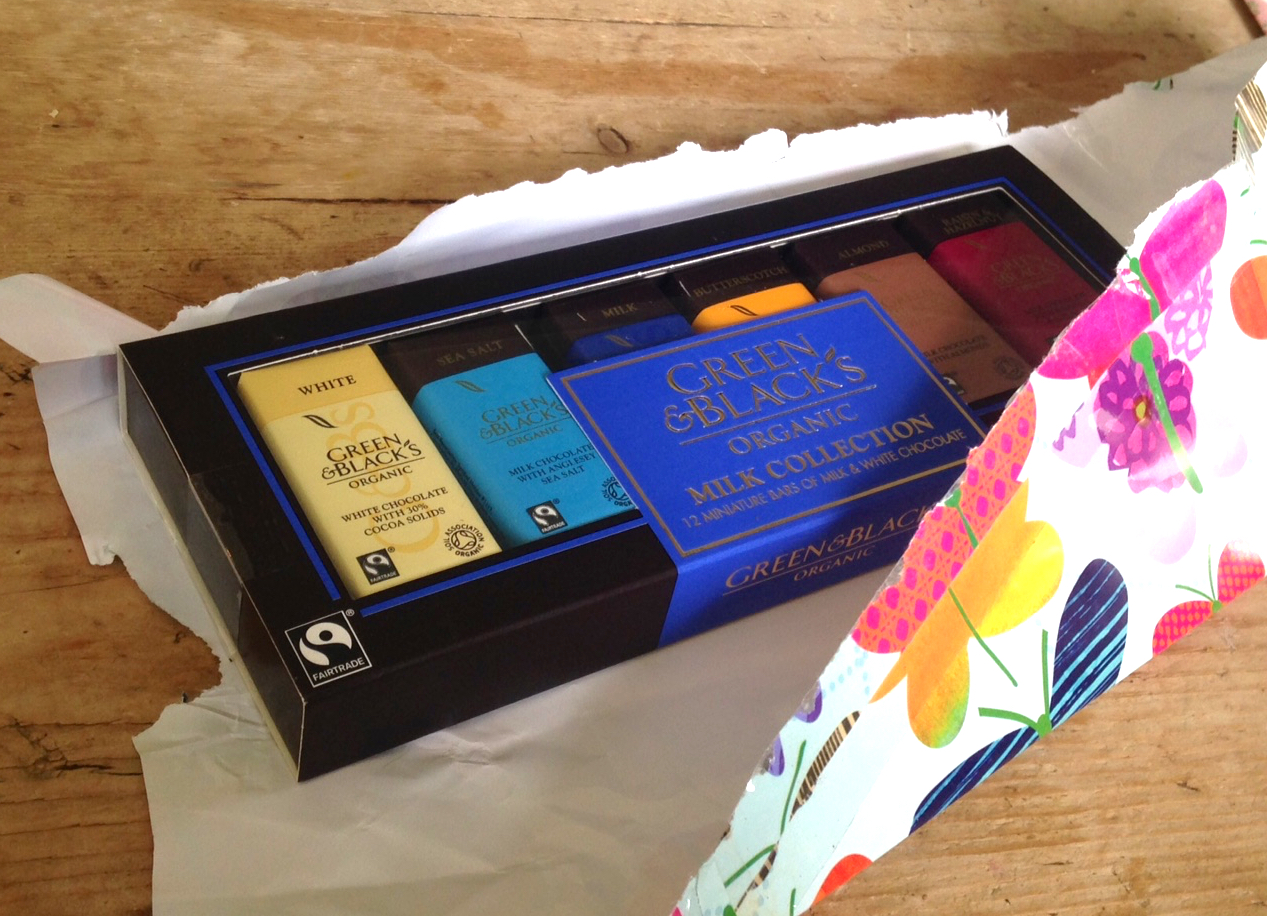
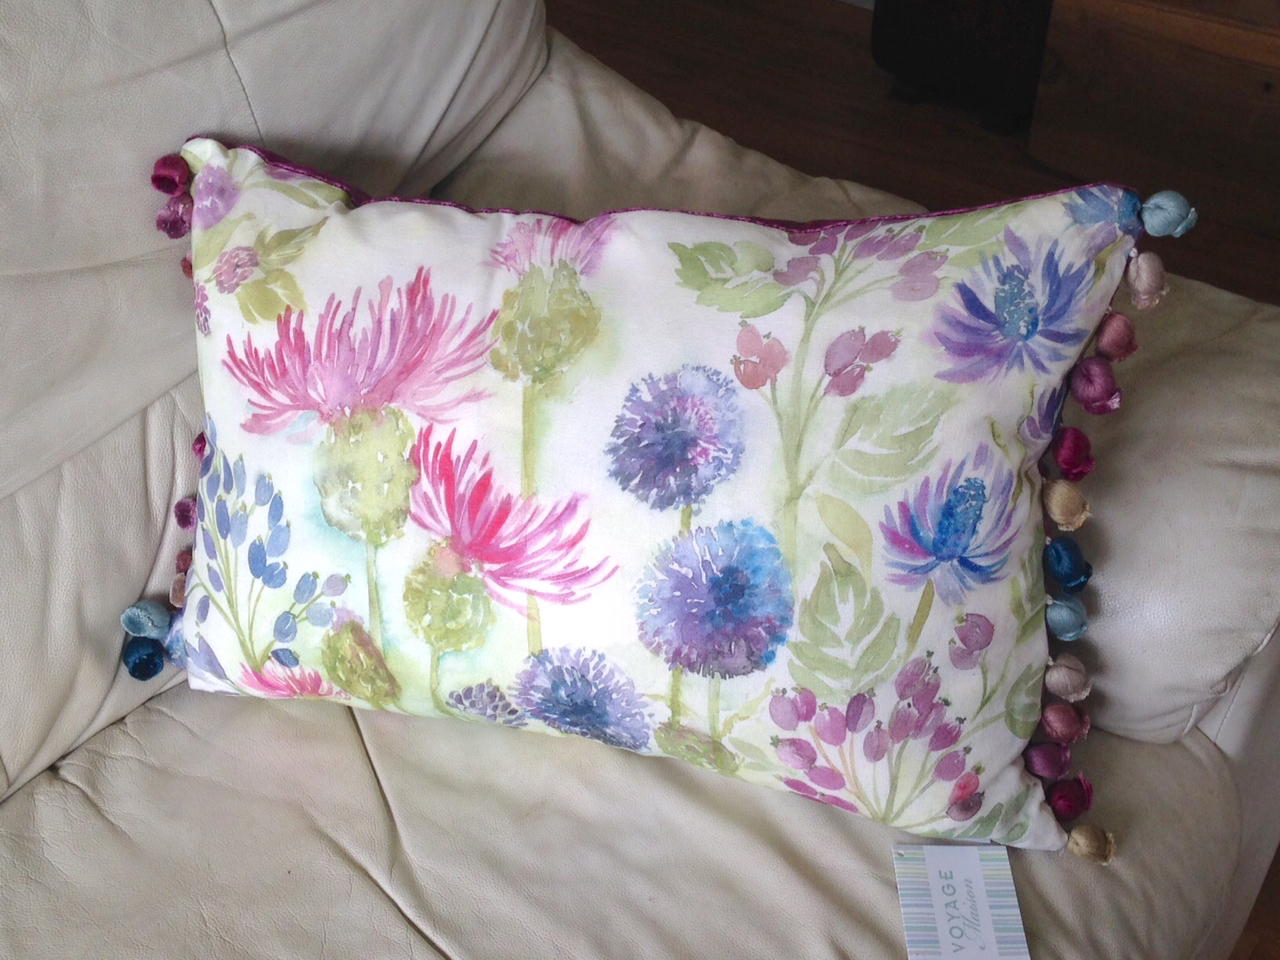
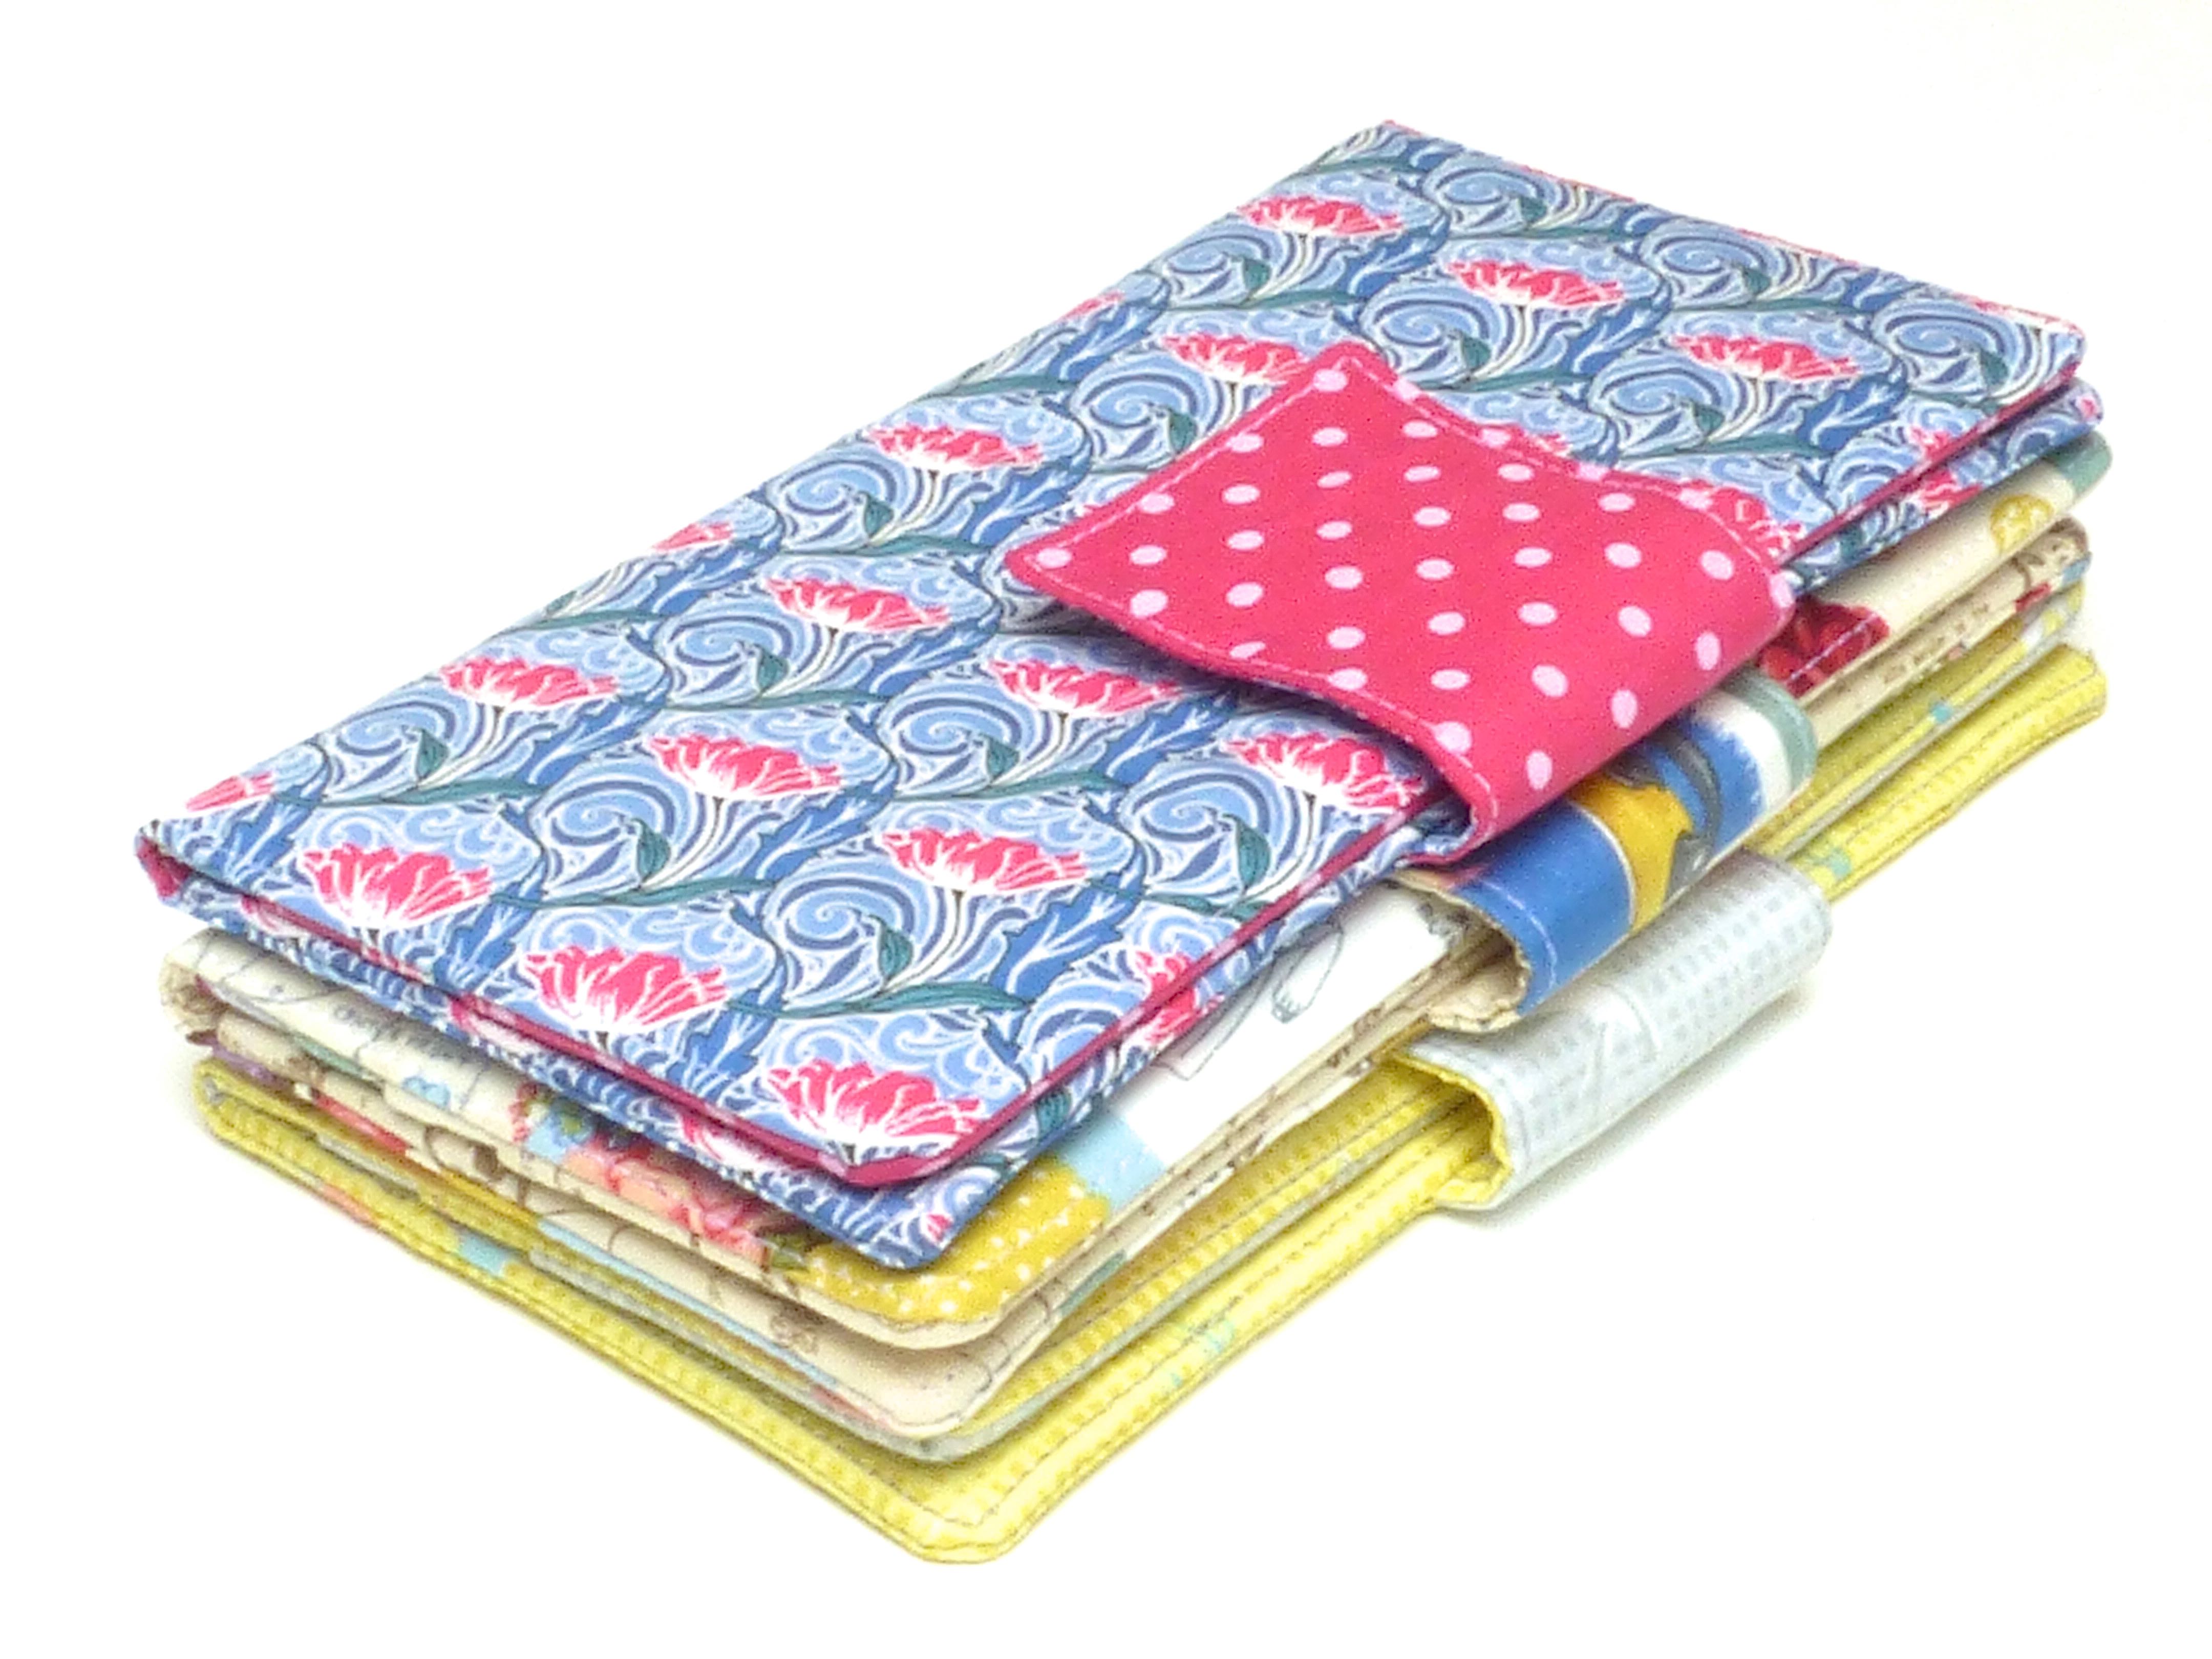
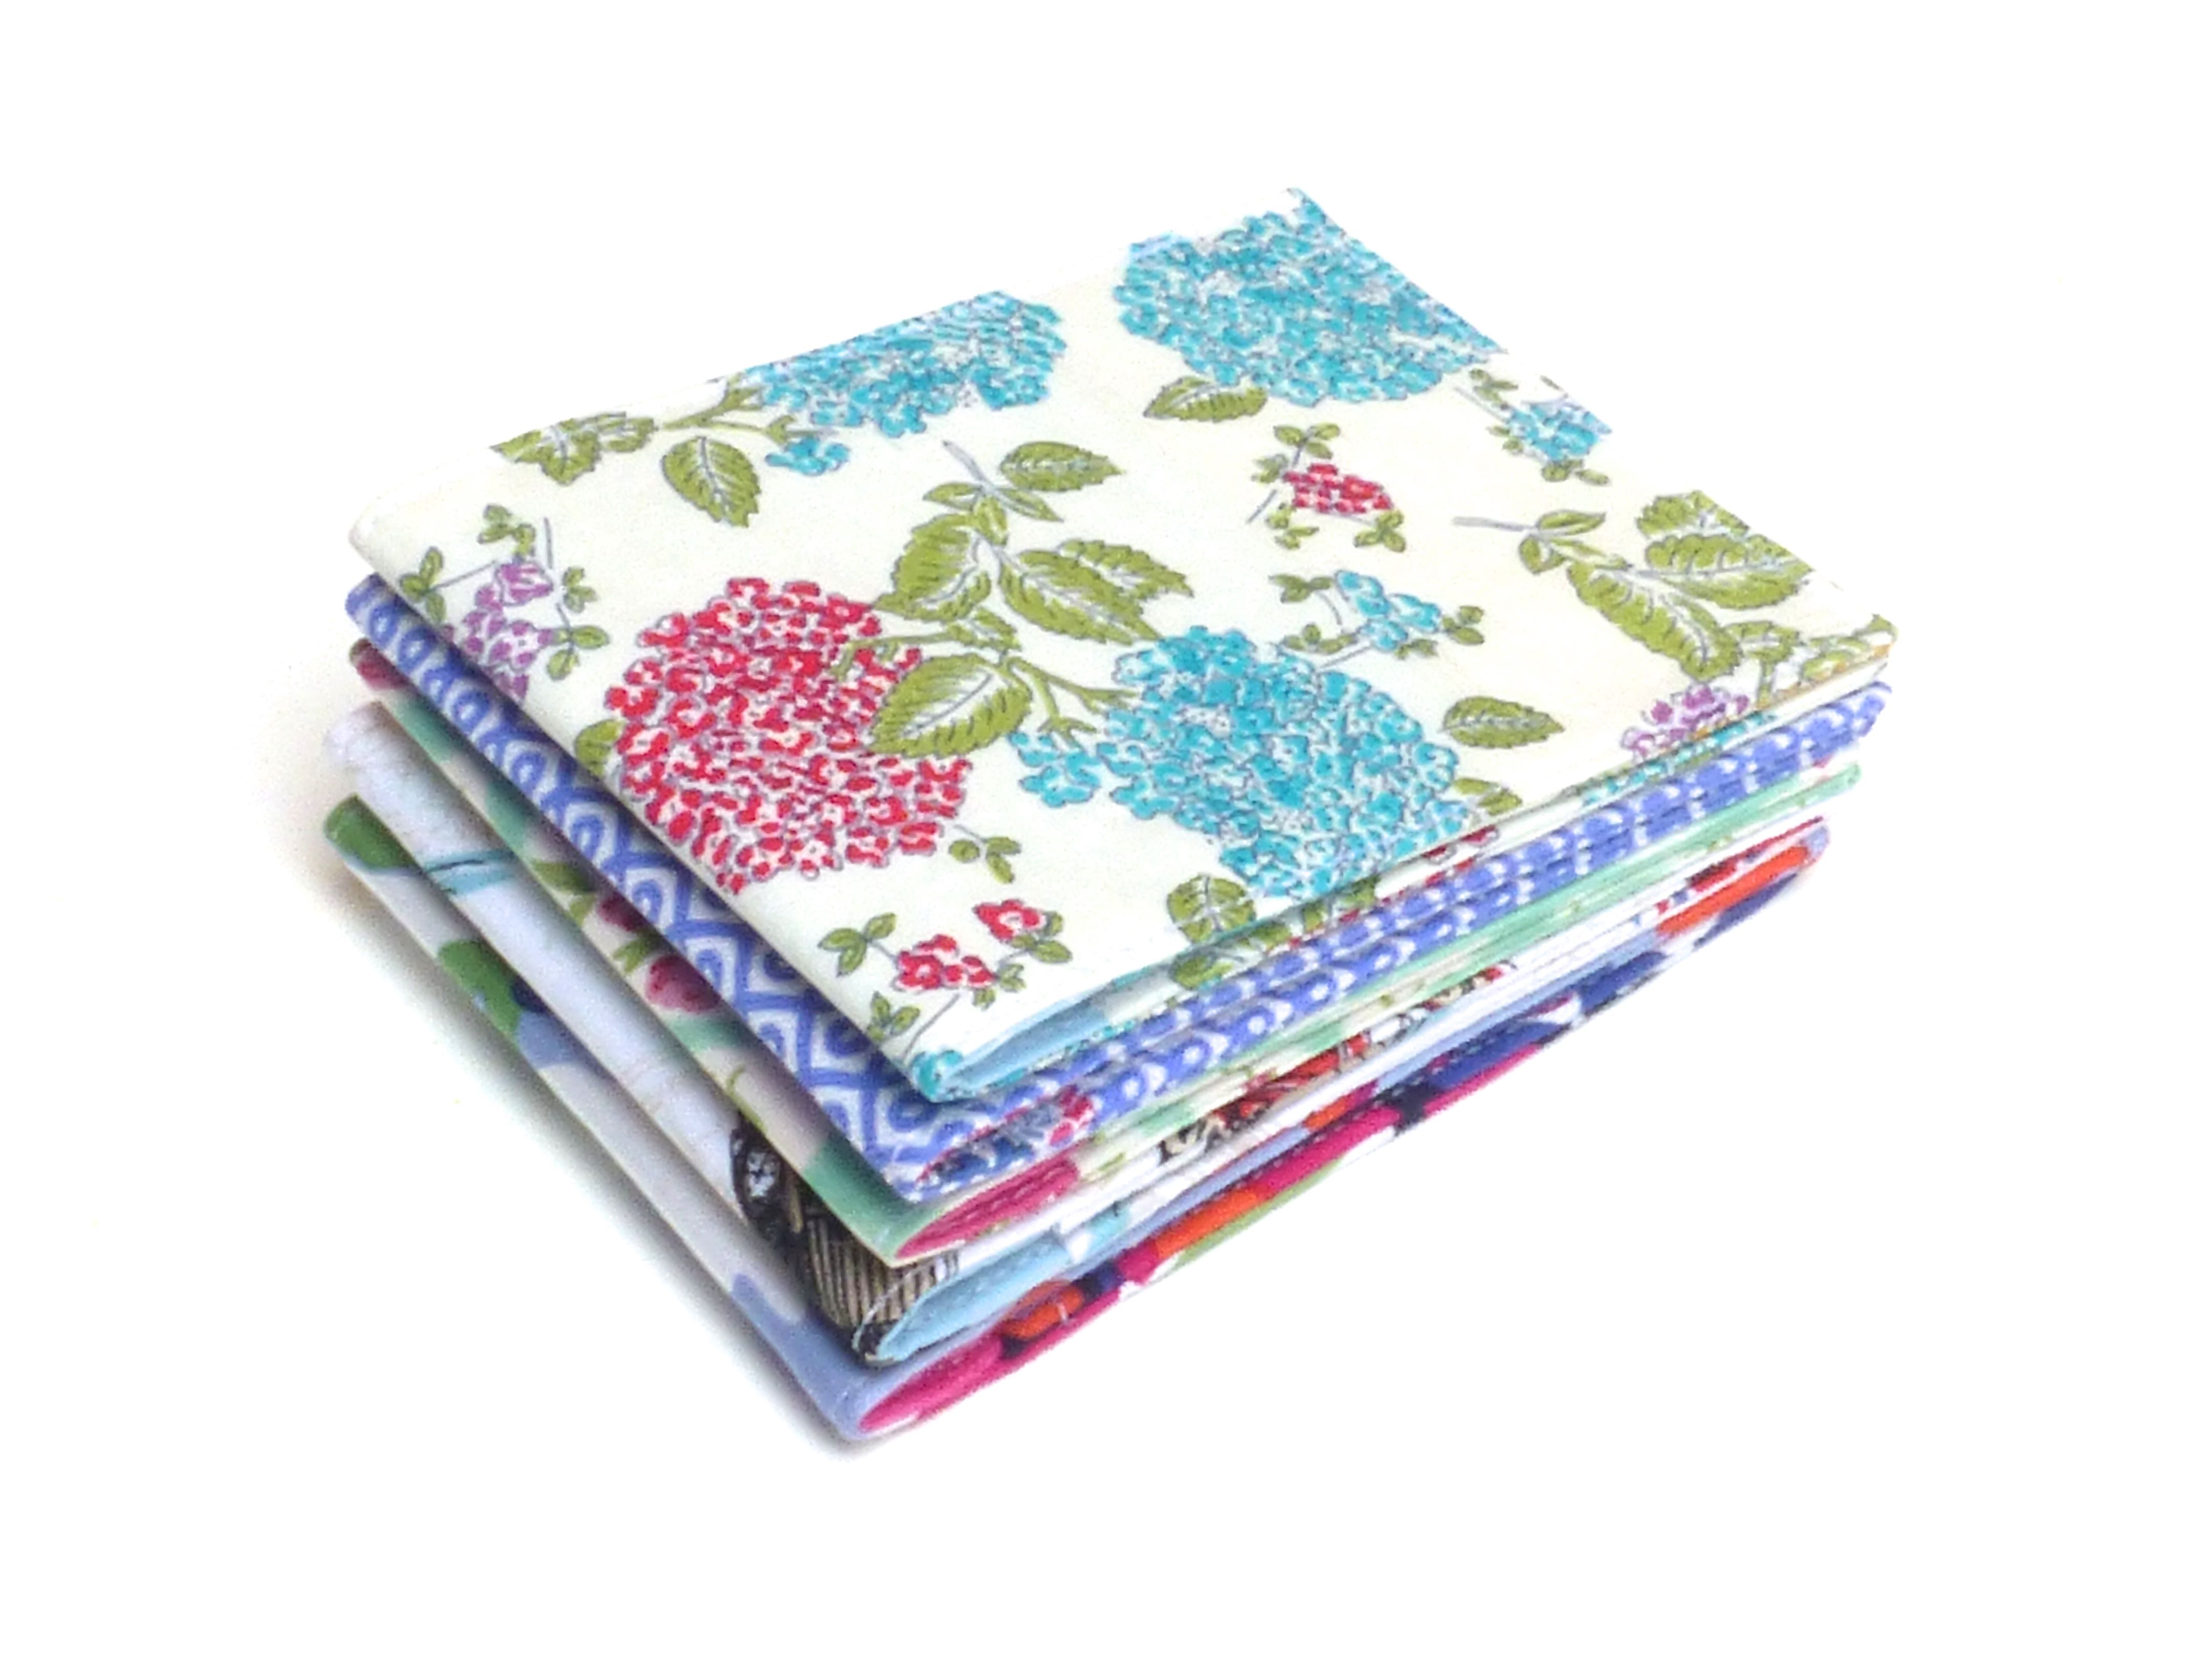
Mr. H-L came out with his wallet over a hundred pounds lighter after buying these two cushions for me:)

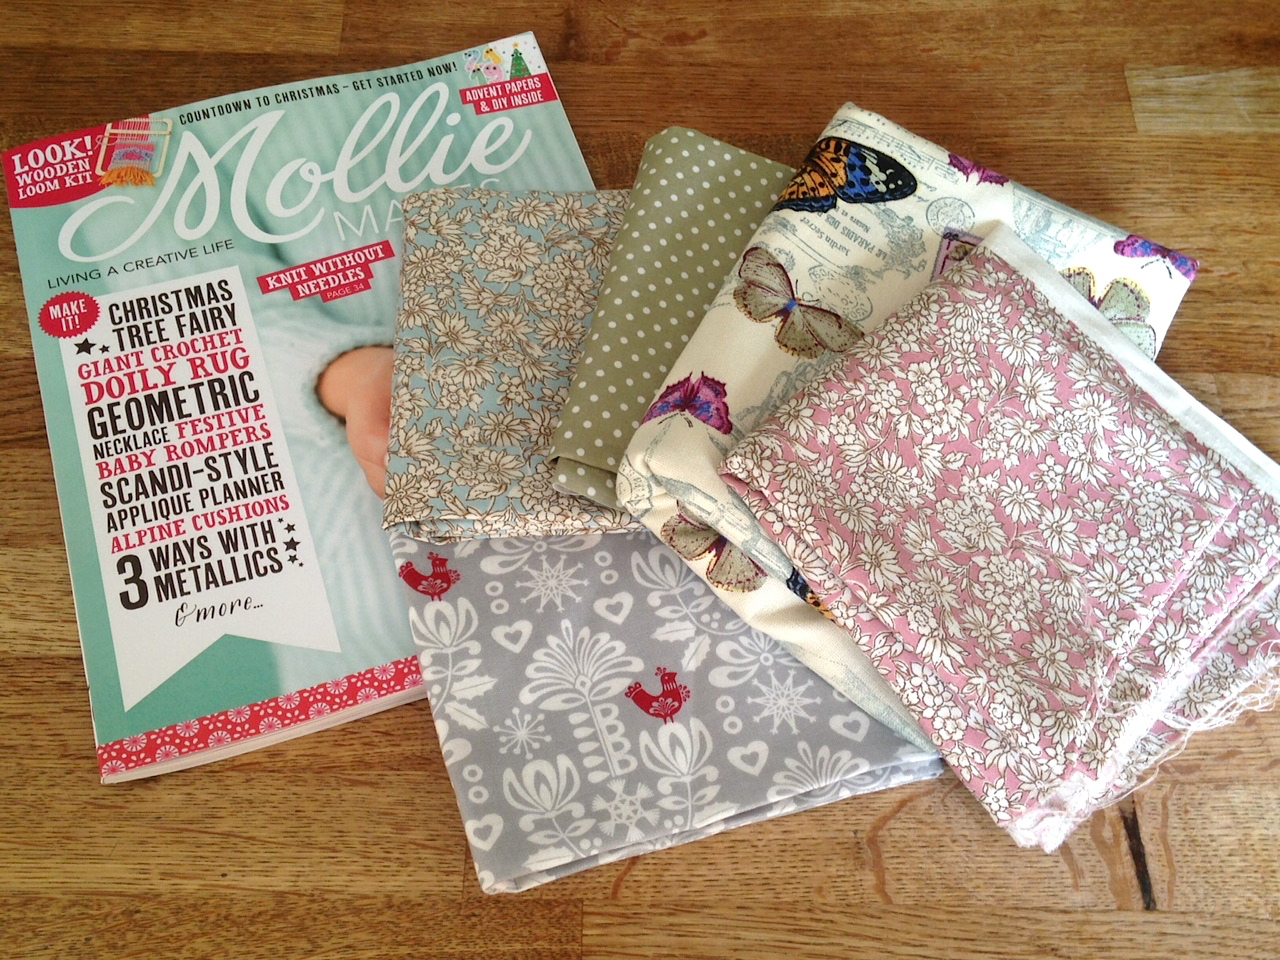
Hand painted designs in watercolour are then printed onto velvet and linen – simply stunning and I couldn’t resist them!

IMG_2437

They are handmade in Britain using only the best natural fibres and I looked up their website as soon as I got home (sorry, Mr. H-L!).

As a craft person myself, I appreciate skill like this and am happy to pay for it.

IMG_2438

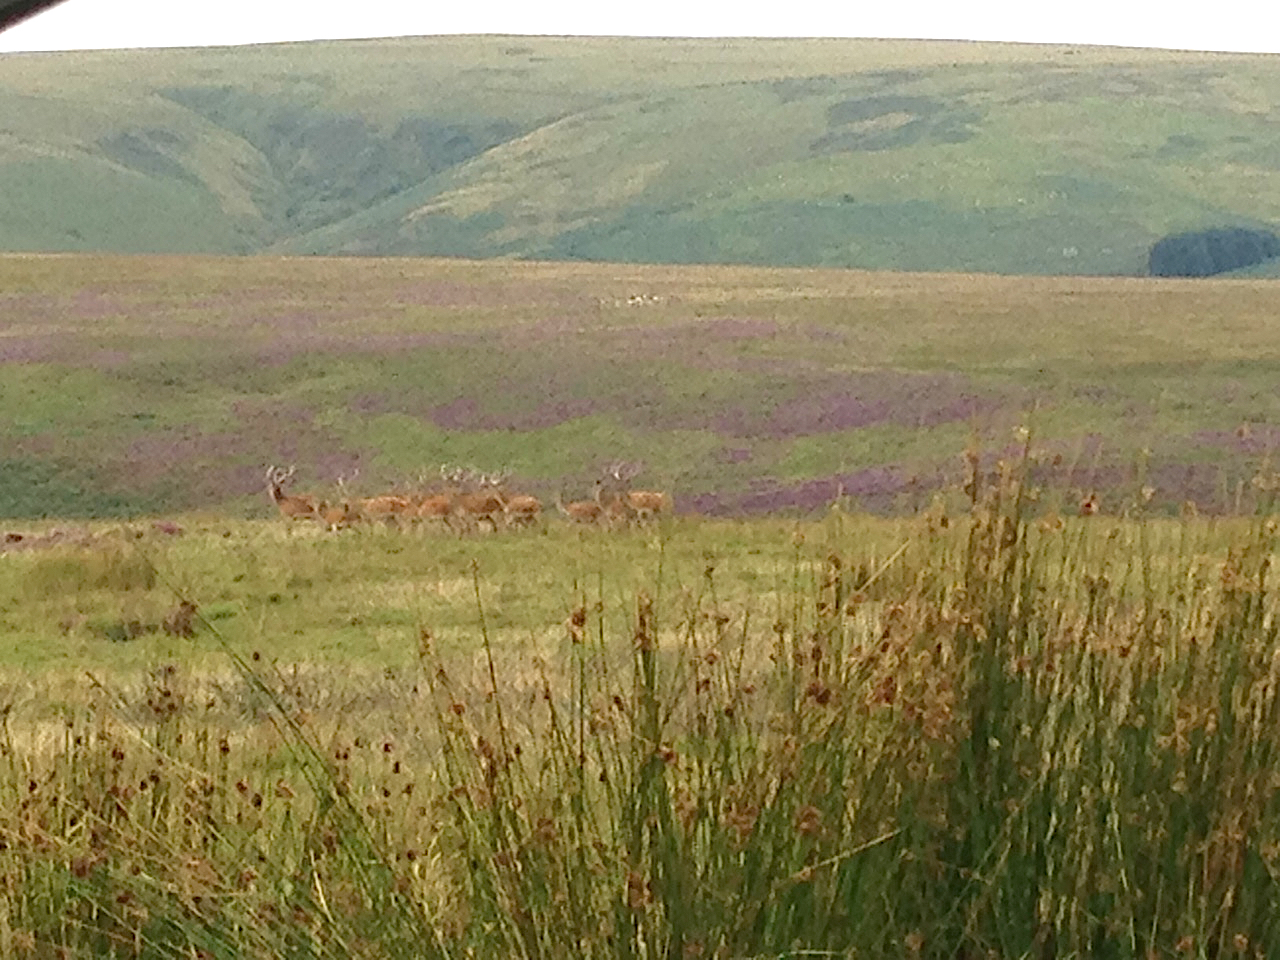
On the drive back we spotted a group of stags on top of Exmoor. This was the best photo I could get and made me wonder why we didn’t bring a camera on holiday with us, as those taken on a mobile are sometimes totally crap!

IMG_2411

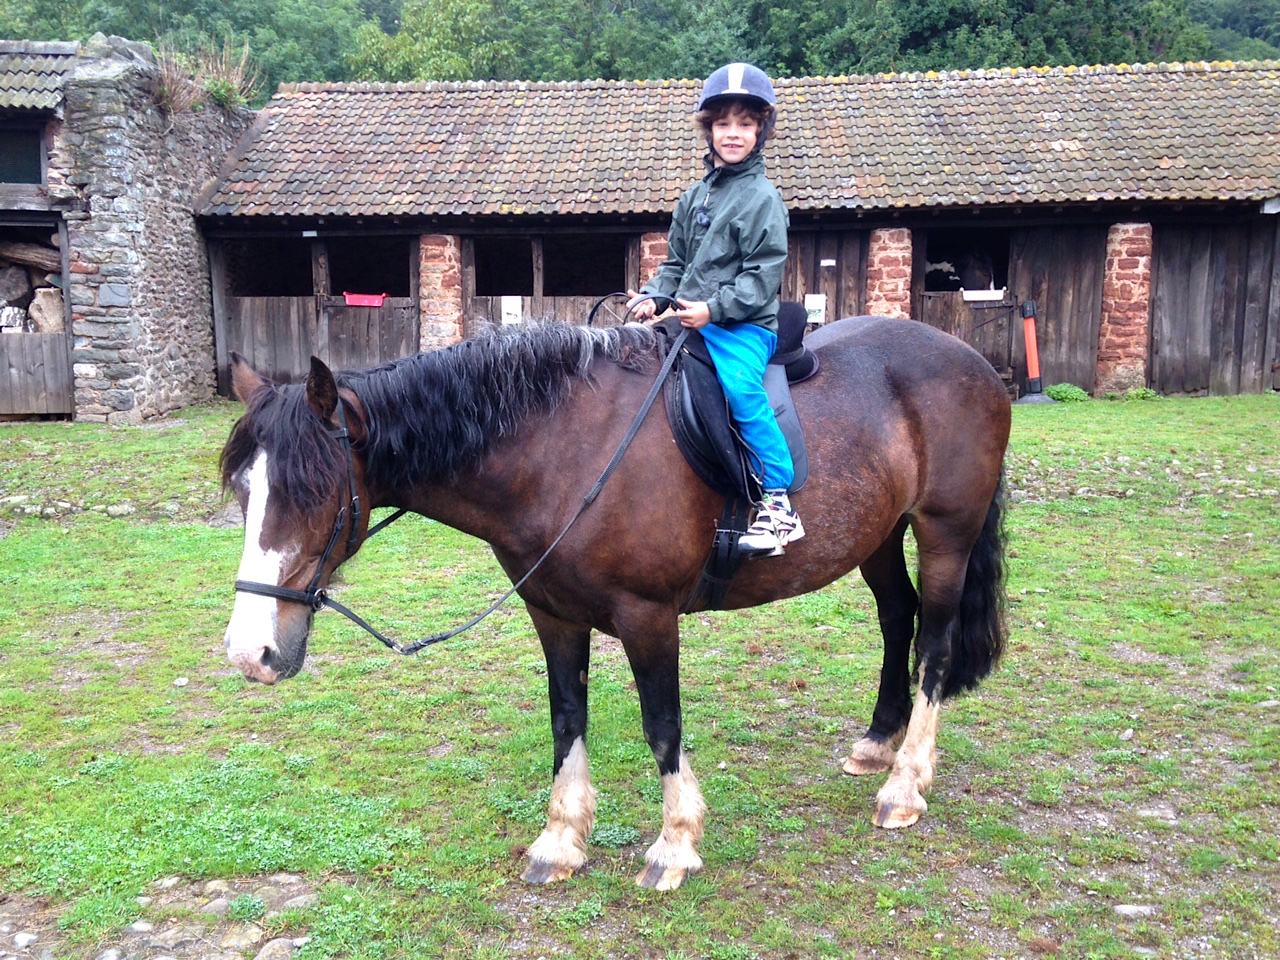
Our final day saw us nipping down the road to West Lynch Farm in Allerford, home to the Exmoor Owl and Hawk Centre. Built in 1456, it is typical of the architecture of the region and also offers B&B and horse riding.

IMG_2427

Unfortunately, only one horse was available so The Boys had to take turns.

IMG_2420

This also meant that I couldn’t join them, which was probably a good thing considering my still-not-completely-healed broken ribs from horse riding in Spain!

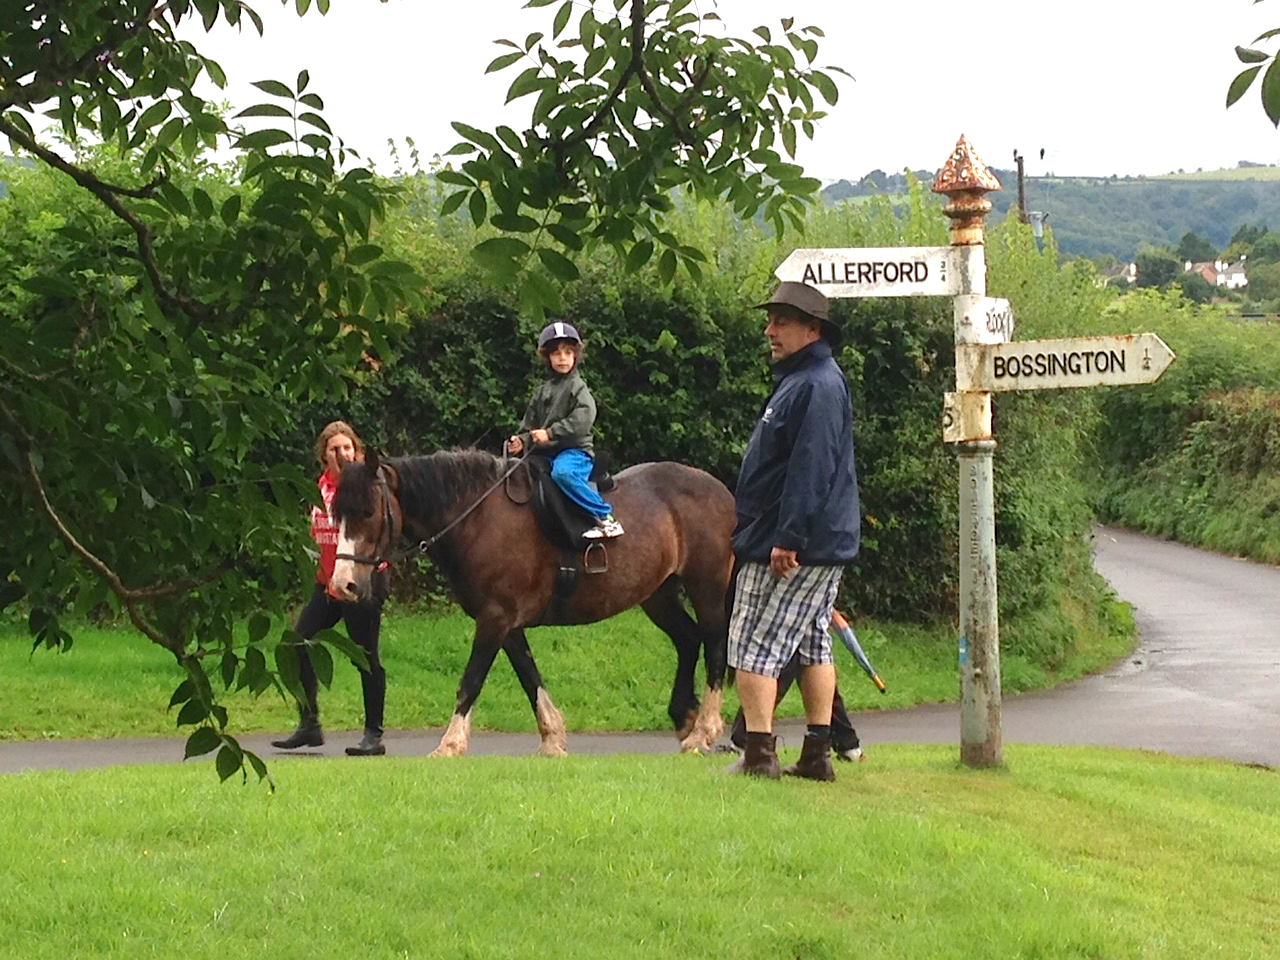
No.2 Son rode out first, over the bridge at Bossington and up through the woods.

IMG_2421

No.3 Son took to the saddle on the return trip.

IMG_2426

IMG_2428

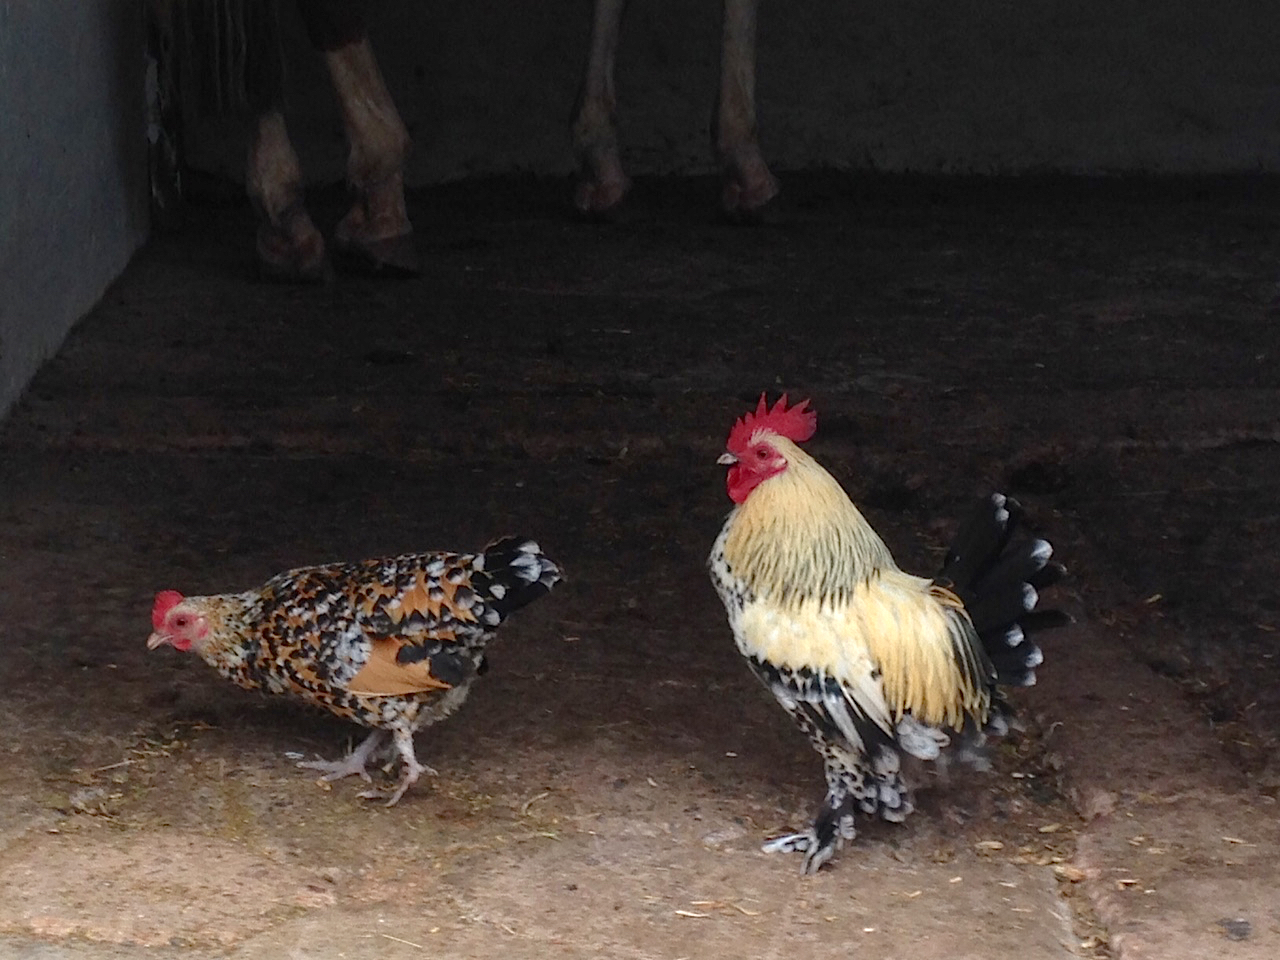
Back at the farm, a couple of pretty bantams guarded the door to the stable.

IMG_2430

Another trip to Kitnor’s tearoom for yet another cream tea, only this time inside because it was raining again. Even though the wood burner wasn’t lit, it still felt warm and cosy and was the perfect end to our holiday.

IMG_2431

So that was our Bank Holiday weekend – what did you do?


43 Comments

Stocking Up The Shop For Christmas

In between crafting gifts for family and friends, I have been up in my studio beavering away making items to stock up my Folksy shop for Christmas.

I love having an excuse to create pretty little accessories and stocking fillers and, because they are small items, I never get bored making them in a variety of different fabrics.

Do you want to see what I’ve made?

The wallet that I made as a birthday gift was so well received that I decided to add them to my range.

P1060329

One of my favourite Liberty prints with plenty of room inside for notes, coins and cards.

P1060164

The “Sew Retro” print by Makower was designed with a keen sewer in mind.

Wallet front

It has a coordinating dressmaking pattern print on the inside.

handmade purse wallet

A selection of coin purses with contrasting zips and ribbon pulls make great stocking fillers.

P1060326

Brightly coloured linings mean the interiors are pretty too:)

butterfly coin purse

These travel card holders were based on the Oyster card wallets so are landscape in format. They will also fit any standard size credit card or ID card.

P1060328

P1060318 P1060321

What do you think?

If you’re interested to see what else is available, why not pop over to my Folksy shop for a quick browse.

Are you stocking up your online shops for Christmas yet?