Sewchet

Sewing, crochet, crafts, accessories, baking, tutorials,


50 Comments

#stitchingsanta Reveals!

It has been totally brilliant, not to mention ridiculously exciting, to watch all your #stitchingsanta parcels coming together over the last couple of months.

I’ve loved seeing how thoughtful and creative everyone has been, really getting to know their recipient through their blog and sending the most appropriate gifts possible.

For those of you new to this concept, and for anyone considering joining in next year (yes, I’m going to organise another one!), here’s the link to show you what it’s all about – #stitchingsanta 2015.

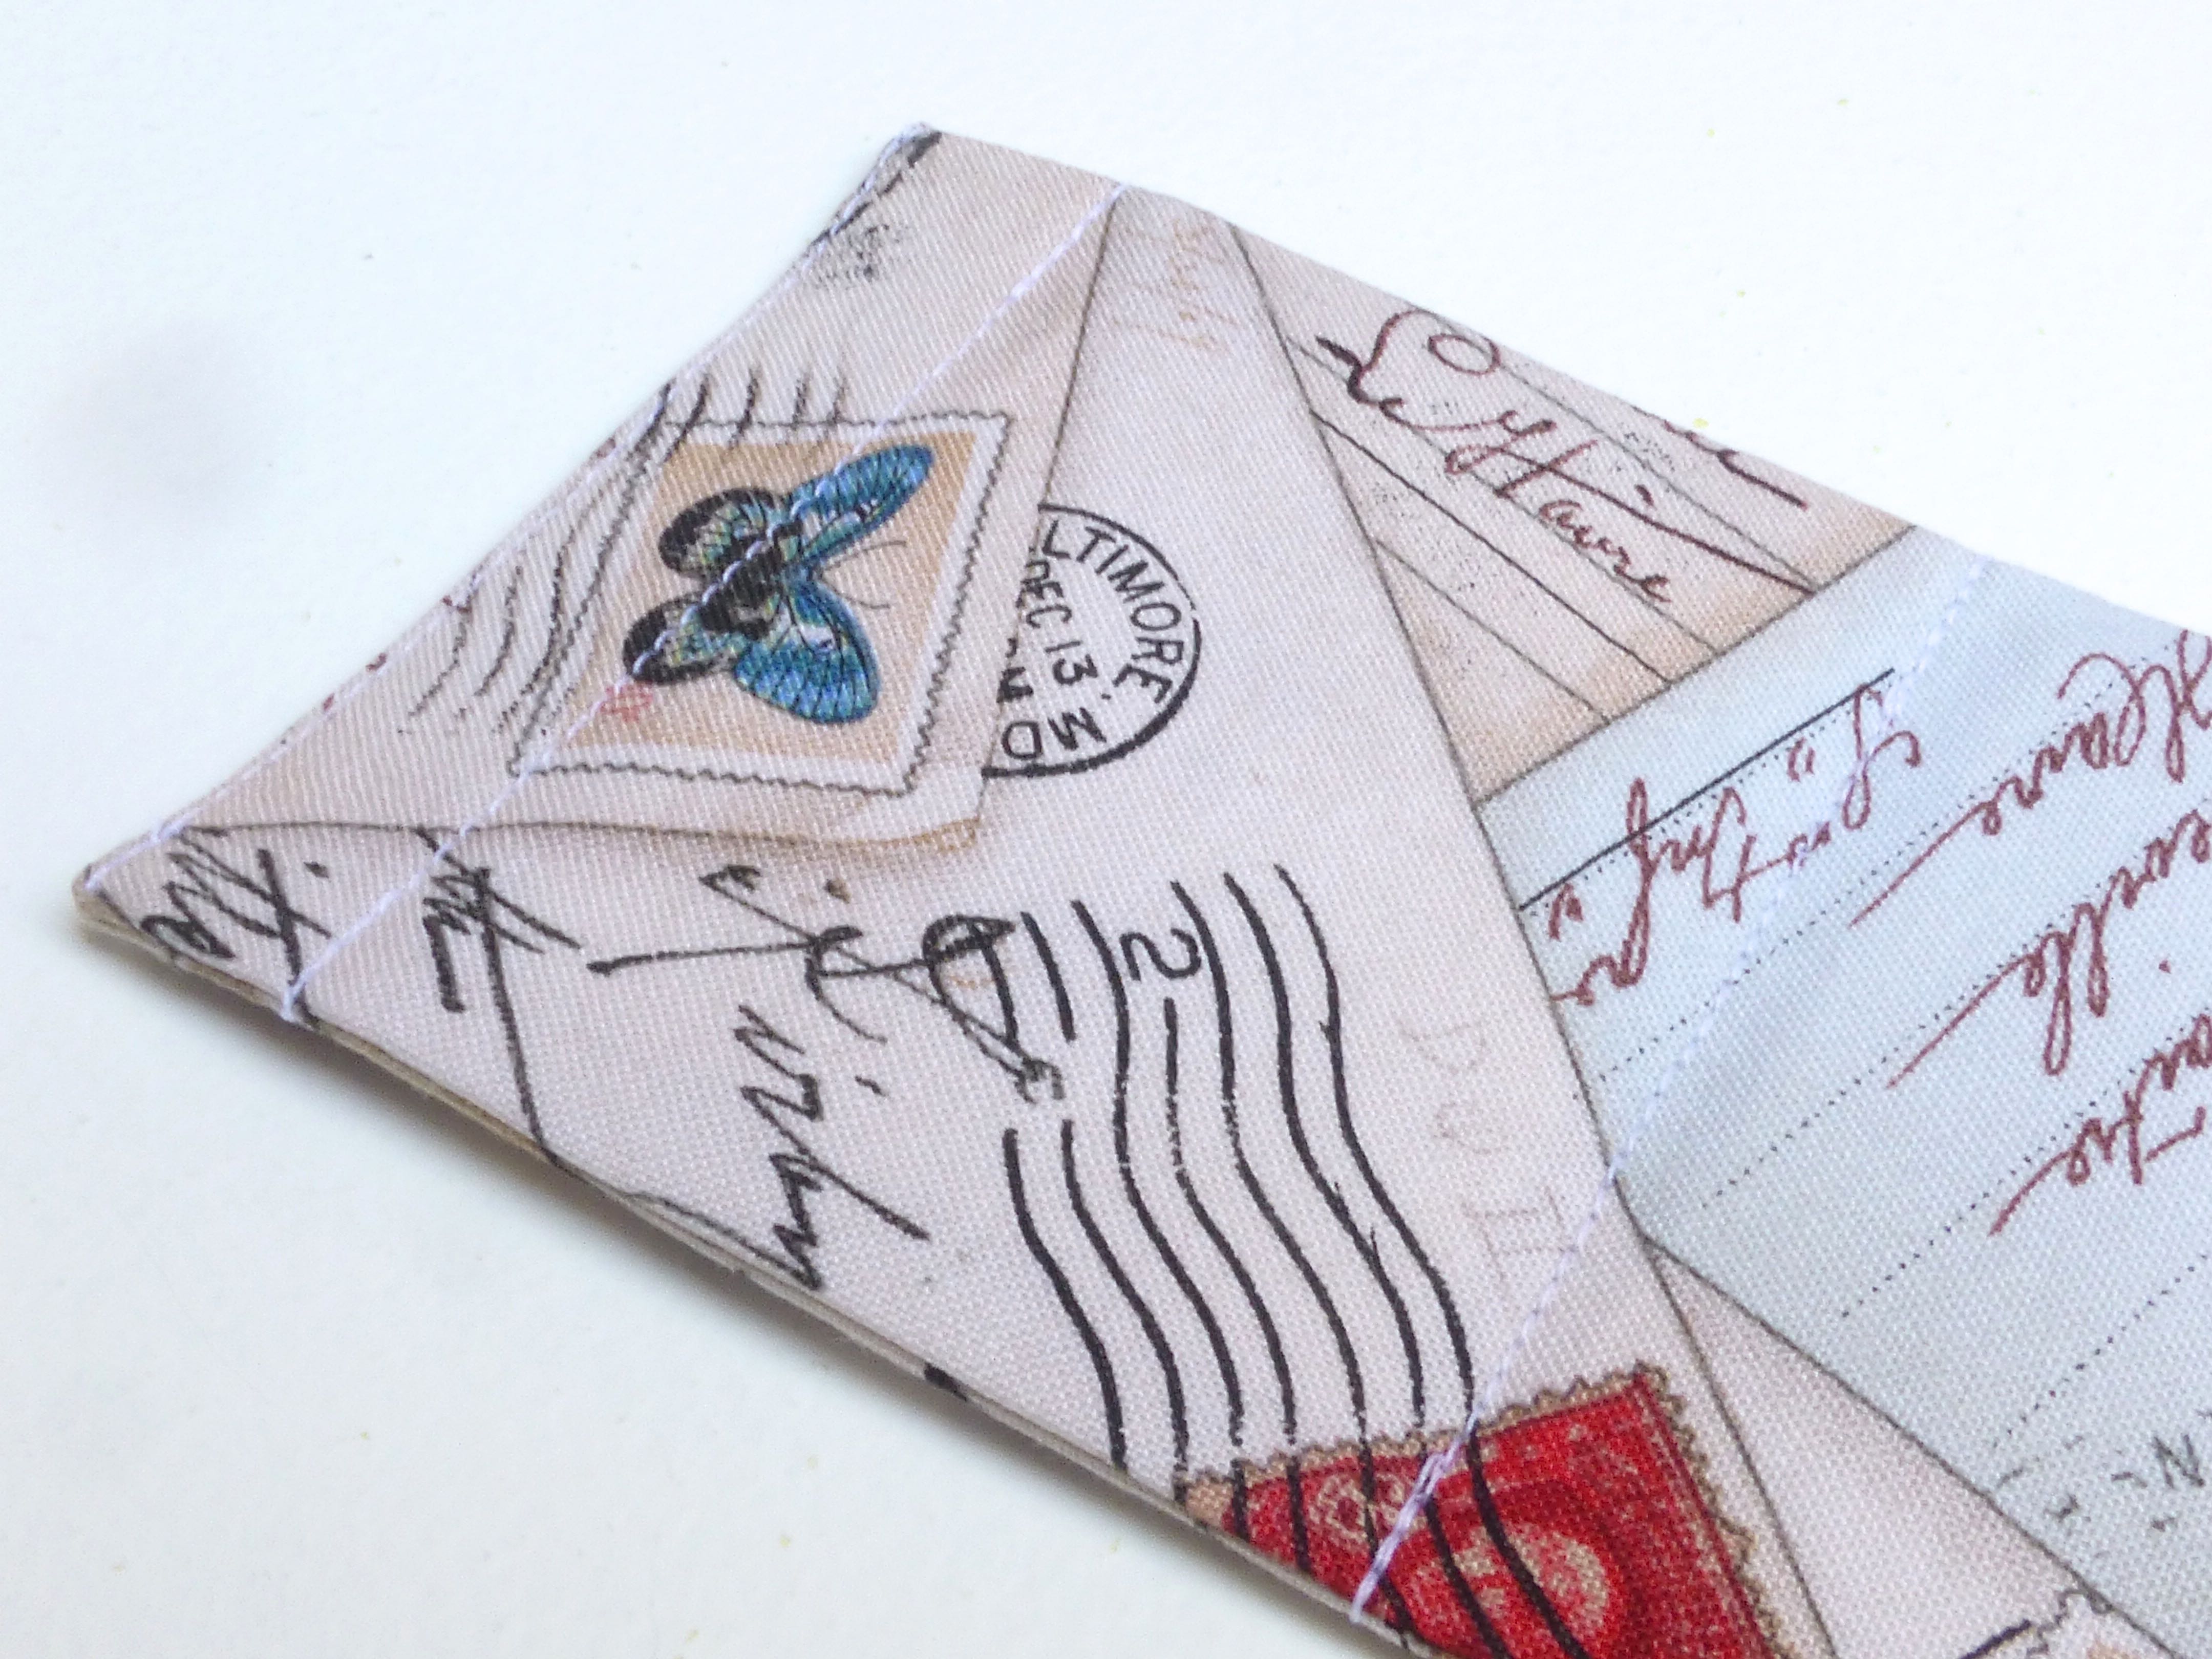
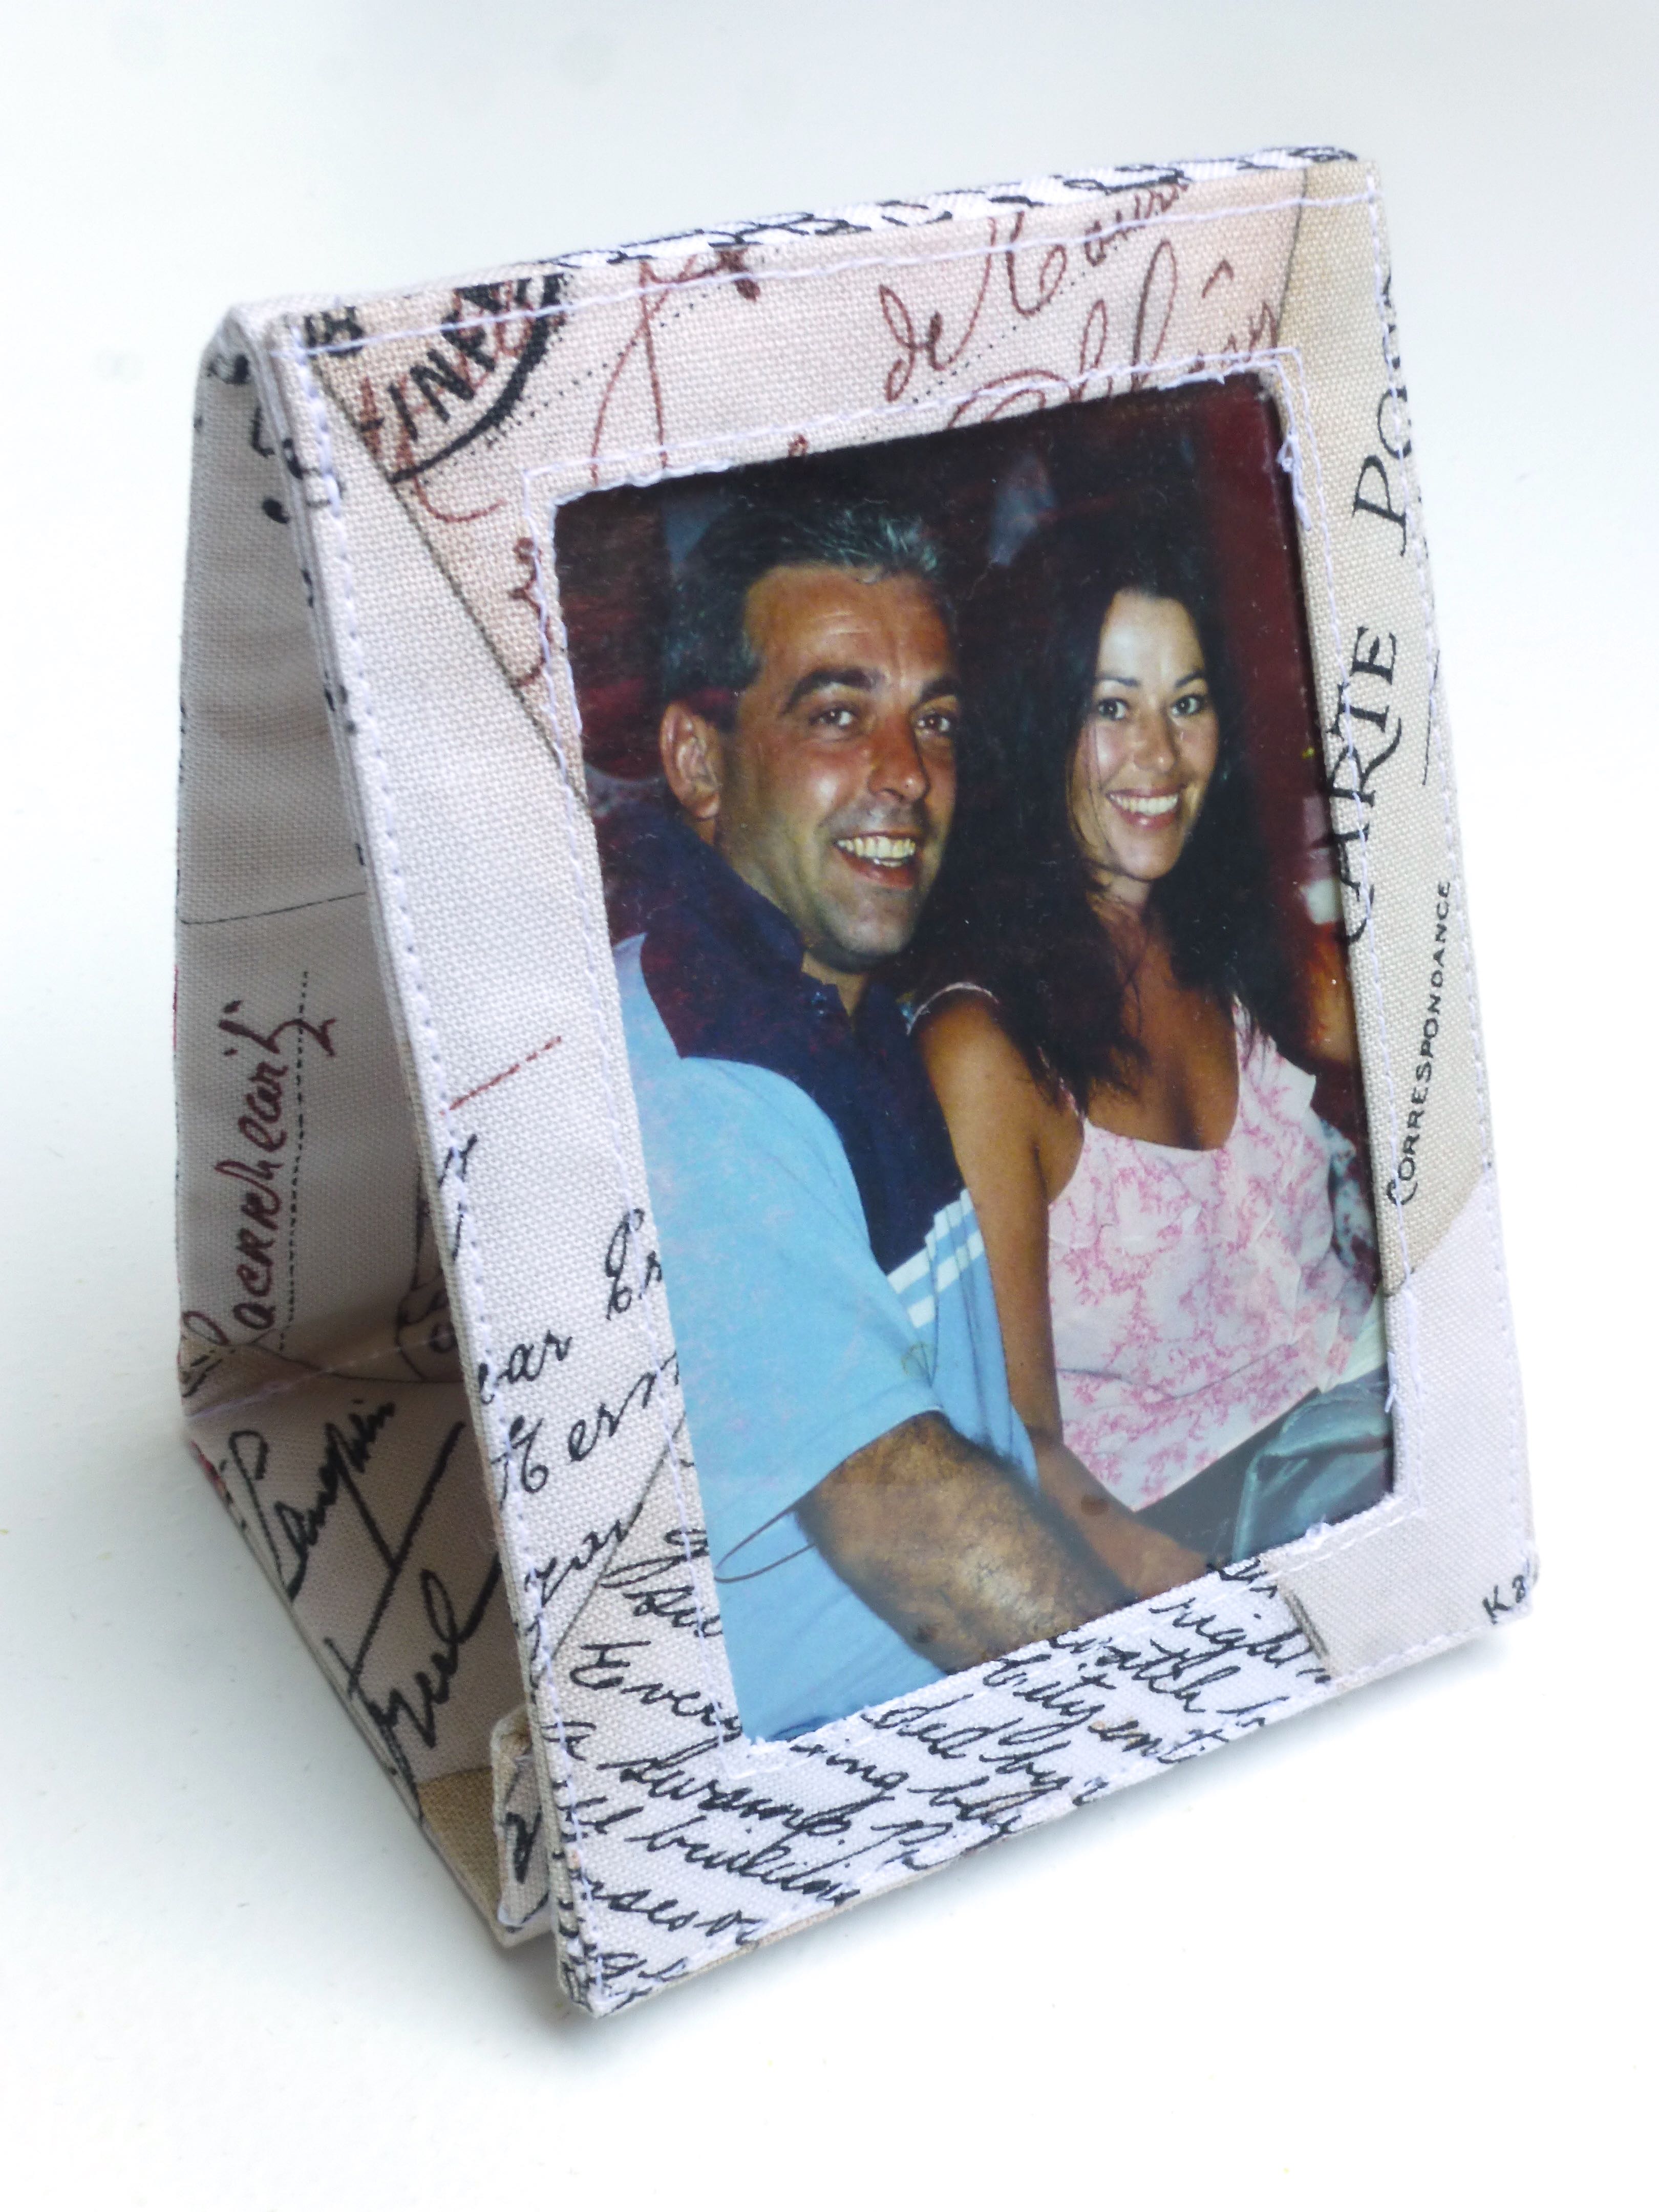
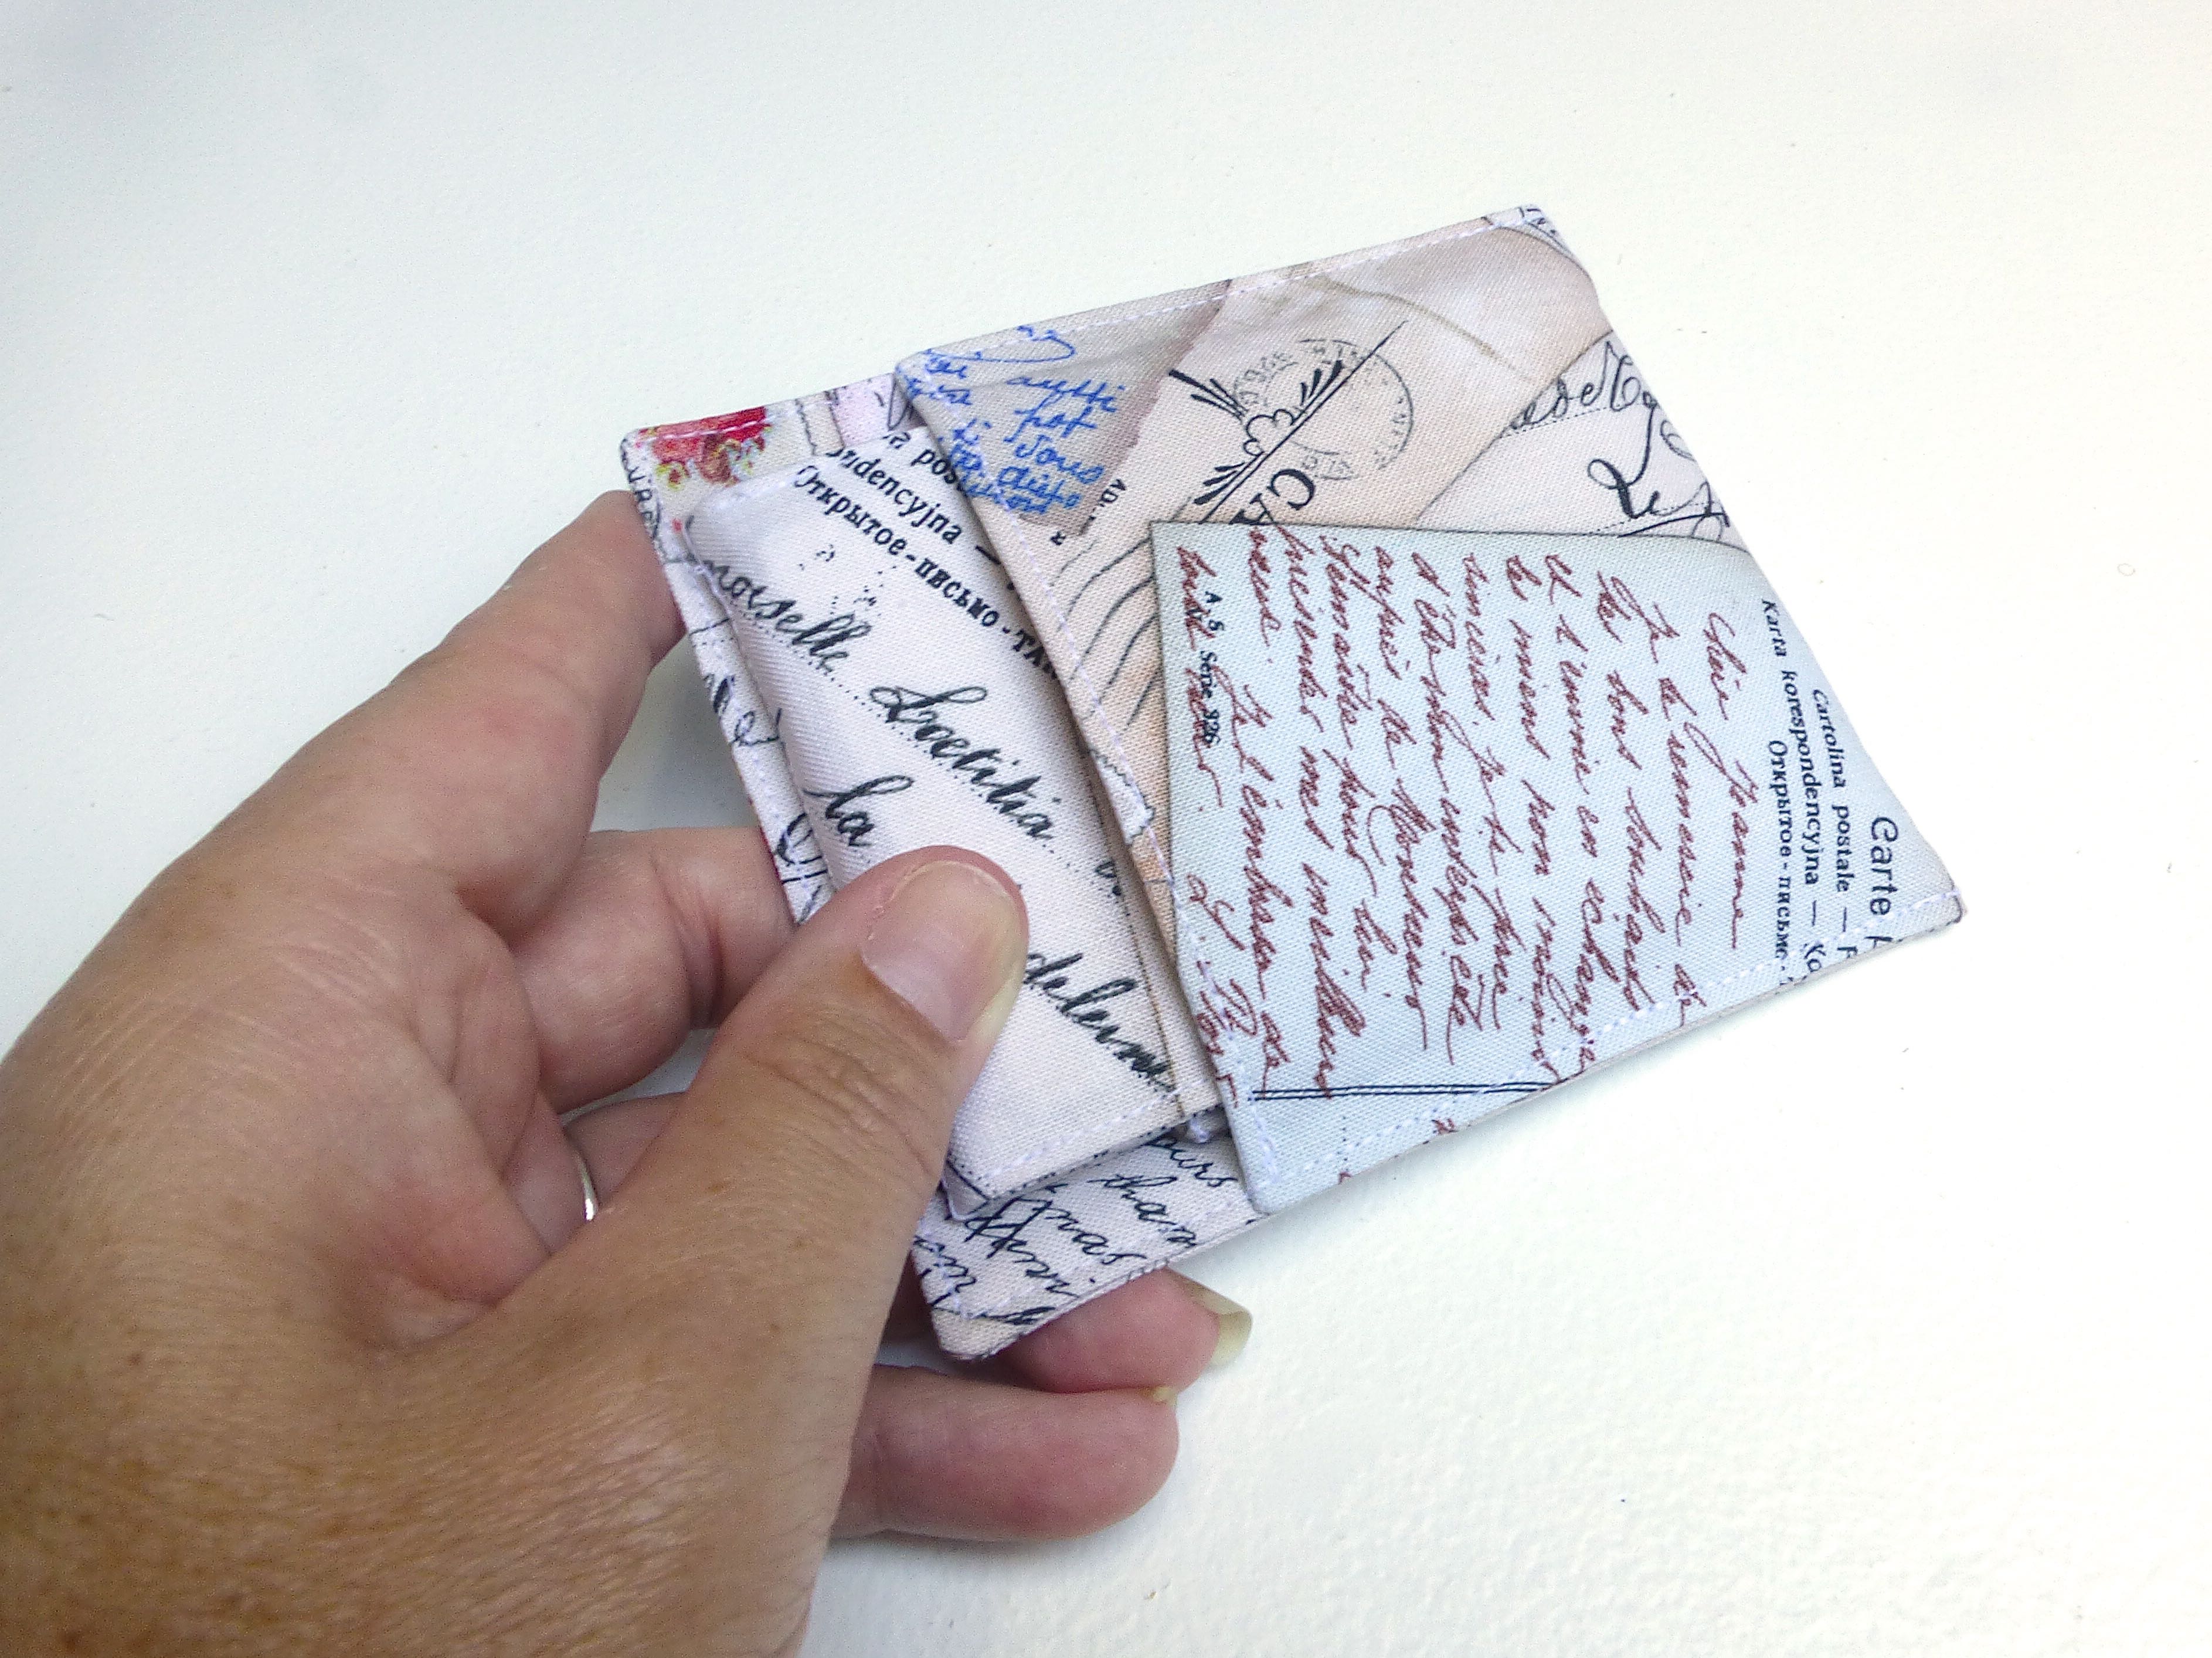
I took part in both the knitting/crochet swap and the sewing swap but, before I show you all the amazing things I received, I thought I’d show you the final handmade gift that I included in my sewing swap parcel.

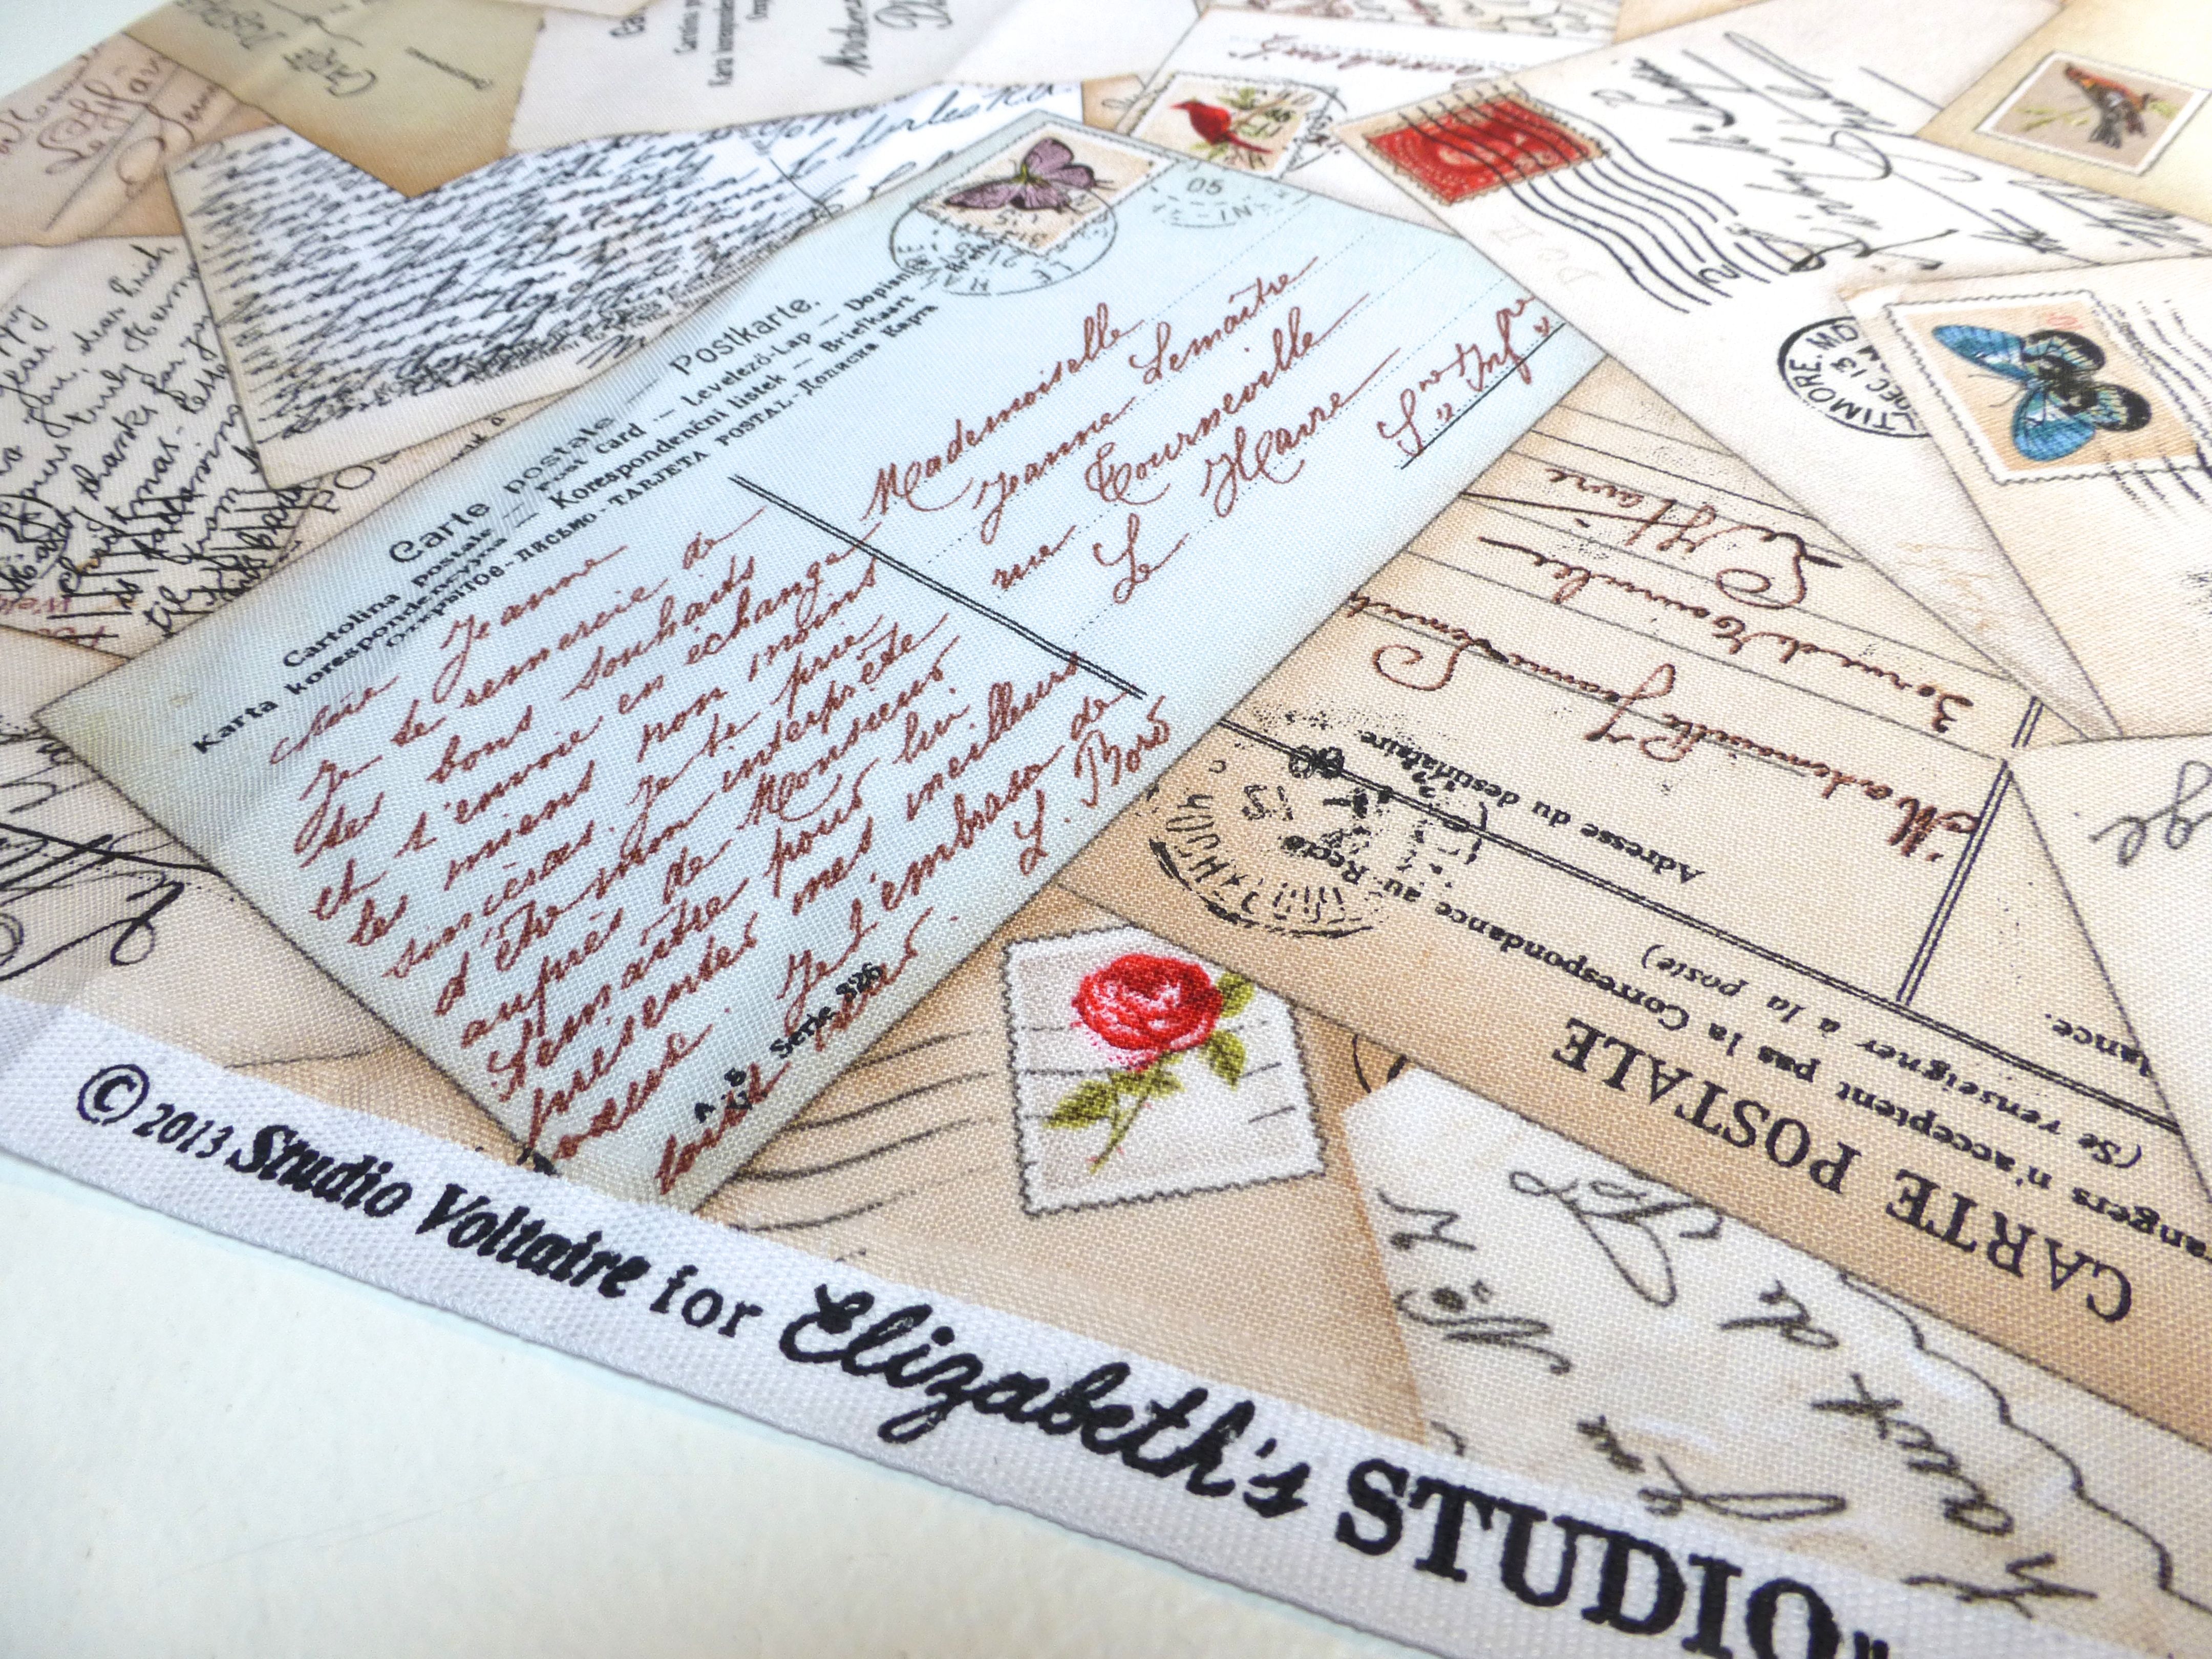
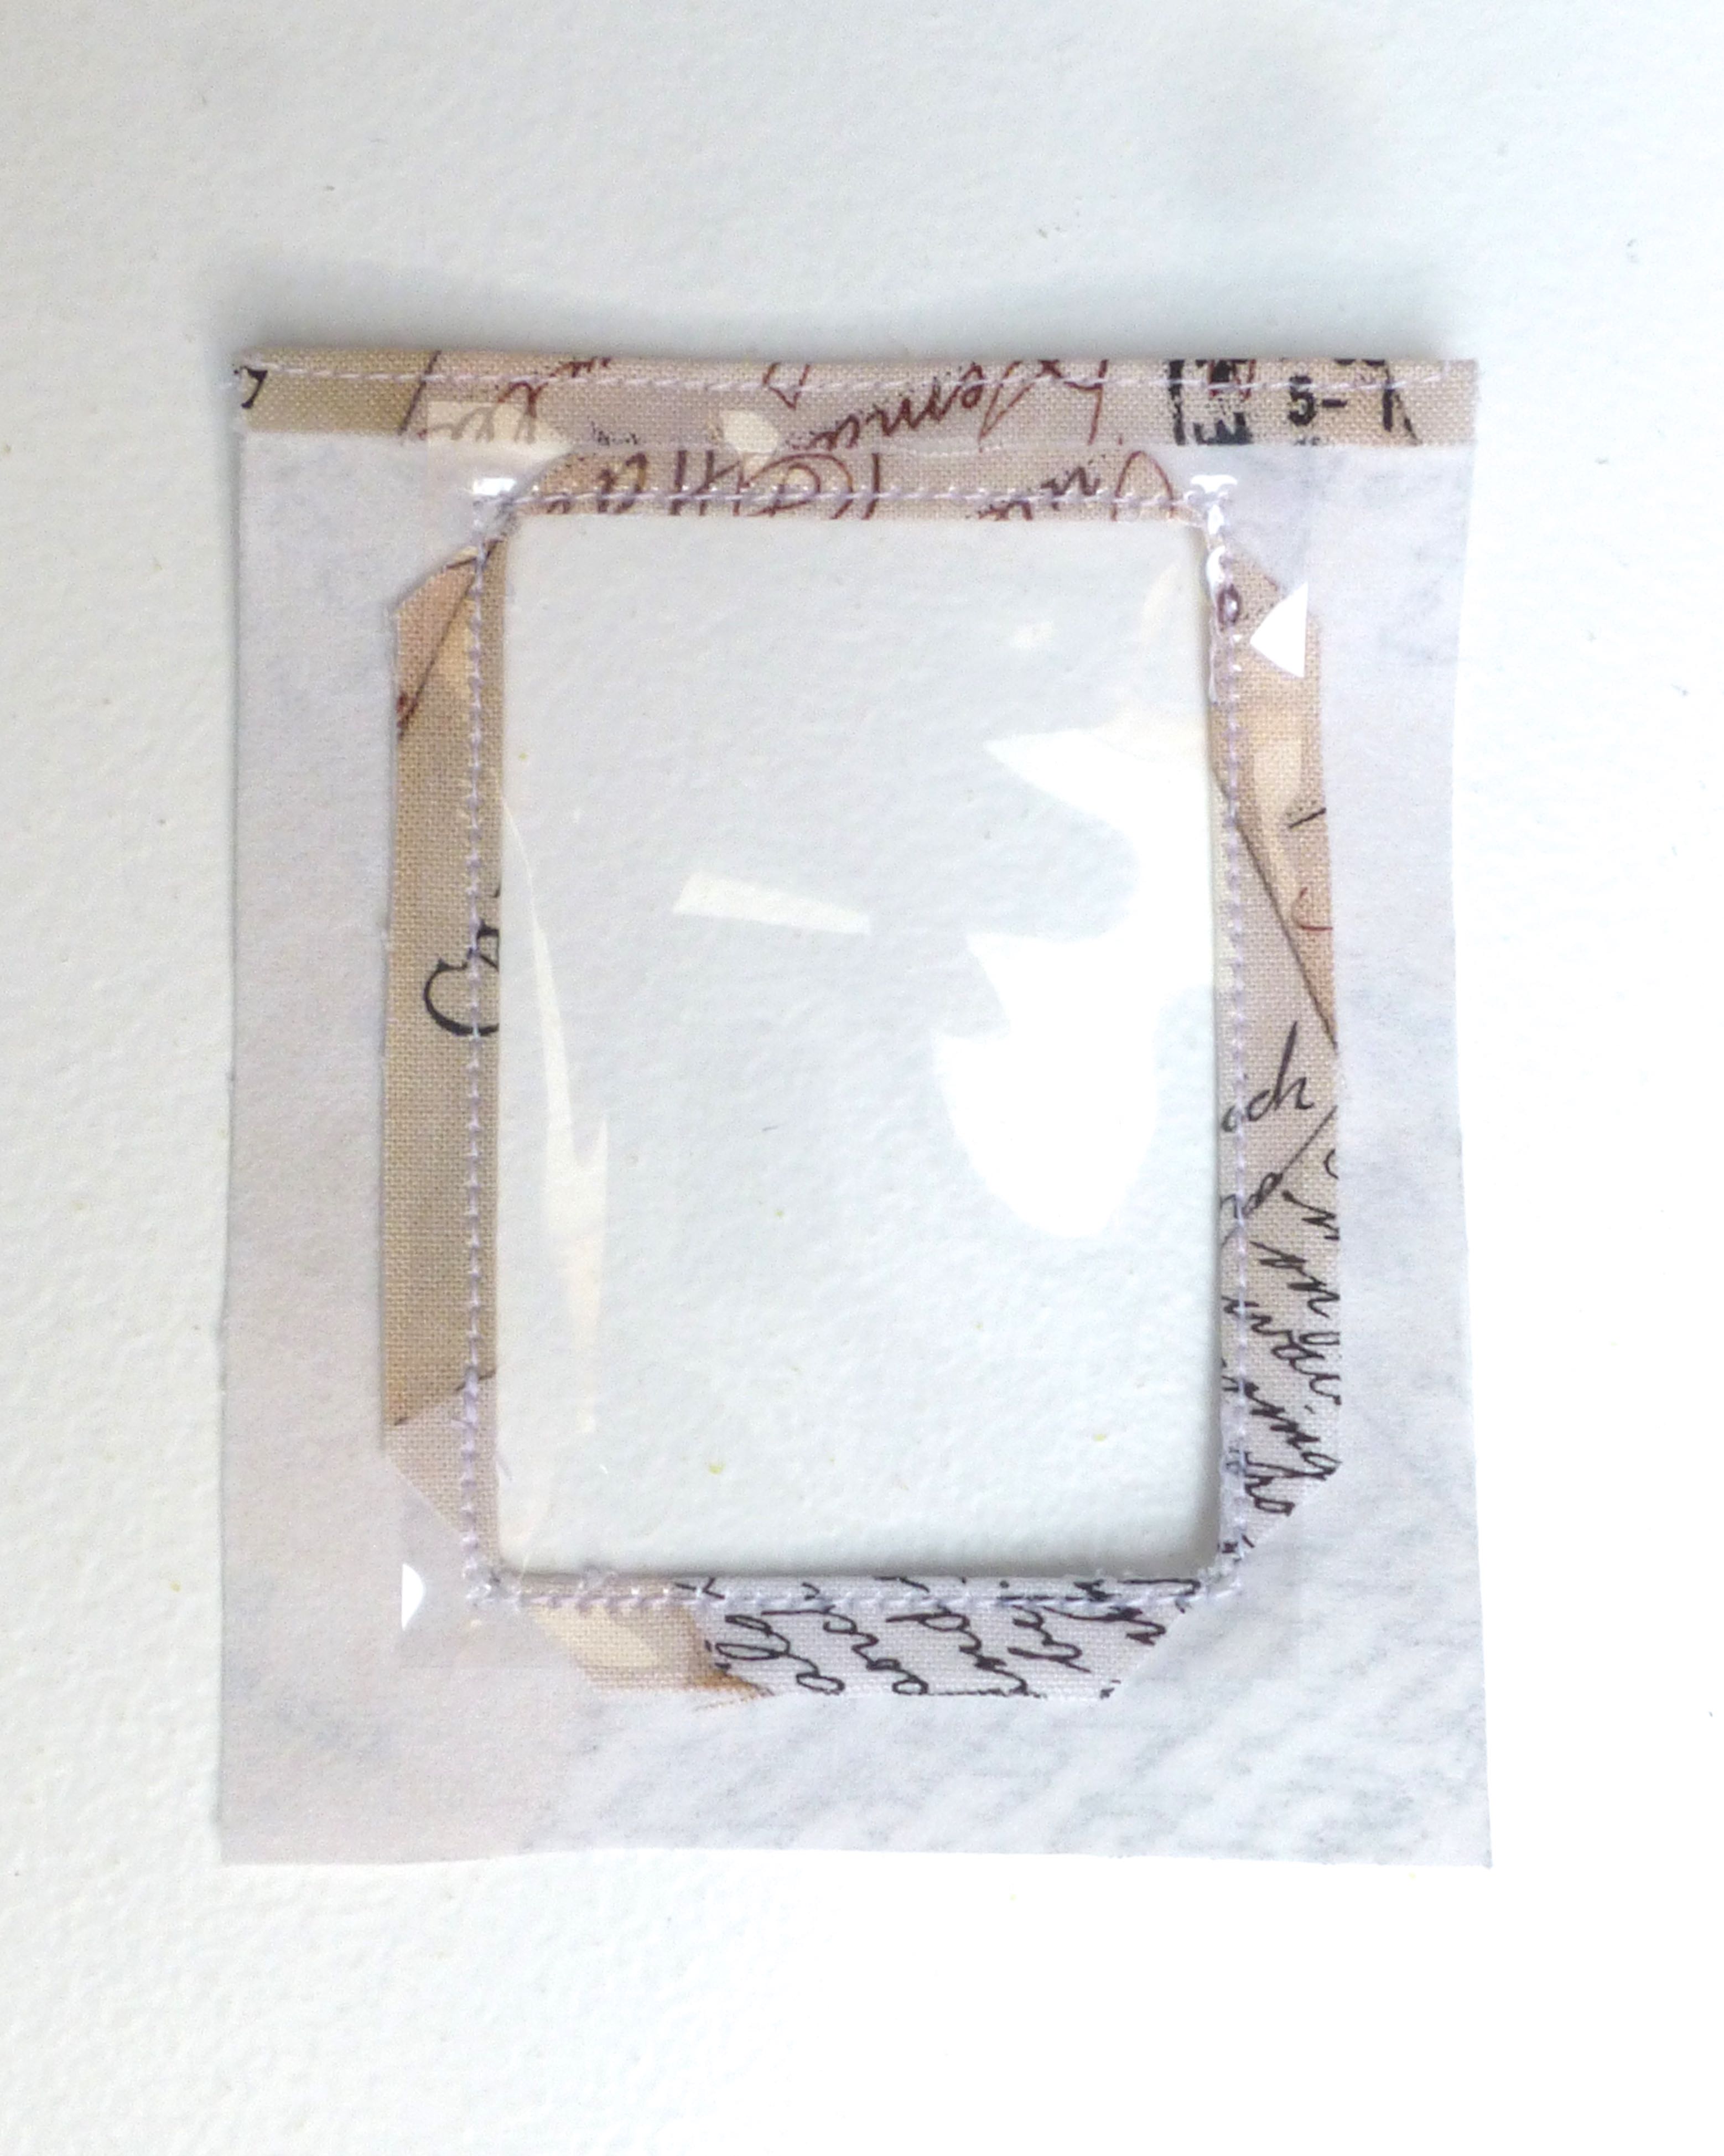
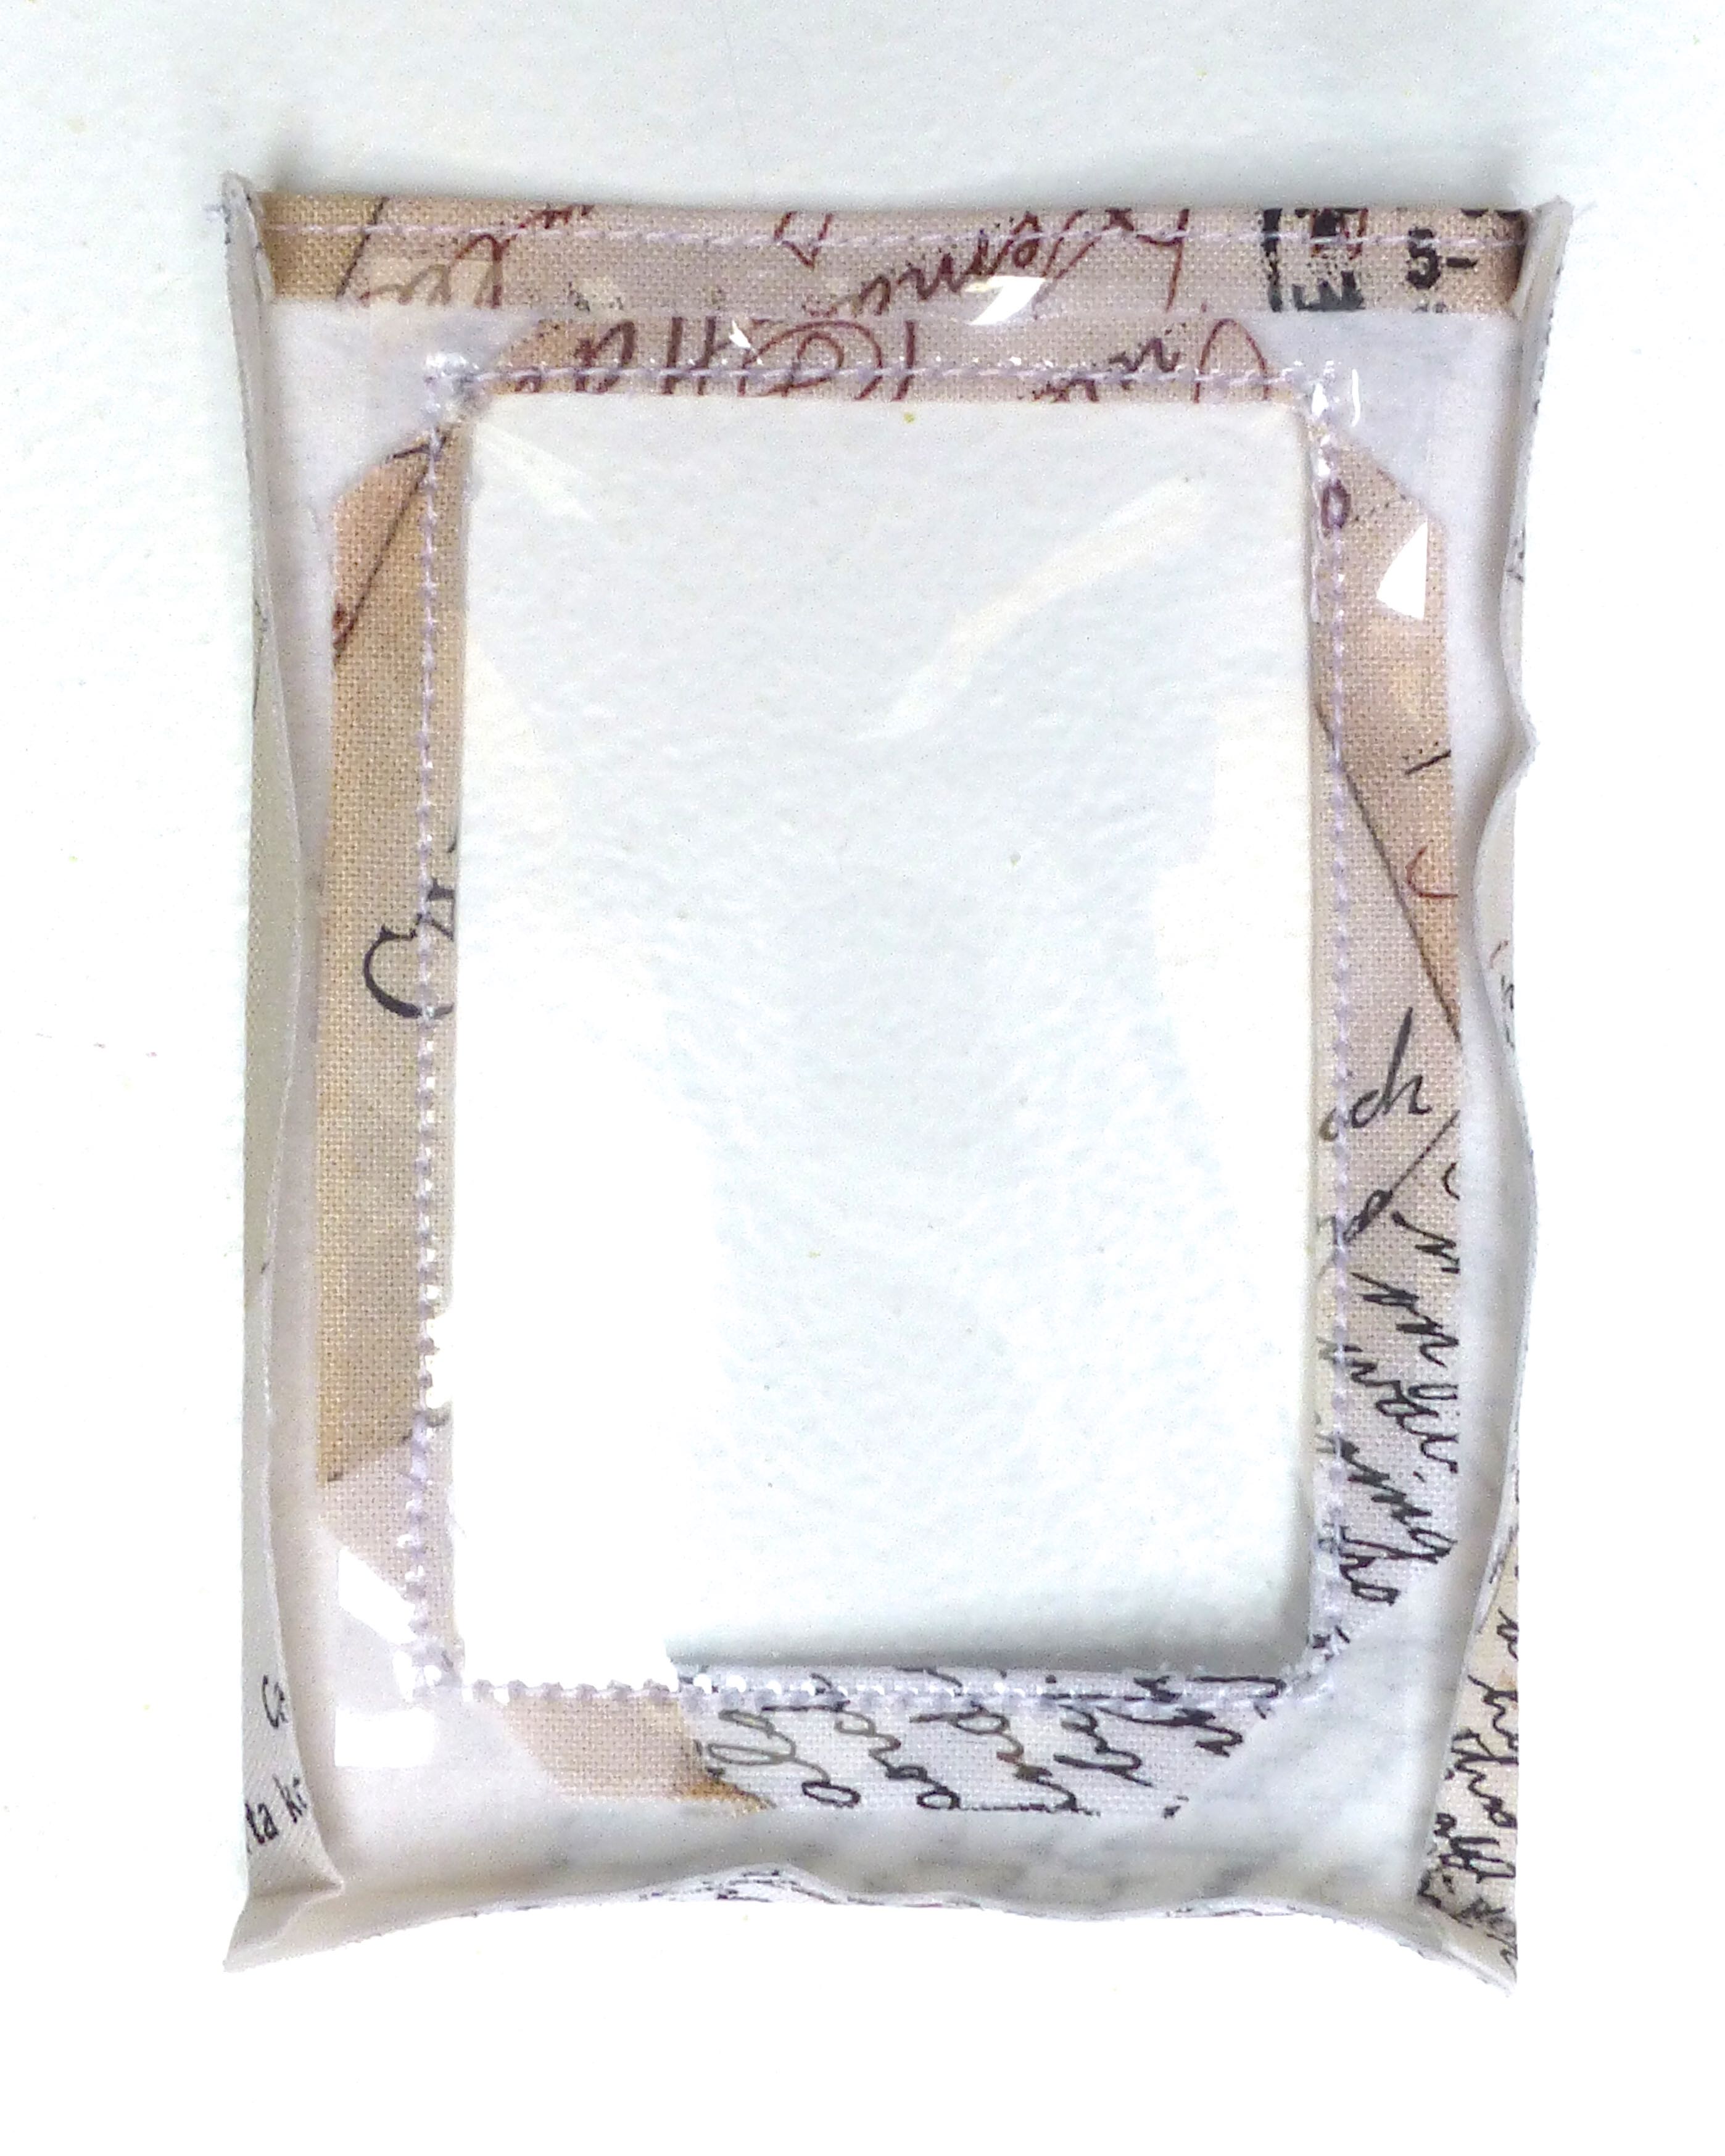
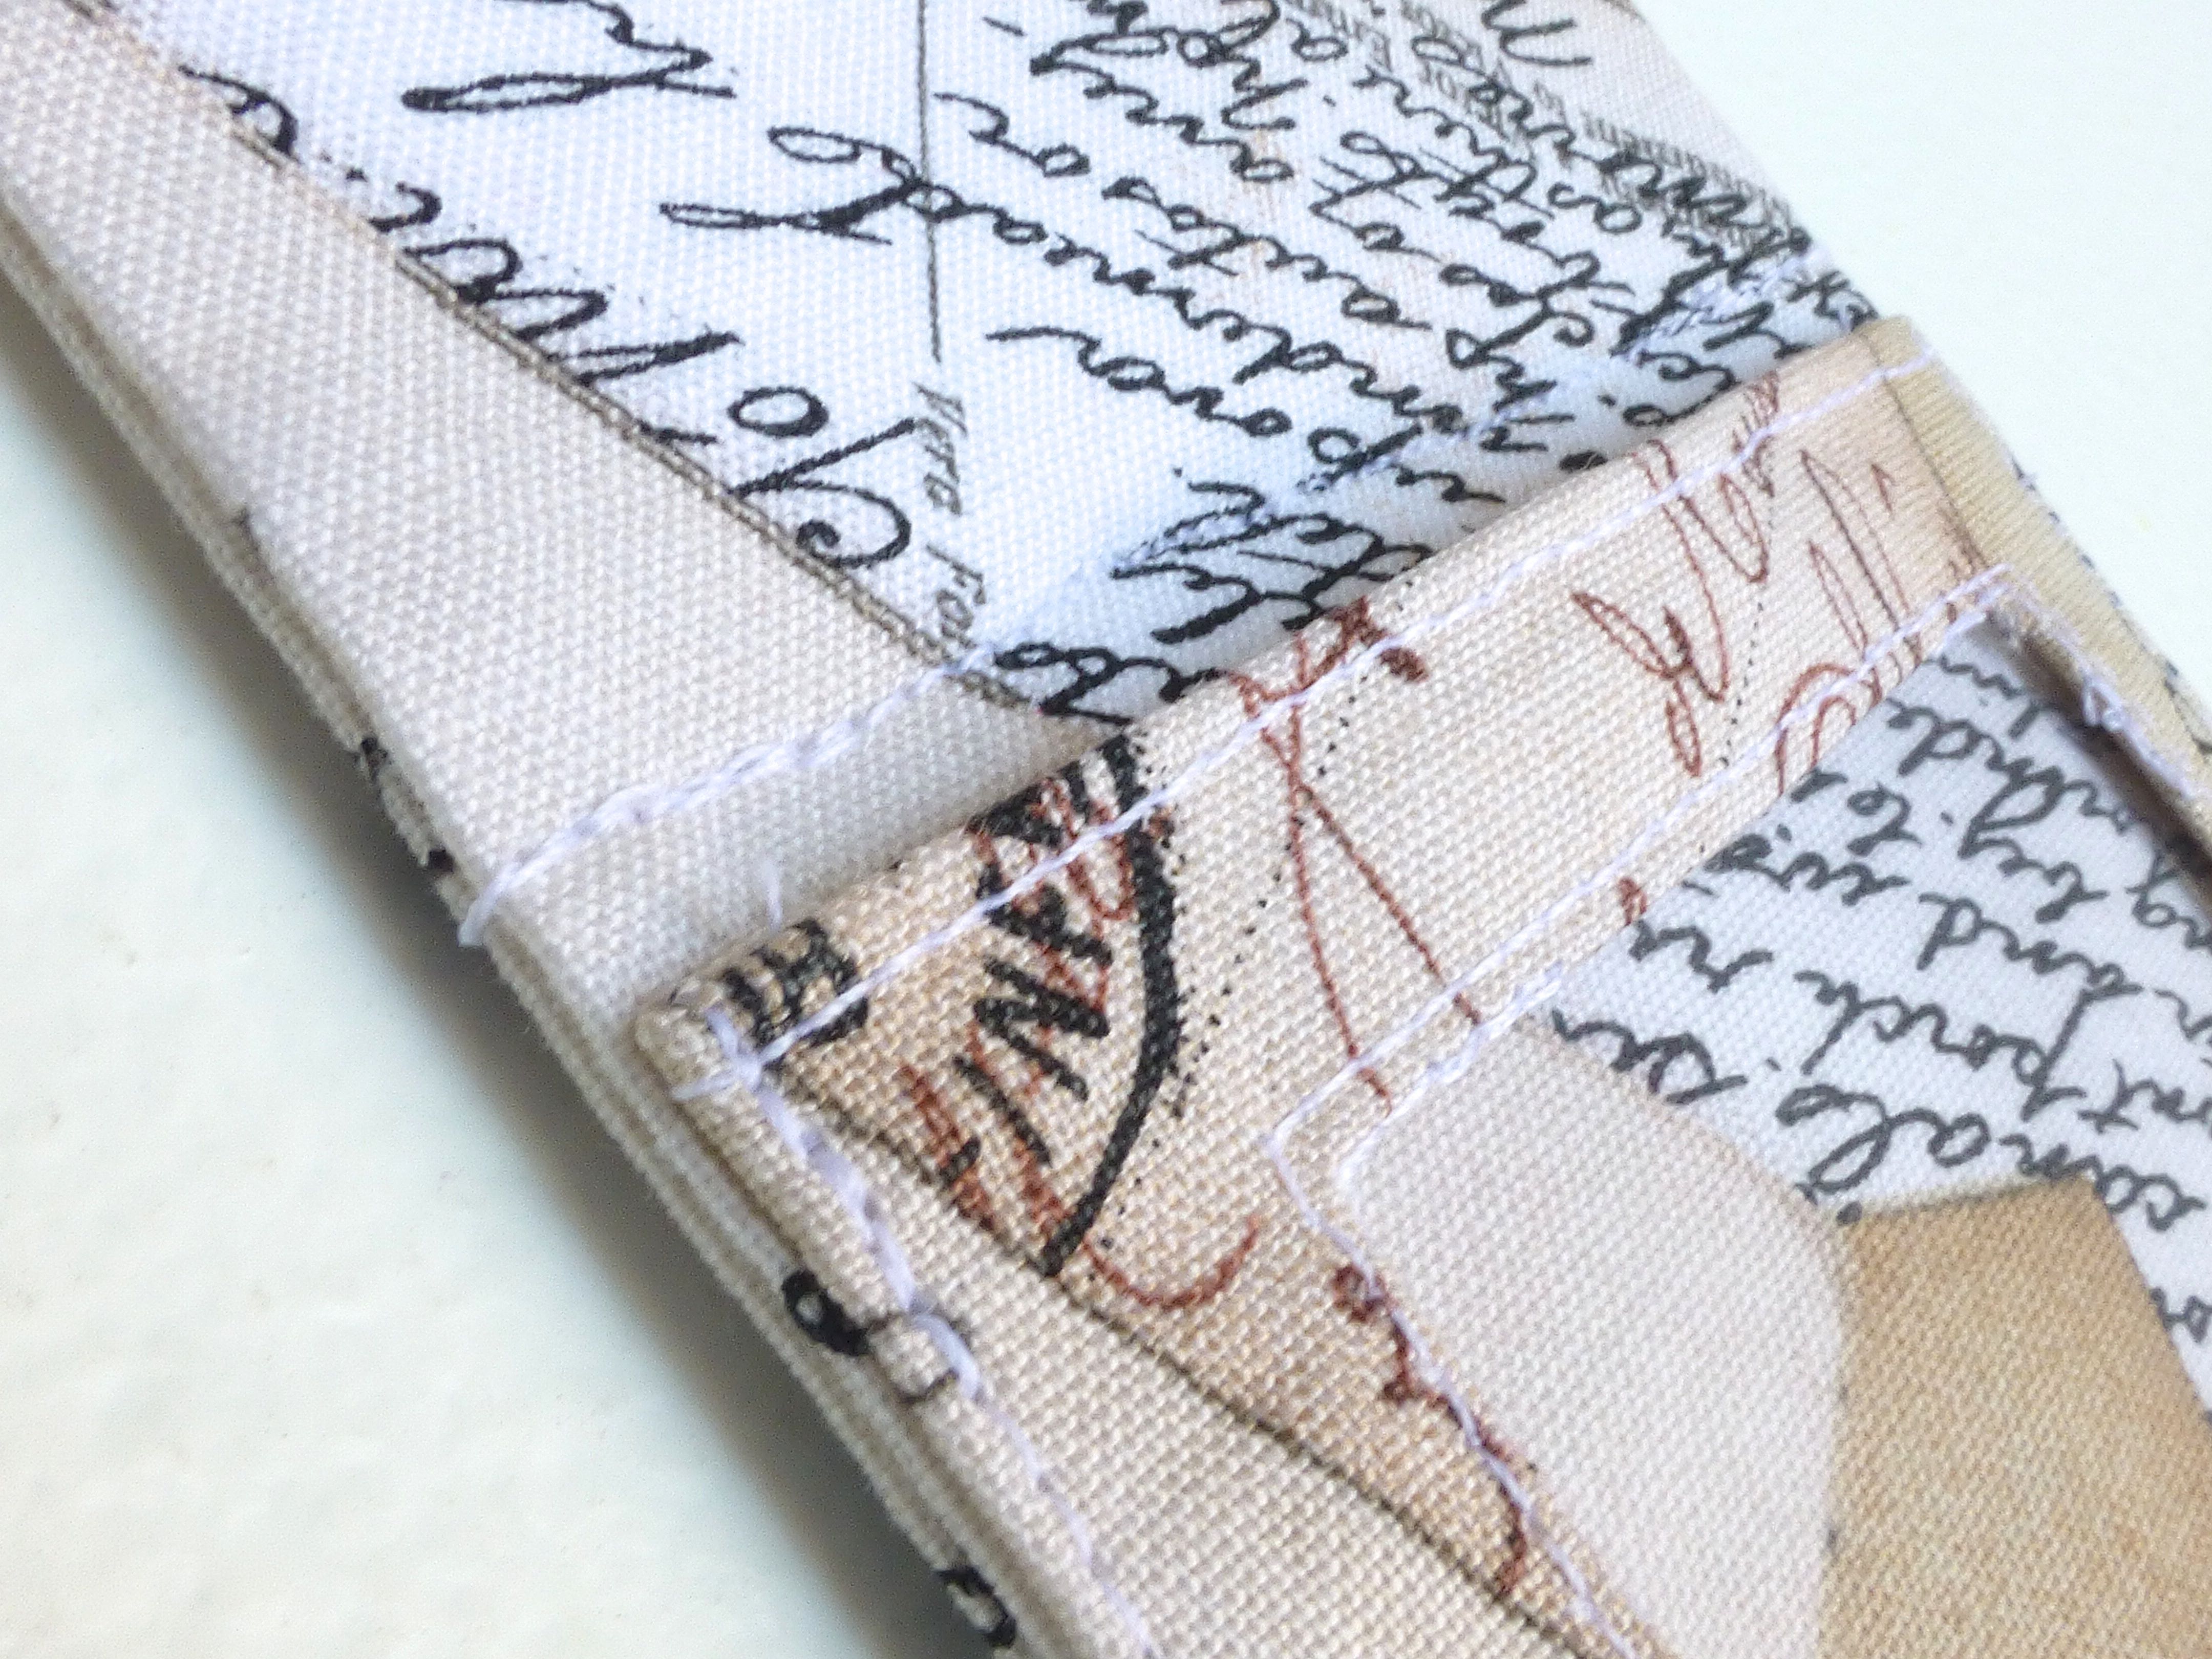
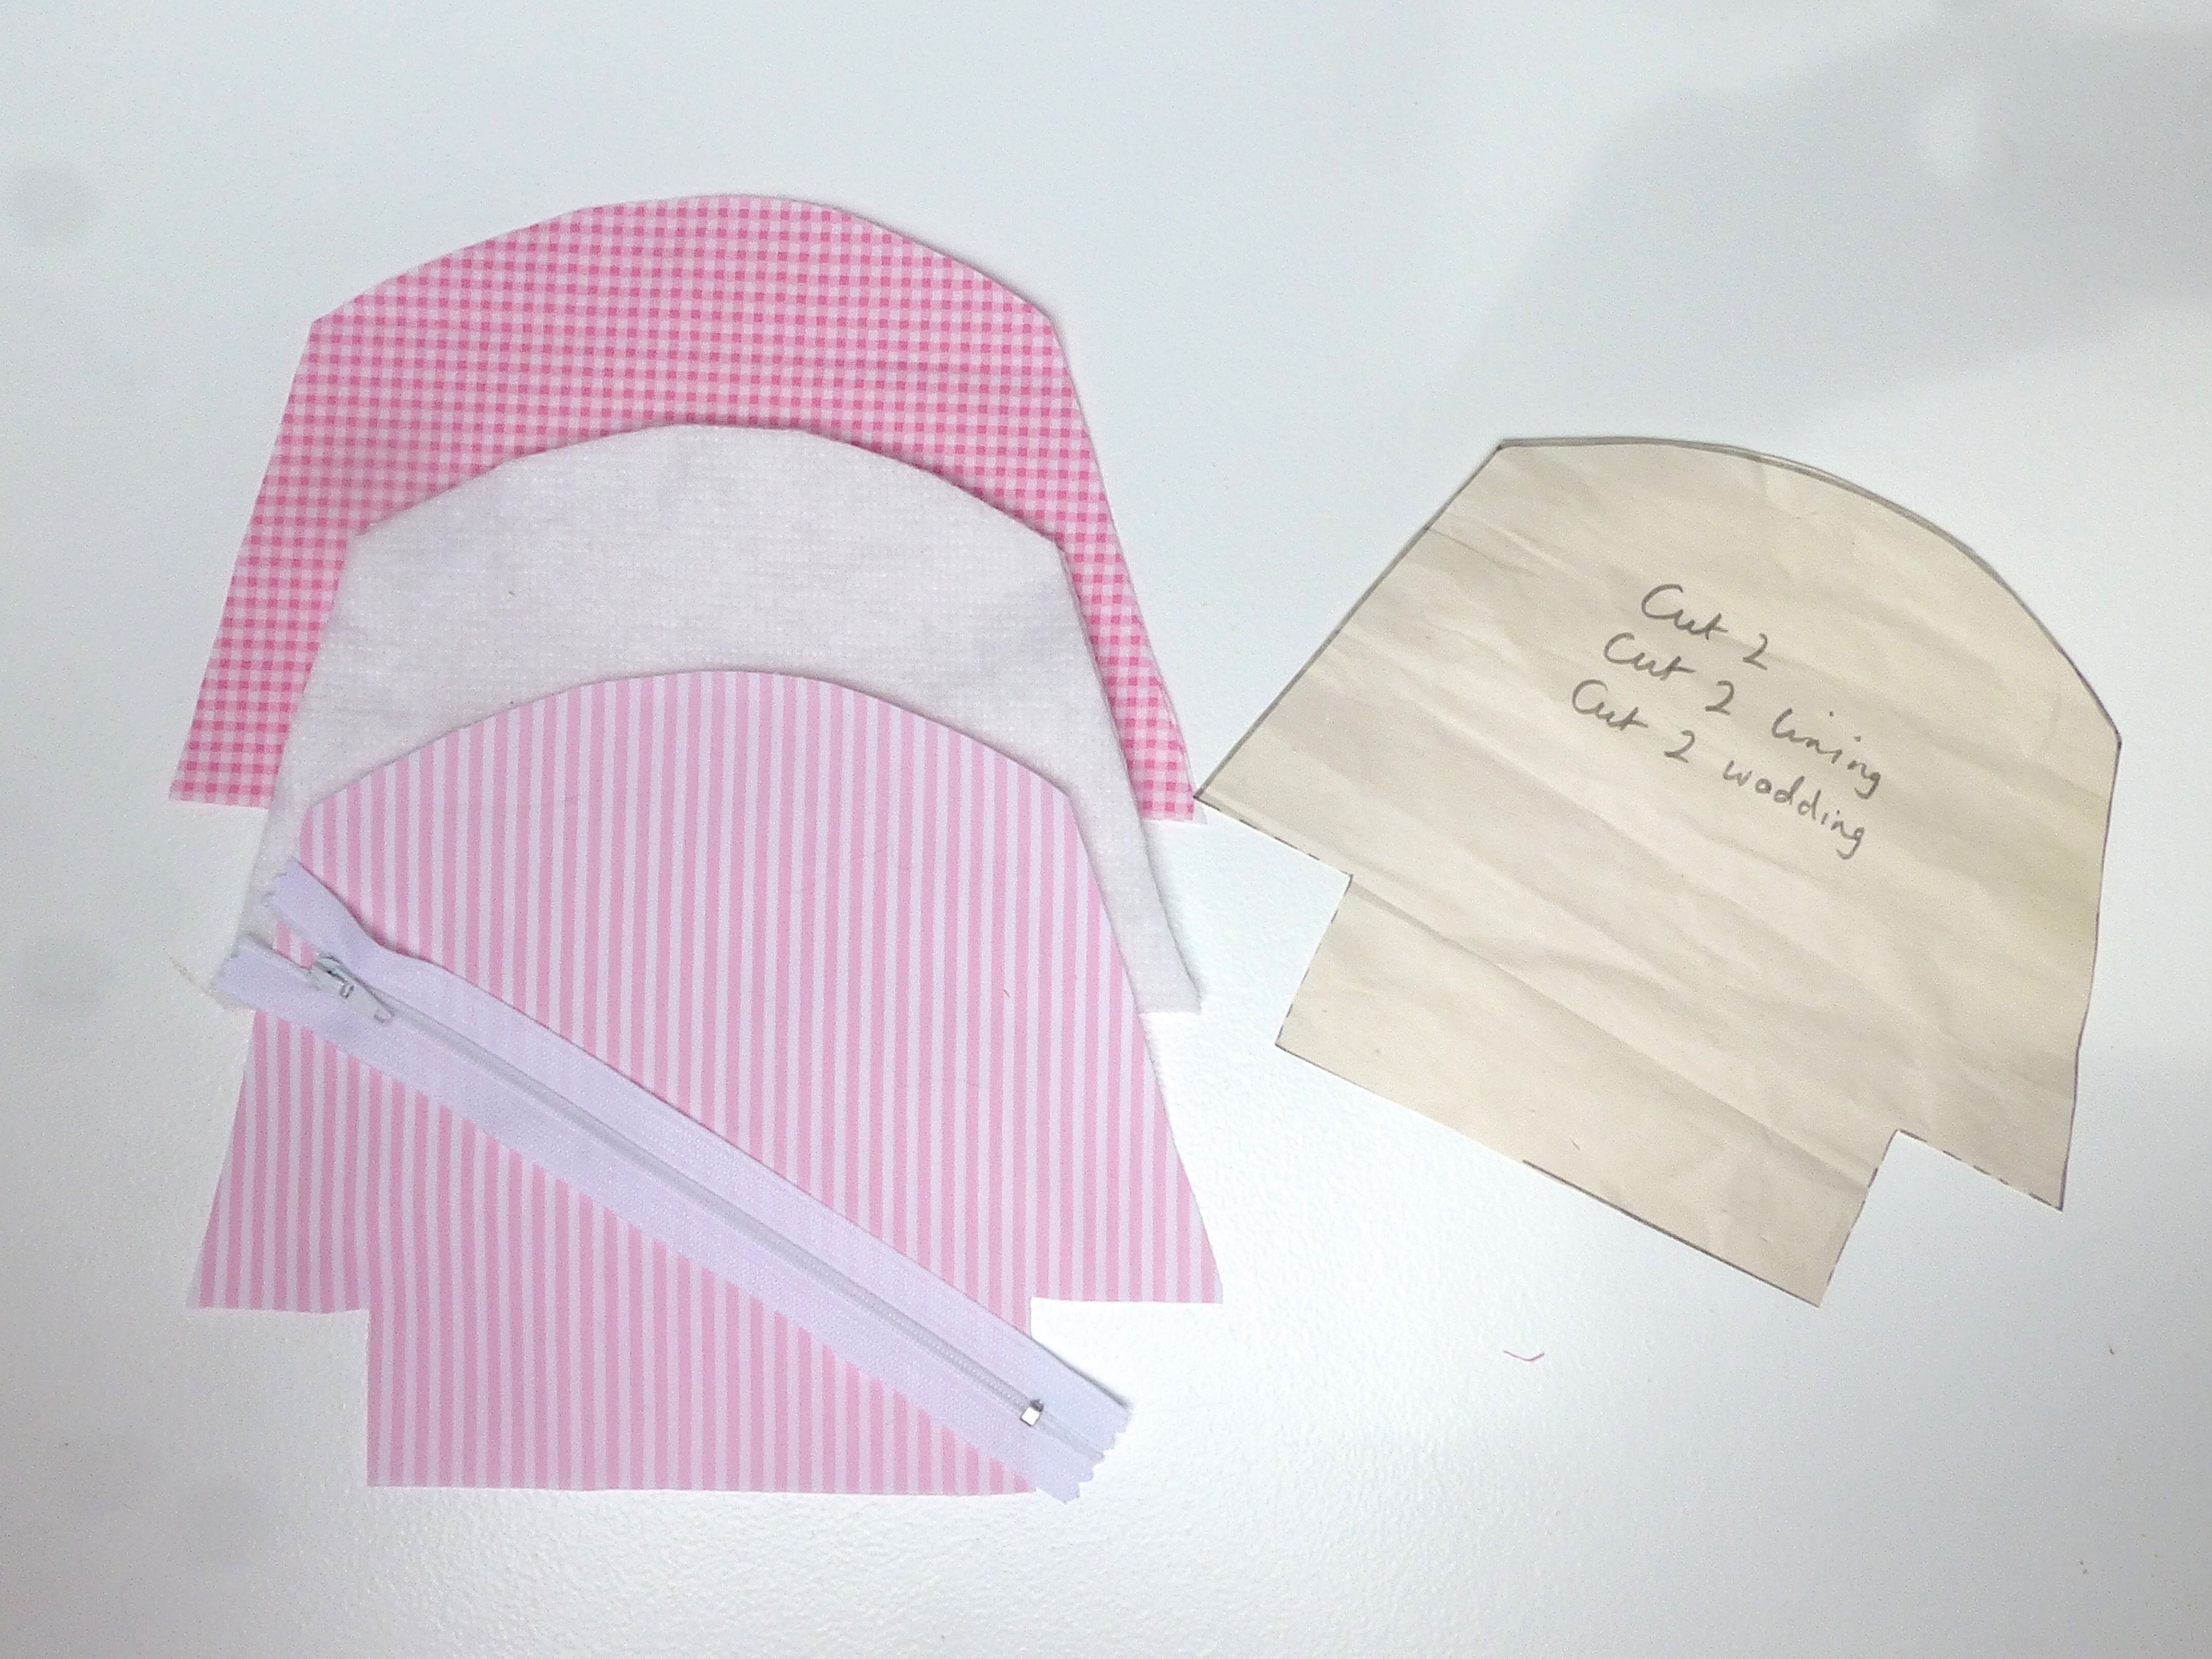
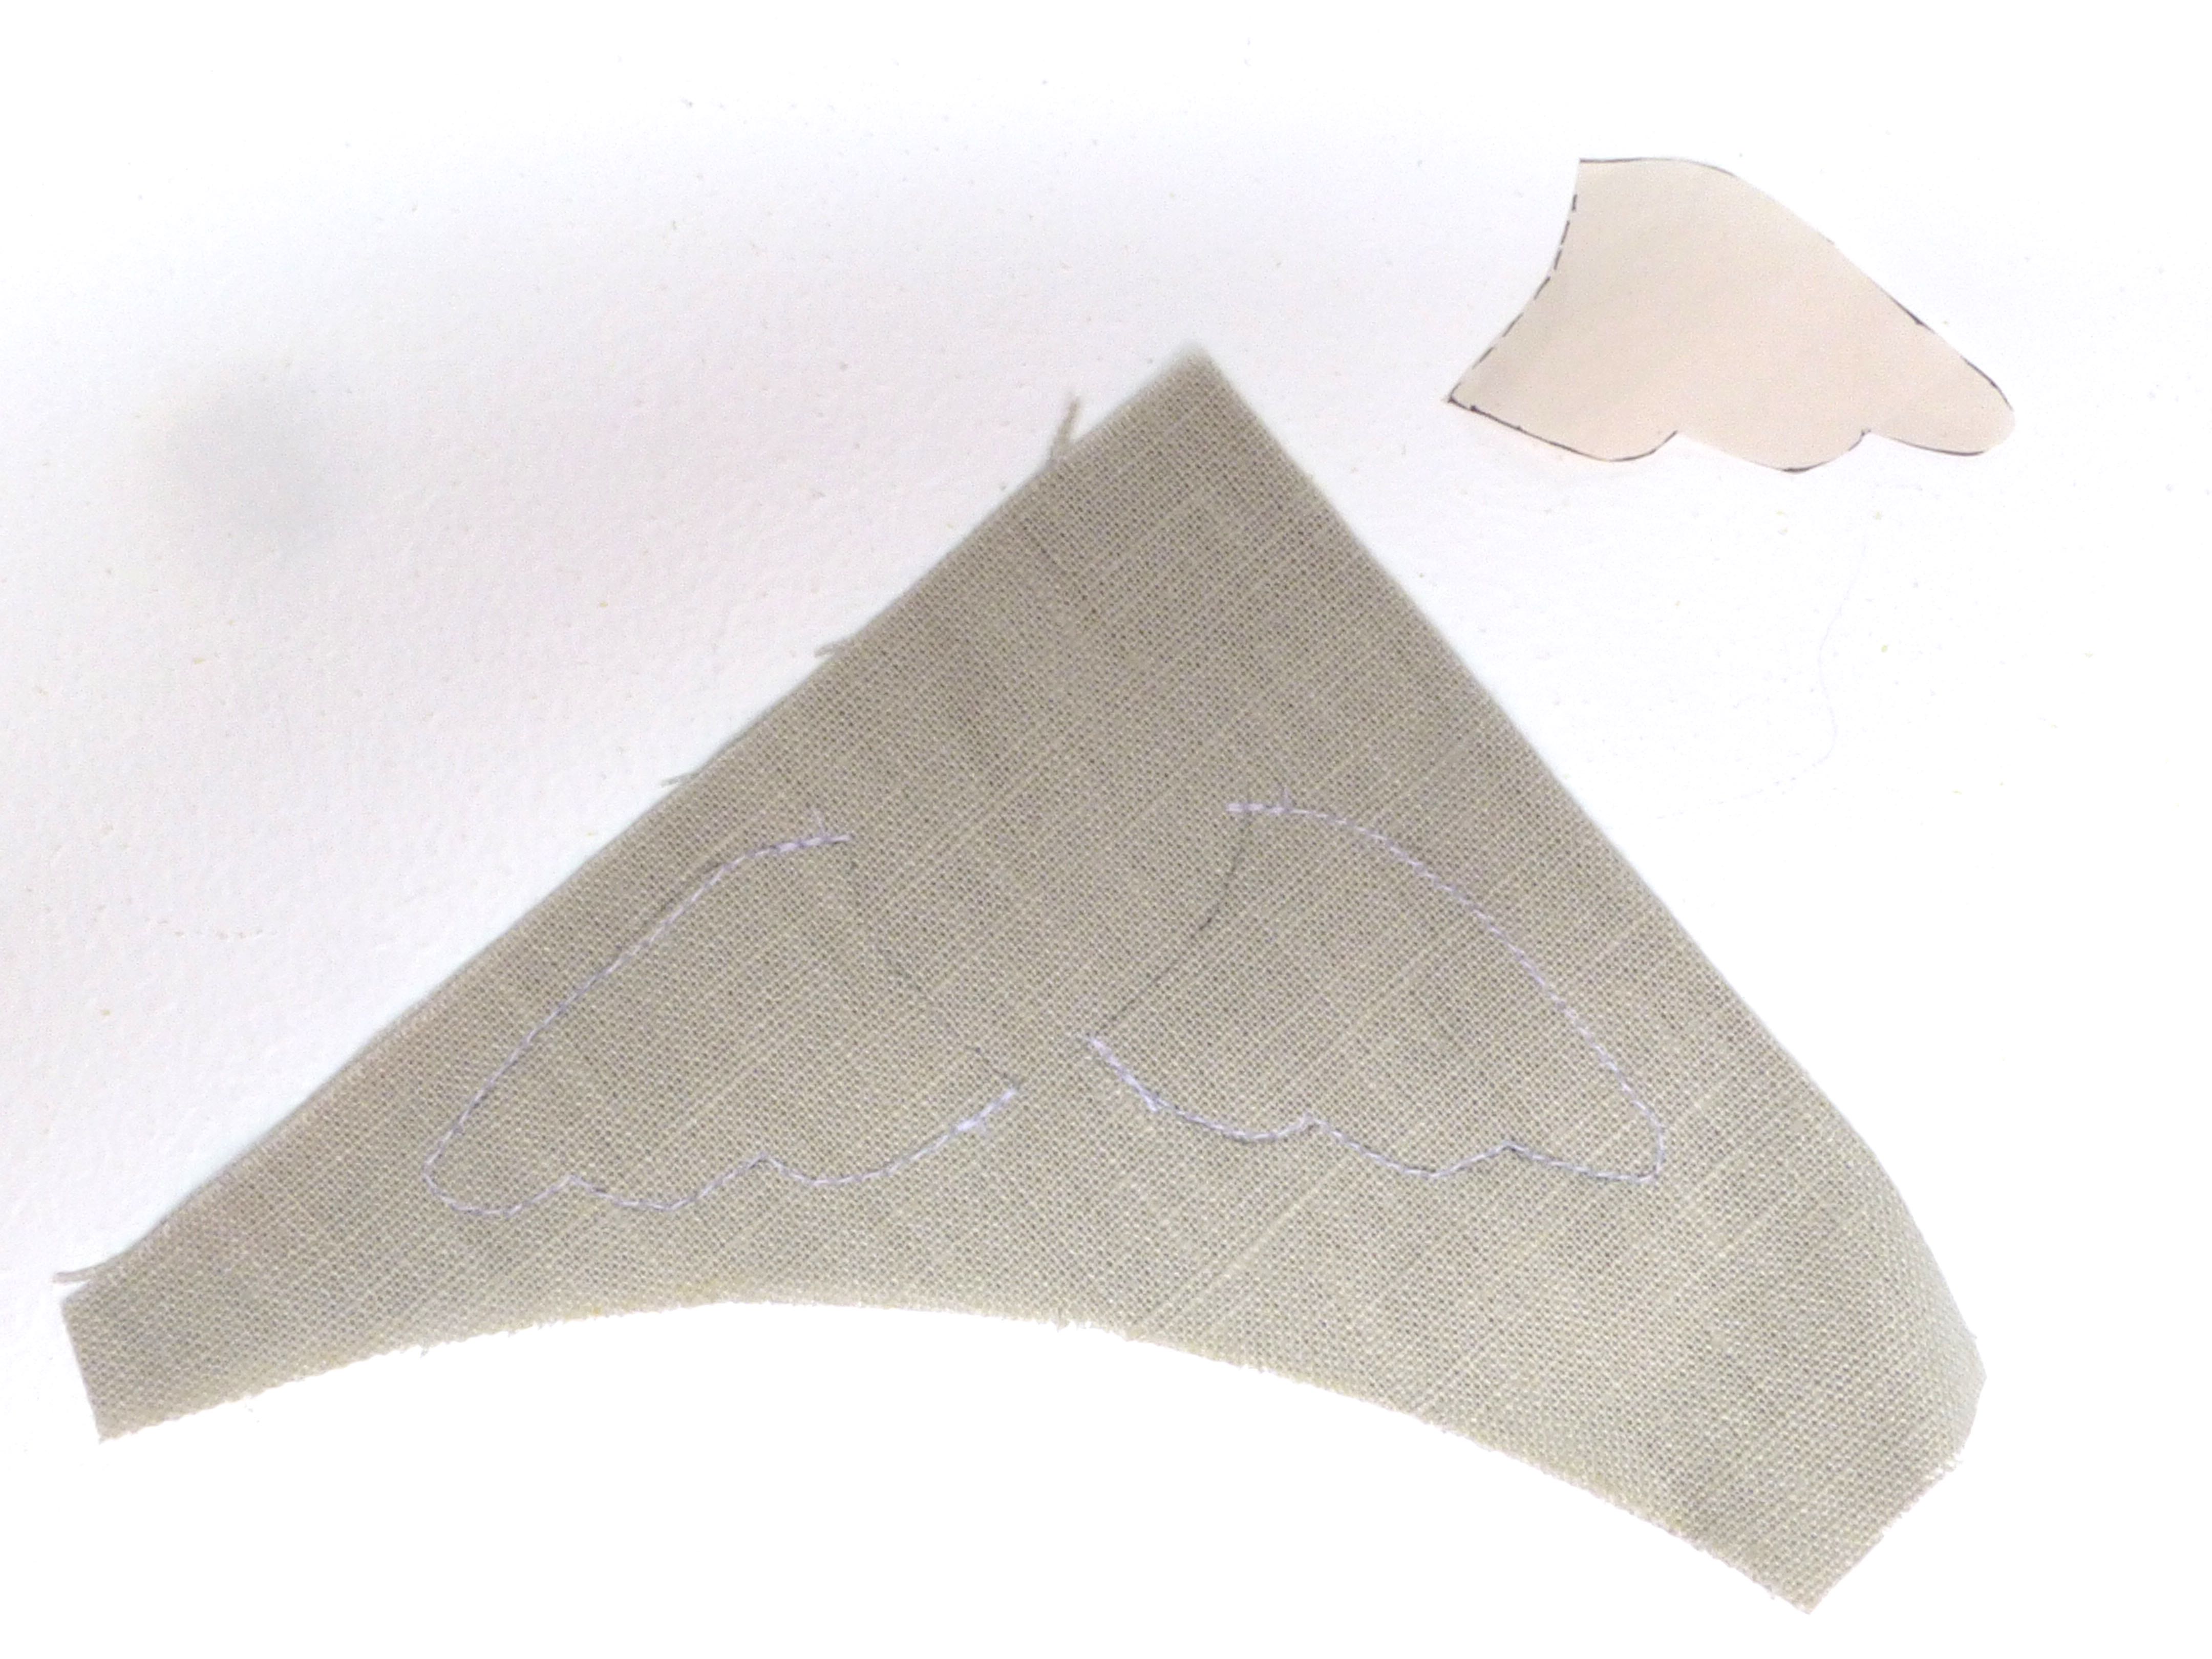
A hexagonal French ‘Cartonnage’ sewing box (pattern by Tialys on Etsy) which nearly didn’t get sent as I only finished it an hour before the deadline for Christmas post!

Cartonnage sewing box 3

It took quite a few hours of construction over a week or so to complete, the glued parts needing overnight to dry before moving on to the next bit.

Cartonnage sewing box 1

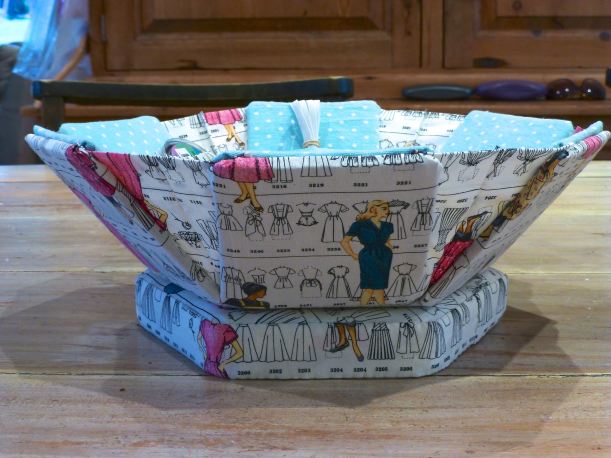
It’s a lovely pattern though, and I thoroughly enjoyed making it – I first saw it on Lucie’s blog as she was a tester for the pattern before its release and it is designed by the talented Lynn who blogs over at Tialys.

Cartonnage sewing box 2

The box made it into the parcel along with the other things which I blogged about here and was posted to the loopy-but-lovely Ali, better known by many of you as THIMBERLINA.

stitching santa

Below is the bundle of presents (blogged about here) that went off to my knitting swap recipient, Pippa, from Beads & Barnacles.

The first I knew of Pippa was when she signed up for the swap, so I spent some time looking through her blog to see what kind of things she might like before deciding on a few. There are fewer handmade items obviously, as knitting takes so much longer than sewing.

stitching santa gifts

I took a chance by not adding sender’s details on either parcel so they would be a surprise until the last moment, as I had blogged in detail about all the handmade elements in the run up to Christmas.

P1070043

Ali, bless her, hadn’t even received my parcel but had already sent me these lush quilted coasters as a ‘thank you’ for organising the swap!

coasters

The fabric she used was ace and had funny, and perfectly apt, little quotes in speech bubbles all over it. Thanks Ali – I love them!!!

coasters2

Now, onto the myriad of gorgeous things that I was gifted.

As the organiser, two people had to draw the short straw and have me as their swap partner, so neither were able to blog about their parcels.

I chose Joey, from Littleblackdogsa, to be my knitting partner as she lives in South Africa and the post can be notoriously unpredictable. It wouldn’t matter if her parcel didn’t reach me for a few months but, in fact, it arrived in plenty of time!

yarn stitching santa

The outer bag was quite badly damaged when it arrived, but the contents were intact so I put everything in the bright red bag that she sent with it and it stayed under the tree until yesterday.

Yes, you read that correctly, yesterday – Boxing night to be exact. Why? Well, it certainly wasn’t because I have masses of will power or patience (quite the opposite, in fact) but because we host Christmas for the family and I spend two days cooking, tidying and making sure everyone is having a good time. I wanted to wait until lunch was over and they were all watching a festive film in the lounge so I could open and photograph my parcels at leisure.

Boxing Day lunch

And this is what Joey sent me!

yarn stitching santa 1

Would you like to see them in more detail?

Firstly, there are two Indian cotton tea towels onto both of which Joey had crocheted a beautiful border. Far too nice to use, really, but I will.

yarn stitching santa 2

A pretty pin cushion in the shape of a pear. Can you believe I only have one pin cushion which I keep in my sewing room? This one will be used on a daily basis by the children in my sewing classes – I think they’re going to love it.

yarn stitching santa 7

Four fab cakes of organic cotton yarn, local to South Africa, which I am thrilled with and can’t wait to use – crochet hooks included!

yarn stitching santa 5

A length of festive cotton tape featuring the music of “Jingle Bells”, some hand sewing needles and an atmospheric South African sunset disguised as a fridge magnet.

yarn stitching santa 3

I love the little rustic angel that she included, too – I am guessing it is handmade from recycled materials?

yarn stitching santa 4

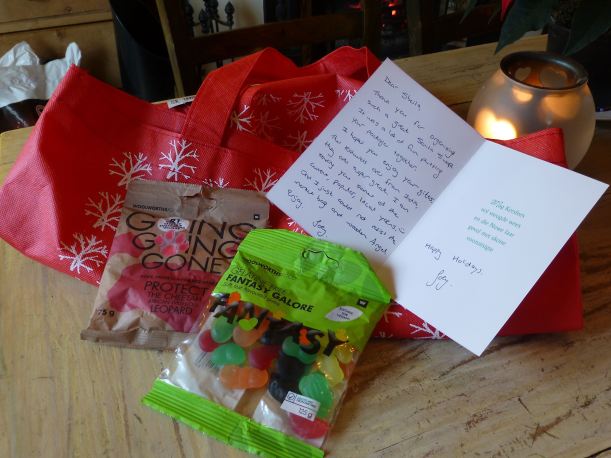
Finally, there were some sweets, a project bag and a card with a lovely message inside. Thank you so much Joey – I am thrilled with all the thoughtful gifts that you obviously spent a lot of time putting together for me!

yarn stitching santa 6

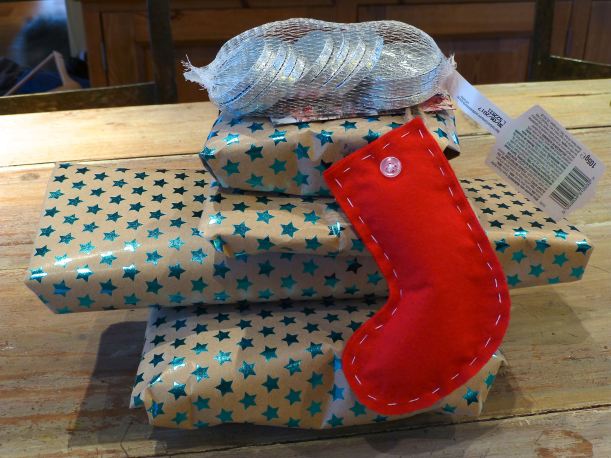
By the time I had finished opening and photographing Joey’s parcel, I was dying to open the one from my sewing swap gifter and almost forgot to take a picture of the parcels themselves!

sewing stitching santa

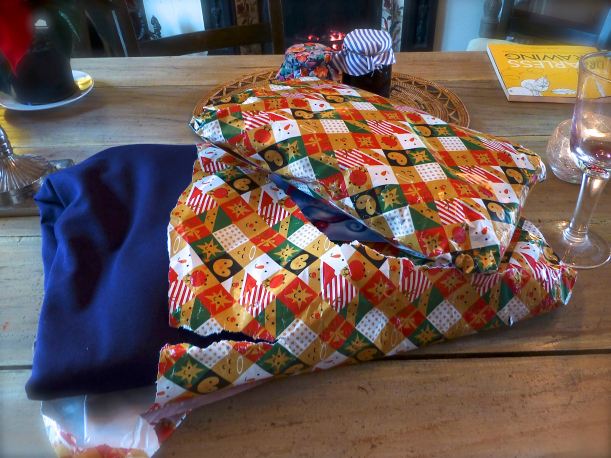
Teresa, the smiley one who blogs over at Navybluethreads, sent her gifts in two separate packages which arrived a day apart – I only knew there was going to be another parcel when the first one arrived labelled ‘Part 2’!
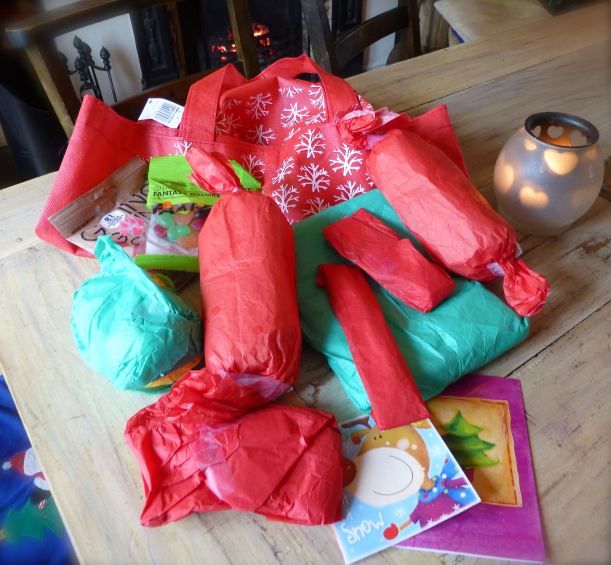
Look at all this!

There were Christmas cards and a letter – Teresa, you should be a doctor with writing like that, beautiful but illegible!!! No.1 Son and I worked it out in the end though!

sewing stitching santa 1

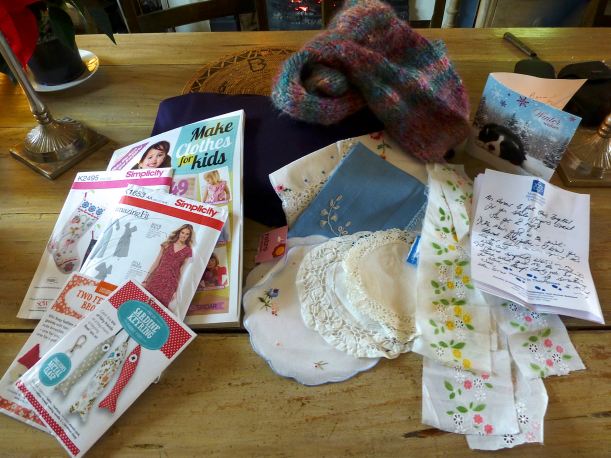
With the help of the newly-translated letter, this is what Teresa sent: –

Loads of amethyst-coloured knit fabric which WILL be made into the dress on the pattern that she included. She knows that I like strong colours and, being a lady of ample bosom herself, obviously knows that the wrap dress is perfect for that. I will make the long sleeved version and wear it with long boots during the Winter.

sewing stitching santa 2

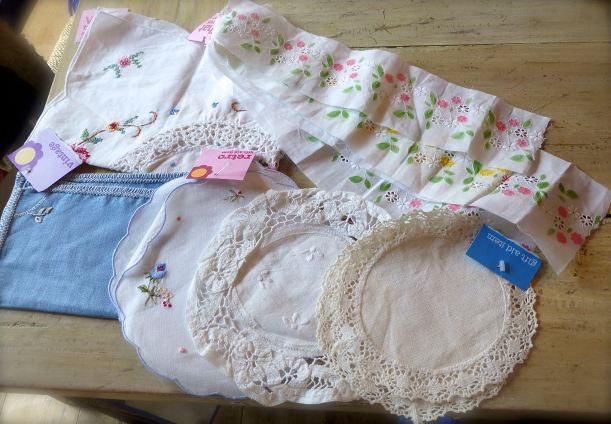
I simply cannot resist any pretty vintage lace, fabric or doilies that I come across in charity shops, so when I opened these I was beside myself with excitement! I believe most of these came from Teresa’s stash so I am doubly grateful – I wouldn’t be able to part with any of mine!

sewing stitching santa 5

With my new sewing school, The Stitch Academy, in mind, she kindly sent me a publication that would be ideal for the children to use as their skills improve. The stocking pattern is brilliant, too, but I already have it so I hope she won’t mind if I pass it forward to somebody else to enjoy?

sewing stitching santa 3

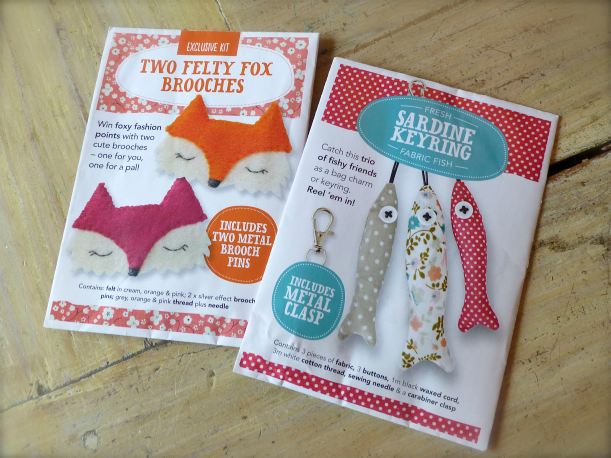
Teresa even thought of The Boys – they will absolutely LOVE making these fox brooches and fishy keyrings!!

sewing stitching santa 4

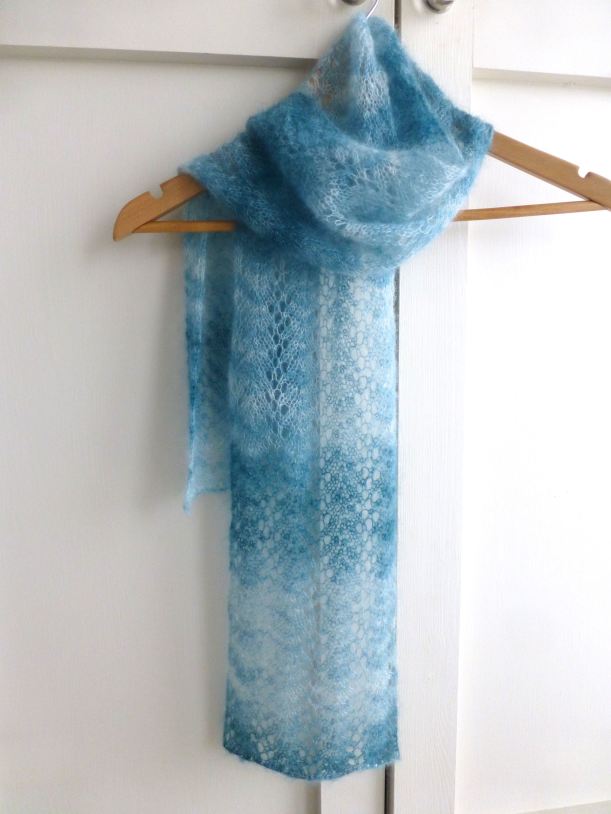
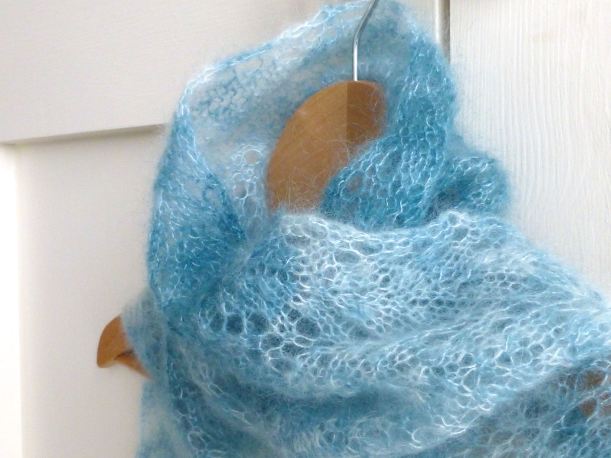
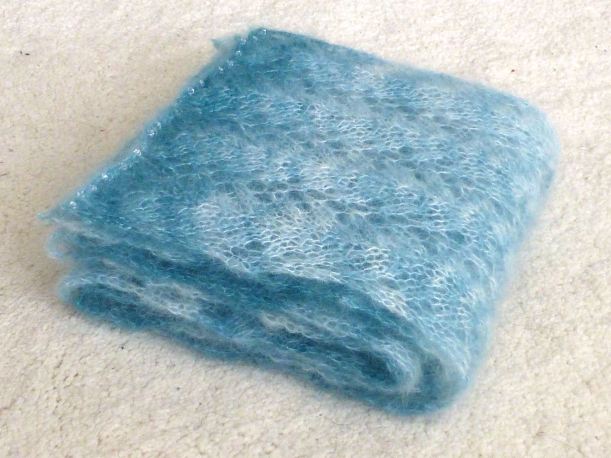
So many generous and thoughtful gifts but my favourite from Teresa has to be this one – a beautifully soft infinity scarf, handknitted by the lovely lady herself, in a self-striping yarn of various jewel shades which looks exactly like it does in the photo. I just love it!

sewing stitching santa 6

What more can I say, except a huge ‘Thank You’ to Joey and Teresa for all the fabulous gifts, and a massive pat on the back to all the #stitchingsantas that signed up for this swap and made it so successful and enjoyable.

I hope you all had as much fun as I did – judging by the blog posts I have seen so far, you did and I wasn’t the only one who was more excited about this present under my tree than any of the others!

Look out for the swap again next year when I get the feeling we’ll have an even longer list of participants than the thirty-five that took part this time.

Happy New Year to you all!


36 Comments

Personalised Christmas Sacks – A Tutorial

In case you hadn’t noticed, Christmas is just around the corner – nine days, to be precise and I’ve got a great last-minute make for you; a personalised Christmas sack for that special little person in your life.

Christmas sacks2a


I’m not joking when I say last-minute as I made TWO personalised sacks yesterday afternoon, each one taking about two and a half hours from start to finish. They’d make great gifts, too, with a little something popped inside and they only cost £12.94 each to make so won’t break the bank.

This is the parcel that arrived from Minerva Crafts: –

P1060959
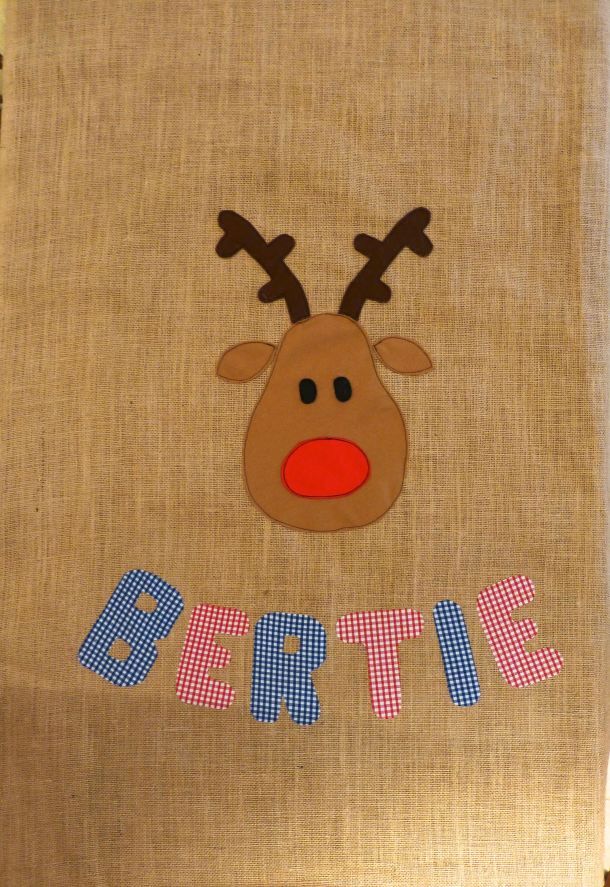
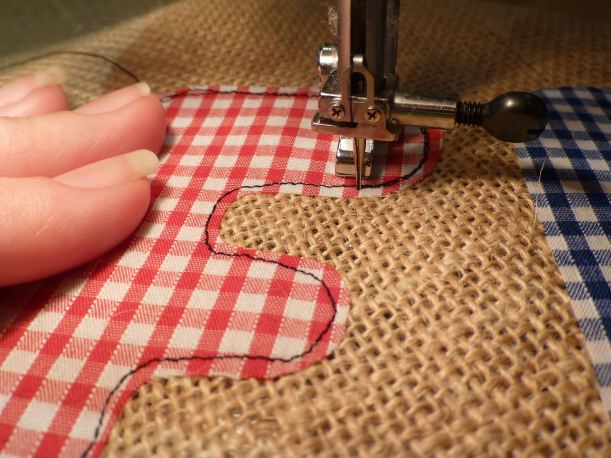
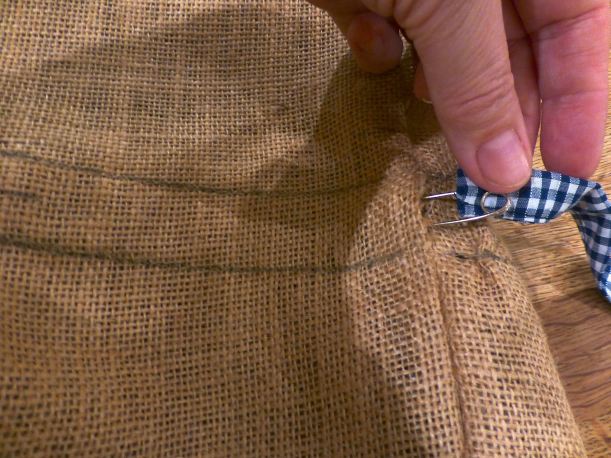
For each sack you will need:

Trim your gingham fabric to the same size as the hessian – 39″ x 56″.

Put the offcuts to one side as you will use these for the tie and the fabric letters.

Draw a reindeer on a sheet of paper and cut out the individual elements separately.

P1060960

Cut these out of the felt squares using the picture below as a guide.

P1060961

Stitch the nose and eyes onto the felt face – I used free machine embroidery throughout to achieve a ‘scribble’ effect which works well on children’s gifts.

P1060962

Fold your hessian in half and arrange the felt pieces in the centre as shown.

P1060963

Hessian has an open weave which tends to move quite a lot, so either tack your appliqués on first or use LOTS of pins to keep them in place while you sew them on.

I loathe tacking so I opted for pin overkill instead.

P1060966

With the reindeer face stitched securely in place, it’s time to move on to personalising your sack.

You can download a suitable font or just freehand it like I did onto thin card. As I was making two sacks I had both blue and red gingham offcuts to cut the letters from. I also decided to use some paper backed fusible web to secure the letters to the hessian before stitching them.

P1060967

Arrange the letters evenly in a curve around the bottom of the reindeer, remove the paper backing and iron in place.

P1060970

Two rounds of stitching on each letter gives a good effect.

P1060972

P1060973

When all your stitching is done, sew the top edge of the sack to the top edge of the lining with right sides together (sorry, no photo). Press the seam flat to create a crisp edge.

Then, lay your fabric out on a large table or on the floor and fold in half lengthwise, right sides together to create a ‘tube’.

Pin all the way around, leaving a gap in the lining where shown through which to turn. (I forgot to photograph this step on the first sack so the lining is shown in red).

P1060983

Put pins at 8″ from the top edge and 9″ from the top edge – this will be a break in the stitching to provide a channel for the tie.

P1060977

P1060976

Sew all the way around the three sides with breaks in the stitching as described above.

Trim the corners and turn the sack through to the right side. Sew the lining closed at the gap through which it was turned. Press.

P1060986

With a soft pencil or tailor’s chalk, mark two parallel lines all the way around at 8″ and 9″ from the top edge of the sack. Pin through both layers of fabric. Stitch along the lines.

P1060978

For the tie, use your remaining offcuts of gingham to assemble a length that measures about 70″ x 2″.

Fold in and press 1/4″ at each short end.

Fold in and press 1/4″ along each long edge.

P1060979

Bring the folded long edges together enclosing the raw edges.

P1060980

Stitch close to the edge to finish your tie.

P1060981

Use a safety pin to thread the tie through the channel in the gap left for this purpose.

P1060982

And that’s it – finished!

Christmas sacks3a

A beautiful sack which any child would be delighted to have on Christmas Day to pop all their opened presents into.

Christmas sacksa

They’re huge, too, I would have added The Boys to the photo for scale except that the sacks are a surprise for them.

You’ve still got time, so who fancies whipping up a Christmas Sack for their little boy or girl?


70 Comments

Handmade Christmas Presents – Progress

Q: What do you get if you cross seven jewel-coloured balls of Drop’s Kid-Silk…….

IMG_1634

…..with 266 of the finest Swarovski crystal beads?

P1050265

A: Seven of the softest, lightest lacy scarves you will ever come across!

Party Lace Scarves3

Using the FREE ‘Party Lace Scarf’ pattern by Lisa Sisk on Ravalry (available here), I thought these scarves would make perfect Christmas gifts for the women in our family.

The yarn is 75% Mohair and 25% Silk (so no itching) and weighs just 25g per ball. Each scarf requires just one ball which means you end up with a superwarm scarf that is so lightweight that you barely know you’re wearing it at all!

In case you are interested in making your own, you can buy the yarn from The Wool Warehouse or Love Knitting.

From the top, the colours I chose are: – Beige, Pink, Off White, Light Beige, Lavender, Medium Pink and Sea Green.

Party Lace Scarves2

I bought mine with an introductory 15% discount at Love Knitting, getting each ball for just £3.91.

I also used 300 Swarovski 3mm Xilion Bicone Crystal Beads (£2.50 for 50) from The Bead Shop, which equates to £2.14 per scarf.

Assuming you already own a set of 4.5mm straights, each scarf works out at a £6.05 and takes about ten evenings to complete – a bargain, if you can spare the time!

Would you like a closer look?

Party Lace Scarf 4

Party Lace Scarf 6

The lace pattern is a two-row repeating pattern, alternating with a row of purl – very easy to memorise and a great one to start with if you are new to lace knitting like I was.

Party Lace Scarf 5

Party Lace Scarf 7

It’s so hard to photograph the crystal beads, seen here along the edge, but they sparkle in the light and add a subtle glamorous touch.

Party Lace Scarf 8

Party Lace Scarf 9

The beads can, of course, be omitted for a plain scarf…..but why would you?!

Here they are again – don’t they look lovely piled up together like that?


Party Lace Scarves

This one was reserved for a follower of the blog and is ready to be sent in time for Christmas.

Party Lace Scarf

I think they make a great present, a real touch of luxury at a ridiculously low cost.

You’ve still got time to make a Party Lace Scarf – who do you know that would love one?


52 Comments

Van’s Style Crocheted Slippers

Just in case you hadn’t noticed, Christmas is fast approaching which, in my case, means any handmade gifts I have planned need to be either made by now or, at the very least, be quick and easy projects to be squeezed in on the odd evening.

This is a quick and easy project.

And cheap – which is a bonus at this time of year!

May I present to you the Van’s Style Crocheted Slippers by Shush Lander for Craftsy.

Shush Lander
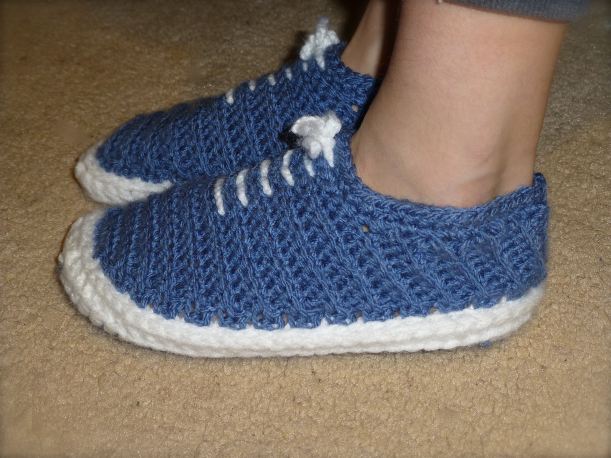
I reckon these are as cool as it gets for the inherently un-cool footwear that is a slipper, so I thought I’d make a couple of pairs for The Boys for Christmas.

The digital pattern can be bought on Craftsy for the extremely reasonable price of £2.97 but it gets better – the three balls of yarn I bought from Minerva makes two pairs of slippers (with loads left over) at a cost of £1.79 per ball. Add it all together and divide by two (c’mon, keep up!) and it works out at a VERY cheap £4.08 per pair, a bargain by anyone’s standards, I would say!

This is the bundle that arrived from Minerva Crafts – three balls of Stylecraft acrylic yarn and a packet of round hat elastic.

IMG_2606So, how did they work up?

Well, the pattern is extensive and pretty easy to follow, so no problems there, and the Stylecraft Special DK promises to wash like a dream as it’s good, hardwearing yarn, perfect for slippers.

There are instructions for eight different sizes from toddler through to adult. Hmmm, I wonder if all the difficult-to-buy-for males in the family would like a pair? Except my sixteen year old nephew – he asked his mother to tell me never to crochet anything for him again after the Bob Marley Rasta hat I made for him last Christmas!

The soles are worked with two strands of yarn at a time to make a sturdy, cushioned base for the slipper.

Vans style crocheted slippers2
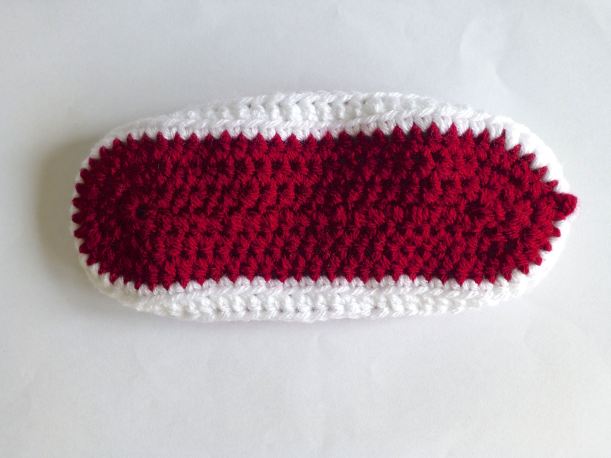
The body of the slipper is crocheted with just one strand of yarn into the back of each stitch which results in a rather lovely ribbed pattern.

Vans style crocheted slippers1
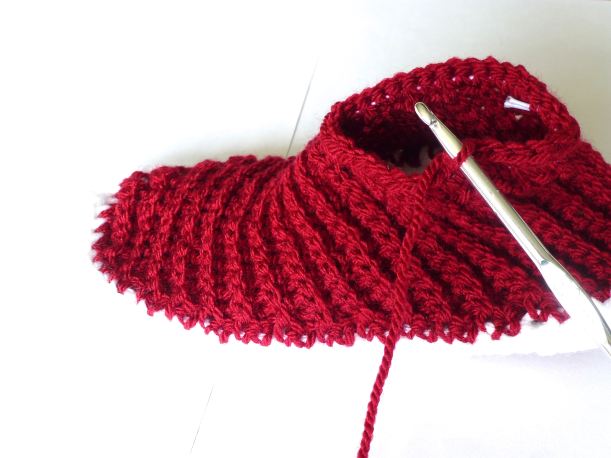
You crochet over a circle of hat elastic at the ankle edge to give a more snug and secure fit.

Vans style crocheted slippers
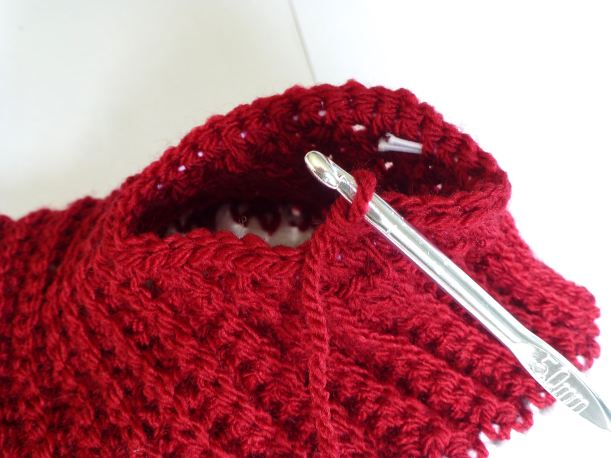
You can just see the elastic if I stretch the top edge open wide.

Vans style crocheted slippers3Bottom edge before: –

Vans style crocheted slippers4 Bottom edge after: –

Vans style crocheted slippers5 A row of slip stitches cleverly cover up the change of yarn colour as demonstrated in this photo: –

Vans style crocheted slippers6
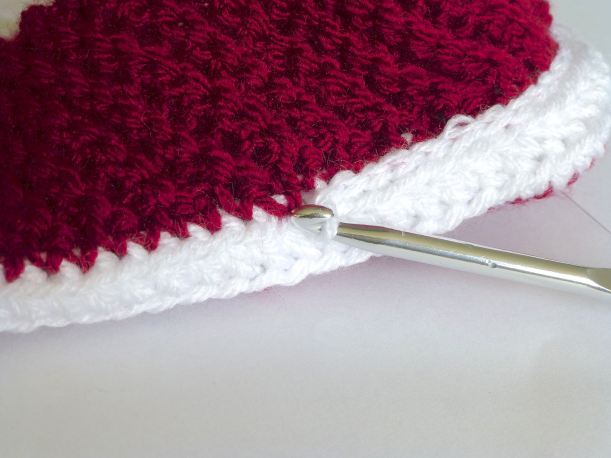
Next are the laces which are just for show – two very long rows of simple chain stitches.Vans style crocheted slippers8I made 150 chains instead of the stated 110 as I didn’t feel they were long enough.

lacesThe ‘laces’ are just threaded through with a darning needle and tied in a bow to give the trainer look.

Vans style crocheted slippers9And there you are – a pair of Van’s style slippers whipped up in an evening!

Red vans crocheted slippersThe following evening I made a second pair in blue.

They look a bit like babies’ booties lined up like this!

Vans slippersSize wise, I found that they crocheted up small so would suggest going up a size, but they are stretchy so will still be fine for The Boys.

Blue vans crocheted slippers

Blue vans crocheted slippers2

Blue vans crocheted slippers1I ended up giving these to The Boys after they were finished because the photos look better while they are being worn and a little bit odd without a foot inside.

Blue vans crocheted slippers3No.3 Son in particular is chuffed with them, but No.2 Son says they’re a bit tight…..guess what I’ll be making out of the leftover yarn tonight?


38 Comments

Folding Travel Photo Frame And Case

I was contacted recently by Craftseller magazine in relation to their “Blogger of the Month” feature and was asked if I would like a free double page spread in their magazine.

Um, let me think a minute…..yeeees!

As part of the feature I designed a free pattern for the readers, which was to be copyright-free allowing full reproduction rights. This was harder than it initially seems, I mean, what could I design that hadn’t been done before????

I came up with the idea of a folding travel photo frame and Googled/Pinterest-ed it…….not a single result.

Not one.

No one seems to have come up with a tutorial for such a thing, unless I just didn’t type in the correct keywords. So that was it, decision made, a “Folding Travel Photo Frame And Case” was going to be the free pattern for Craftseller’s readers.

After finalising materials and method on a prototype, this is the final product: –

Travel photo frame and case

Do you like it?

You may remember the “Postcards” fabric from the “Spring In Paris” collection by Studio Voltaire that I bought earlier in the year (see this post), well I thought it would be the perfect match for a travel themed project.

postcards

So, here goes with the tutorial!

You will need: –

  • A single fat quarter of fabric
  • Medium weight iron on interfacing
  • 1 sheet acetate
  • 1 sheet cardstock
  • 2″ length of hook and loop fastener

Cut the following: –

  • fabric: –                     2 x pieces  12″ x 3.5″

1 x piece 4.5″ x 3.5″

  • iron-on interfacing: – 2 x pieces 12″ x 3.5″

1 x piece 4.5″ x 3.5″

  • acetate: –                  1 x piece 3.5″ x 2.5″
  • cardstock: –              2 x pieces 3.5″ x 2.5″

1 x piece 2.5″ x 2″

P1060336

  1. Fuse the interfacing to the reverse of the matching fabric pieces following the manufacturers instructions.
  2. Place the acetate in the centre of the reverse of your 4.5″ x 3.5″ piece of fabric and draw around it, marking a rectangle. Remove the acetate and stay stitch the corners of the marked rectangle..
  3. Draw a second rectangle 1/4″ inside the first one and cut this section out to create a window for your photograph.

P1060343

4. Clip corners diagonally to the stay stitching.

P1060344

5. Fold to inside along the solid lines. Press.

6. Turn down a 1/4″ hem on the top edge and top stitch close to the fold. P1060346

7. Place acetate on the reverse of the window and top stitch close to the inner edge on all four sides.

P1060348

8. Turn and press a 1/4″ hem on remaining three sides of the fabric, being careful not to touch the acetate with the iron.

P1060351

It should now look like this from the right side.

P1060350

9. To make your frame, take both 12″ x 3.5″ pieces and, with right sides together, sew around three sides with a 1/4″ seam allowance. Trim corners, turn and press.

P1060352

10. With the right side up, place your window on top of the frame aligning the bottom folded edge with the bottom seam of your frame. Top stitch the window close to folded edges on three sides, leaving the top edge open to slip your photo into.

P1060355

11. Insert a 3.5″ x 2.5″ piece of card into the open, unfinished end of the frame and push right down to the bottom.

12. Sew just above the window through all layers of the frame to encase the card.

P1060356

13. Insert the second 3.5″ x 2.5″ piece of card and push down to meet the previous line of stitching.

14. Sew across the width of the frame as before, encasing the second piece of card.

15. Repeat steps 13 & 14 with the smallest 2.5″ x 2″ piece of card.

16.Turn in the raw edges of the frame opening, press and top stitch to close.

P1060358

17. Window side uppermost, stitch the loop side of the hook and loop fastener to the opposite end of the frame as shown below.

P1060360

18. Hand stitch the hook side of the fastener to the reverse of the window along the bottom edge.

19. To assemble your travel photo frame, simply fold into a triangle shape and press together the hook and loop fastener.

P1060361

20. Slide your 3″ x 2″ photo in behind the acetate.

P1060370

For the case: –

  1. Fuse interfacing to a piece of fabric measuring 16″ x 4.5″. Fold in half width-wise and sew a 1/4″ seam on the three raw edges, leaving a gap to turn.

P1060374

2. Turn and press.

P1060375

3. Top stitch close to the edge of the bottom edge.

4. Fold up from the bottom about 3.25″, so the top stitched edge stops 1.25″ from the top edge.

5. Top stitch around the side and top edges to finish.

P1060376

6. Fold your travel photo frame flat and pop inside the case.

P1060378

P1060380

There you have it, a compact and portable, travel-themed folding photo frame – perfect for the traveller or person who works away from home.

P1060379

Look out for my Blogger Of The Month feature in Craftseller magazine soon!


53 Comments

Make-Your-Own Espadrilles

Another day, another birthday present to make, only this time it is something a bit unusual – a pair of handmade espadrilles!

I’ve made slippers and things along those lines before, but never a bonafide pair of shoes.

P1050948

The soles were by Prym and purchased online from The Makery in Bath.

P1050918

P1050919

The box includes templates for the uppers in various adult sizes, but I heeded advice from others who have previously made them and went down a size when making them. I cut out a UK size 5 for the recipient who has size 6 feet, and they fitted perfectly without slipping off.

P1050920

Although there were no instructions in the box, full step-by-step photographs can be found on the Prym website and it was those I followed.

If you are tempted to have a go at these be aware that seam allowances are NOT included – you have to add your own before cutting out!

P1050922

P1050923

I had a small amount of “Rosetta” fabric left over from making this cushion and make up bag, and decided to team it with a deep pink spotty lining.

The pattern consists of just two pieces – one for across the front and one for the heel.

P1050921

I added some fusible interfacing to the outside sections just to give the shoe some extra strength and stability.

P1050924

I also stretched a two-inch length of narrow elastic at the ankle edge just to make sure the shoes would stay on.

P1050926

The main fabric is sewn to the lining right sides together, then turned through a gap left in the stitching.

P1050929

I top stitched the elastic through all the layers for a strong and neat finish.

P1050931

P1050932

The toe section is sewn and turned in exactly the same way, cutting across the corners and notching around the curves as necessary.

P1050934

Next comes the fun bit!

You will need a leather needle to sew through the soles as the wedged point makes light work of it where a standard needle would hurt your finger after a while.

P1050938

The heel section is pinned to the sole…..

P1050935

….inserting the pins at an angle as shown below.

P1050936

I used three strands of embroidery floss to secure the fabric to the sole, using a blanket stitch.

P1050939

When the heel section is stitched on it should look like this: –

P1050940

Next, the front is pinned on in a similar fashion, overlapping the heel section.

P1050941

P1050942

Blanket stitch is used all the way around the front and also to join the sides together.

P1050952

A “hand made with love” label adds a personal touch.

P1050943

That’s it – finished!

P1050950

P1050949

P1050951

I thought I’d better show you what they look like on – have you any idea how difficult it is to take photographs of yourself wearing shoes?!

P1050946

In the end I put my feet up on the table in my studio……

P1050945

P1050947

I’m pleased to report that the recipient was very pleased with her bespoke shoes and put them on immediately – they fit perfectly!

Has anyone else handmade their own espadrilles before?


41 Comments

Tilda’s Appliquéd Make Up Bag

I’ve had a few birthday presents to make lately, luckily all of them for women, so it was just a case of browsing through one of my many books and choosing something appropriate to the individual.

I find that making a gift for someone you know is very different to making items to sell, in several ways: –

  • For a start, I don’t have to consider how long it will take versus how much I can sell it for, I can put as much time and effort in as I want which usually means it can be more elaborately decorated.
  • I can take the recipient’s personality into consideration and personalise the gift accordingly.
  • I enjoy the process far more, knowing that the thought and effort that I have invested will be appreciated.
  • It’s a one off – I get bored making more than one of things which is often what you have to do when stocking up for your online shop/craft fair etc.

I found the perfect little gift in Tilda’s book, ‘Sew Pretty Homestyle’.

P1060029

A cute little make up bag (cosmetic purse) with appliquéd detail on the front – the sort of added extra that can take hours and couldn’t possibly be done at a profit if making to sell.

After tracing off the single pattern piece, I cut out candy-pink striped fabric for the outside, coordinating checked fabric for the lining and some batting to add structure.

P1060028

This method for appliqué is a good one for tiny items where there’s not much fabric to put under the sewing machine foot.

You start by transferring your design (angel’s wings) onto a double thickness of fabric and stitching around, leaving an opening for turning.

P1060030

Trim close to the stitching.

P1060032

Turn and press.

P1060033

Repeat with all the appliquéd elements and pin to the front of the make up bag.

P1060034

Sew all the motifs on, making sure your stitches are hidden.

P1060035

This type of appliqué gives a raised finish when sewn on and the stitches are almost invisible rather than being a feature.

P1060036

Little swirls adorn the wings, all done by hand with the tiniest of stitches.

P1060037

Add some eyes and hair to the naive-style face together with an embroidered flower and the decoration is complete!

P1060043

Construction was straightforward enough.

P1060041

A row of rustic running stitches keeps the lining from getting caught in the zip as well as being a pretty detail.

P1060044

P1060045

Of course, the process could be sped up enormously if the motifs were stitched on by machine and free-machine embroidery used for the wing swirls and flower.

I chose to do it by the book, so to speak, as it gave a more homespun feel that I was looking for.

P1060046

P1060042

I love the coordinating lining – it makes the inside a nice surprise when you undo the zip.

P1060039

This was the ideal project to use up scraps too, as it uses so little for the body and lining of the bag and the appliquéd motifs are literally tiny pieces you’d normally throw away!

P1060047

Thankfully, the make up bag was very well received, so all that effort was worthwhile – I might even make some more for Christmas presents.


29 Comments

Last Minute Gifts Finished Off And An Amusing Mishap

Well here we are, just two days before Christmas and I’m still making a few last minute bits and bobs. With fifteen people and three dogs coming to stay for Christmas, I’ve been hard at it with the food and sleeping arrangements which has meant there has been no time to blog properly I’m afraid.

After a lovely pre-Christmas supper for ten, they’re all doing the dishes whilst I sneak out to the office to grab a few minutes on the computer – my last update for a while, I suspect.

So, this is what I’ve been up to the last week or so….

I made a birthday card for a friend using pretty scraps of fabric;

Free machine embroidery caravan birthday card

These are the pair of fingerless gloves that went into my #sewingsanta parcel – I had to make these quickly after the pair (that were originally intended to be included) sold on Folksy!

Upcyled lambswool wristwarmers

I made this card for another friend who is a music teacher….

Music birthday card

….and wrapped her present in old music scores that I picked up from a charity shop.

Music wrapping paper

Inspired by Tajana’s jumper, I made a scarf for my brother.

Knitted man's scarf

A “Rasta” hat as modelled by my husband but intended for a much younger recipient!

P1040245

A golf club sock as a bit of a laugh:)

P1040247

A pair of cashmere fingerless gloves.

P1040249

A tea cosy….

Tea Cosy

….as part of a gift including a Le Creuset teapot and different teas.

Teapot, tea cosy and teas

Gift tags made from air-drying clay.

P1040237

P1040243

I’ve been getting in a bit of a muddle and put it down to the drugs I’m taking for a trapped nerve, but get this: I wrapped up my step-daughter’s present, tied it with pretty ribbon, added a homemade clay gift tag and put it under the tree only to come back to see her present still sat on the table, unwrapped.

I have no recollection of picking up a random tea light holder from the middle of the table and wrapping that up instead, so I think my Christmas brain must be addled – and the big day is still two days away! I have visions of people opening their presents to find a soup ladle inside when their real gift is still in the cupboard but hey-ho, I’m not unwrapping them all to check!

I shall finish off by wishing you all a very Merry Christmas and sharing with you a festive picture of my dogs:)

dogs

HAPPY CHRISTMAS TO YOU ALL!!!!


7 Comments

Upcycled Scarf Into Cowl & Wristwarmers

Hmmmm, bit of a disappointment.

Having spent the larger part of a day refashioning an already beautiful scarf into a bespoke gift for someone specific aged 17, I am gently informed by her mother that she wouldn’t wear it as she doesn’t like pink.

I then offered the set to my 23 year old daughter who told me that, although she likes it, she wouldn’t wear it because…..she doesn’t like pink!

Am I alone in my love of pink in all its glorious tones and associated femininity? Or is an age thing and just not trendy ‘cool’ for anyone under forty?

Anyway, it’s up for grabs for £25-00 for the set if anyone is interested:)

So, onto the pictures.

This is the original scarf as shown in a previous post….

P1030953

I removed the velvet edging and cut open the tubular scarf to make a wide piece of ‘fabric’, then cut it into a cowl sized piece and two glove size pieces.

P1030972

The cowl was stitched into a tube and the raw edges overlocked.

Next I added a row of double crochet to the upper edge in deep lilac….

P1030973

….and a delicate picot edging to the lower edge.

P1030974

Et voilá!

P1030964

Next, for the gloves, I appliquéd a pink heart (made from a felted lambswool jumper) onto the front of each glove using the same lilac yarn.

P1030975

A picot edge was crocheted around the finger end of the gloves to match the border on the cowl.

P1030958

I think they make a lovely set as it’s so rare to find such a gorgeous fair isle knit in such good quality.

P1030956

So if you know anyone who would love to buy this, please point them in this direction – there must be someone out there who loves pink as much as I do!!!!

P1030969

They would make a great Christmas gift too:)

P1030971


61 Comments

Greengate Style Baby & Toddler Girls Crochet Poncho

Hello Fellow Crocheters – this one is for you!

I’ve just finished a crocheted poncho/cape for a little girl’s Christmas present and I thought I’d share it with you. It’s entirely my own original design and, as I attempted to make notes as I went, it took a little longer than it should have. I reckon you could whip one up in just a couple of evenings which is great news for those of us who get bored easily.

Greengate Girls Crochet Poncho

Based on the lovely Greengate colours, I have a huge WIP that is of the same ilk;

IMG_0898

It’s quite simple really, just double and treble crochet with a picot edging, but the colours are so cheerful and bright.Greengate Girls Poncho4

Greengate Girls Poncho3

Greengate Girls Poncho2

This is my first attempt at writing a pattern so I hope you can work it out. The more experienced amongst you will probably be able to figure it out without referring to my instructions, but it is possibly more than a complete beginner could handle.

Anyhoo, here goes….!

Corrected pattern


This is a free pattern that you are welcome to share – but please do not copy and paste to any other site; just link back to this page. (Please also respect my efforts and do not make this design to sell elsewhere).

I’d love to see any that you’ve made yourself, so pop a link in the “comments” box if you do:)