Sewchet

Sewing, crochet, crafts, accessories, baking, tutorials,


28 Comments

Portable Doll’s House

When Issue 62 of Mollie Makes dropped through the letterbox, it was a good one. See the text on the front saying “Kid’s Doll House”? 

Easily missed, I know, but when I opened it onto the relevant page I did a little virtual skip – this would be the perfect present for a little three year old girl in the family.

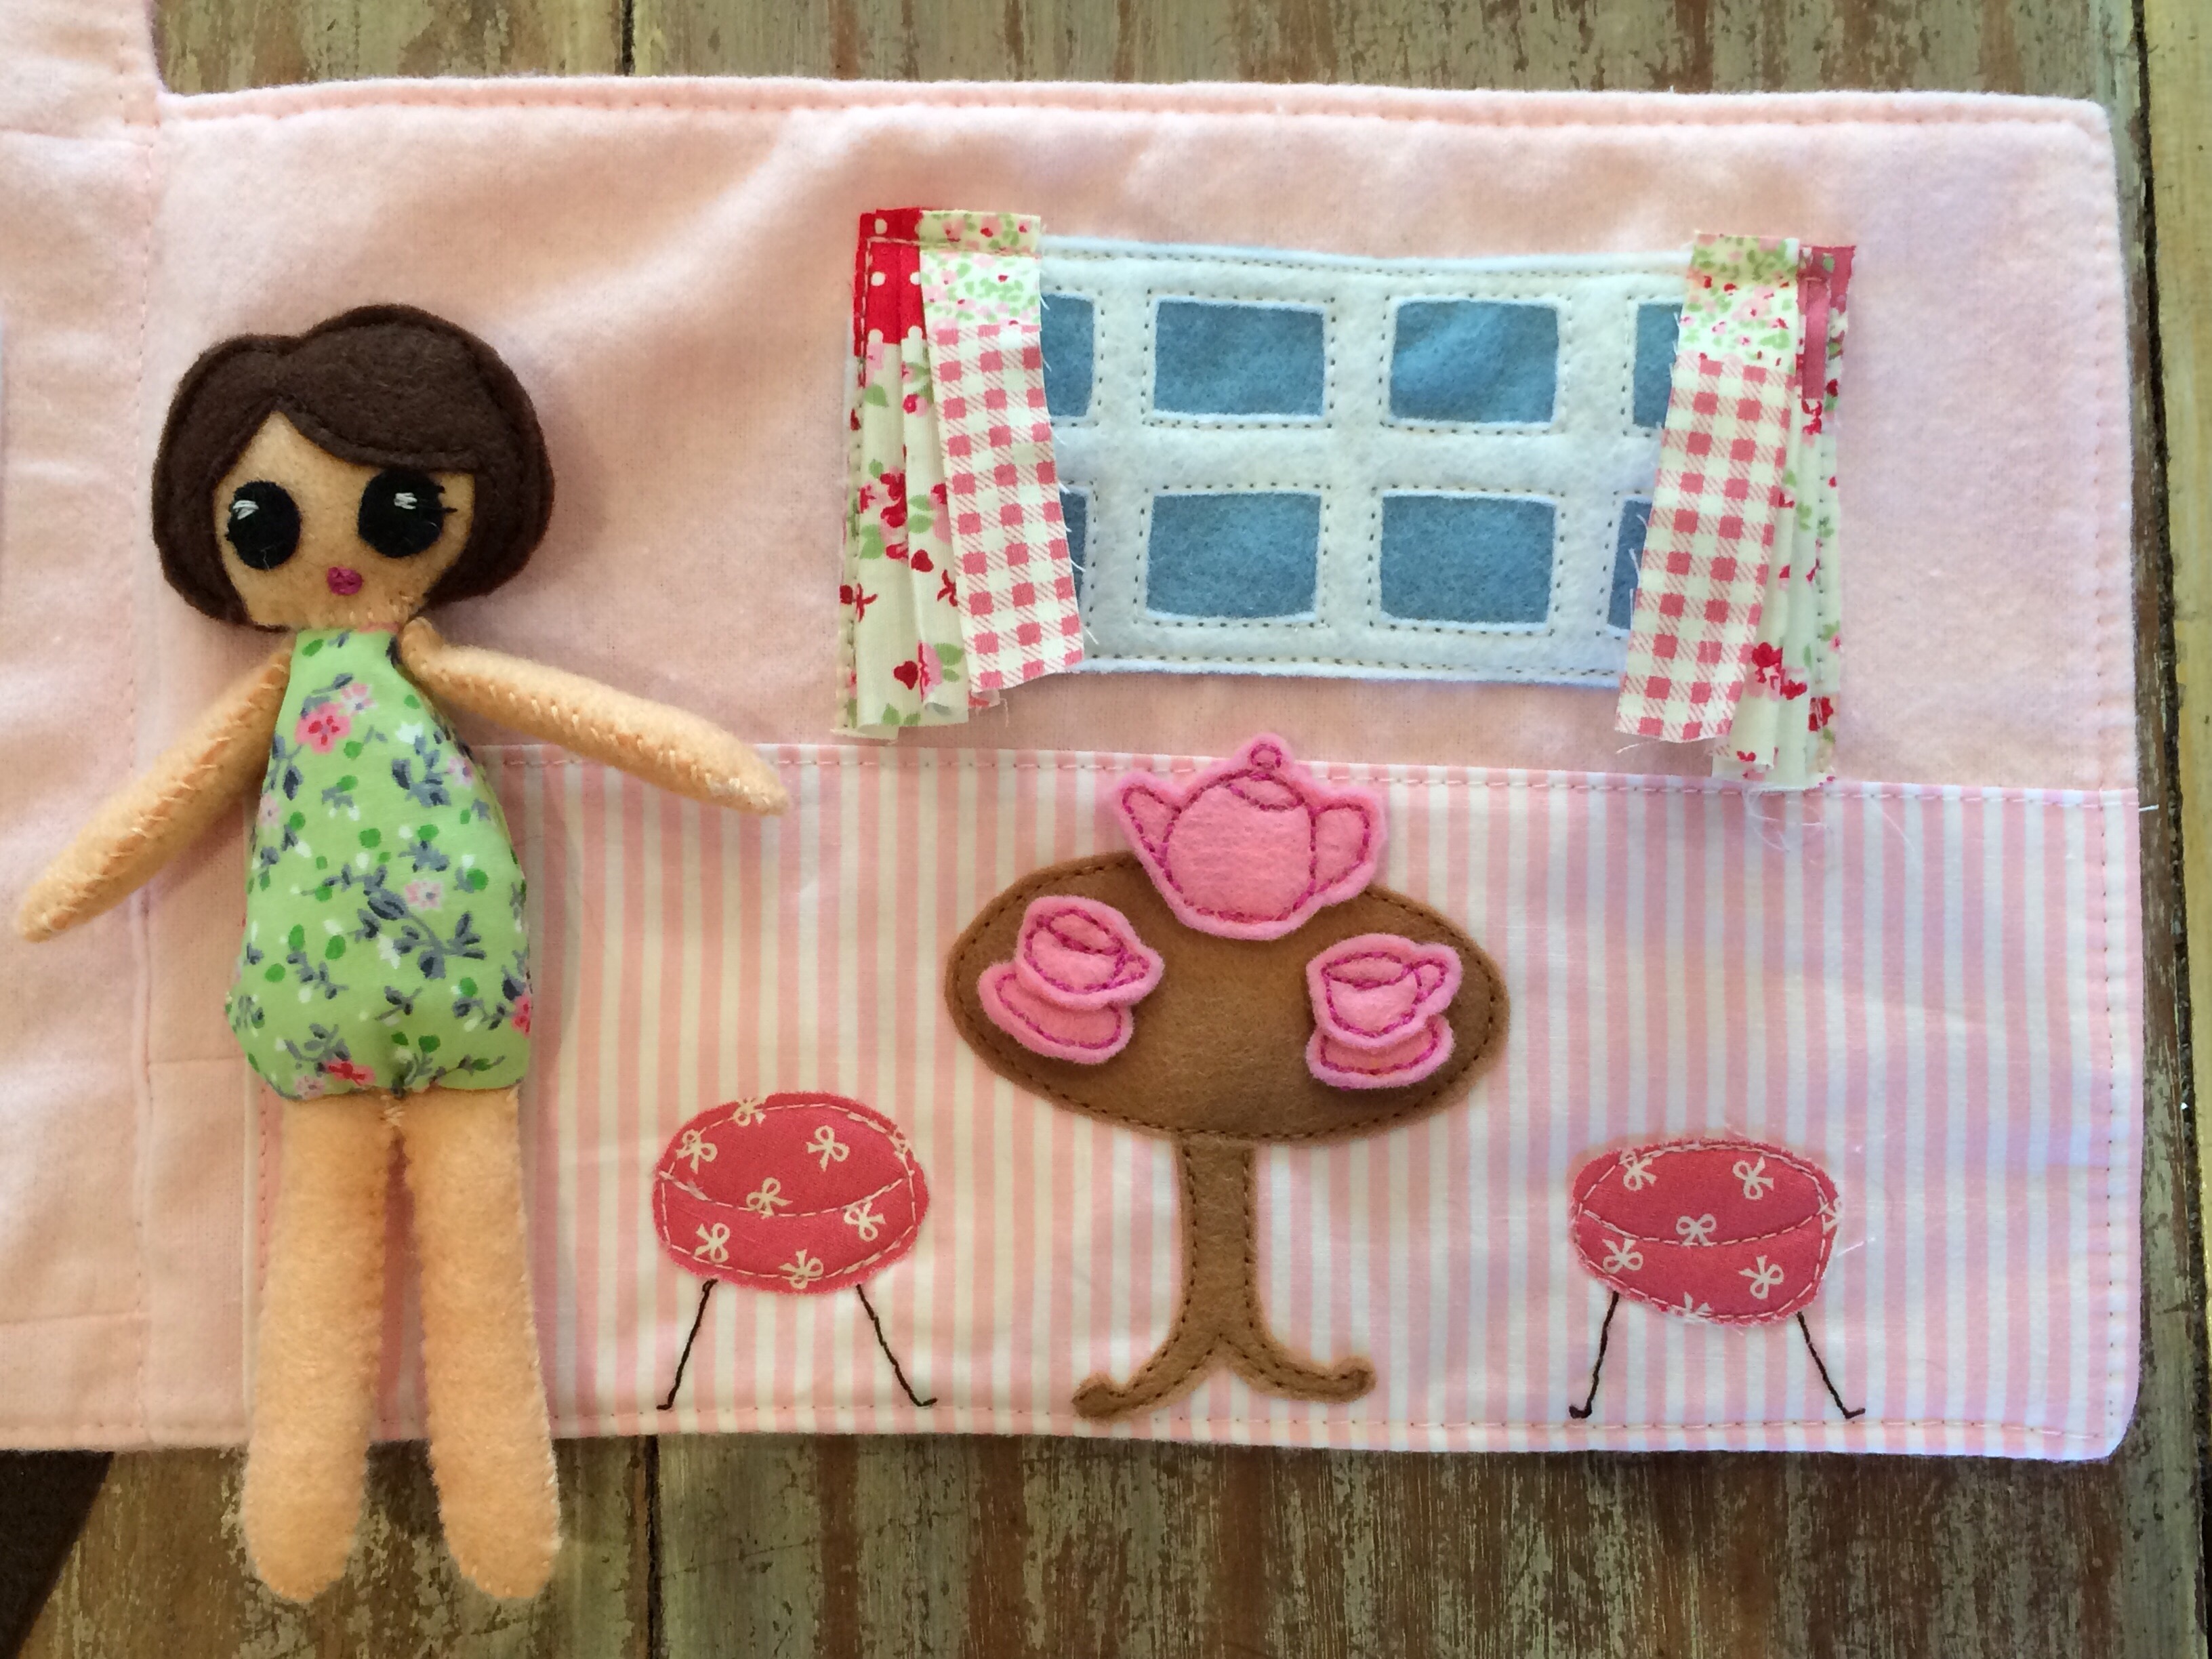
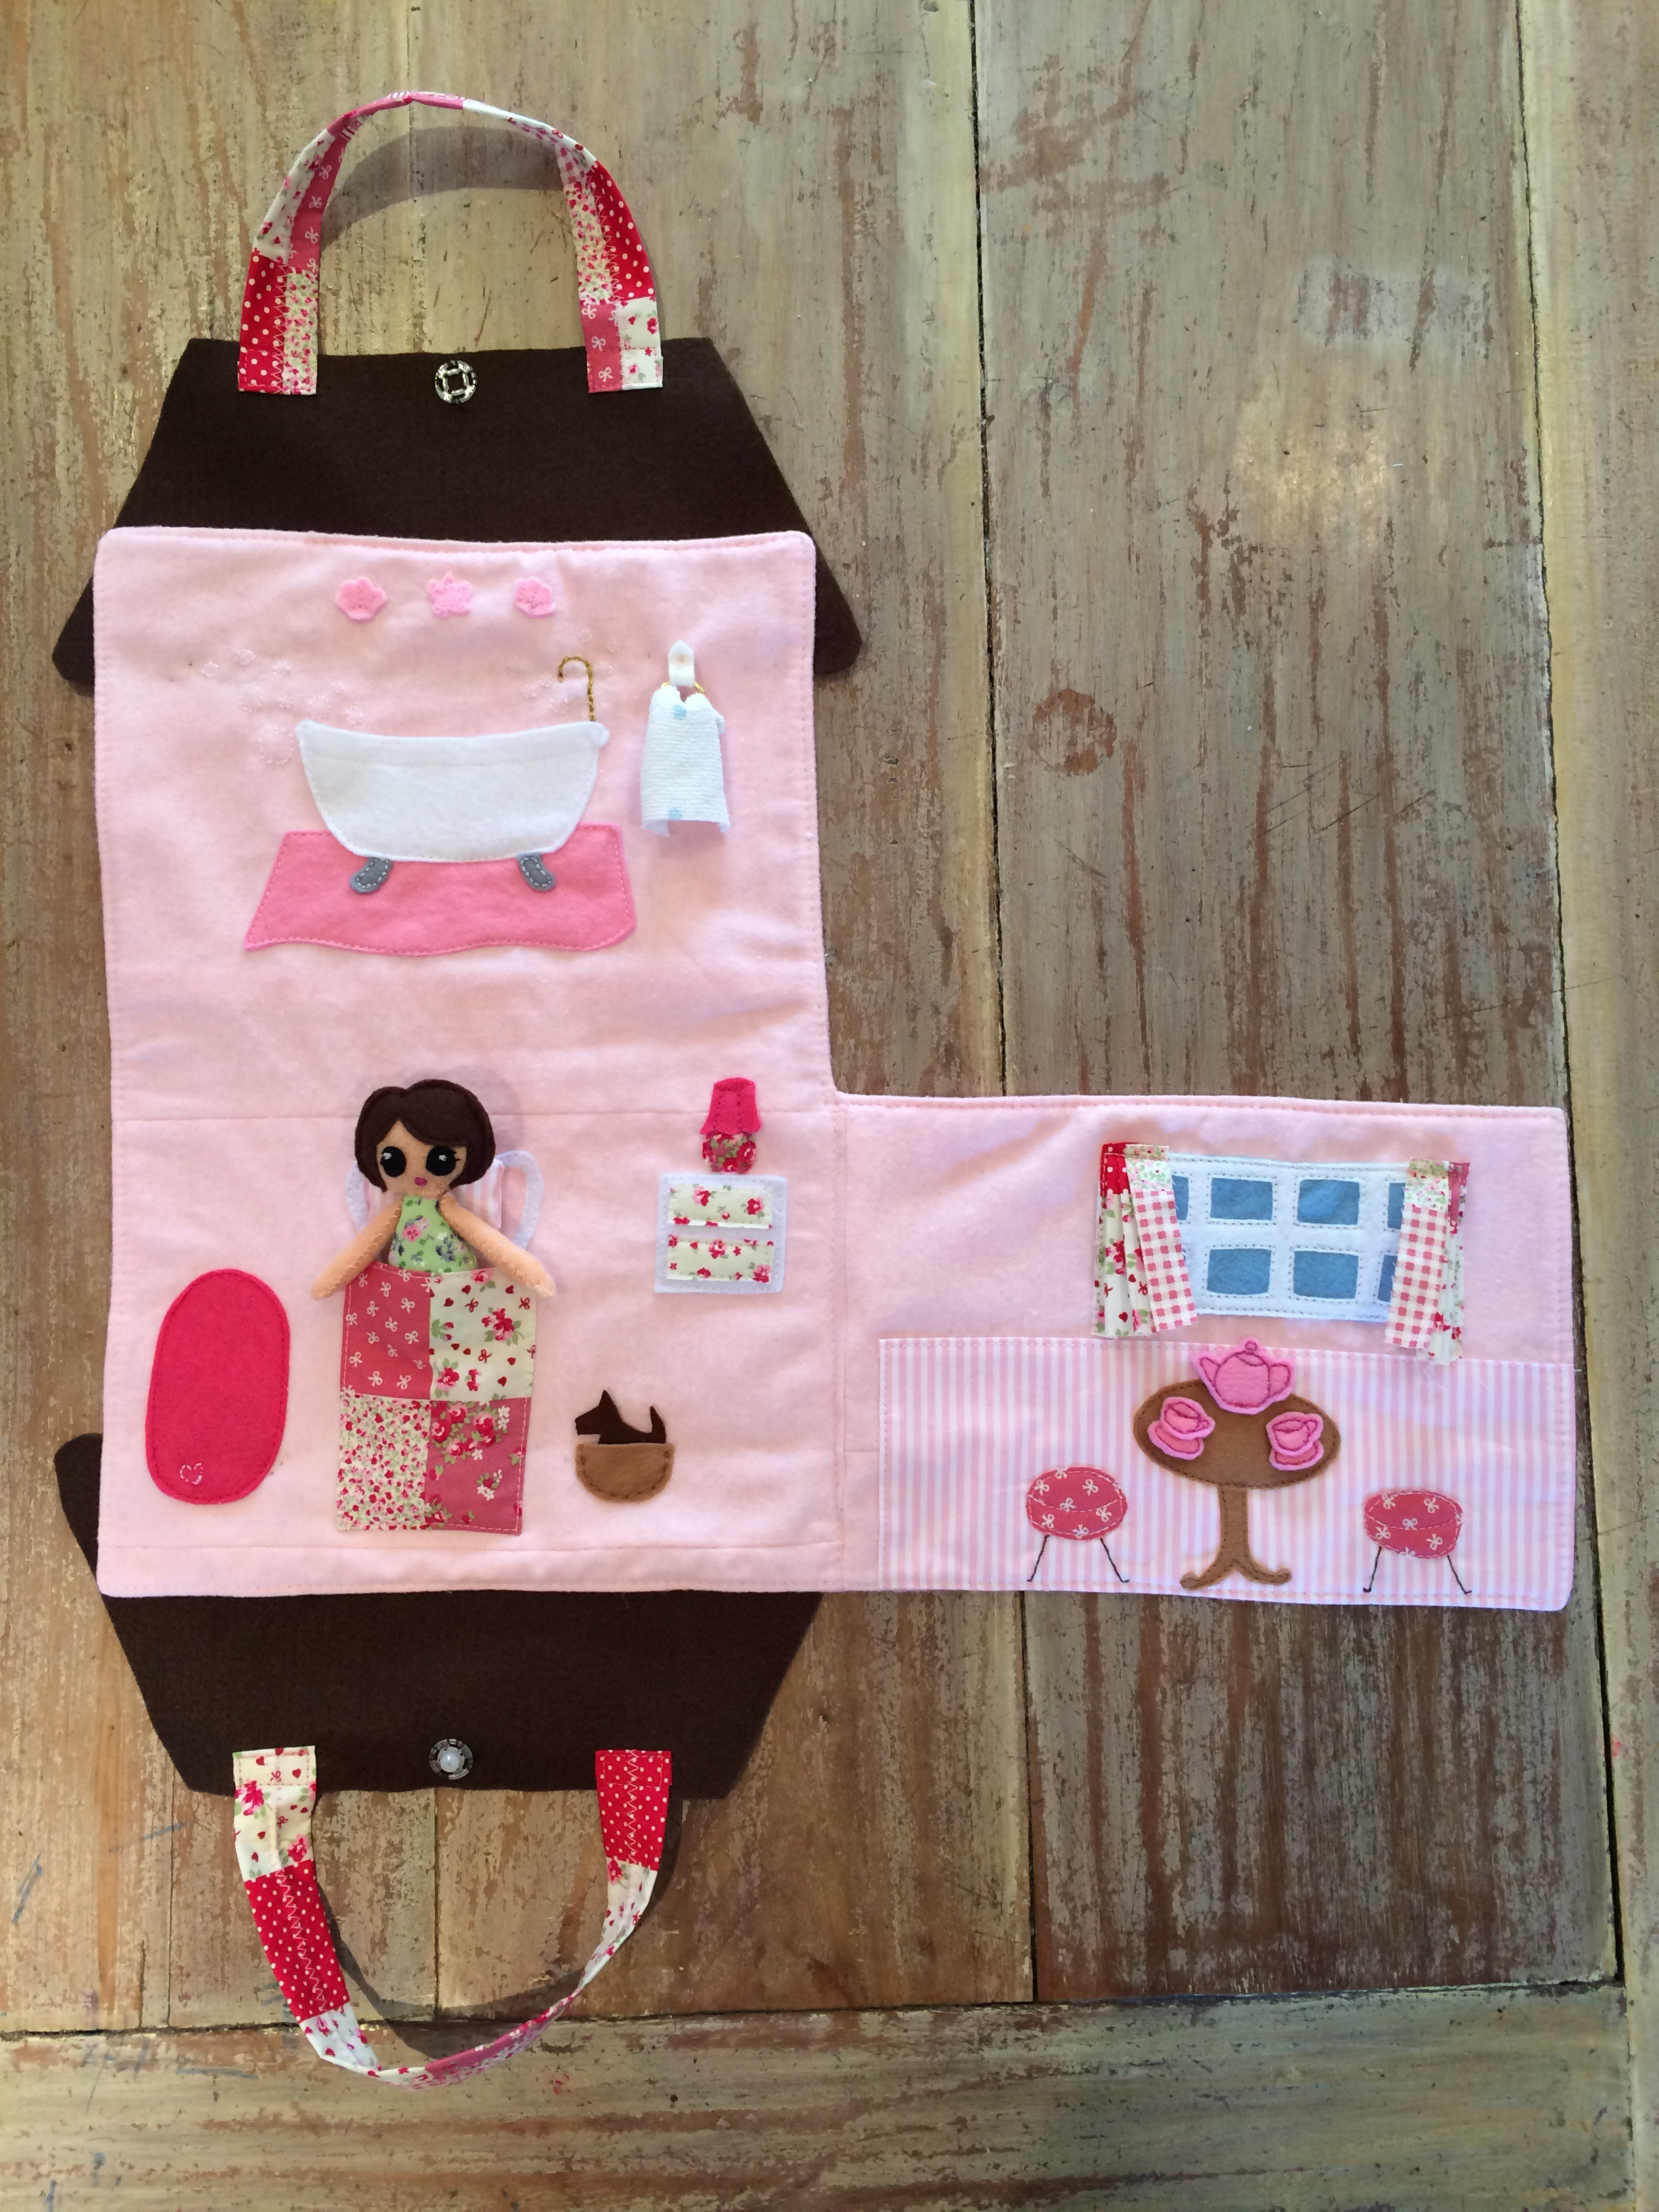
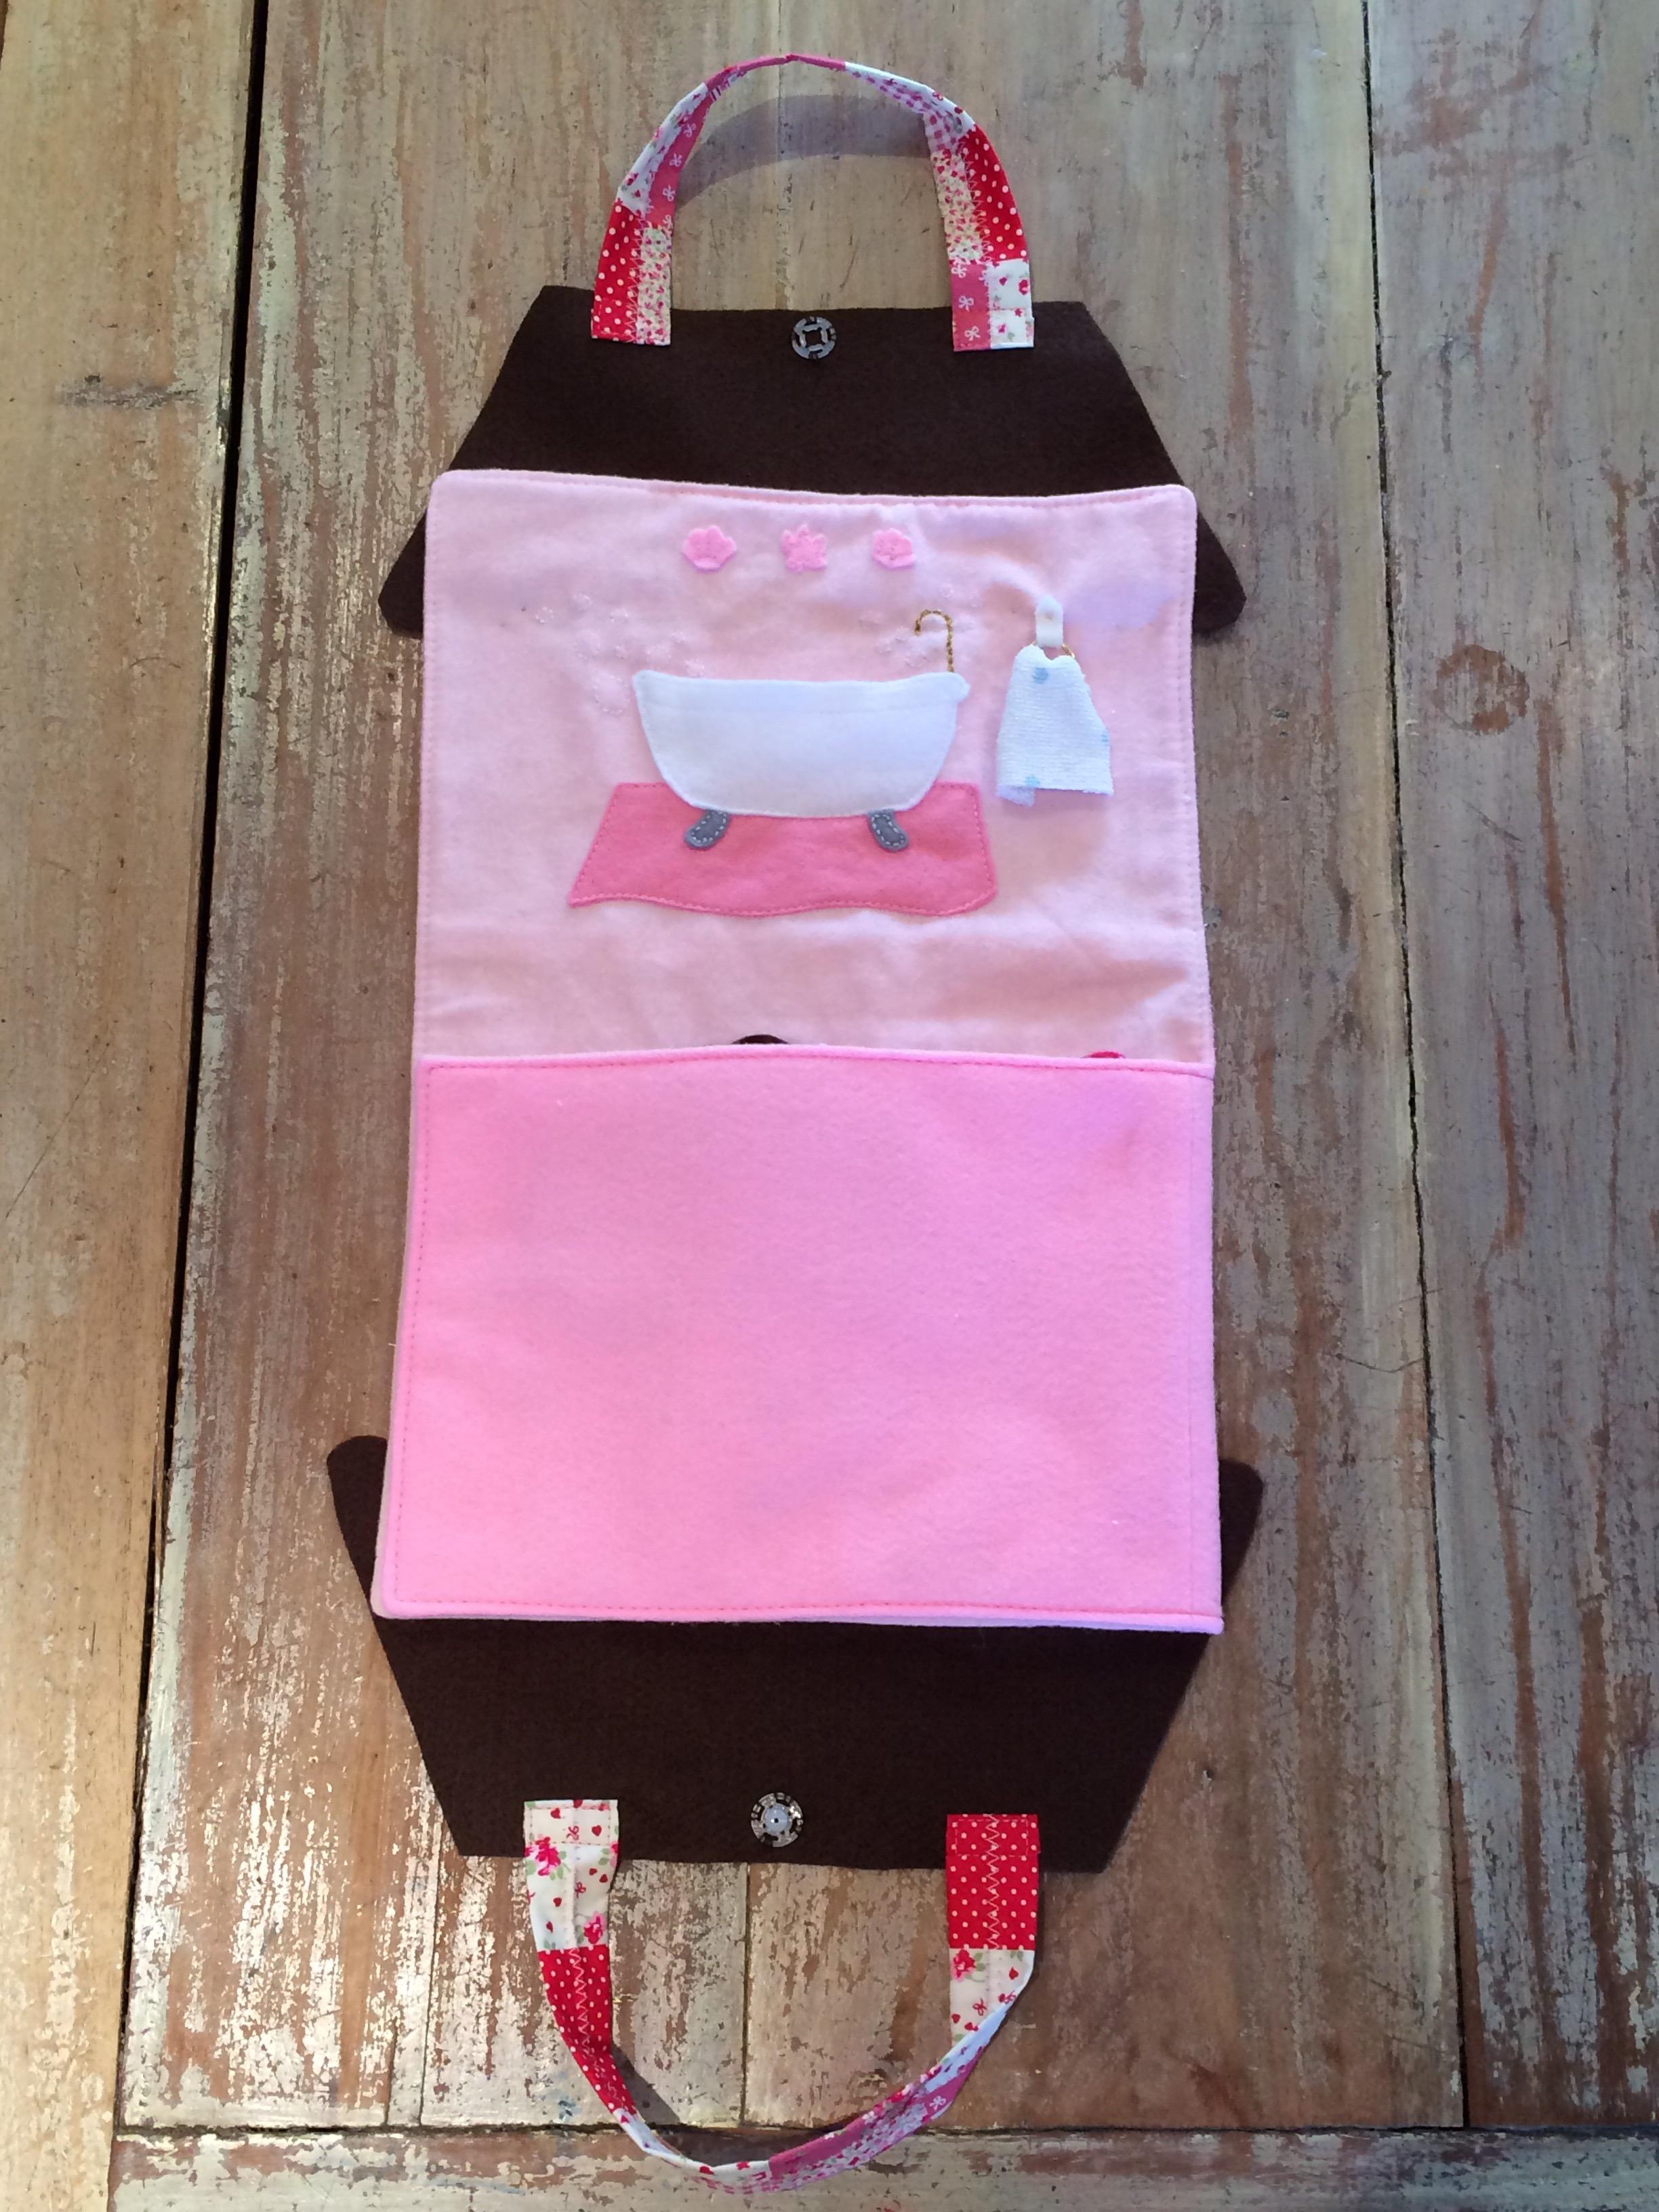
A fold-out doll’s house, ideal for taking out and about to keep any little girl entertained (and better than handing over your smart phone, any day).

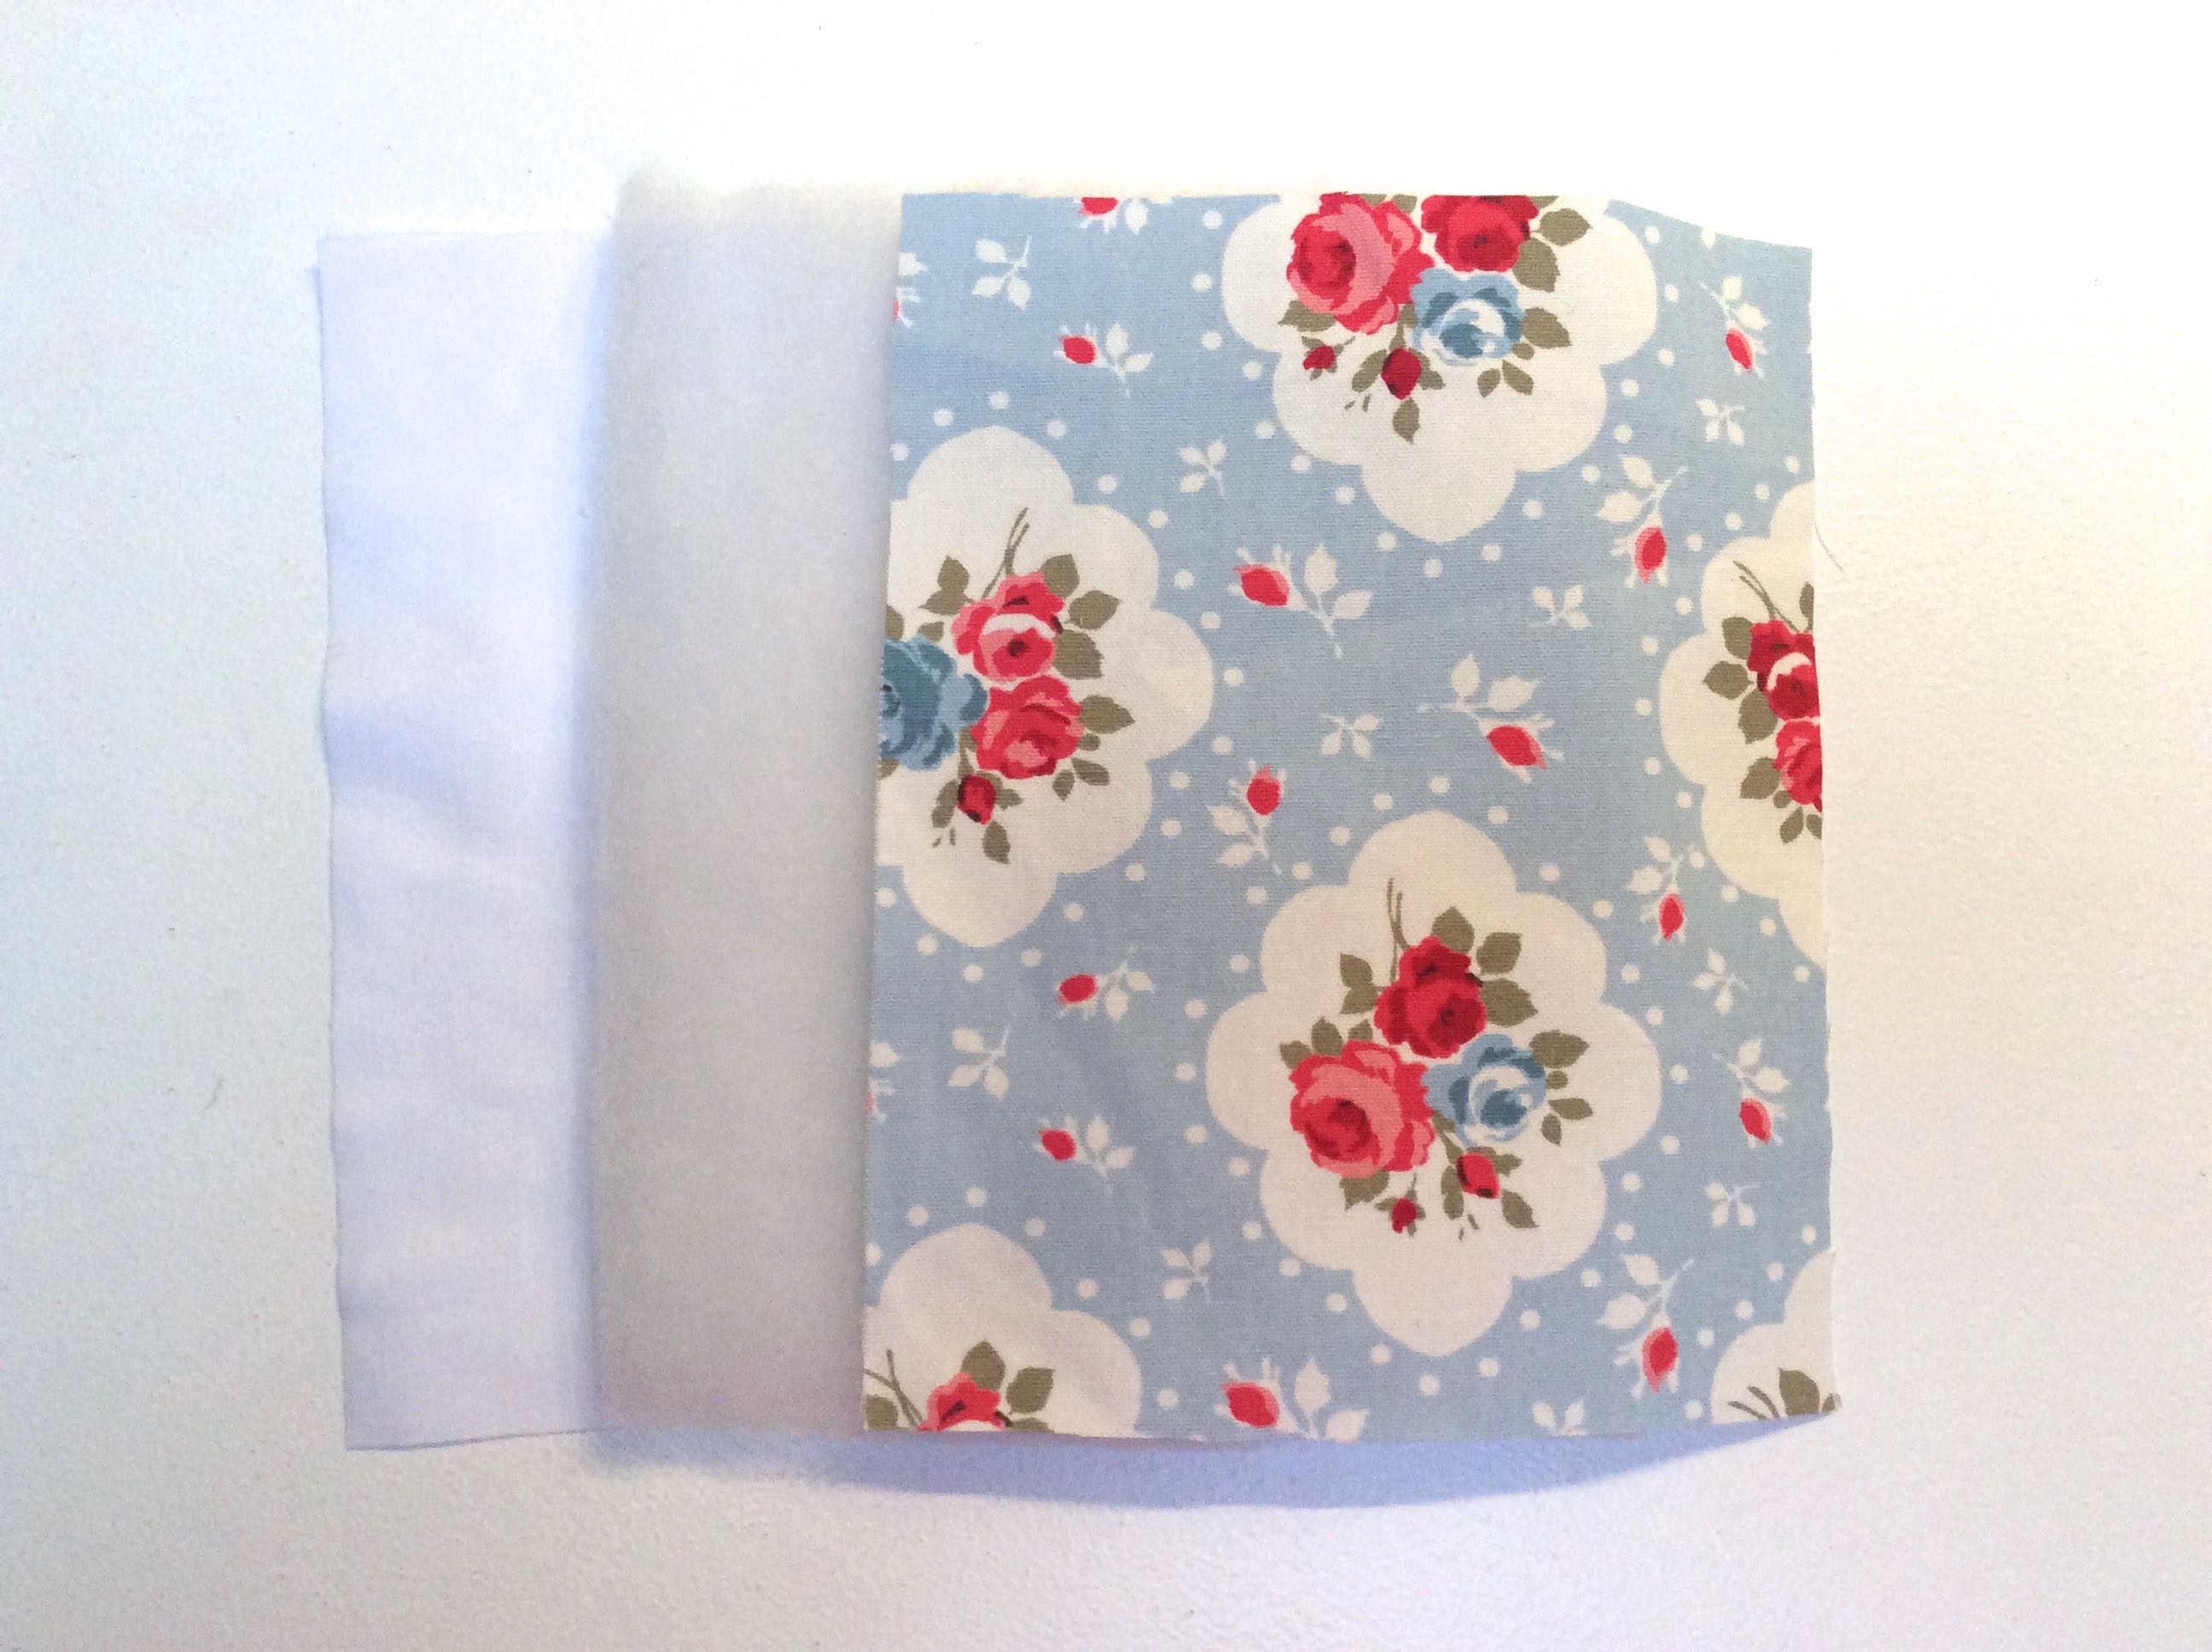
The details were a joy to put together and customise with whatever scraps of fabric I had to hand.

See, I told you that bag full of two-inch scraps would come in handy one day. I can’t throw any fabric out, no matter how minuscule the leftovers.

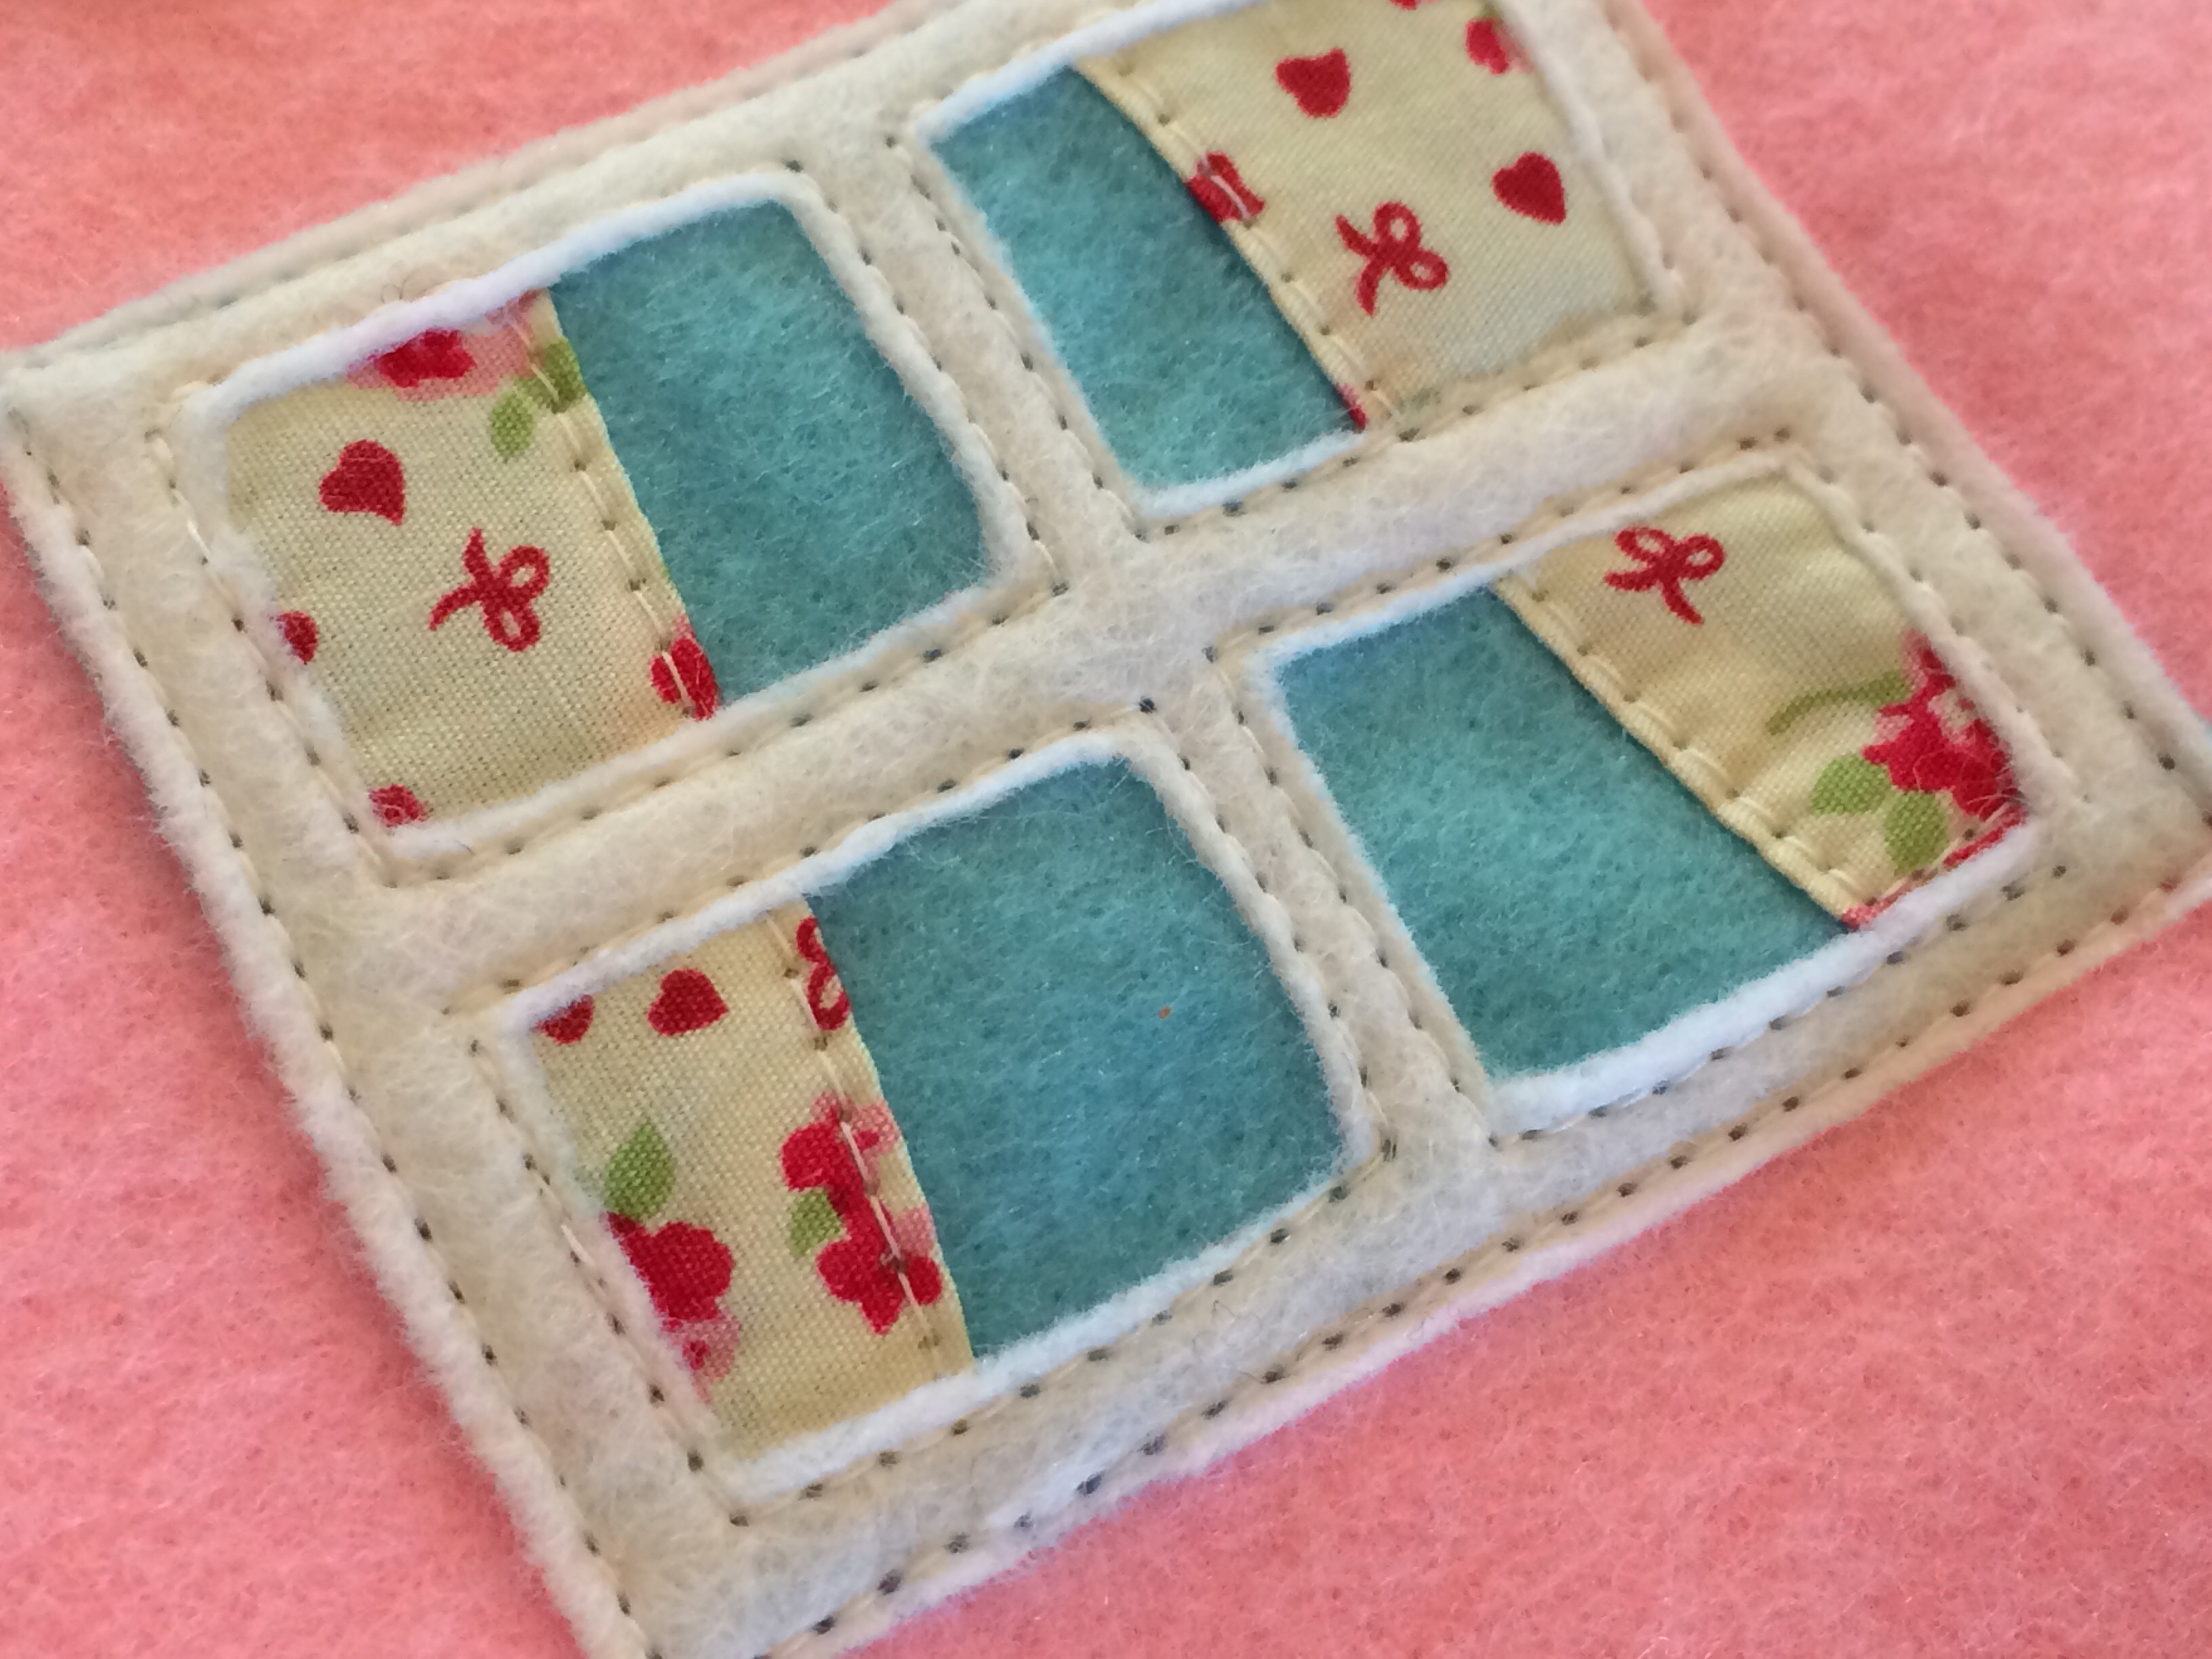
The teeny tiny tea set could have Velcro on the back for an older child, to make it removeable. As this was for a toddler, I sewed them to the table permanently.

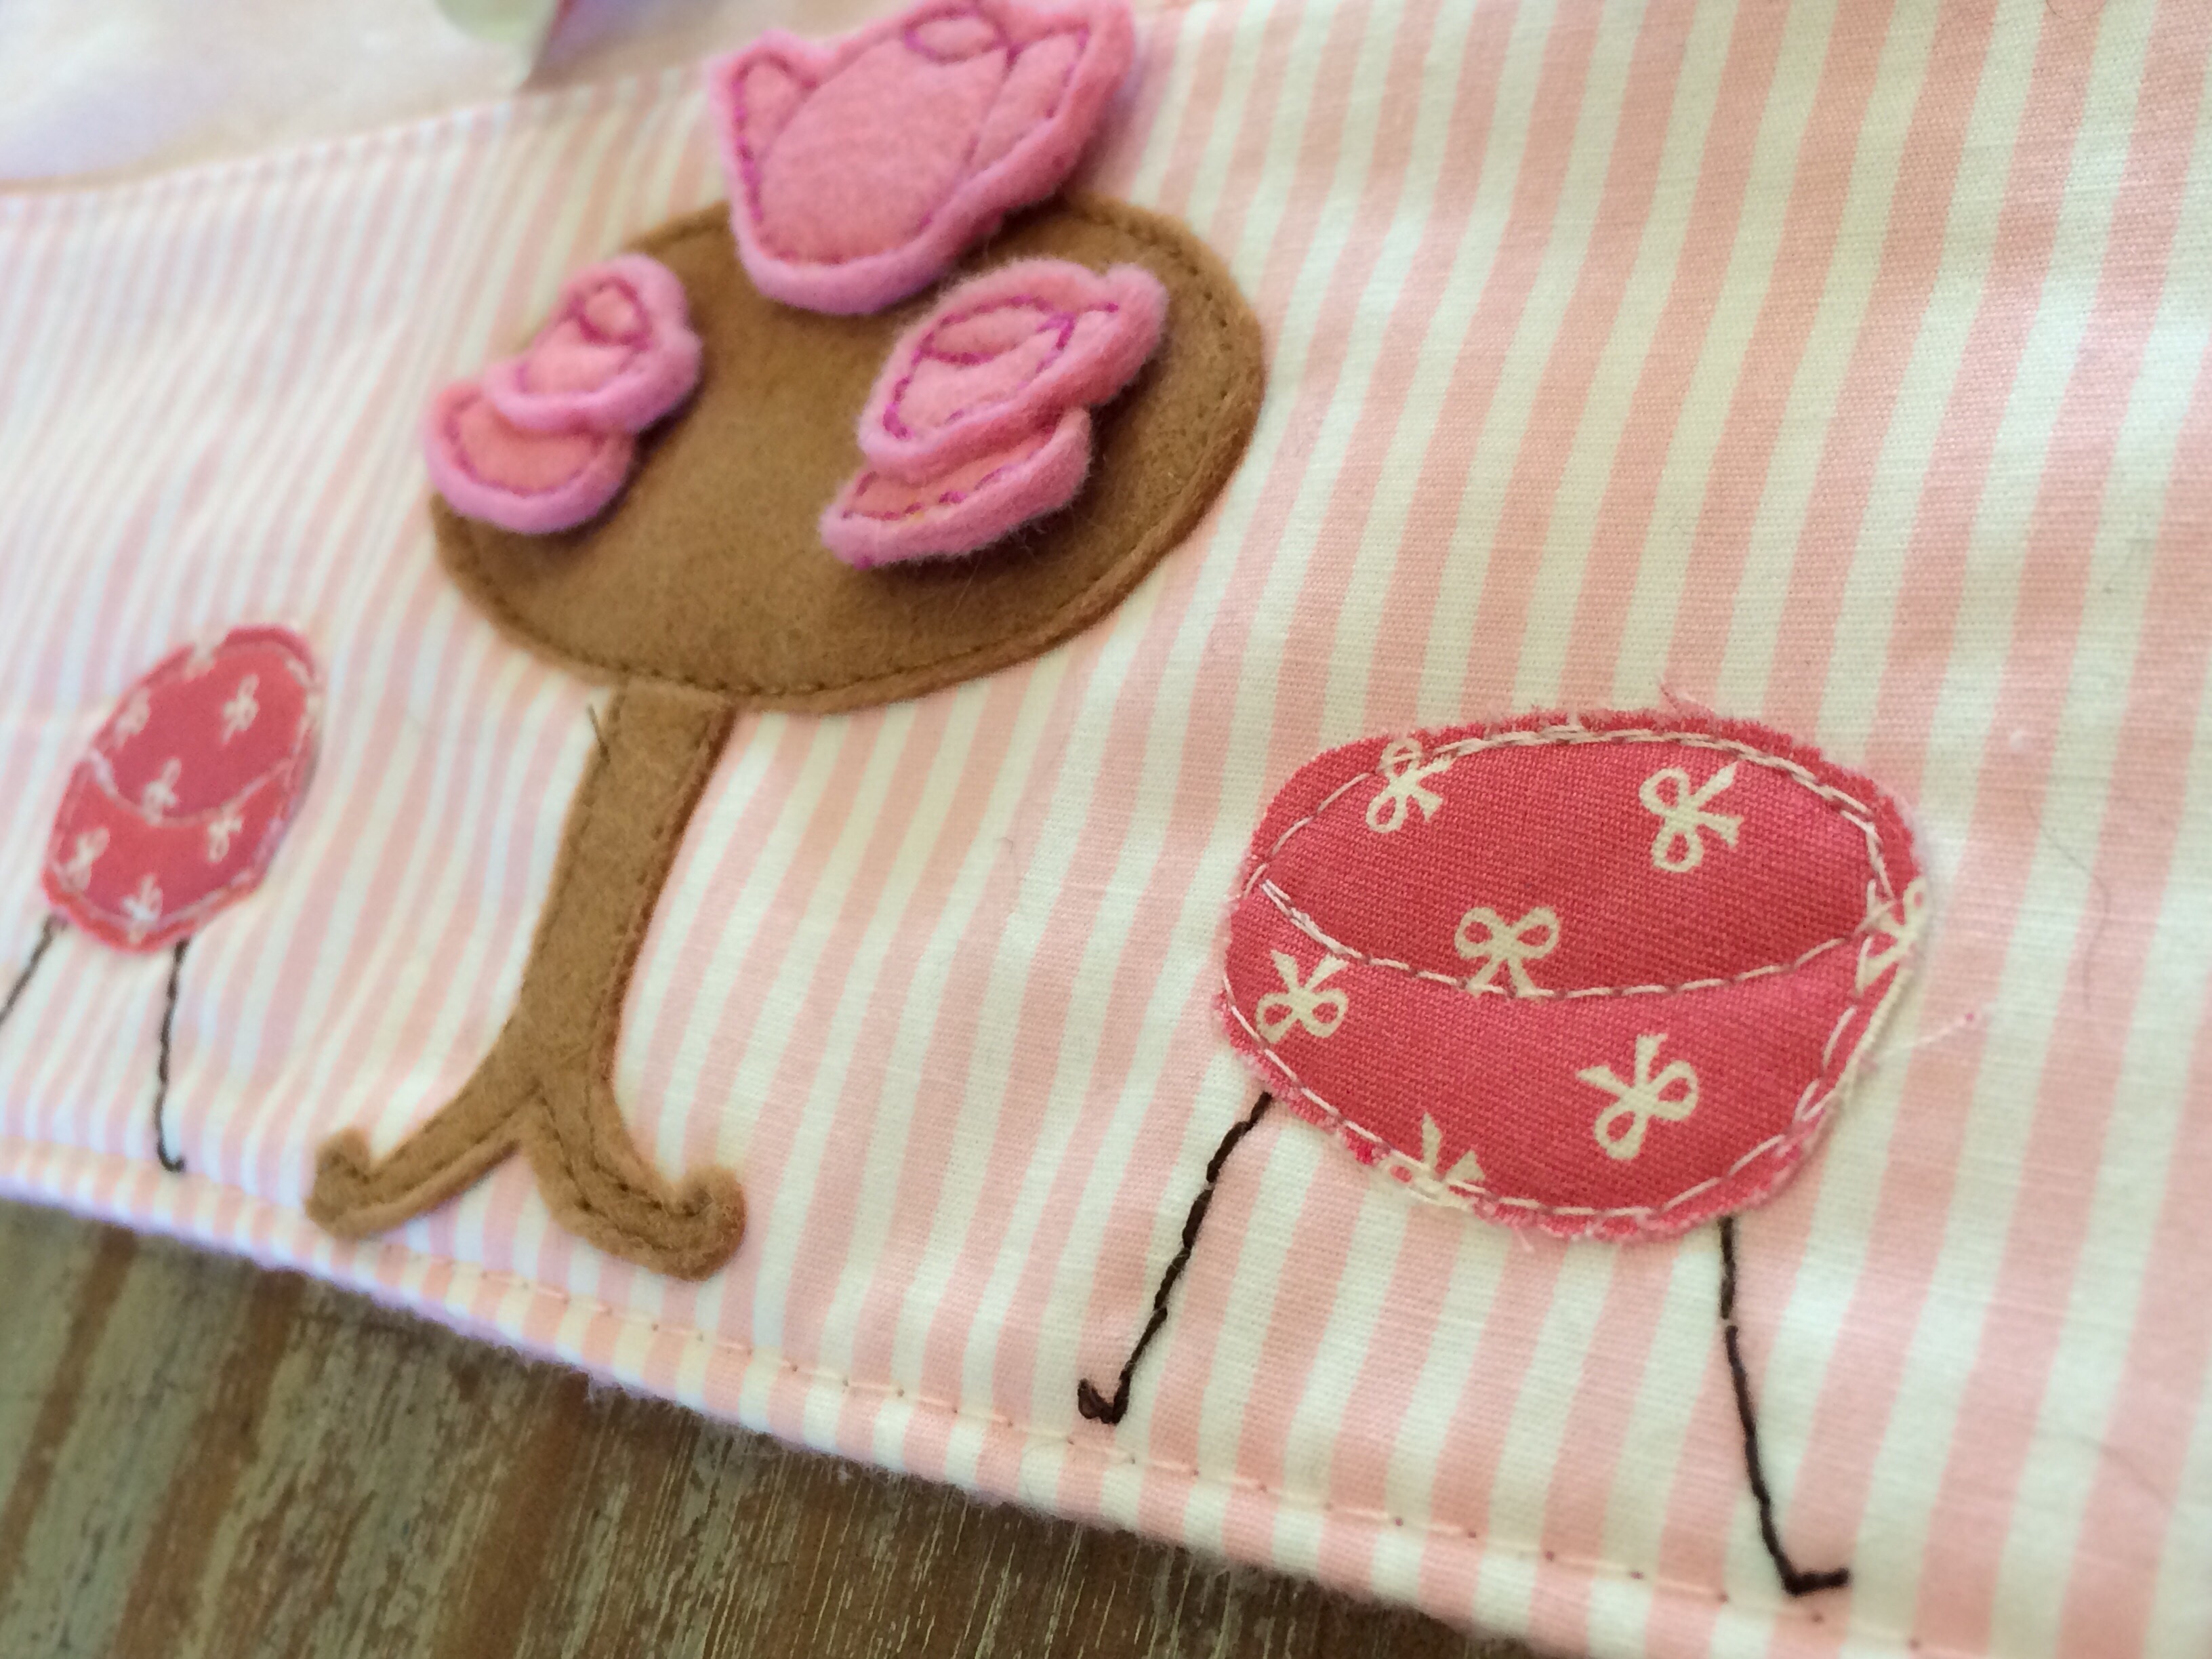
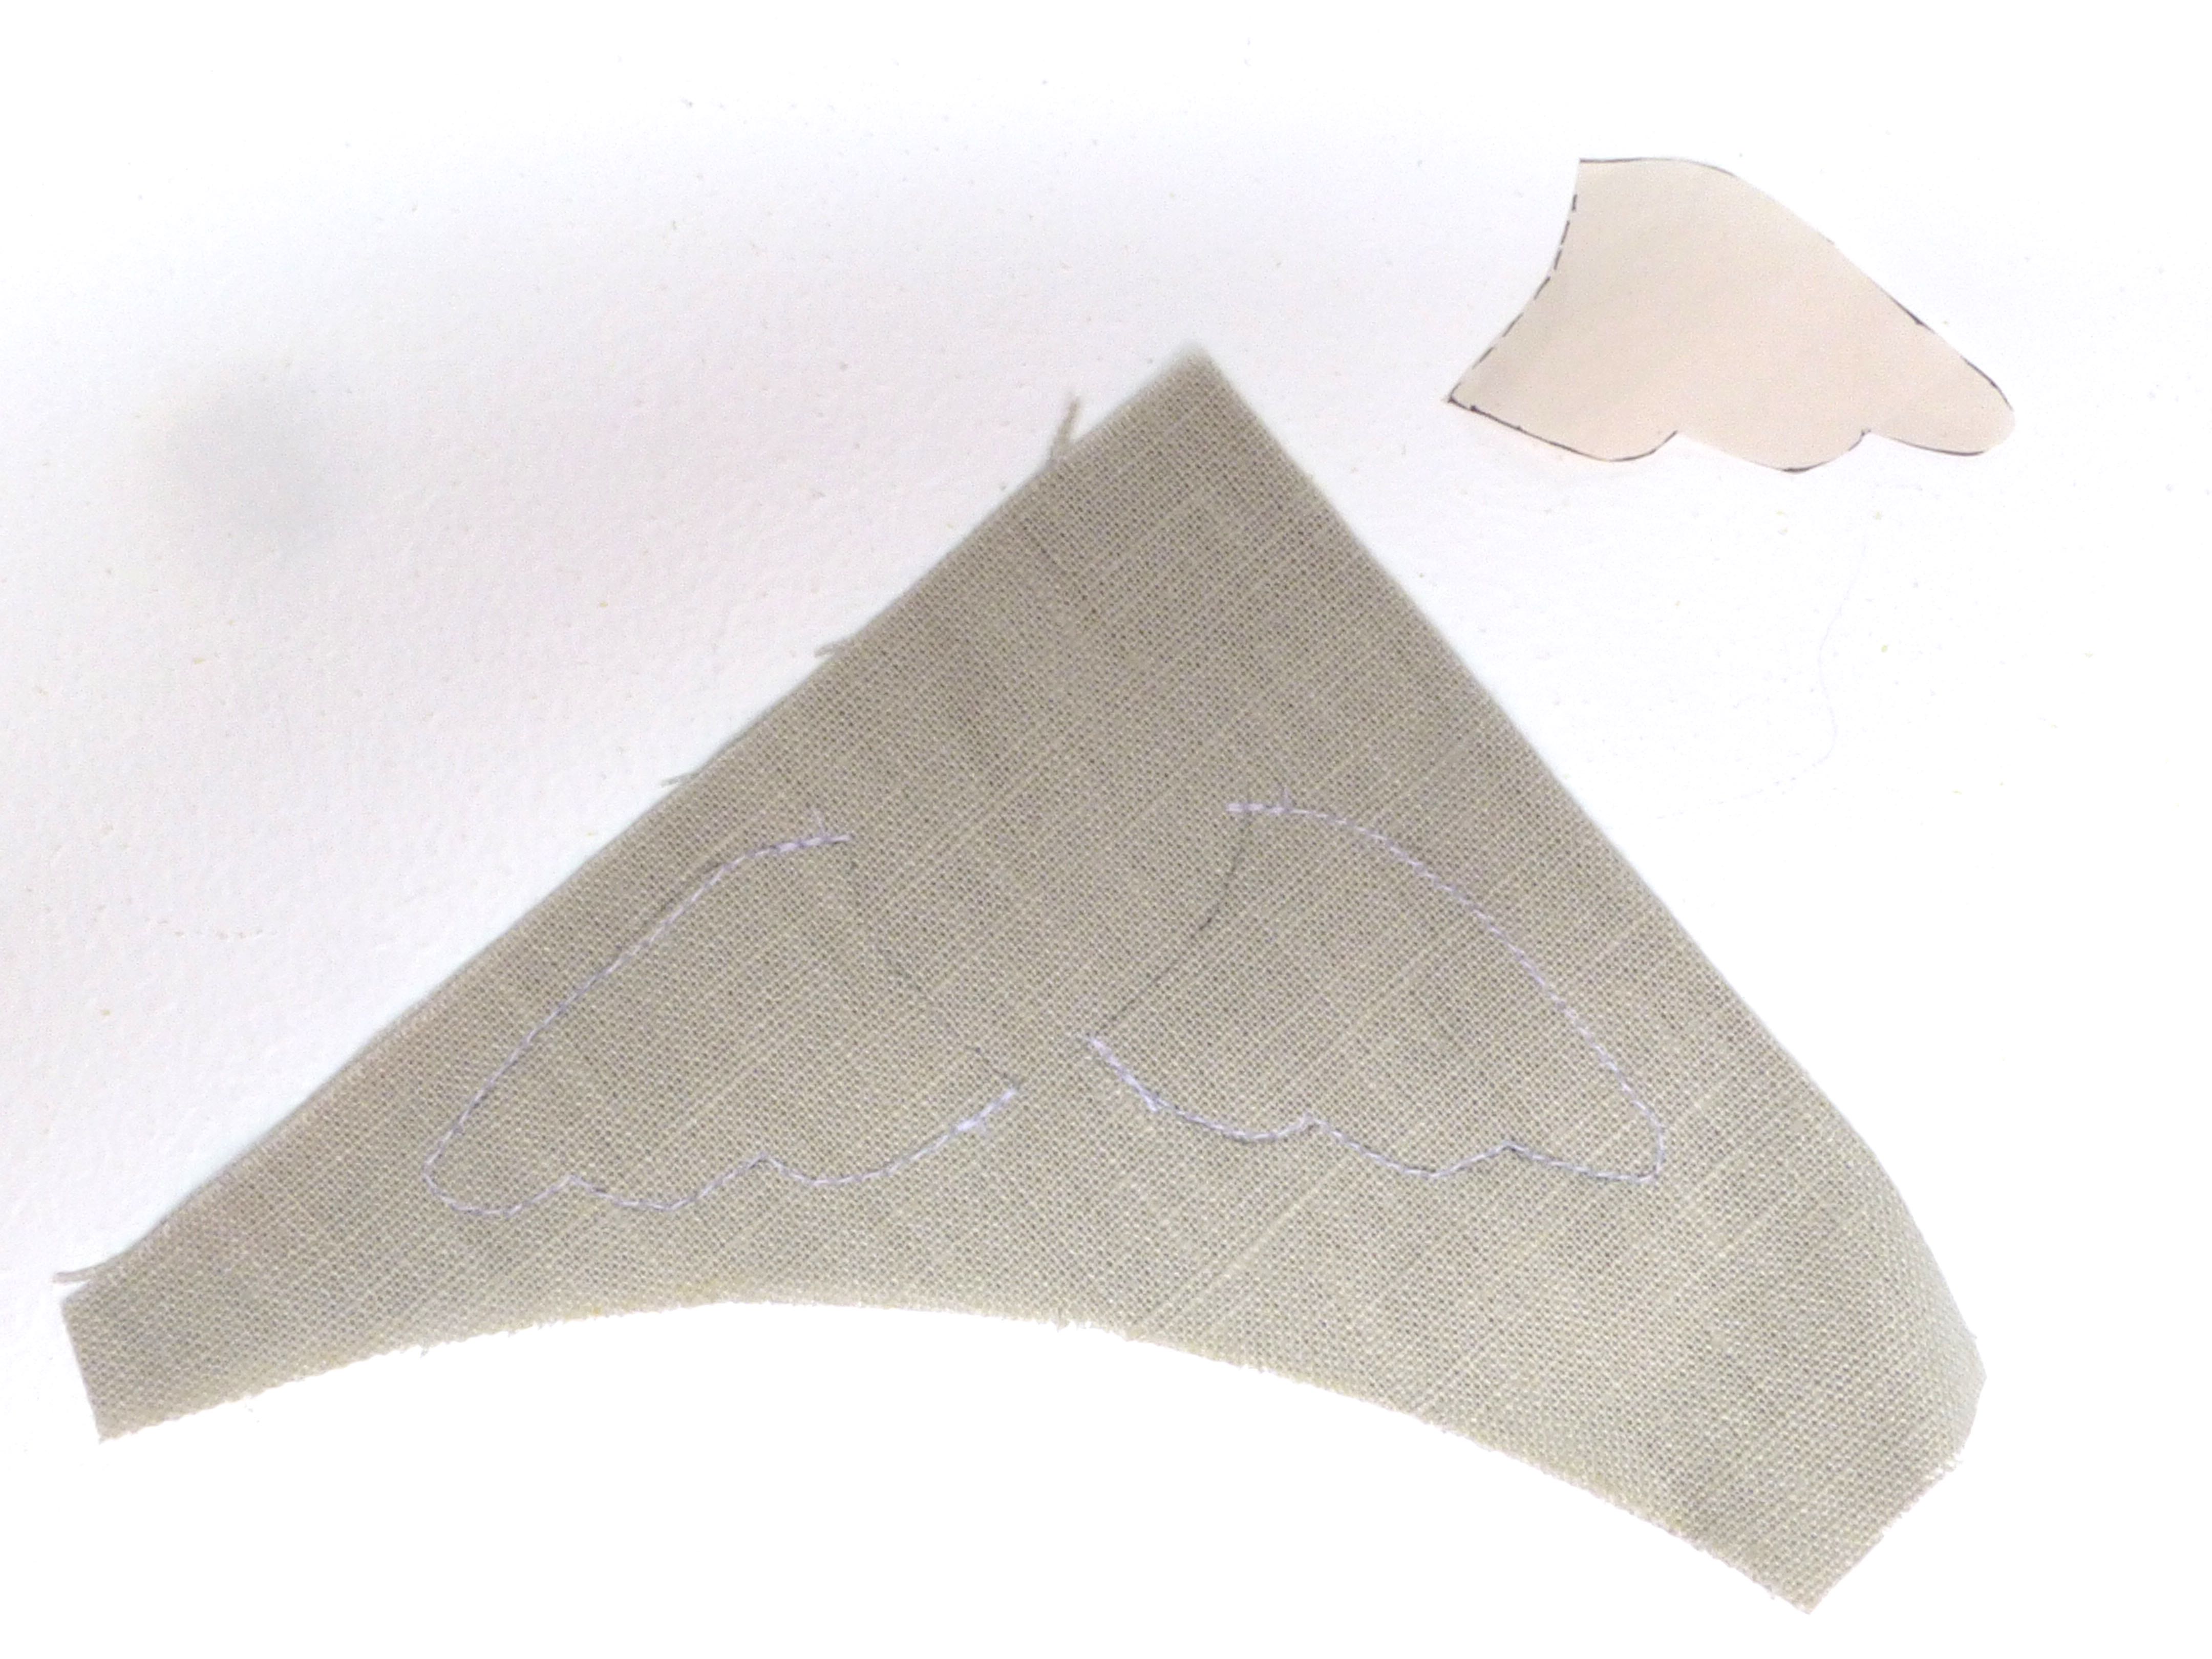
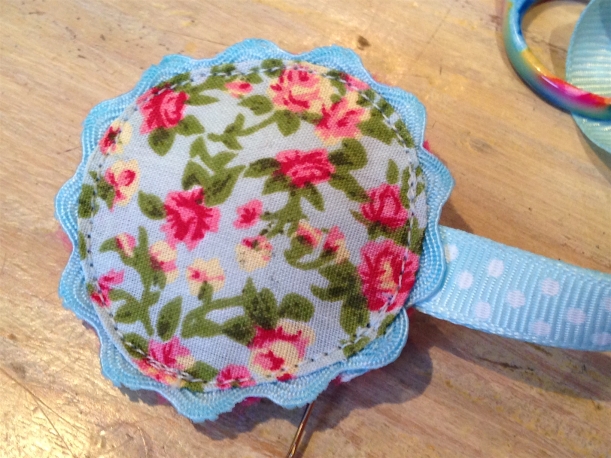
Some of the bits were embroidered by hand….

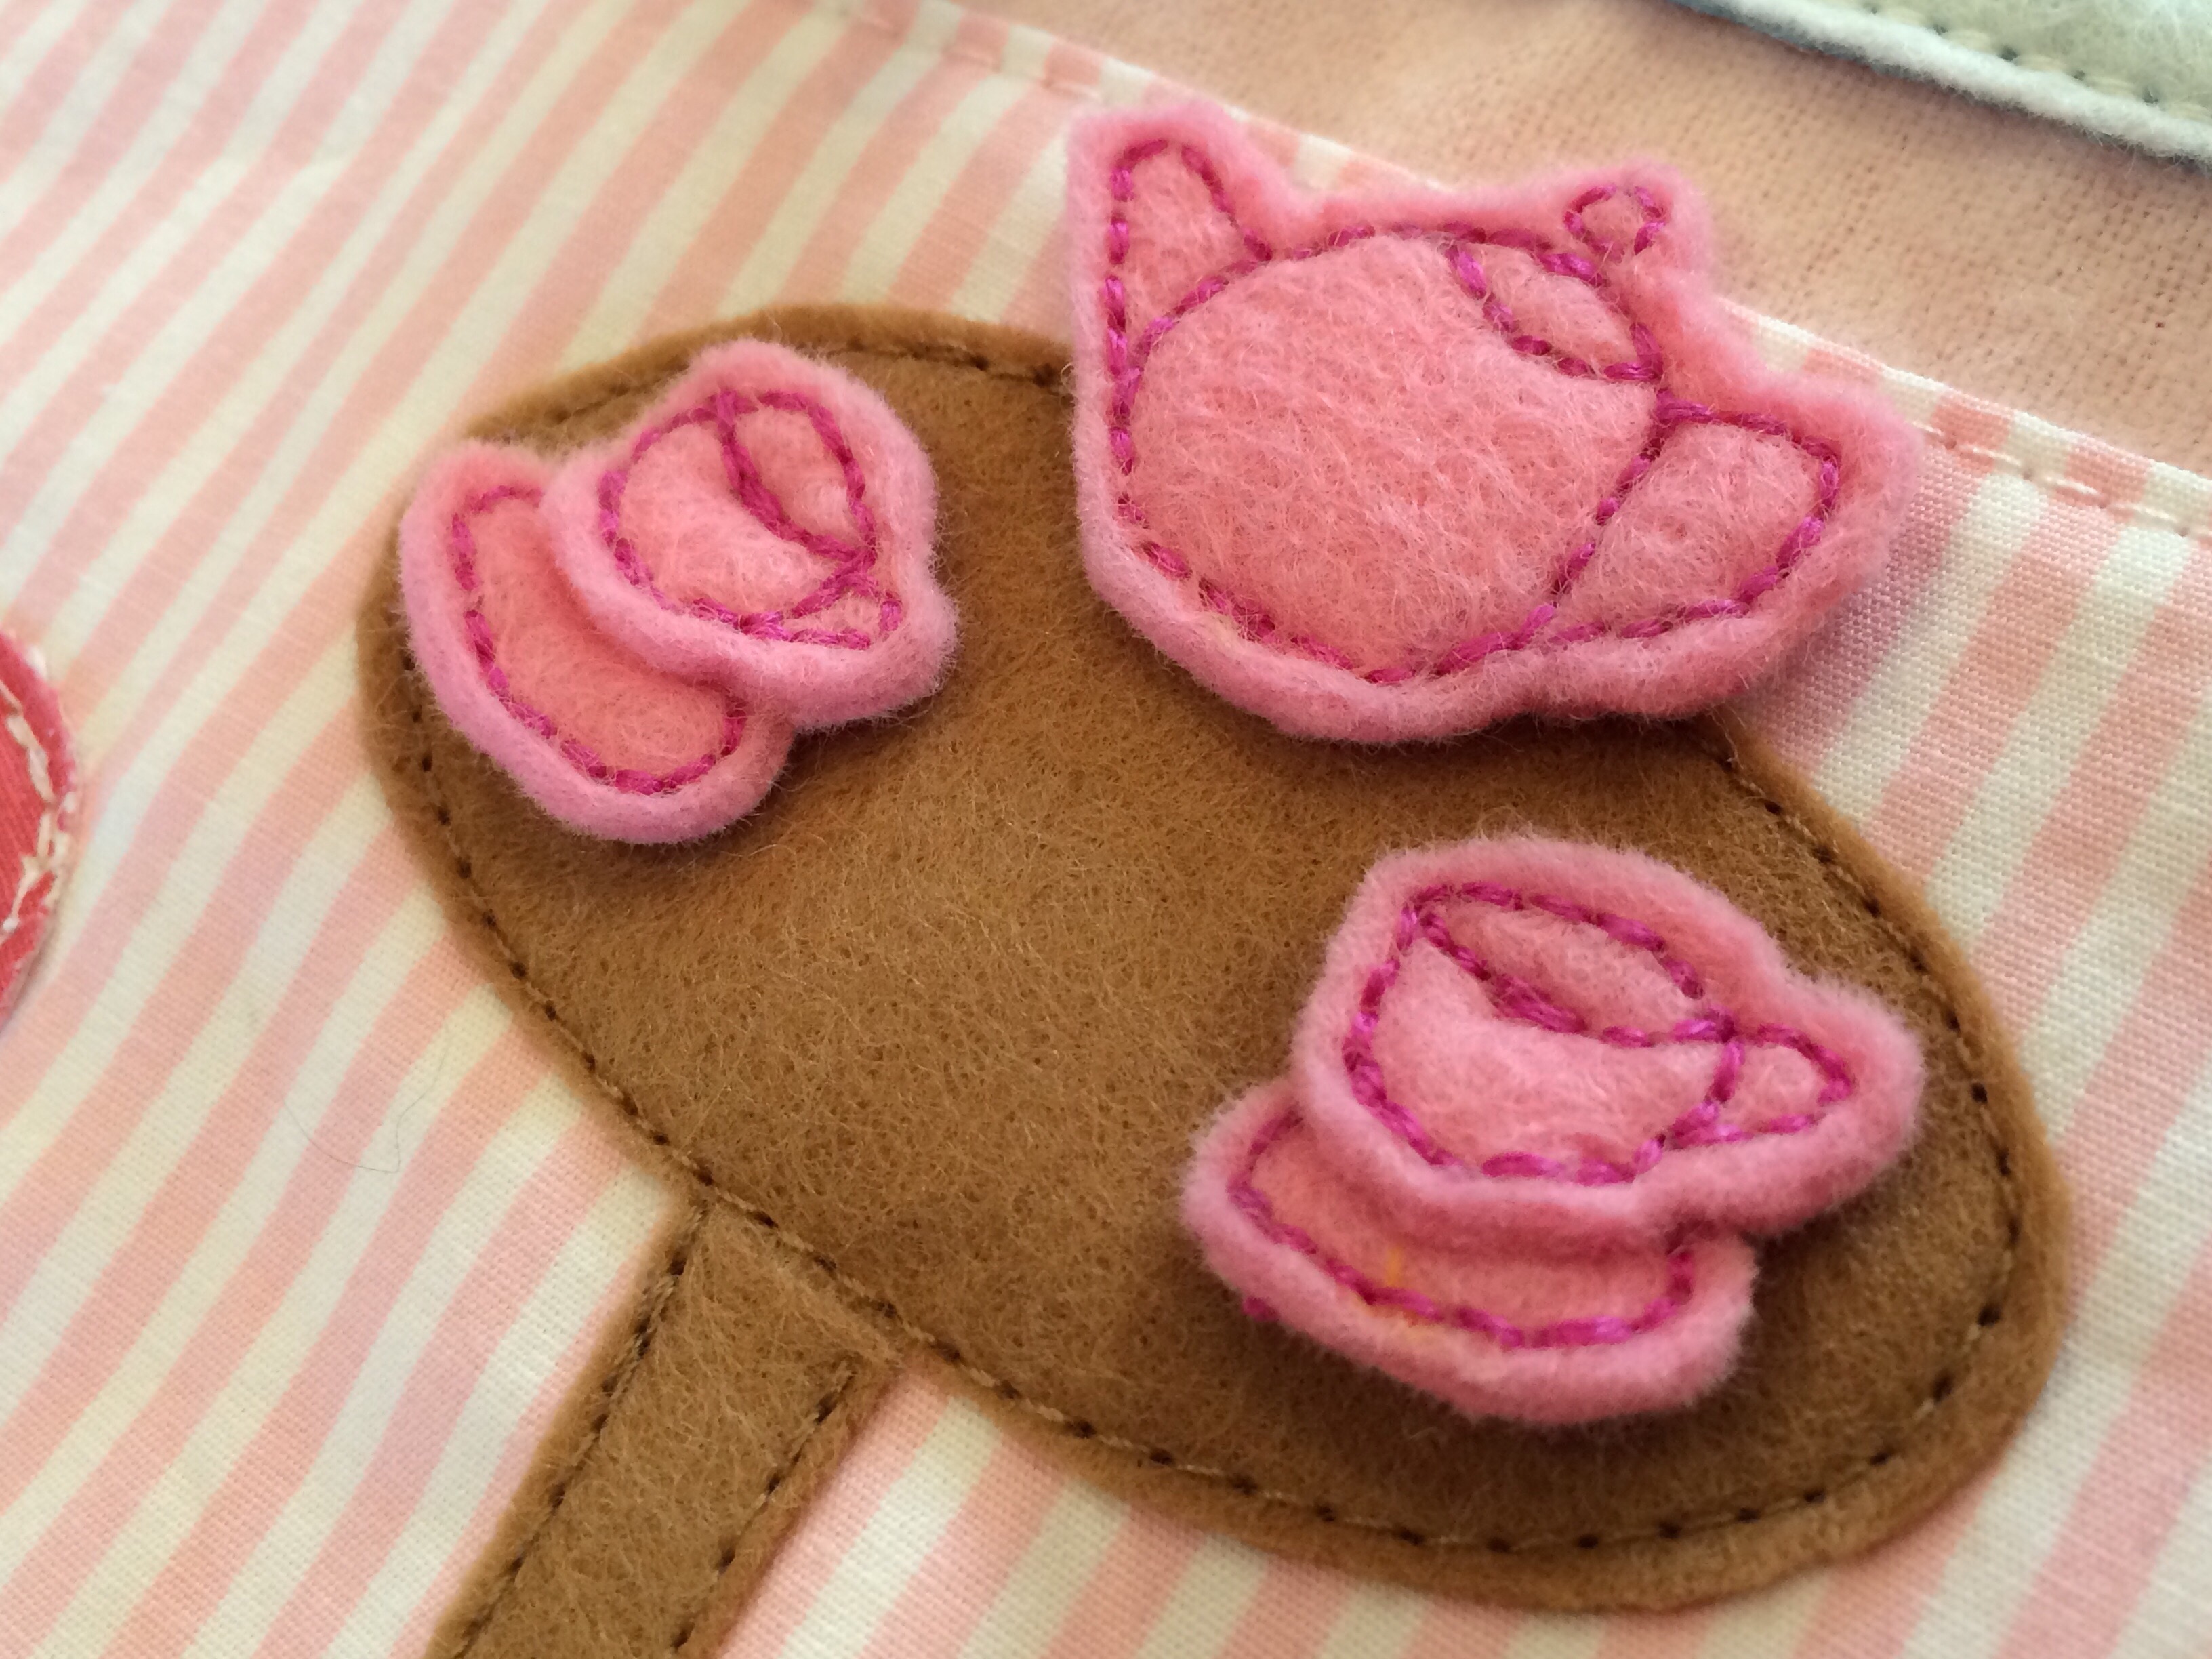
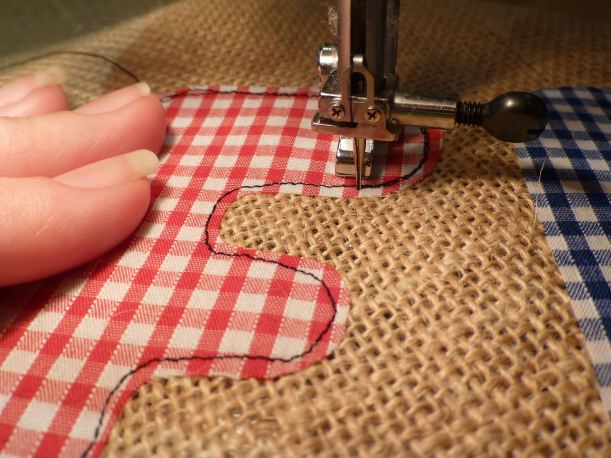
….and others were stitched on by machine.

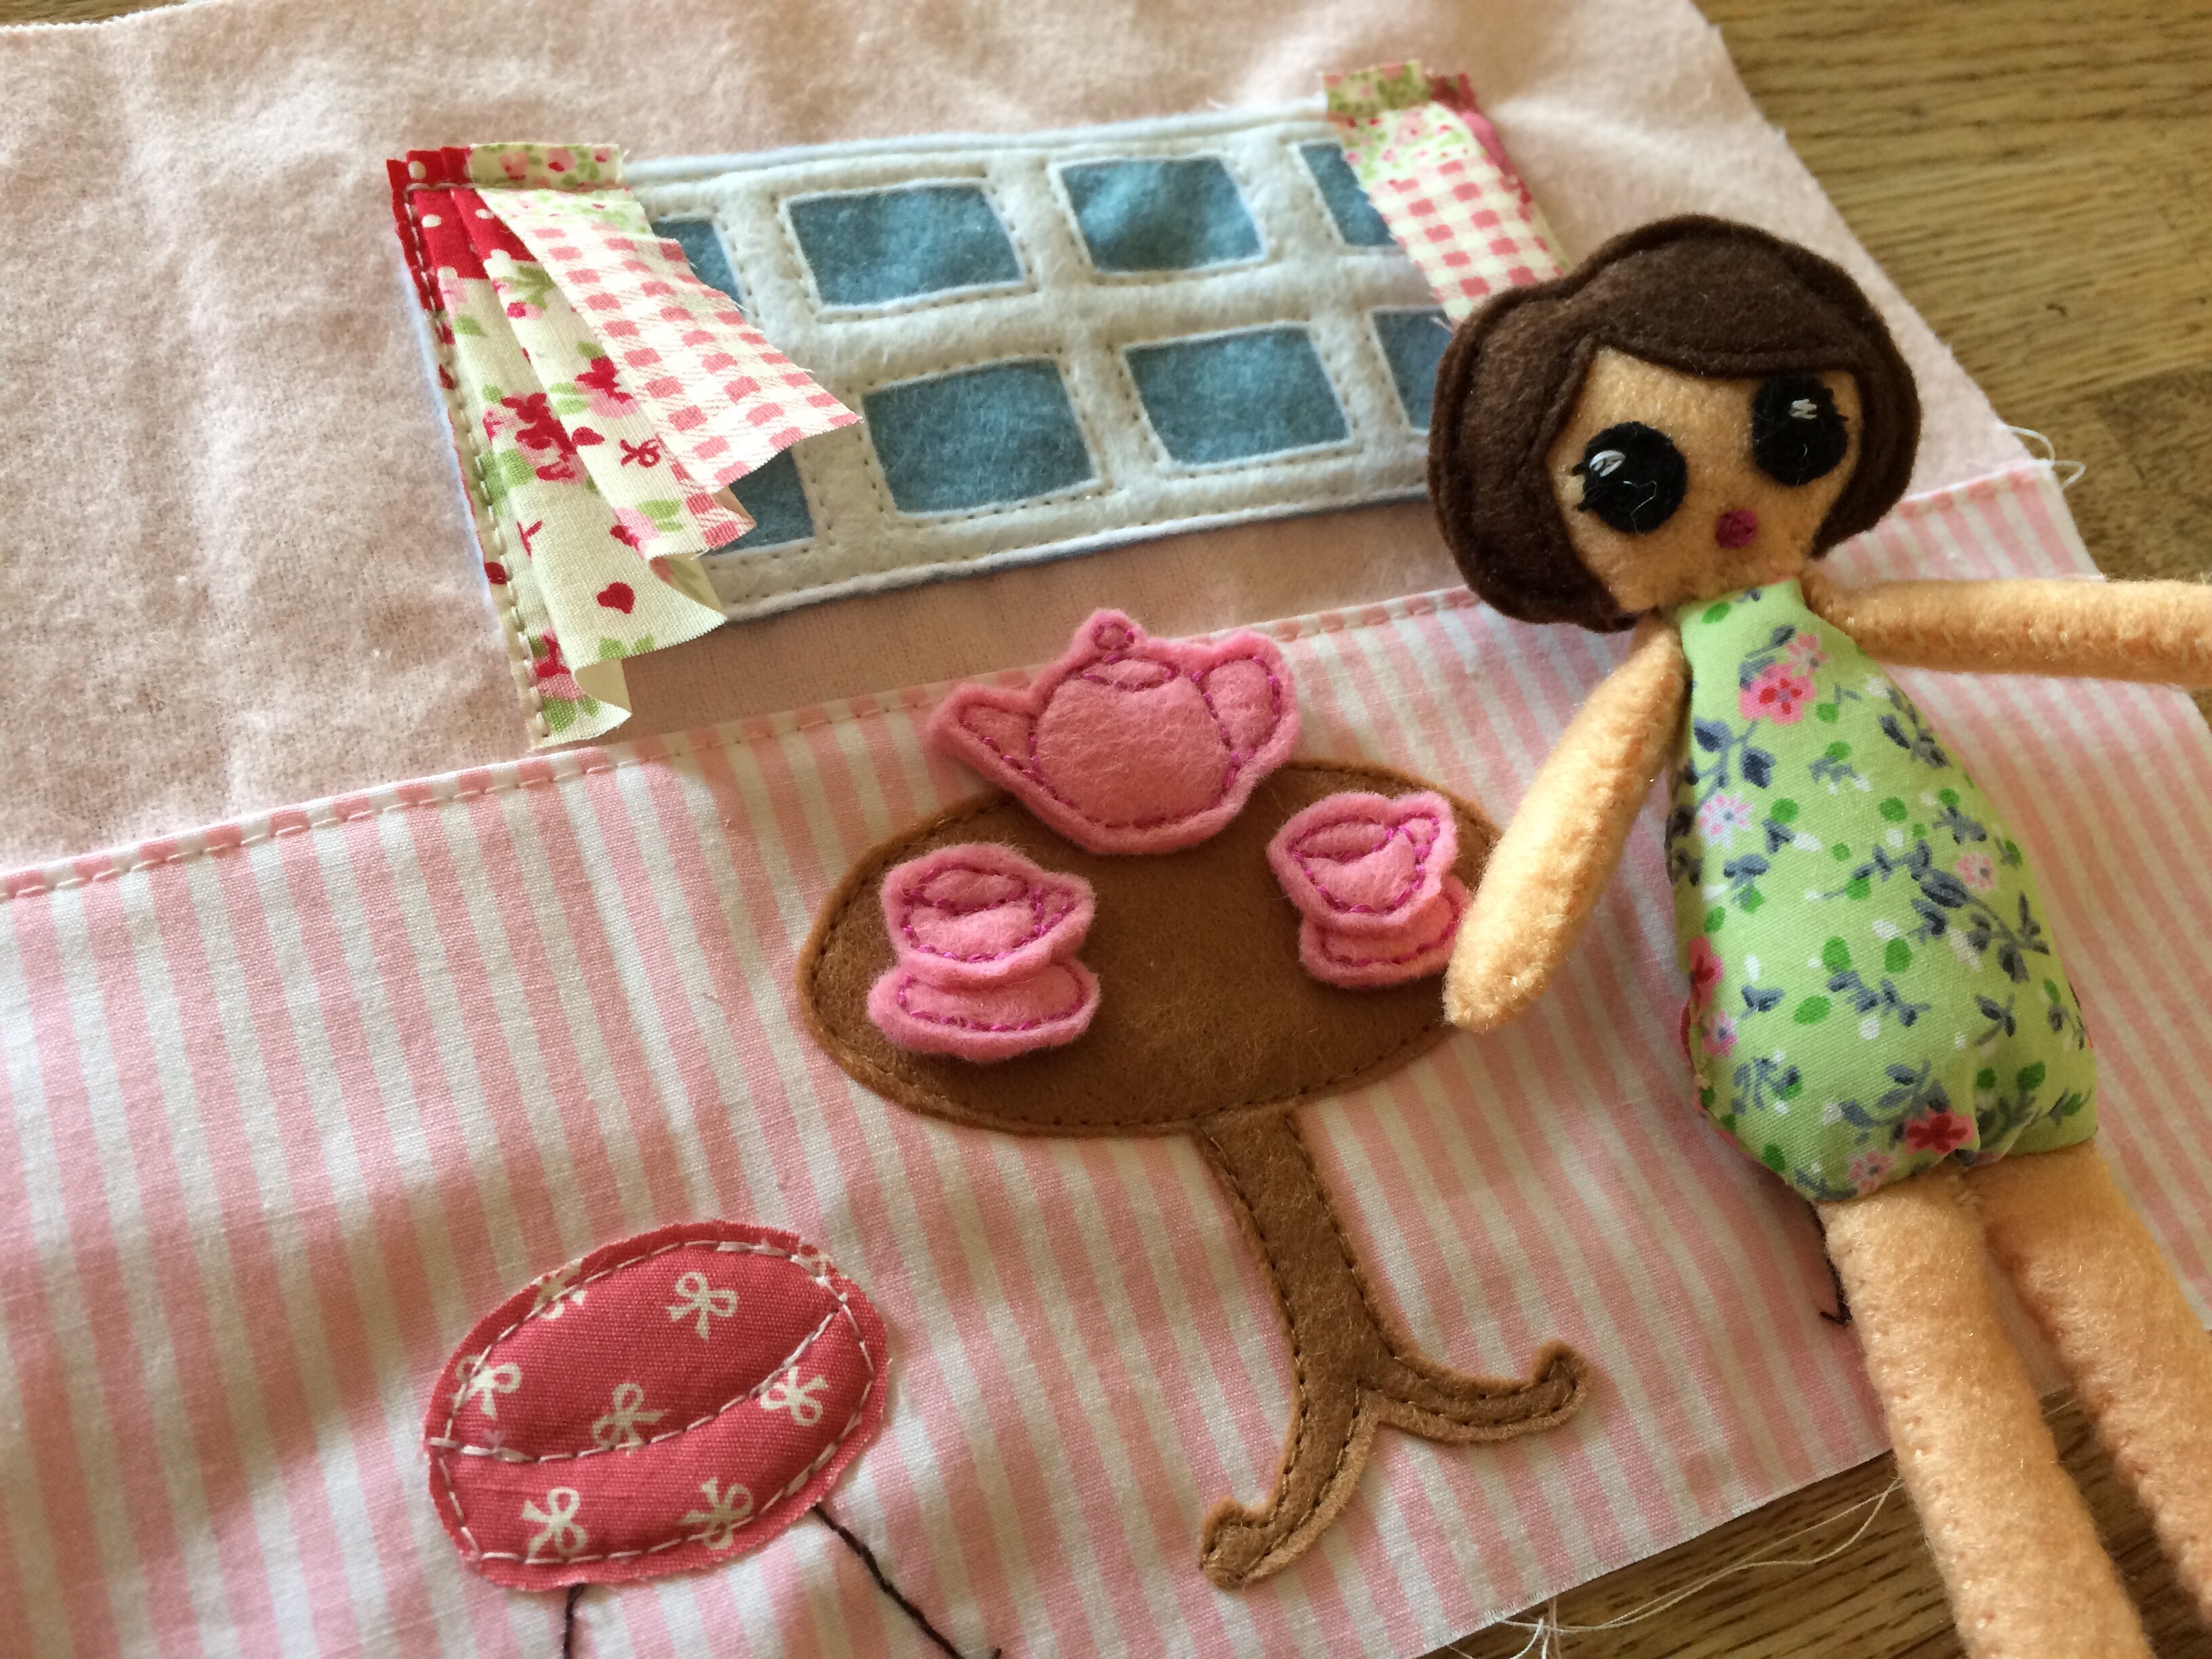
Dolly herself also has a dress and some hair bows, but those will have to follow in the post as I didn’t have time to make them before we visited.

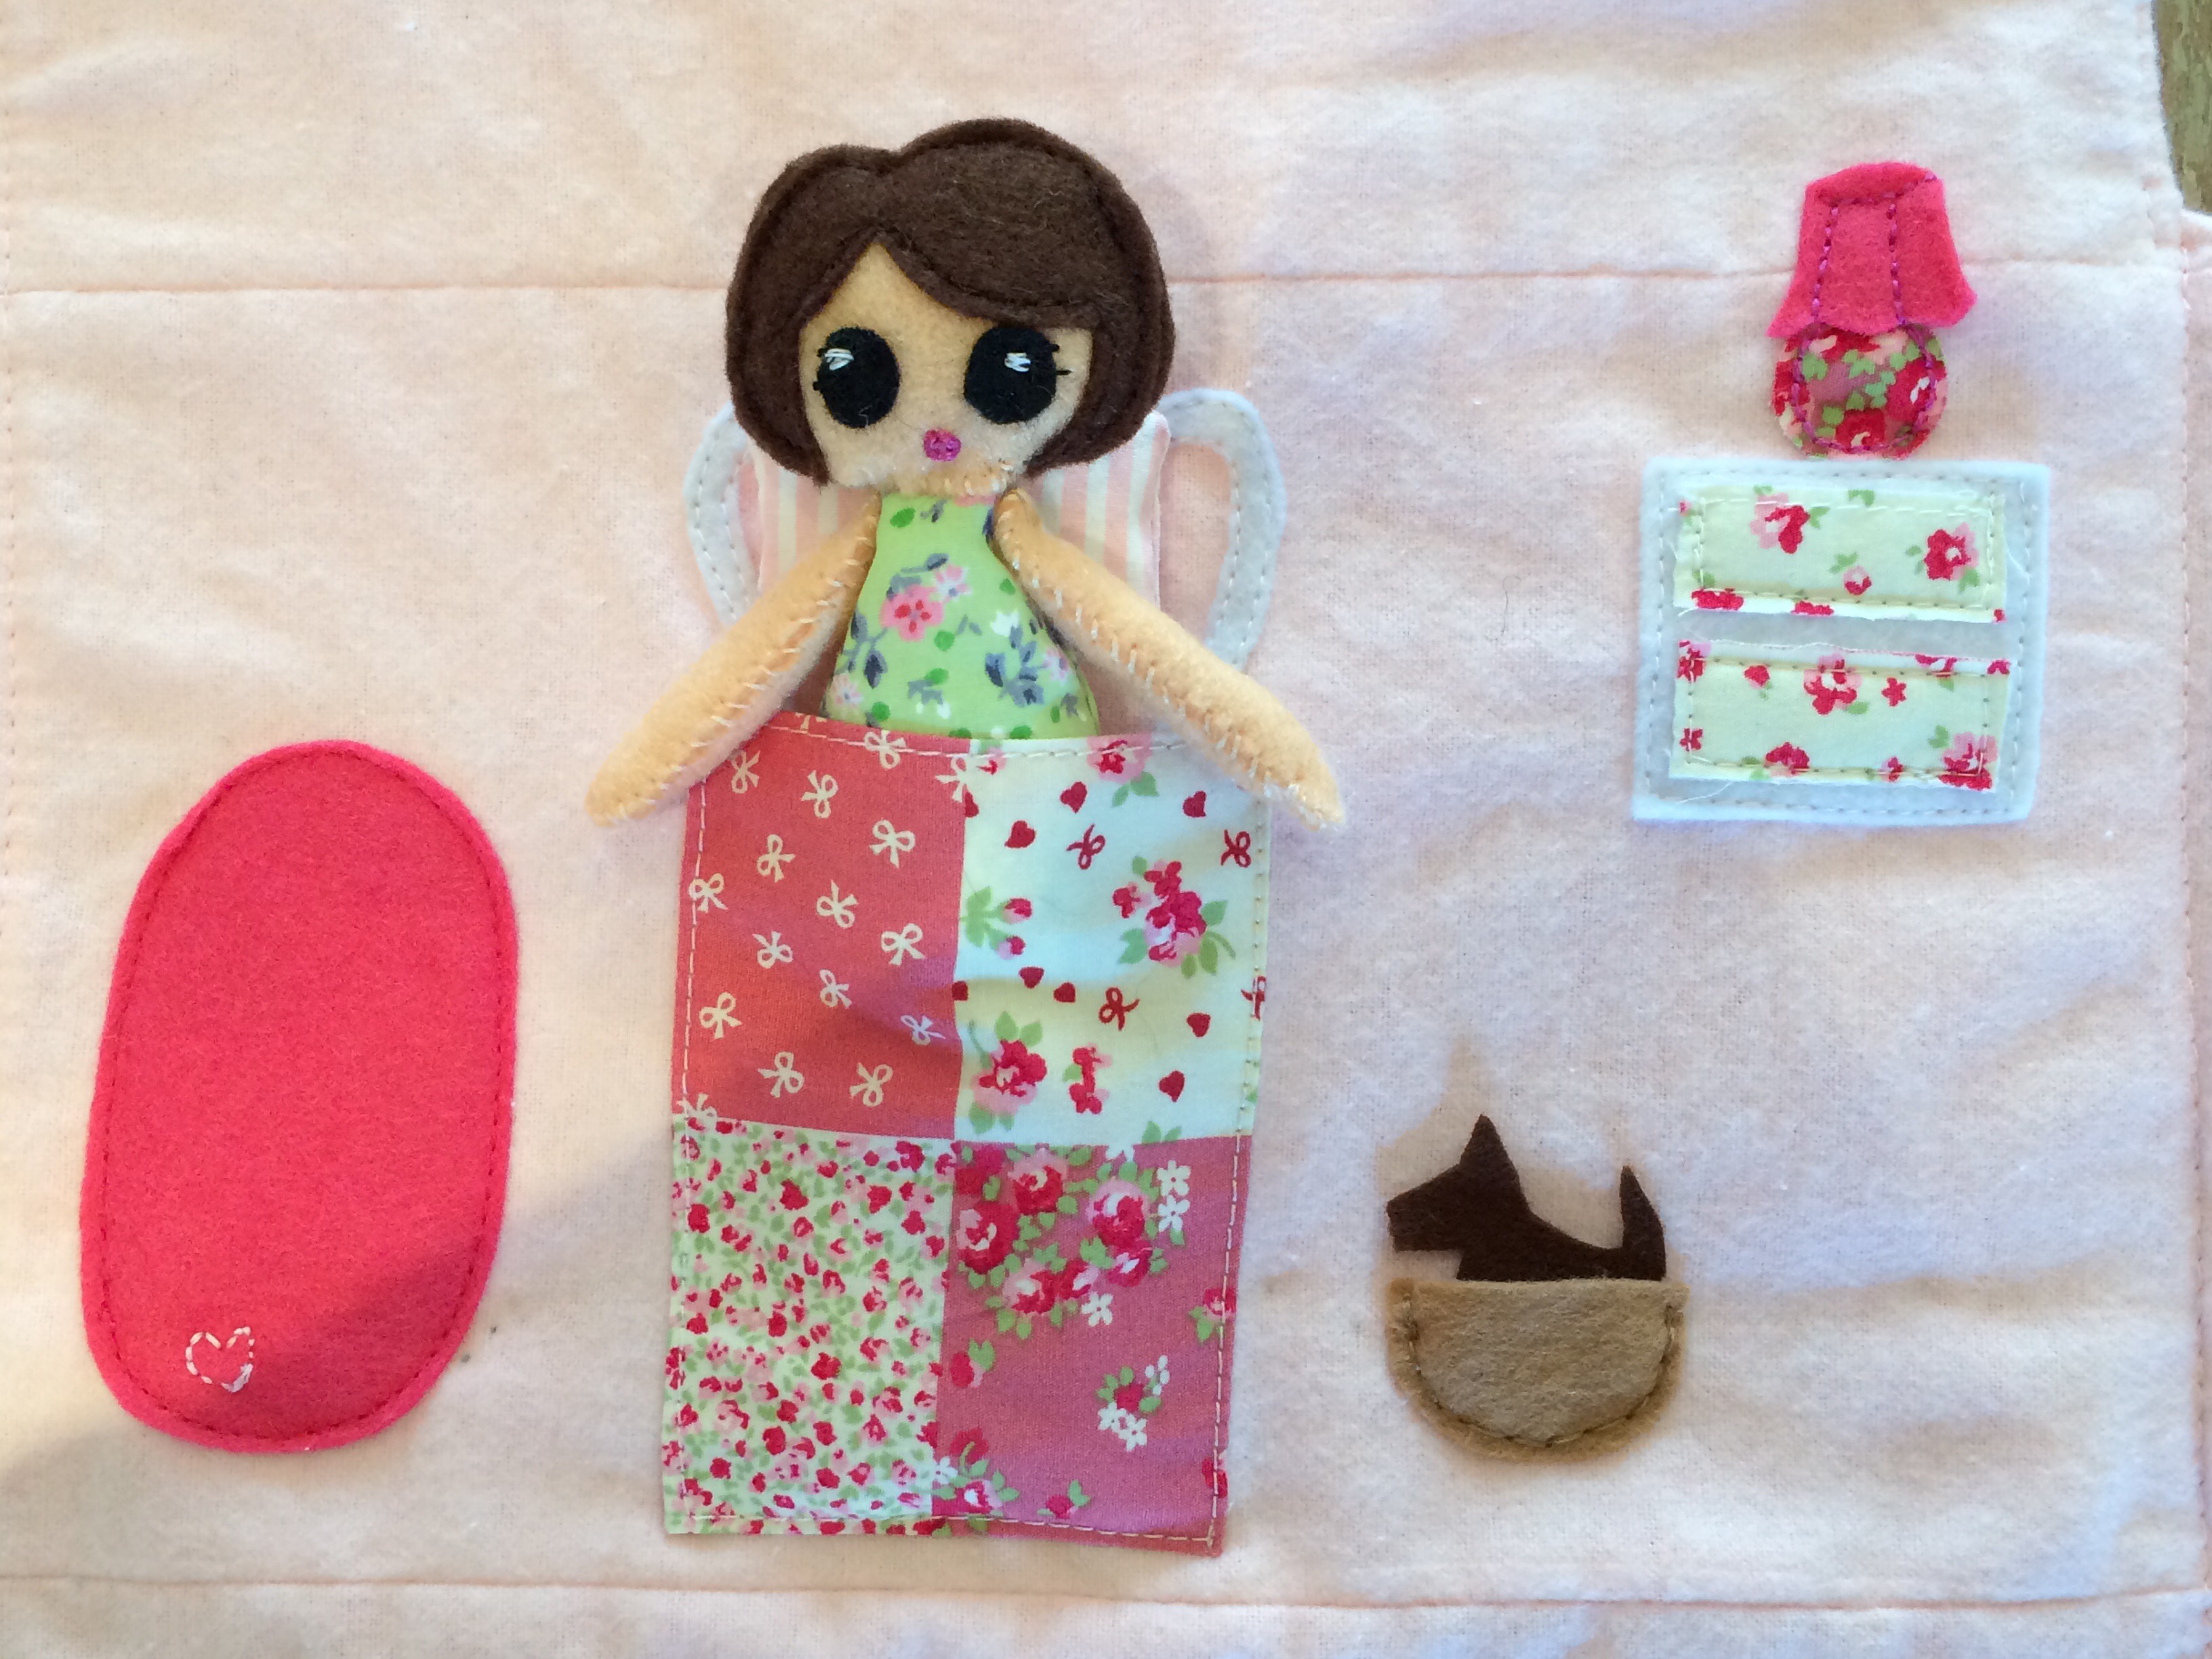
Here’s the bed which is open for the doll to get in. She even has a little removeable pillow.

Of course, she needs a bedside rug to step out onto.

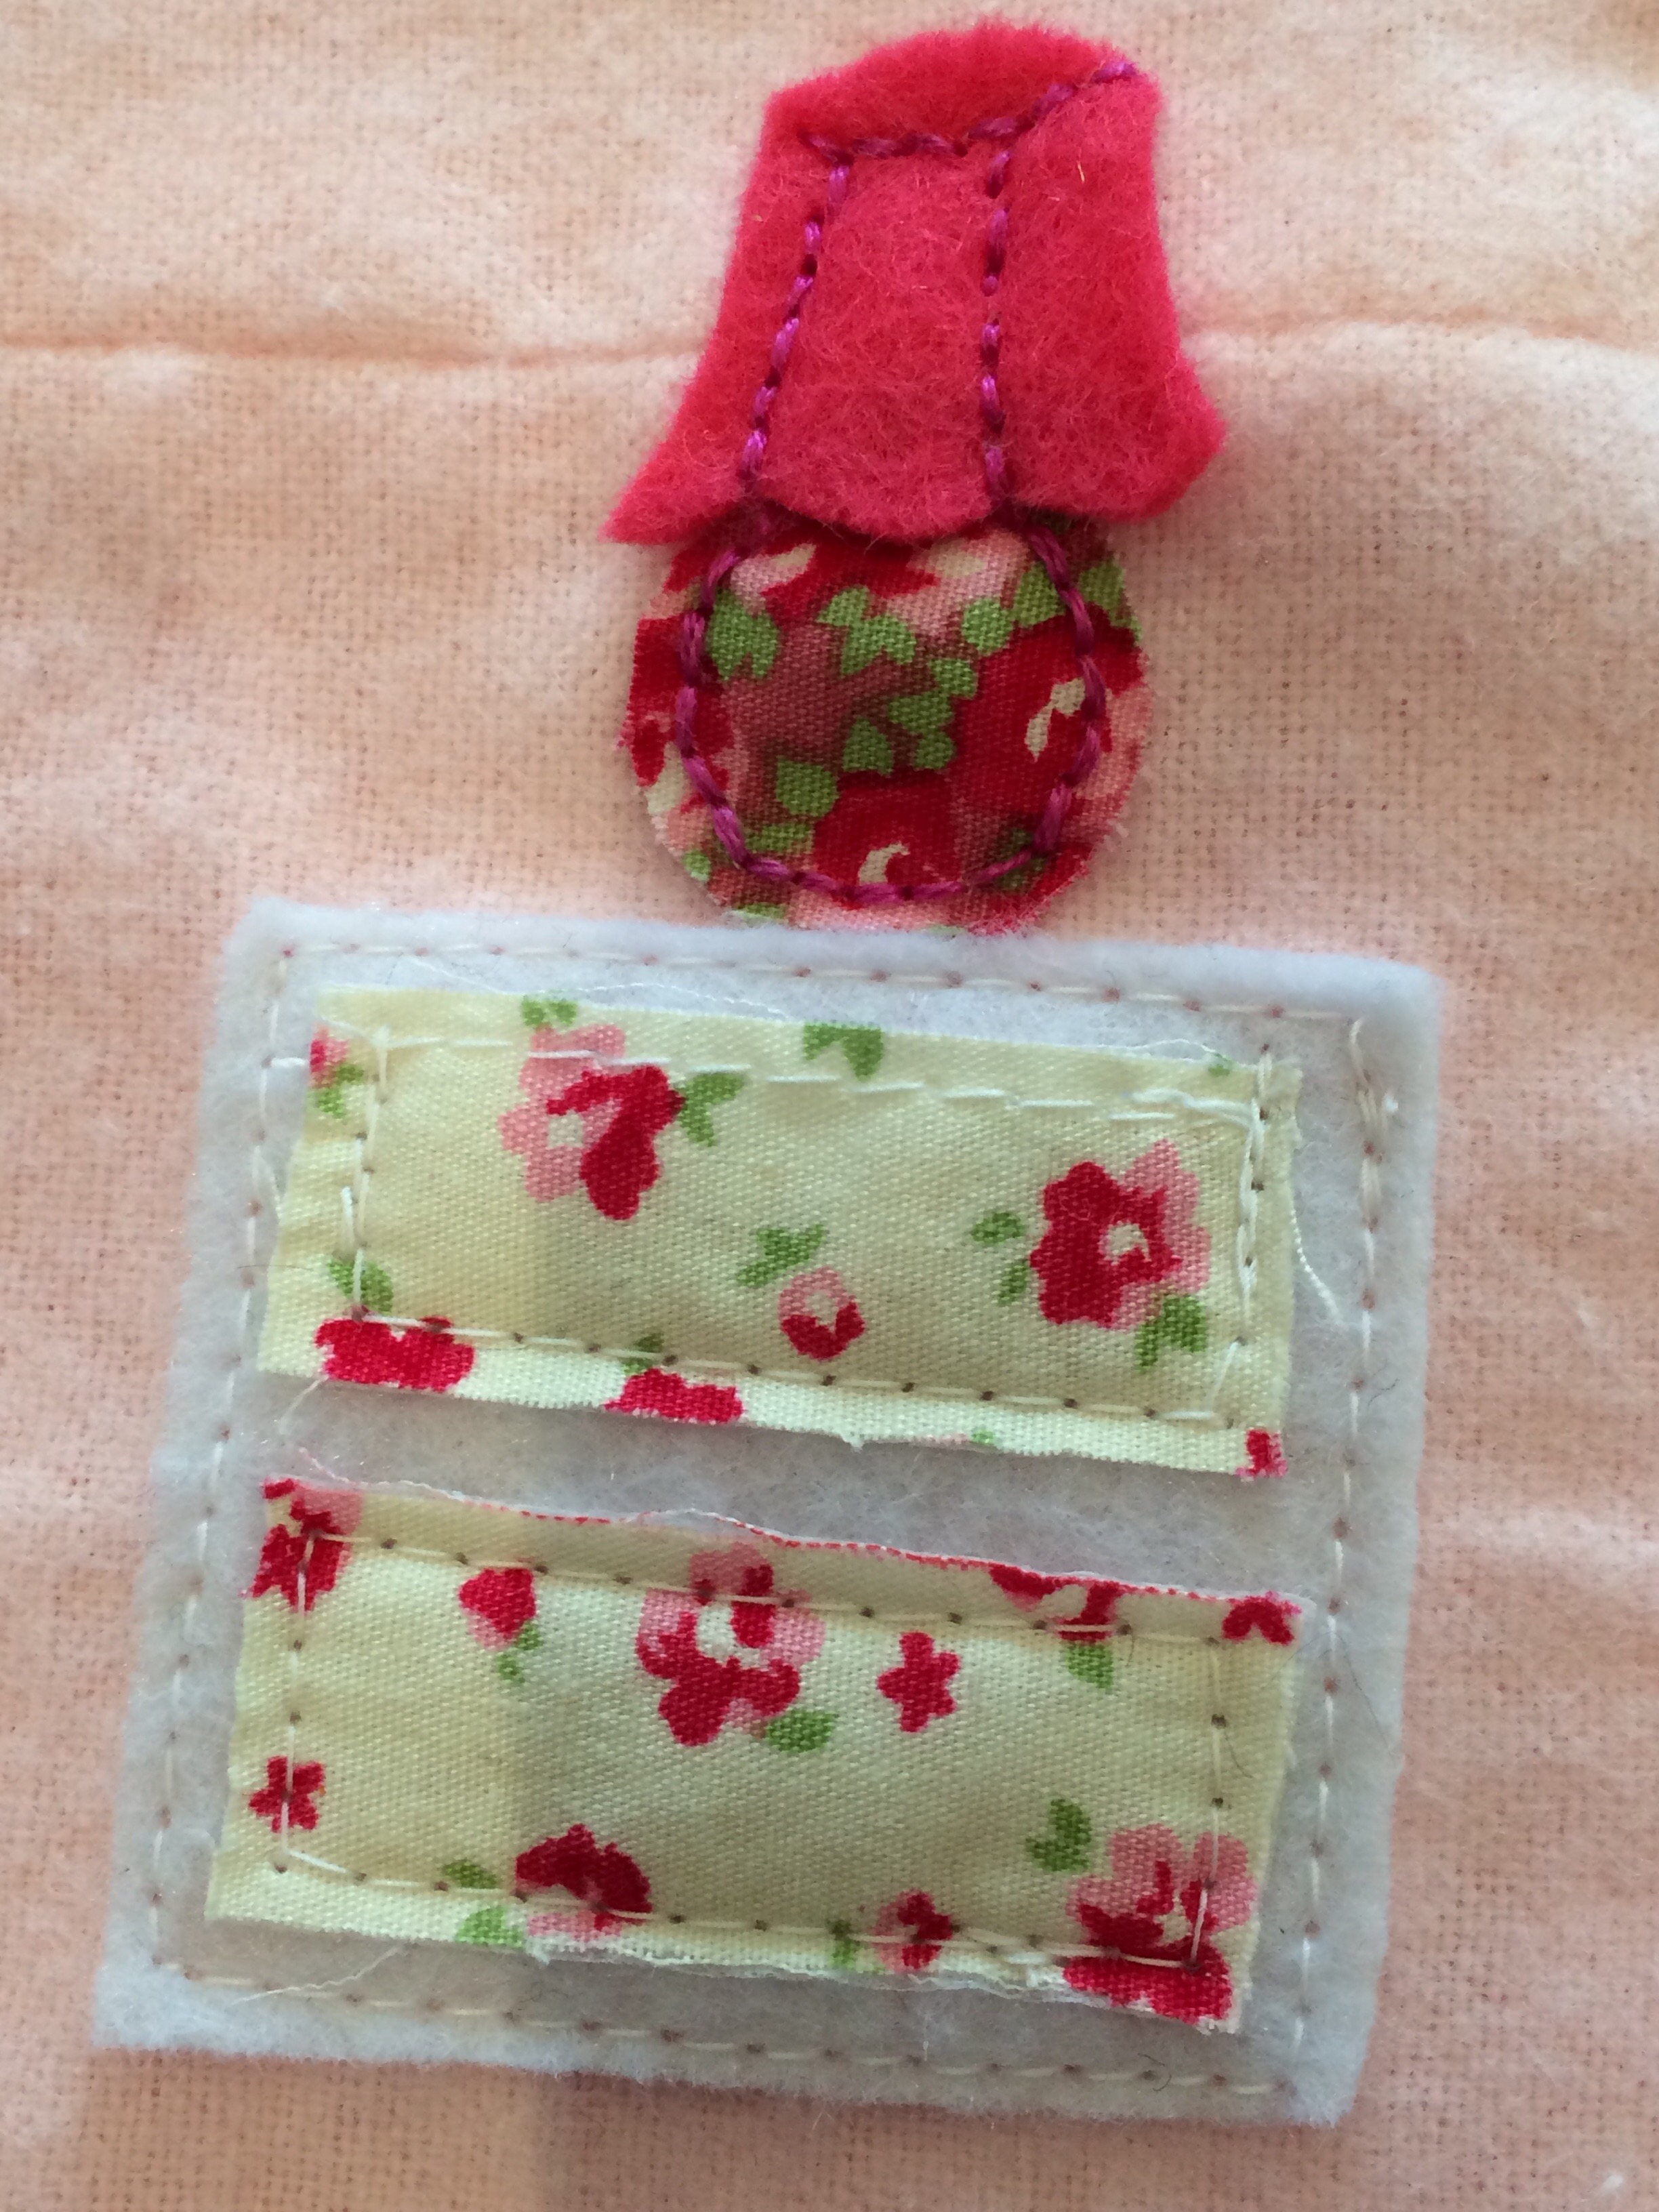
A bedside table has open-topped drawers to store those hair bows, and a little lamp.

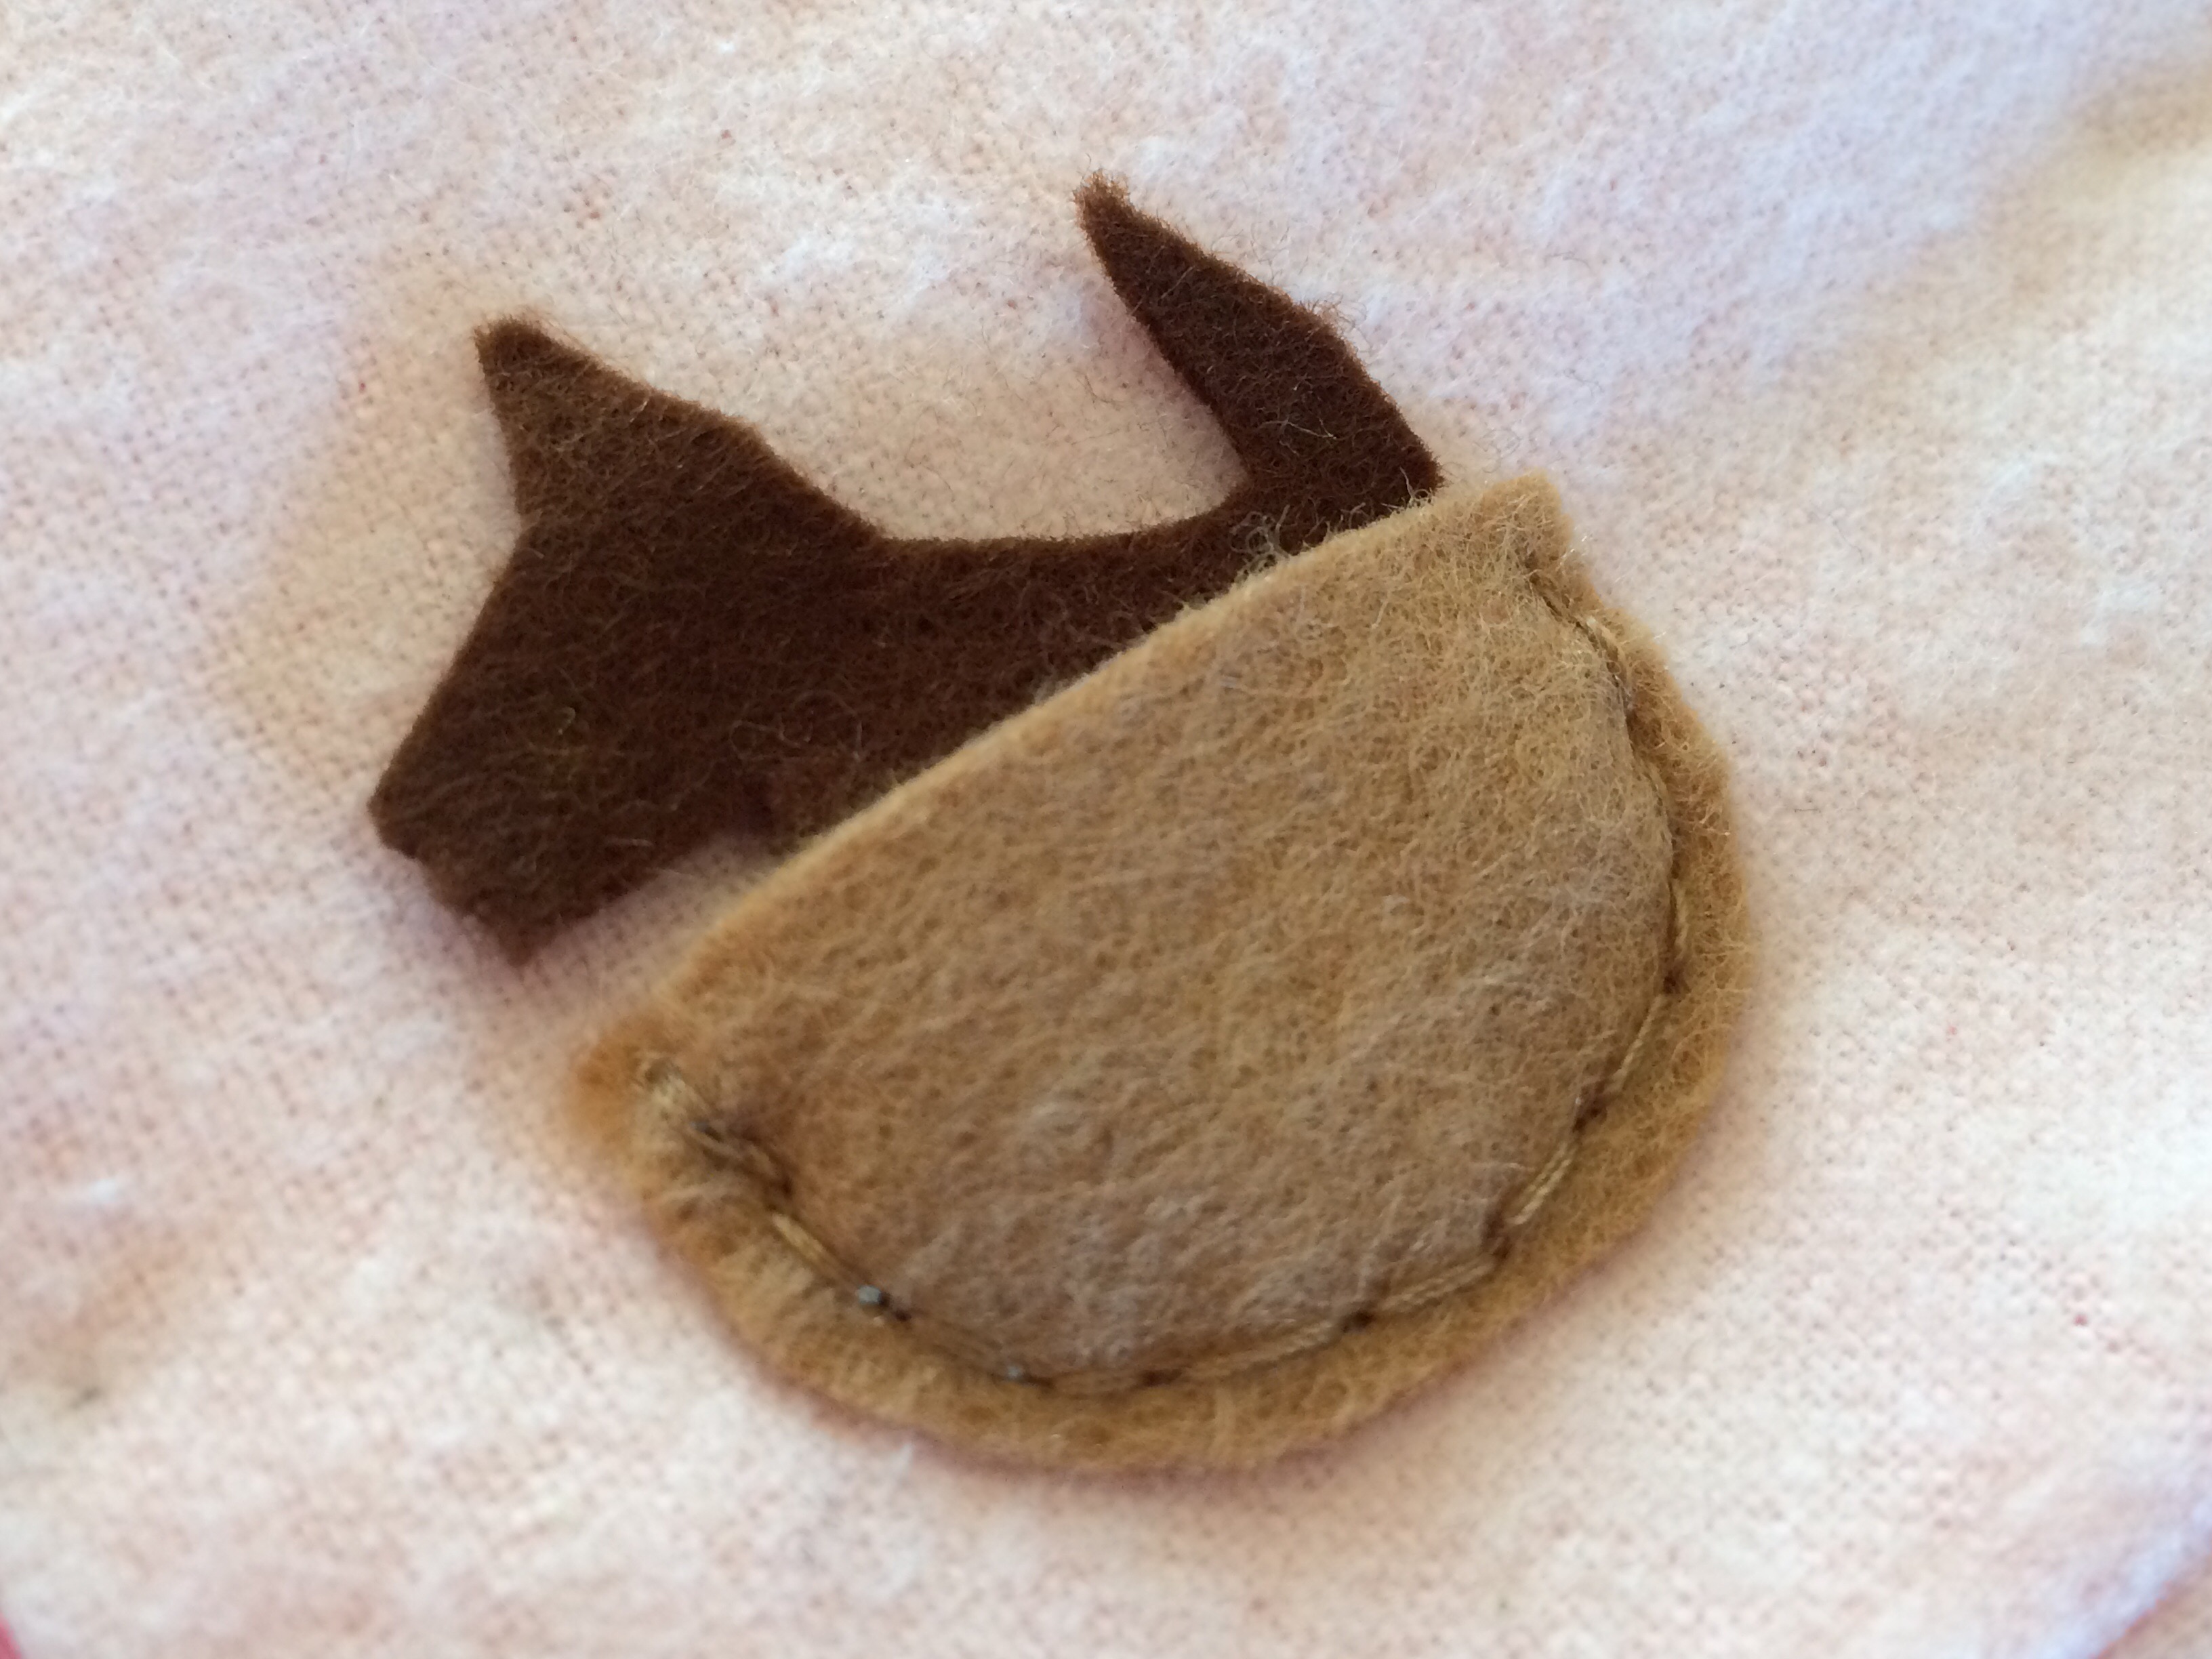
I added a last minute dog in its basket, for added fun. Kids love things that ‘do’ something, don’t they?

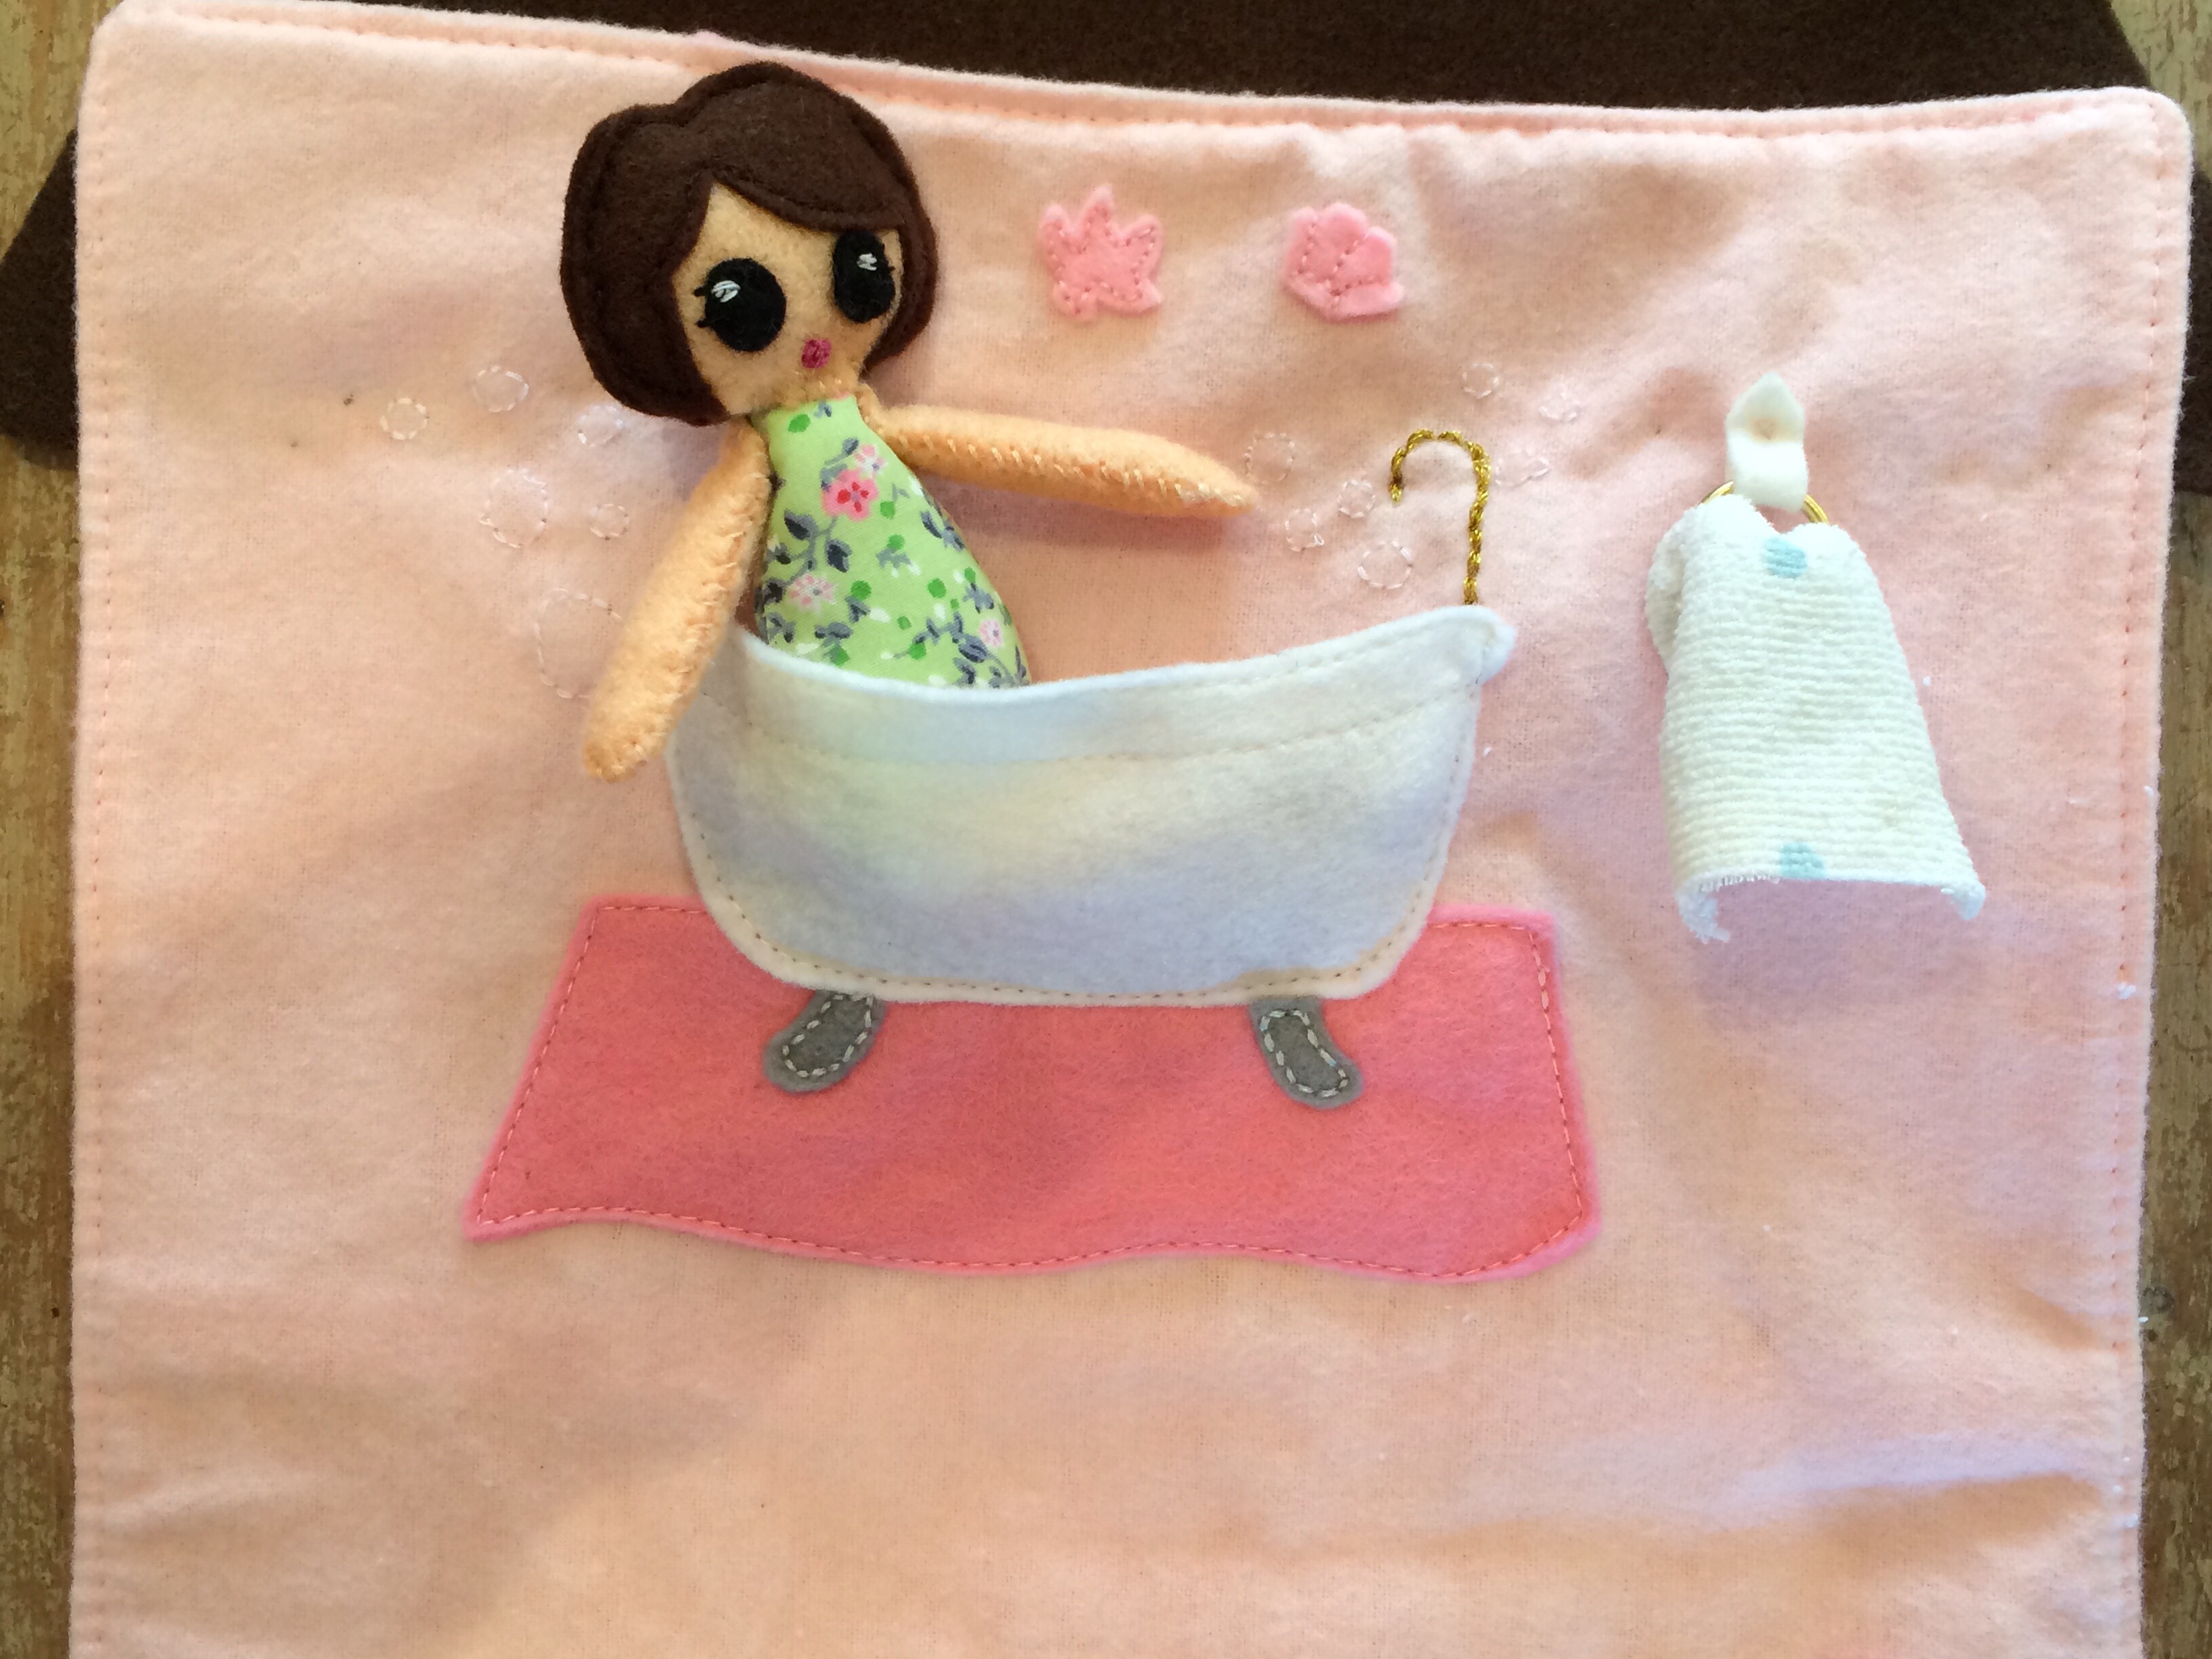
The bathroom had some lovely details, like the bubbles and towel rail. I embroidered the tap using metallic gold thread to make it more realistic.

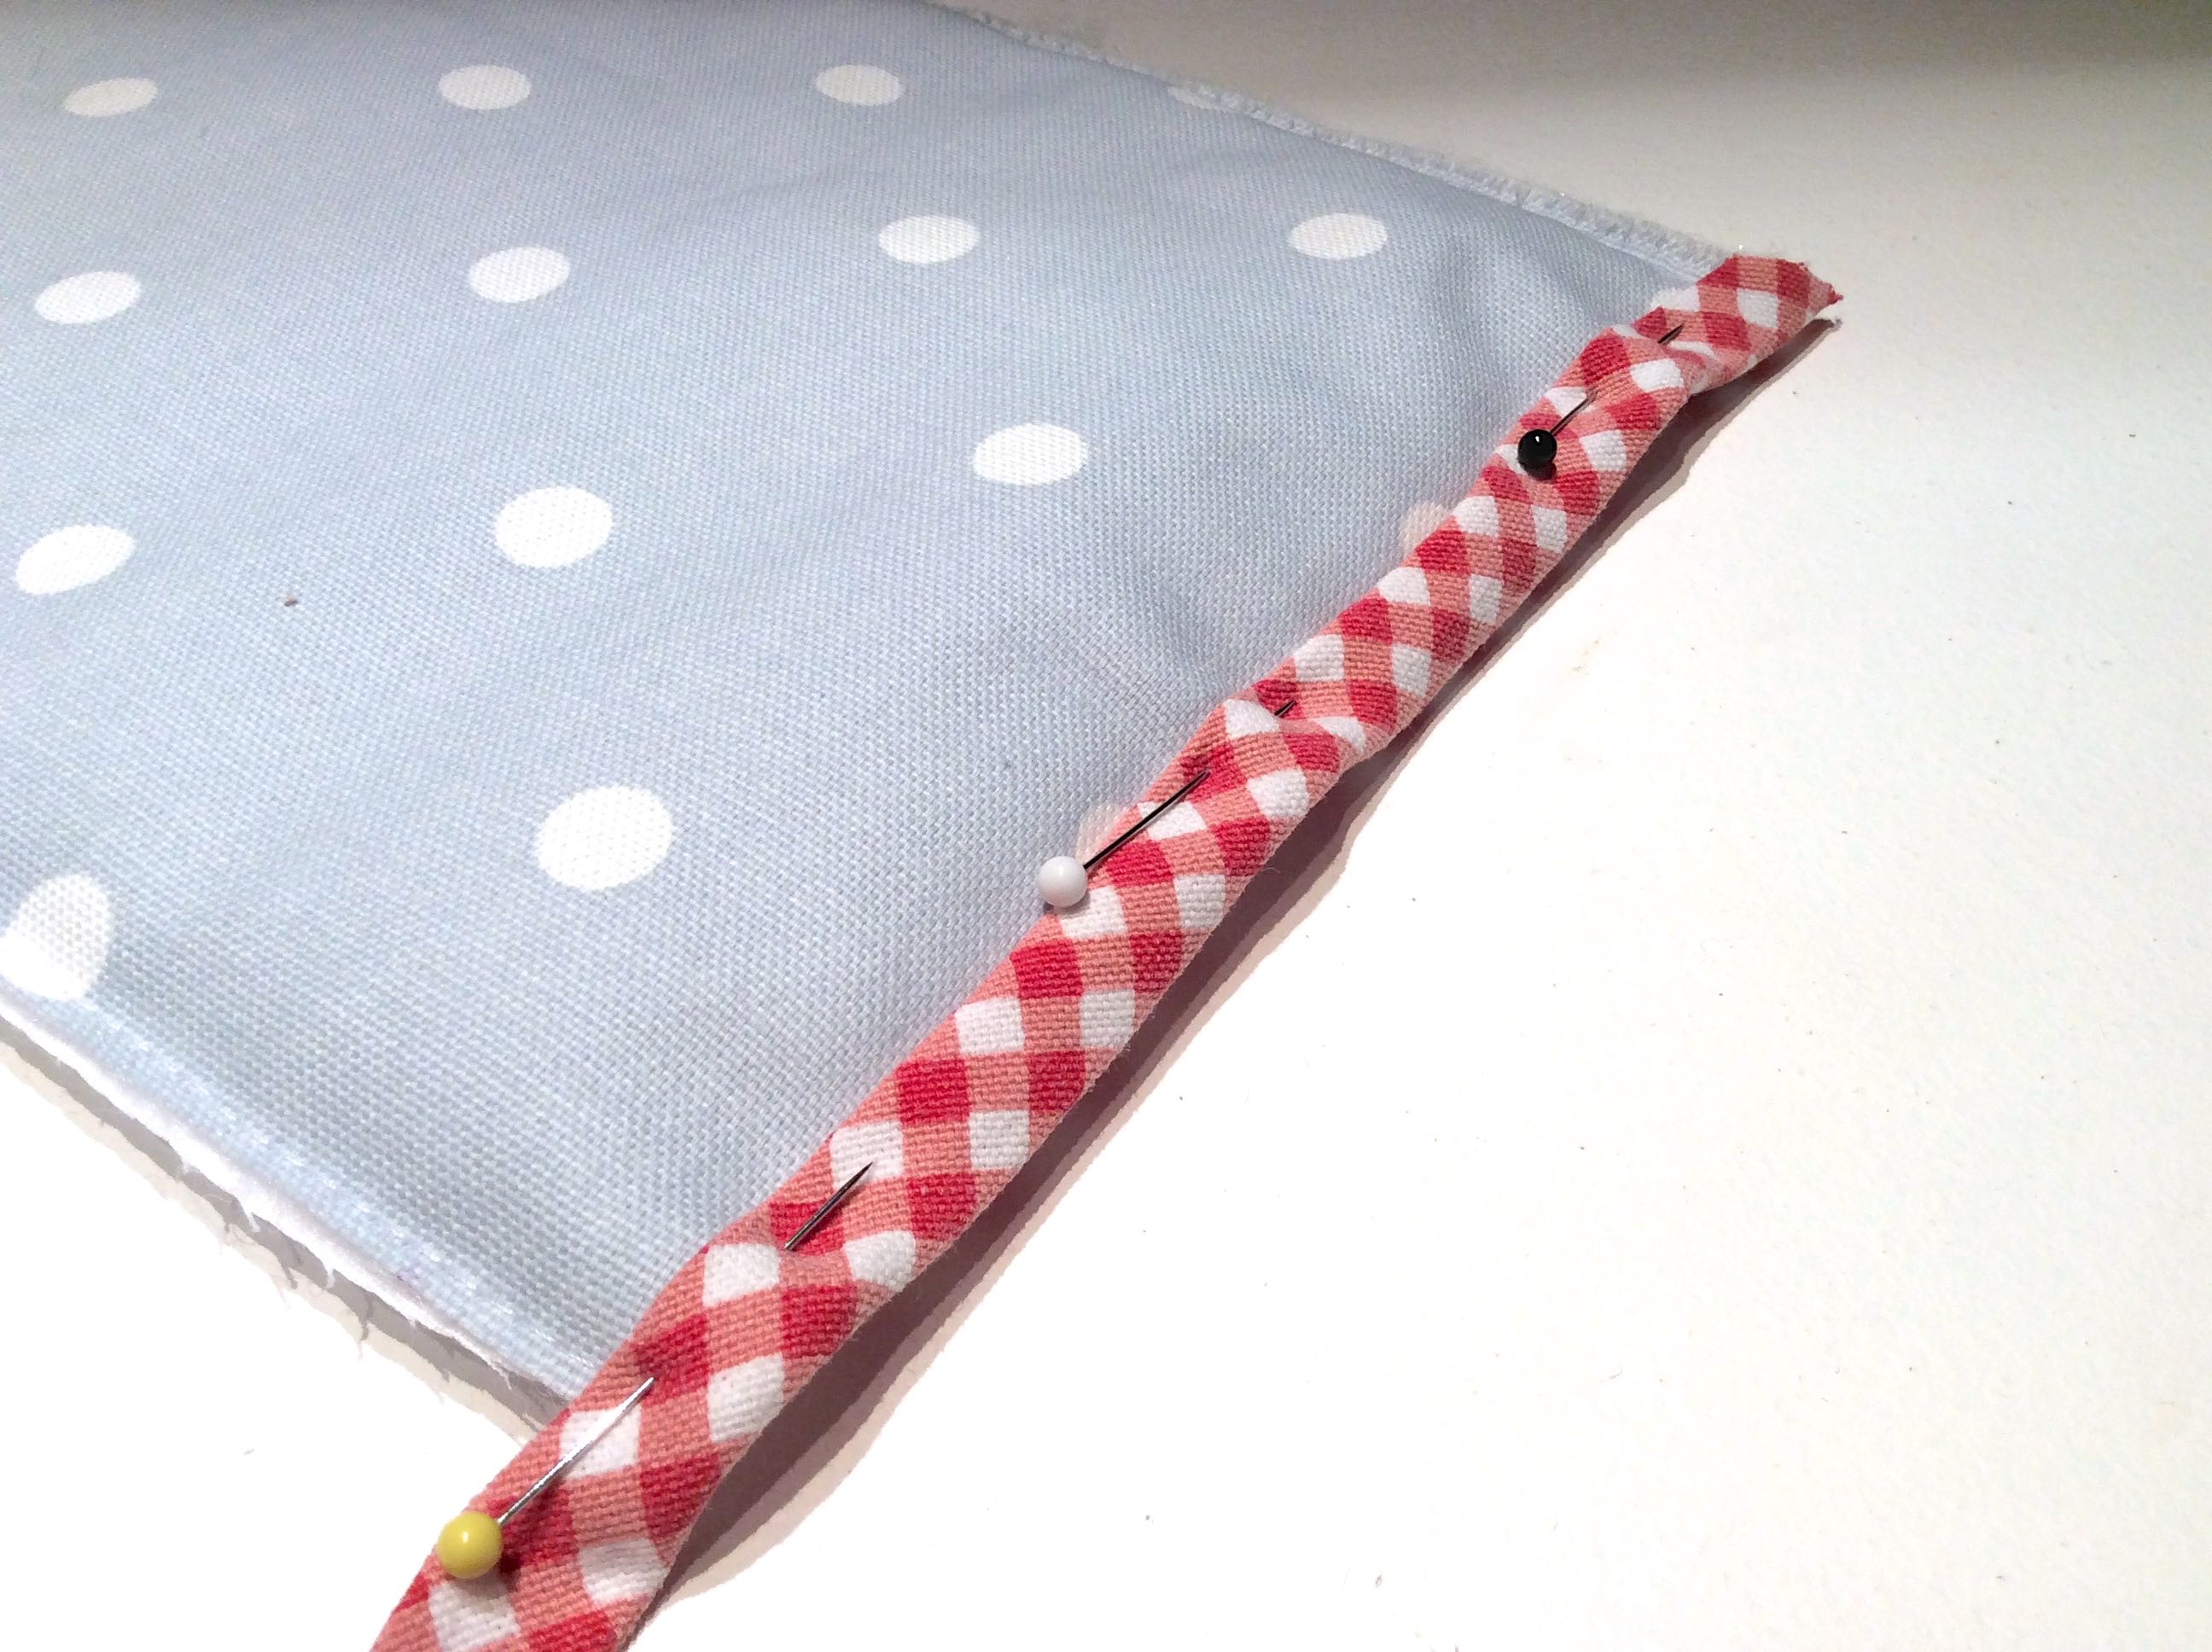
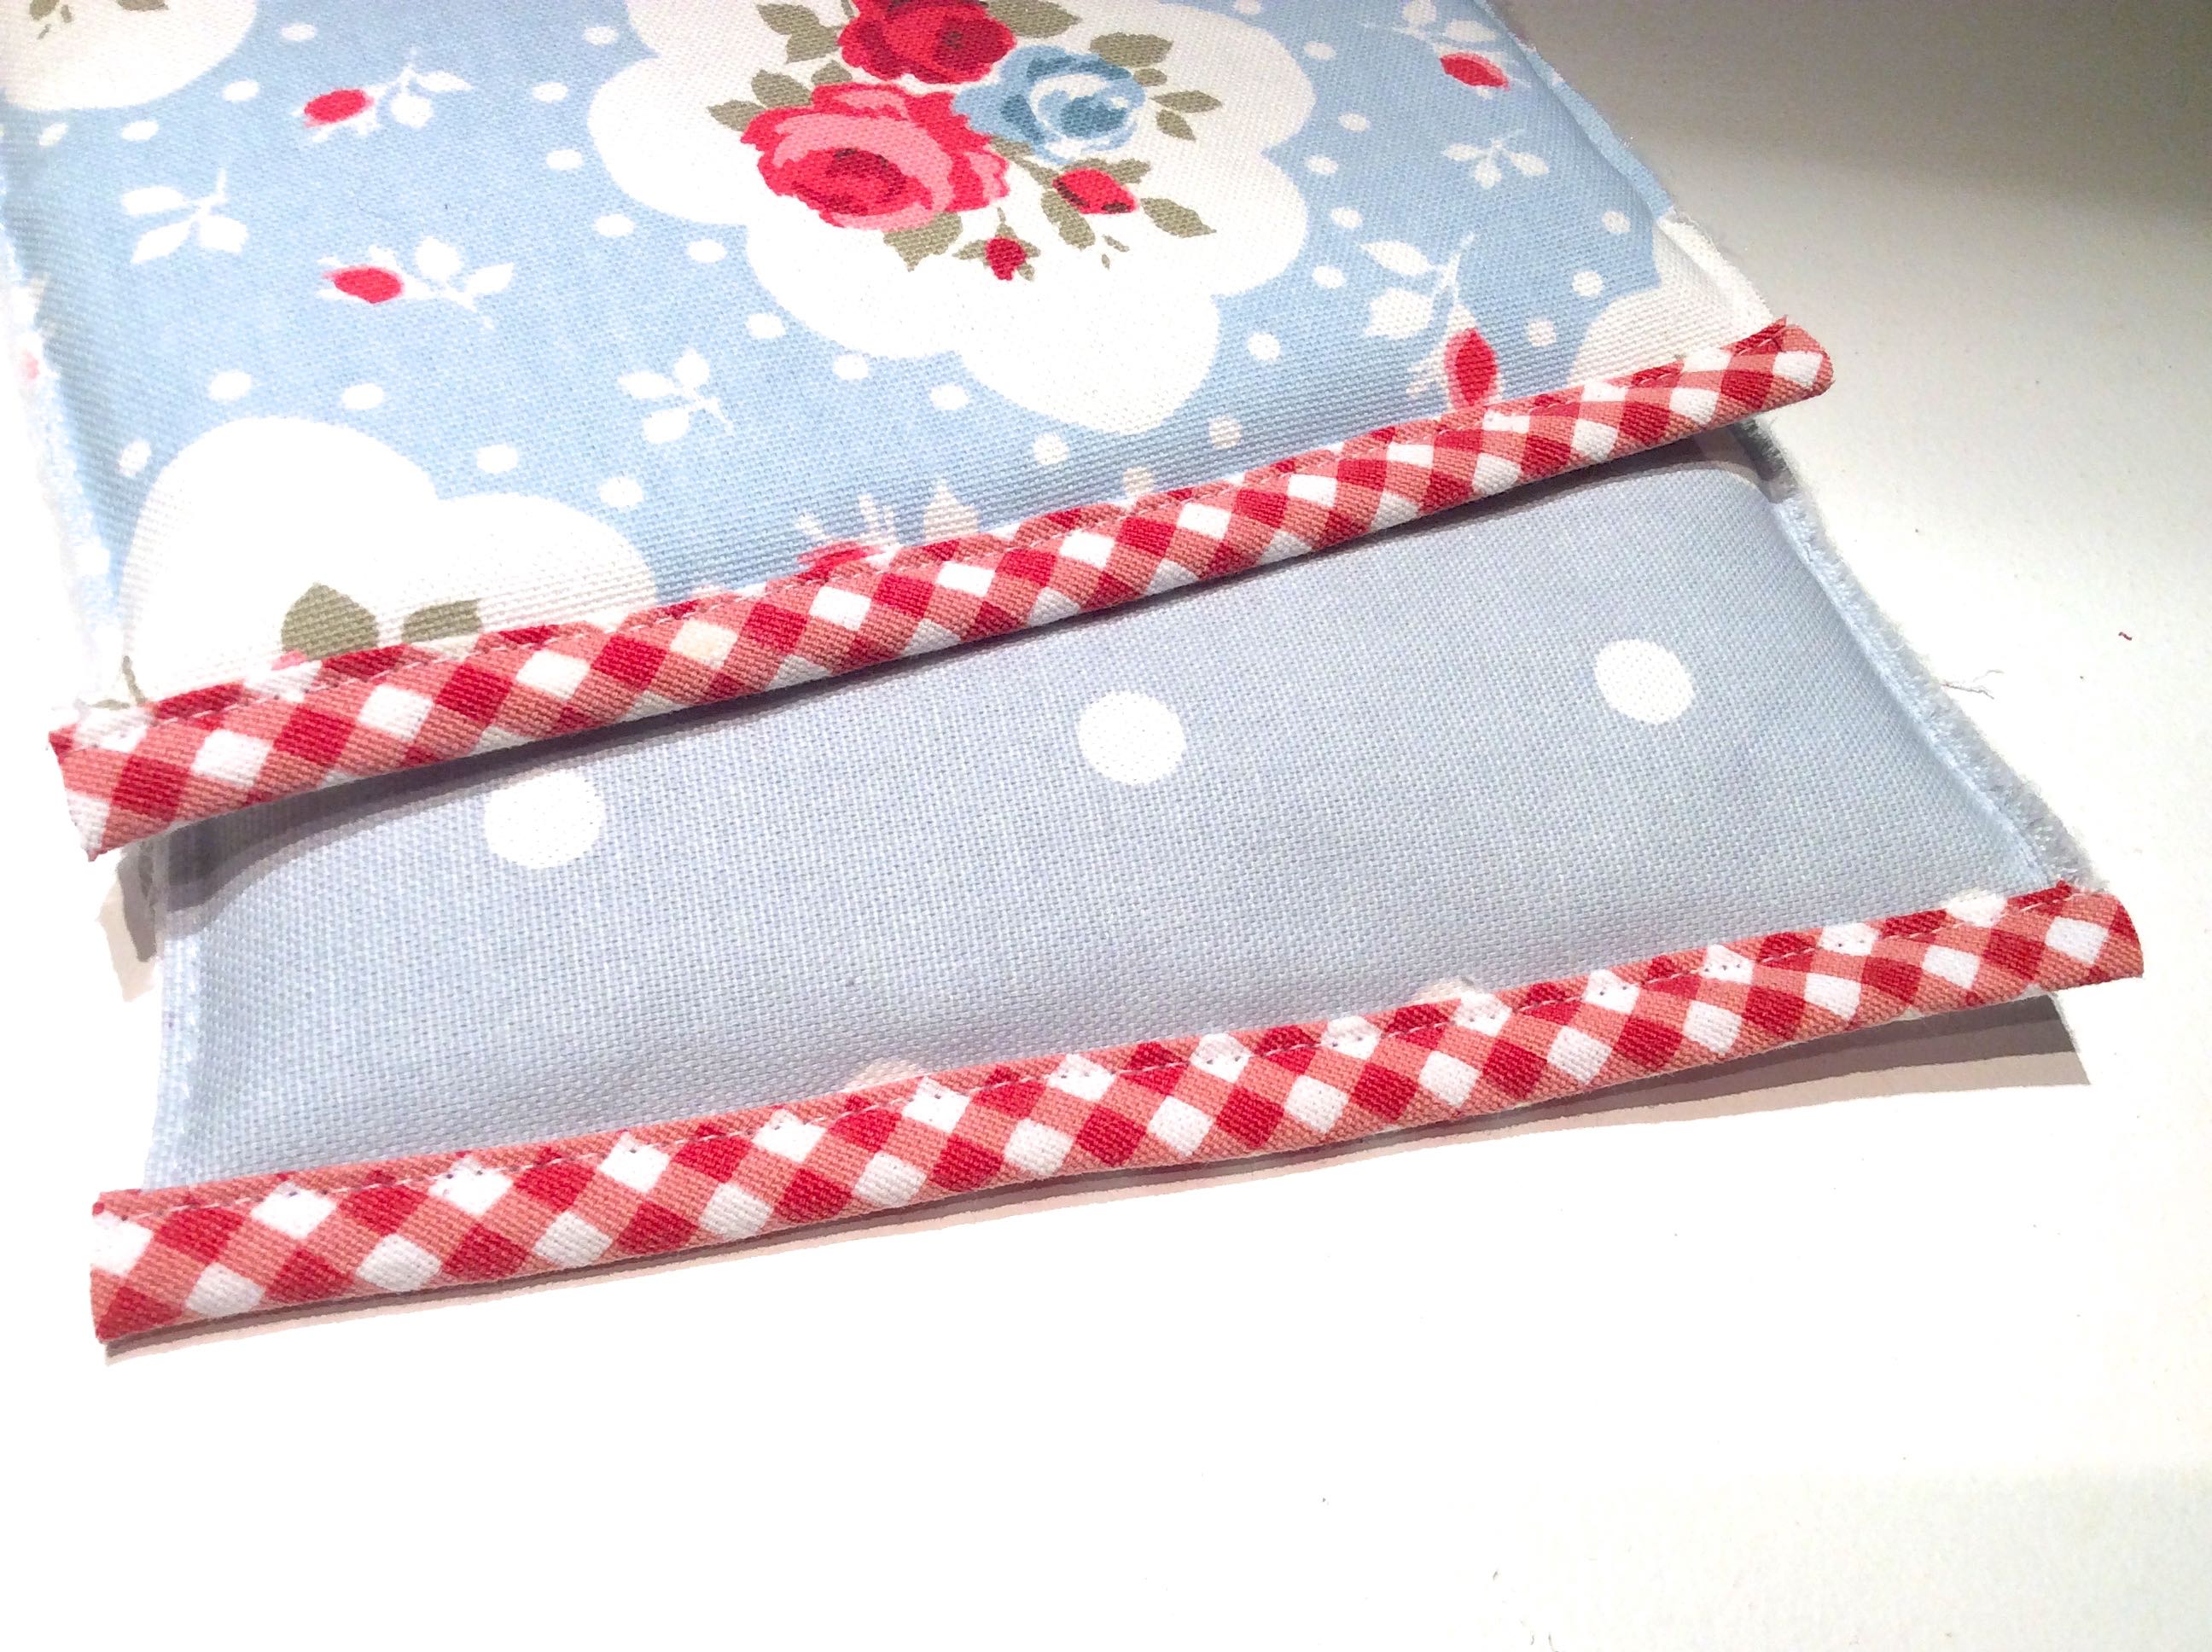
Once everything had been sewn on, it was just a case of attaching the front to the back and then turning it right side out.

Roof on, handles added.


Isn’t that just the cutest front door?

So, the house opens up and lays flat for play, like this: –

To close it, you simply fold the side in…..

….fold the bottom up to meet the top and then fasten the popper.

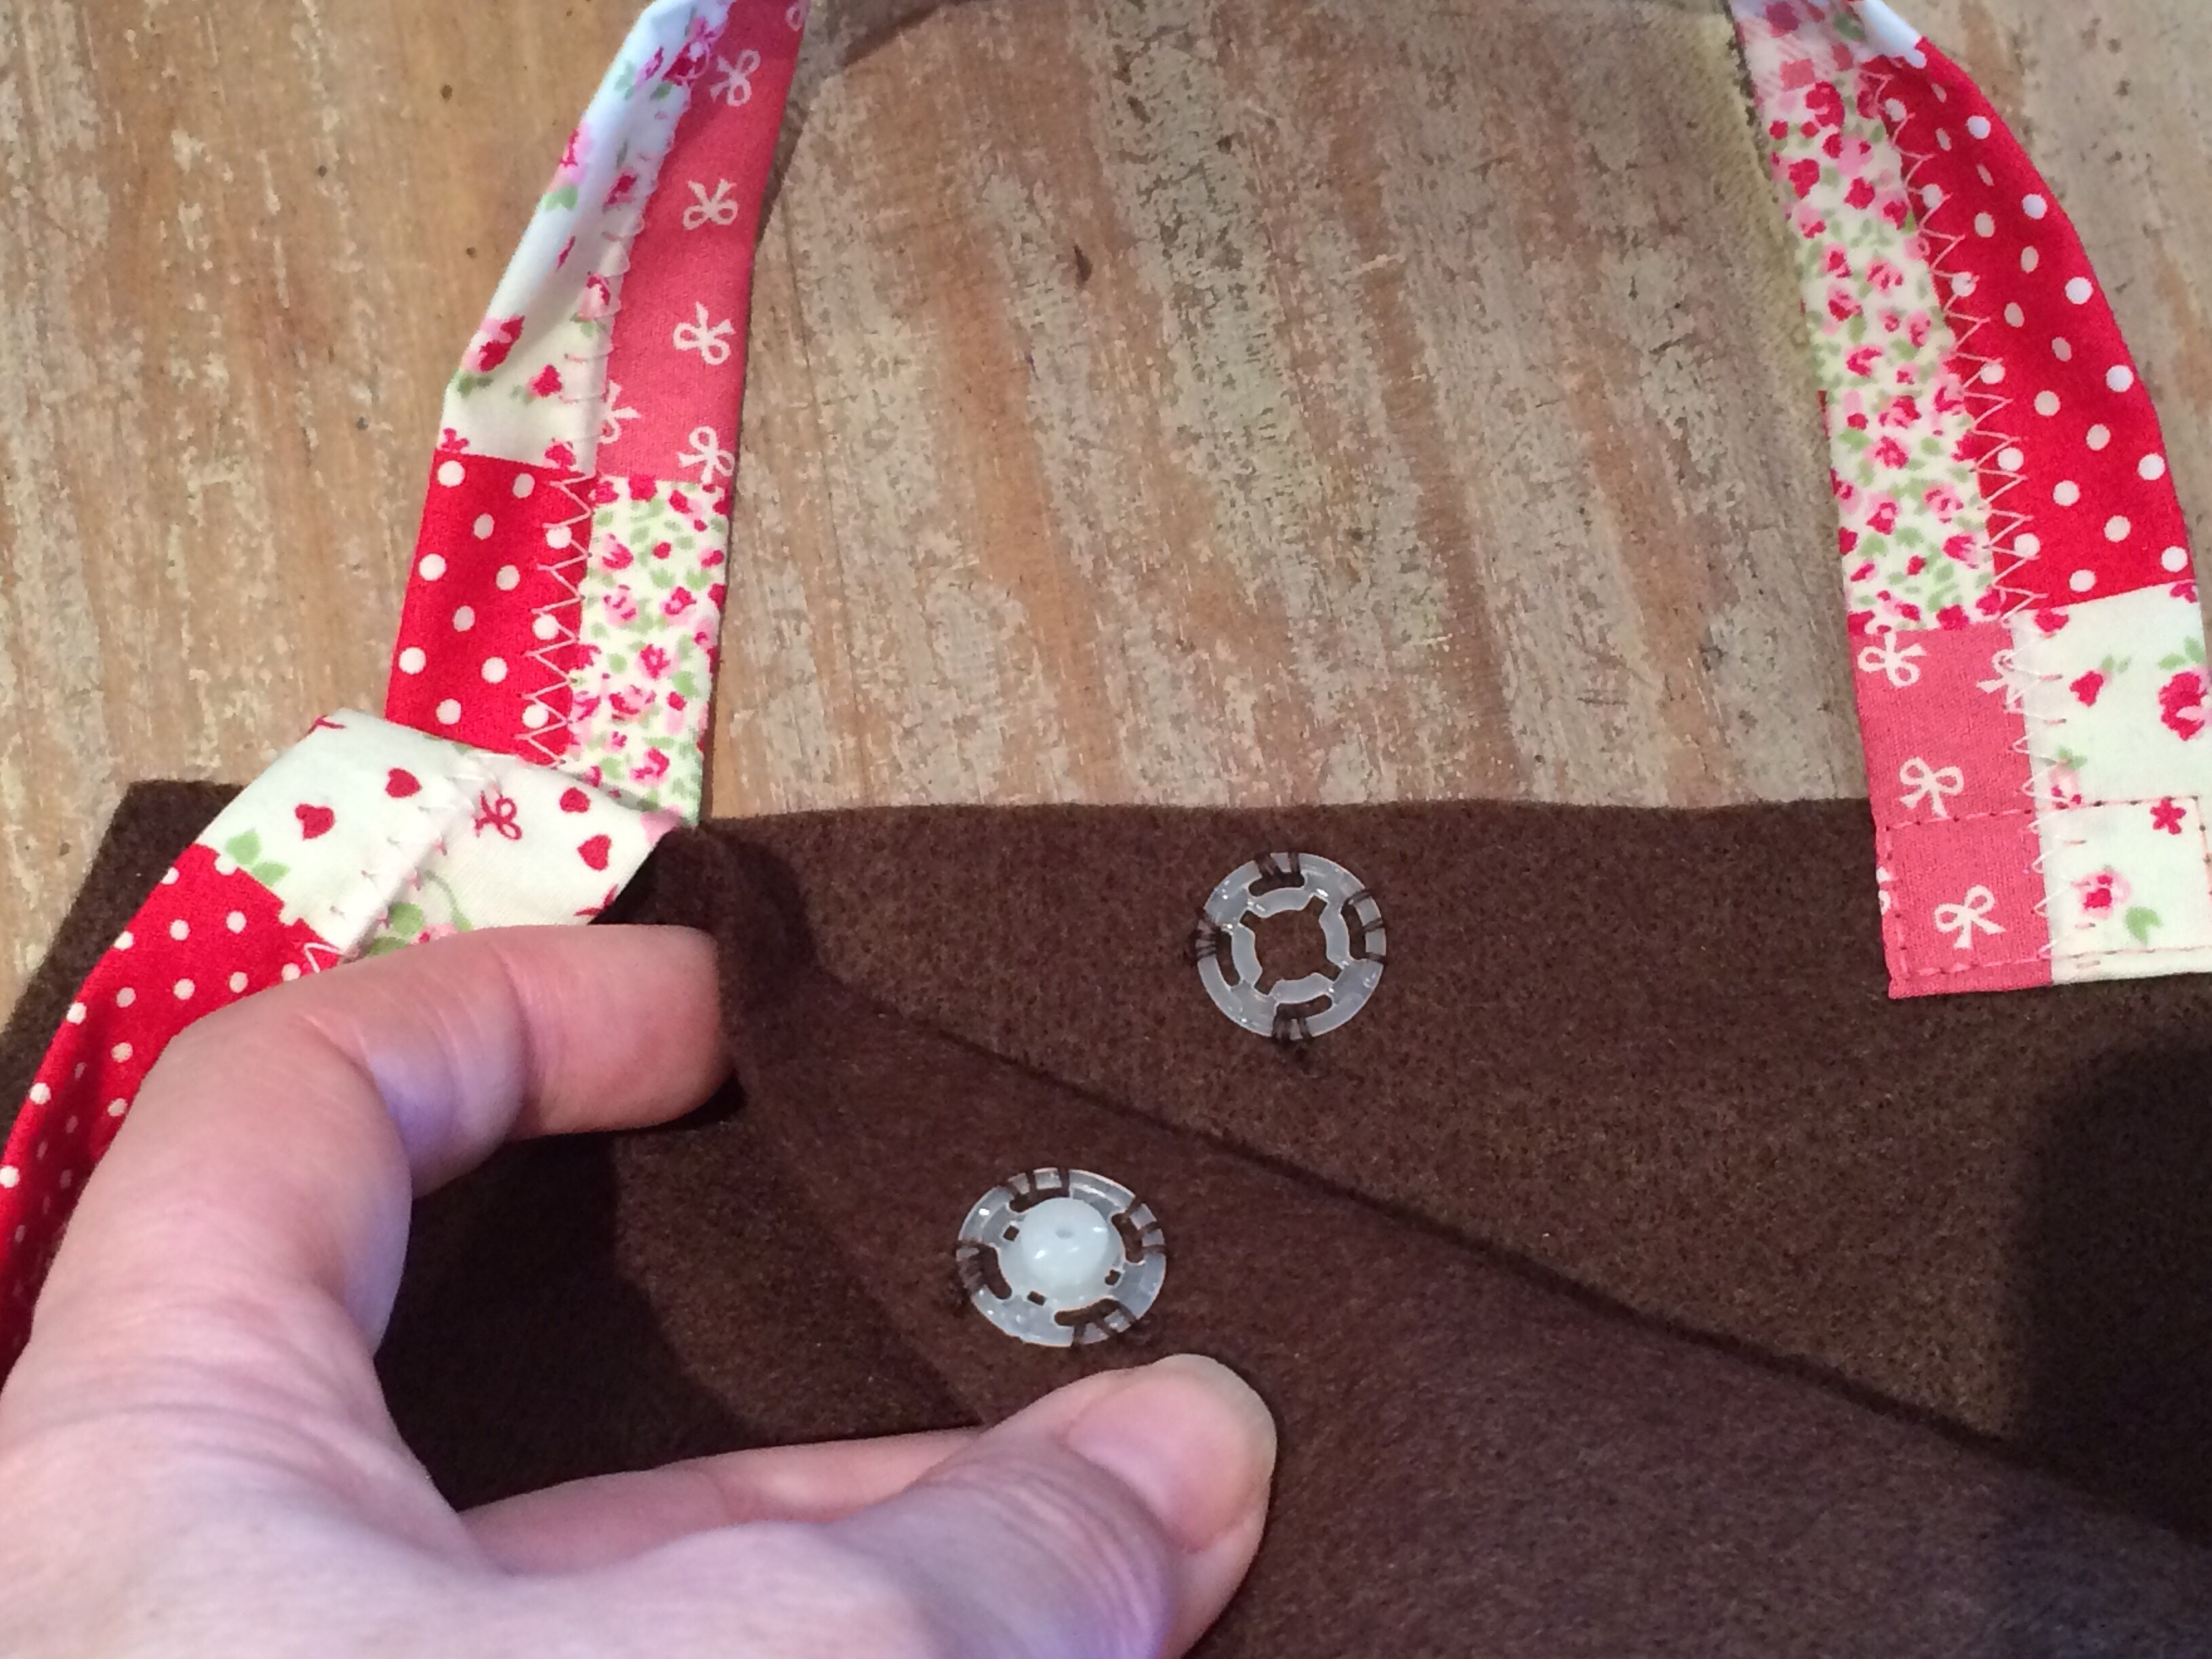
It transforms quickly and easily into a ‘bag’ with carry handles – simple enough for any toddler to use without help.

The iron test is, of course, if the girl in question actually likes it.

What do you think?!


27 Comments

#Stitching Santa Progress

I’m taking part in both Stitching Santa swaps again this year and thought I’d share my progress so far and perhaps provide a little inspiration for others taking part or, indeed, anyone wishing to make some handmade gifts this Christmas.

I’ve already spent my £10 budget for the yarn swap, so am now able to concentrate on making a few small items to include in my parcel. As knitting takes far longer than sewing does, I looked for some quick makes which could be whipped up in an evening.

This first one is a mini stocking and is a free pattern by Julie Williams (aka Little Cotton Rabbits) on Ravelry. 

The charts are clear and easy to follow – a great introduction to stranded colourwork if you haven’t tried it before.


The finished stocking measures about five inches plus the hanging loop and took just a couple of hours all in.


Next up was a project from Wooly Woofers, a book by Debbie Bliss.


I bought it two years ago, more for the wonderful way the dog models were integrated into the brilliant illustrations – pure genius.


I cast on one night…..


…..and made good progress.


By the second night, and a total of about three hours knitting, the bandana was complete. Here it is after blocking.


I chose the distinctive ‘paw print’ design which was fun to watch taking shape.


Tess was a reluctant model, but I managed to get this photo of her wearing it.


There is also a ‘Scottie’ motif, if you prefer. This image is taken from the book, of a much more cooperative Yorkie. Looks like she’s being bribed with treats!


Another photo from the book showing that one size fits all dogs.


I think this one is going to be next on the list of doggy makes – perfect for Fifi.


I will share more ideas with you as I make things, so watch this space!


39 Comments

Cross Body Messenger Bags

We’re still in Spain, but I took some photos of some bags I made a couple of weeks ago on the off chance that I might find time in my sunbathing  busy schedule to do a quick blog post.

I was lucky enough to be given this brilliant book by someone (so sorry, but I can’t remember who!) which has some great designs in it.


A student of mine, who is just eleven years old, asked if she could make a bag as her next project and who am I to refuse? I gave her some books to look through and she chose a cross-body bag (as opposed to a body bag – totally different connotation!) from one of my books aimed at adults.

After having a quick scan of the instructions, I agreed that it was doable for a beginner, with a little help, and sent her off to go and buy all the supplies in time for the next lesson.

In the meantime, I thought it would be a good idea to just whip one up myself, so that I knew what I was looking at. After all, with four kids in each class, I have to split my time between them all and would be unable to give her one-to-one attention for the duration.

I found some canvas-like fabric in my stash that I bought on a whim ages ago that was waiting for the right project. The bold pattern was crying out for a contrasting lining, so I used up the last of my fuchsia linen and chose a matching zip.


Just over an hour later, this is what I ended up with: –


I just love the bright surprise when you open the zip.


I had everything in stock already, except the something suitable for the strap, so popped out quickly to buy a few metres of webbing which was stitched on securely in the usual way.


The back is just as attractive as the front.


I was so pleased with how it turned out that I carried straight on and made some more!

The next was made of a pale lime fabric with a cream fruit motif which I paired with……


….a vibrant turquoise lining, leftover linen from my stash.


This is probably my favourite, though – made from a butterfly print fabric that I bought from Kirstie’s Handmade Fair in Hampton last September.


I chose a cotton in various shades of blue for the lining.


Of course, I don’t need a cross-body bag, so these are destined for sale either in my Folksy shop or the school fair next weekend. 

Have you found a pattern that you couldn’t resist making again and again just for the fun of it?


36 Comments

Personalised Christmas Sacks – A Tutorial

In case you hadn’t noticed, Christmas is just around the corner – nine days, to be precise and I’ve got a great last-minute make for you; a personalised Christmas sack for that special little person in your life.

Christmas sacks2a


I’m not joking when I say last-minute as I made TWO personalised sacks yesterday afternoon, each one taking about two and a half hours from start to finish. They’d make great gifts, too, with a little something popped inside and they only cost £12.94 each to make so won’t break the bank.

This is the parcel that arrived from Minerva Crafts: –

P1060959
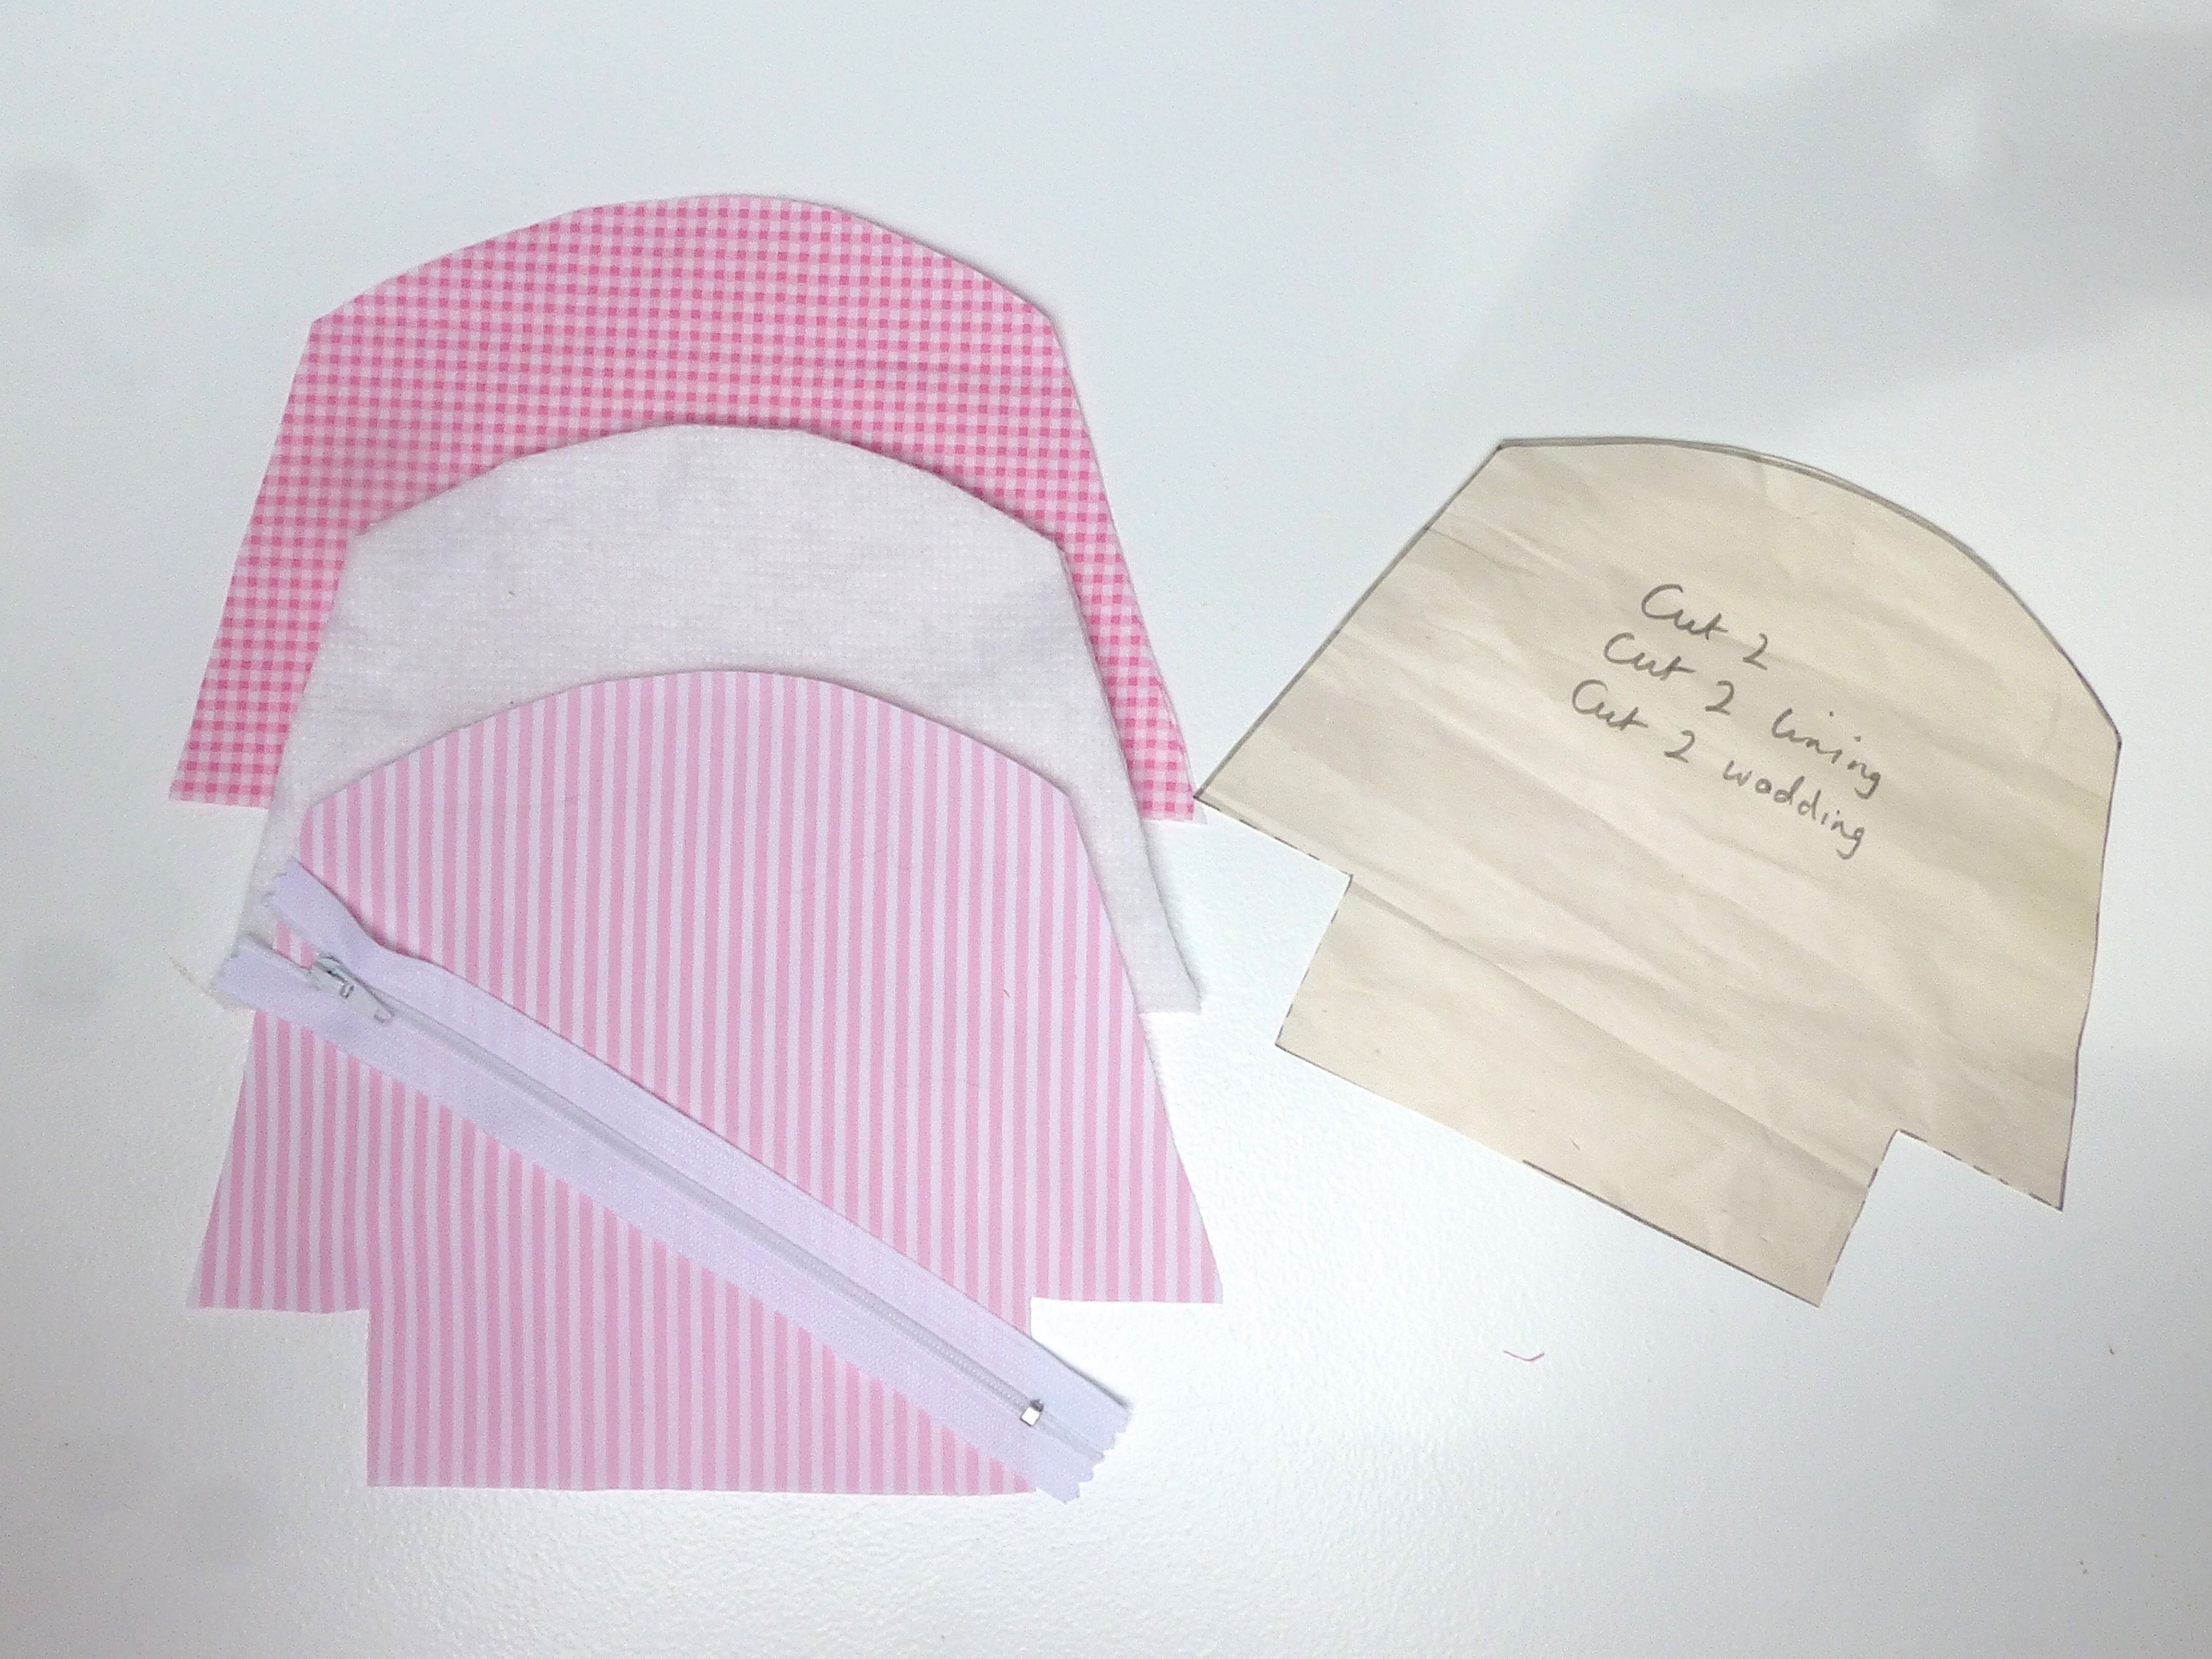
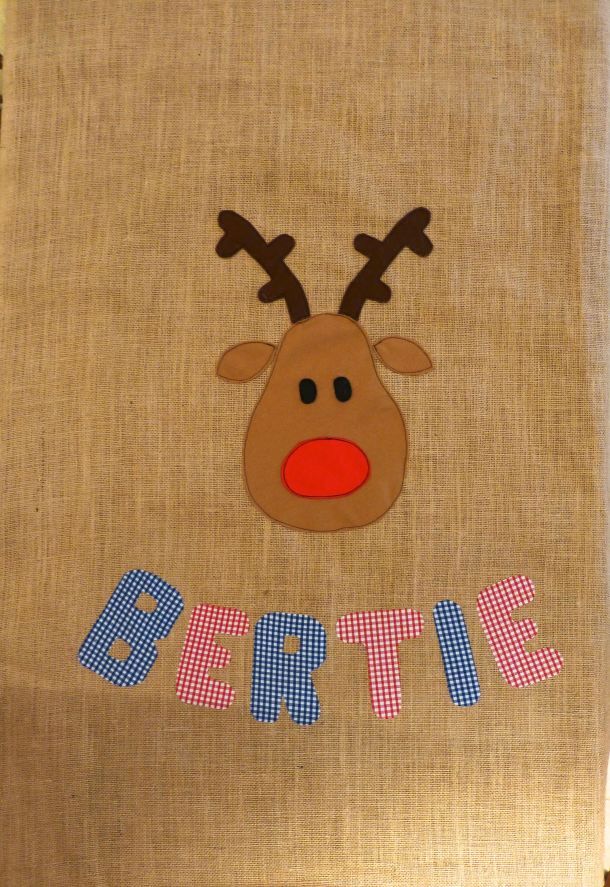
For each sack you will need:

Trim your gingham fabric to the same size as the hessian – 39″ x 56″.

Put the offcuts to one side as you will use these for the tie and the fabric letters.

Draw a reindeer on a sheet of paper and cut out the individual elements separately.

P1060960

Cut these out of the felt squares using the picture below as a guide.

P1060961

Stitch the nose and eyes onto the felt face – I used free machine embroidery throughout to achieve a ‘scribble’ effect which works well on children’s gifts.

P1060962

Fold your hessian in half and arrange the felt pieces in the centre as shown.

P1060963

Hessian has an open weave which tends to move quite a lot, so either tack your appliqués on first or use LOTS of pins to keep them in place while you sew them on.

I loathe tacking so I opted for pin overkill instead.

P1060966

With the reindeer face stitched securely in place, it’s time to move on to personalising your sack.

You can download a suitable font or just freehand it like I did onto thin card. As I was making two sacks I had both blue and red gingham offcuts to cut the letters from. I also decided to use some paper backed fusible web to secure the letters to the hessian before stitching them.

P1060967

Arrange the letters evenly in a curve around the bottom of the reindeer, remove the paper backing and iron in place.

P1060970

Two rounds of stitching on each letter gives a good effect.

P1060972

P1060973

When all your stitching is done, sew the top edge of the sack to the top edge of the lining with right sides together (sorry, no photo). Press the seam flat to create a crisp edge.

Then, lay your fabric out on a large table or on the floor and fold in half lengthwise, right sides together to create a ‘tube’.

Pin all the way around, leaving a gap in the lining where shown through which to turn. (I forgot to photograph this step on the first sack so the lining is shown in red).

P1060983

Put pins at 8″ from the top edge and 9″ from the top edge – this will be a break in the stitching to provide a channel for the tie.

P1060977

P1060976

Sew all the way around the three sides with breaks in the stitching as described above.

Trim the corners and turn the sack through to the right side. Sew the lining closed at the gap through which it was turned. Press.

P1060986

With a soft pencil or tailor’s chalk, mark two parallel lines all the way around at 8″ and 9″ from the top edge of the sack. Pin through both layers of fabric. Stitch along the lines.

P1060978

For the tie, use your remaining offcuts of gingham to assemble a length that measures about 70″ x 2″.

Fold in and press 1/4″ at each short end.

Fold in and press 1/4″ along each long edge.

P1060979

Bring the folded long edges together enclosing the raw edges.

P1060980

Stitch close to the edge to finish your tie.

P1060981

Use a safety pin to thread the tie through the channel in the gap left for this purpose.

P1060982

And that’s it – finished!

Christmas sacks3a

A beautiful sack which any child would be delighted to have on Christmas Day to pop all their opened presents into.

Christmas sacksa

They’re huge, too, I would have added The Boys to the photo for scale except that the sacks are a surprise for them.

You’ve still got time, so who fancies whipping up a Christmas Sack for their little boy or girl?


46 Comments

#stitchingsanta Sewing Update

I’ve been making steady progress with the handmade items that I’m including in the parcel to my #stitchingsanta recipient and it’s about time I showed you.

I’m taking part in the knitting/crochet swap as well and have already given you a glimpse of the things I’ve made for that – you can have a look here.

As soon as the latest issue of Love Sewing dropped through the letterbox, I knew I was going to make this cute tree decoration, so that’s going into the parcel – although I’m going to have to make another one for our tree ‘cos I’ve rather fallen in love with it myself:)

tree decoration

Having bought these colourful stork embroidery scissors, I added a needle-keeper to one of its handles.

needle keeper

I embroidered an image of a sewing machine on one side together with the word ‘needles’. The other side is kept plain with a tiny floral print cotton.

needle keeper back

Not a very Christmassy make, I know, but this daisy print ‘Ikea’ bag can be used all year round. I wrote a tutorial on this which you can find here.

Flowery Ikea Bag

I had a few hours fun covering some buttons with tiny cross stitched motifs. My eyes could barely see to sew such minute stitches!

Stag head cross stitch button

covered button4

covered button6

I had a small amount of leftover Rose & Hubble fabric in my stash which was just enough to make a coin purse and matching tissue holder, both handbag size.

Coin Purse tissue holder

These bright orange gloves are made from the softest cashmere sweater and, although I’ve never seen her wear orange, I think they suit her bubbly personality.

P1060605

I snapped up this unused Simplicity pattern from a charity shop for just a pound – I can see her looking good in all of these!

sewing pattern

There are a few other bought bits and pieces to go in and the main handmade gift – if I can finish it in time!


37 Comments

Crochet For Calais Update

This is the first pile of fabulous blankets made by all you wonderful people that are going out to Calais and Lesbos this week!

From Sarah, who helped stitch the squares together: –

“Jane popped round earlier, so I now have all of the amazing blankets, hats and other yarny goodies to give to Lee Godwin tomorrow. Just “Wow” everyone, so proud of what we have achieved in such a short space of time. Thank you, thank you.”

pile of crochet blankets

Jane, the organiser of this refugee effort, posted a lovely comment on my blog – here it is for anyone that missed it: –

“Hi everyone, I am Jane, the person behind the squares. I just wanted to thank each and every one of you who has so kindly sent me squares. The current batch are being feverishly stitched together and are going to refugee children in Lesbos this Friday. This is an ongoing crisis and I intend to make this an ongoing project and will always welcome your squares. The nurse who is taking the blankets out with her says that the hand made blankets mean everything to the refugees as it sends a message of hope to them that someone really cares. I will forward photographs to Sheila so she can show you how amazing you all are. Please keep sending them 😊

Here follows some of the photographs Jane has since sent of the finished blankets. Can you spot your square in there?

I think I can see Ali’s from Thimberlina in there!

crochet blanket2

I can see four of mine in this one!

blanket

These two cheery blankets are on their way to Justine Corrie for her refuge for traumatised women and children in The Calais Jungle: –

crochet blanket7

crochet blanket6

Message from Lee Godwin who is travelling to Lesbos tomorrow: –
“Jane you and your wonderful knitter friends are doing something truly amazing! There is something very special about knitted blankets because not only are they massively warm but they are also made with so much love and the refugees appreciate this more than you could believe. Anyone can go and buy a blanket but it takes a lot of commitment, motivation and skill to knit them. Thank you to all of you for your time, love and dedication. All my love Lee. Xxxxxxxxxxxxxxxx”

crochet blanket4

crochet blanket5

Knitted squares mix quite happily alongside crocheted ones.

crochet blanke3t

crochet blanket

Simple garter stitch squares from lots of different people make a lovely blanket when joined together, proving that anybody can contribute – the squares don’t have to be fancy!

crochet blanket14

A touch of bright red lifts these gorgeous shades-of-blue squares to make it even more cheerful for those poor refugees.

crochet blanket12

Some ladies have had the time to make an entire blanket, but don’t let that put you off – every single square is so important!

crochet blanket9

crochet blanket8

crochet blanket10

crochet blanket11

crochet blanket13

Jane says: –

“Your skill level does NOT matter one bit, any knitted square will keep a child warm and they will care not about colour, pattern, or the odd slipped stitch, they care that they have something of their own and something to keep them warm in the cold. Please no one worry about their skill level, every single square is very valuable and very gratefully received xx”

Look at these lovingly knitted squares sent in from a beginner who was desperate to help – they will all be used in the next round of blankets.

knitted squares

Donations of hand made items such as hats are also gratefully accepted, especially so at this time of year. These have been received and are already on their way to the refugees: –

hats

Finally, an important message from Lee: –

“I am collecting blankets for least the next 5 years. The refugee crisis is not going to end anytime soon. I go to Calais every 3 weeks and plan on going to Greece every 3 months so your blankets / squares will be very well received. All my love xxxxxxxxxxxxxxx”

The Facebook group can be found here if you would like to follow the progress.

My original post, including details of where to send your squares, can be found here – Crochet for Calais.


36 Comments

How To Make A Quick And Easy iPad Sleeve

In my last Sunday Sevens post I mentioned that I treated myself to a little something from the Apple store in Exeter.

IMG_2179

It was an iPad mini, which I’ve wanted for a while now, ever since I injured my neck and had to close my photographic business in November (years of carrying heavy equipment around my neck).

Since I no longer have to sit in my office and turn my huge iMac on every day, I thought it would be nice to have something more portable so that I could blog or browse the web from the lounge/garden/kitchen – anywhere but shut away on my own in the office.

Although I also bought a separate Logitech keyboard which affords a little protection to the iPad, I couldn’t wait to pop into my sewing room and whip up a quick and easy sleeve.

The same method could be applied when making a sleeve for any tablet, mobile ‘phone or kindle.

Here’s what I did: –

Measure the device, add a seam allowance to all sides and cut out the following pieces.

  • 1 front
  • 1 back
  • 2 lining
  • 2 wadding

I used scraps and had to have different fabrics for the front and back.

IMG_0002

IMG_0003

Start by sandwiching a piece of wadding between the front and a lining piece. Pin all layers together and baste all the way around.

IMG_0005

Repeat with the back.

IMG_0006

Trim any excess wadding.

IMG_0007

IMG_0008

IMG_0009

Cut enough bias binding to go around all four edges plus an extra length for the opening edge. You can use ready made or follow my tutorial on how to make your own bias binding.

I used an old tea towel!

IMG_0010

Pin the bias binding to a short edge of the back and stitch in place.

IMG_0011

Repeat with the front.

IMG_0012

Pin the front to the back and baste together around three sides, leaving the top opening free.

IMG_0013

Fold under the raw edge on the remaining bias binding.

IMG_0014

Pin the bias binding to the sleeve around the three sides, enclosing all the layers and stitch in place.

IMG_0015

Not my neatest piece of work as it was only for me and whipped up in a hurry whilst supper was cooking, but it was completely free using bits from my stash.

You could spend more time and make it more polished, especially if it is to be a gift for someone.

P1060136

And there you have it – a quick and easy sleeve for your iPad, iPad mini, mobile ‘phone, laptop, tablet, kindle……….


53 Comments

Make-Your-Own Espadrilles

Another day, another birthday present to make, only this time it is something a bit unusual – a pair of handmade espadrilles!

I’ve made slippers and things along those lines before, but never a bonafide pair of shoes.

P1050948

The soles were by Prym and purchased online from The Makery in Bath.

P1050918

P1050919

The box includes templates for the uppers in various adult sizes, but I heeded advice from others who have previously made them and went down a size when making them. I cut out a UK size 5 for the recipient who has size 6 feet, and they fitted perfectly without slipping off.

P1050920

Although there were no instructions in the box, full step-by-step photographs can be found on the Prym website and it was those I followed.

If you are tempted to have a go at these be aware that seam allowances are NOT included – you have to add your own before cutting out!

P1050922

P1050923

I had a small amount of “Rosetta” fabric left over from making this cushion and make up bag, and decided to team it with a deep pink spotty lining.

The pattern consists of just two pieces – one for across the front and one for the heel.

P1050921

I added some fusible interfacing to the outside sections just to give the shoe some extra strength and stability.

P1050924

I also stretched a two-inch length of narrow elastic at the ankle edge just to make sure the shoes would stay on.

P1050926

The main fabric is sewn to the lining right sides together, then turned through a gap left in the stitching.

P1050929

I top stitched the elastic through all the layers for a strong and neat finish.

P1050931

P1050932

The toe section is sewn and turned in exactly the same way, cutting across the corners and notching around the curves as necessary.

P1050934

Next comes the fun bit!

You will need a leather needle to sew through the soles as the wedged point makes light work of it where a standard needle would hurt your finger after a while.

P1050938

The heel section is pinned to the sole…..

P1050935

….inserting the pins at an angle as shown below.

P1050936

I used three strands of embroidery floss to secure the fabric to the sole, using a blanket stitch.

P1050939

When the heel section is stitched on it should look like this: –

P1050940

Next, the front is pinned on in a similar fashion, overlapping the heel section.

P1050941

P1050942

Blanket stitch is used all the way around the front and also to join the sides together.

P1050952

A “hand made with love” label adds a personal touch.

P1050943

That’s it – finished!

P1050950

P1050949

P1050951

I thought I’d better show you what they look like on – have you any idea how difficult it is to take photographs of yourself wearing shoes?!

P1050946

In the end I put my feet up on the table in my studio……

P1050945

P1050947

I’m pleased to report that the recipient was very pleased with her bespoke shoes and put them on immediately – they fit perfectly!

Has anyone else handmade their own espadrilles before?


41 Comments

Tilda’s Appliquéd Make Up Bag

I’ve had a few birthday presents to make lately, luckily all of them for women, so it was just a case of browsing through one of my many books and choosing something appropriate to the individual.

I find that making a gift for someone you know is very different to making items to sell, in several ways: –

  • For a start, I don’t have to consider how long it will take versus how much I can sell it for, I can put as much time and effort in as I want which usually means it can be more elaborately decorated.
  • I can take the recipient’s personality into consideration and personalise the gift accordingly.
  • I enjoy the process far more, knowing that the thought and effort that I have invested will be appreciated.
  • It’s a one off – I get bored making more than one of things which is often what you have to do when stocking up for your online shop/craft fair etc.

I found the perfect little gift in Tilda’s book, ‘Sew Pretty Homestyle’.

P1060029

A cute little make up bag (cosmetic purse) with appliquéd detail on the front – the sort of added extra that can take hours and couldn’t possibly be done at a profit if making to sell.

After tracing off the single pattern piece, I cut out candy-pink striped fabric for the outside, coordinating checked fabric for the lining and some batting to add structure.

P1060028

This method for appliqué is a good one for tiny items where there’s not much fabric to put under the sewing machine foot.

You start by transferring your design (angel’s wings) onto a double thickness of fabric and stitching around, leaving an opening for turning.

P1060030

Trim close to the stitching.

P1060032

Turn and press.

P1060033

Repeat with all the appliquéd elements and pin to the front of the make up bag.

P1060034

Sew all the motifs on, making sure your stitches are hidden.

P1060035

This type of appliqué gives a raised finish when sewn on and the stitches are almost invisible rather than being a feature.

P1060036

Little swirls adorn the wings, all done by hand with the tiniest of stitches.

P1060037

Add some eyes and hair to the naive-style face together with an embroidered flower and the decoration is complete!

P1060043

Construction was straightforward enough.

P1060041

A row of rustic running stitches keeps the lining from getting caught in the zip as well as being a pretty detail.

P1060044

P1060045

Of course, the process could be sped up enormously if the motifs were stitched on by machine and free-machine embroidery used for the wing swirls and flower.

I chose to do it by the book, so to speak, as it gave a more homespun feel that I was looking for.

P1060046

P1060042

I love the coordinating lining – it makes the inside a nice surprise when you undo the zip.

P1060039

This was the ideal project to use up scraps too, as it uses so little for the body and lining of the bag and the appliquéd motifs are literally tiny pieces you’d normally throw away!

P1060047

Thankfully, the make up bag was very well received, so all that effort was worthwhile – I might even make some more for Christmas presents.


7 Comments

Upcycled Scarf Into Cowl & Wristwarmers

Hmmmm, bit of a disappointment.

Having spent the larger part of a day refashioning an already beautiful scarf into a bespoke gift for someone specific aged 17, I am gently informed by her mother that she wouldn’t wear it as she doesn’t like pink.

I then offered the set to my 23 year old daughter who told me that, although she likes it, she wouldn’t wear it because…..she doesn’t like pink!

Am I alone in my love of pink in all its glorious tones and associated femininity? Or is an age thing and just not trendy ‘cool’ for anyone under forty?

Anyway, it’s up for grabs for £25-00 for the set if anyone is interested:)

So, onto the pictures.

This is the original scarf as shown in a previous post….

P1030953

I removed the velvet edging and cut open the tubular scarf to make a wide piece of ‘fabric’, then cut it into a cowl sized piece and two glove size pieces.

P1030972

The cowl was stitched into a tube and the raw edges overlocked.

Next I added a row of double crochet to the upper edge in deep lilac….

P1030973

….and a delicate picot edging to the lower edge.

P1030974

Et voilá!

P1030964

Next, for the gloves, I appliquéd a pink heart (made from a felted lambswool jumper) onto the front of each glove using the same lilac yarn.

P1030975

A picot edge was crocheted around the finger end of the gloves to match the border on the cowl.

P1030958

I think they make a lovely set as it’s so rare to find such a gorgeous fair isle knit in such good quality.

P1030956

So if you know anyone who would love to buy this, please point them in this direction – there must be someone out there who loves pink as much as I do!!!!

P1030969

They would make a great Christmas gift too:)

P1030971